


THE SHEATH DRESS
The beauty of the Sheath Dress is the simple easy style, making this a great dress for a beginner. Not ready for zips? Choose the right fabric and you could even make this dress without the zip.
The whole front of this dress is cut on the fold with the back being two pieces.
The adjustments that we will cover are:
- How to reduce a gaping neck
- Grading between sizes (smaller on top / bigger on the bottom etc)
- Moving the pocket
- Turning the back pieces into one piece for non zip
- Light weight fabric vs heavy weight fabric – zip length
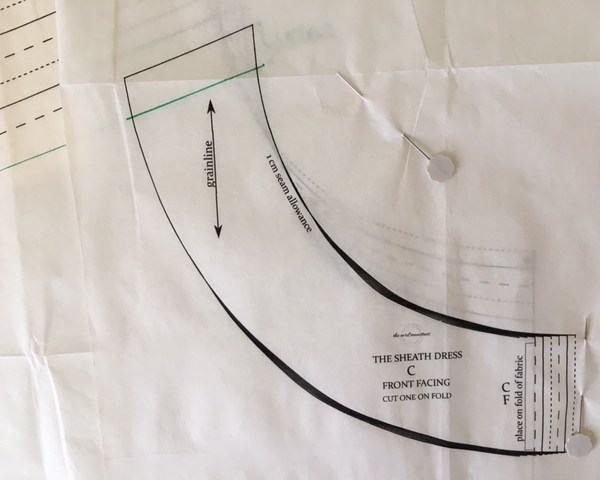
- Wider facing
- Shortening / lengthening the dress
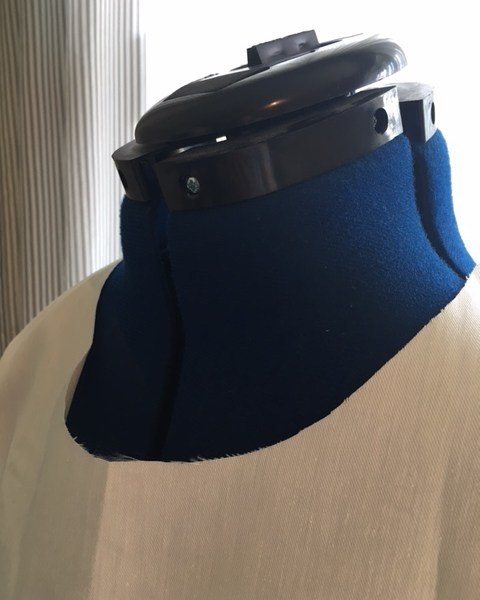
HOW TO REDUCE A GAPING NECK
A common fit problem is a gaping neckline which is actually an easy fix. For this tutorial we are using size “1”.
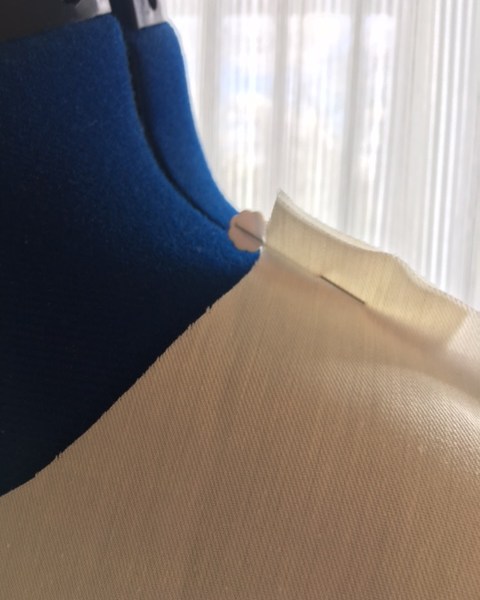
Step 1 – Before putting the facing in to the garment, try the dress on and, if the neckline is gaping, pinch away the amount and measure it. For our example it will be 1.5cm.
Step 2 – On your pattern piece measure the amount you are taking off and mark. This is your new neckline point.
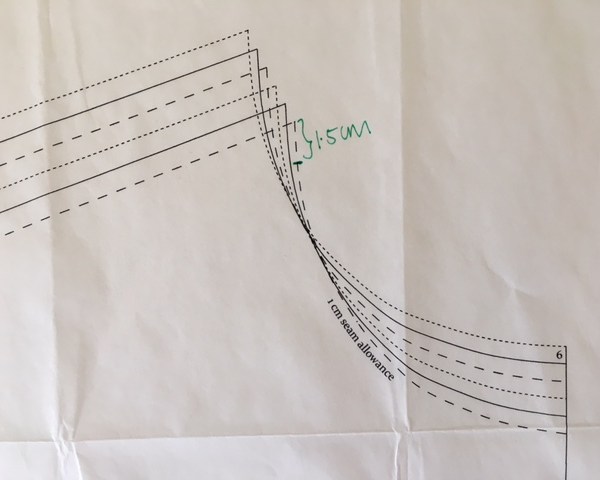
Step 3 – At the hem of the sleeve draw a line from the hem to the new neckline finish point.

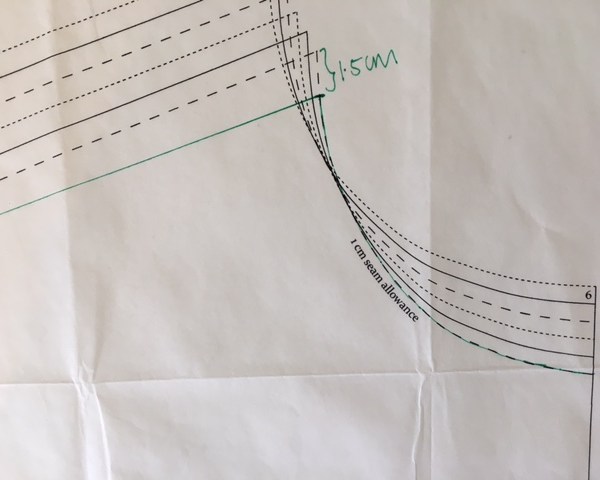
Step 4 – take your facing piece and place over the front pattern piece and trace through your new line.
Step 5 – repeat on the back dress and back facing piece.
GRADING BETWEEN SIZES
Size 2 on the top and 3 on the bottom – no problem! It’s easy to grade between sizes:
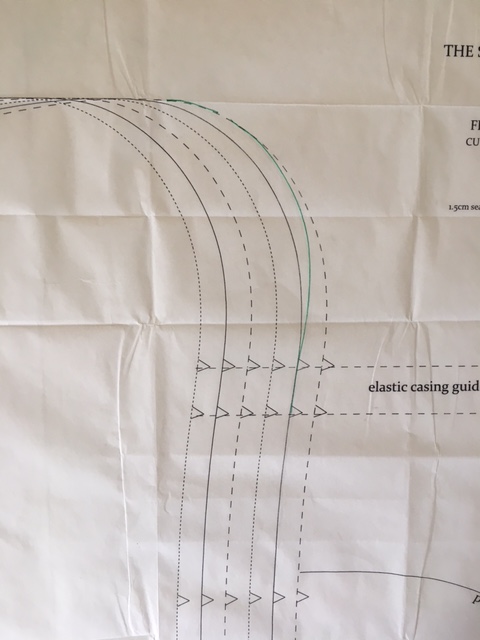
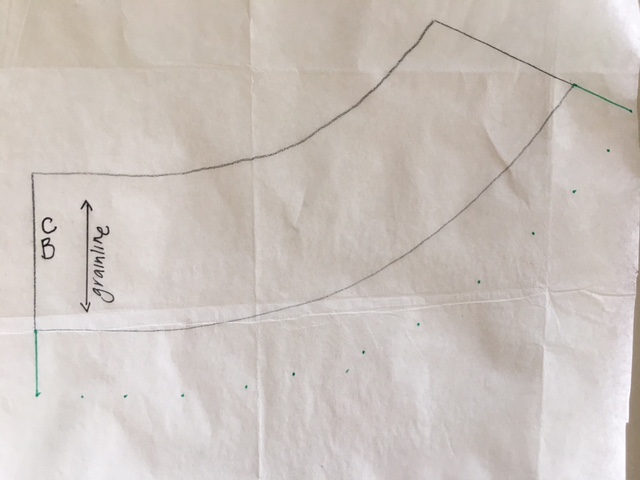
Step 1 – on your front piece, you need to redraw the curve from the underarm to the waistband – in this example we have graded from a “1” top to a “2” bottom. See our green line for the new shape.
Step 2 – place the back dress piece on top of the front and trace the shape to ensure they are both the same.
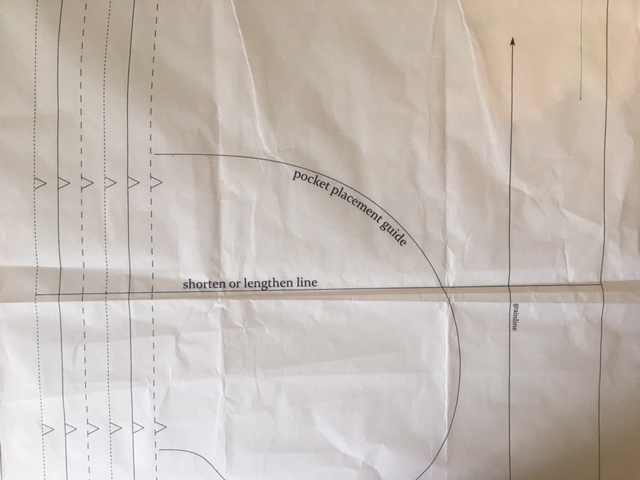
MOVING THE POCKET
When trying on your toile or before you sew your pockets – ensure that the pocket position is right for you. Being petite, I usually have to move the pocket position up – just be careful that your new pocket is not going in to the waistband area.
NO ZIP OPTION
If you are using a fabric that means you don’t need a zip, simply sew up the back of the dress using a 1.5cm seam allowance and repeat on the facing piece.
OR why not turn the back in to one piece and place it on the fold of the fabric.
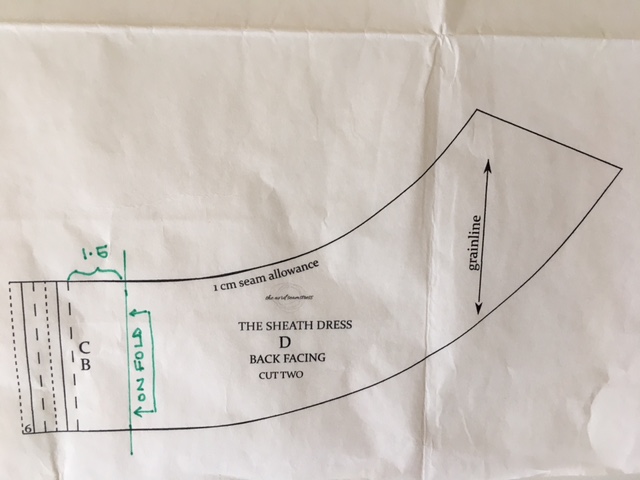
You need to remove the seam allowance of 1.5cm down the CB piece of the garment and on the facing piece. You can now place this on the fold of the fabric.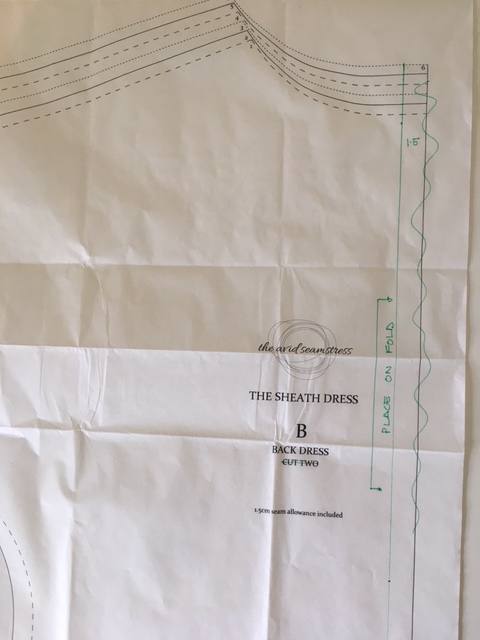
For the CB edge (of the size you are making) measure 1.5cm and draw a straight line. This is now the line to place on the fold of the fabric.
ZIP LENGTH
For lightweight fabrics you don’t need such a long zip. Use a shorter zip to prevent the zip distorting the shape of the back dress. If the zip is heavier than the fabric it will bulge the fabric!
WIDER FACING
Our facing is 4cm wide but some seamstresses prefer a wider facing. Again, a quick and easy solution:
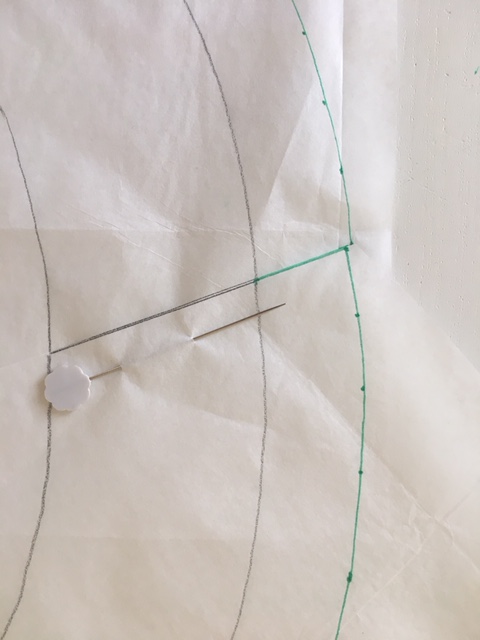
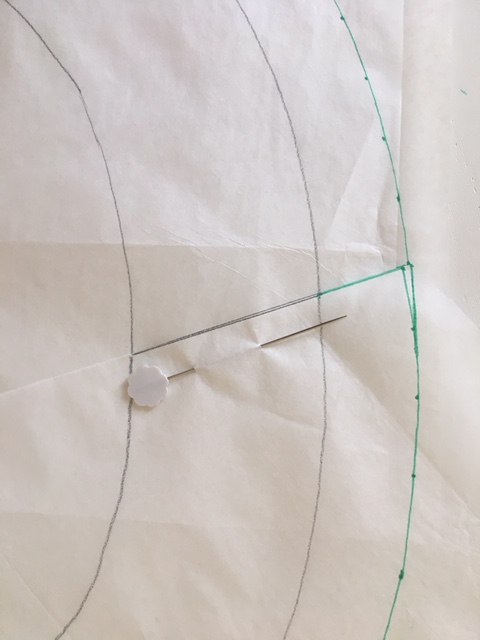
Step 1 – Following the CB and shoulder lines, extend them and add on the additional width that you would like.
Step 2 – Using your measuring tape / ruler and following the curve make dots around the shape – ensuring that it is the same width
Step 3 – Draw the new line following the shape
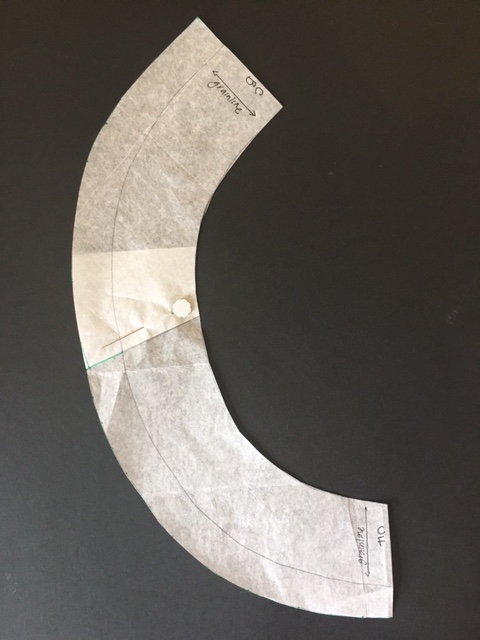
Step 4 – Place your two shoulder lines together. If the new width lines don’t match up perfectly, redraw the shape.
Step 5 – Cut out and you now have your two new wide facings. Separate the two pieces before cutting out your fabric.
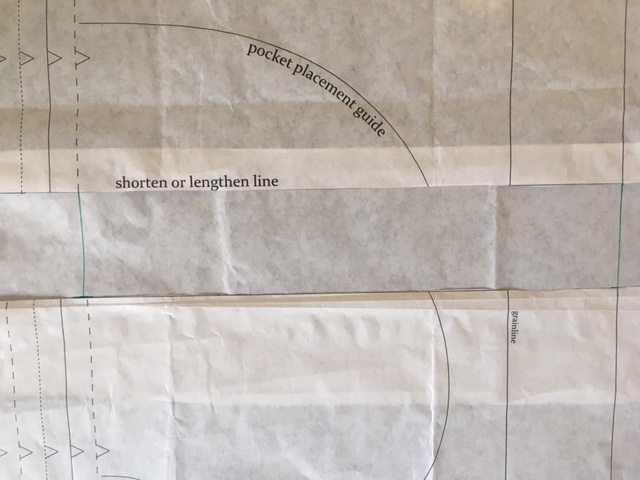
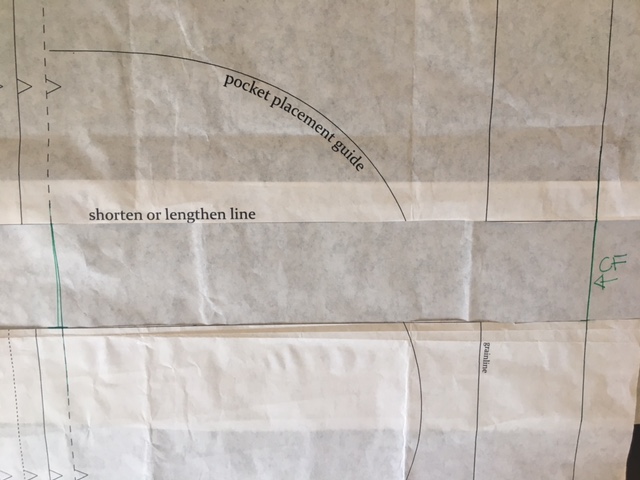
SHORTENING / LENGTHENING THE DRESS
As this dress has a pretty straight shape you can easily shorten or lengthen the dress.
Find the “shorten or lengthen” lines on the dress and:
To Shorten
Step 1 – cut along shorten line
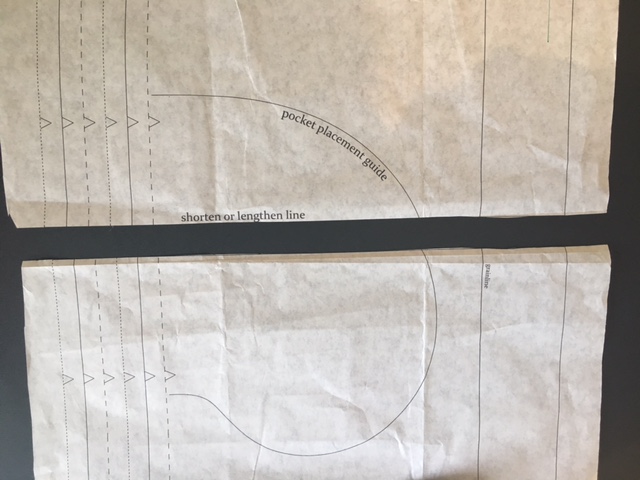
Step 2 – on the bottom piece draw the amount that you will be taking off, ensuring that the amount is equal across the piece
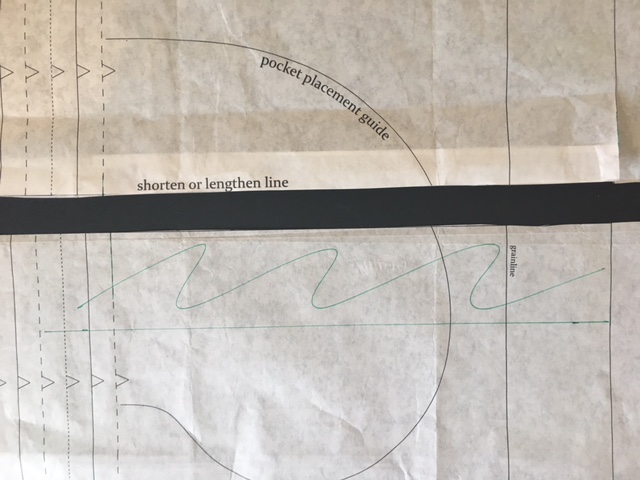
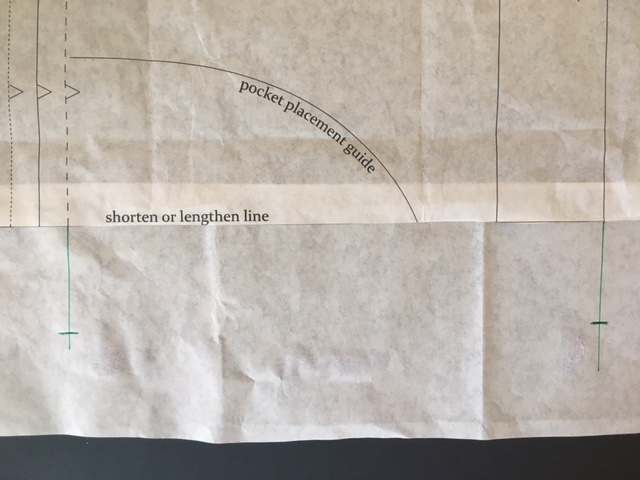
Step 3 – glue the top piece on to the new line, ensuring that your CF line is straight:

Step 4 – redraw your side seam line.
Step 5 – repeat on the back piece
Step 6 – check your pocket placement and mark new guidelines
To lengthen
Step 1 – cut along lengthen line
Step 2 – Glue a piece of pattern paper underneath the top piece
Step 3 – add on the amount you are lengthening by and draw a new line, ensuring both sides are accurate
Step 4 – Glue your bottom piece on to the lengthened line, ensuring that the CF edge is straight. Redraw your CF line and then, moving over to the side seam, redraw your side seam line. 
Step 5 – repeat on the back piece.
Step 6 – check your pocket placement and mark new guidelines
It’s so simple to made adjustments to The Sheath Dress! Are there any adjustments that you would like us to show you how to do them?
Next week some awesome pattern hack ideas:
- Waistband in back piece only
- Creating two panels on the front dress
- Binding on neckline instead of facing
Any other ideas?

What Bust Cup Size are your patterns drafted for? How about showing a FBA ??
Hi Anita. They are drafted for a B cup. We are working on some tutorials at the moment so will add a FBA to the list :)