
![IMG_3289[1]](https://theavidseamstress.com/wp-content/uploads/2014/06/img_32891.jpg)
Aaah the drawstring pouch. I can think of a million things to use this gorgeous pouch for – make up, beach bag essentials, jewellery and they make great gifts! You can use contrasting fabric for the all of the pieces which makes this pouch gorgeous and unique!
Come and make this drawsting pouch at one of our workshops by clicking here or follow our tutorial:
You will need:
2 X MAIN PIECE TOP 27cm wide by 10cm length – my top piece is the grey fabric in the picture
2 X MAIN PIECE BOTTOM 27cm wide by 23cm length – my bottom piece is the patterned fabric in the picture
2 x LINING 27cm wide by 32cm length- my lining is the green fabric in the picture

Make sure that you are very accurate with your measuring, cutting and sewing as the seam allowance is only 1cm and sewing this pouch accurately will mean that all the pieces match up perfectly!
Sewing your Drawstring Pouch – 1cm seam allowance
Split up and sew your pieces so that they look like the picture below. You need two opposite pieces once they are sewn together: 
Then join the two main bottom pieces together so that you end up with one long piece of fabric. Iron open your seams: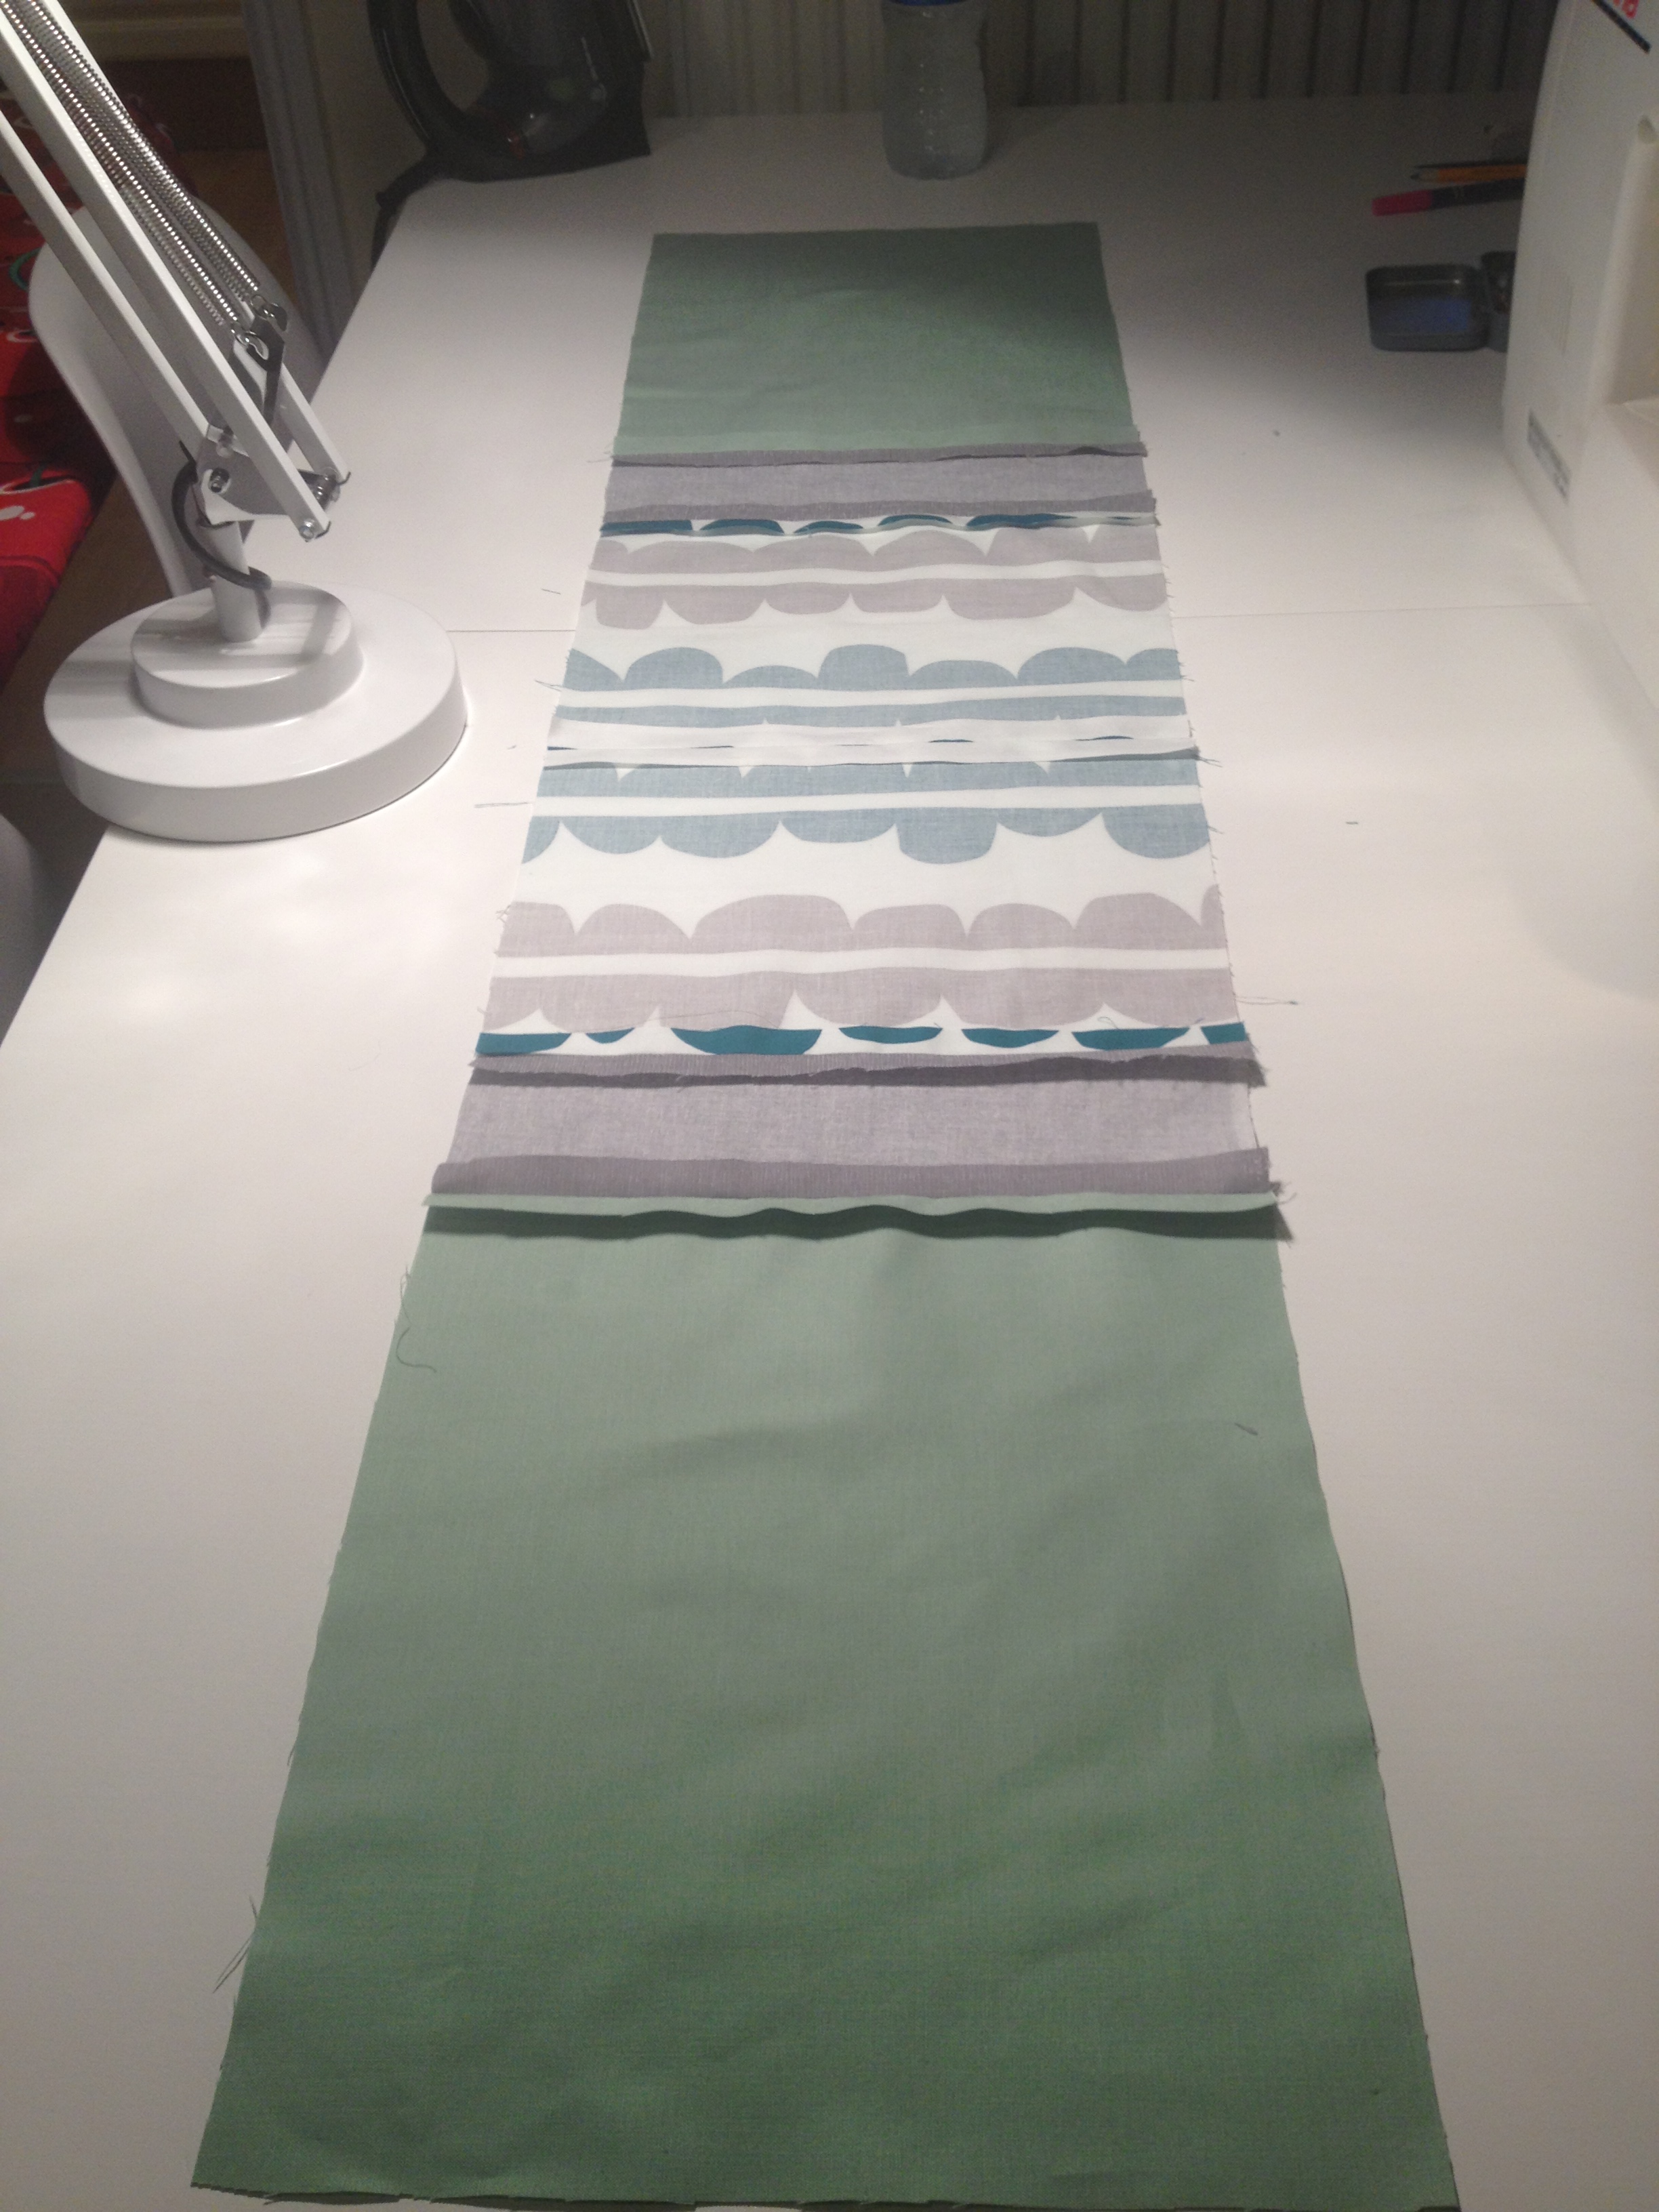
Next fold your long piece so that the lining pieces meet up at the bottom. Pin all the way around so that everything matches up perfectly: 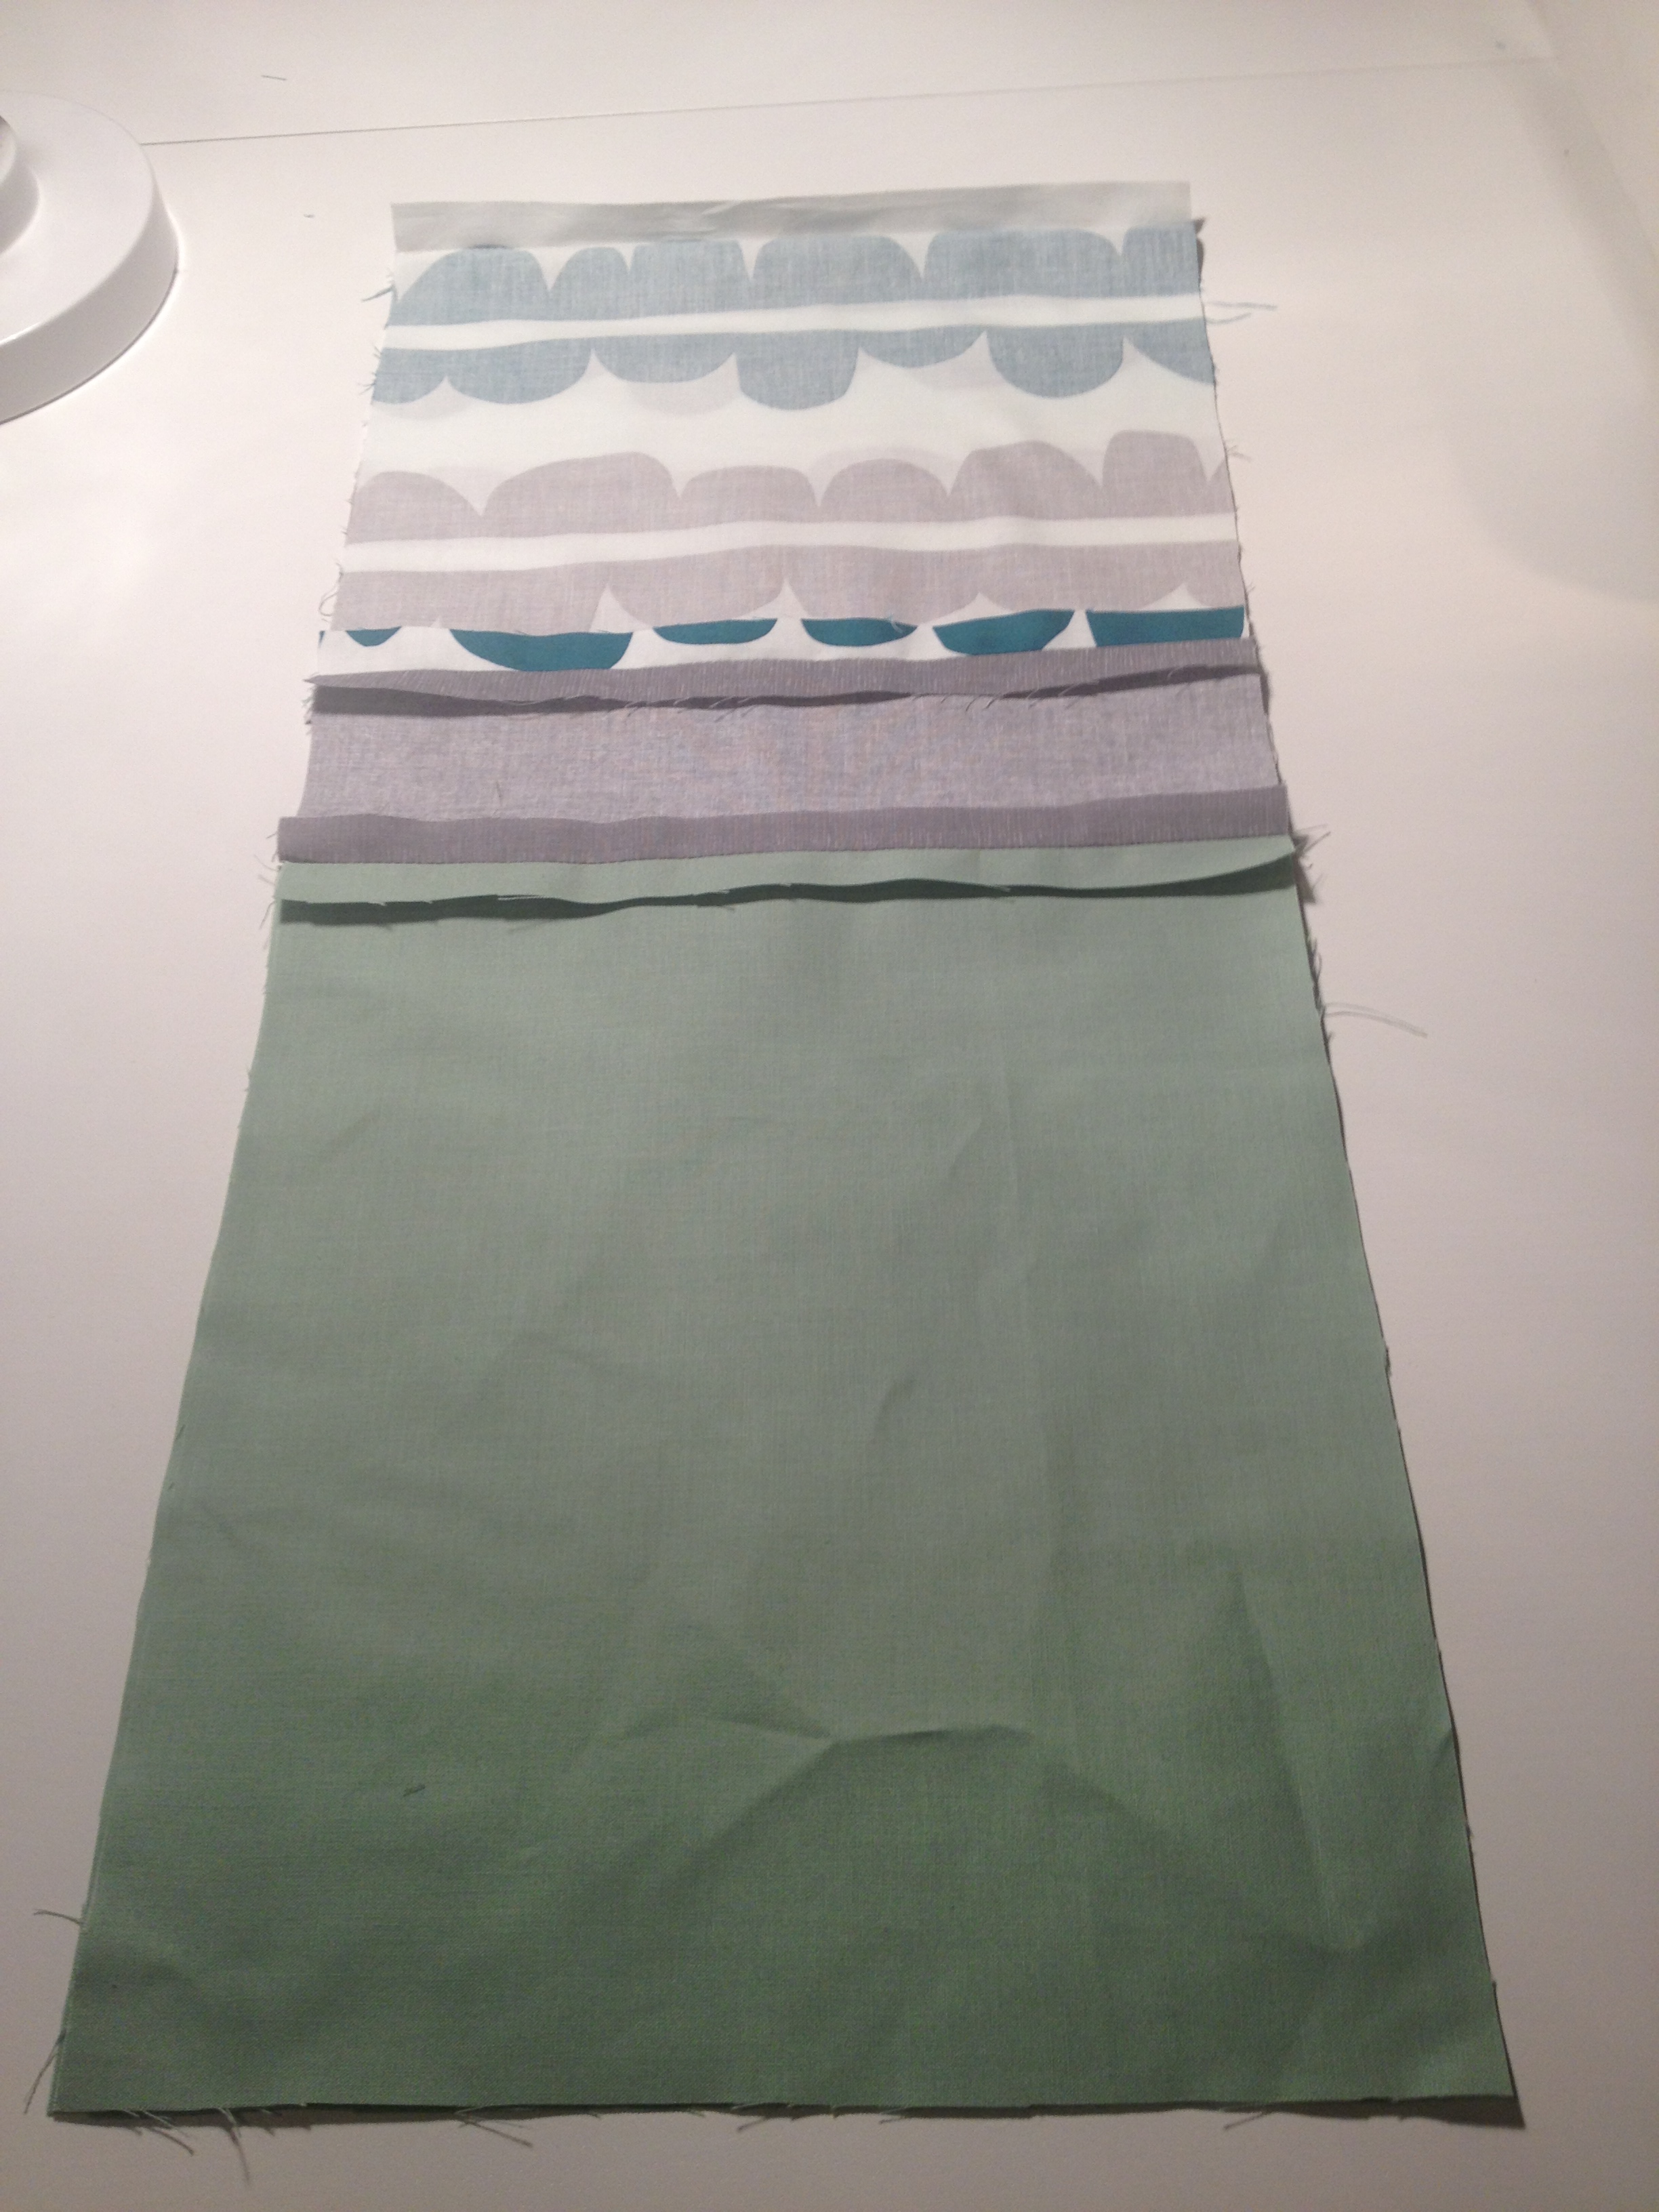
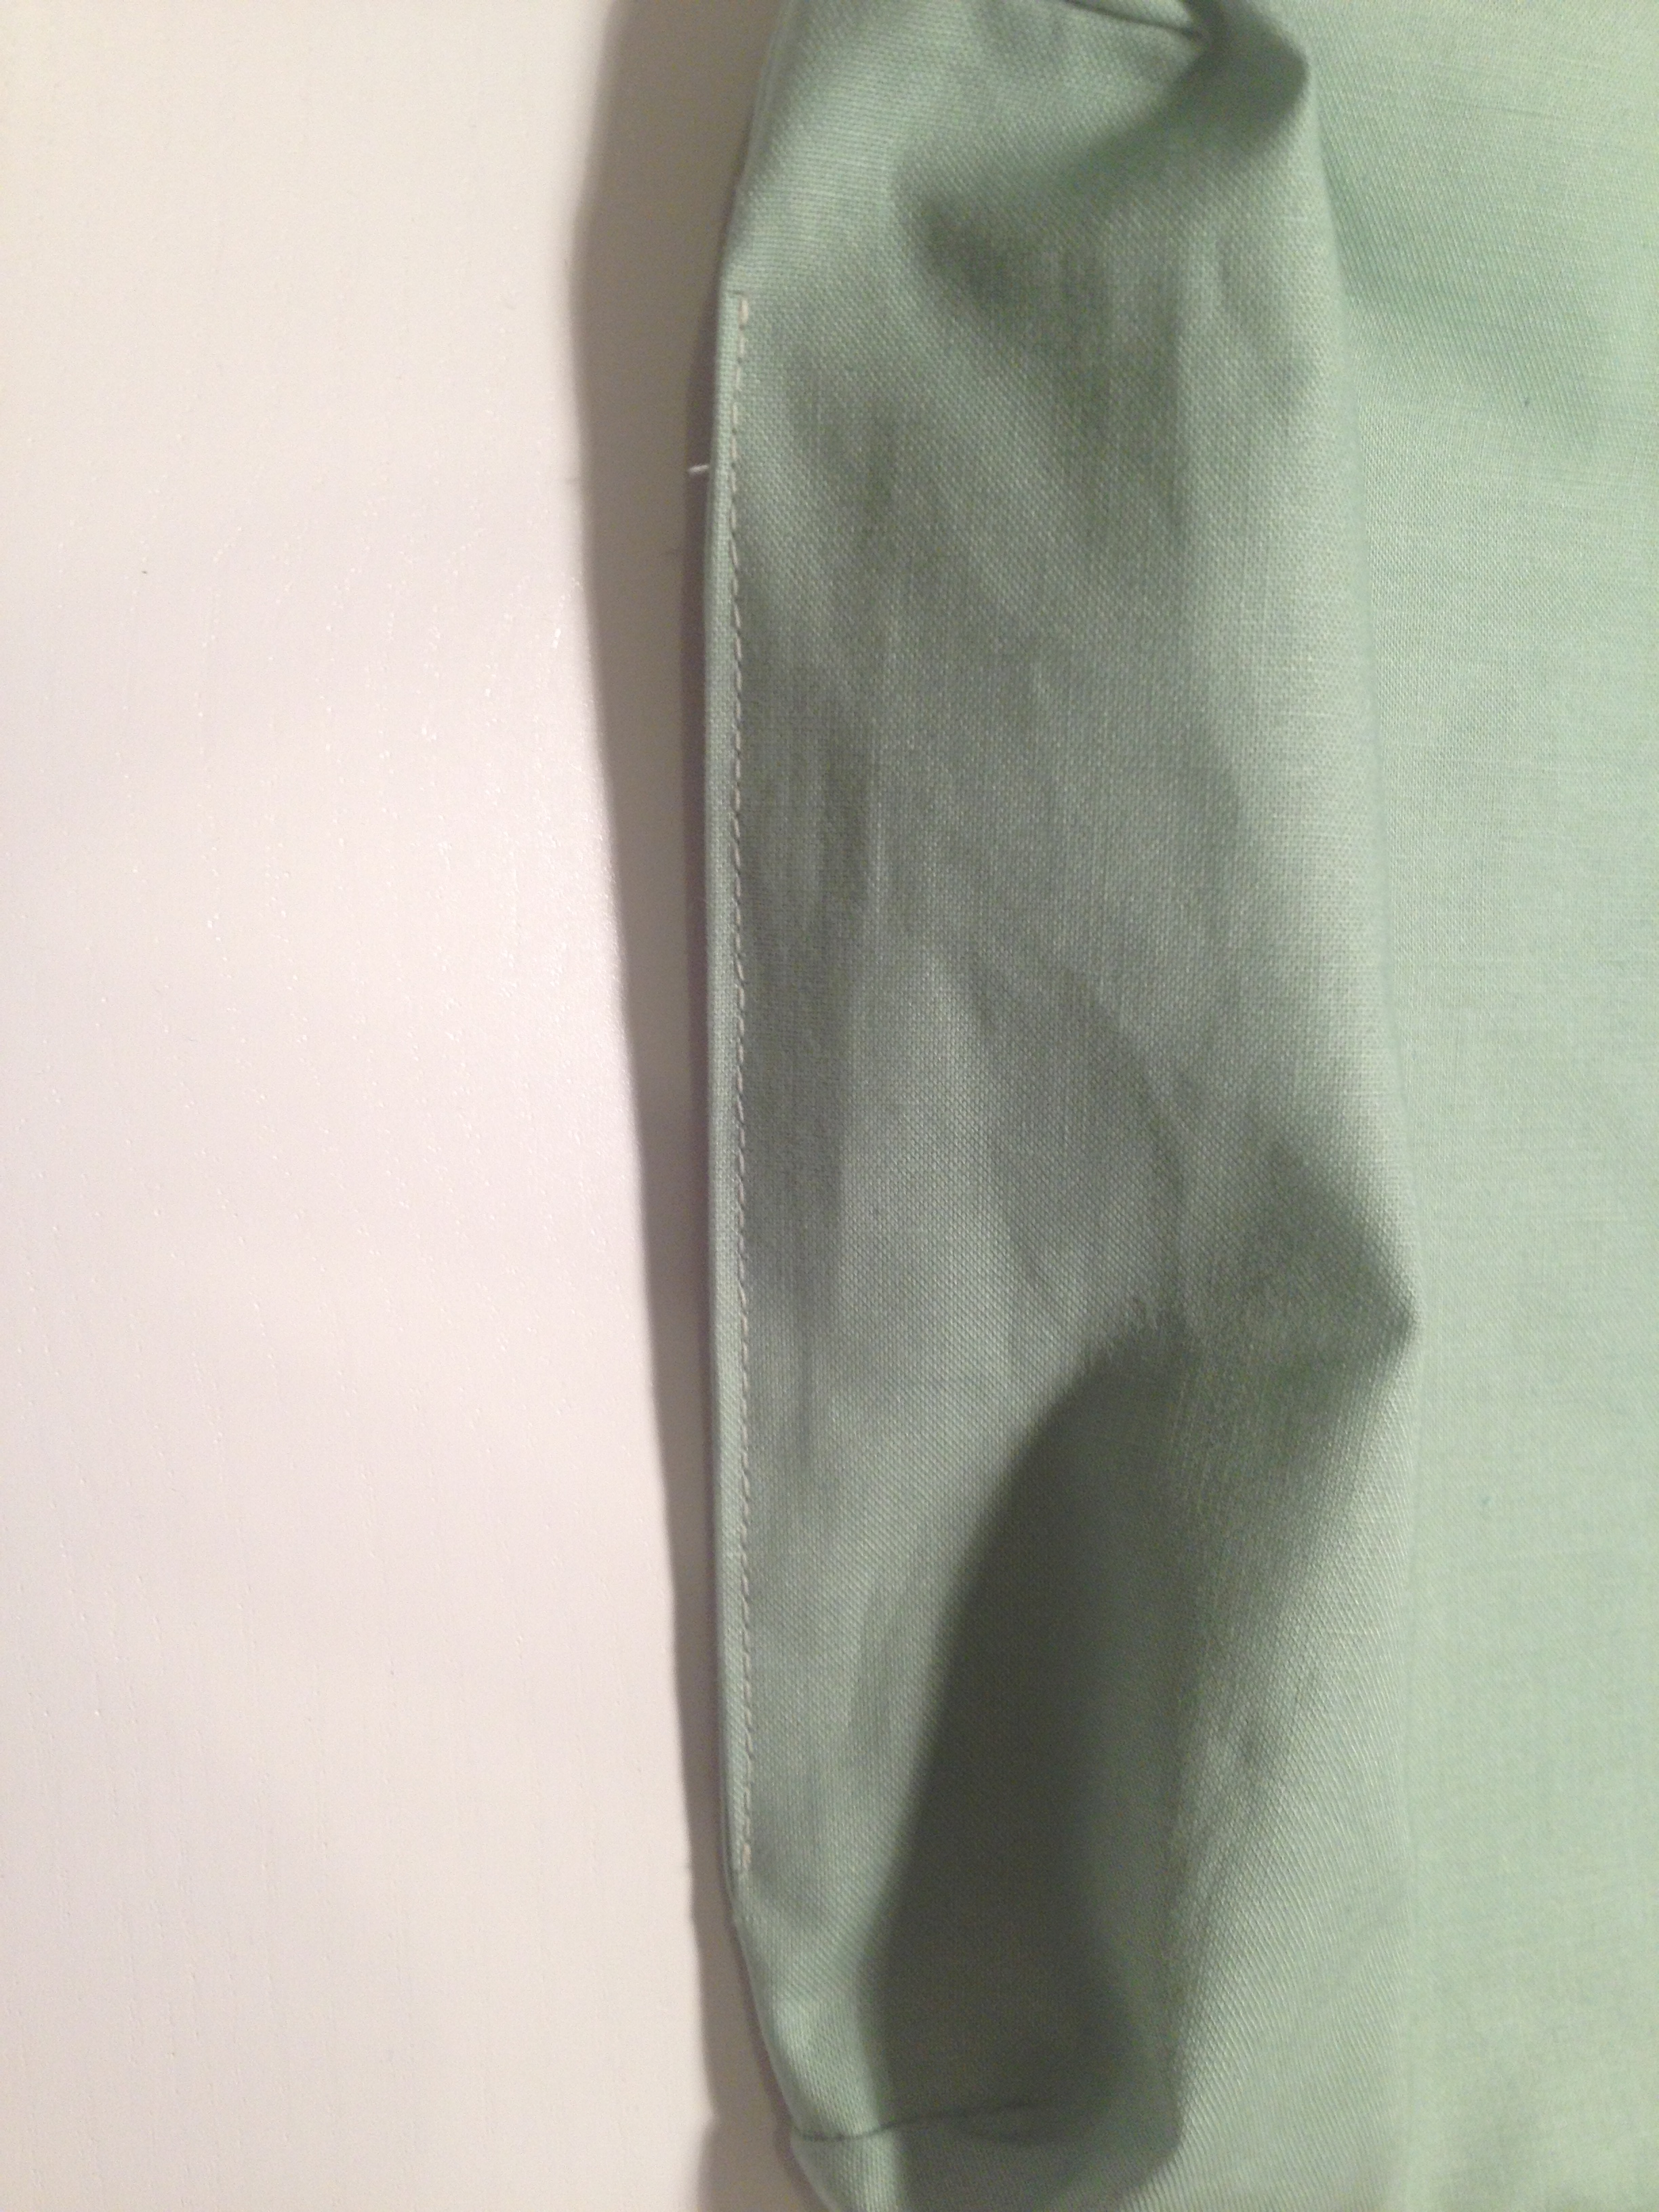
Now, as you can see in the picture, mark 1cm from where the front main piece meets the top main piece (the grey fabric of my pouch). Then mark 2cm from this mark. This is where the drawstring will feed through – you will see this later in the tutorial. Mark this measurement on the opposite side too..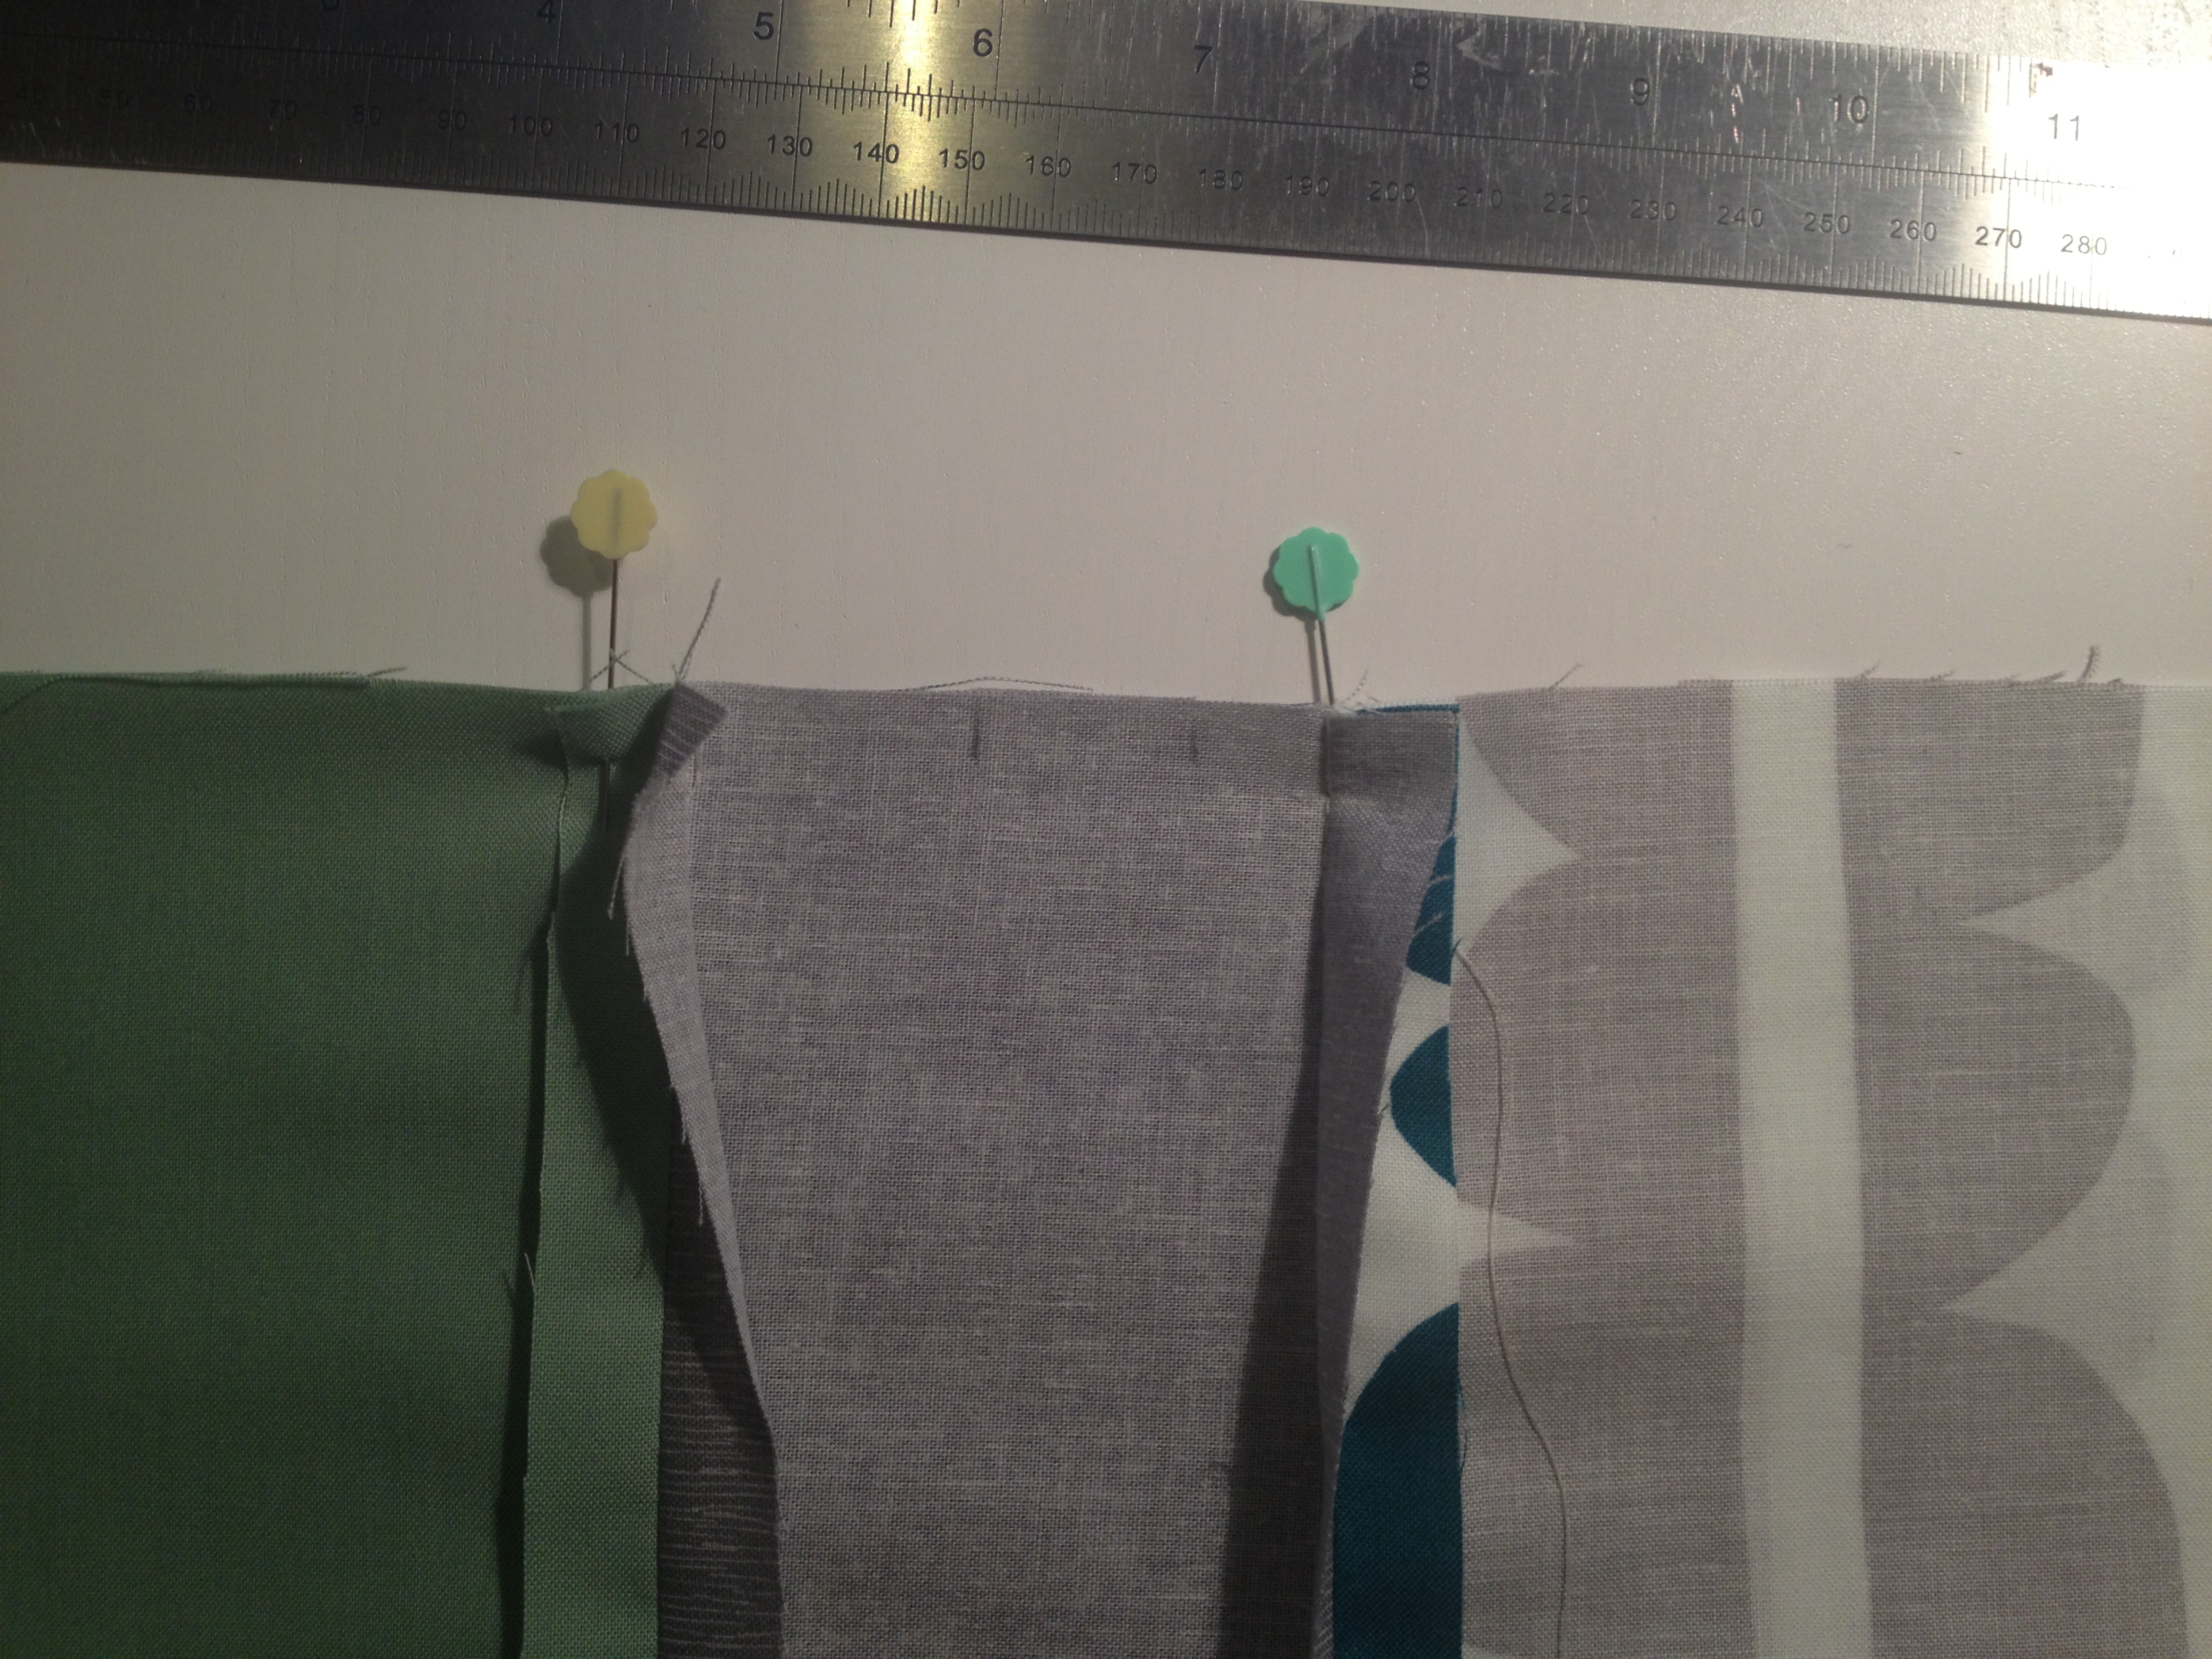
Now go down to the lining piece and mark an opening at the bottom (this is where we will pull the whole bag through to the right side): 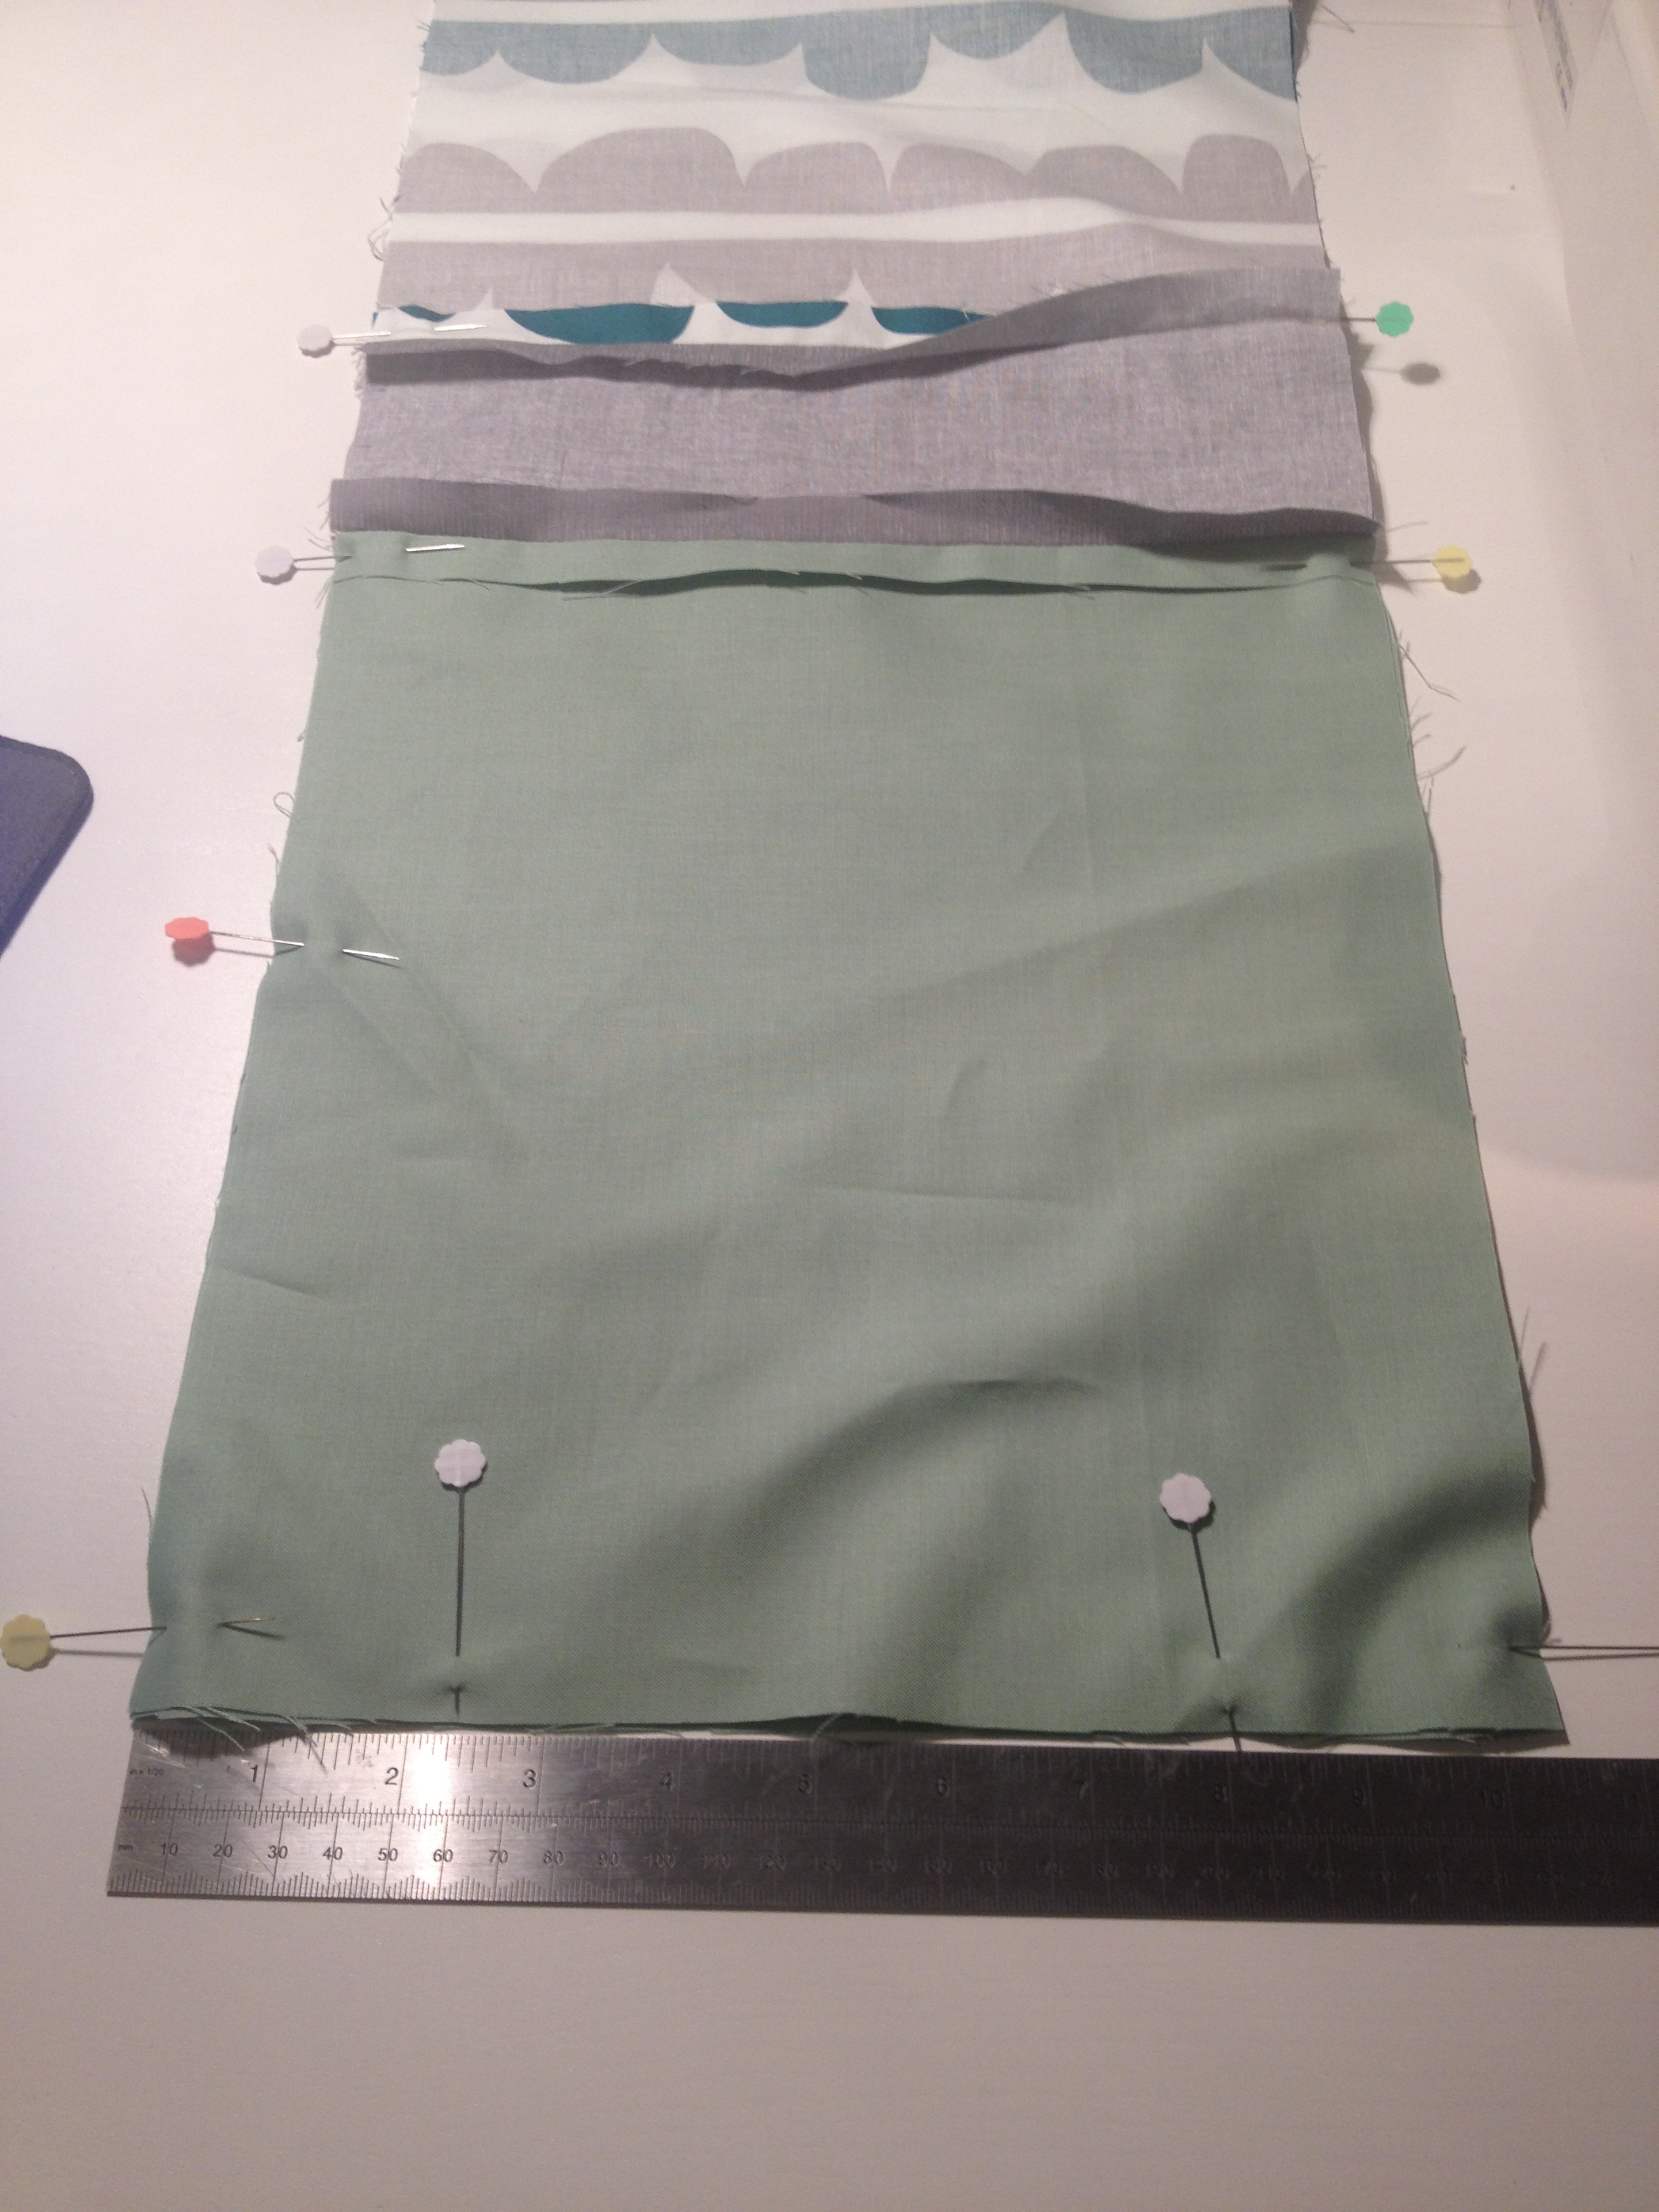
So, you need to sew from the opening of the lining up to the mark you made where the drawstring feeds through (the 2cm opening we marked in the last step). Don’t forget to reverse stitch. Then you need to sew from the second pin (on my grey bit) all the way around to the next mark where the string will feed through (see my pins in this pic). Lastly sew from the second mark all the way around to the opening of the lining below.
Sounds like alot of stop/starting but basically you are sewing all the way around but keeping open the bottom of the lining part and the 2cm gap for the drawstring on each side:
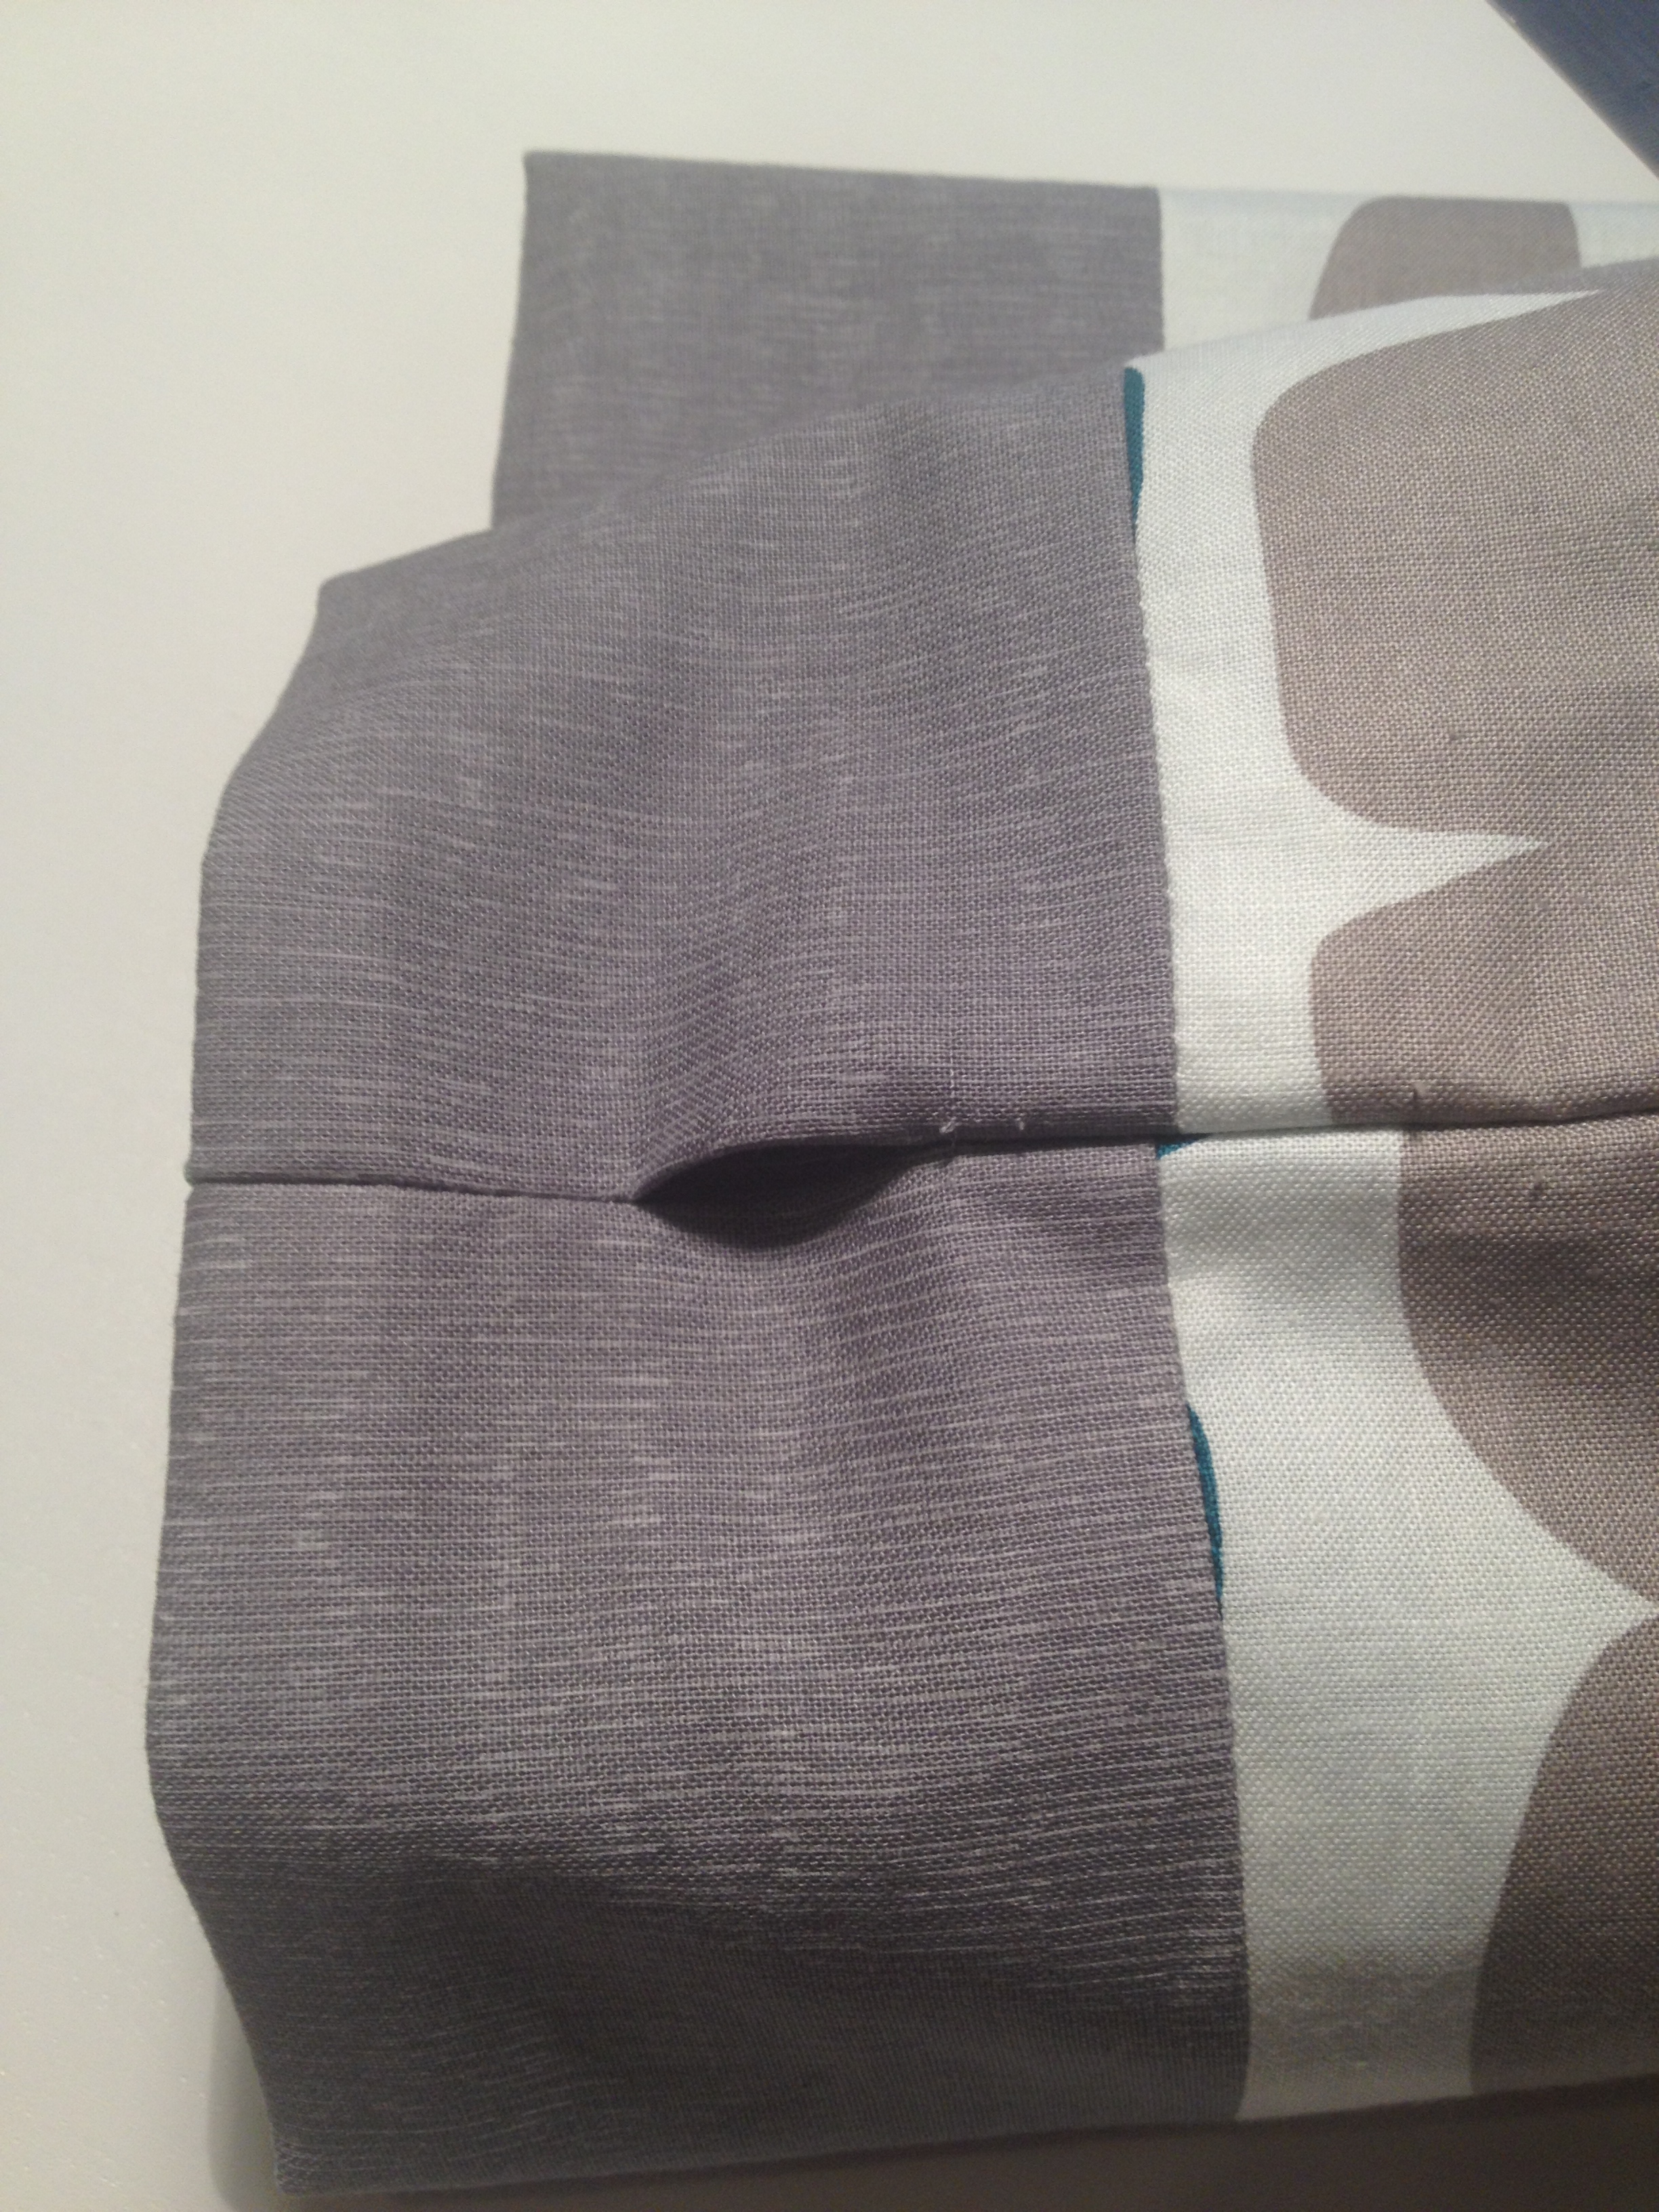
OK lovely! Now we need to box out of bottom corners of the lining and the main piece.
Push the bottom of the lining seam against the side seam so that it makes a point. This can be a bit fiddling so don’t give up. The two seams need to lie flat on each other..
You will need to do this on both sides of the lining corners plus on the main fabric piece corners. So essentially you will be doing 4 of these points. Mark 2cm up from the point and draw a line across on each of the 4 points. :

Take this to your sewing machine and sew across the line, I would reverse stitch across this width to keep the pieces tightly together:

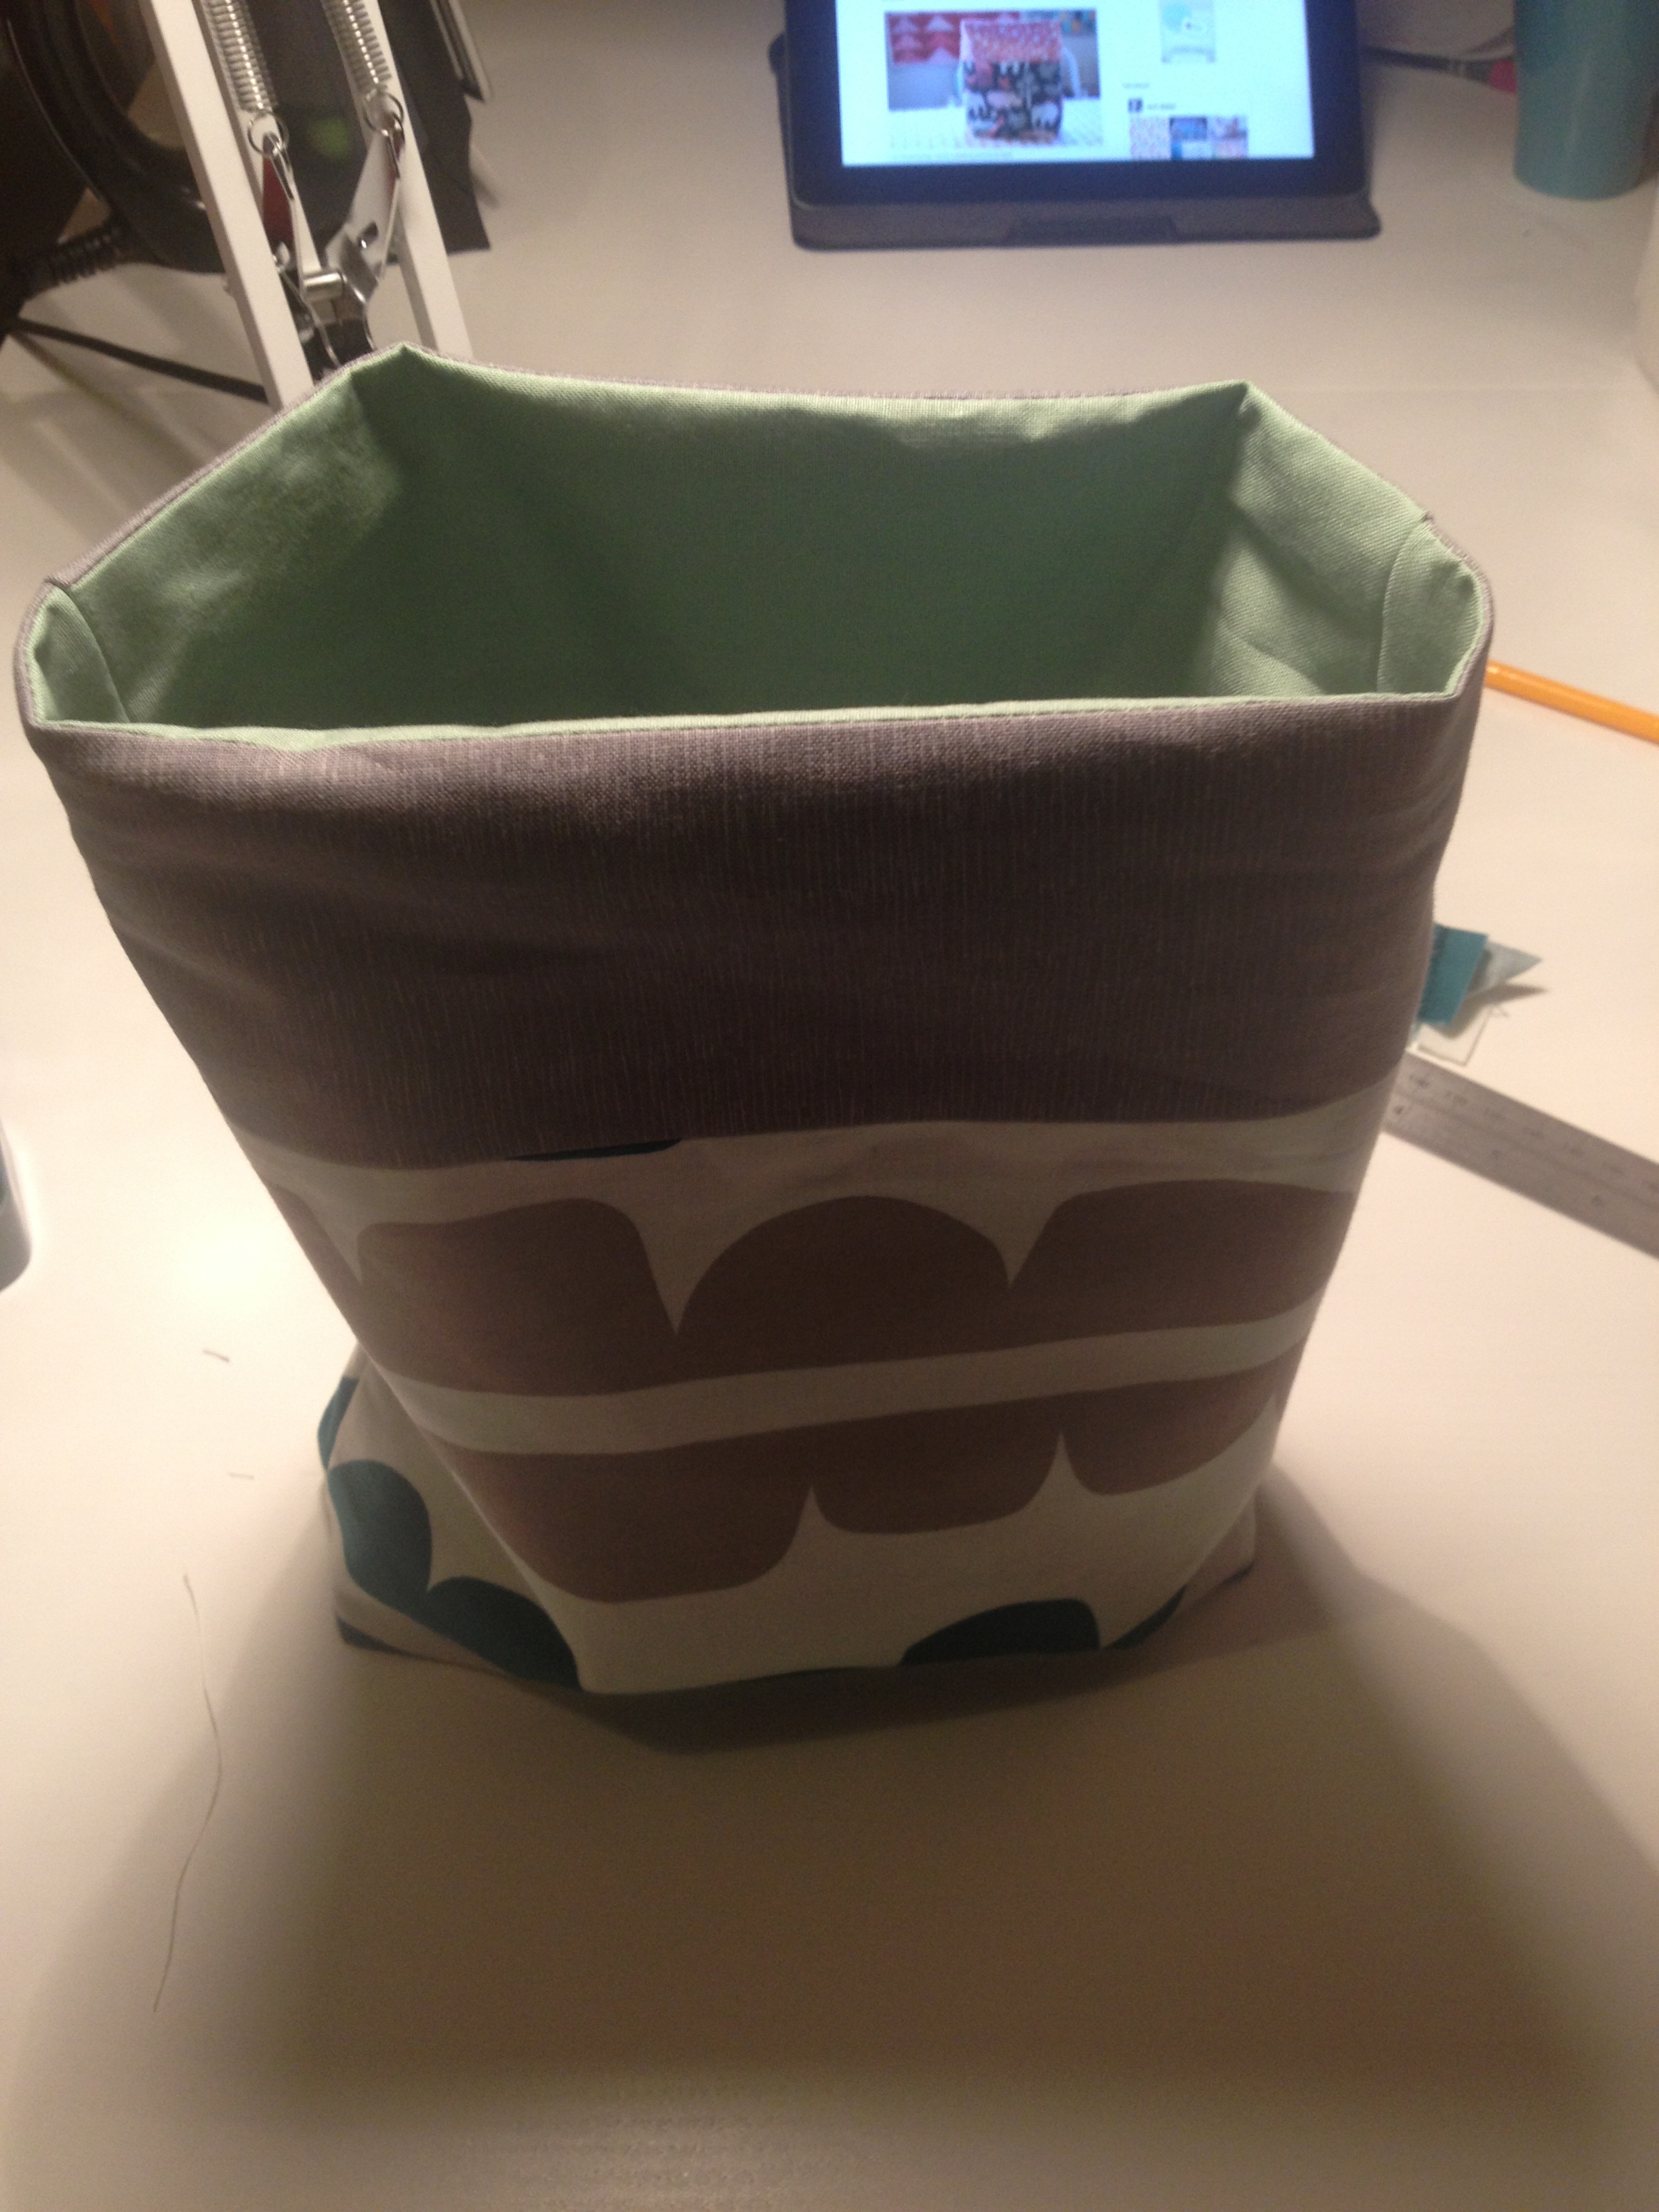
Turn your back to the right side and pull the lining out so that you have one long tube (see those lovely boxed out corners?):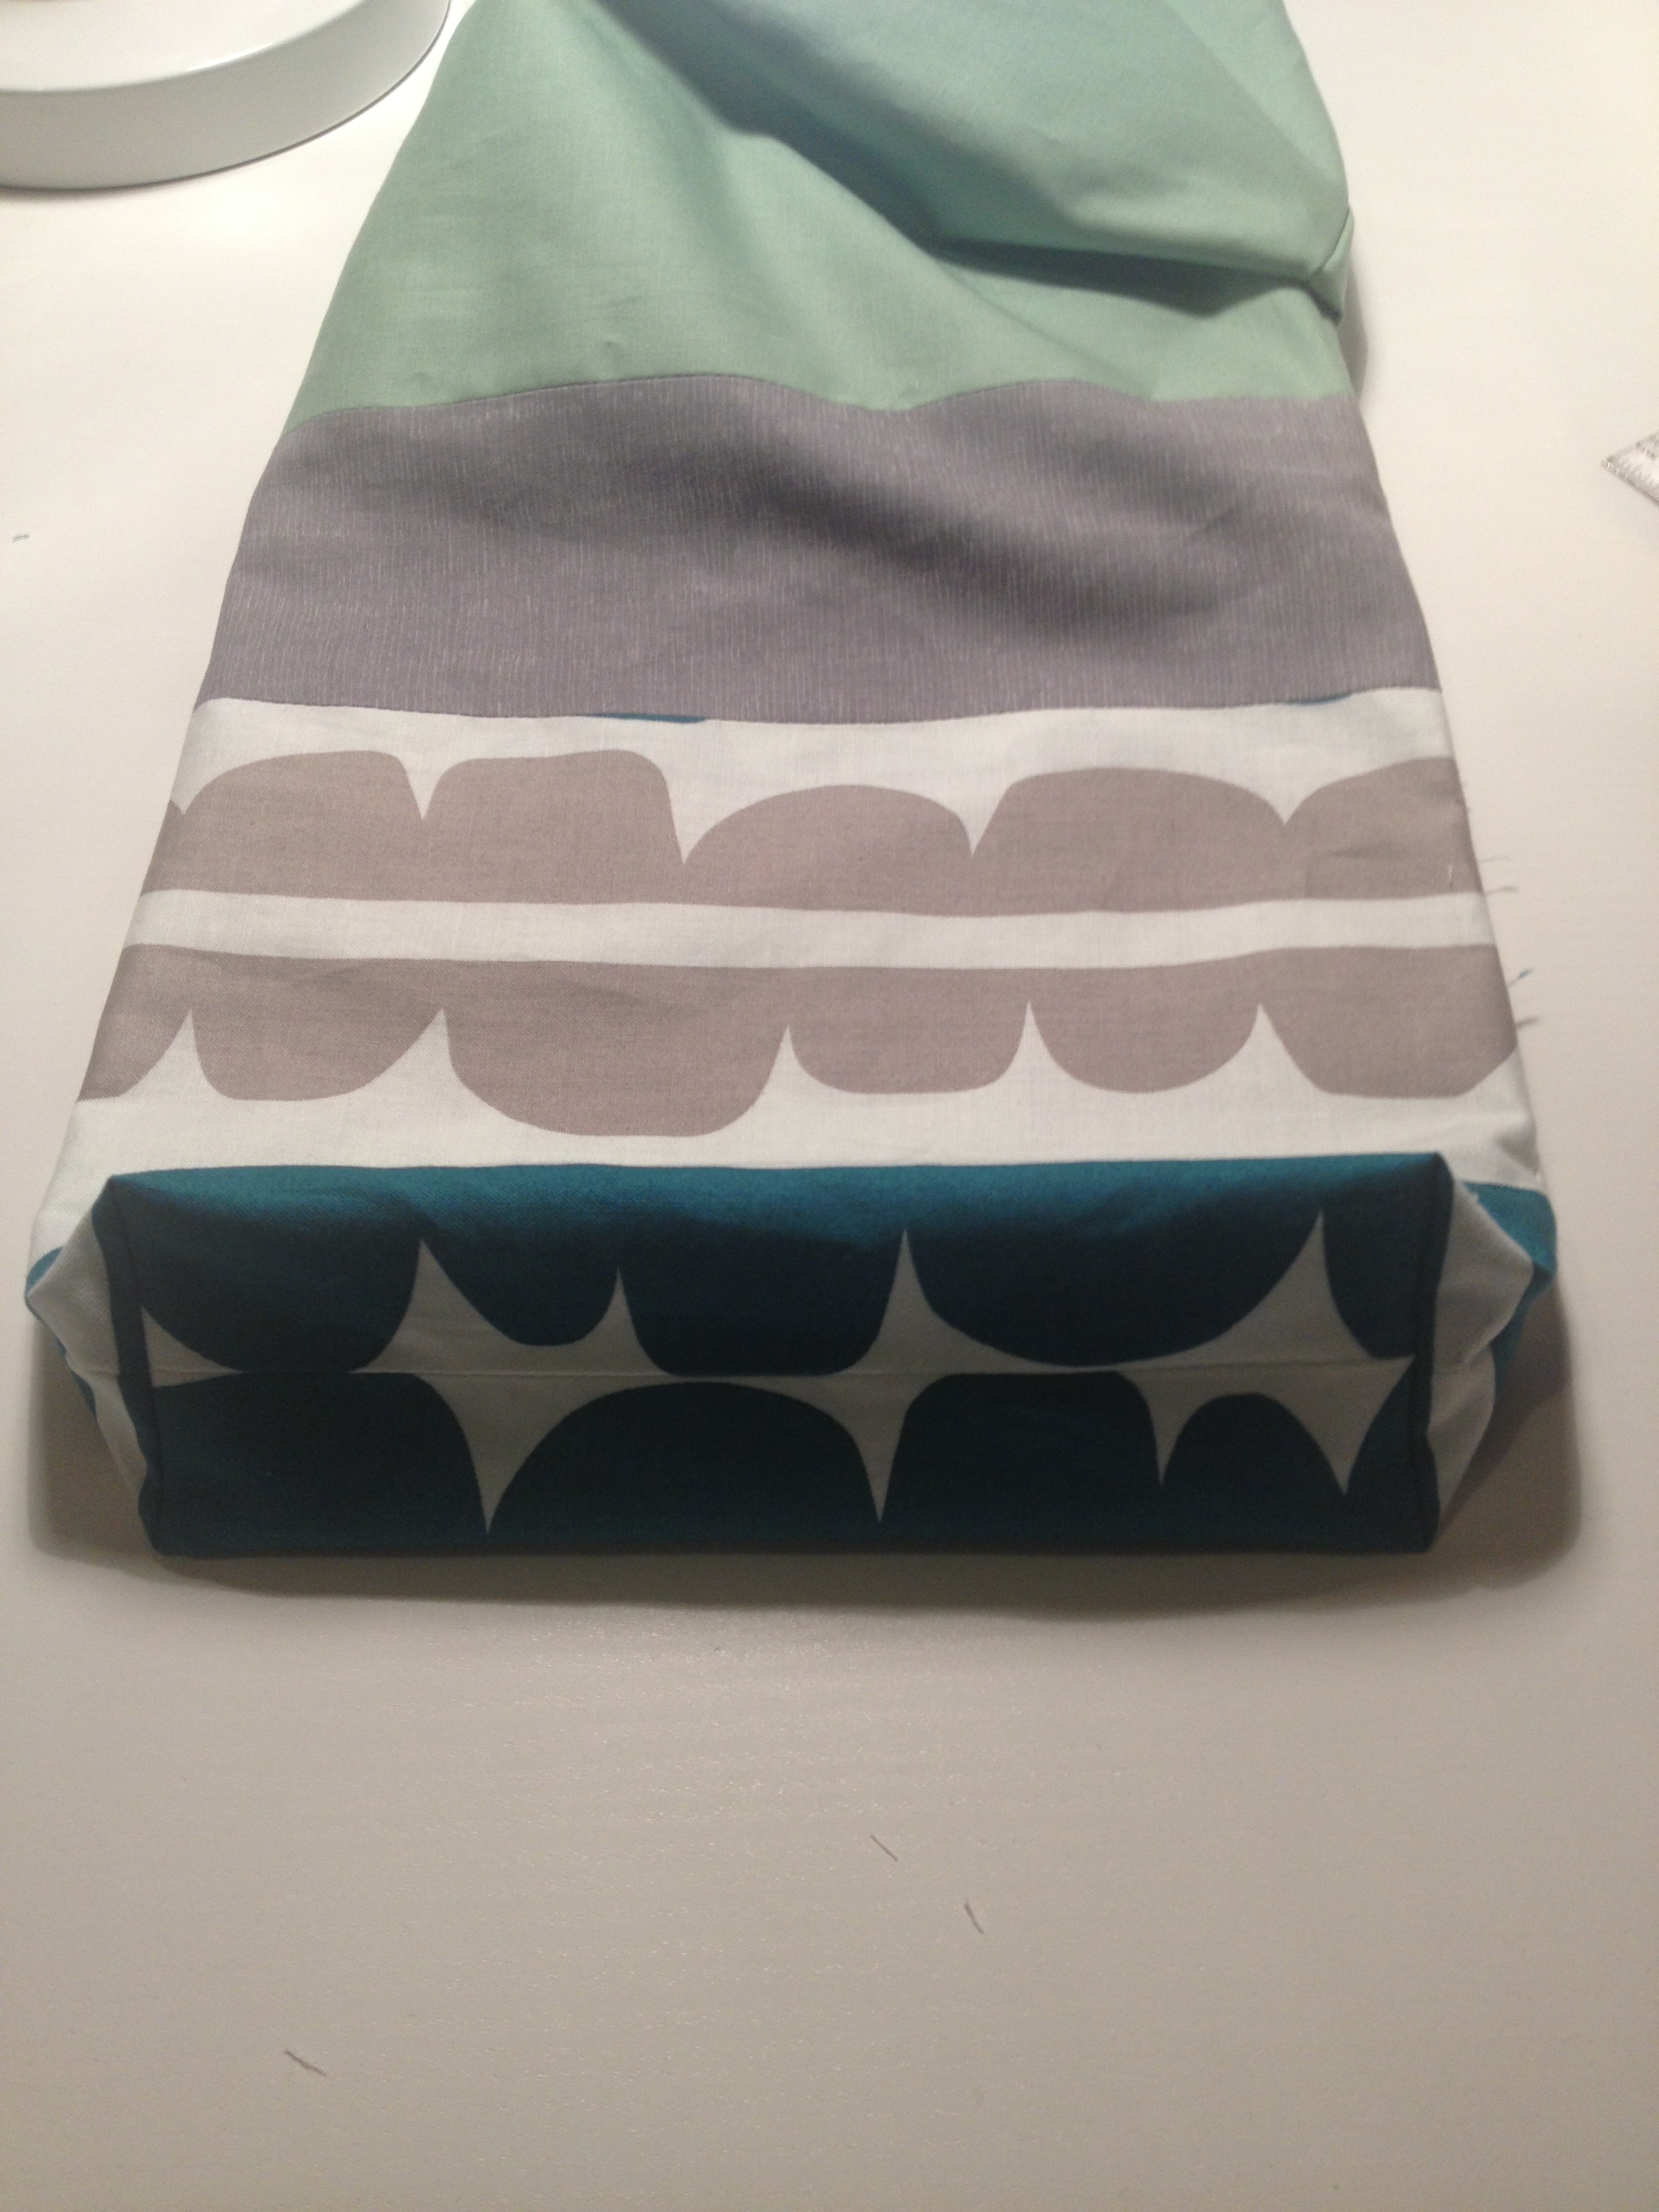
Sew the bottom of the lining closed:
We are nearly there! Now, push the lining to the inside of the bag and iron nicely so that its all ready for the last part of the sewing:
Remember that bit that you didn’t sew where the drawstring needs to feed through? now you can see it clearly – a lovely little hole!
Now you need to sew two lines around the pouch to keep the string in place. So sew one line from the top of the drawstring hole all the way around to the other side of the top of the drawstring hole and continue to meet up with the first stitches. Then sew another line from the bottom of the drawstring hole all the way around to the other side and meet the stitches. You have now created a case for the string to feed through. You can see the stitches very lightly on the second picture:

Take a long length of you string – I have used elastic in a gorgeous colour. Feed the string through from the left side hole, all the way around the pouch and come back out the left side hole (a safety pin here helps!) Then take another string, the same length as the first, feed through from the right side hole, all the way around the pouch and come back out the right side hole.
Tie the two ends together and snip so that you have around 8cm of string on each side:
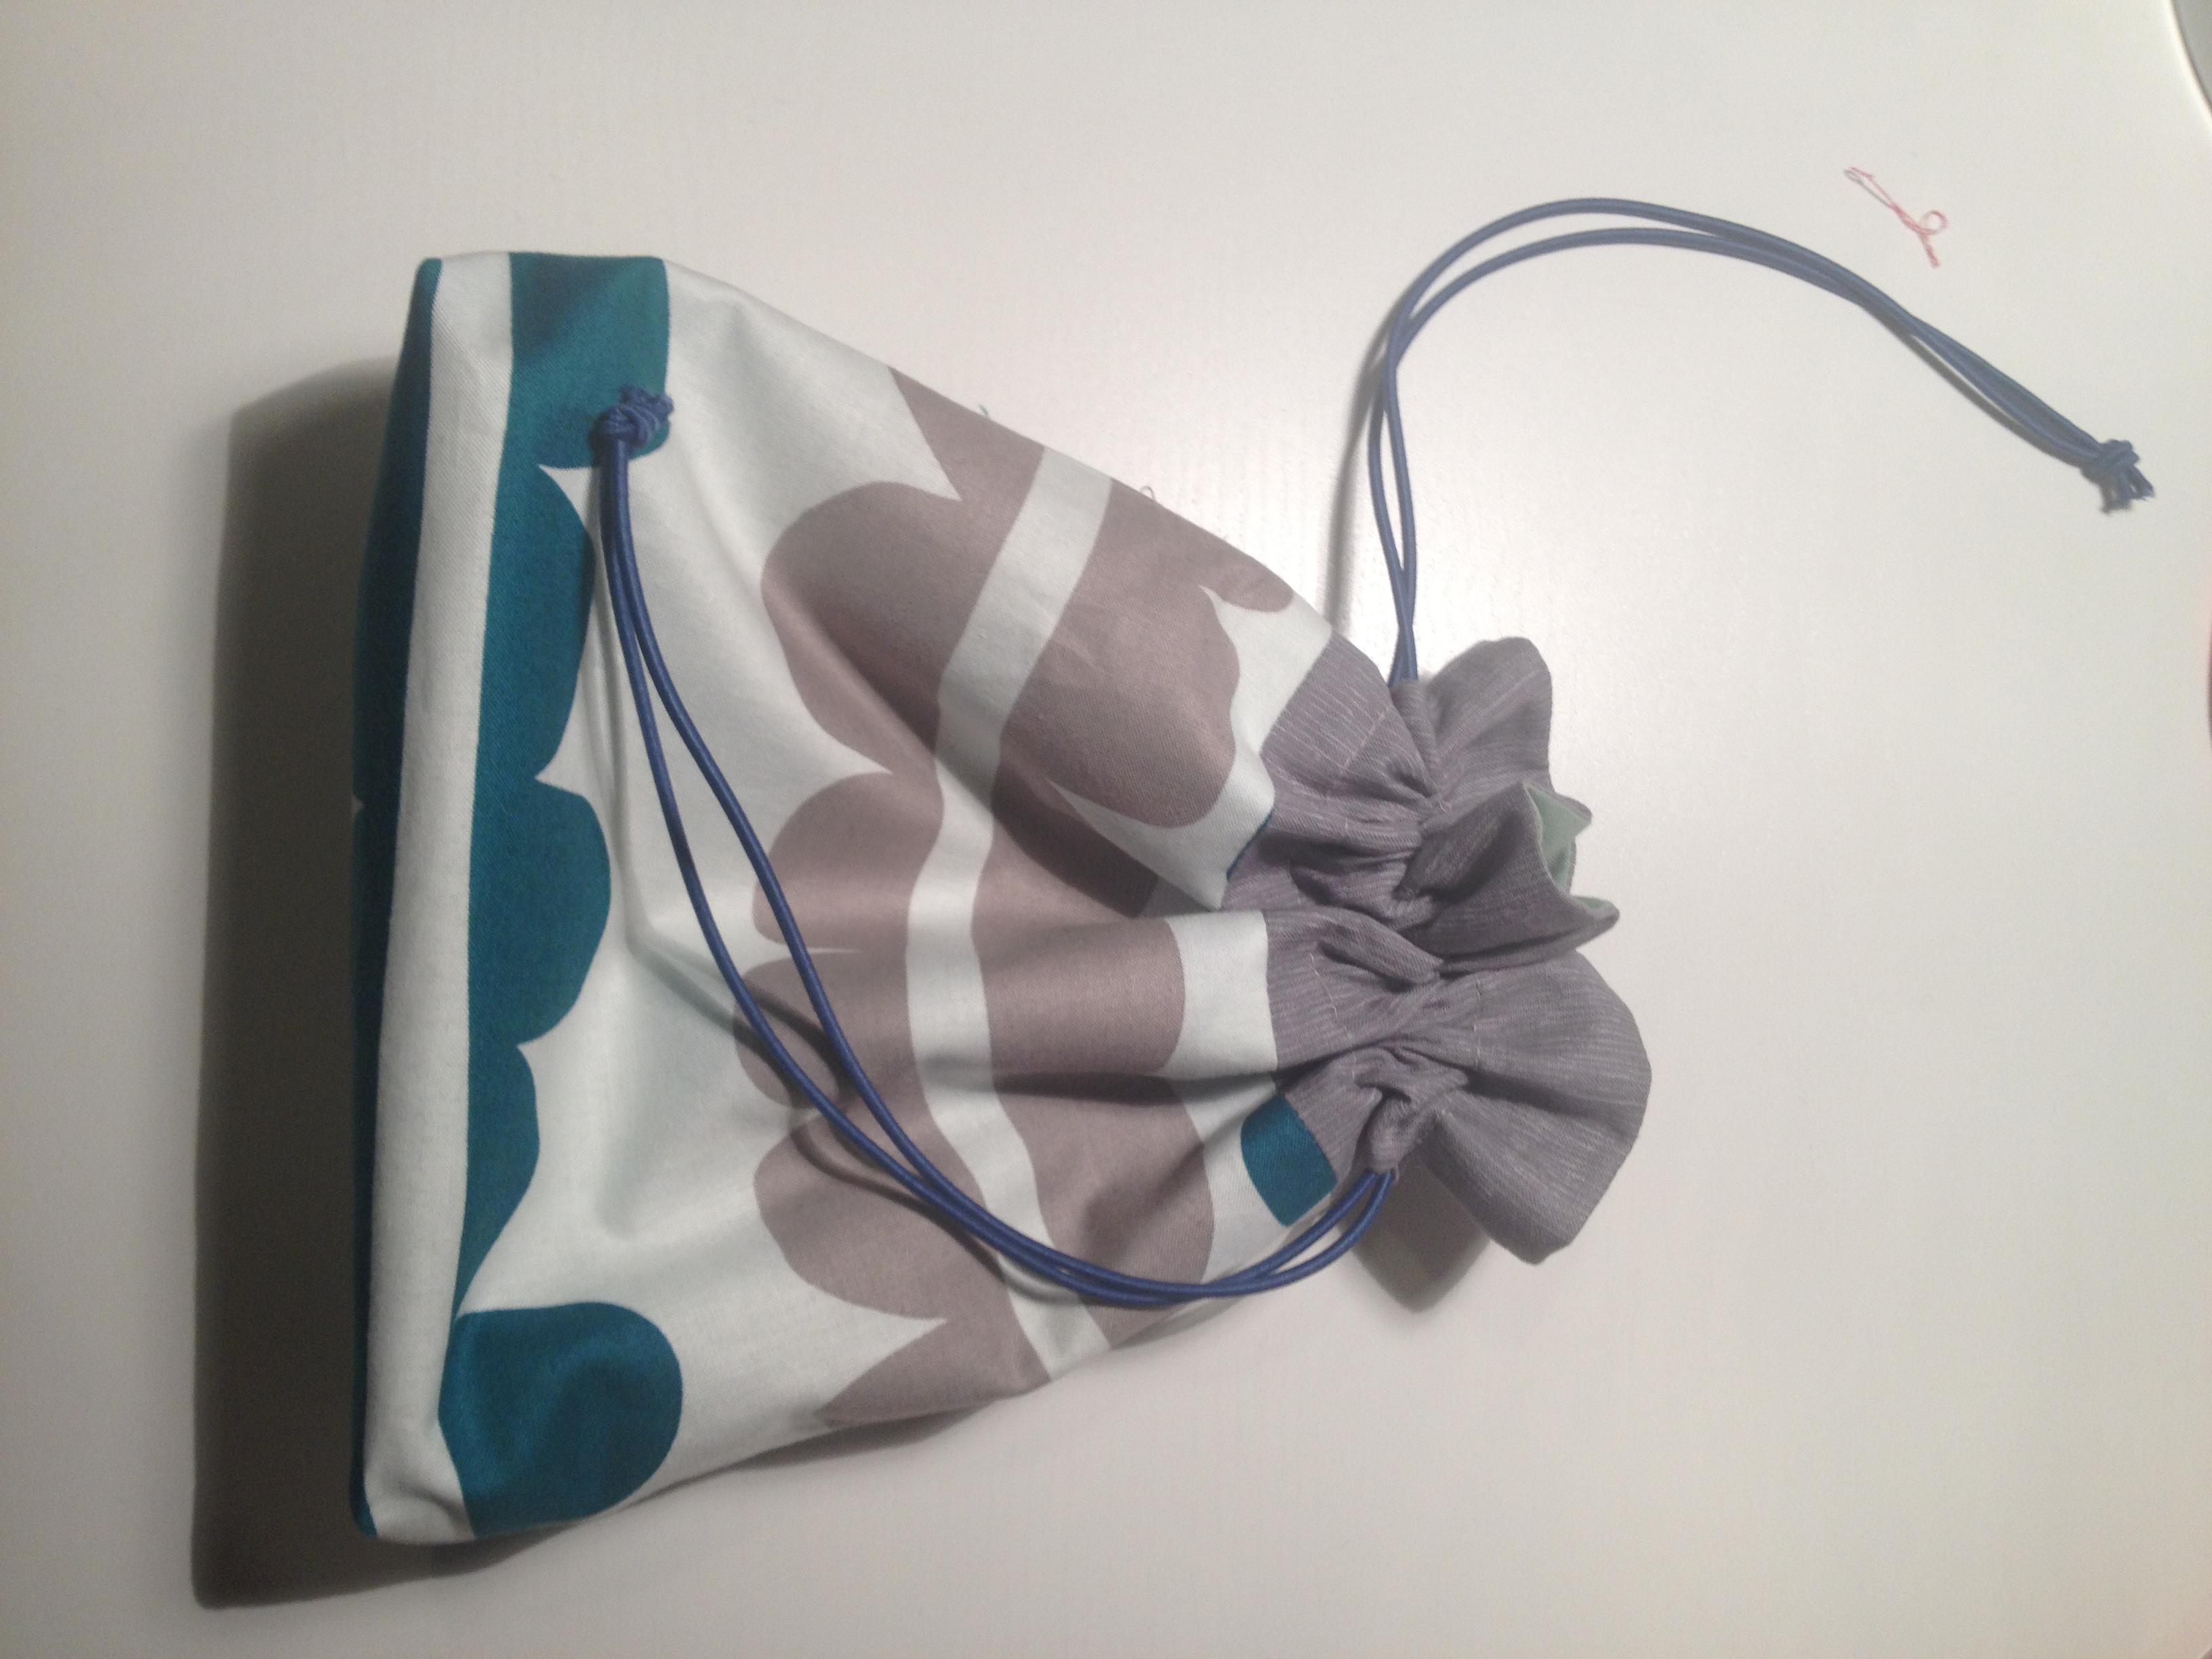
Pull the strings and voila your gorgeous drawsting pouch is done!
I hope you enjoyed this tutorial. If there are any parts you would like explained in more detail just let me know! Happy pouch making everyone!
