

I love make up bags! I think they make amazing gifts and can be made from a relatively small piece of fabric and a zip.
Here is my tutorial that will take you through every step of making this wonderful fully lined make up bag. It’s also fairly big so can fit lots and lots of your lovely things inside!
You will need:
Two 50x50cm squares of fabric (the can be contrasting fabrics if you like but make sure they are similar weights/type – ie cotton)
35cm zip
Two 50x50cm squares of lining fabric (I bought some gorgeous plain colours from Ray Stitch)
PATTERN
Make your pattern out of paper and follow all of the measurements to get the right size…

THEN cut out 2 of the main fabric and 2 of the lining.

STEP ONE – PUTTING IN THE ZIPPER
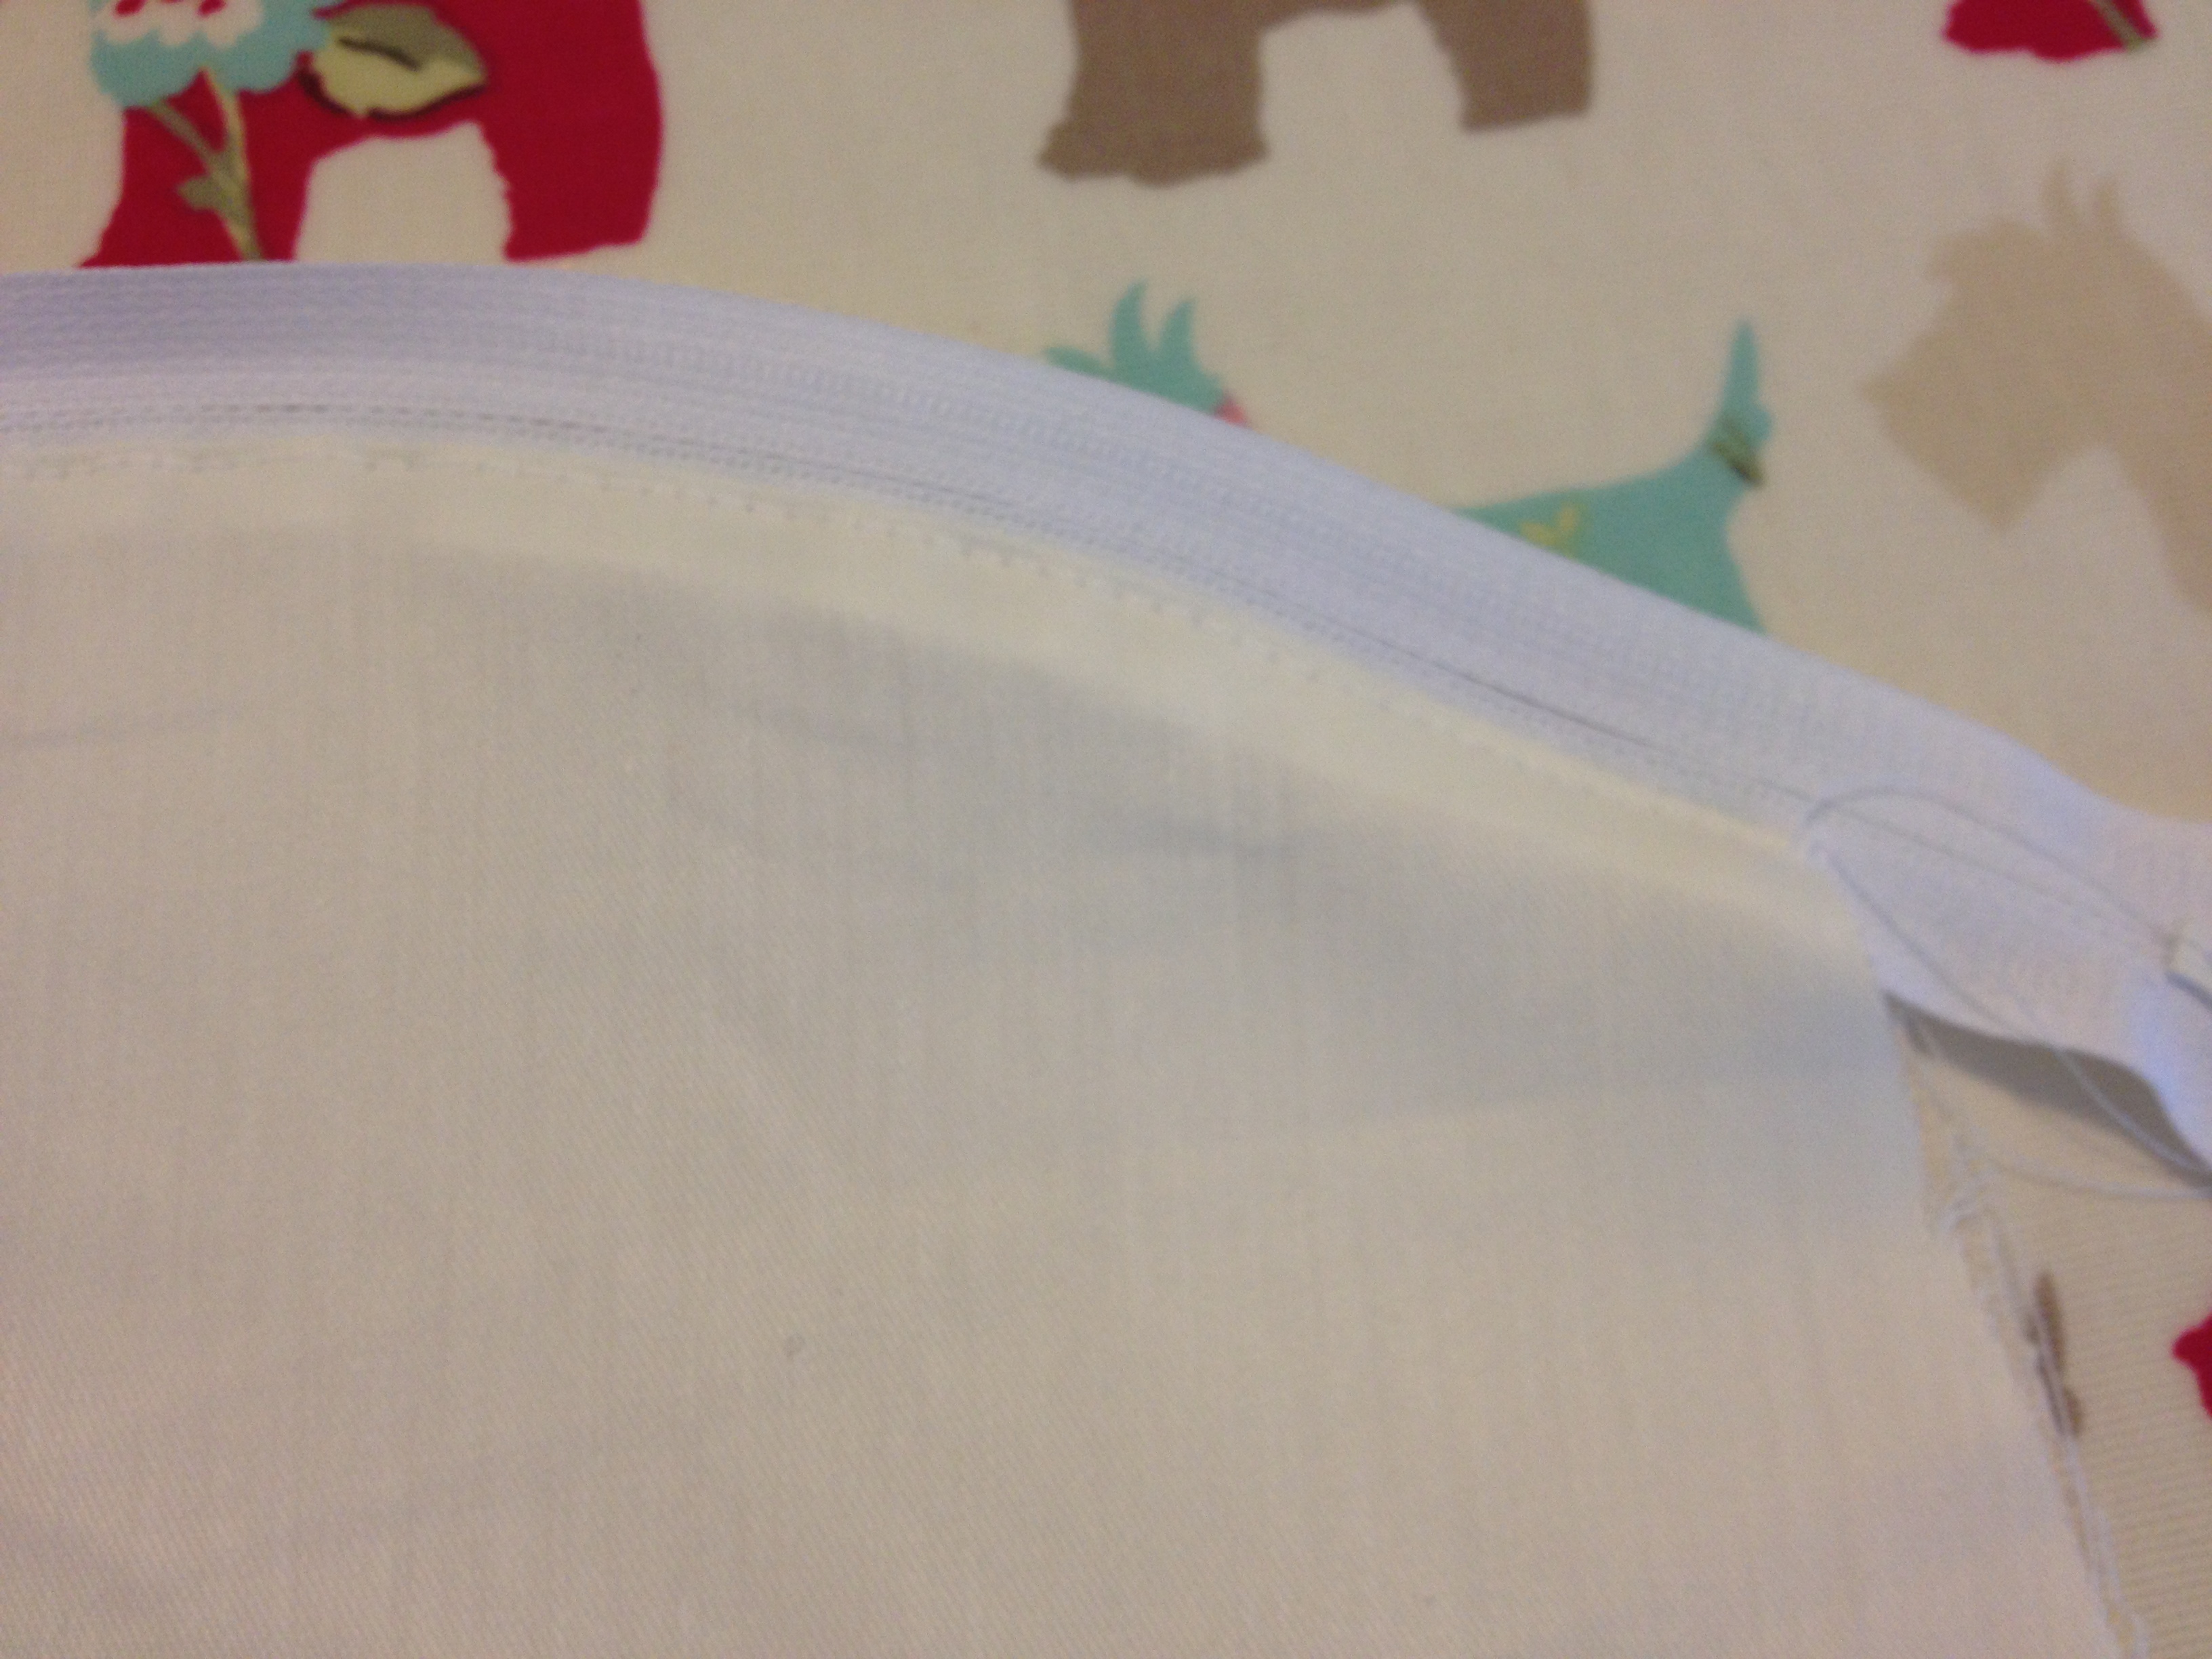
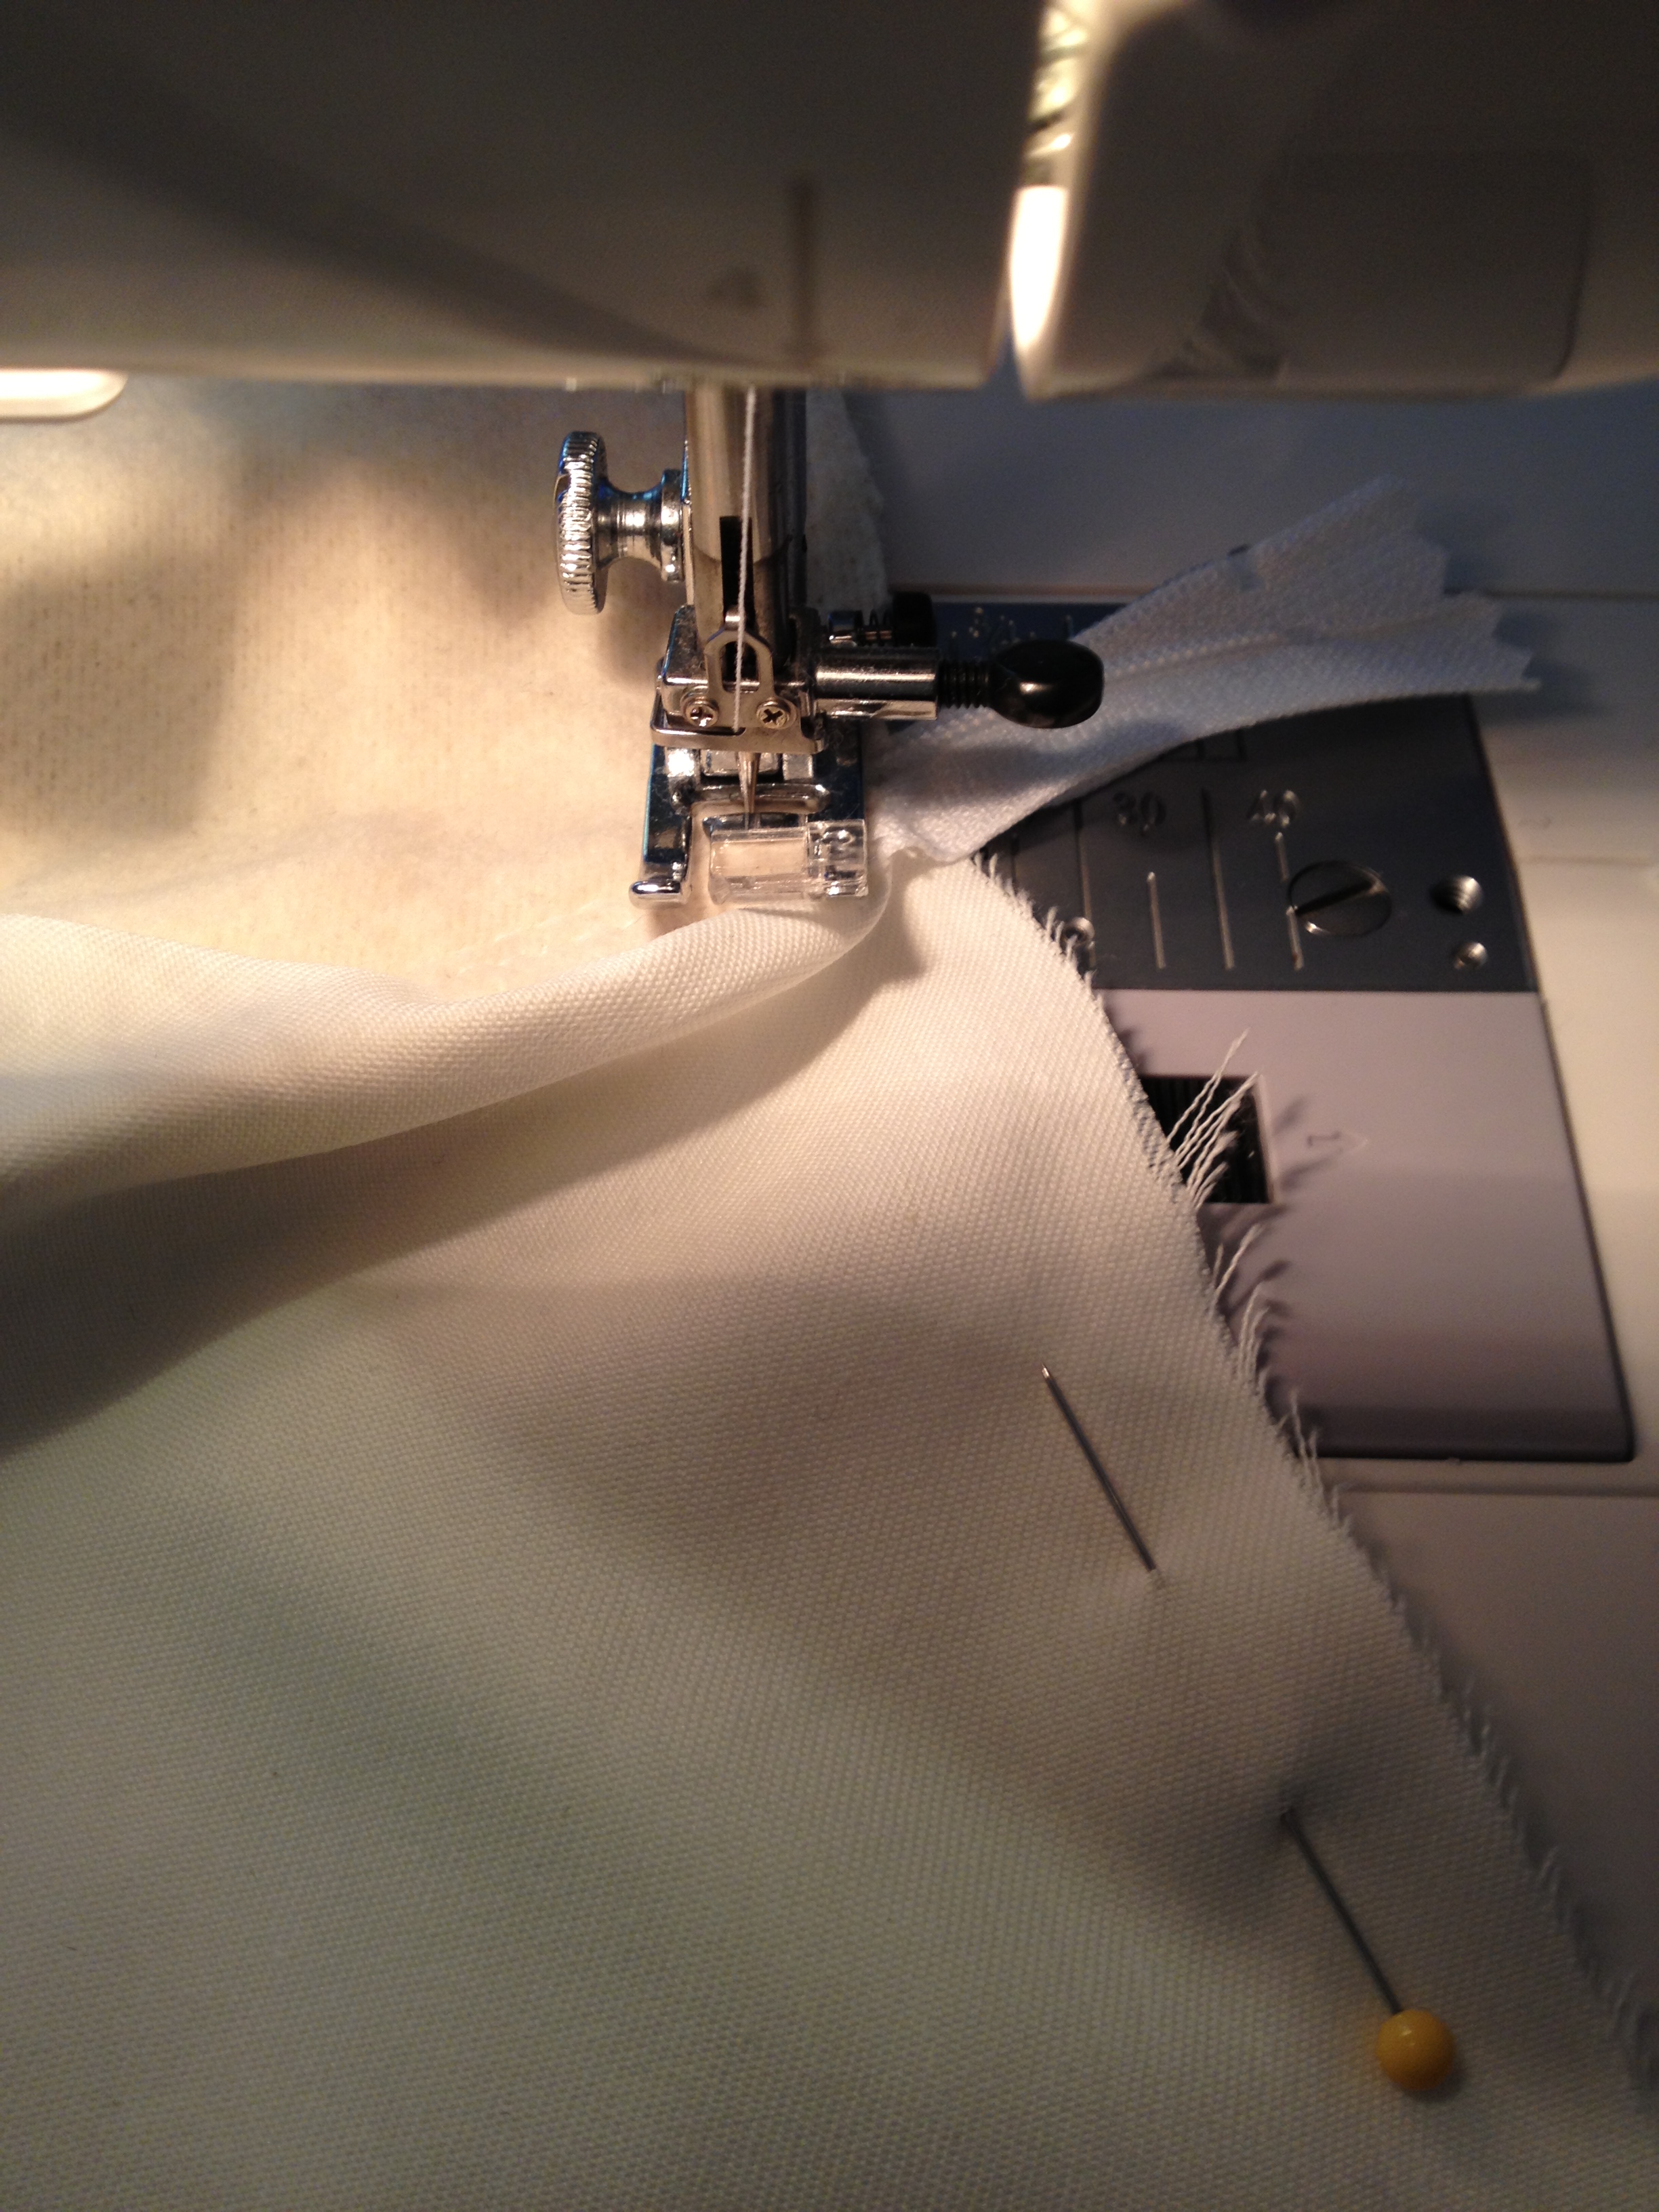
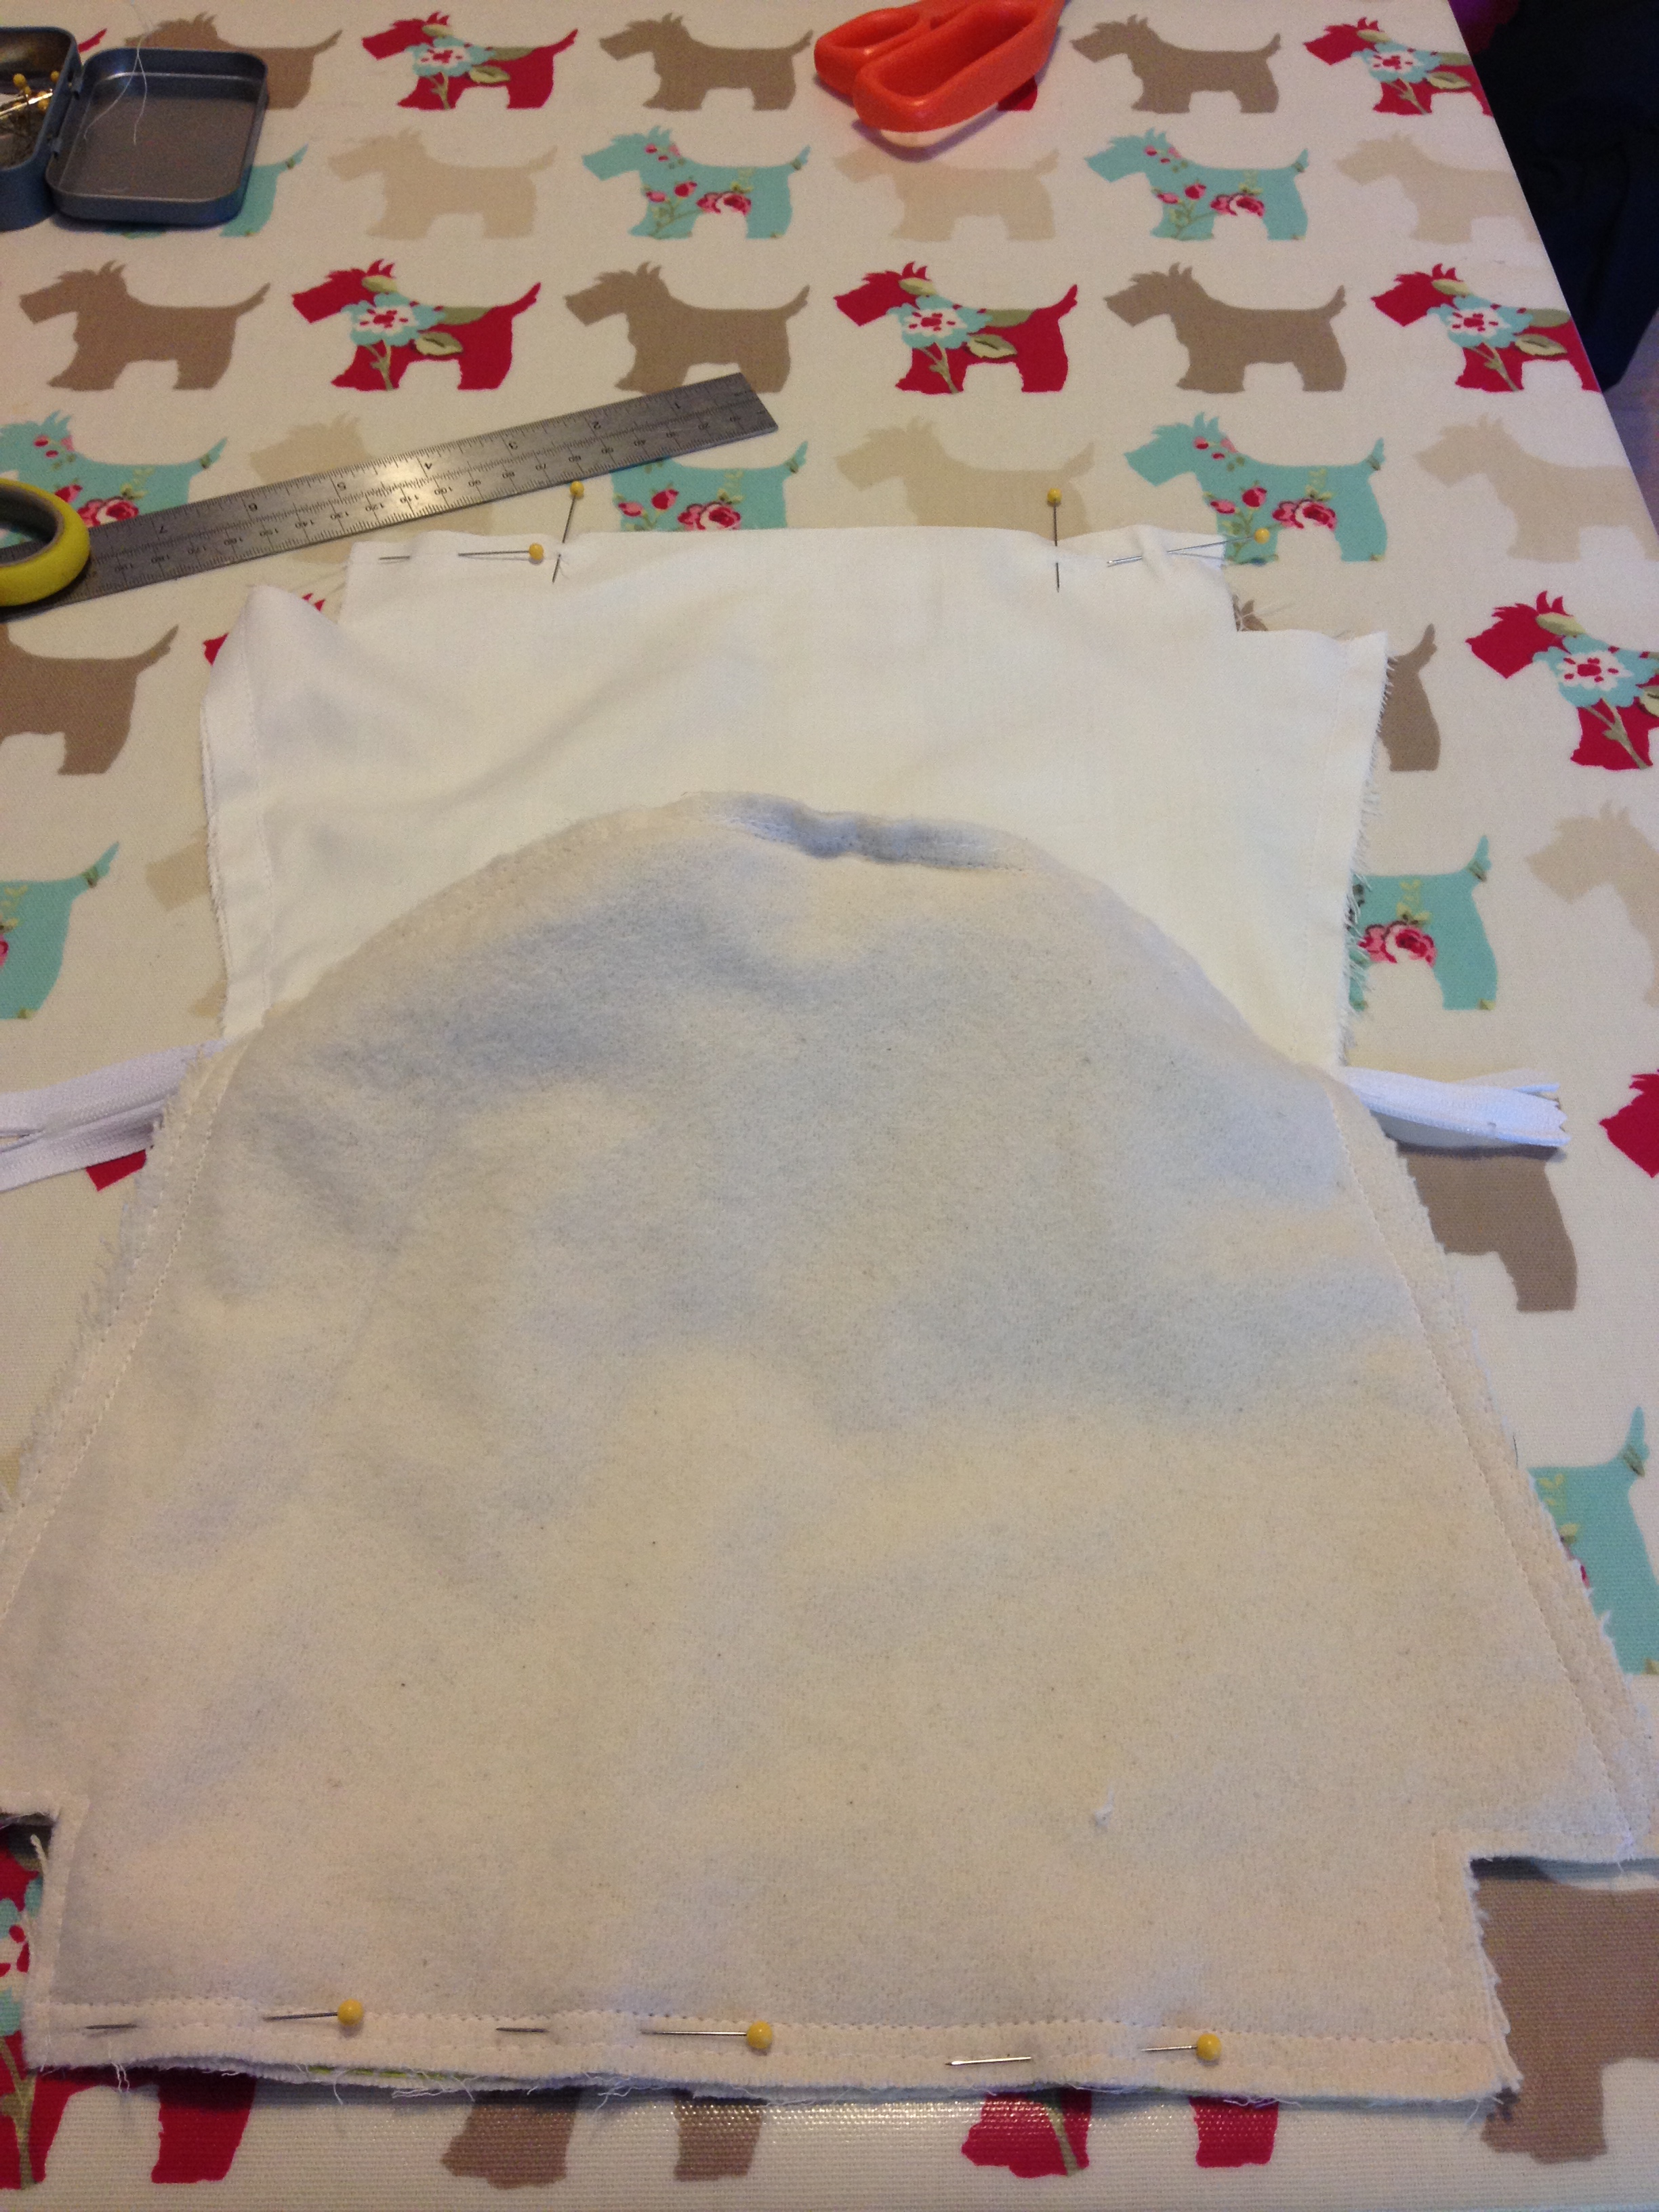
Just using one of the main pieces of the fabric, place the zip facing down as per the image and put one pin to hold it in place (the zip should be hanging off the side of the makeup bag just like the picture):


Next, lie the lining on top of the zip (right sides together) and pin all the way along the top (make sure that the lining start and end matches the fabric start and end)


Using your zipper foot sew all the way from end to end, close to the edge of the zipper but not too close as the zip will struggle to open once the make up bag is finished..

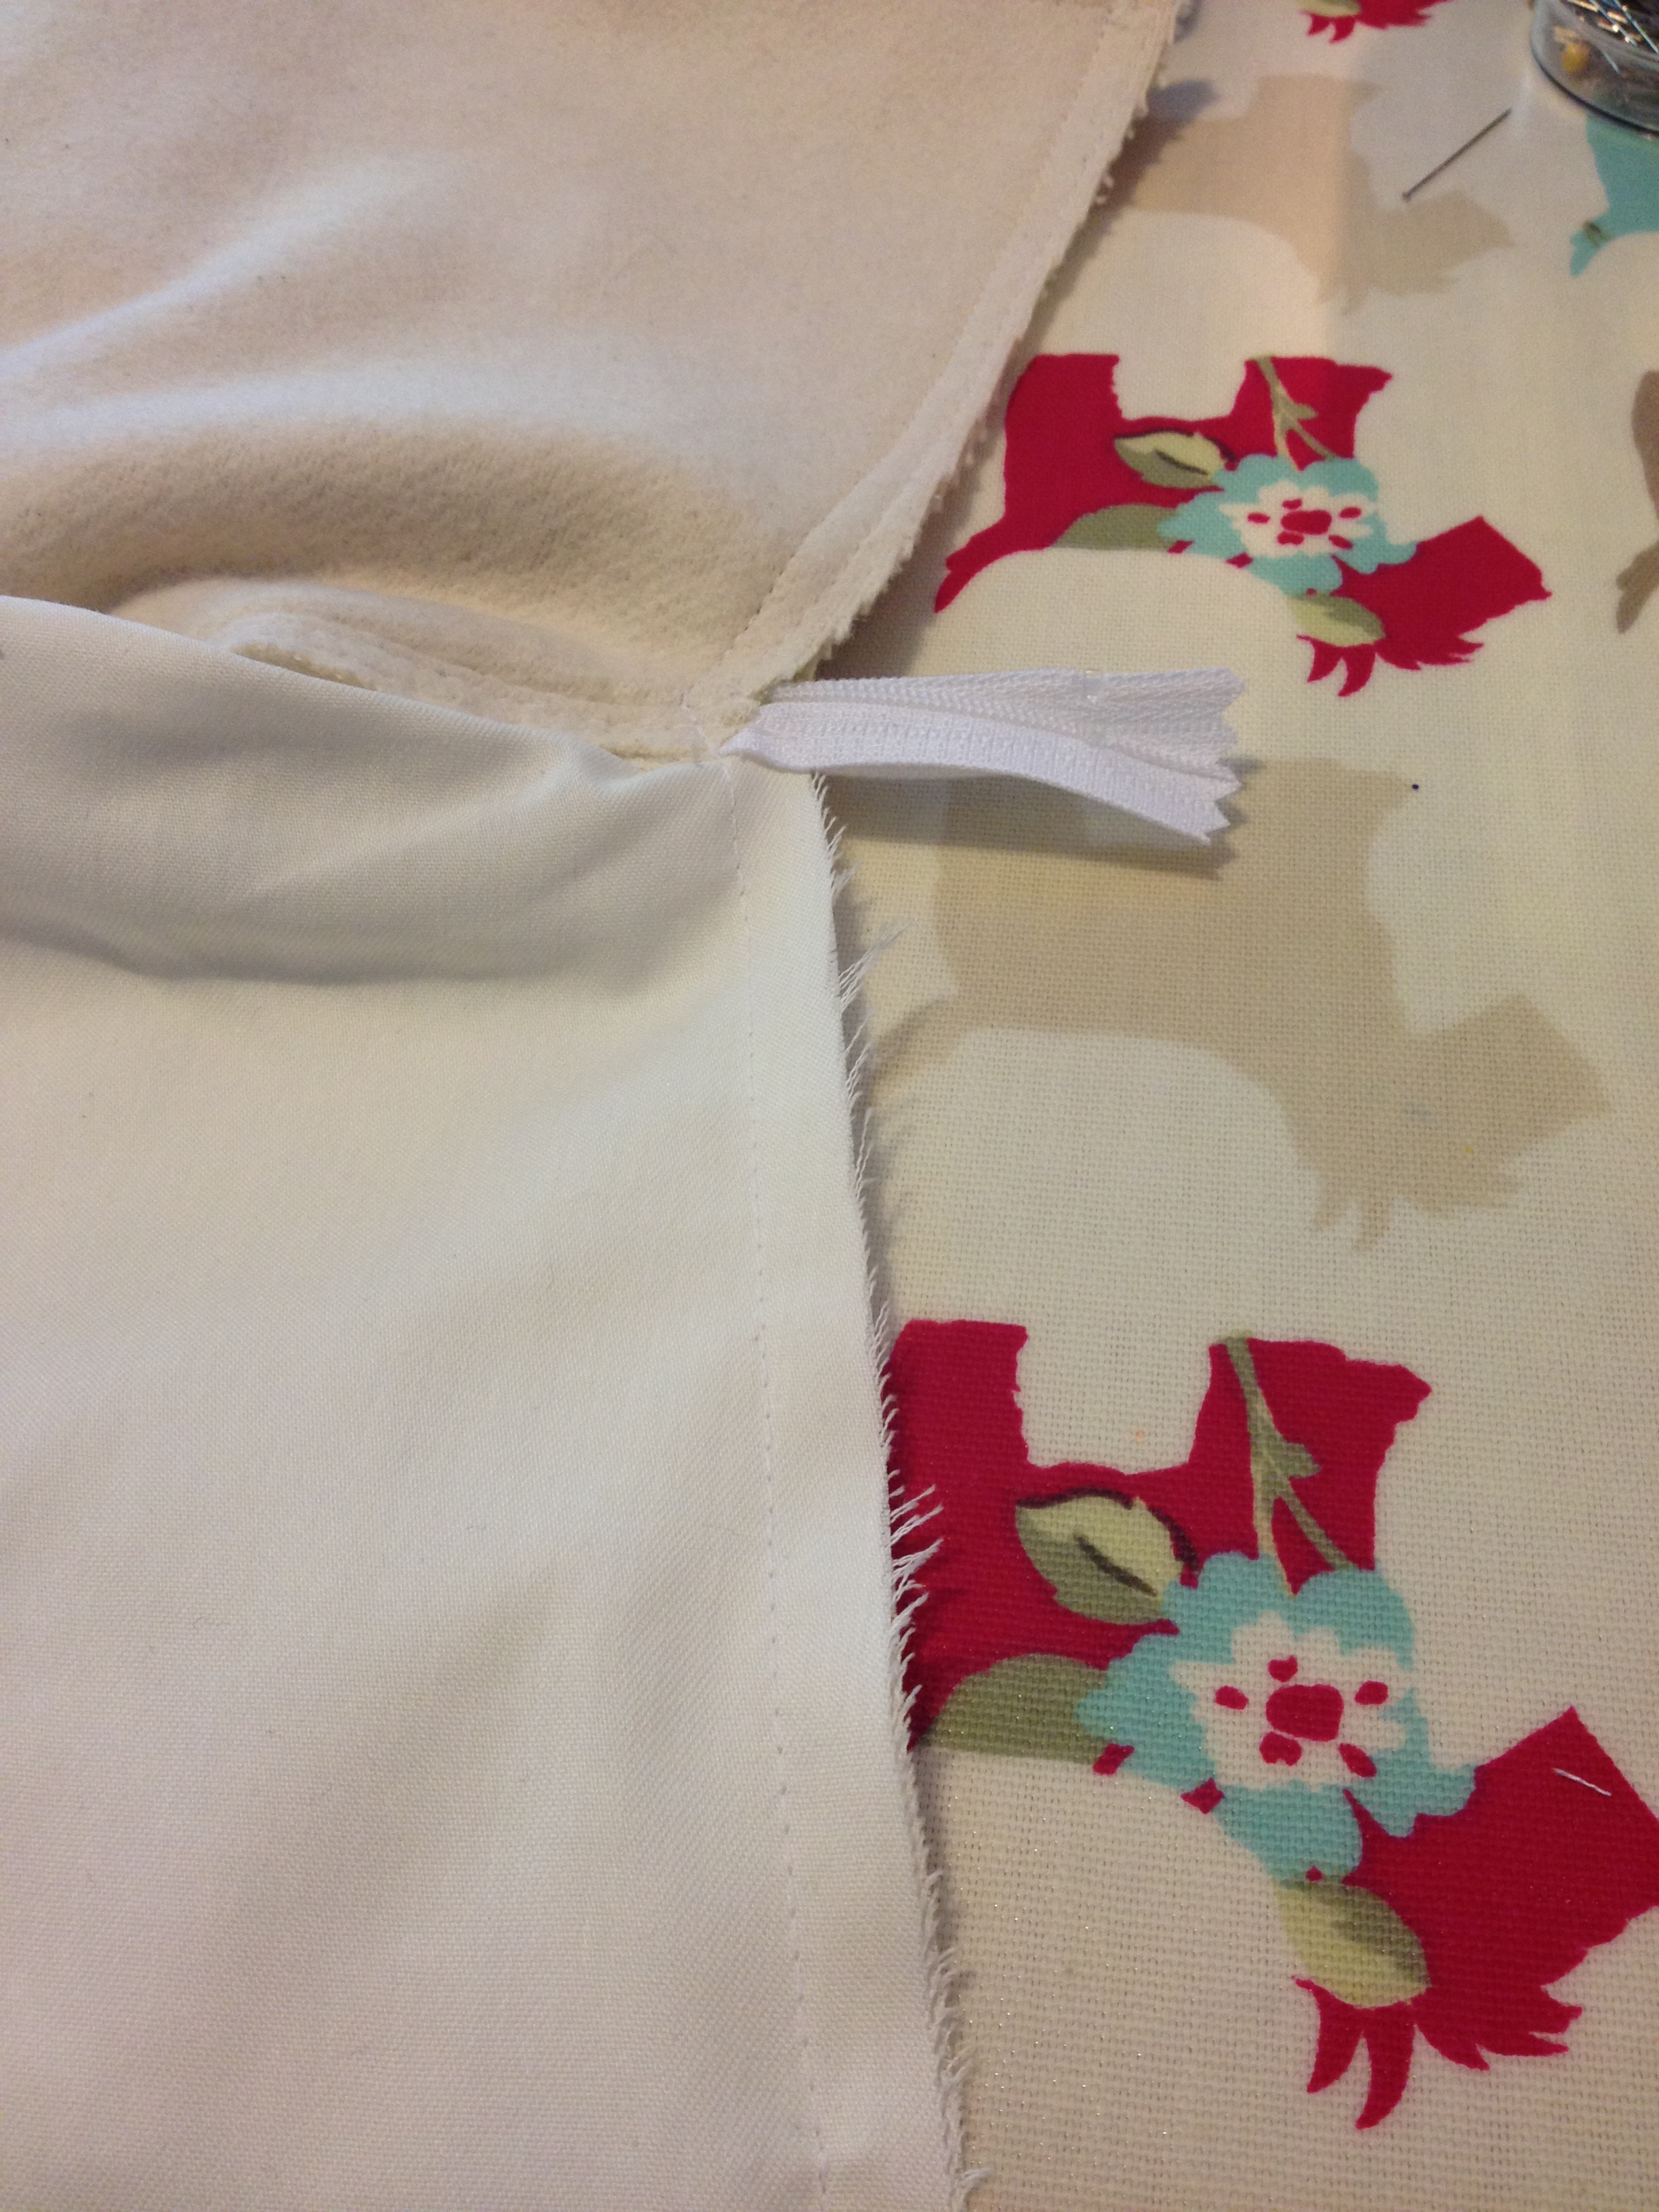
Now turn the fabric so that the right side of the make up bag is facing you.

You can run a row of stitches ONLY ALONG THE EDGE OF THE LINING (so as you are sewing gently pull the main fabric to the left and lay the zip flat. You don’t have to do this step but I find that it makes the lining lie to the inside of the make up bag and then it doesn’t get caught when opening the zip.

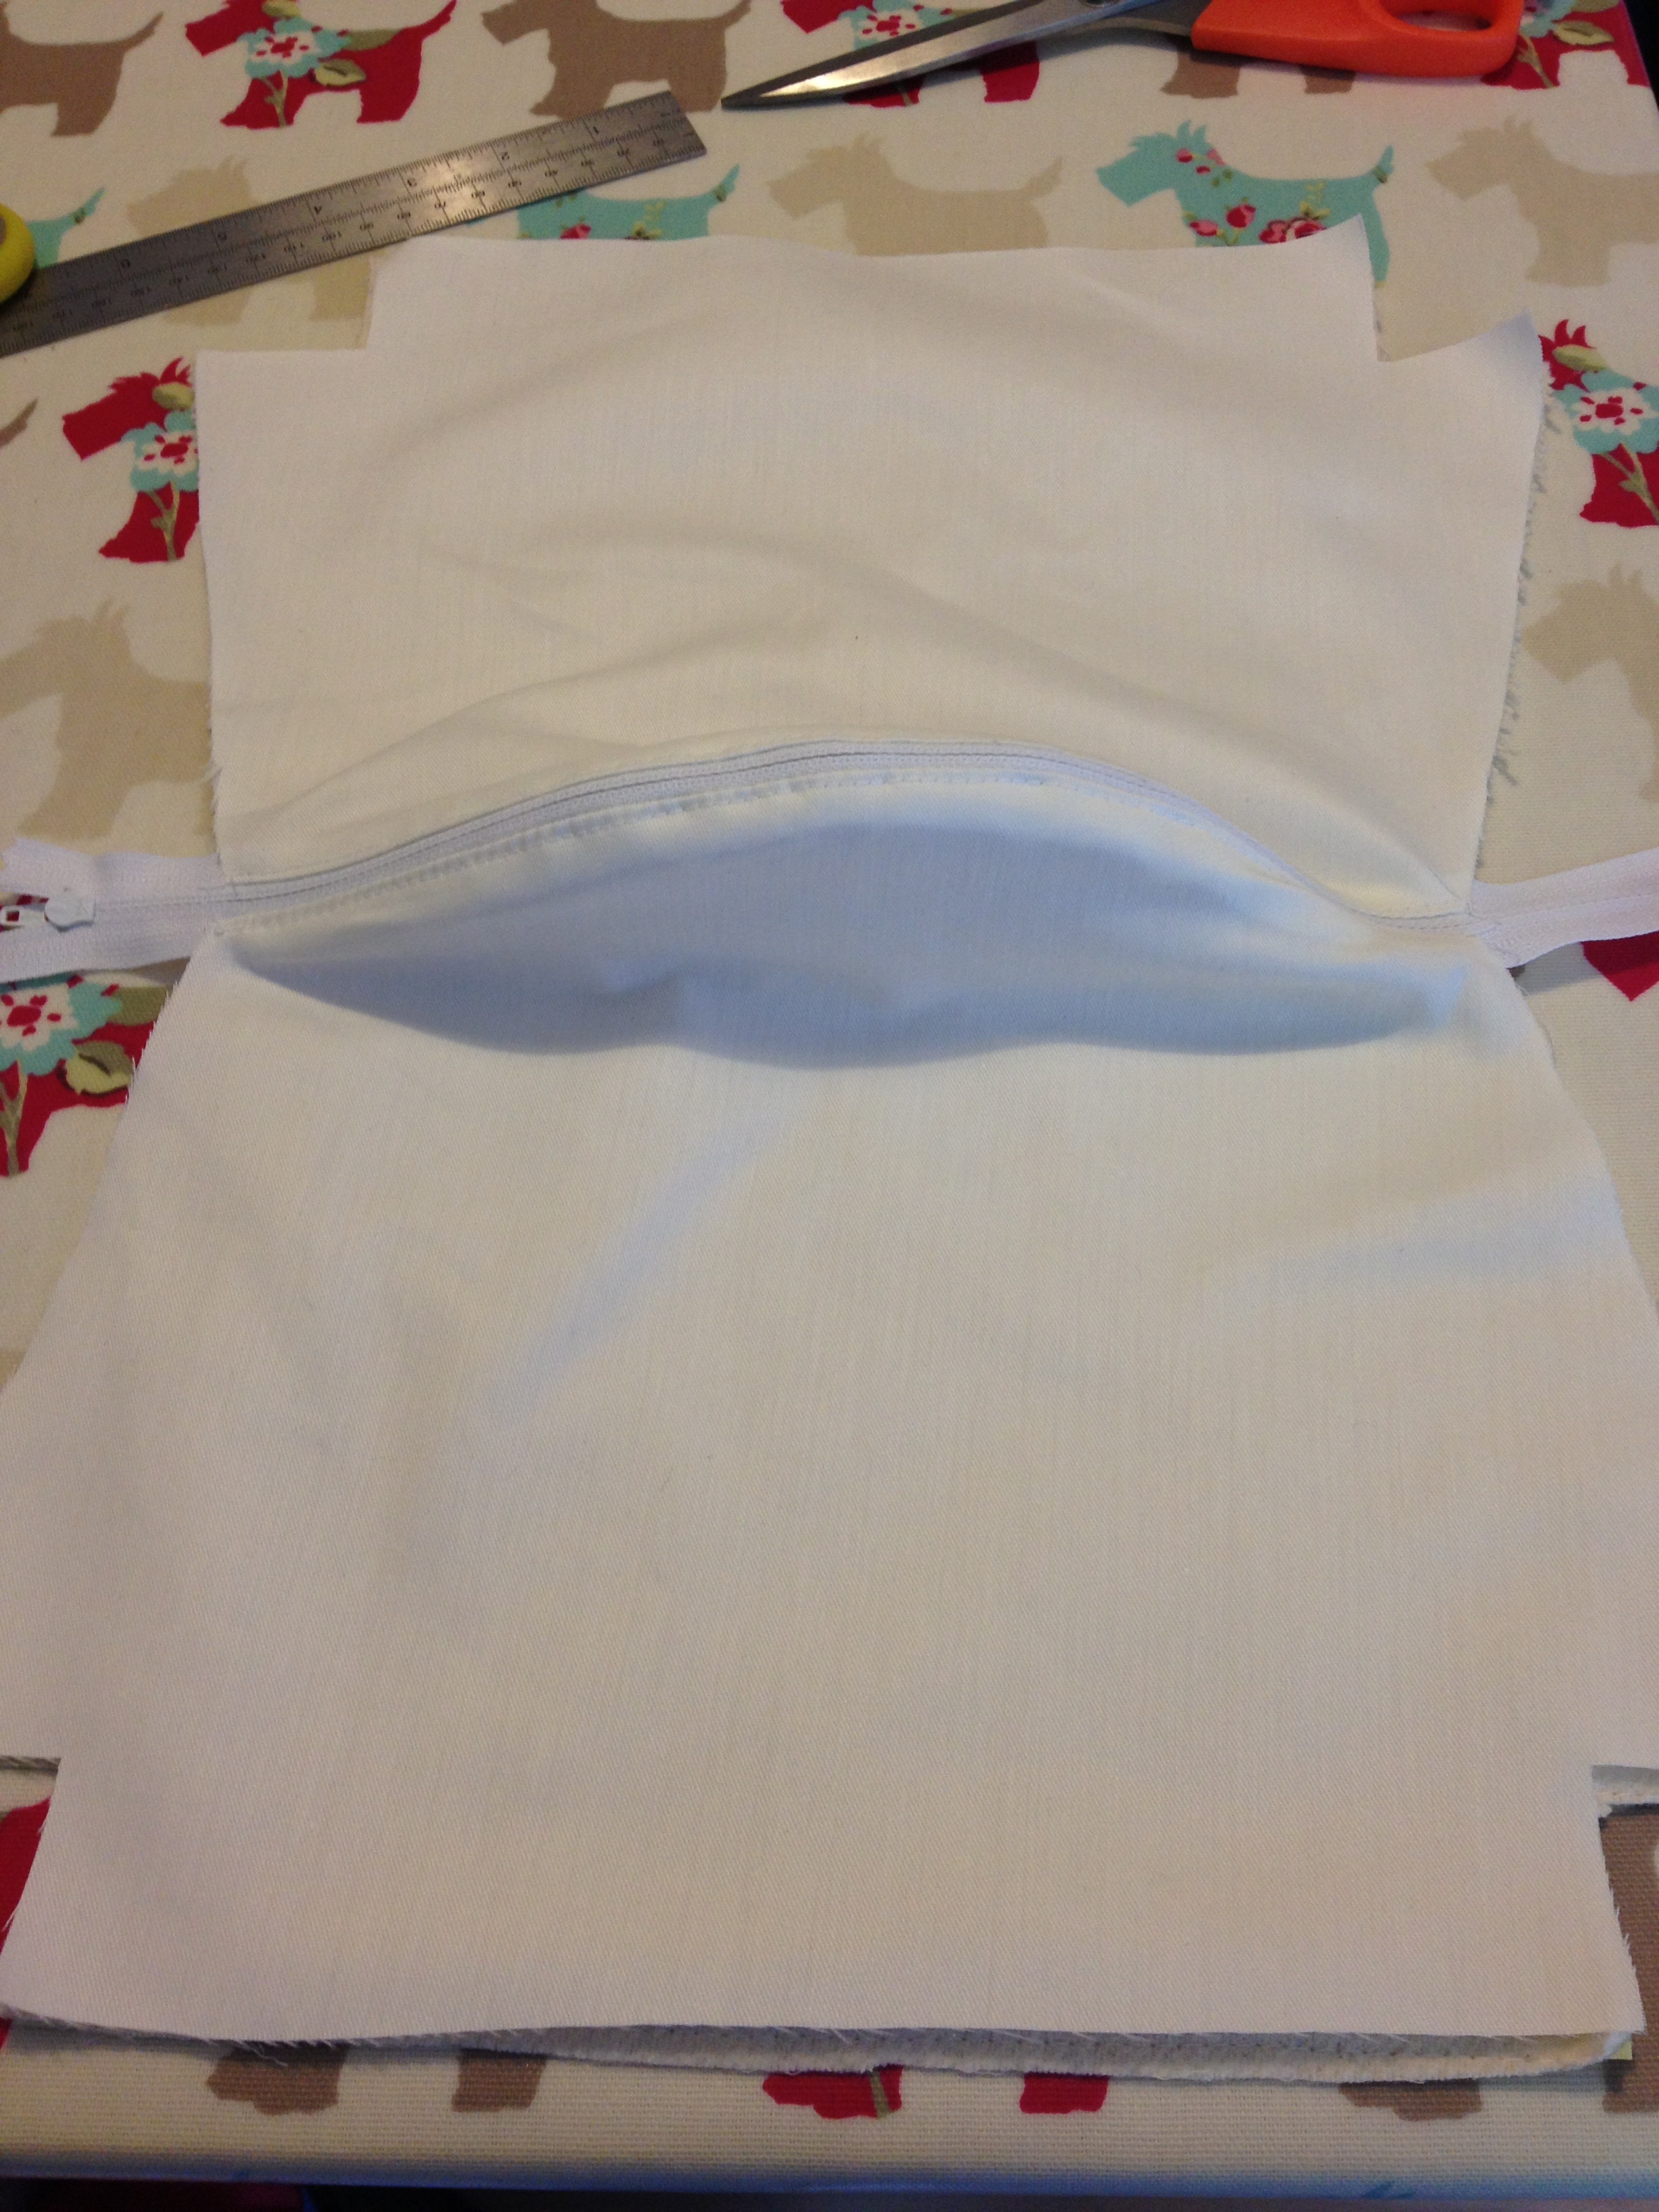
NOW you need to repeat on the other side. Repeat the above steps but this time make sure that were you start pinning the fabric lies neatly on top of each other. You can see from the third picture here that when you open the bag out now both edges of each side are exactly the same as each other.


OKAY stay with me… we are almost through the hardest part !!
STEP 2 – SEWING THE LINING AND MAIN FABRIC ACROSS THE ZIP
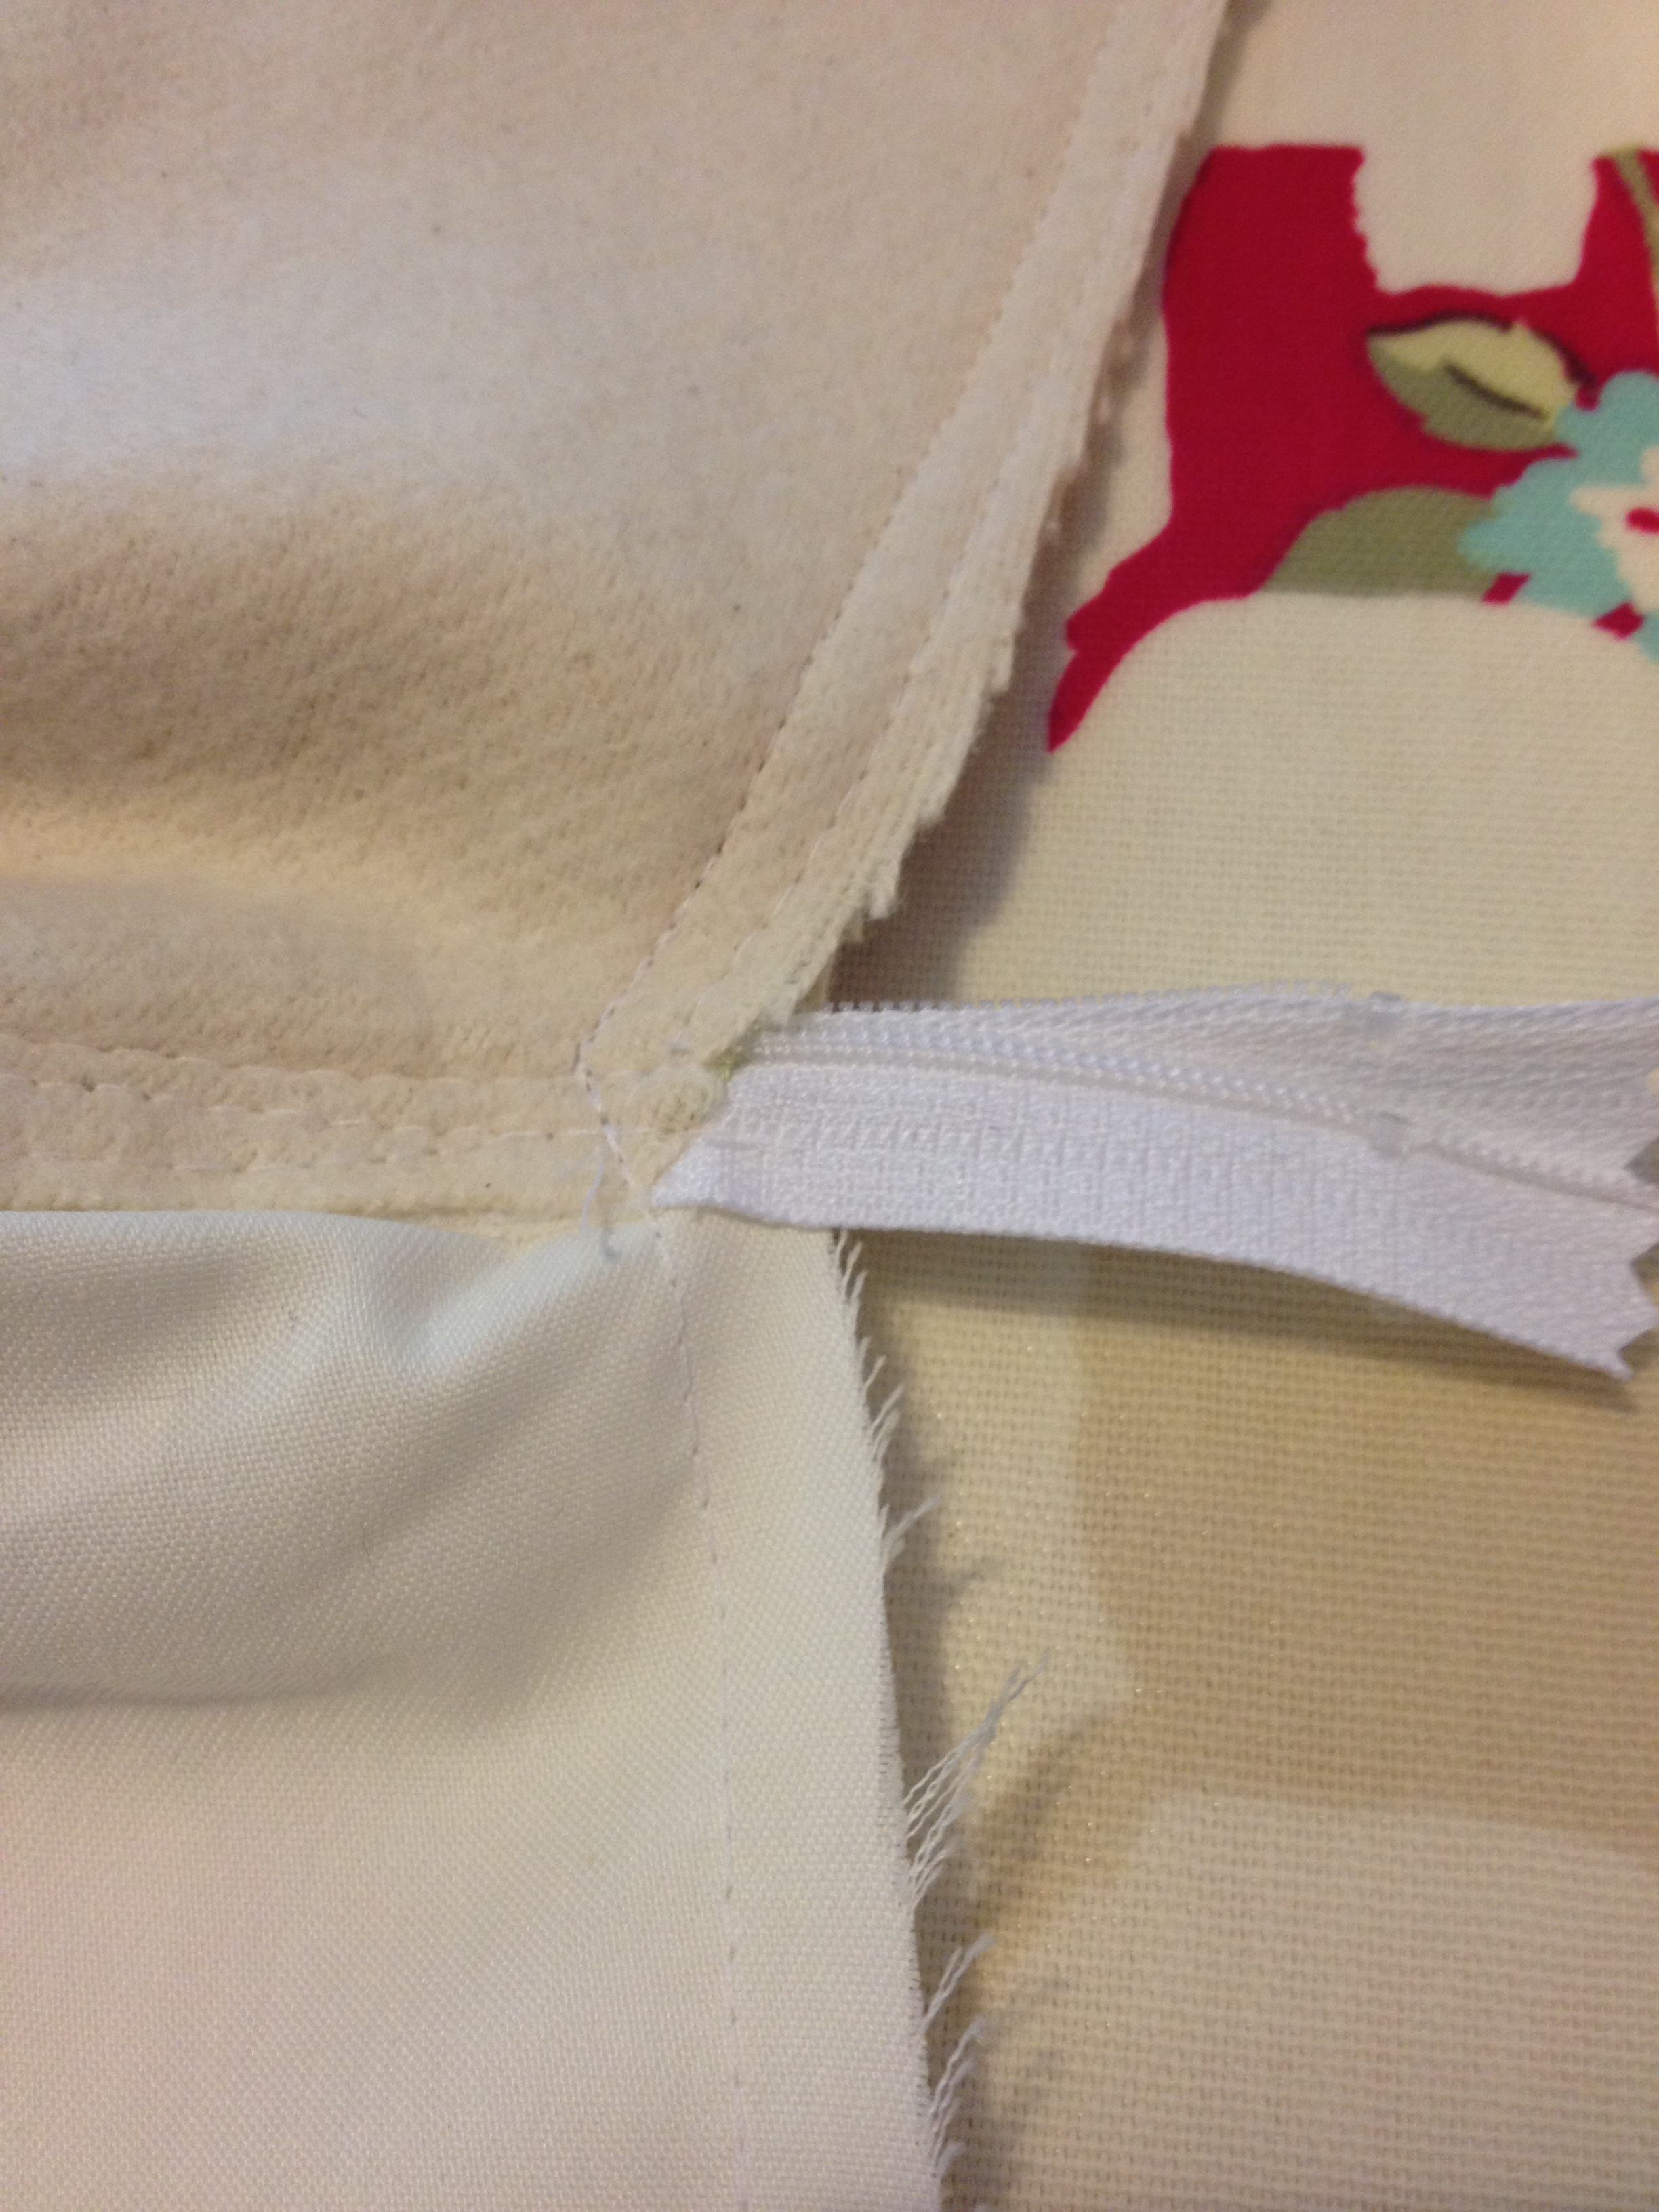
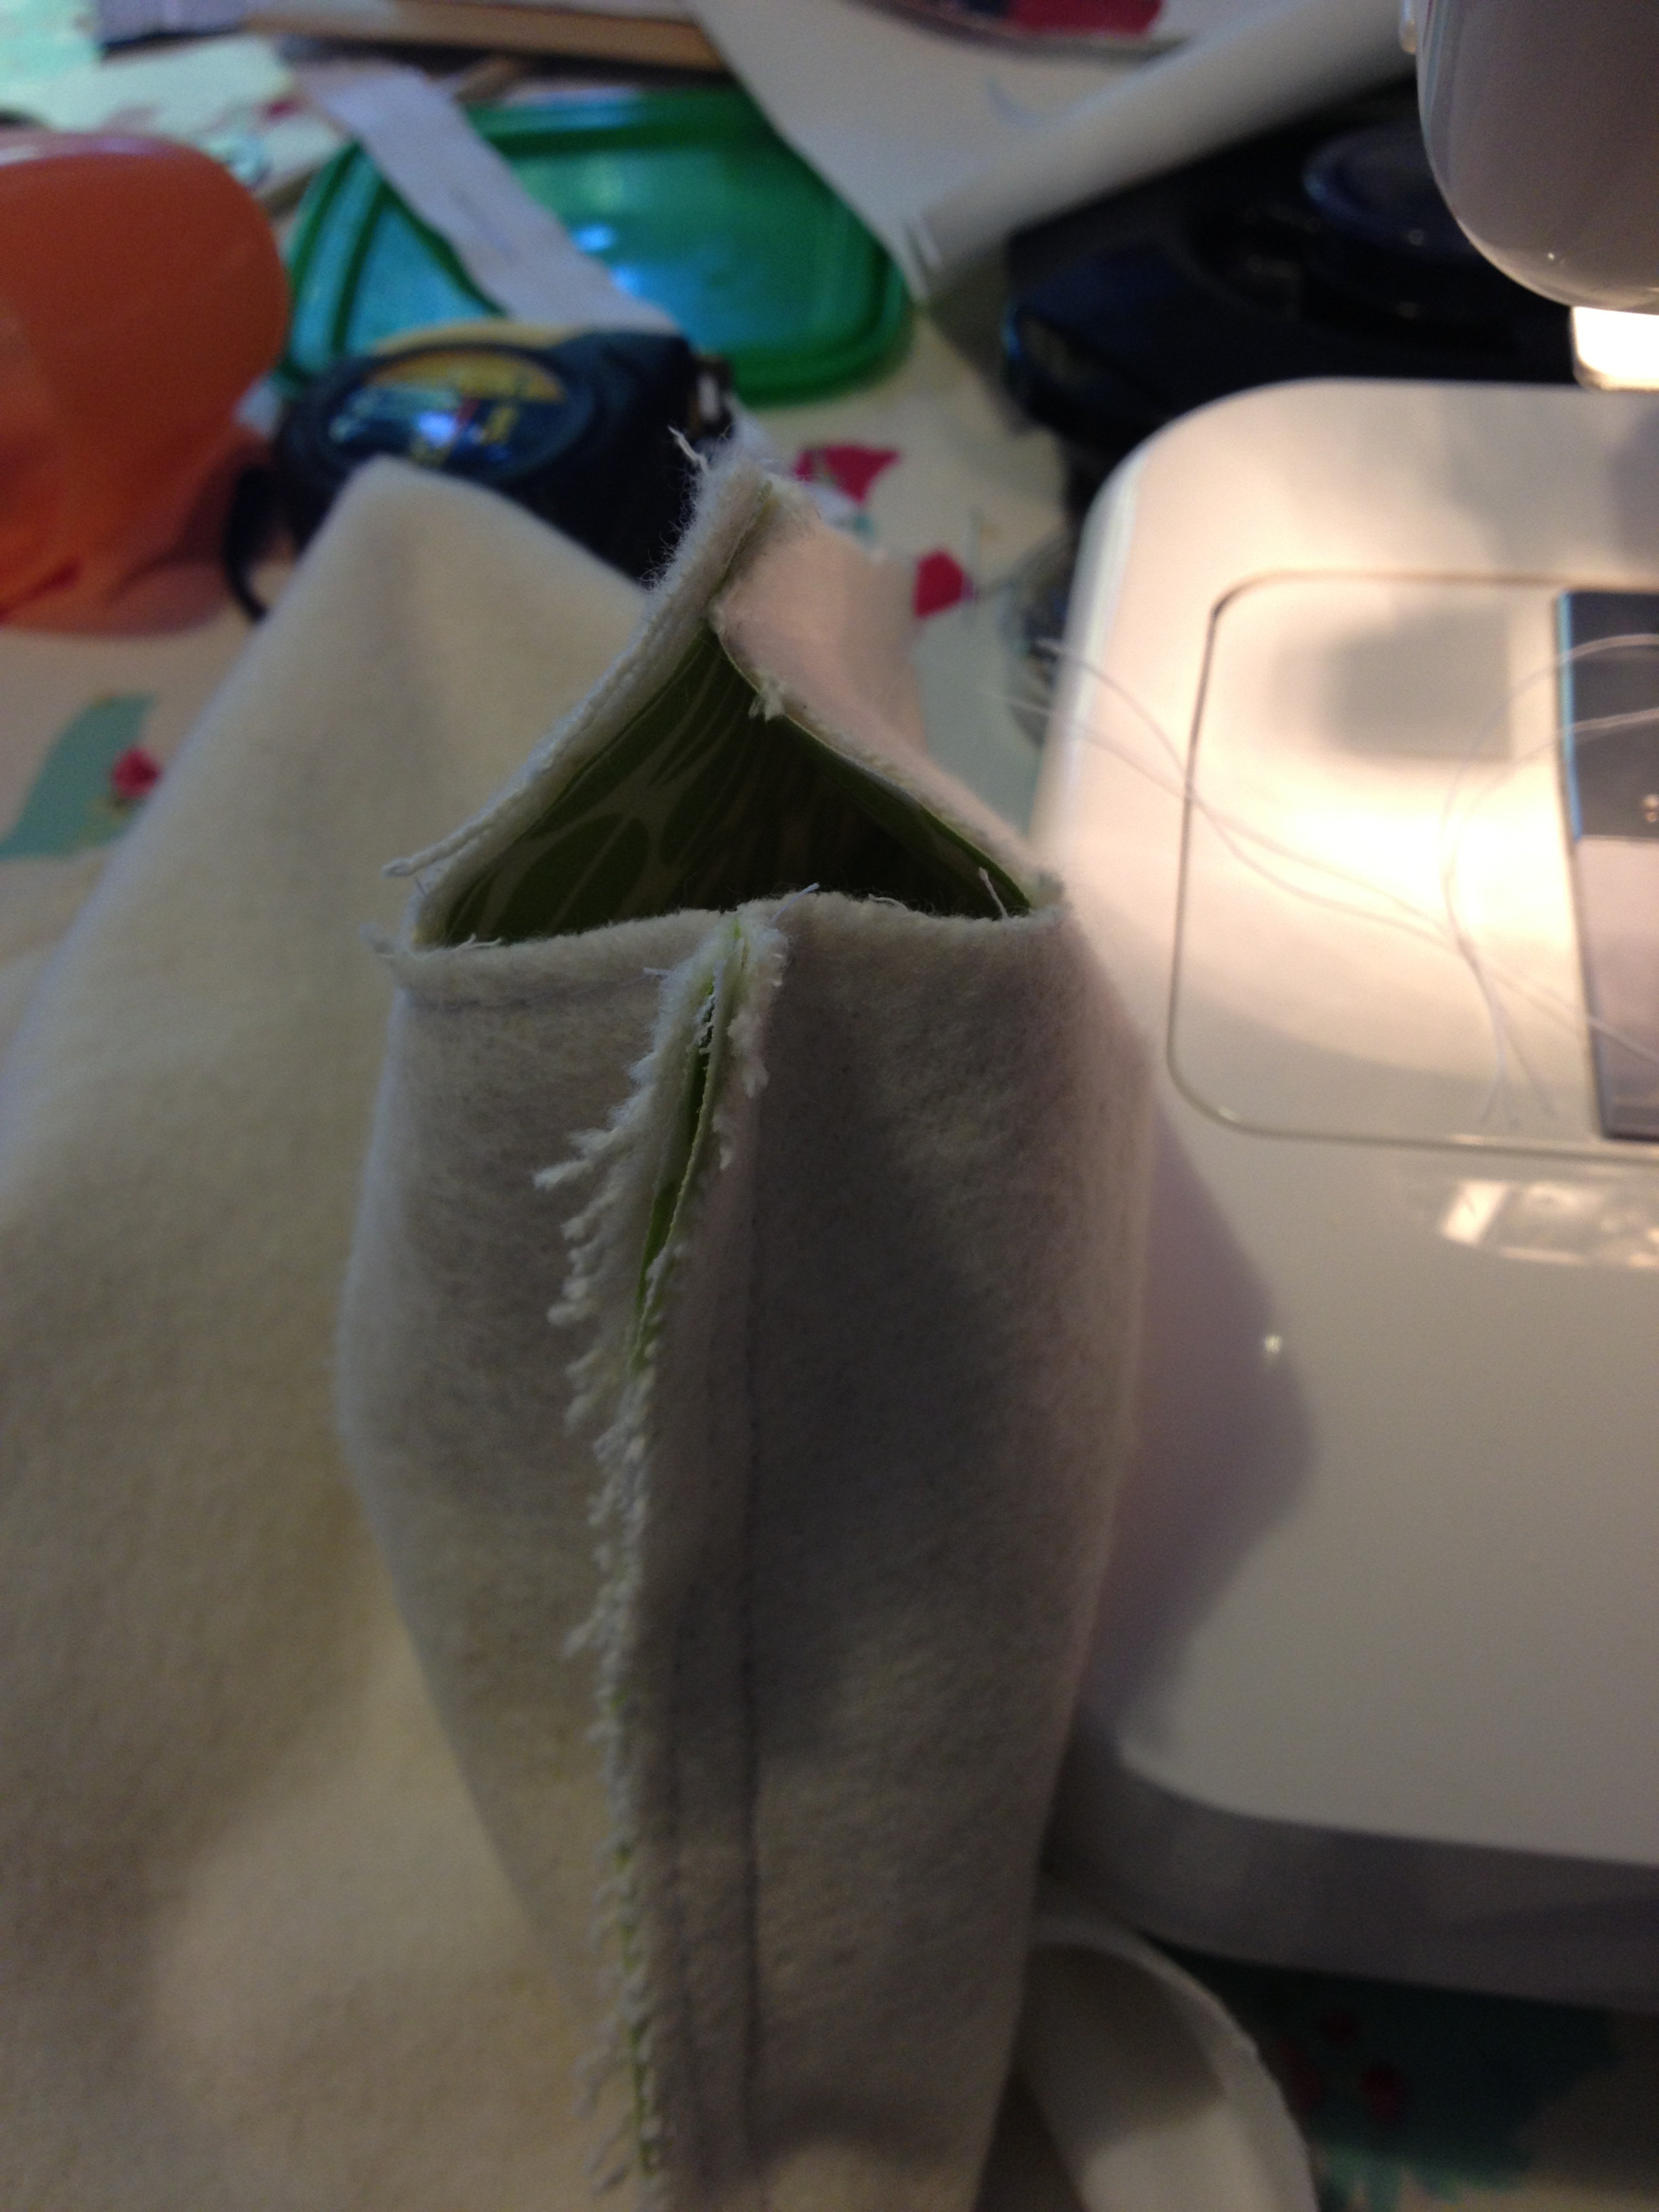
Now, put the lining to the lining and the main fabric to the main fabric as we are now going to sew all the way down from the top of the lining to the bottom of the bag on each side.

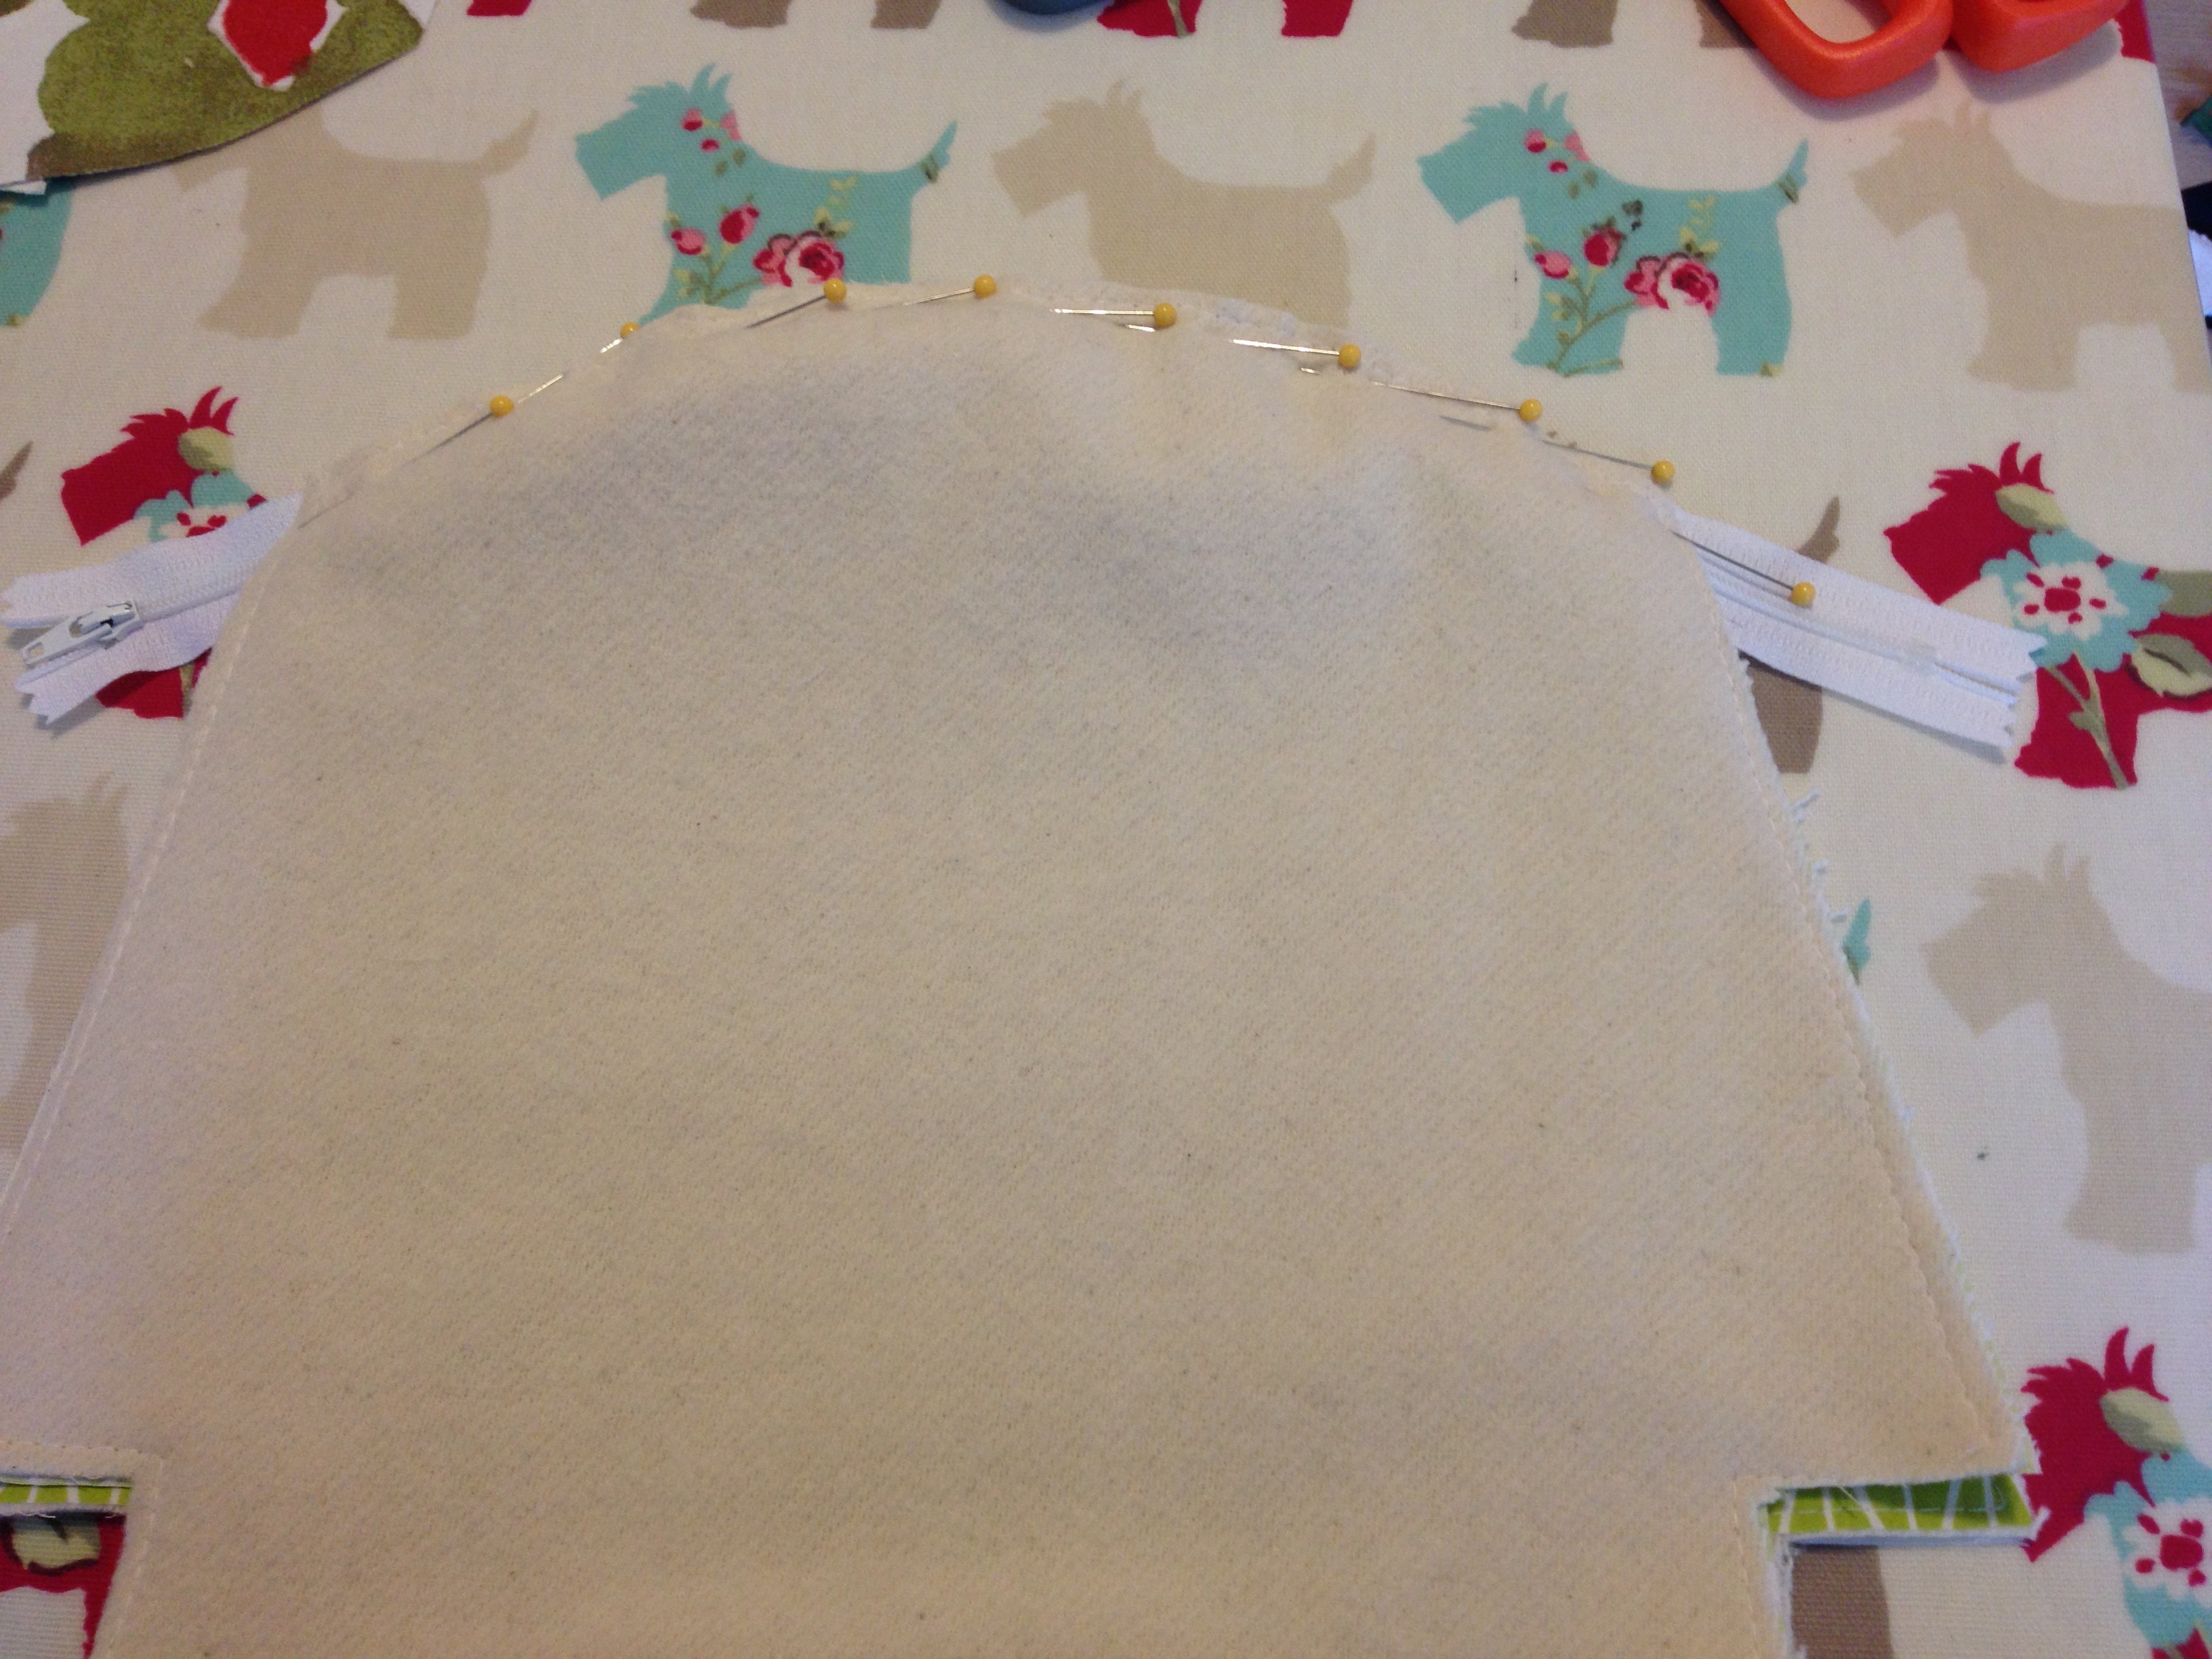
You want to make sure that the each side of the zip lies flat and the little plastic bit of the top of the zip is touching on each side (see the picture)

I’ve flipped it over so that I am sewing down the main side of the make up bag using a 1cm seam. When you get to the zip teeth keep the needle in the fabric and pivot the make up bag so that you can sew down the side of the lining. Make sure that the zip sides are lying flat on each other. You will need to reverse stitch here and reinforce this part (where you have pivoted) to make sure that it is nice and strong.
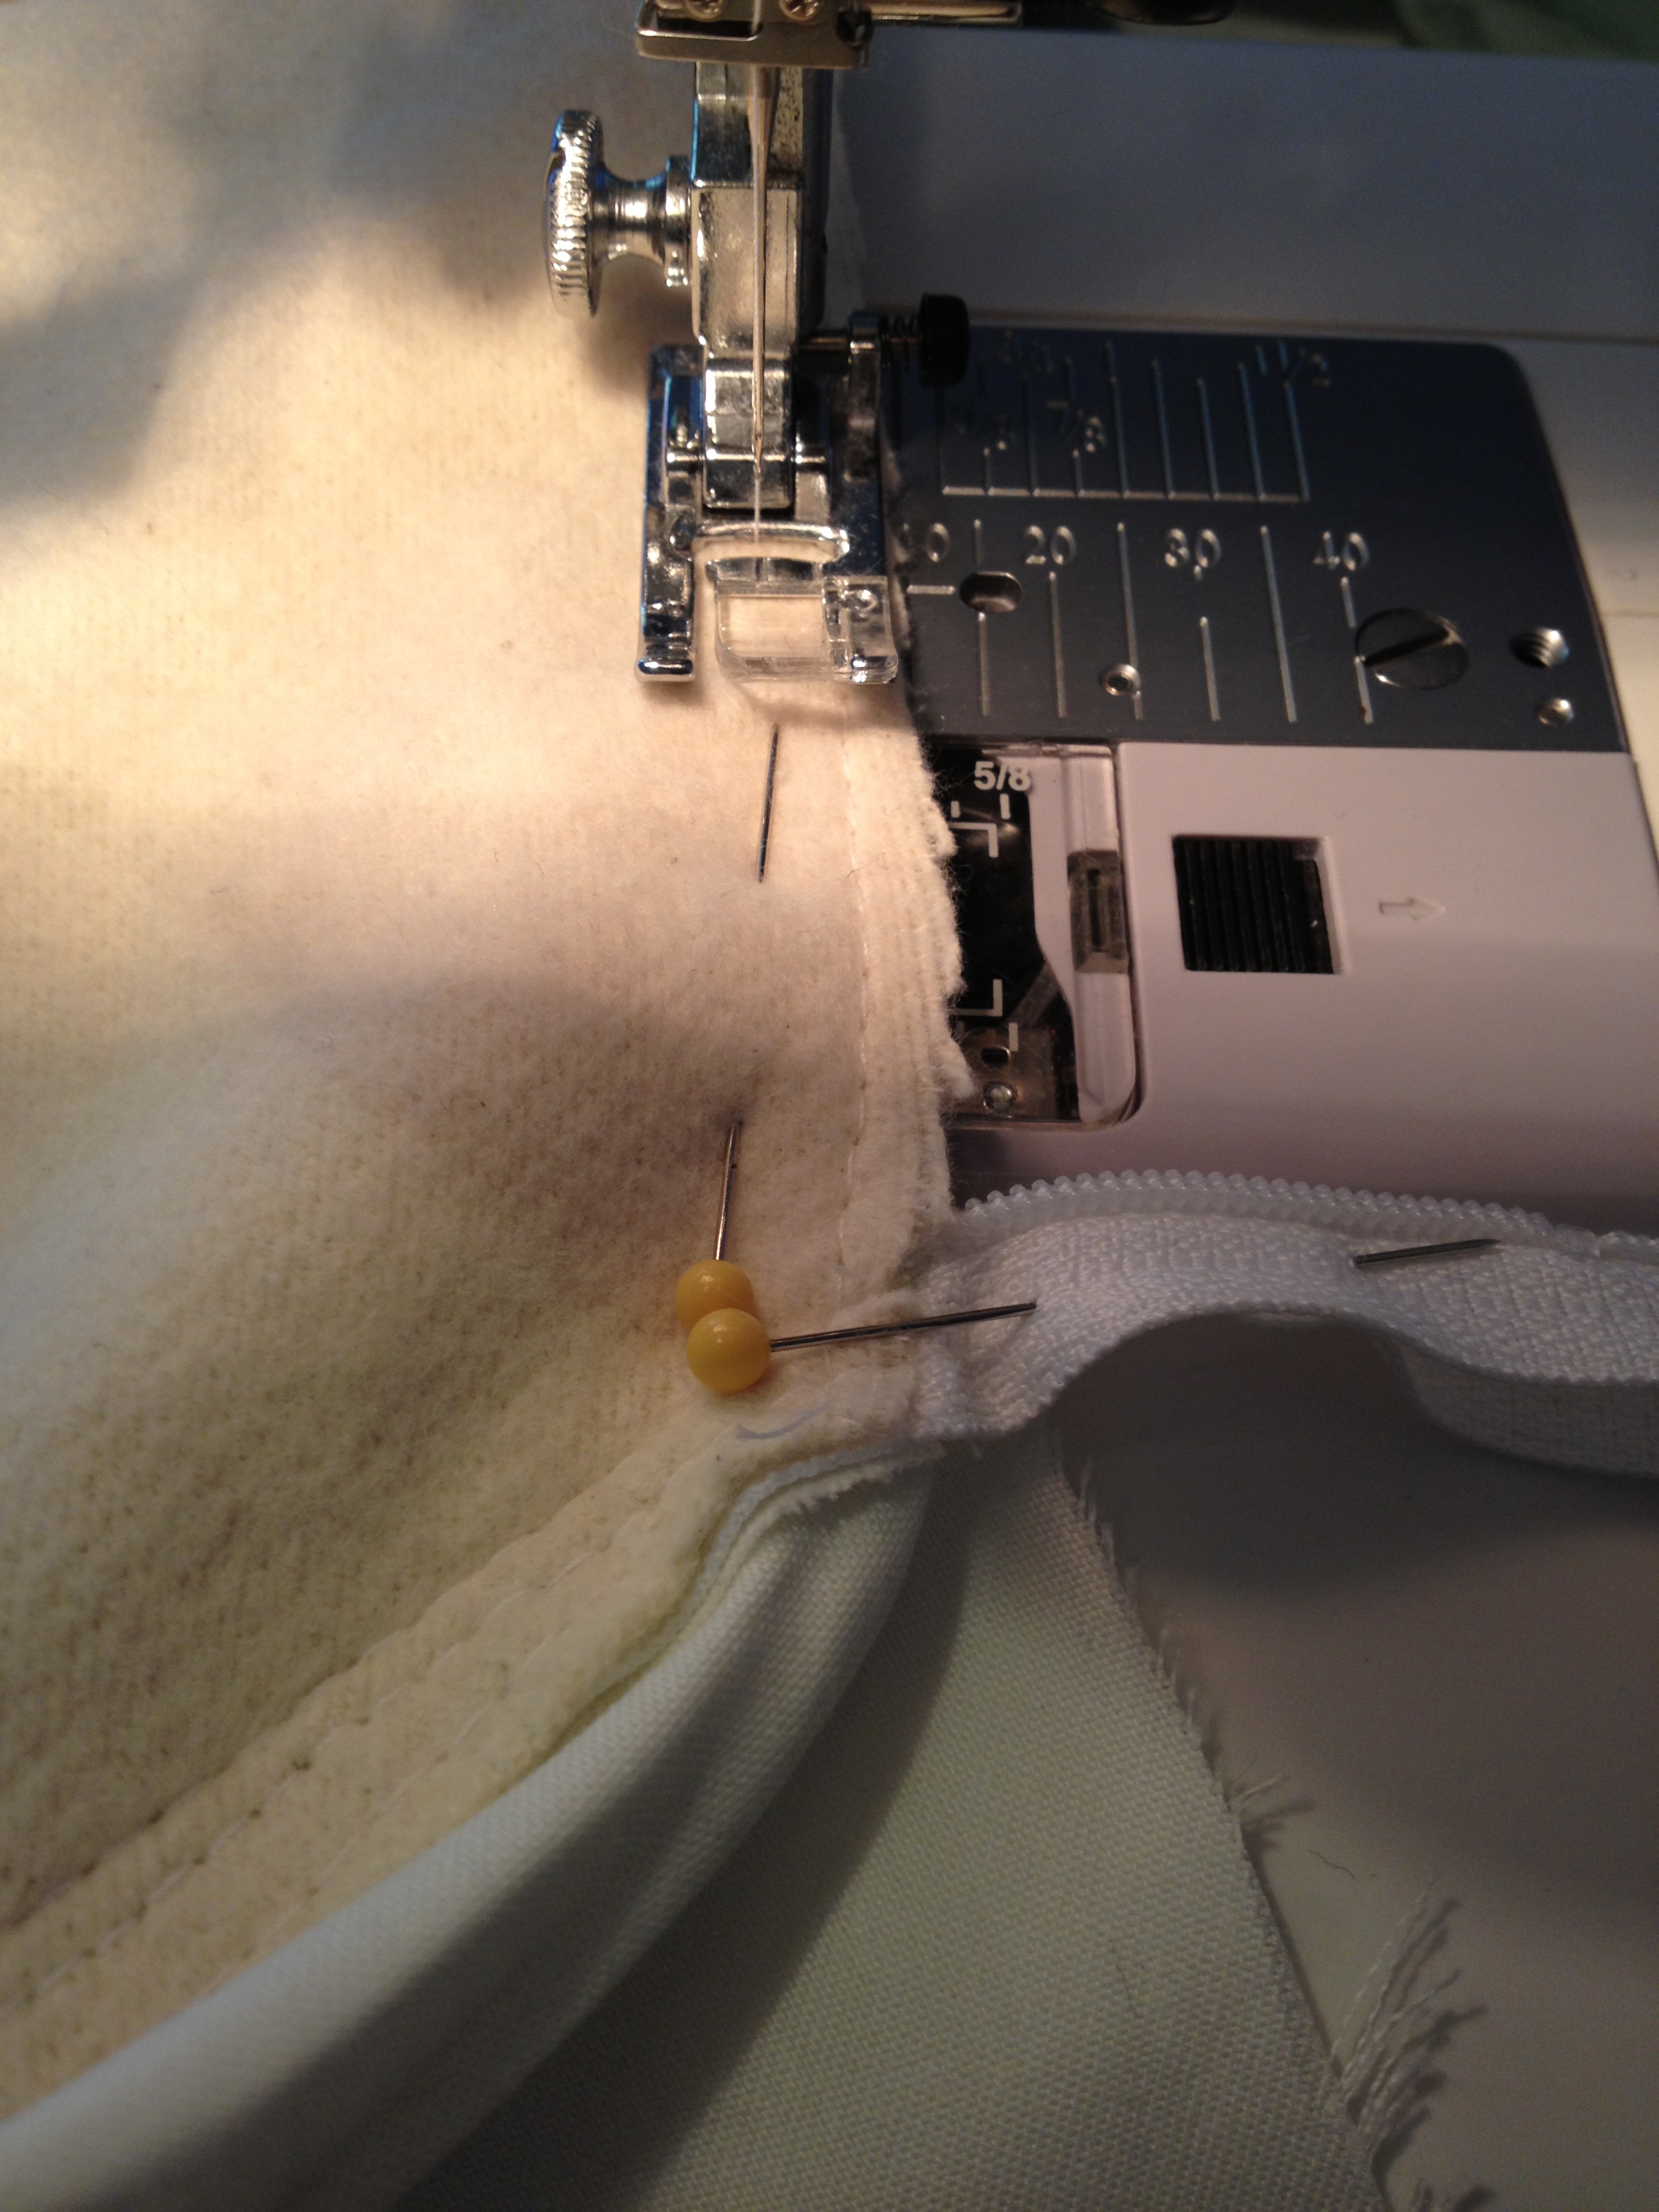


Now do the other side. THE ONLY DIFFERENCE with this side is that you need to have the zip open before you can sew down the side. Make sure each side of the zip is lined up correctly. Don’t forget to sew reinforcement stitches where you are going over the zipper part.
OK breathe! We are almost there – it’s easy from here!
STEP 3 SEWING THE LINING AND BAG CLOSED FROM THE INSIDE
Sew across the bottom of the make up bag from side to side using a 1cm seam. Then do the same on the lining but keep a section open so that you can pull the make up bag through later on.
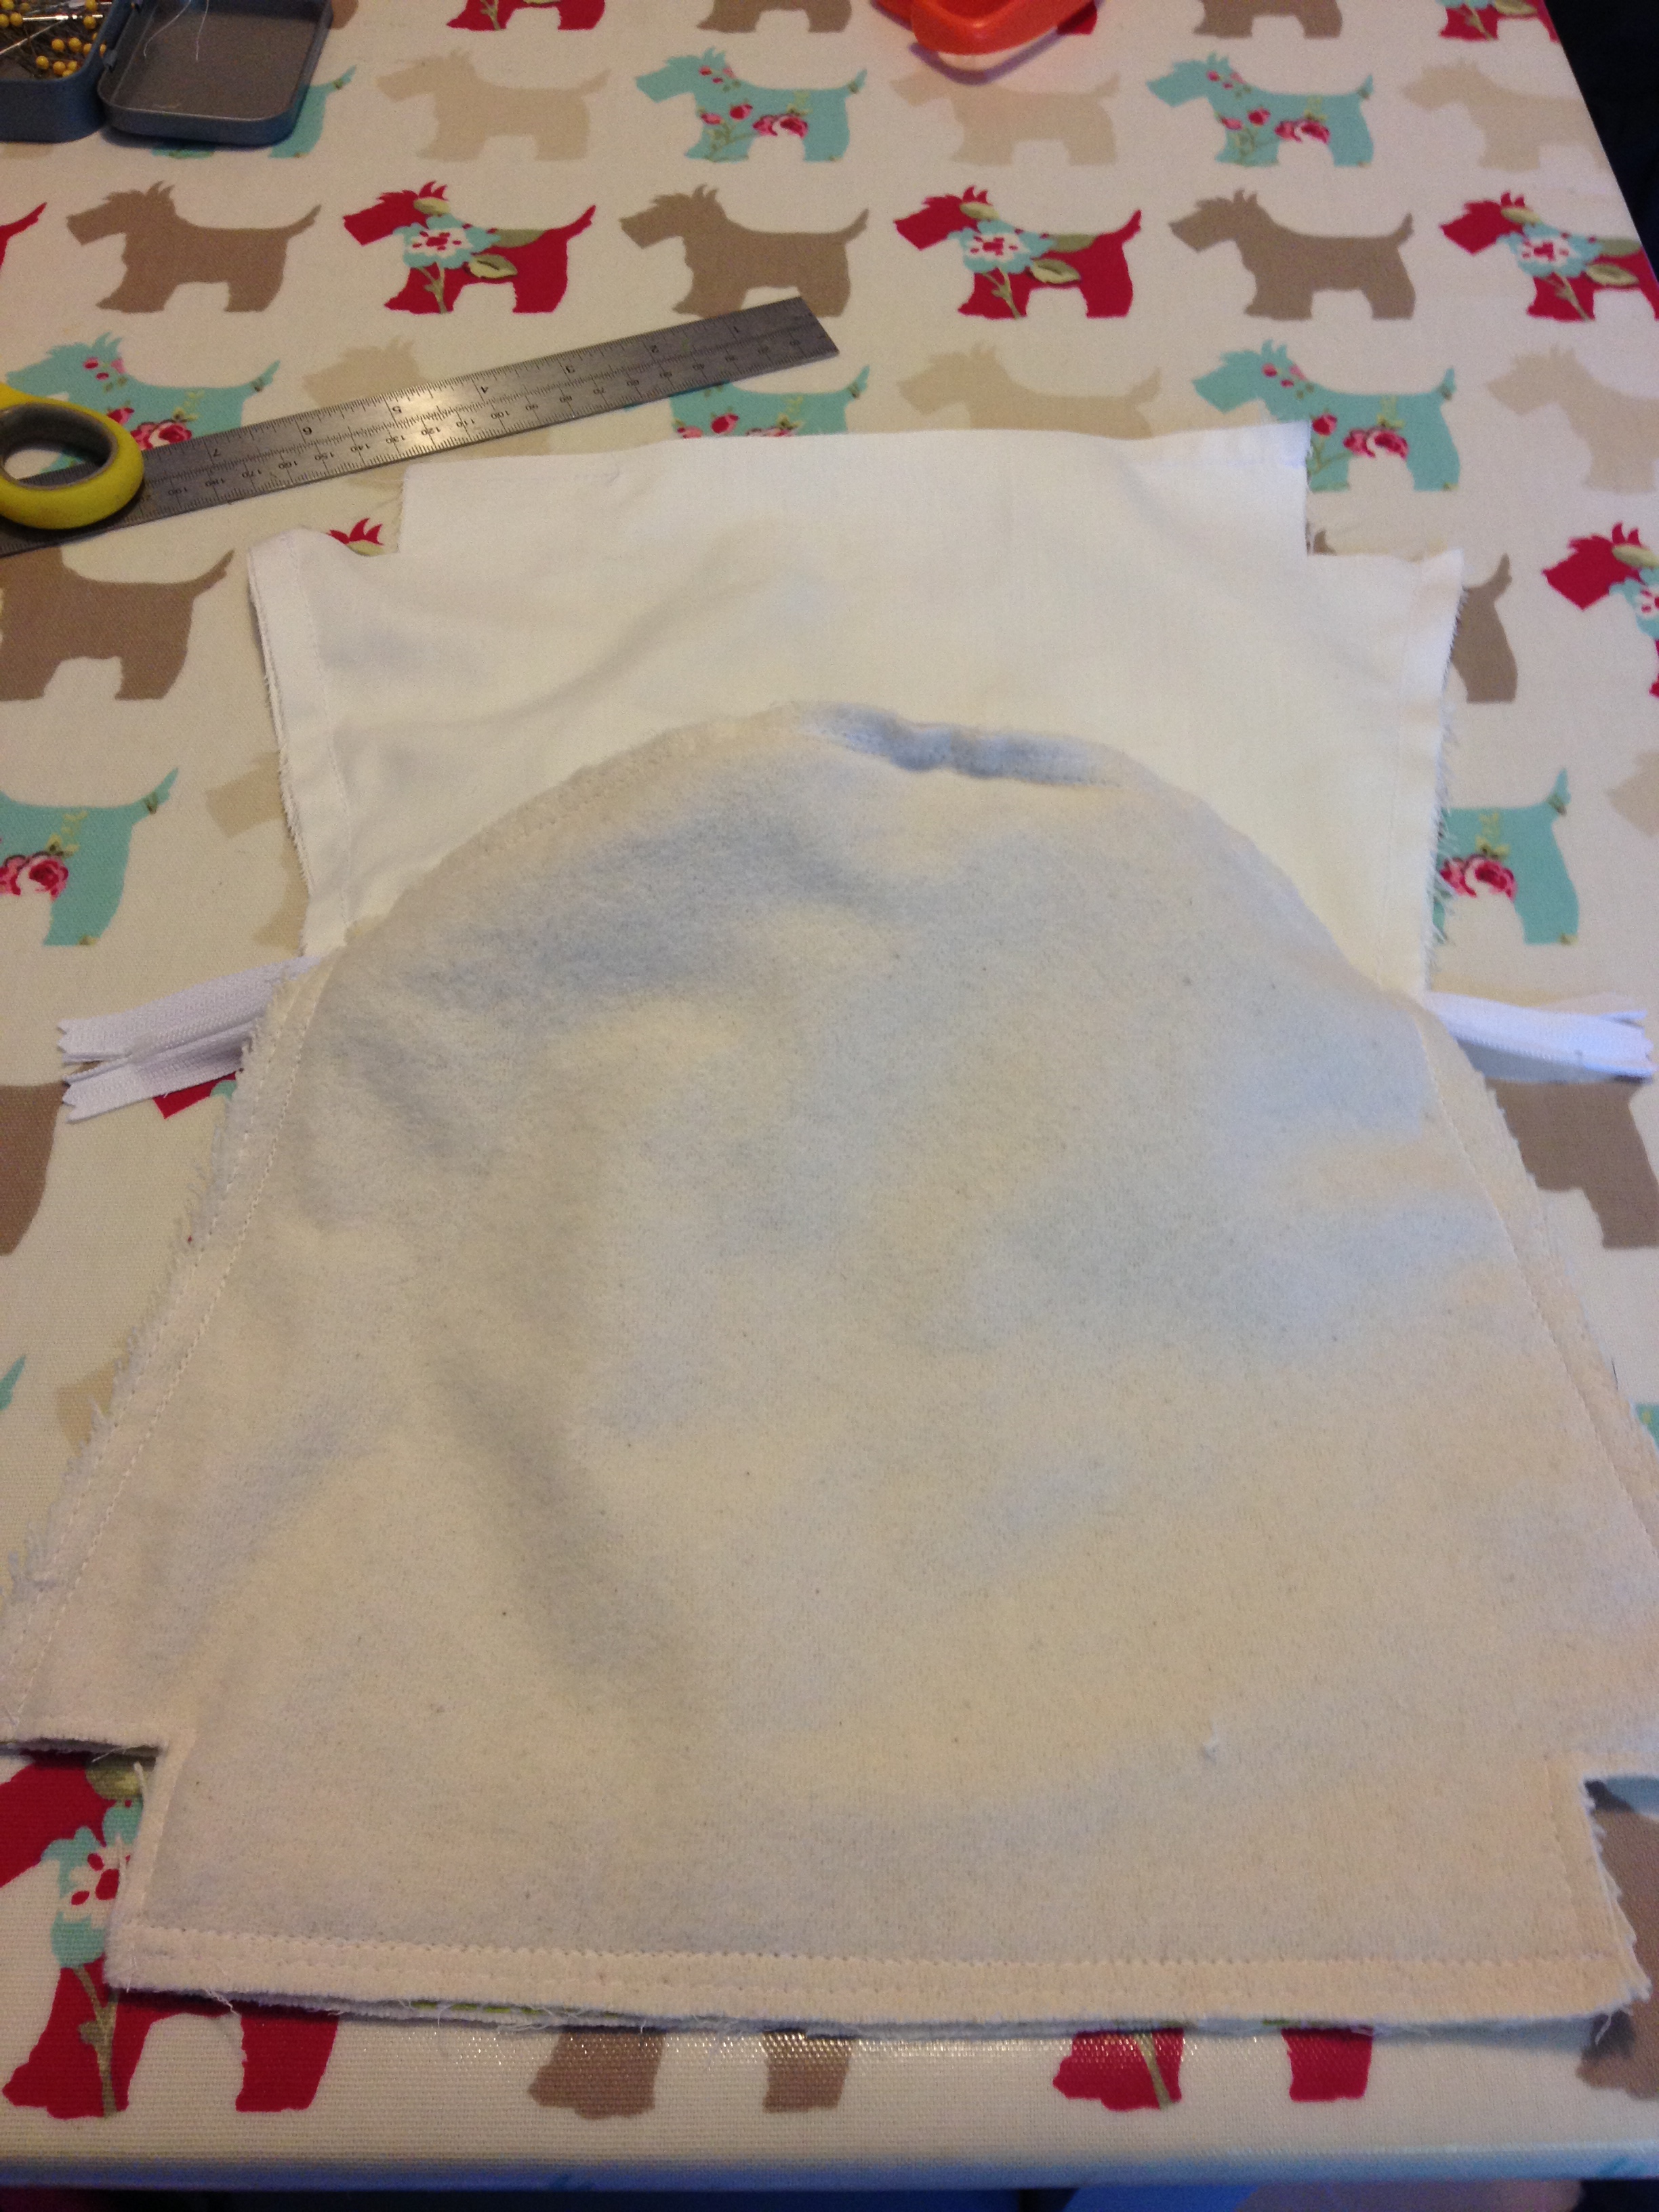
Now go to the L shaped bit on the bottom of each side and open them out so that the seams join. Sew across using a 1cm seam. Again, I would reinforce this section (so sew across it again).

This creates the bottom of the make up bag and makes it stand on its own like the pictures below:


Now you can pull the bag through to the right side (through the lining hole). Iron your make up bag now and then sew the lining hole closed.


FINAL STEPS…
Push the lining to the inside and you are DONE!
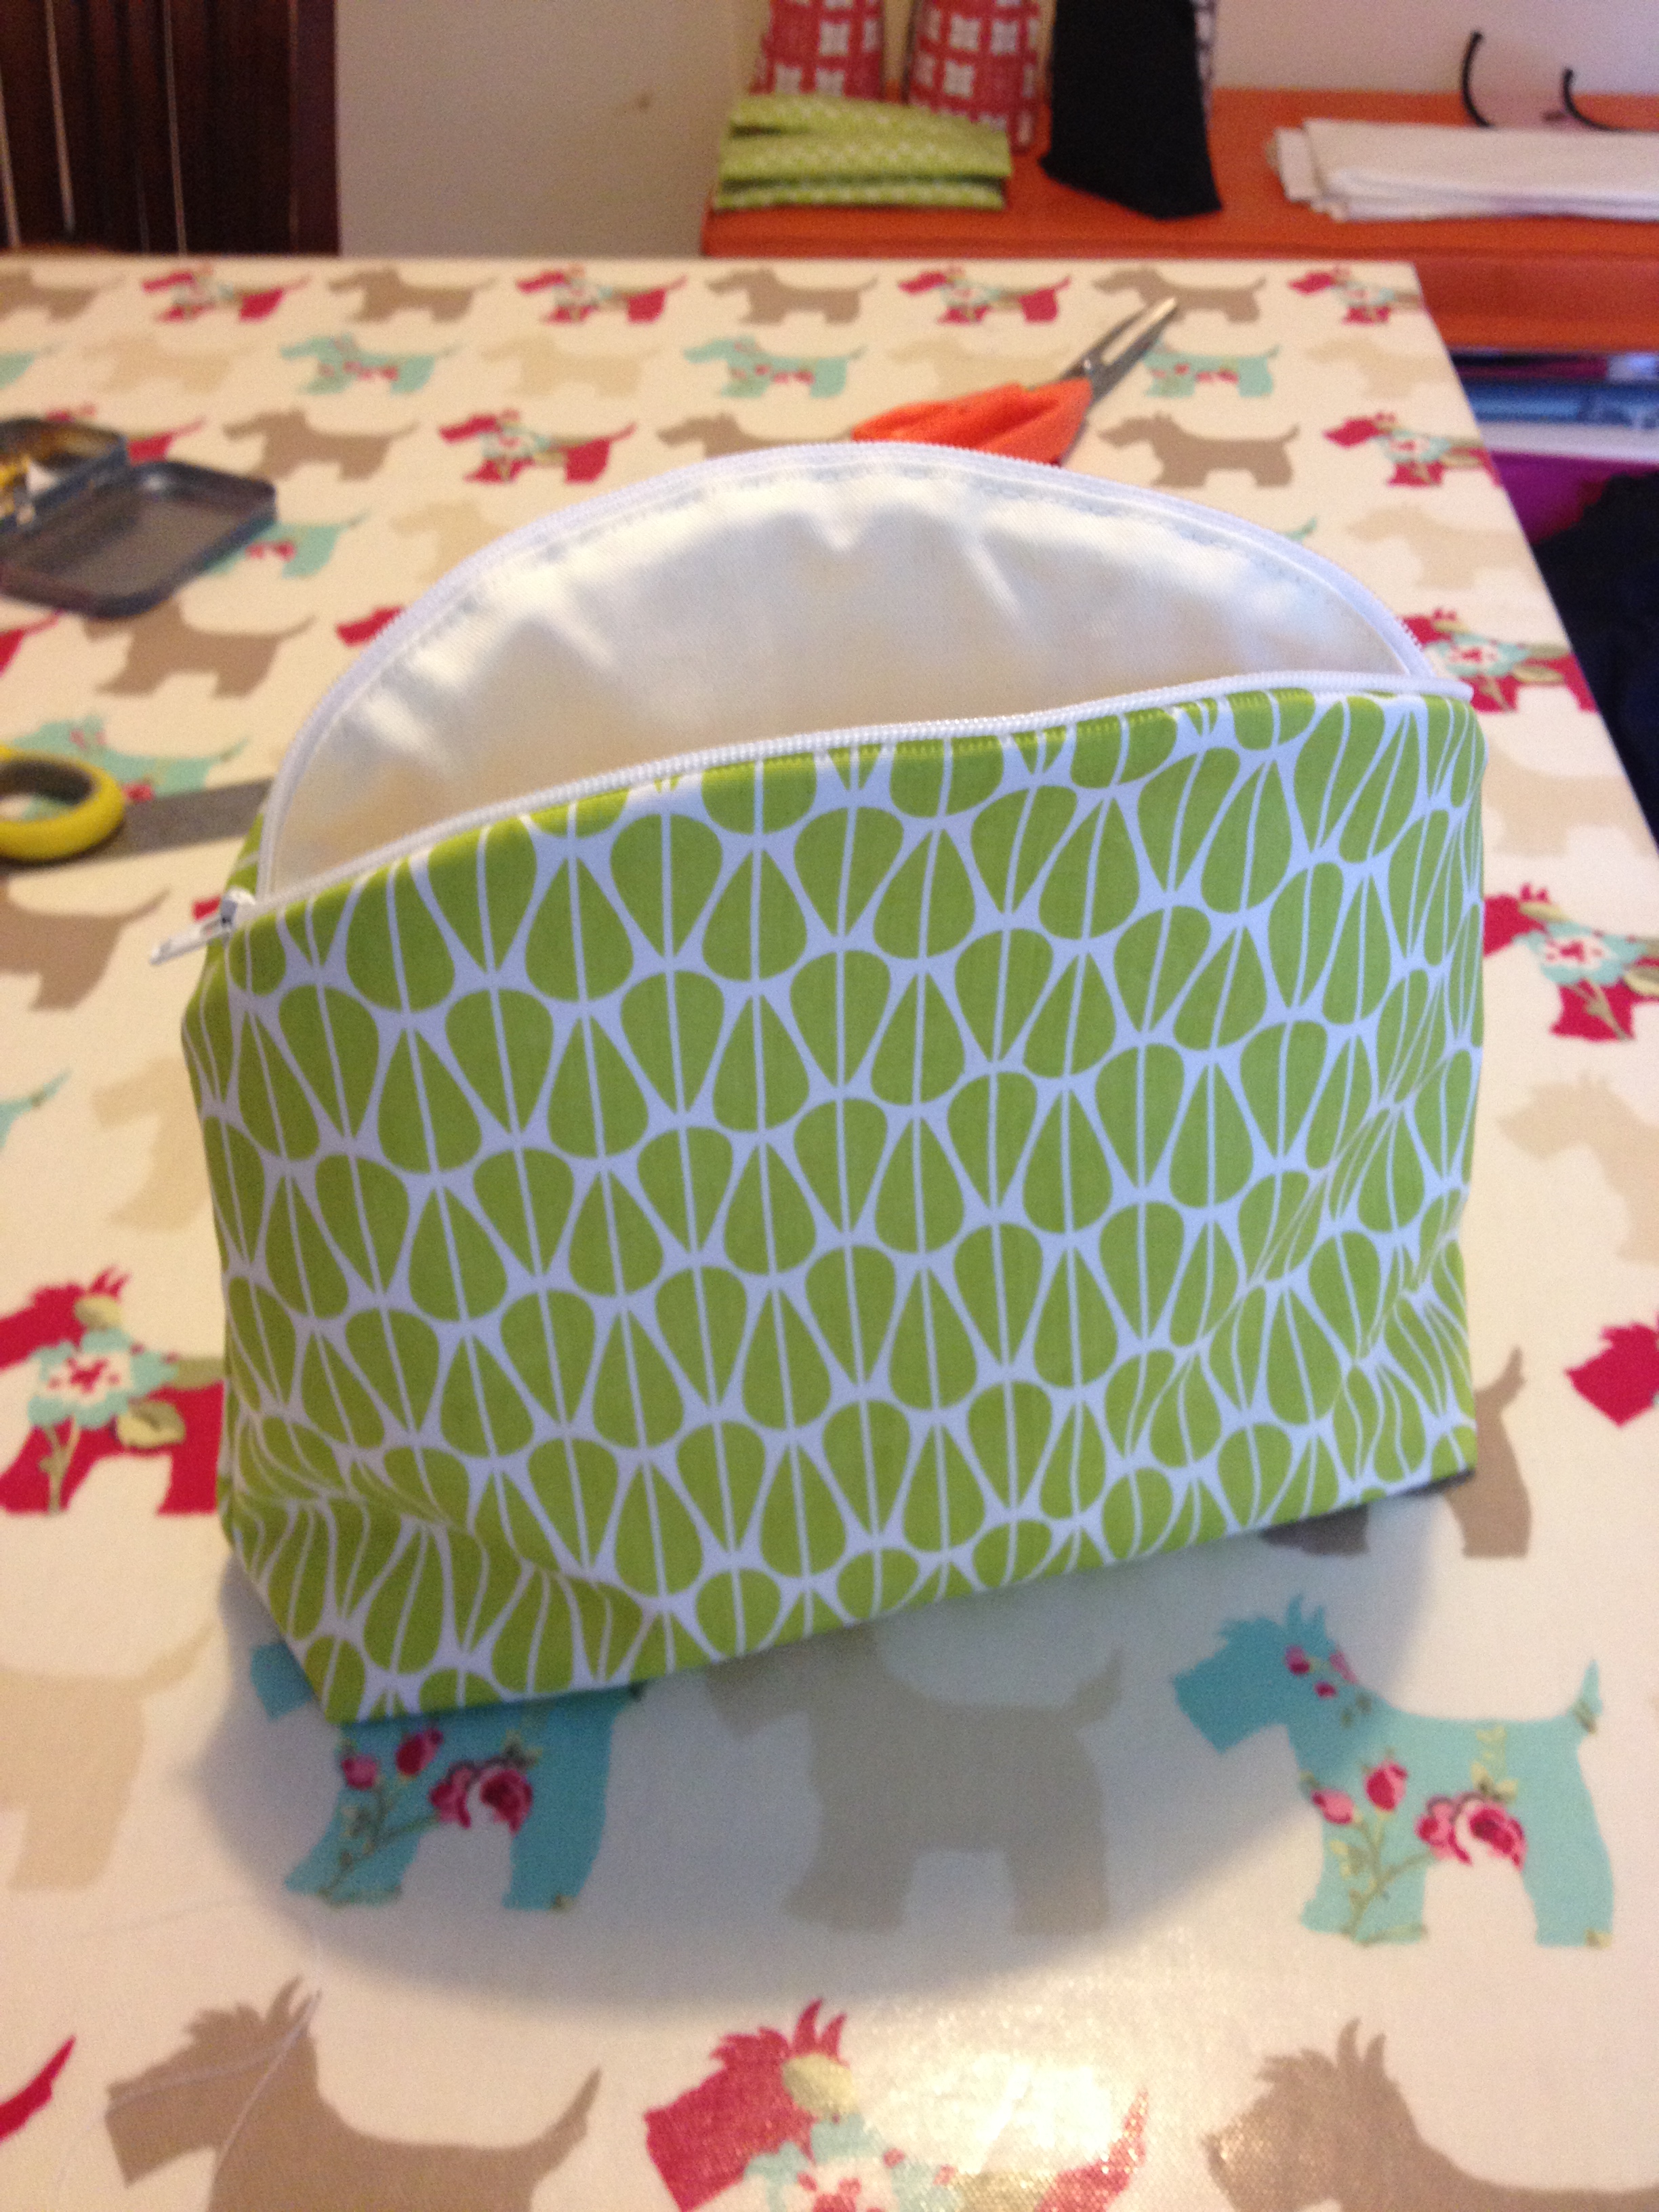

How gorgeous is your make up bag???? I’d also love to hear what you thought of this tutorial. Was it easy to follow? Please feel free to post your comments.
Want to come and make this make up bag with me? I’d be delighted – get in touch and let’s sew!
Lisa x


One thought on “Make Up Bag Tutorial”