
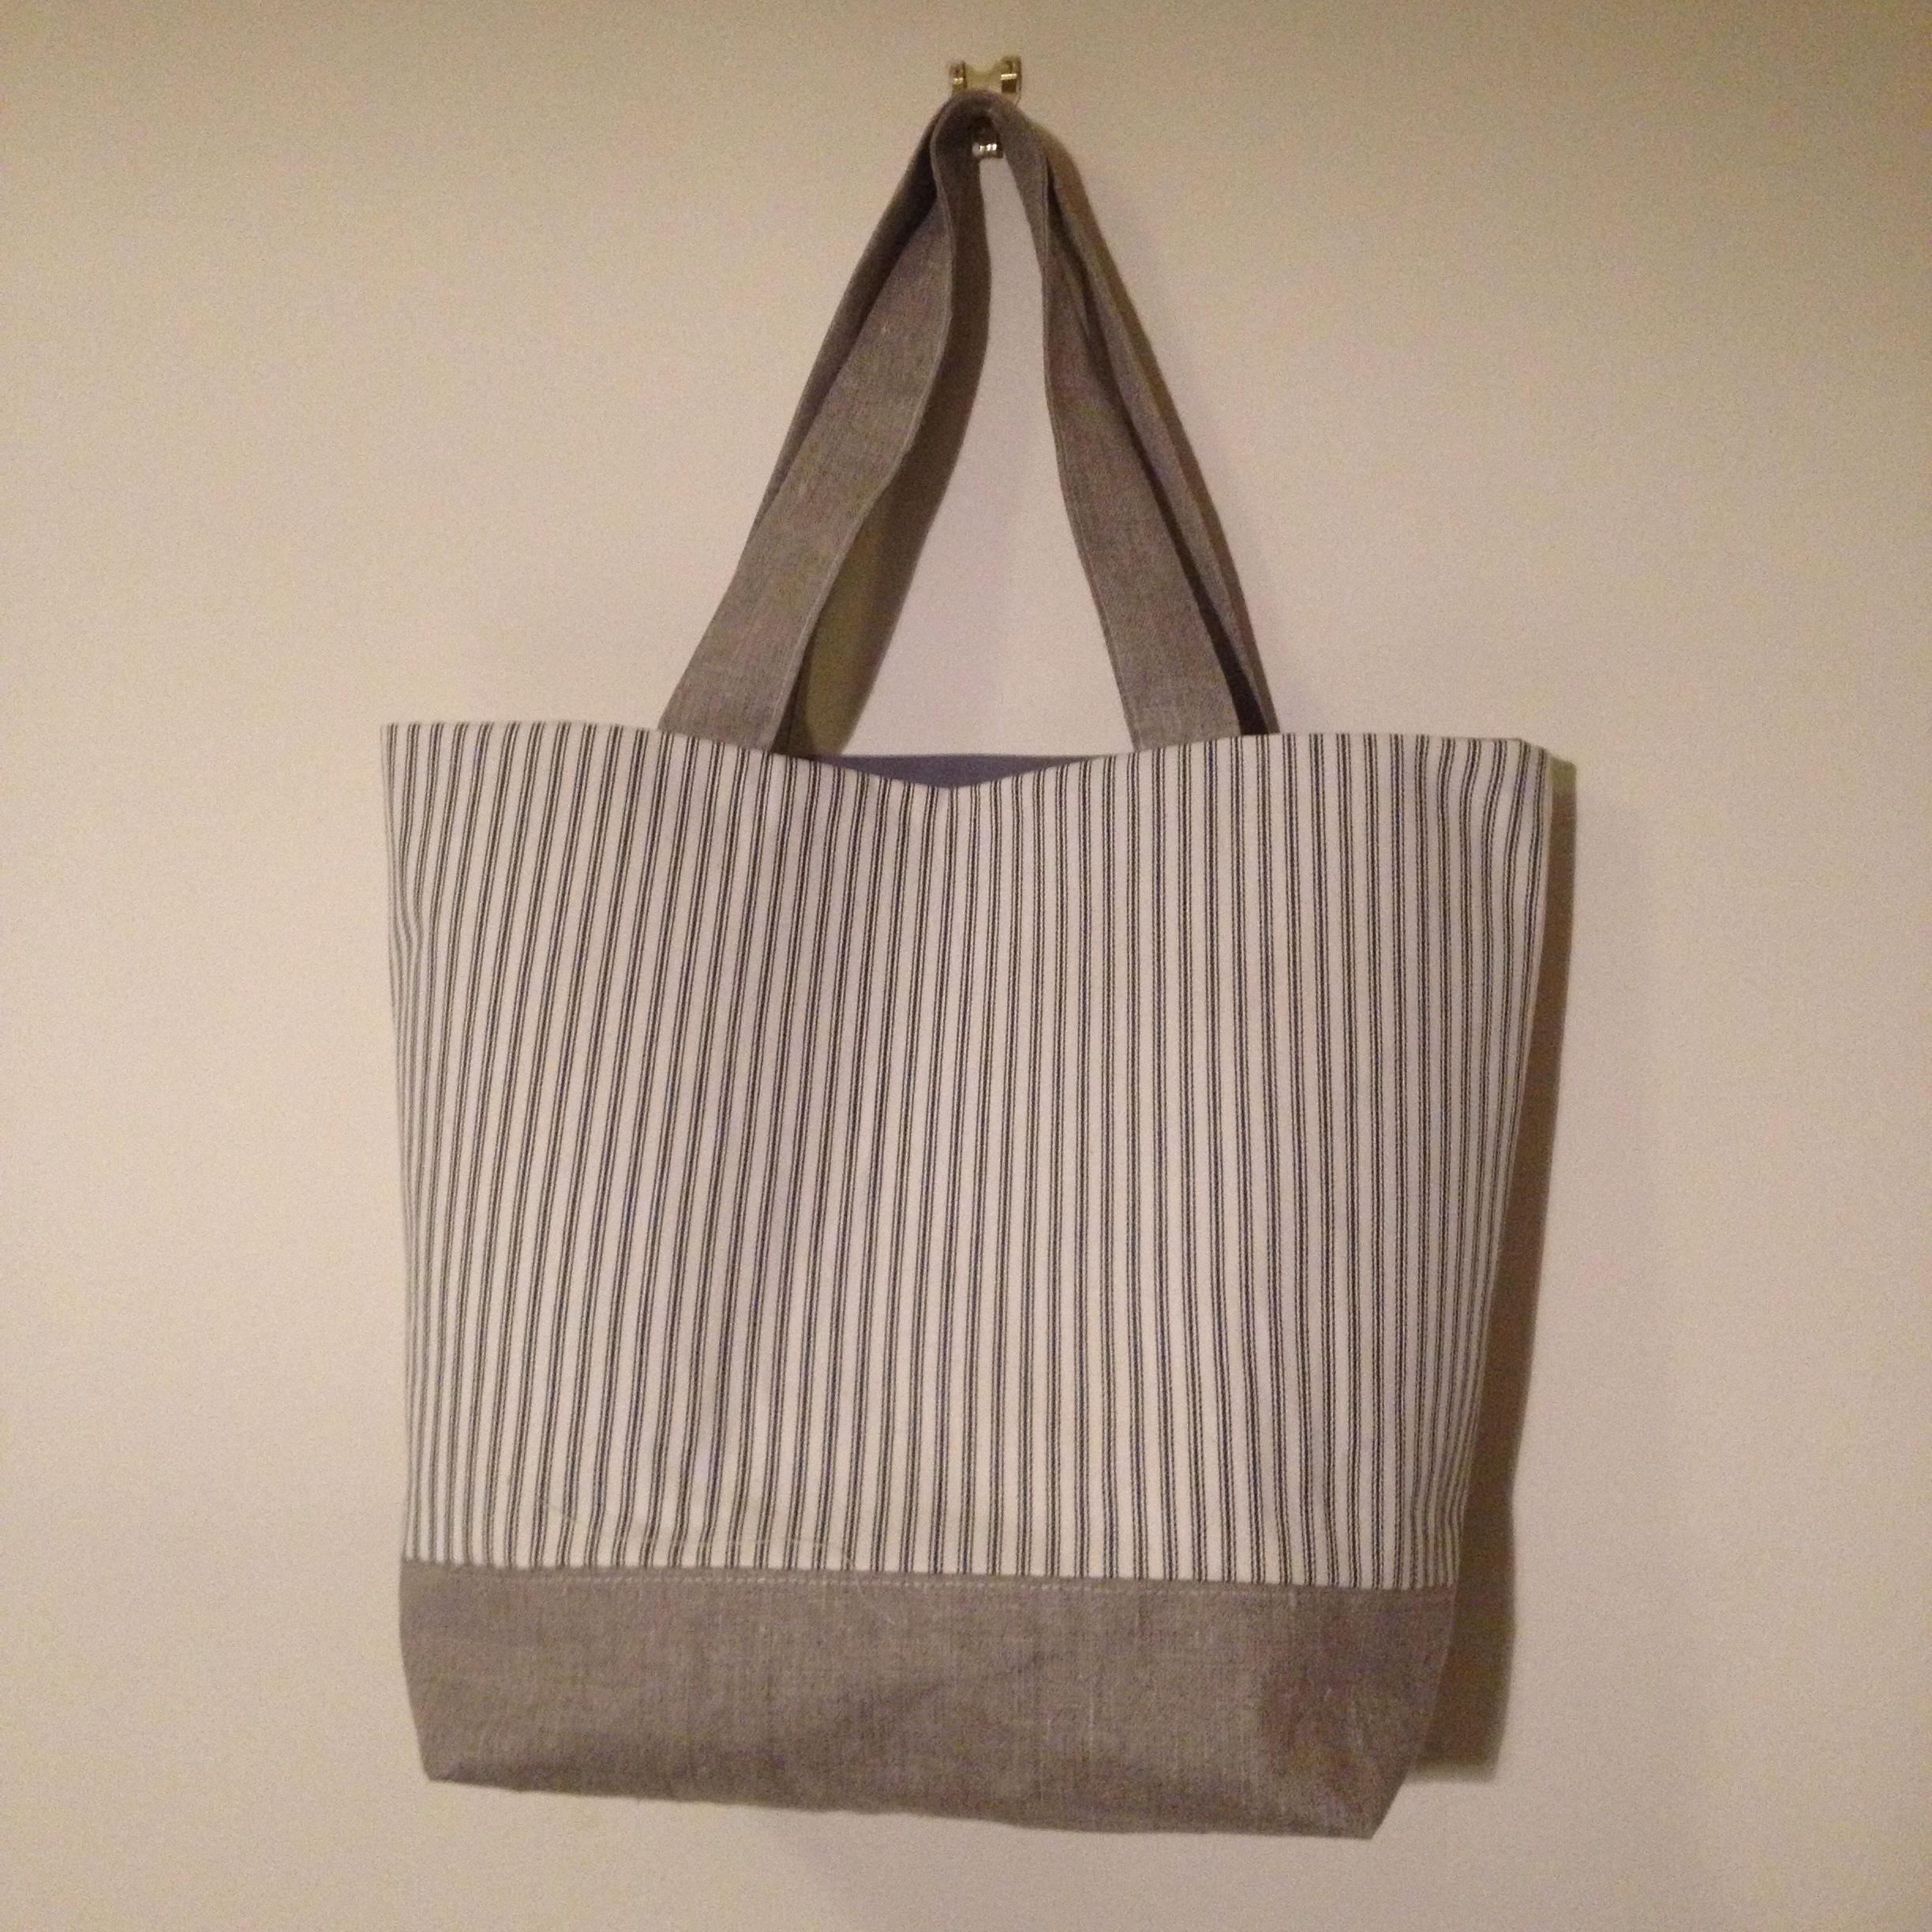
Dreaming of a big gorgeous tote bag to carry all my lovely sewing stuff to workshops… where can I find the perfect pattern? OH! I know! I will make a pattern and tutorial aimed at beginners and just to add to the fun let’s get together and do this as a workshop too ………
So, what do you need?
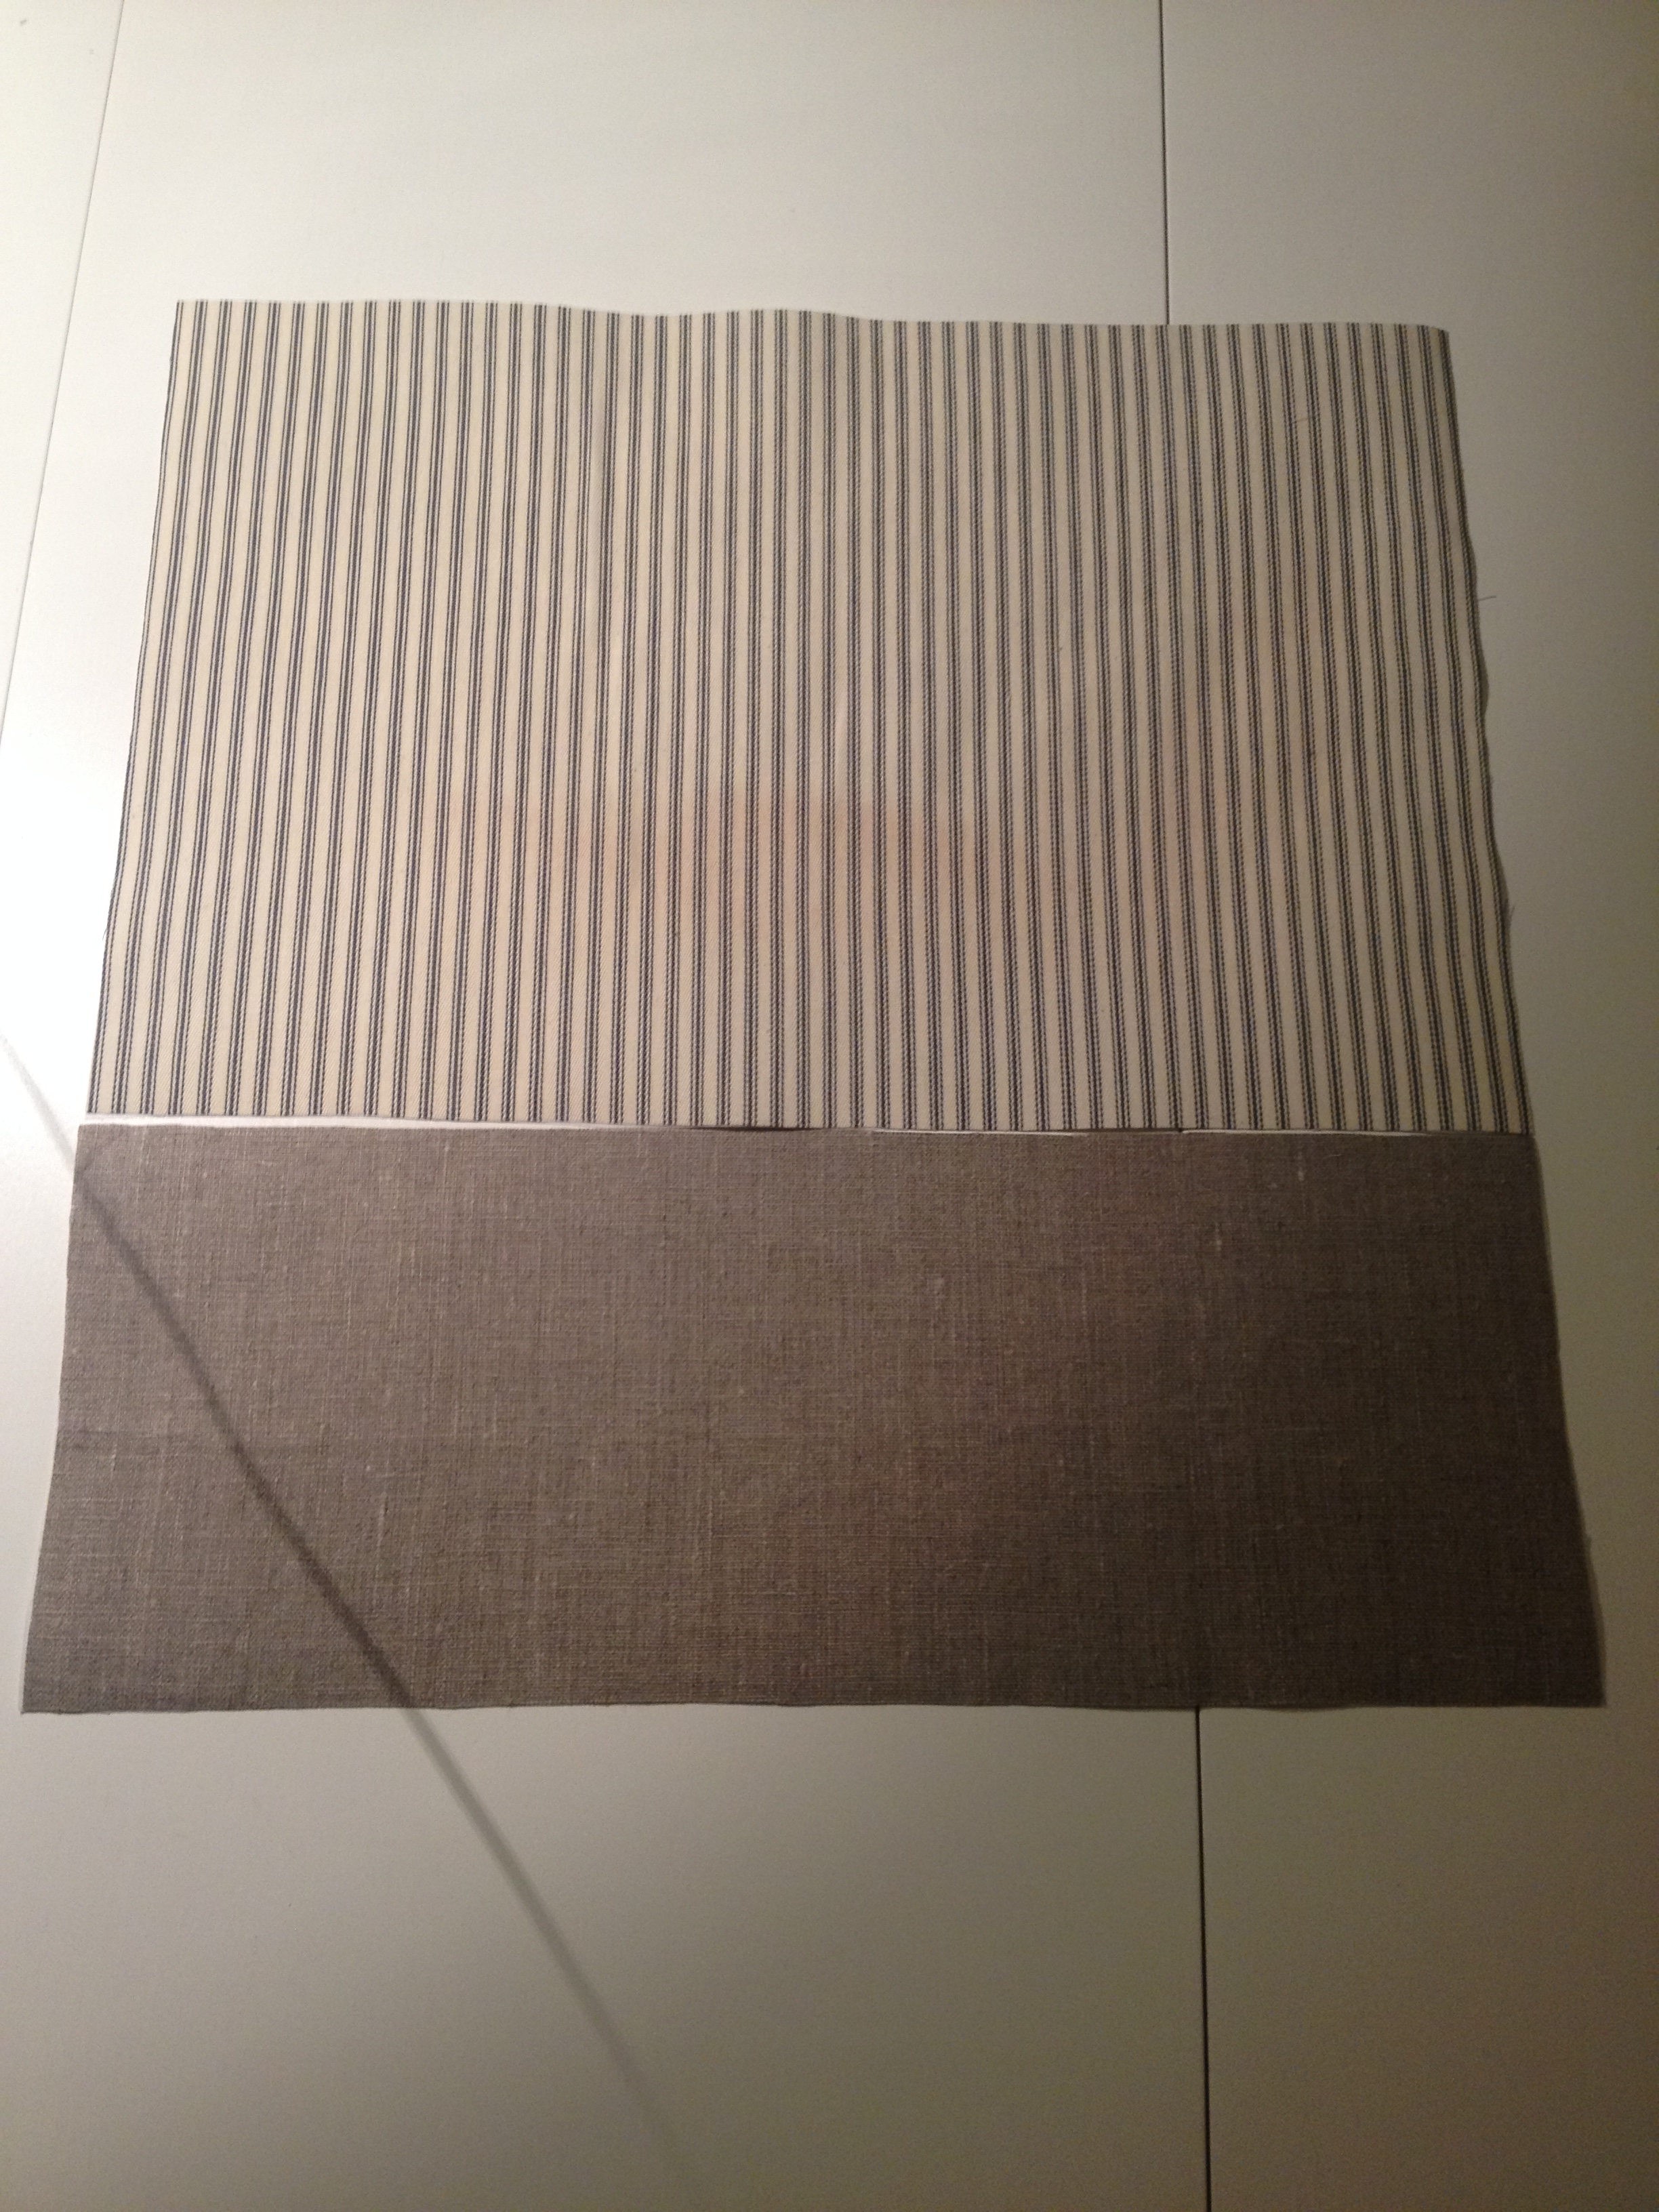
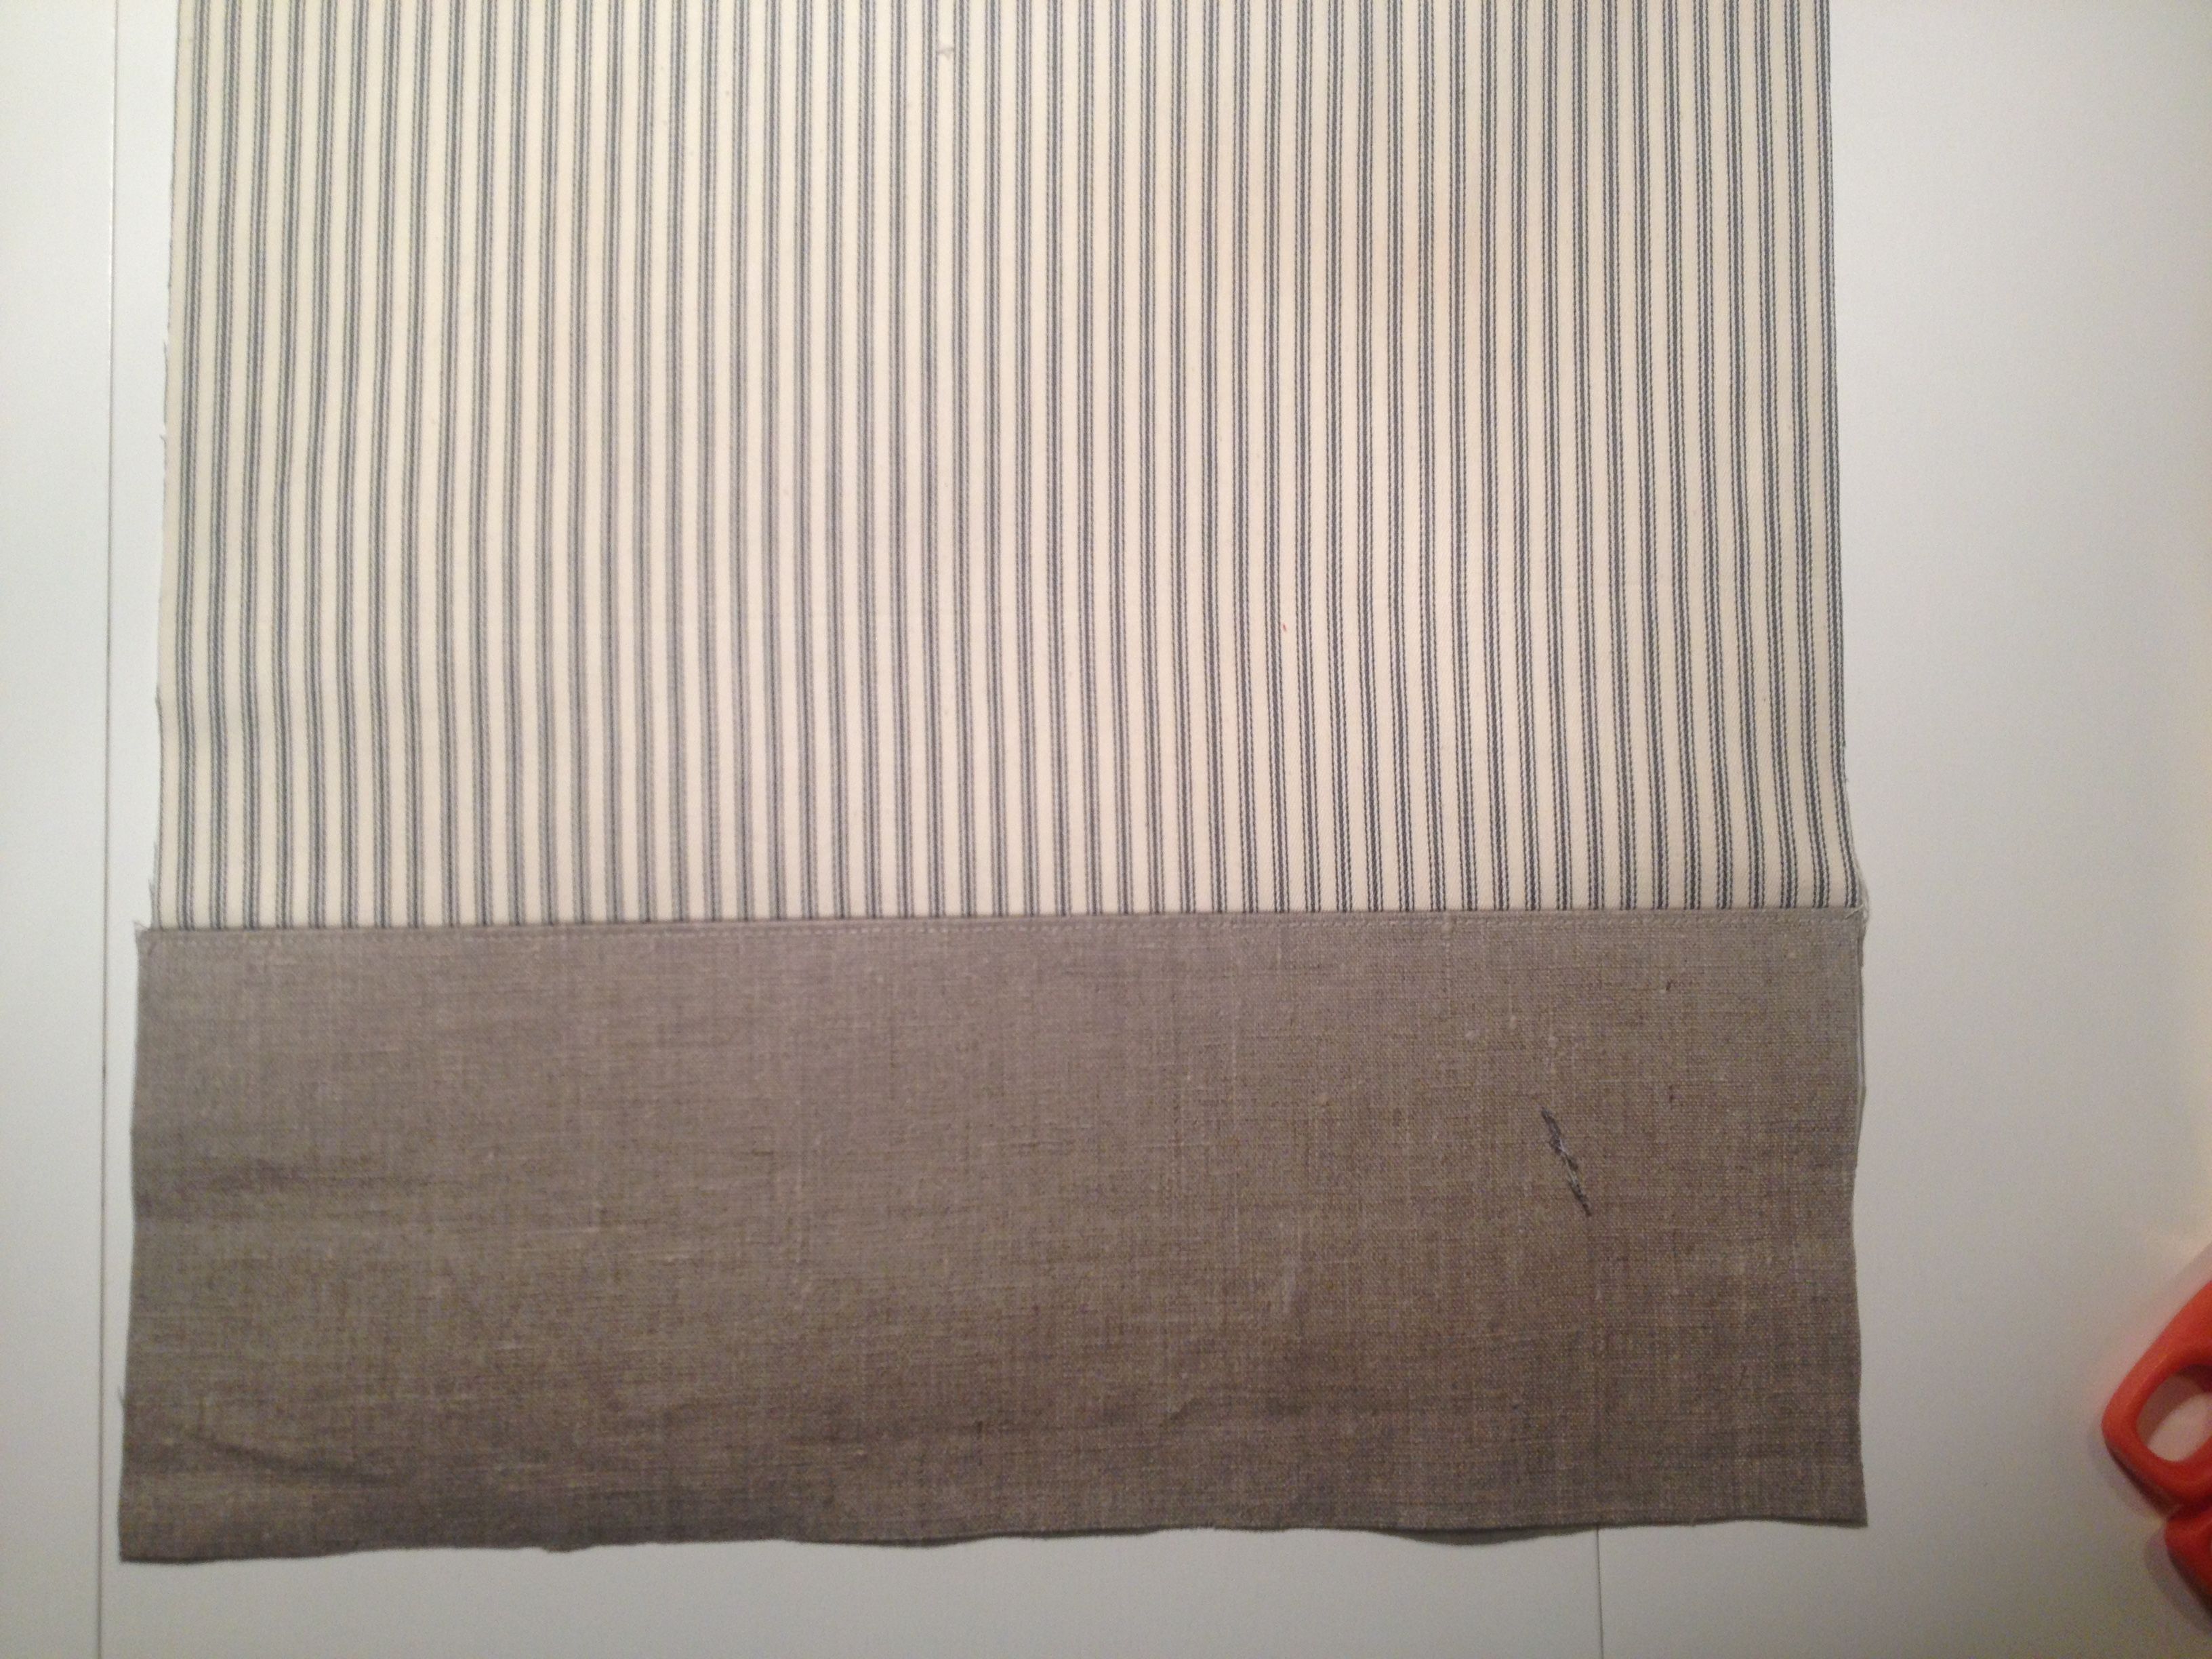
Main piece TOP measuring 31cm length by 47cm wide
(you need two pieces) – I’ve used the striped fabric in this tutorial
Main piece BOTTOM measuring 18cm length by 47cm wide
(you need two pieces) – I’ve used the beige fabric
Lining measuring 46cm length by 47cm wide
(you need two pieces) – I’ve used grey lining
Interfacing – you can decide whether you want to use interfacing. Interfacing makes the fabric stronger and is ironed on. It comes in different firmness – I have used a strong thick interfacing for my bag so that it stands on it’s own. However, whether you need interfacing depends on the thickness of fabric you use for your bag. If your main fabric is really thick then you don’t need an interfacing. If you want the bag to have structure and stand on it’s own then you need to get interfacing.

Are you ready to make a gorgeous tote bag?!
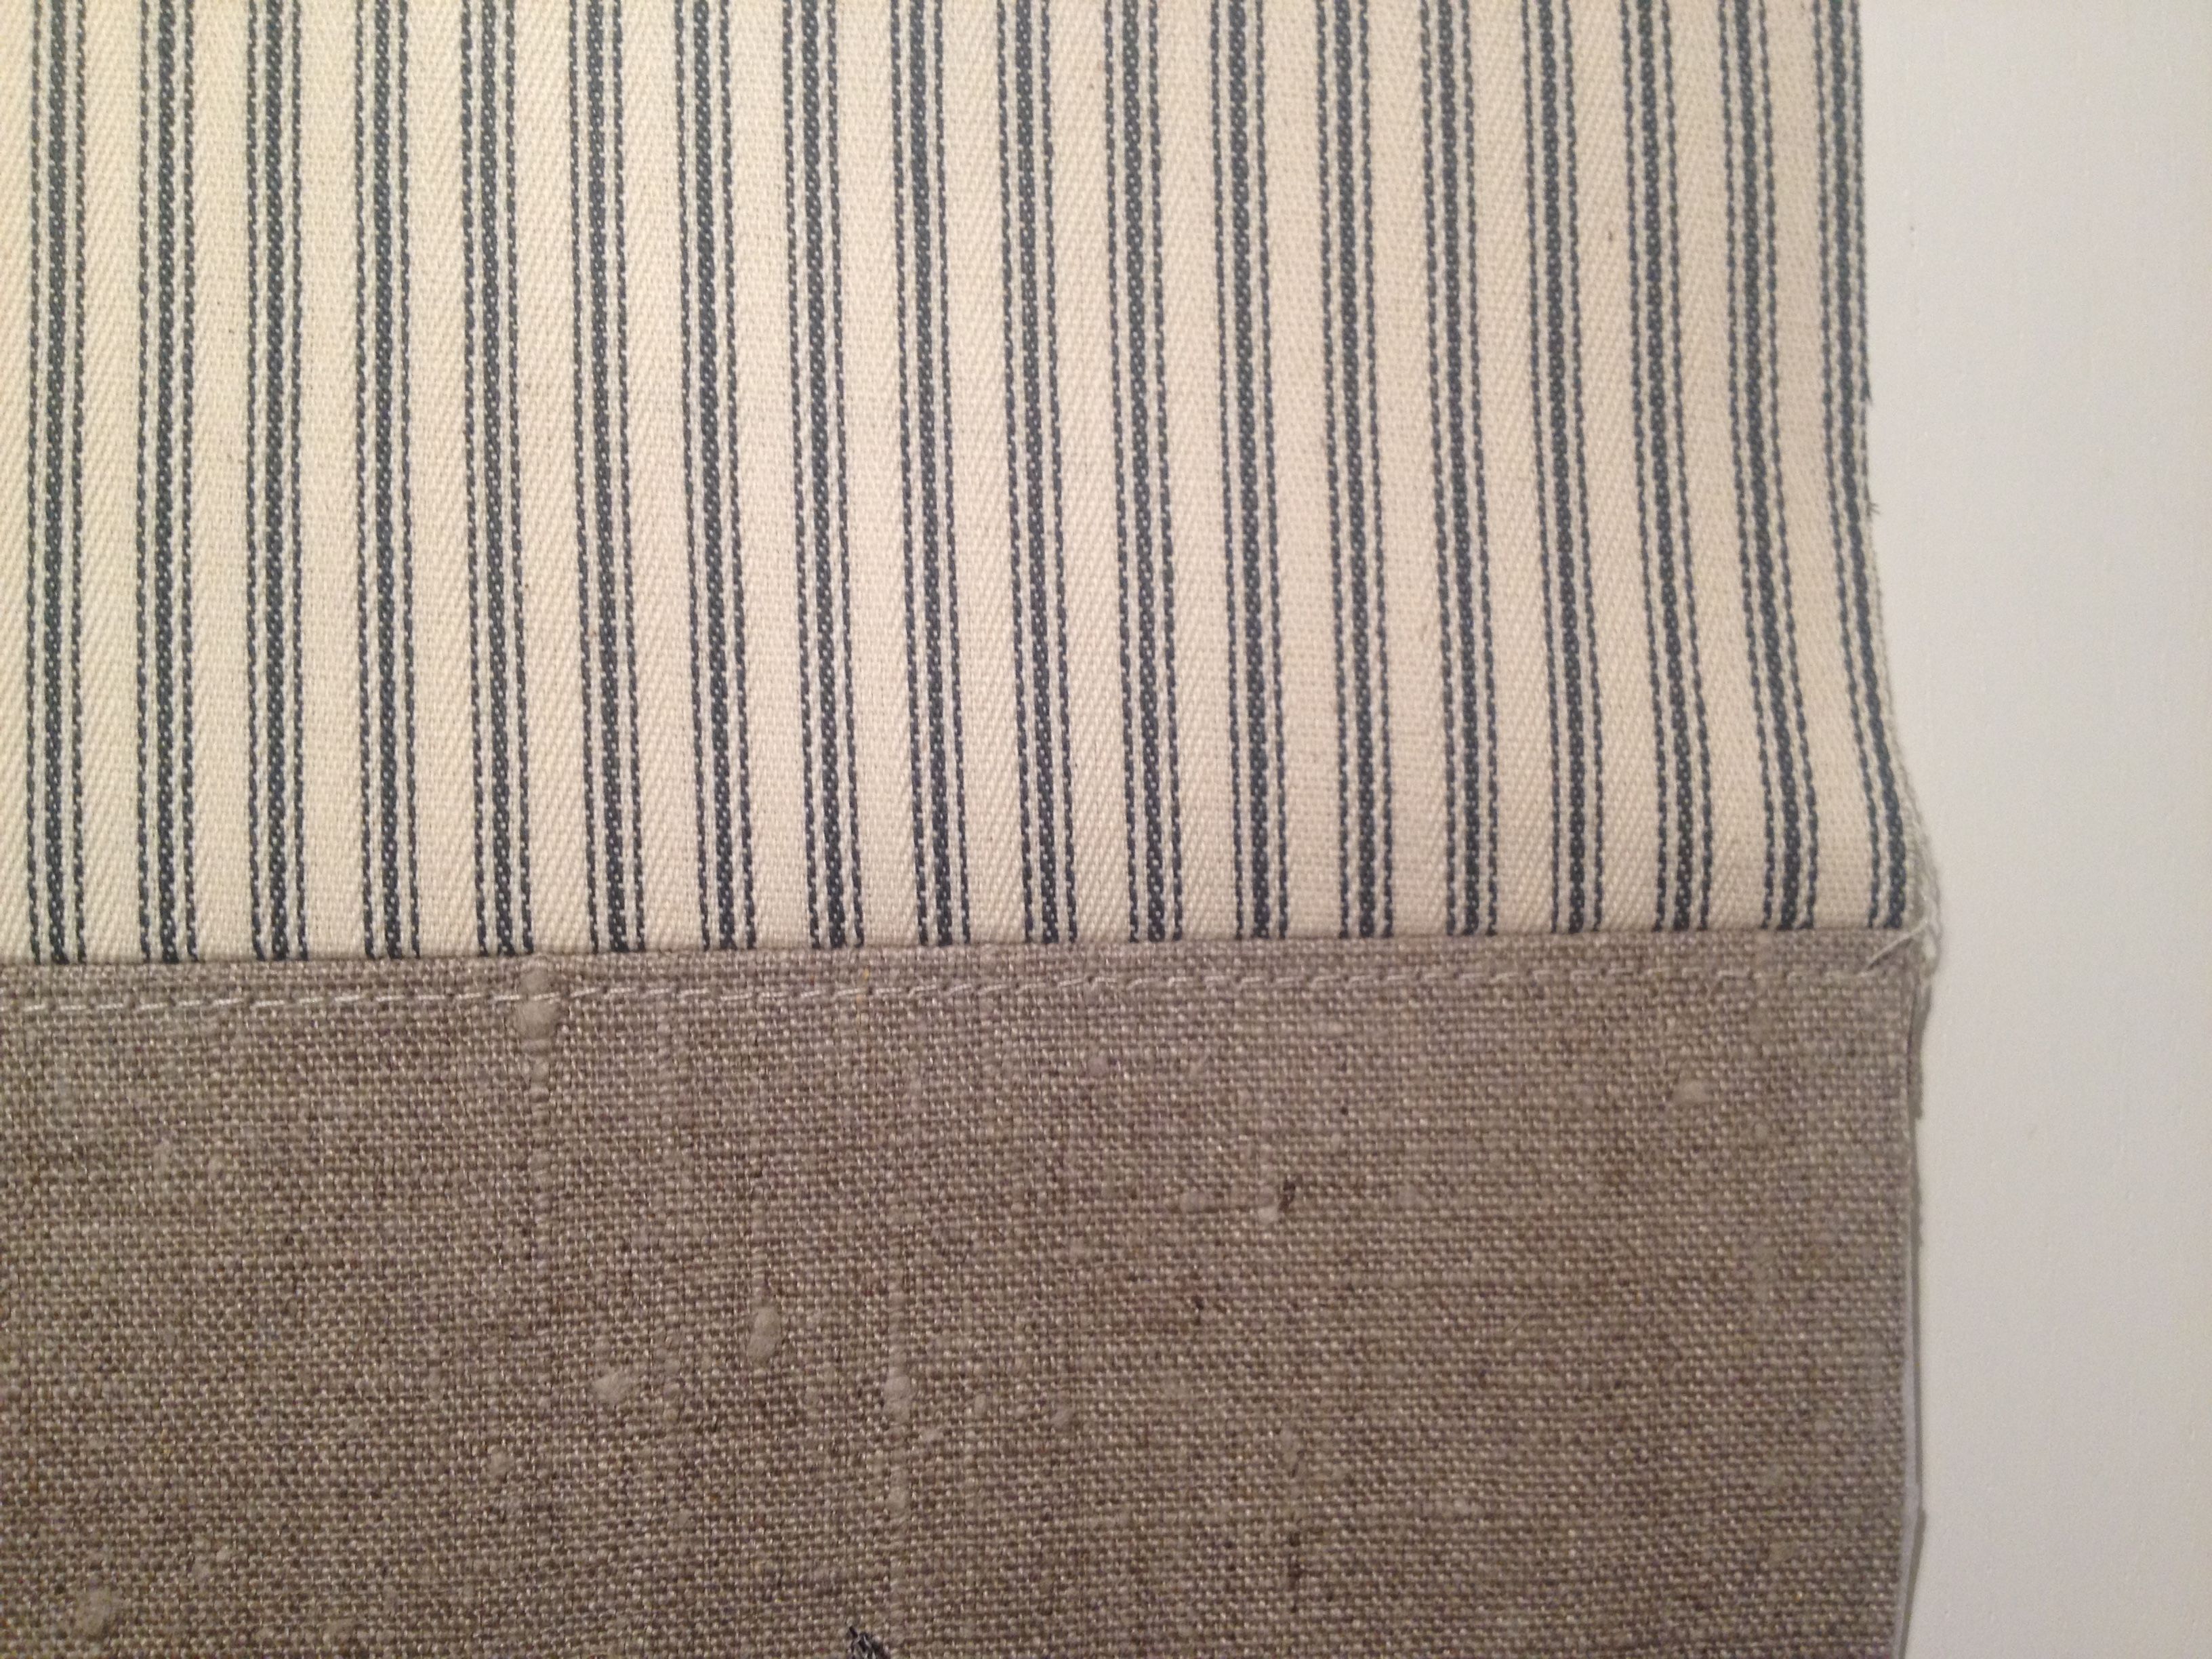
Joining the top panel to the bottom panel
First line up your bottom piece with your top piece for the front and back. Join the top and bottom piece RIGHT SIDES together, by sewing a 1.5cm seam allowance across the width.
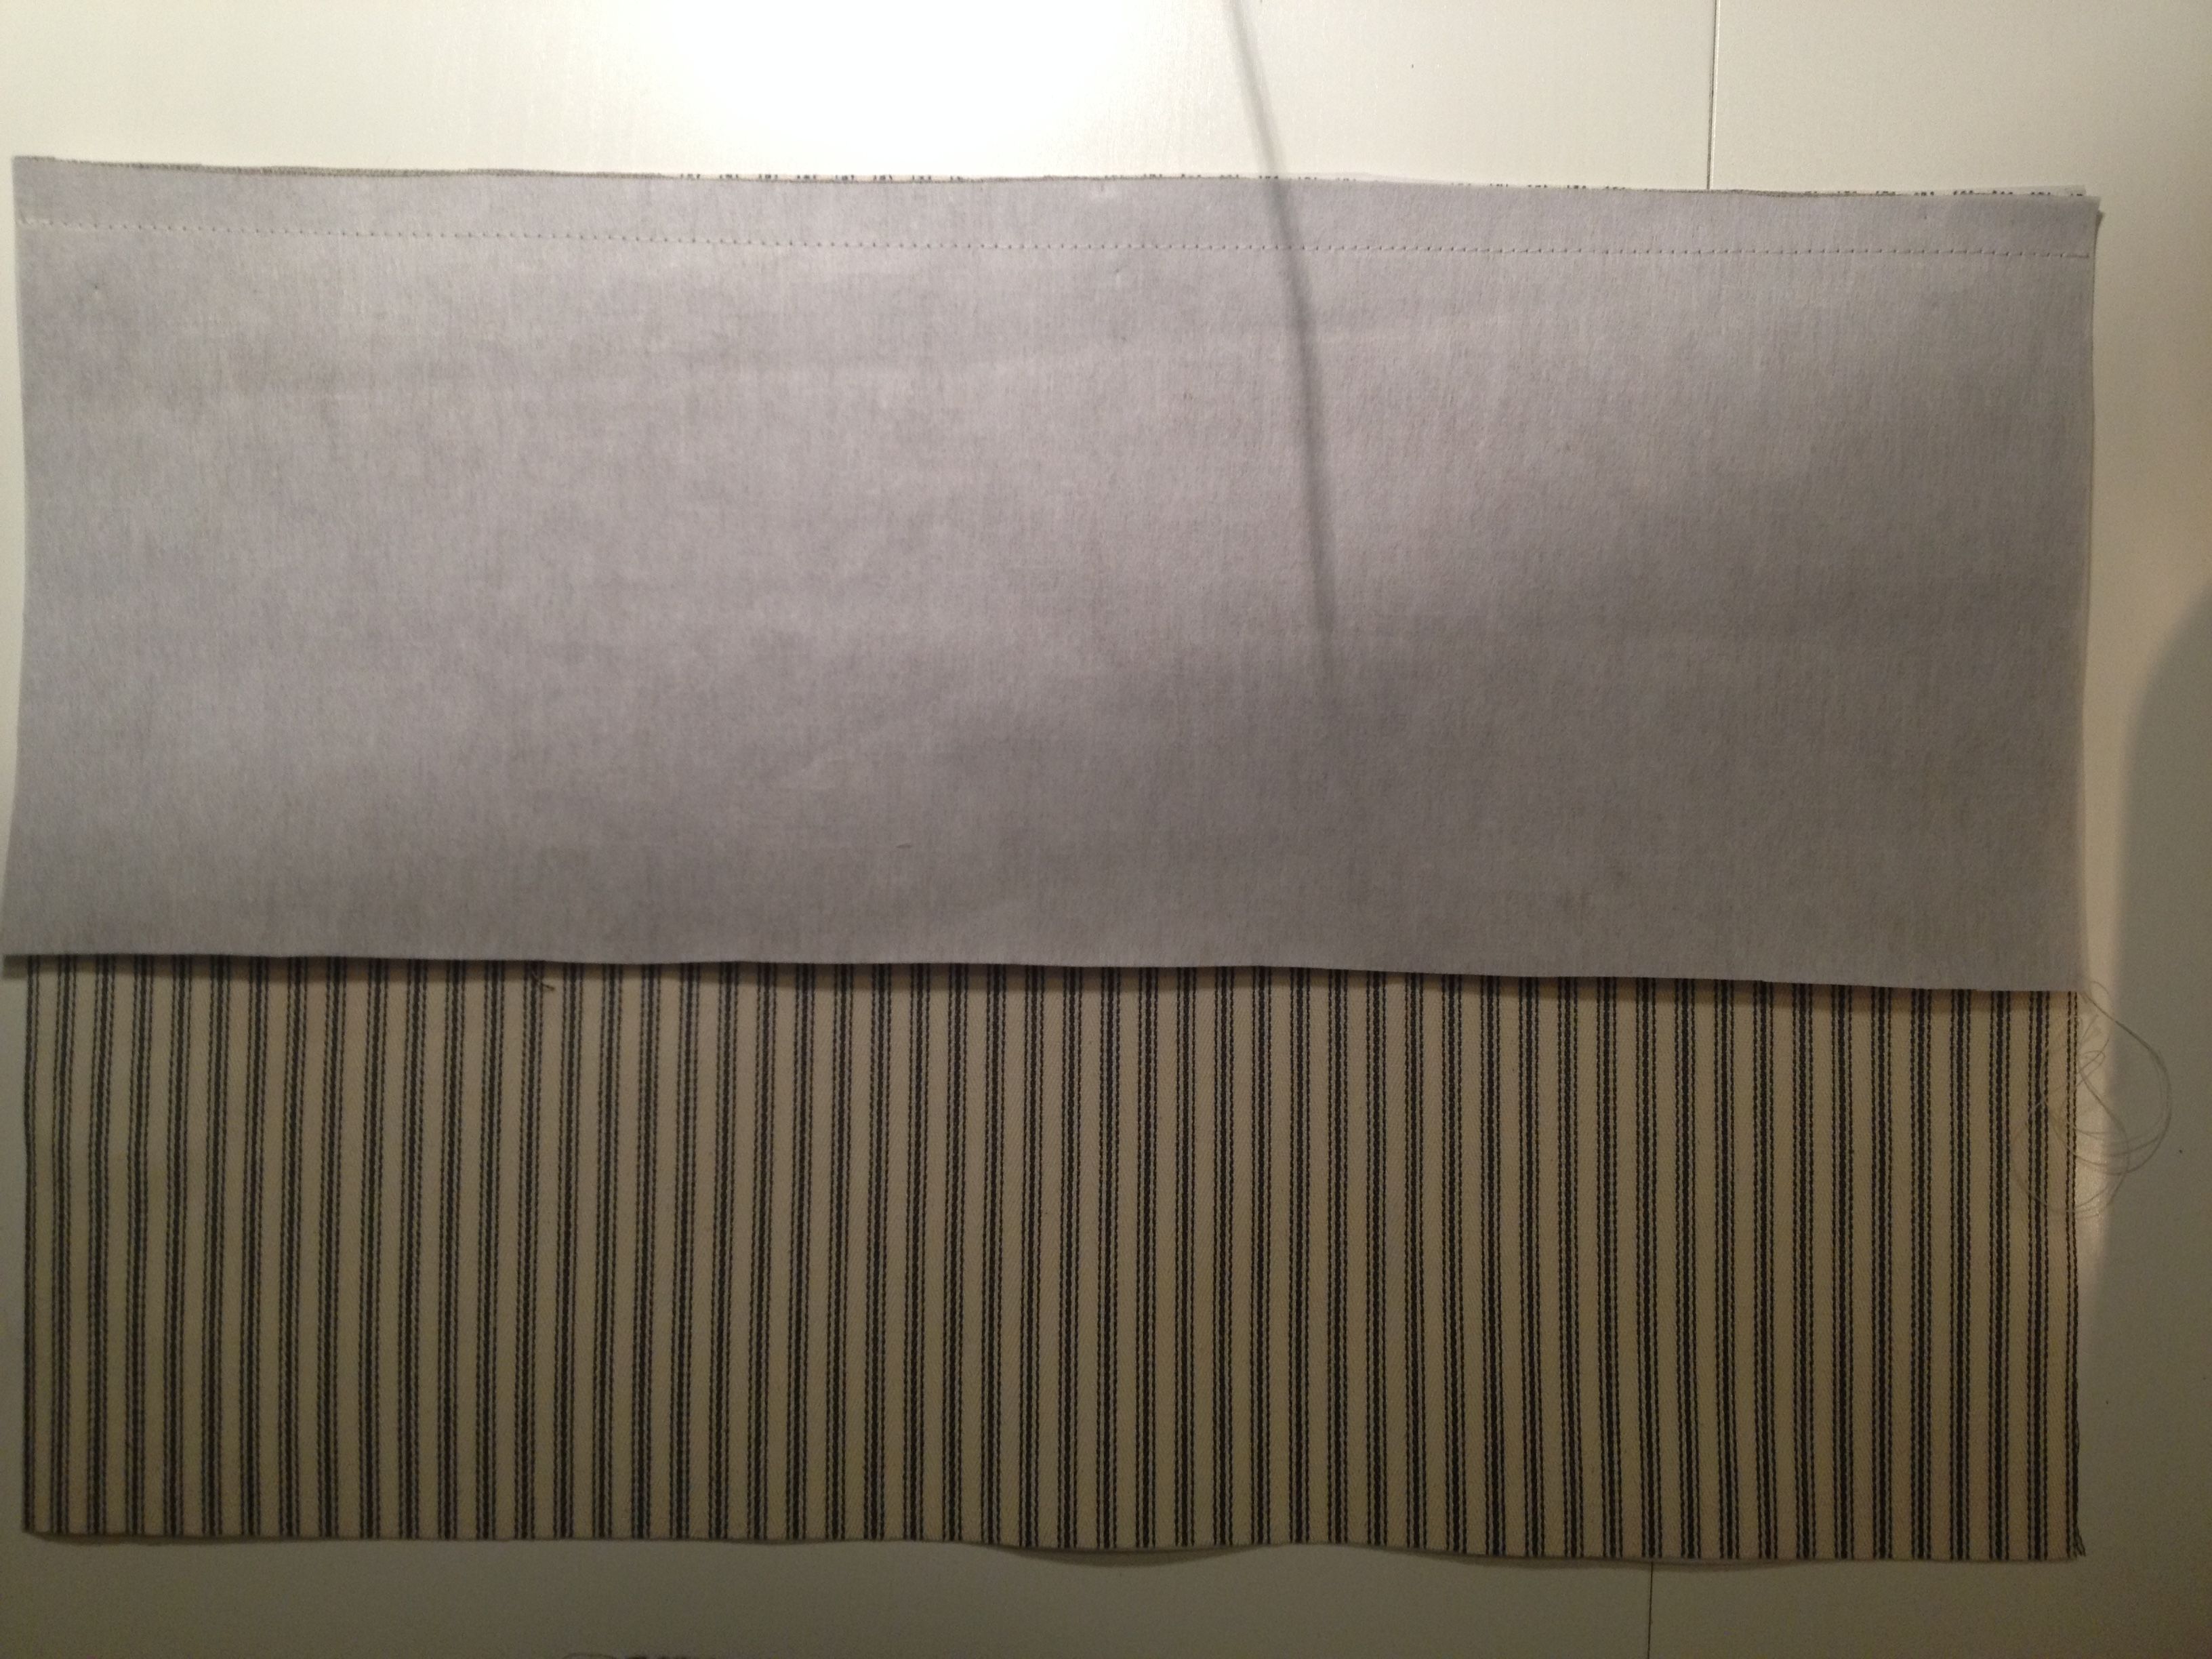
Iron open the seam, turn to the right side and then sew a row of stitches across the width (this is only decorative so if you would prefer not to sew the row of stitches you don’t have to).
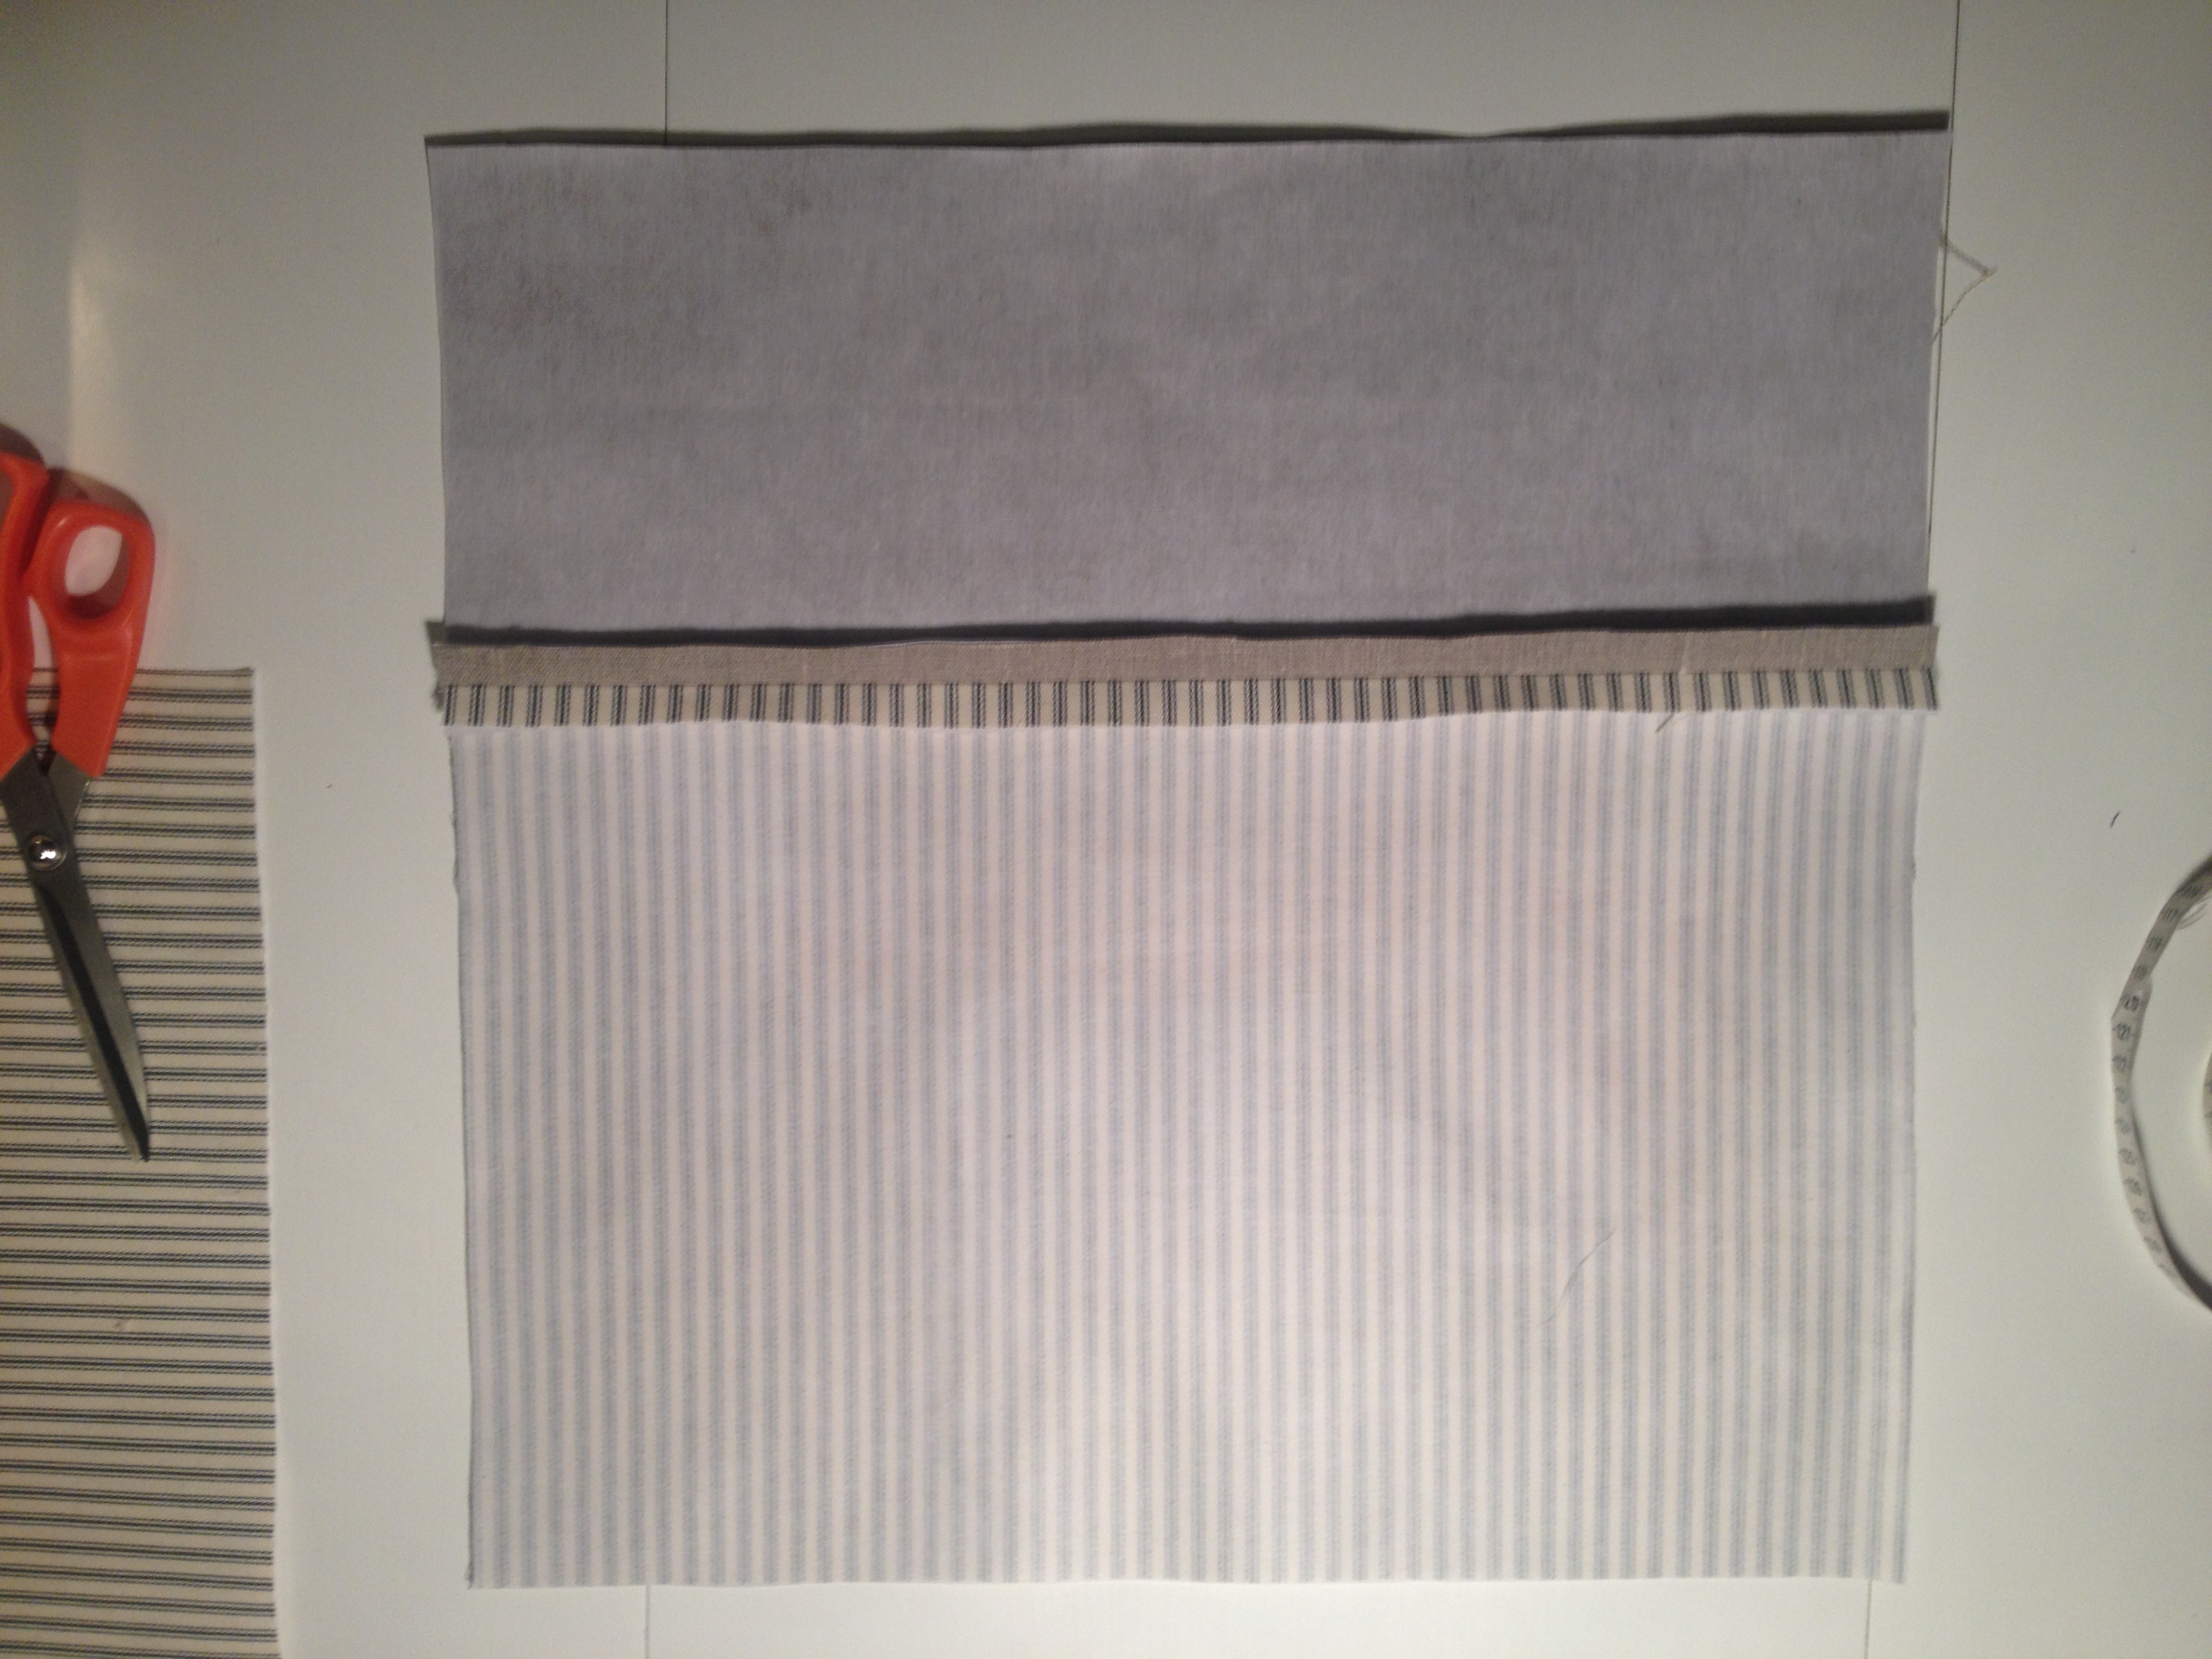
Joining the front and back piece together
Now we are going to join up the back and front pieces. Place them RIGHT SIDES TOGETHER lining up so that the bottom piece and top piece meet beautifully at the sides:
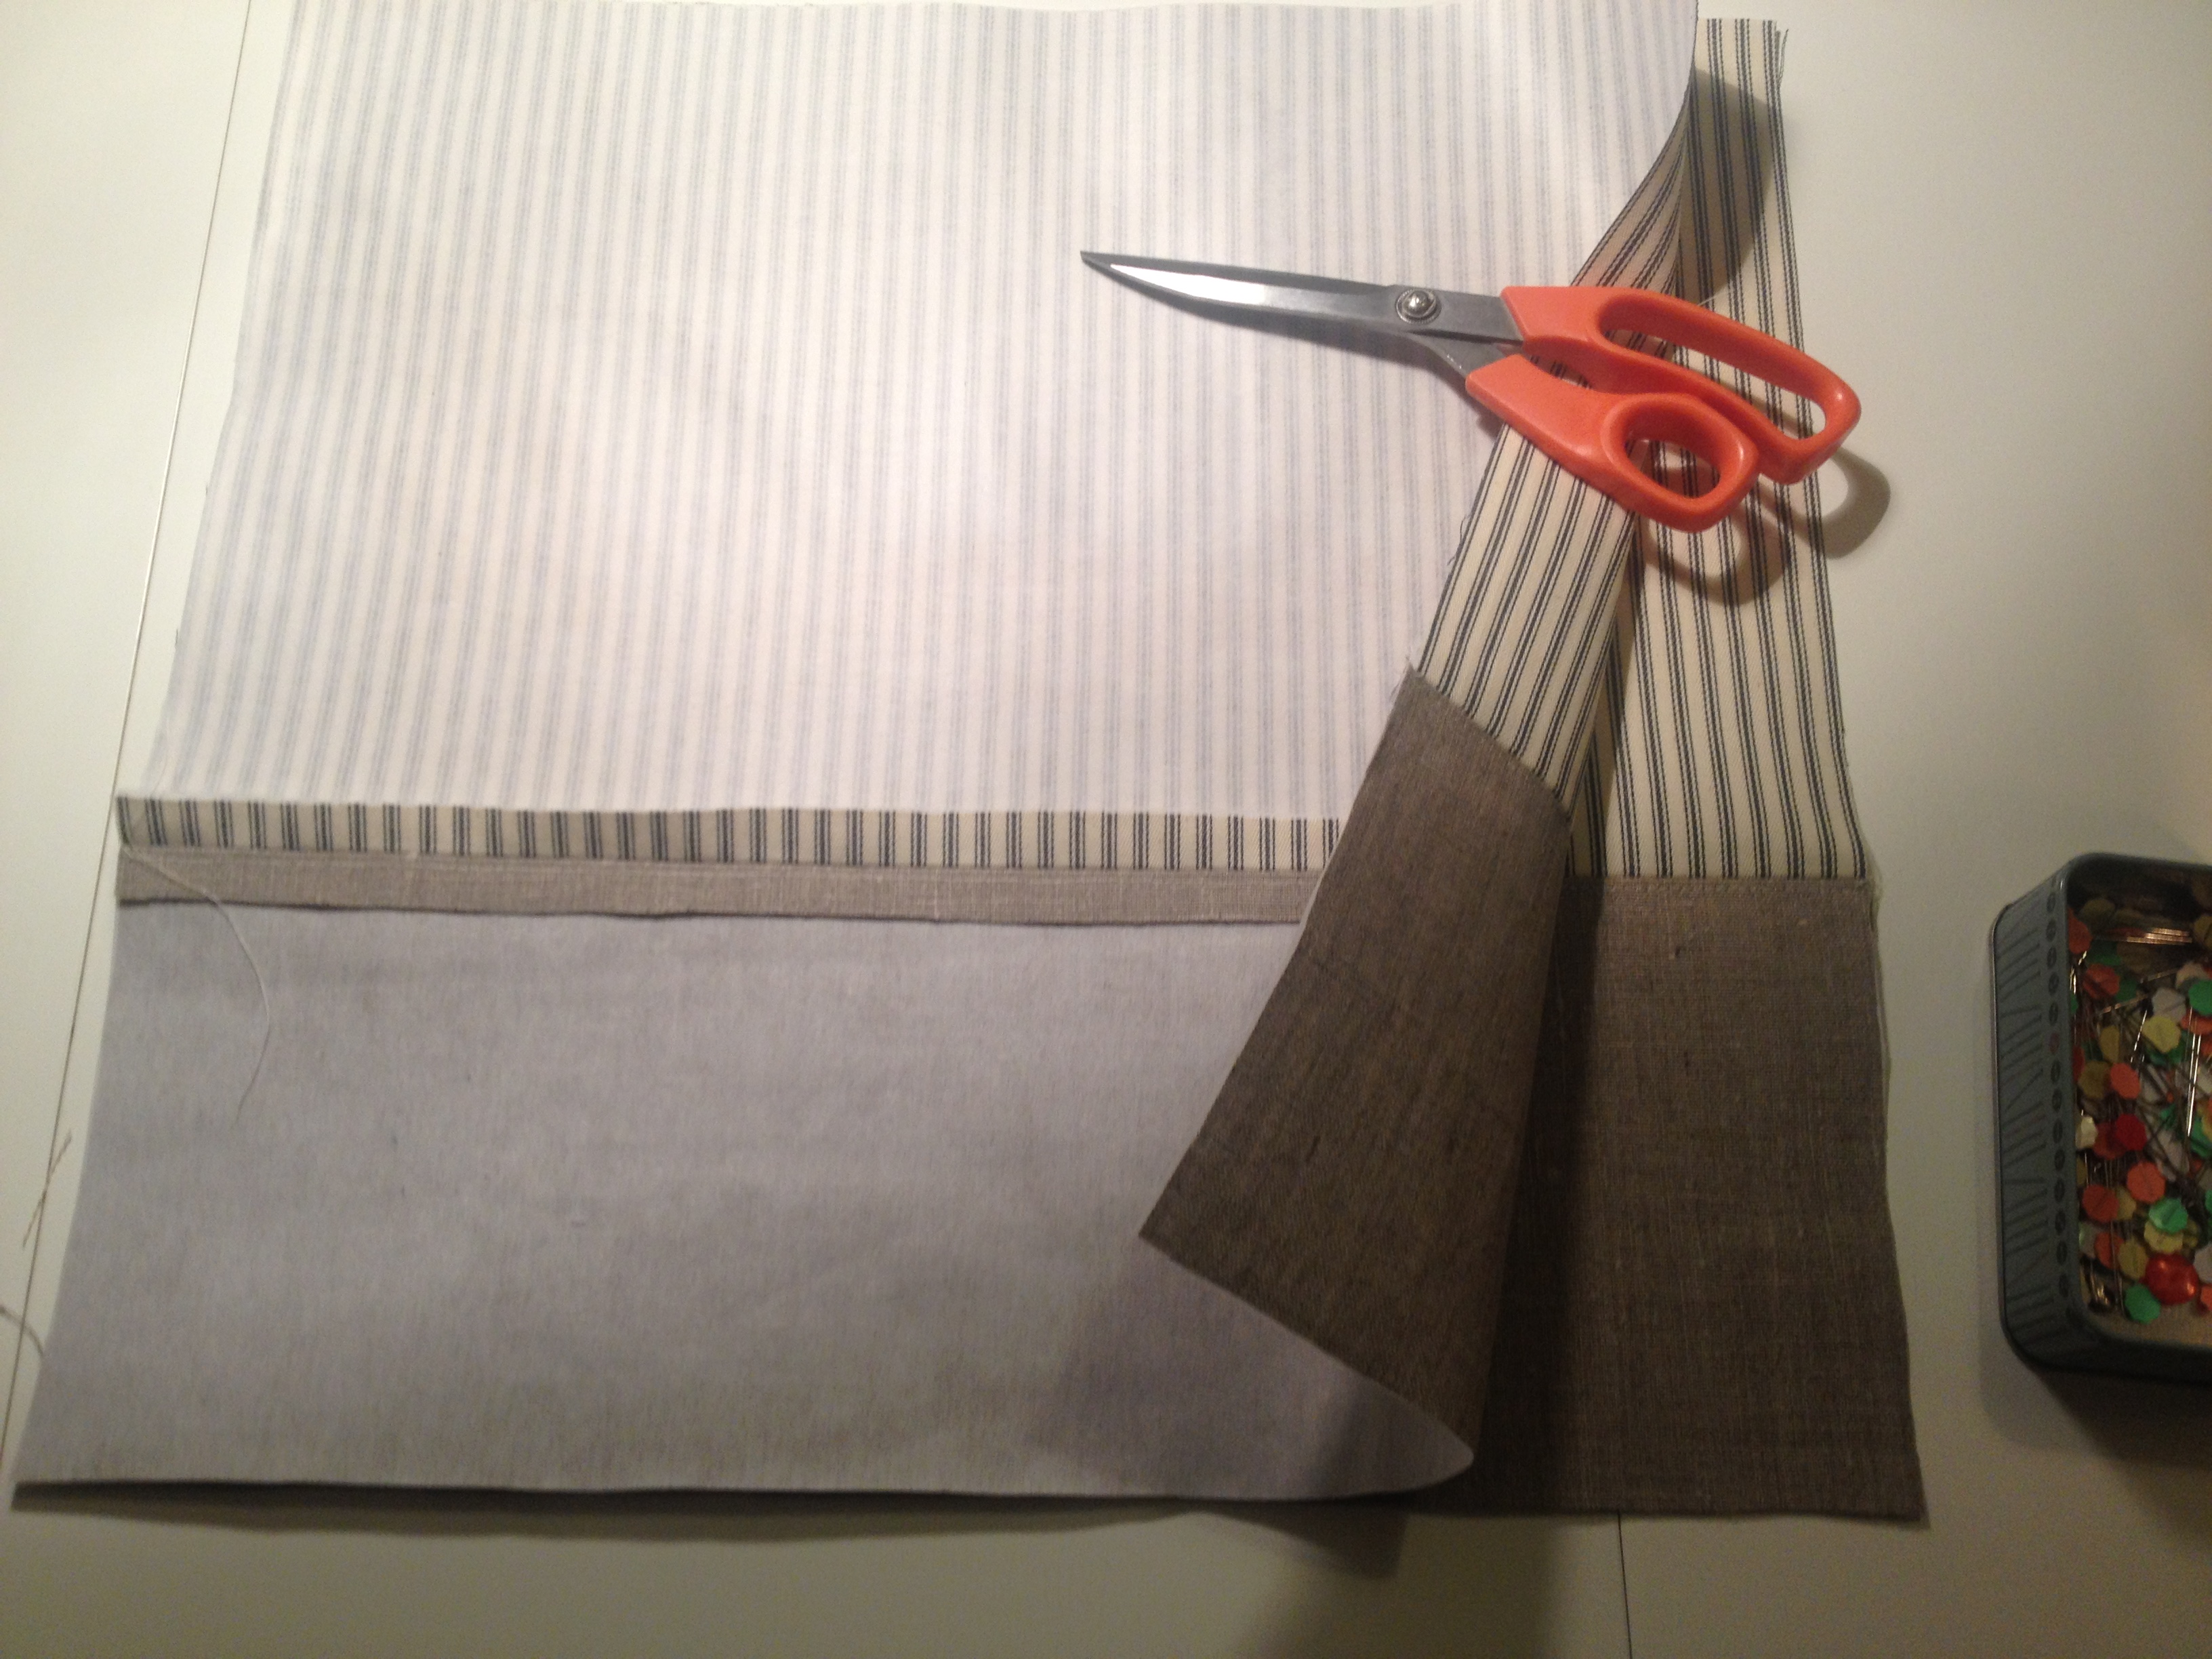
Pin the sides and bottom of the bag ensuring that all the edges match up and the bottom panel matches up all the way around. This is going to make a huge difference in how the quality of your bag is going to look..

This next picture is just to show you what it should look like once it is finished but don’t turn yours the right way around just yet.. this picture is only the example to show you how important it is to line up the bottom and top edges when pinning the front and back together.

Back to your bag…. Sew around where you have pinned, using a 1.5cm seam allowance, leaving the top of the bag open. To make your bag extra strong I would sew around this piece another time (so stitch over your stitches creating a row of double stitches). Iron open the seam allowance and then we are going to move on to the next step – creating a base for the bottom by creating boxed corners.

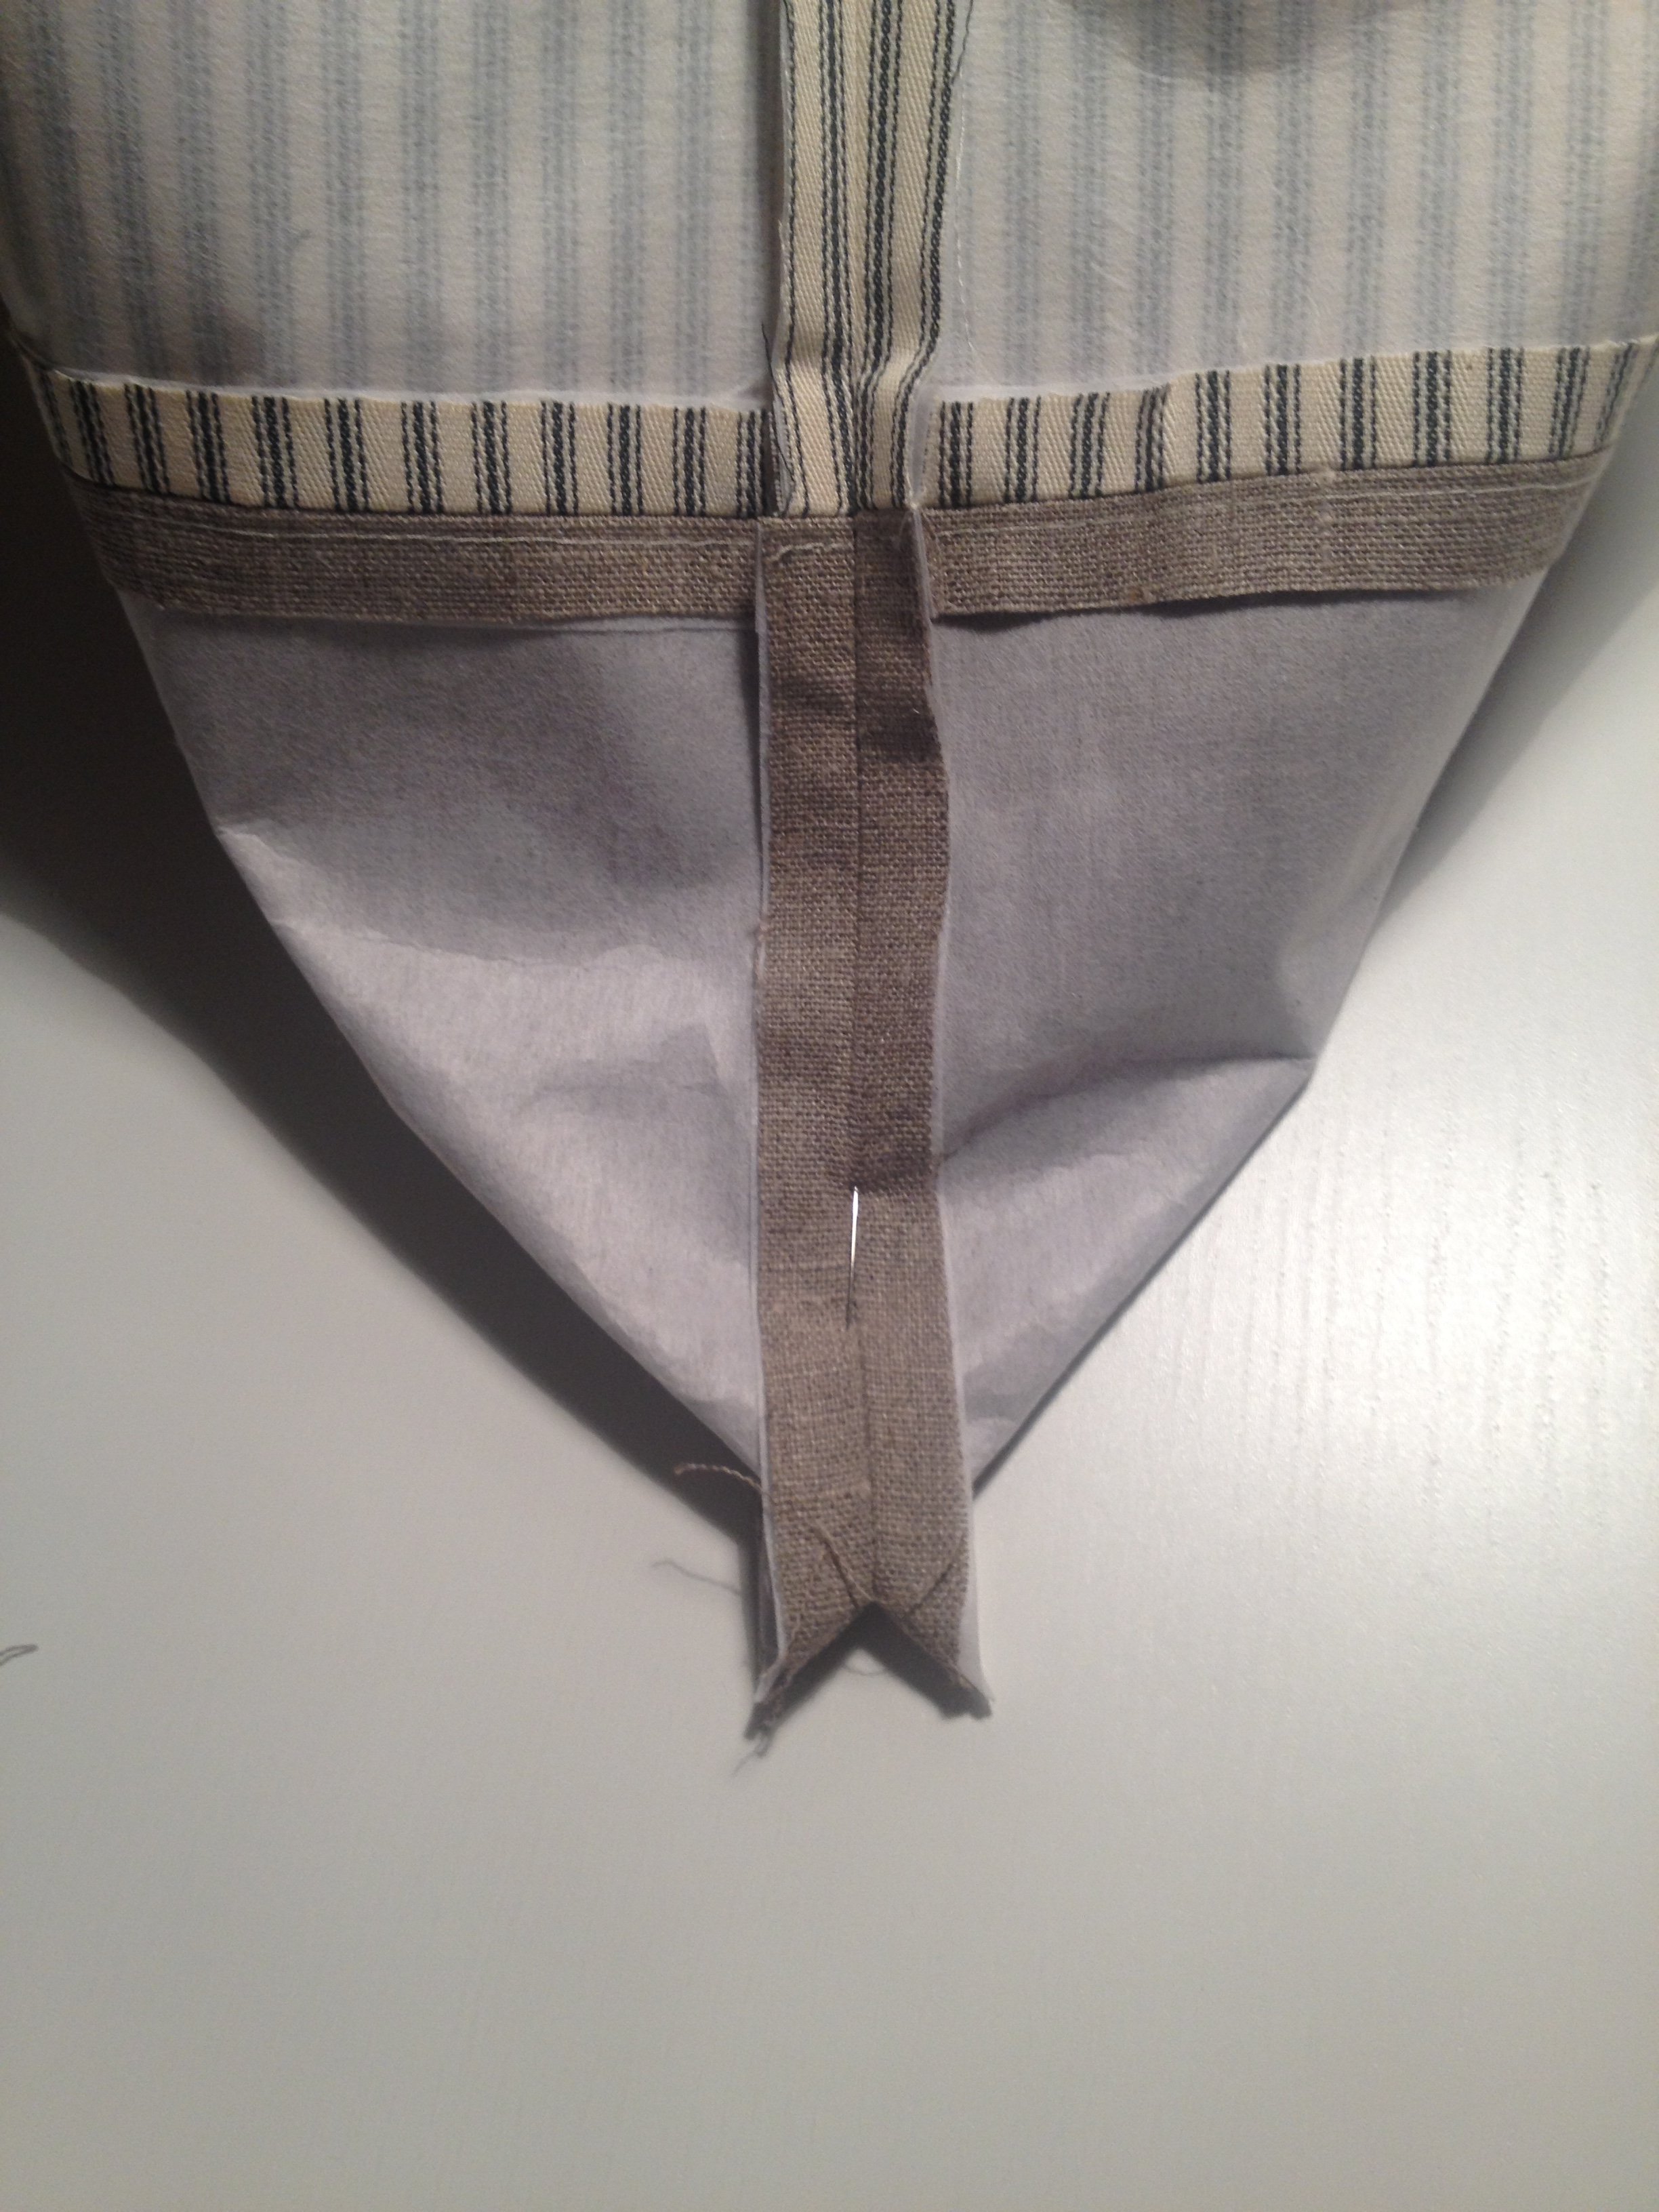
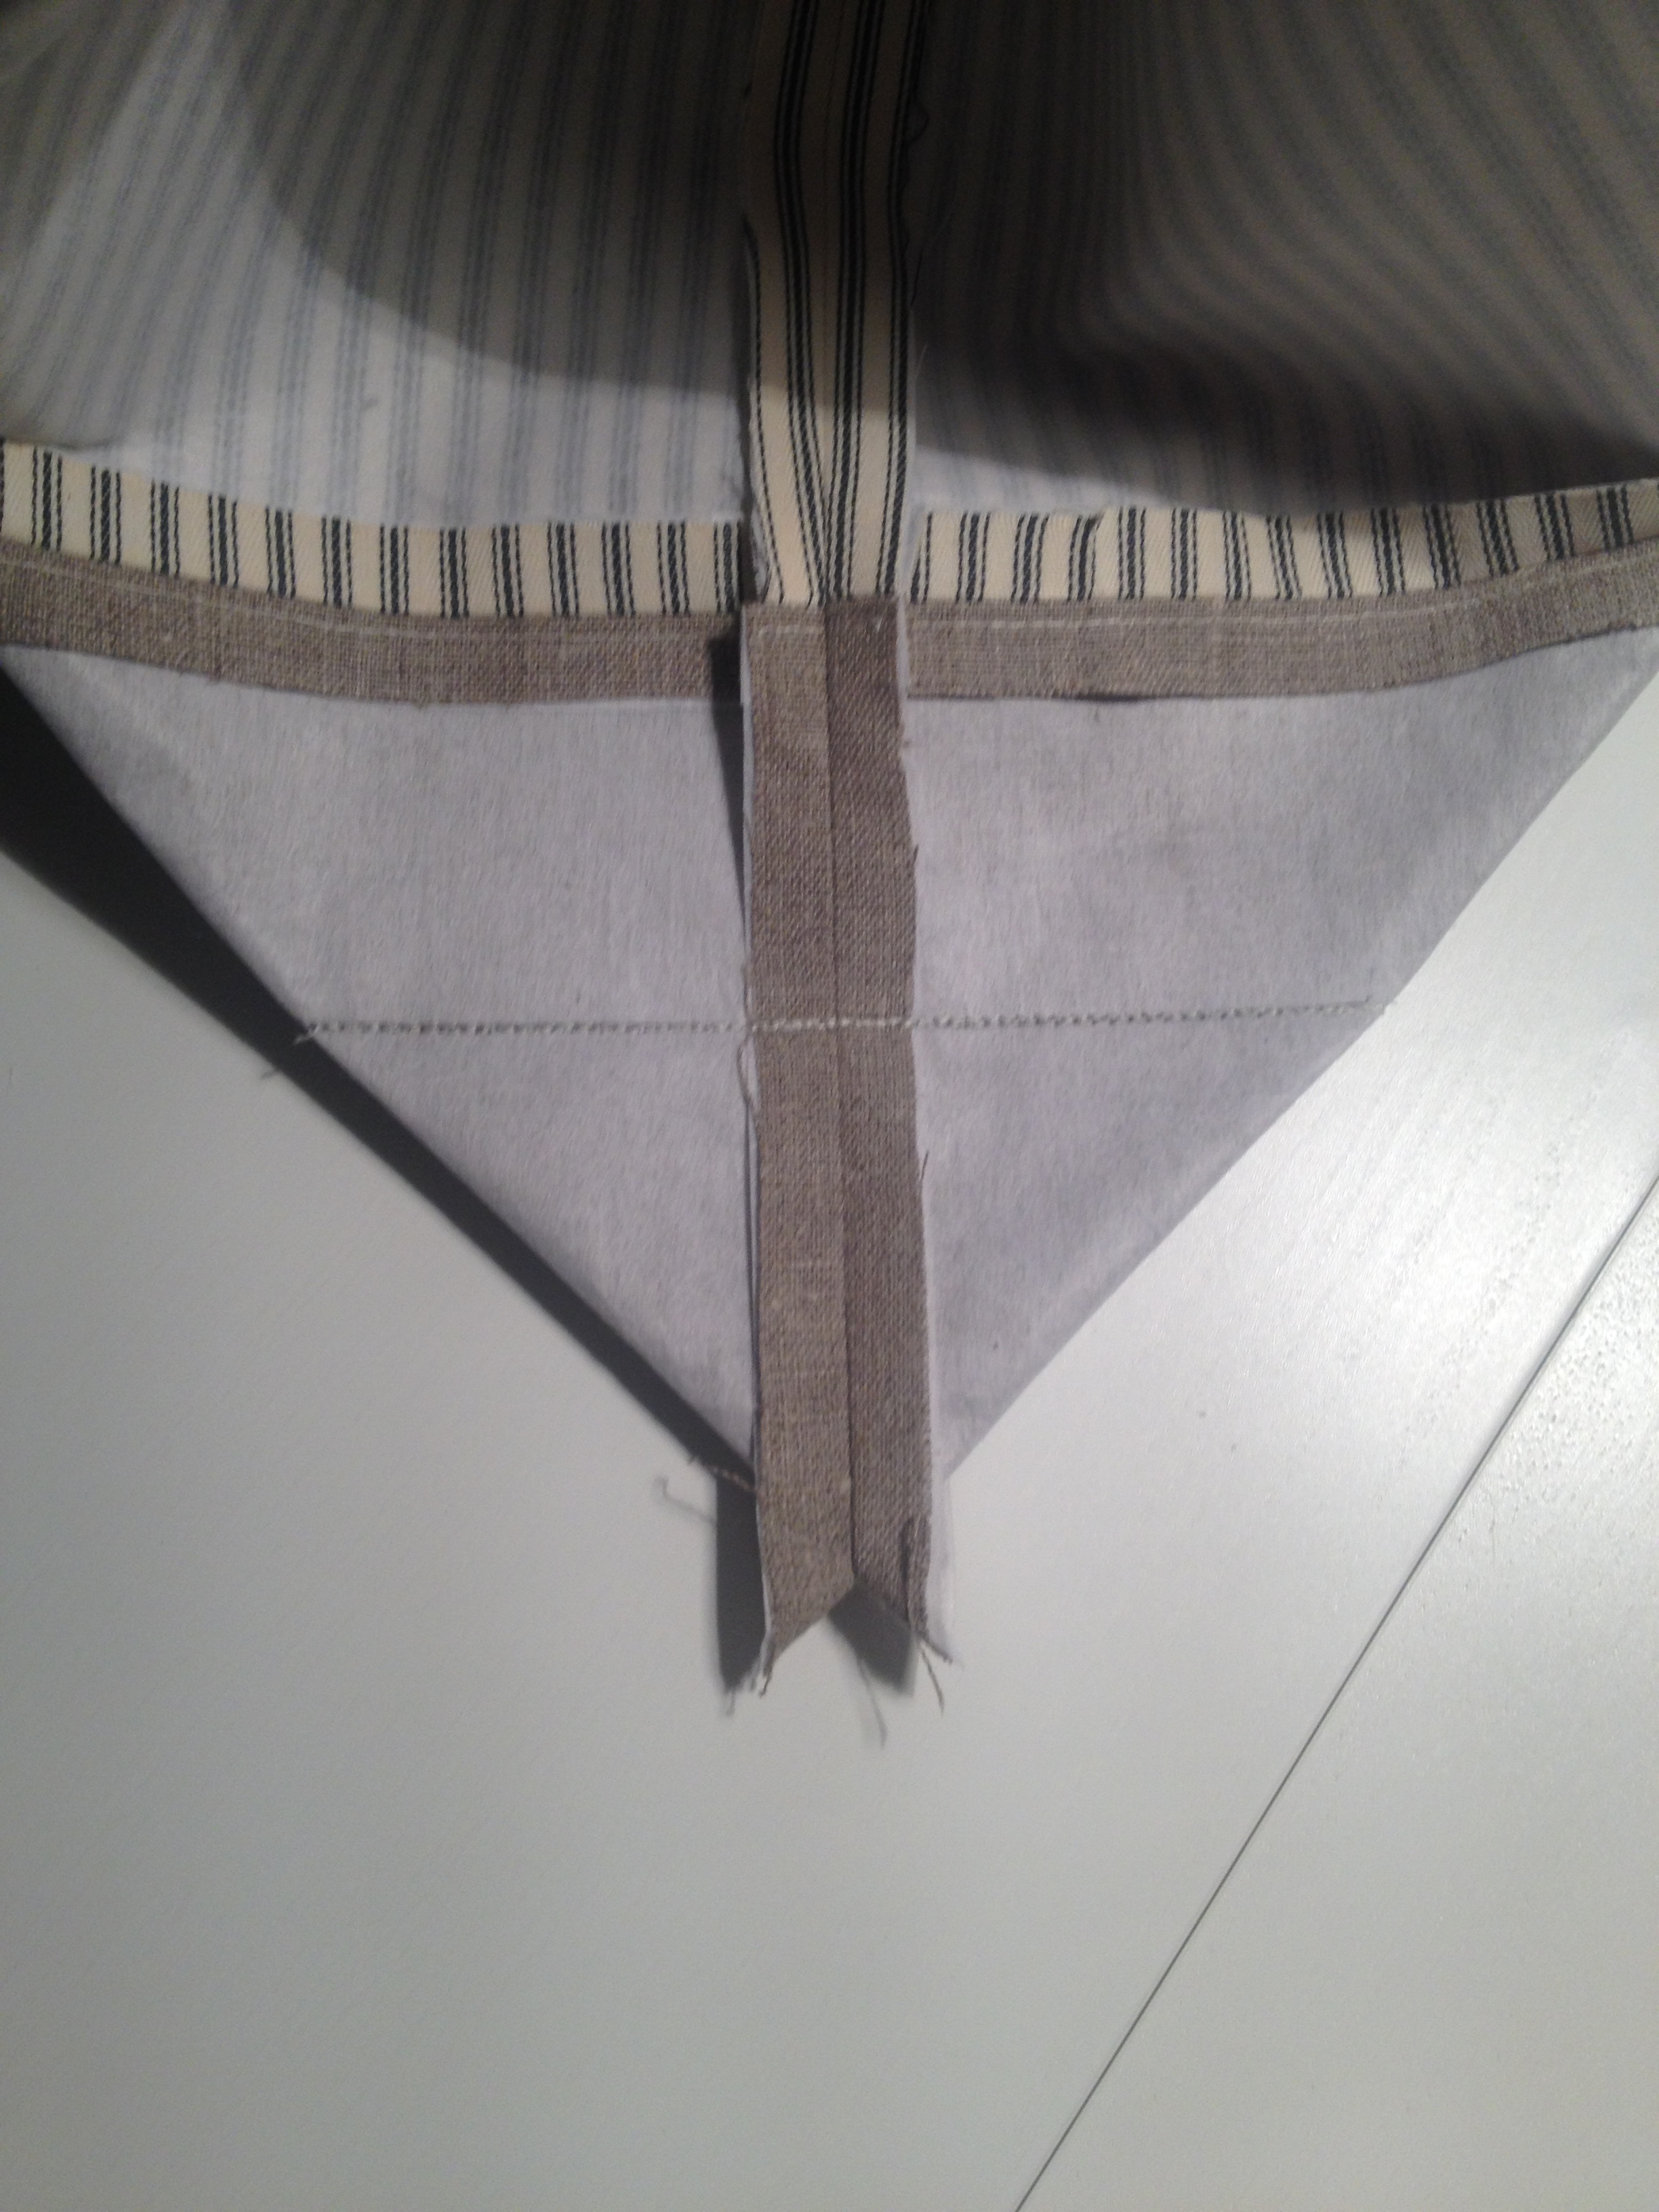
Boxing out the corners
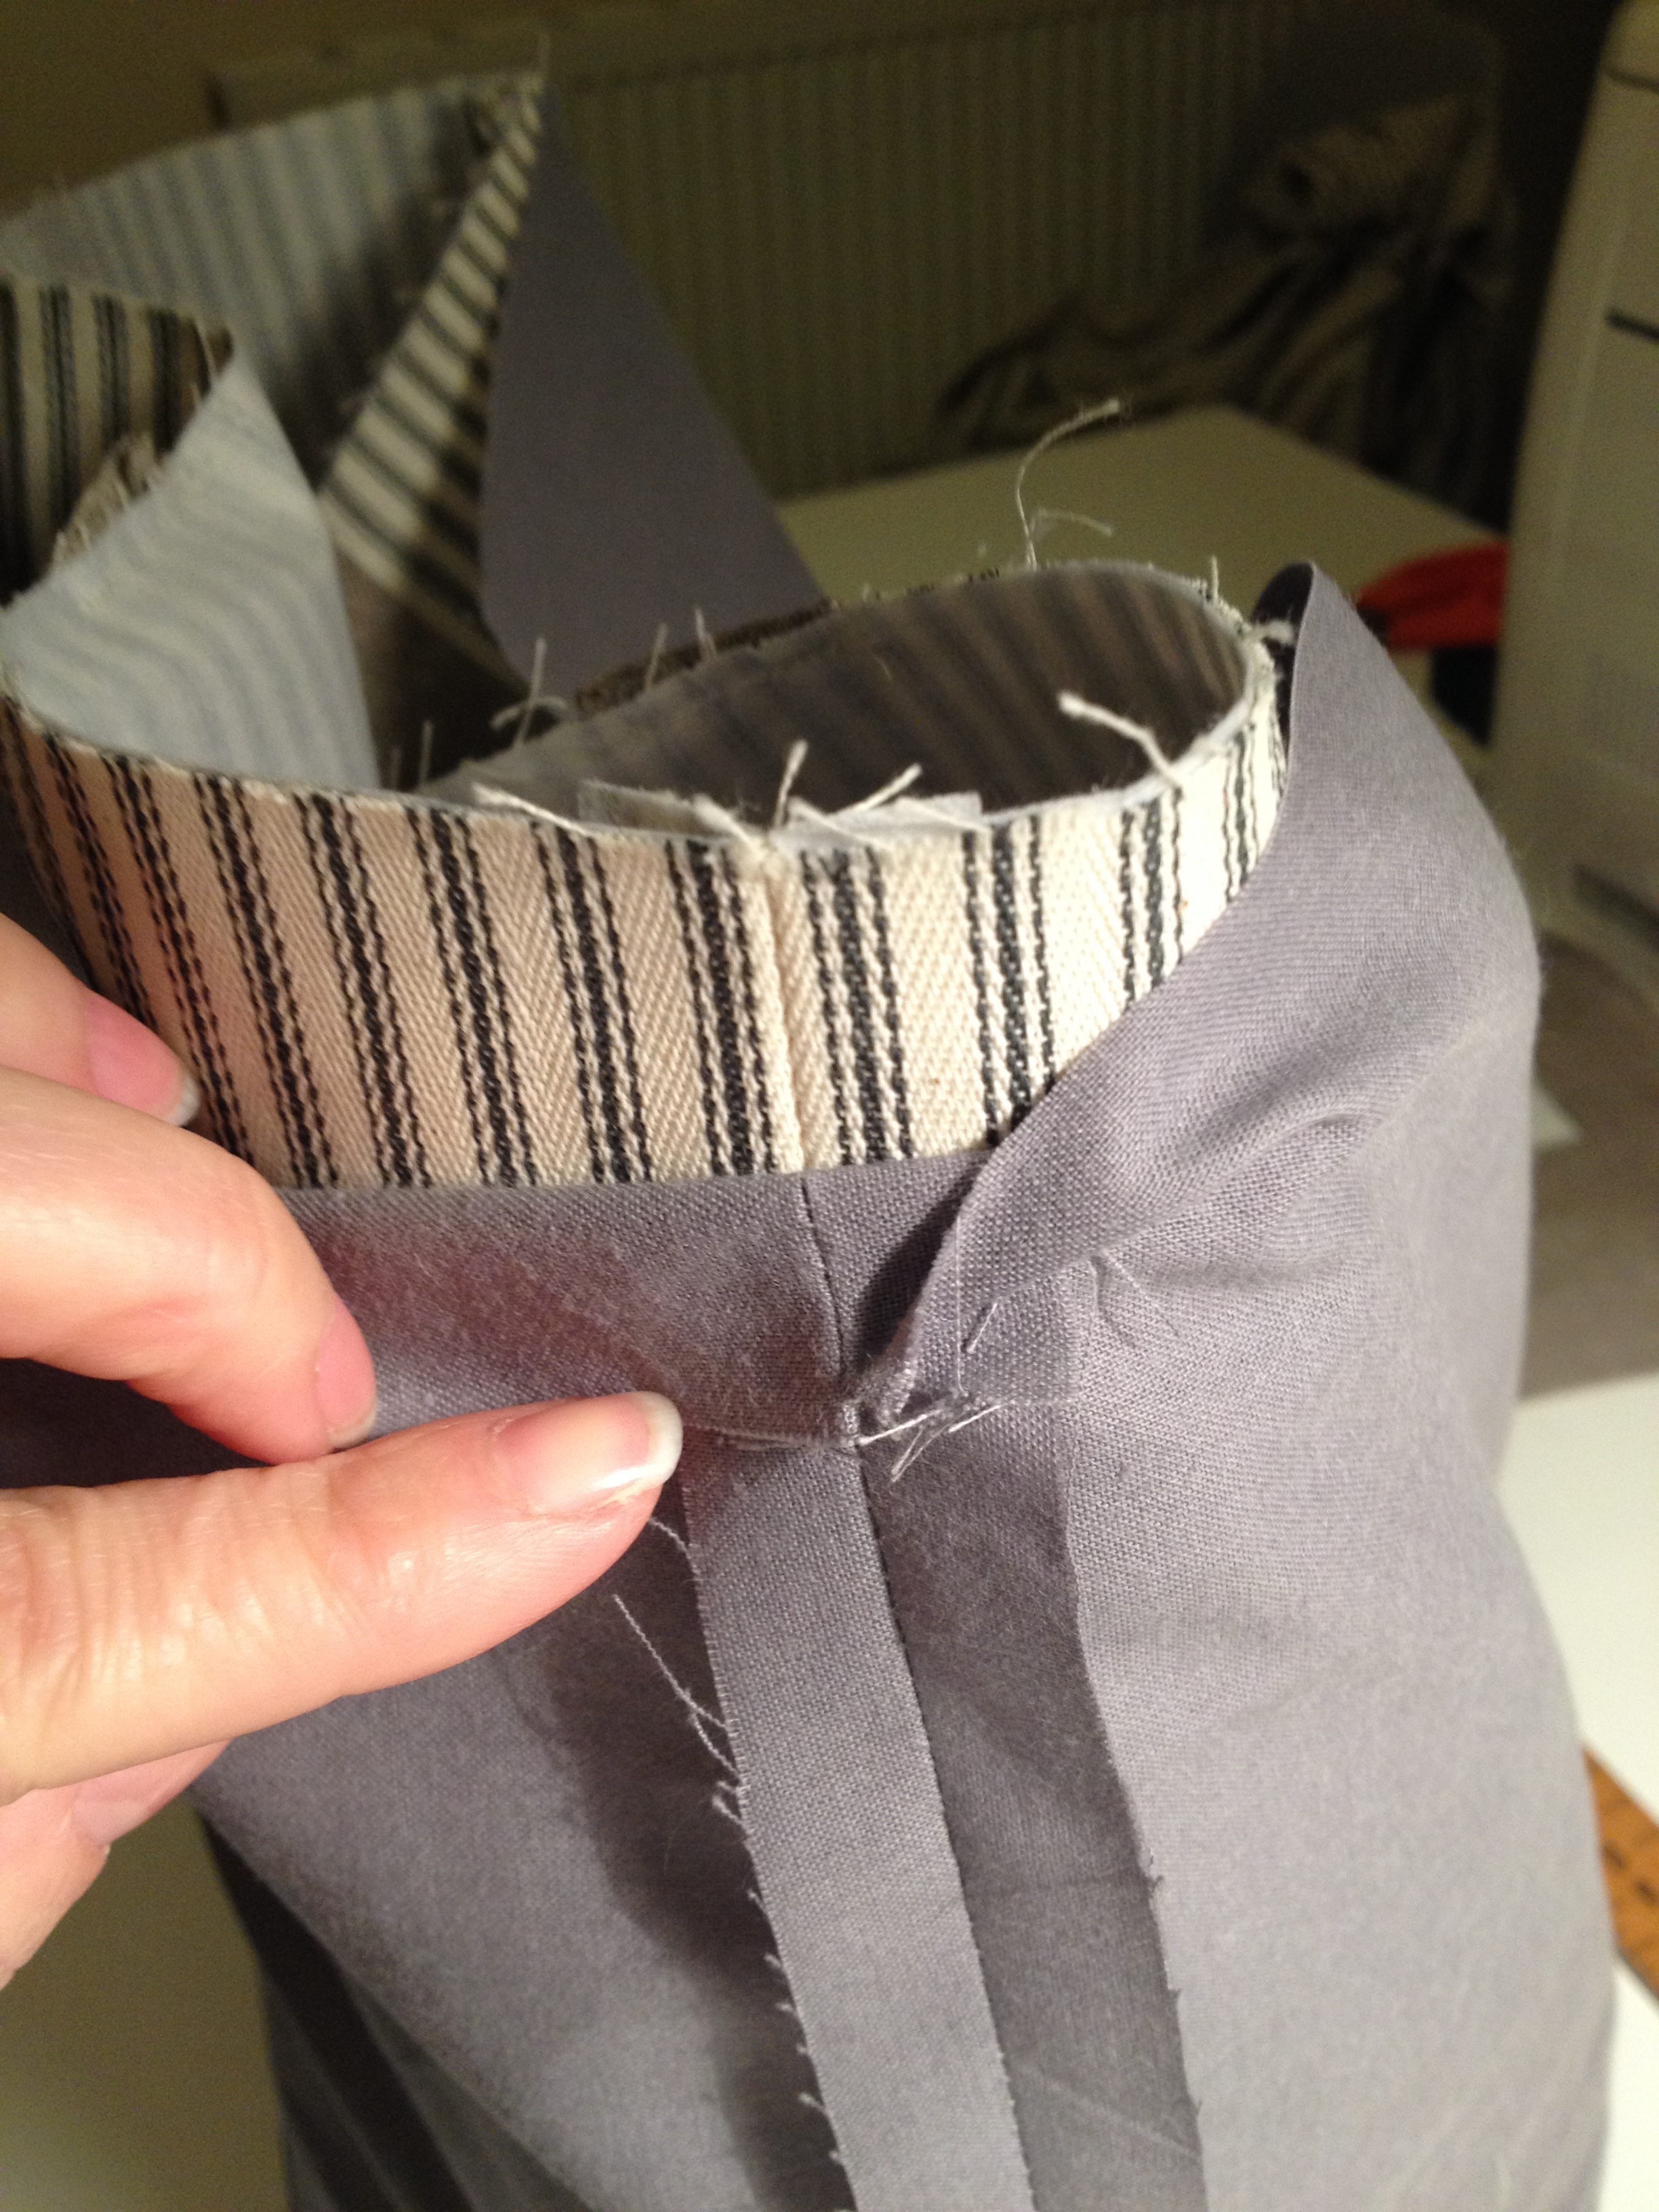
Don’t worry about this next section. I am going to take you through each step. We want our tote bag to be able to carry lots of our lovely sewing things and it therefore needs a big bottom. The only way to do that is to sew the side seam and the bottom seam together and create a “boxed” corner. Read through this section before doing it so that you can see what we are trying to achieve.
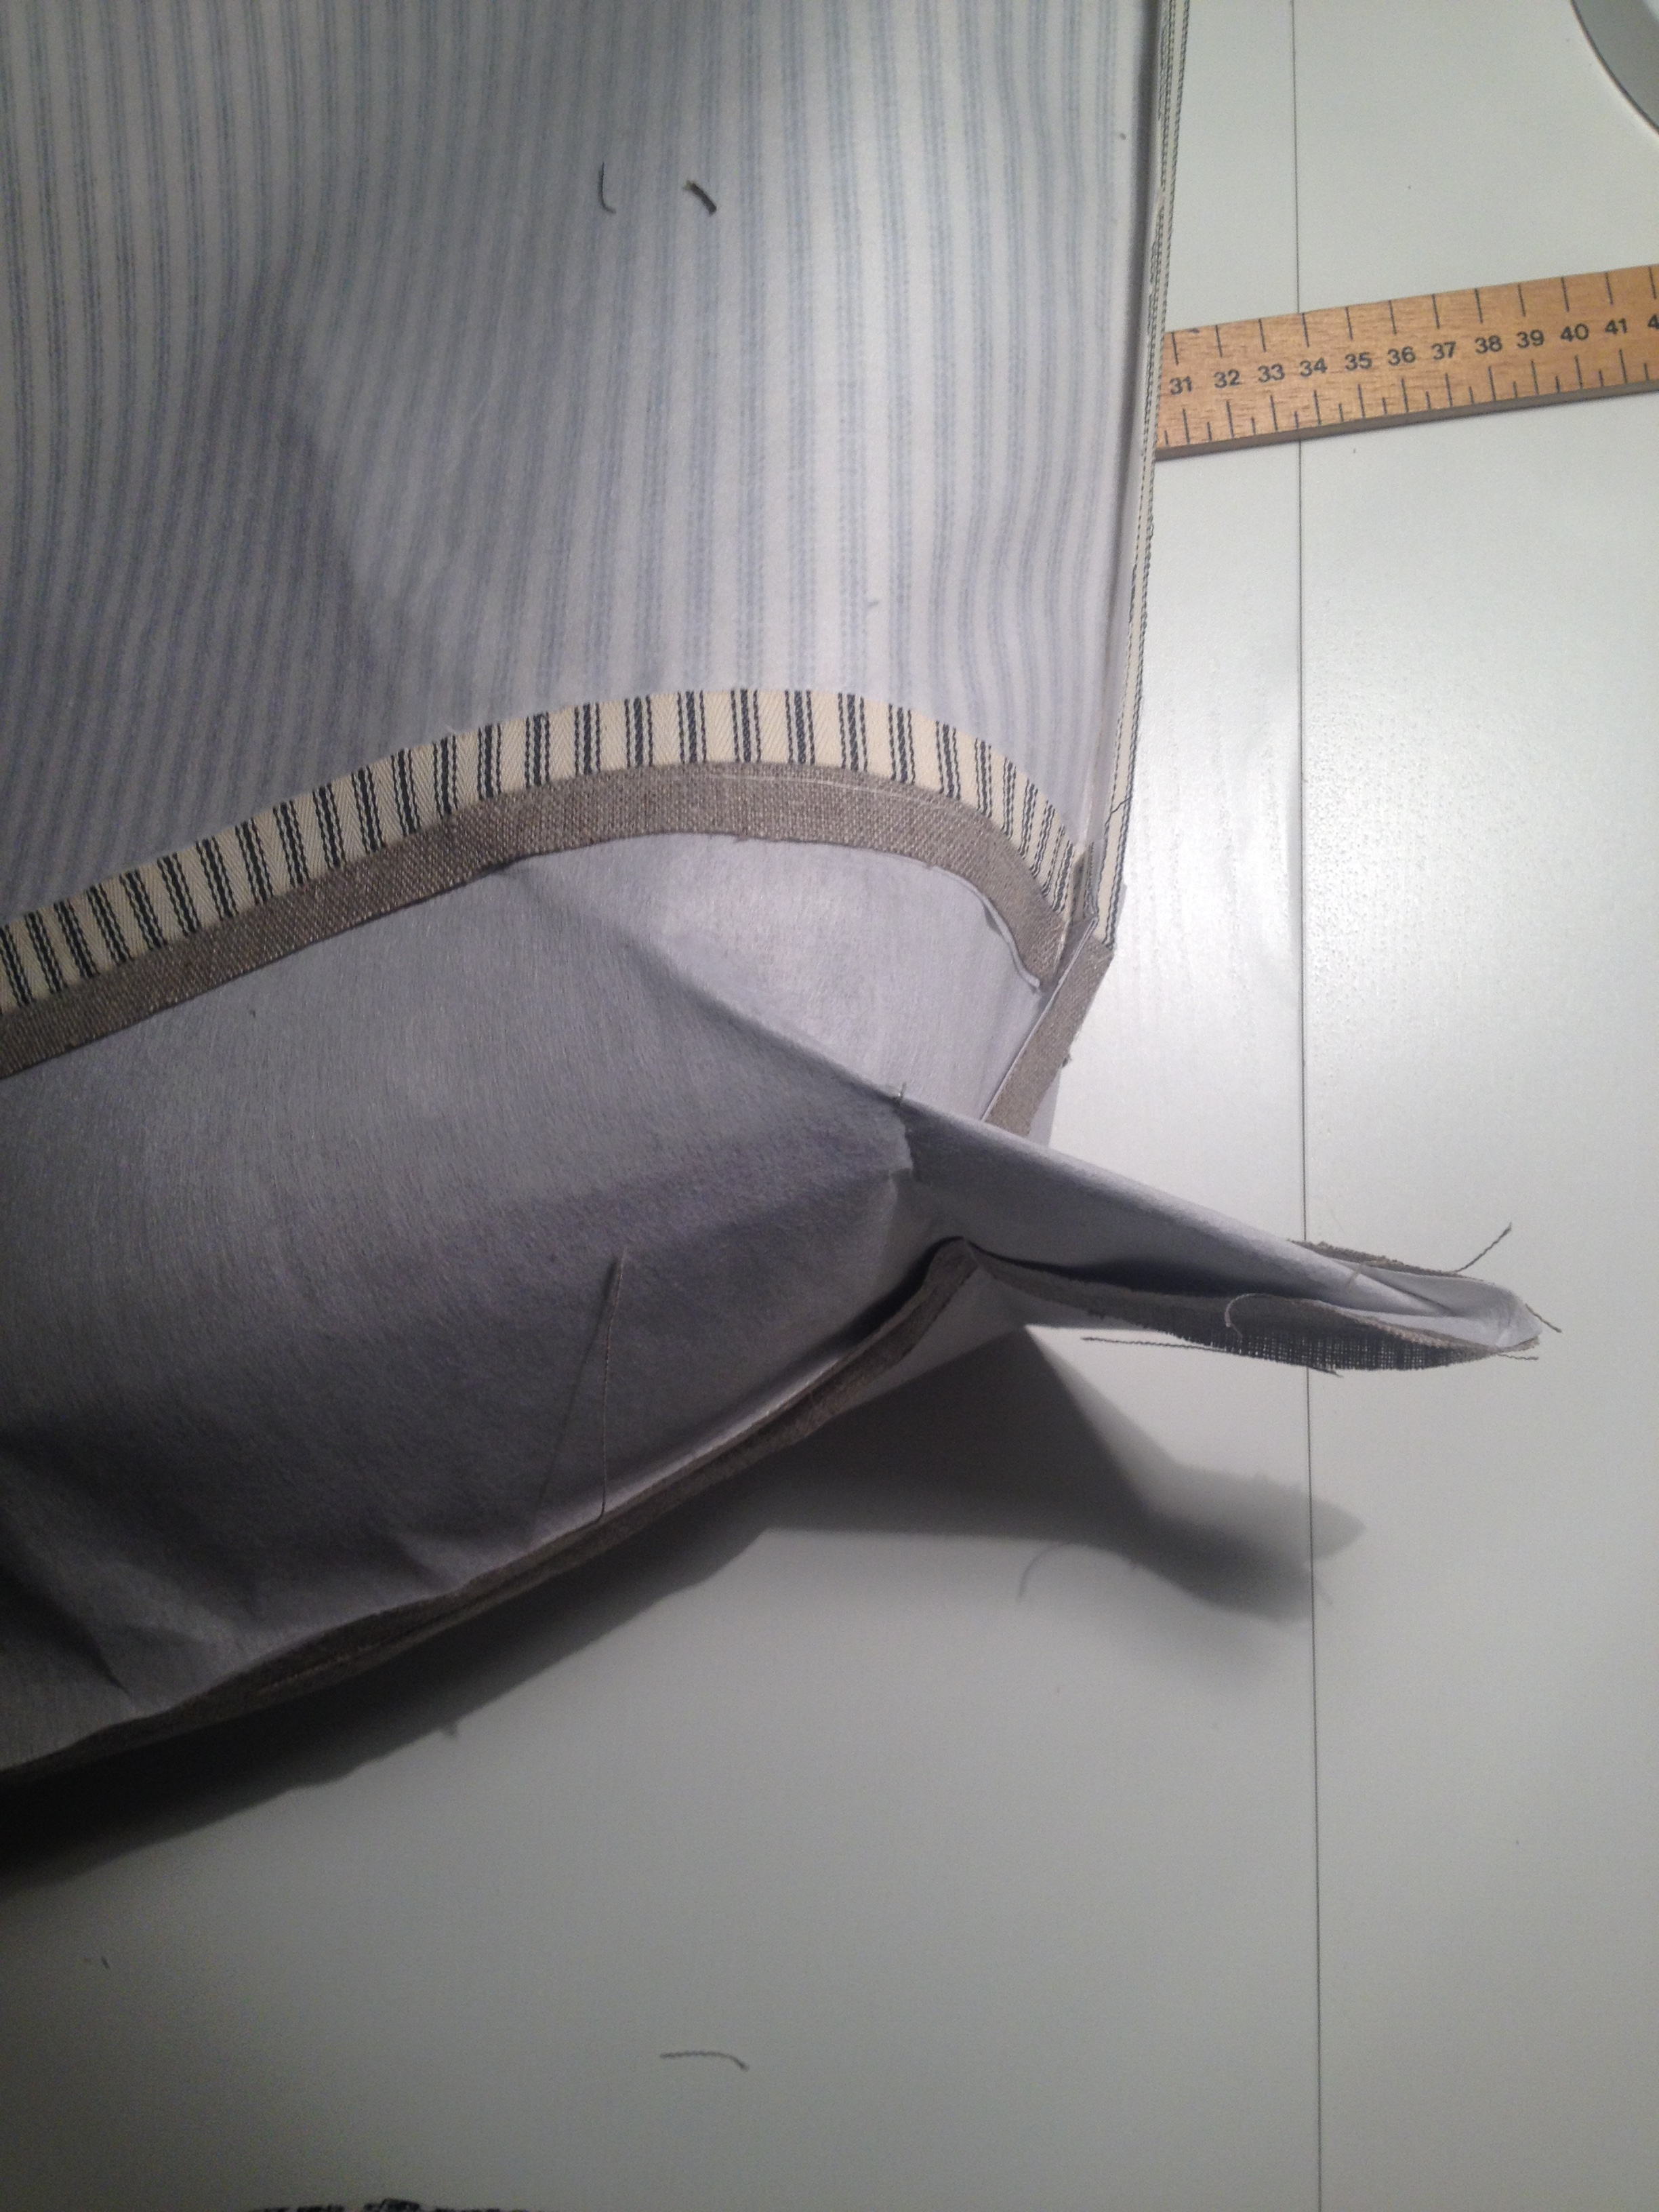
Pinch the side seam and the bottom seam so that they meet. It will feel a bit odd and will also look a bit odd but you want it create a triangle shape. You will need to be pretty firm with the bag to “force” it into this shape. Push it down so that the seams are laying open and flat against each other.
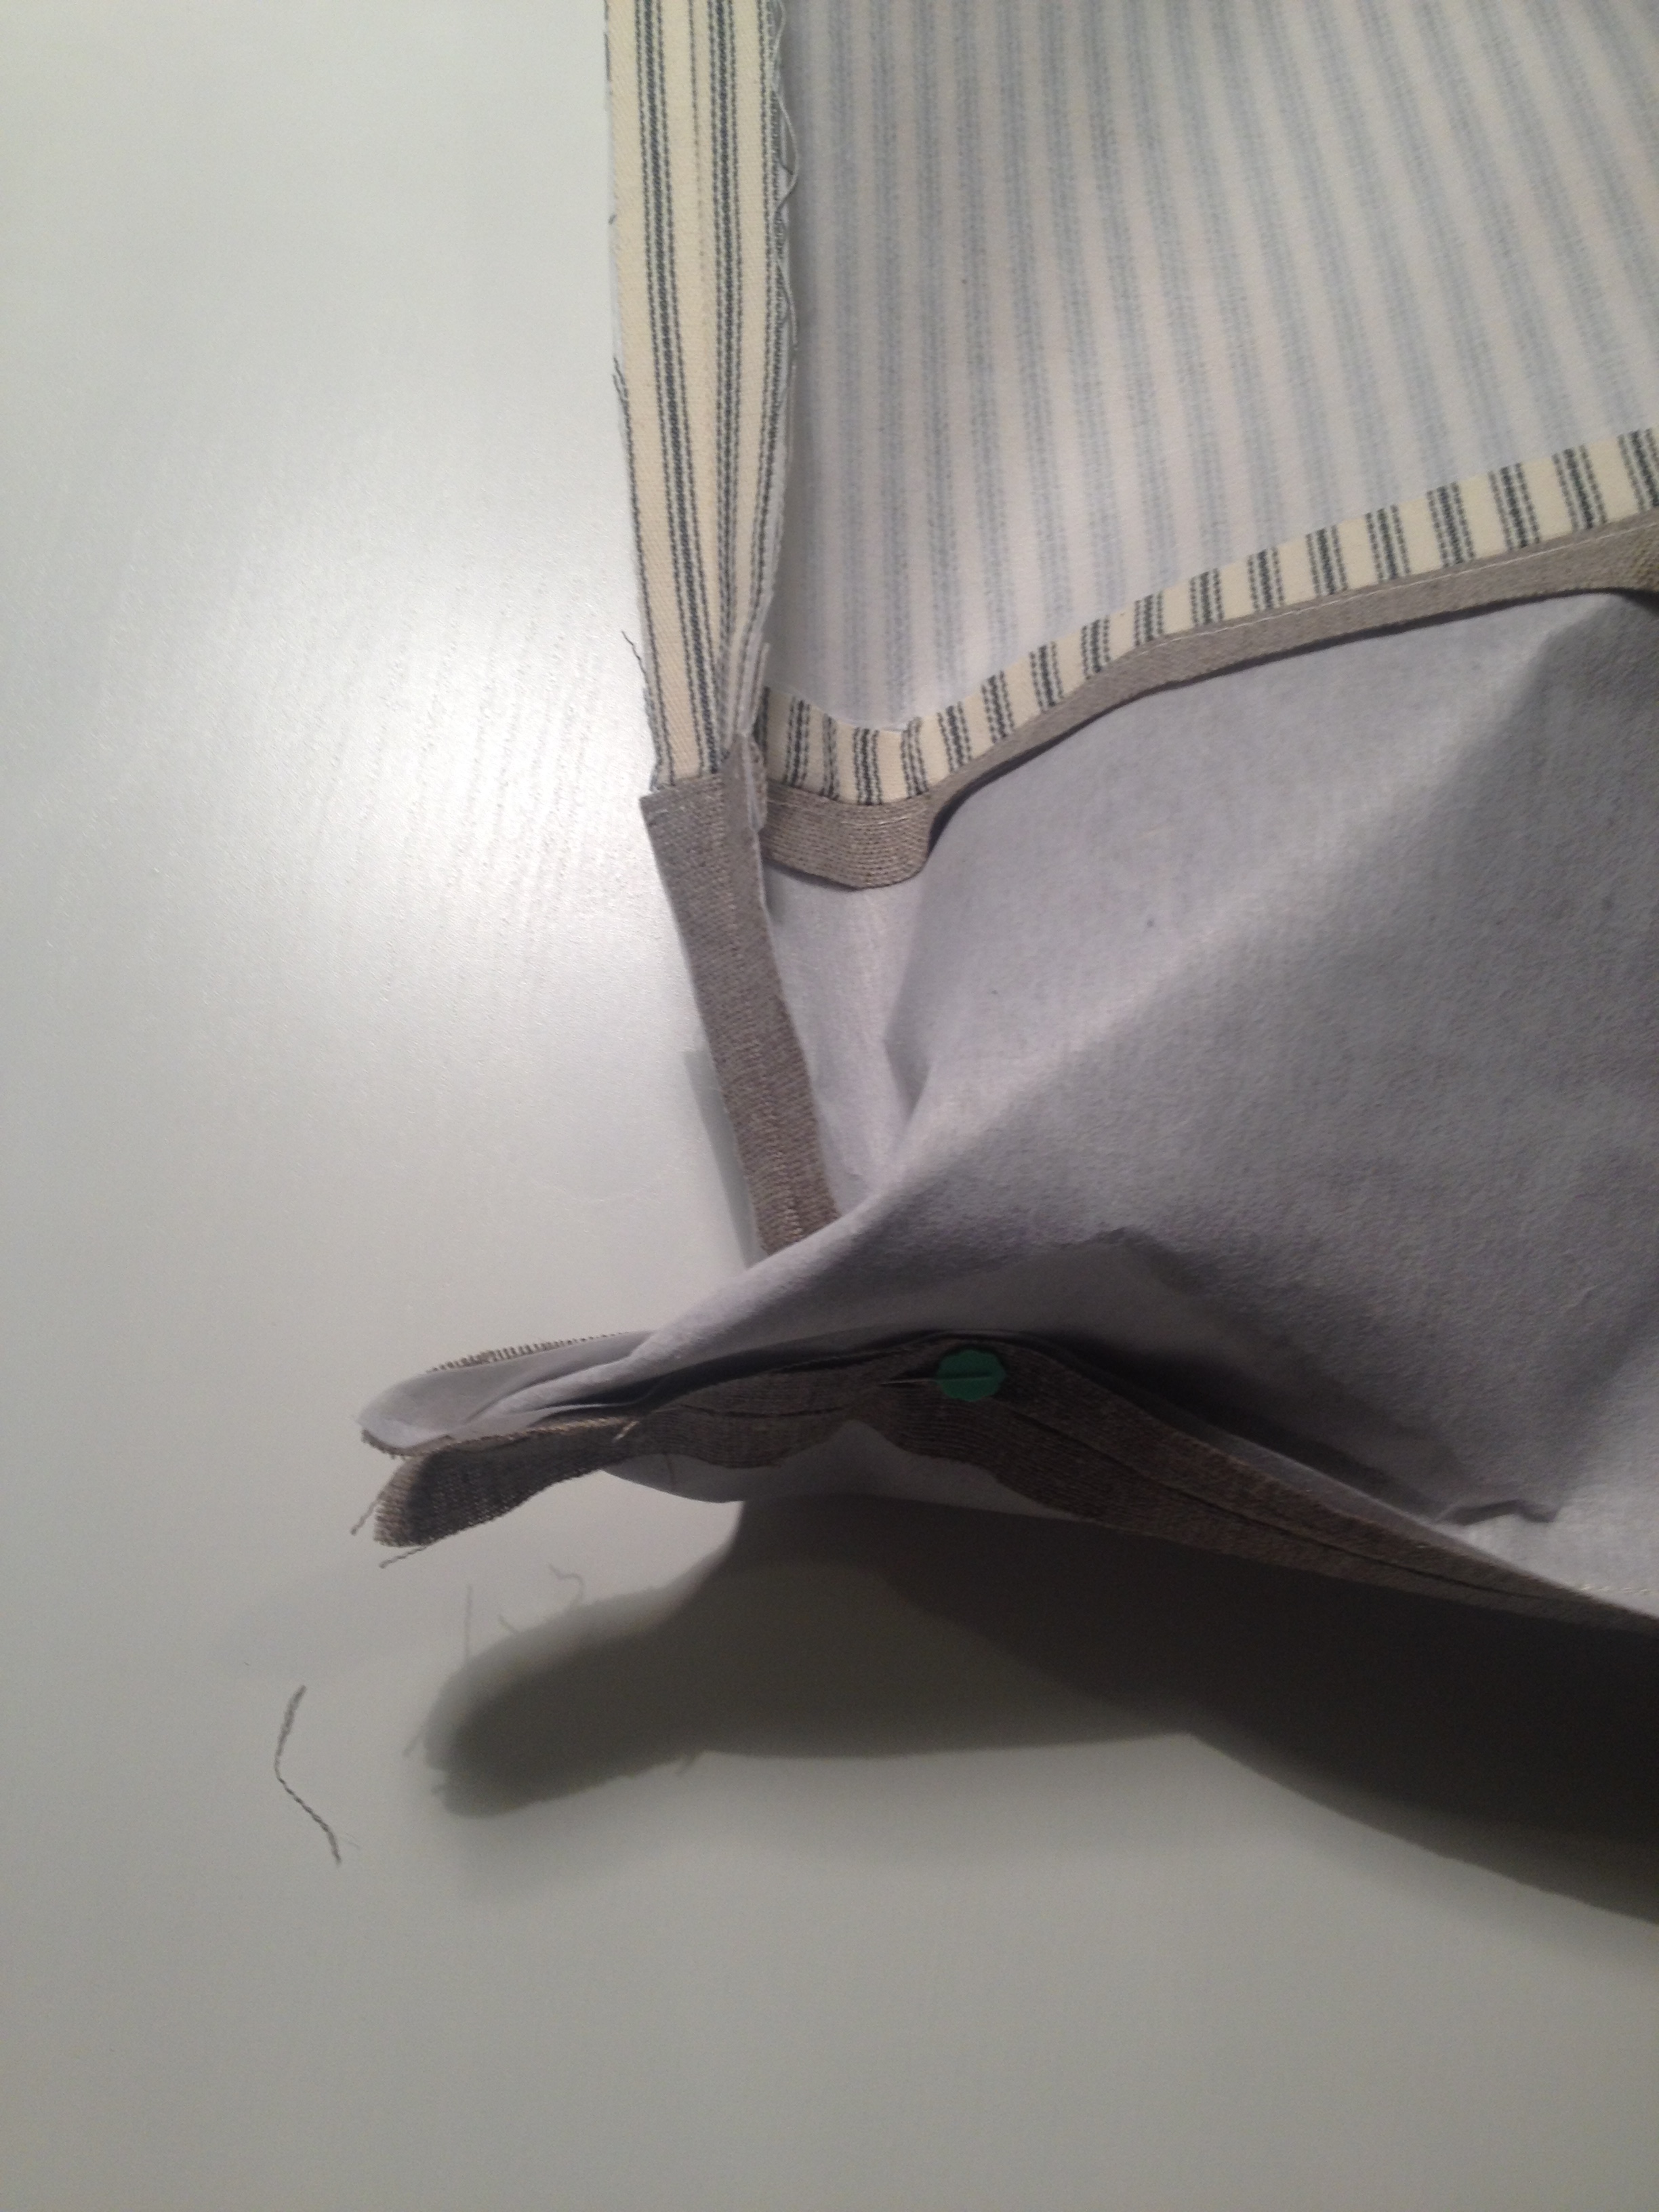
Here is another view – only to show you it from another angle. Keep yours flat on the table.
Ok, back to where we were. Once you are happy that its matching up and you have a sharp pointed “triangle” shape lay a ruler across the width and position it so that it measures 16cm across. Draw a line – this is where you will sew.
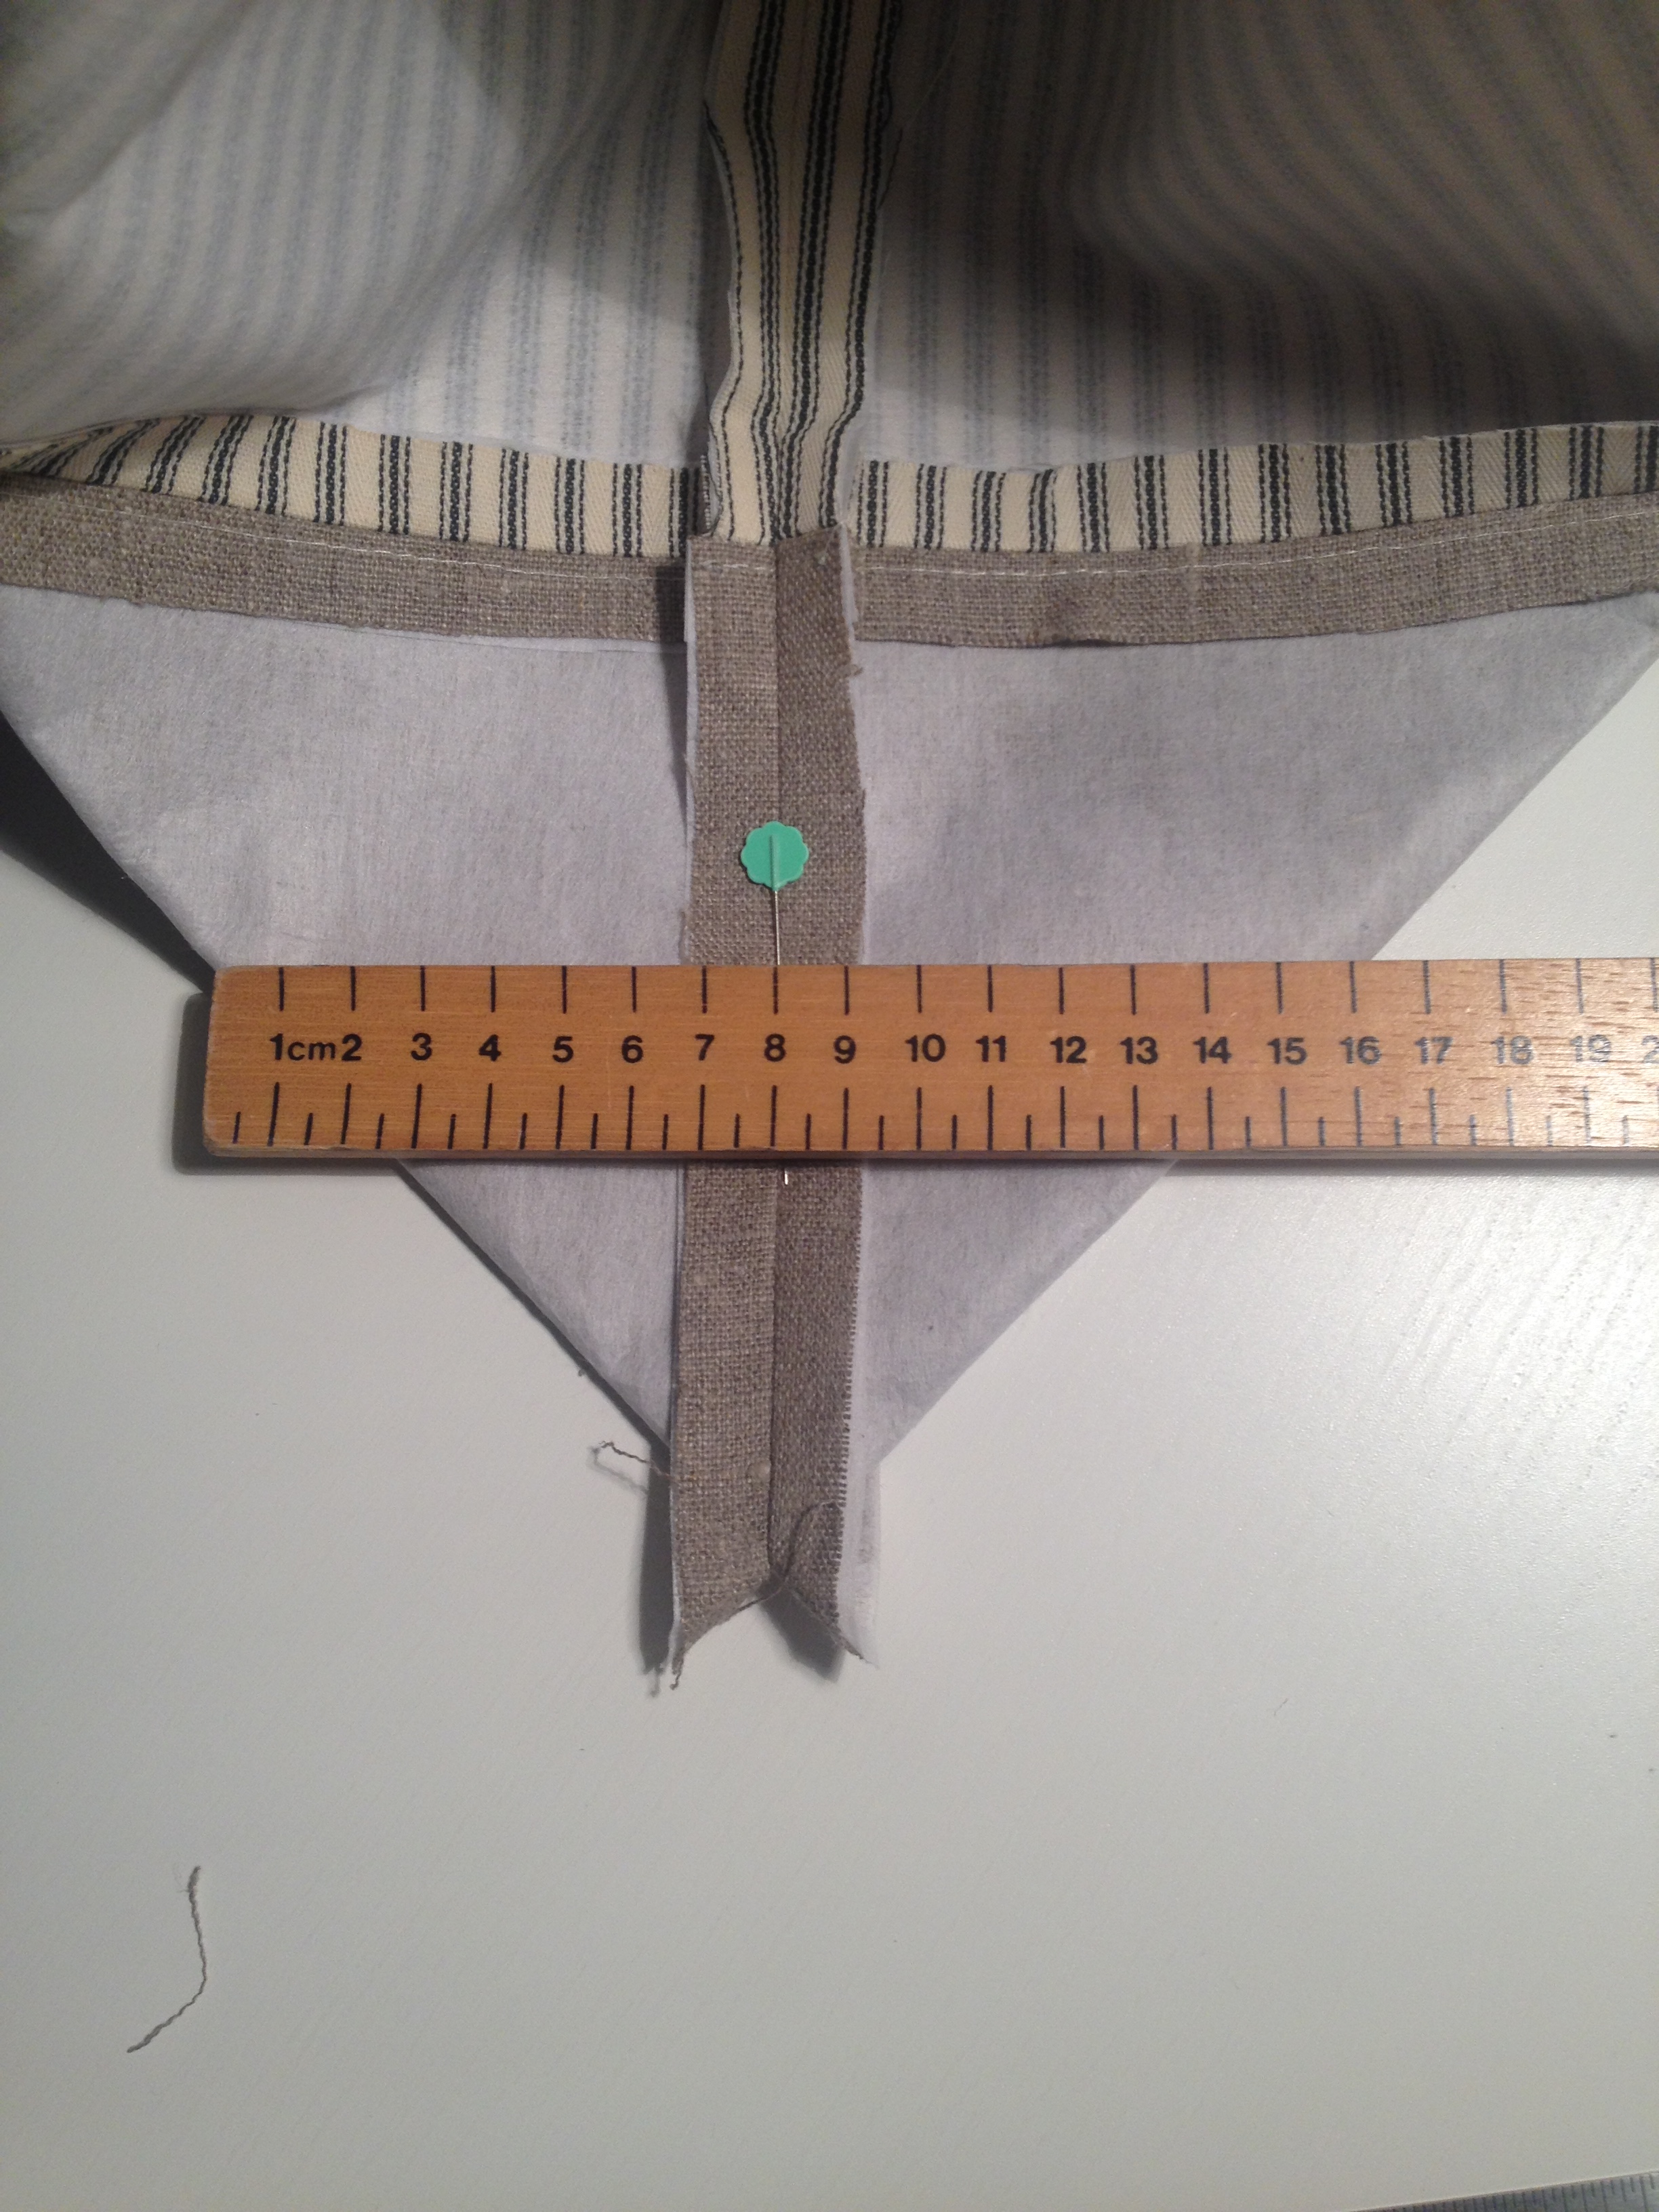

TIP – a good way to see if your seams are laying flat on each other is to push a pin through the seam on the line you are going to sew, look underneath and that pin should be coming out in the same place underneath. If not then manipulate the bottom seam so that it does:
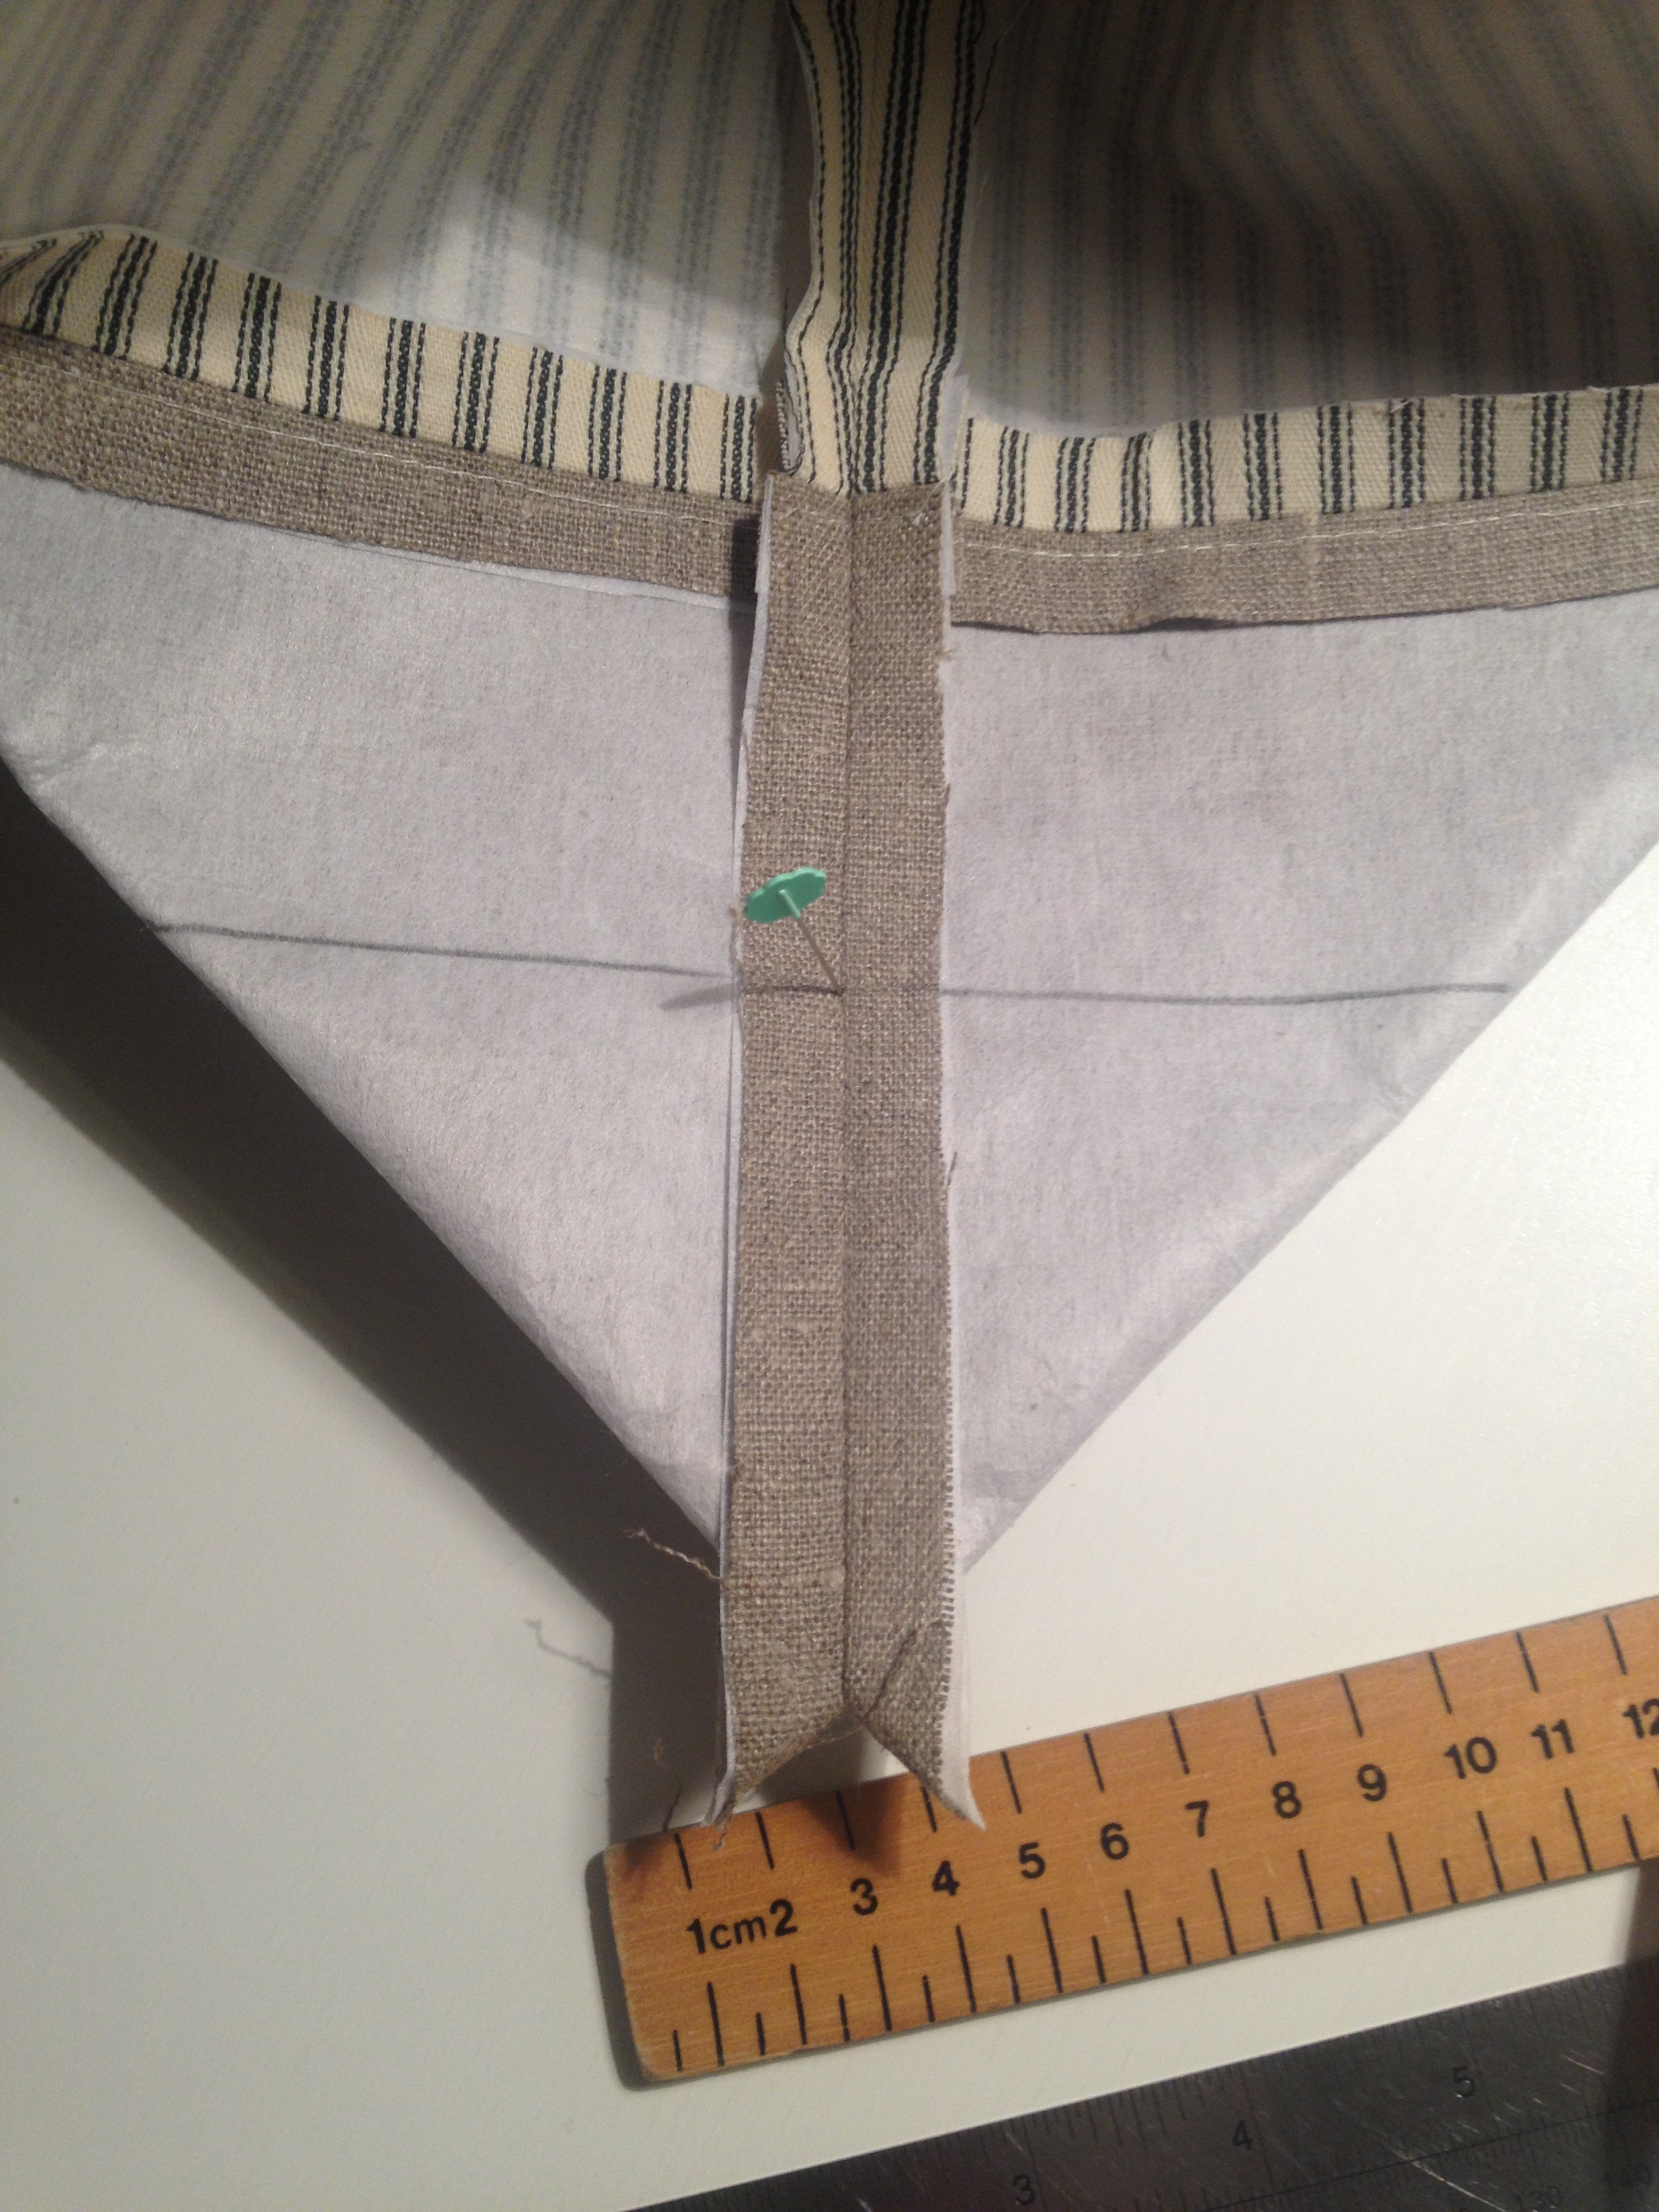

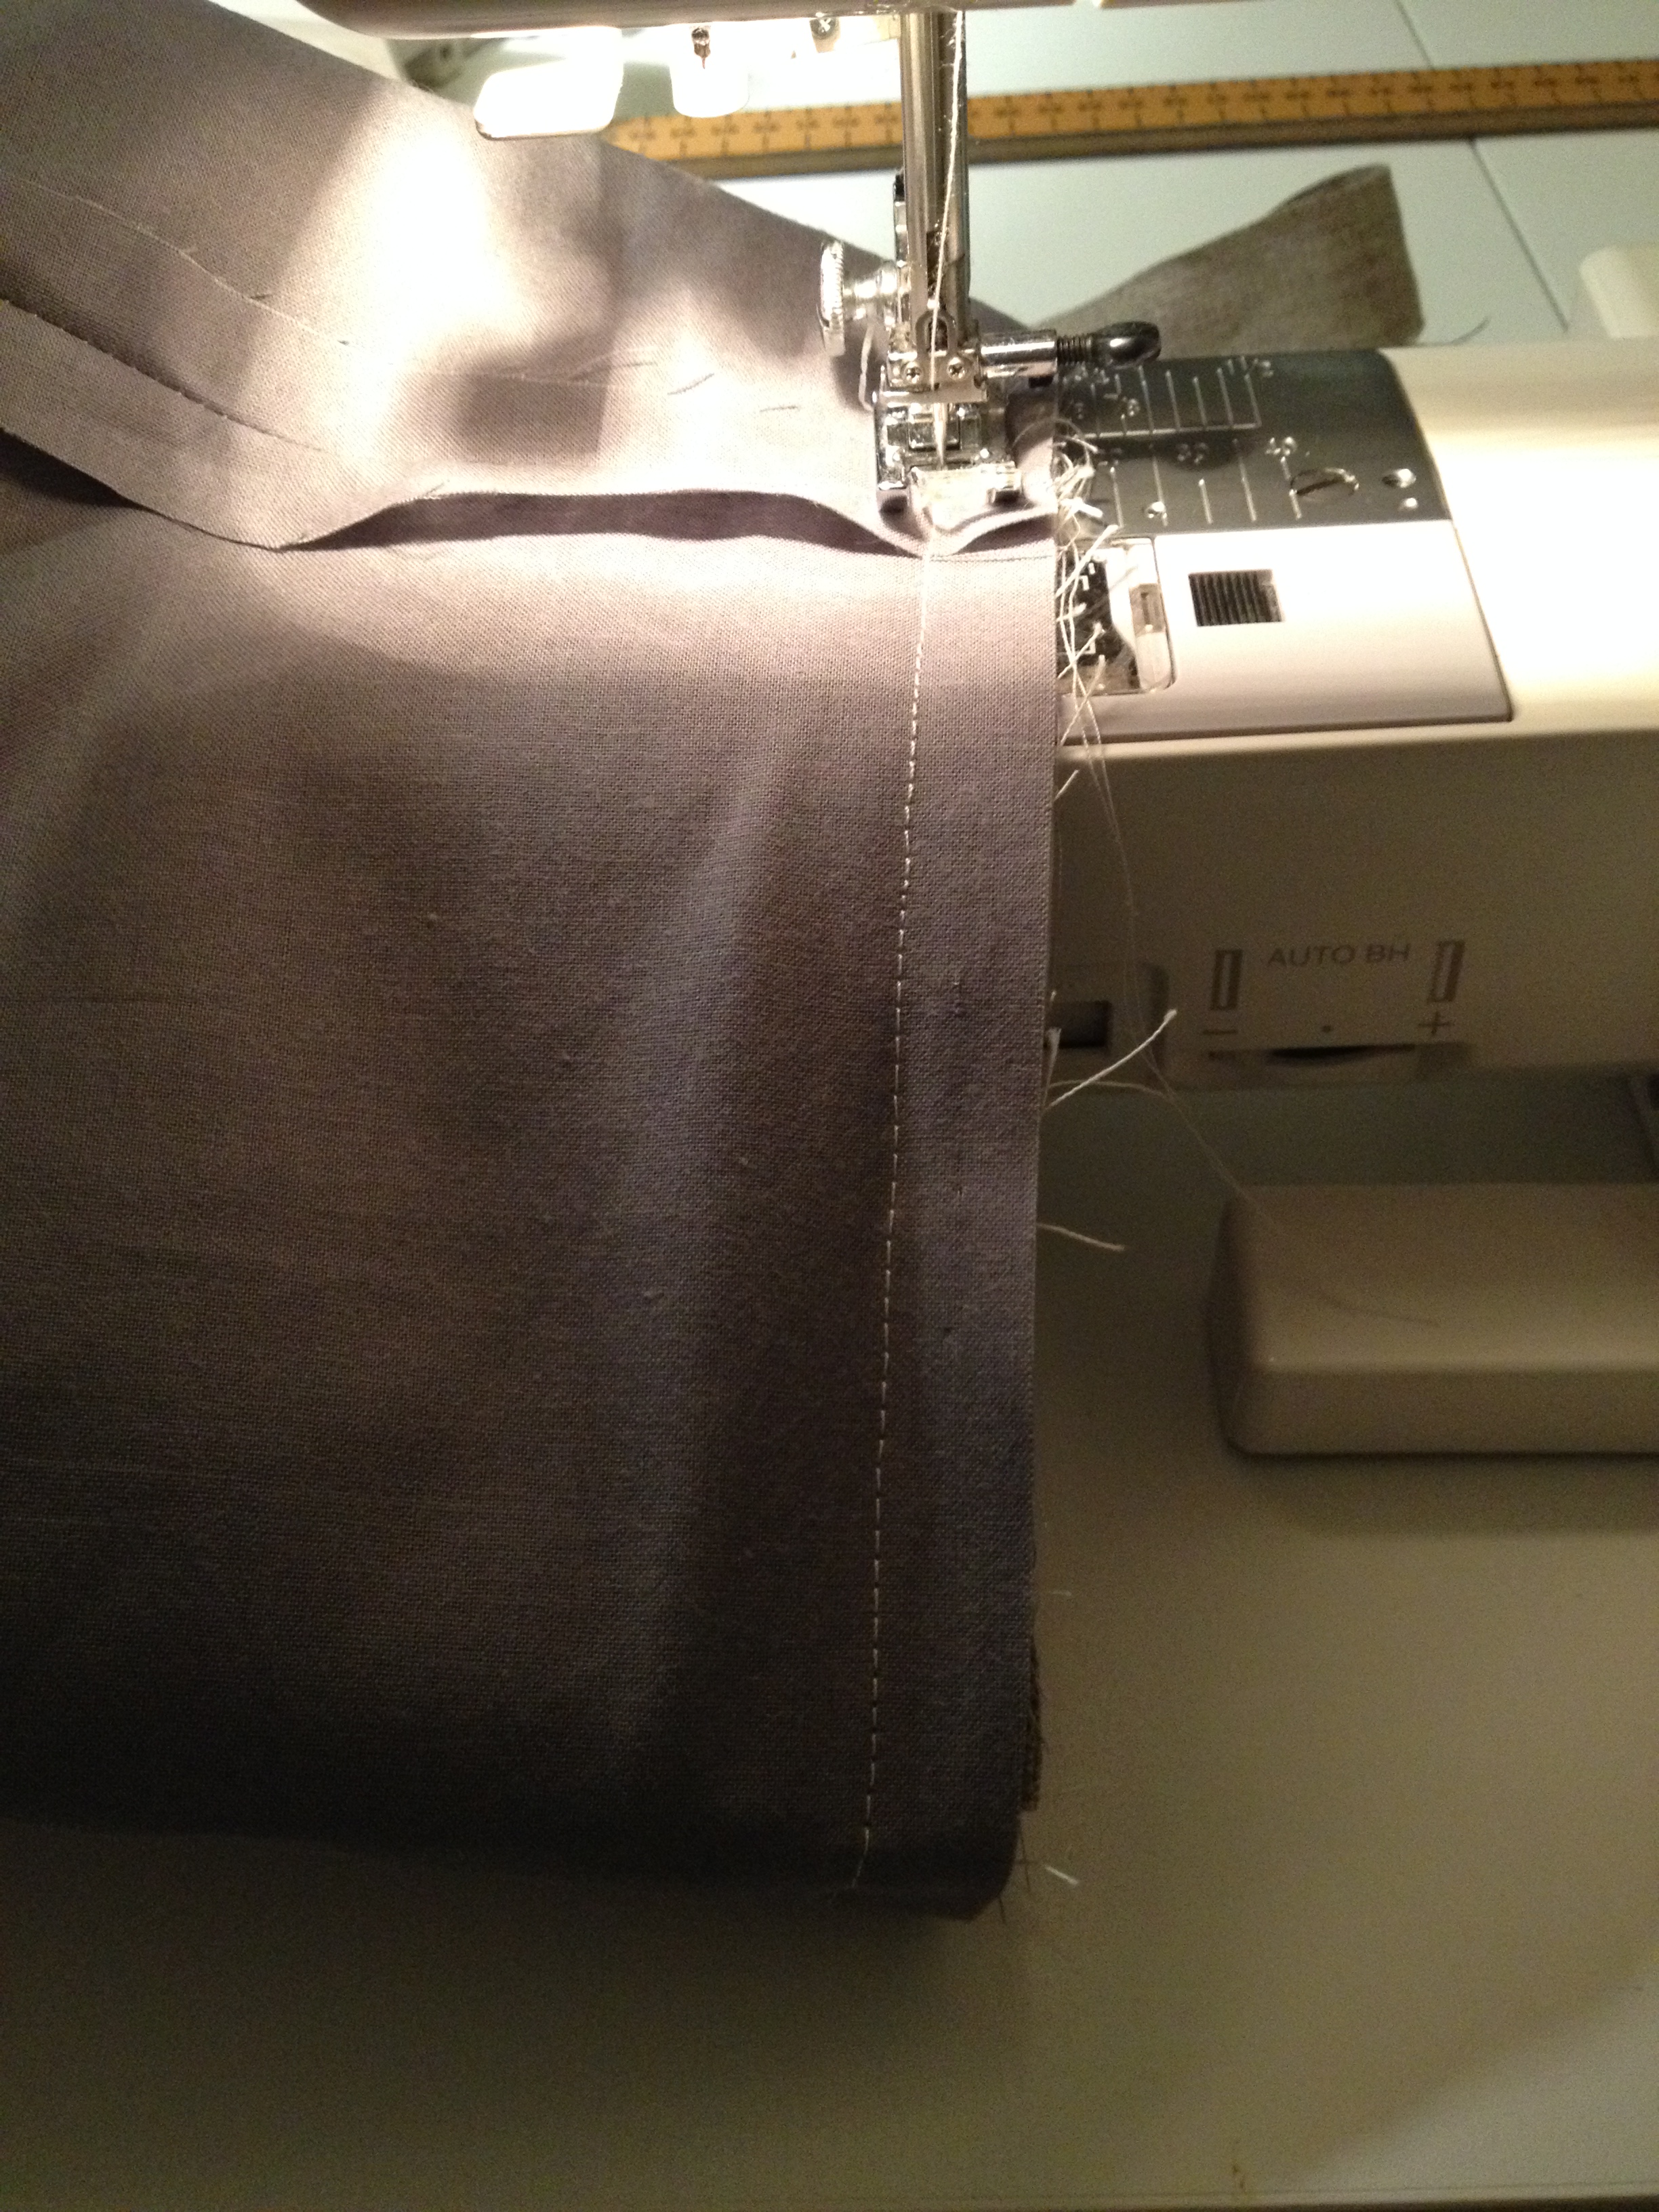
Sew across the line you have drawn at least two or three times, depending on the thickness of the fabric. The thicker the fabric the more times I would sew over this line – this makes the corner nice and strong and will prevent you from seeing the stitches on the bag once you have turned it through.
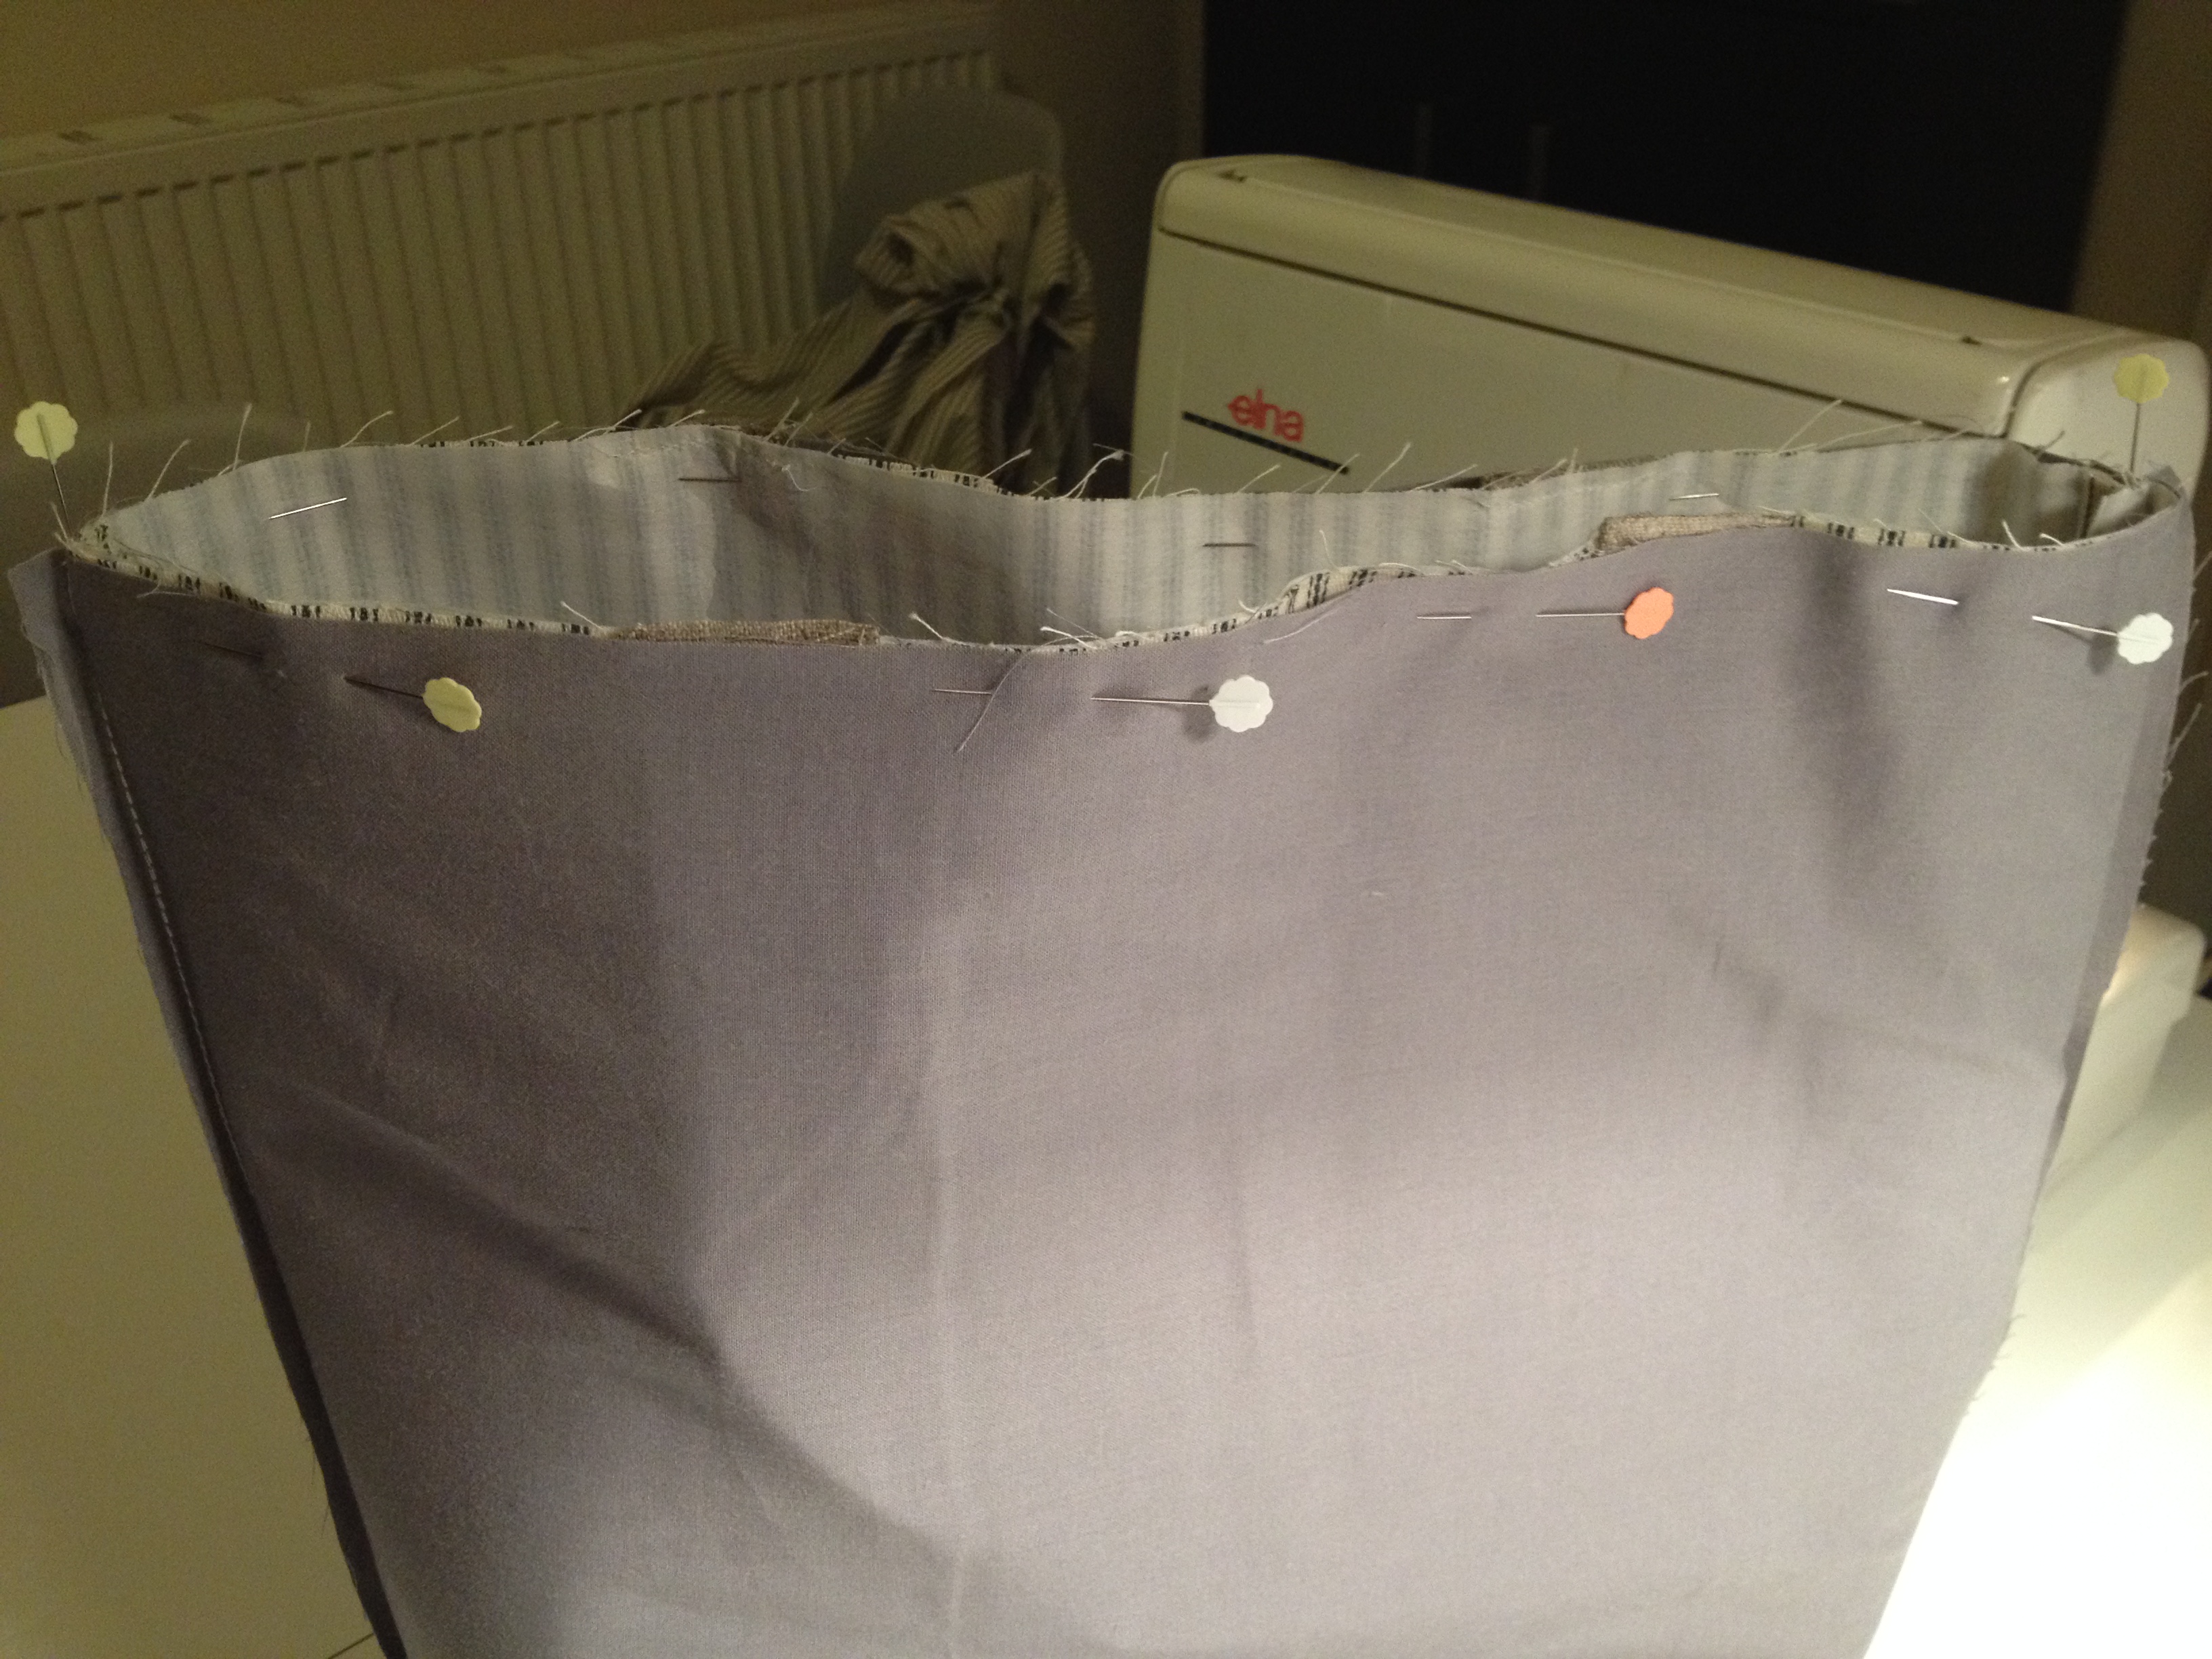
Once you have done this check your bag by looking inside and making sure it is right… this is how it would look but don’t turn yours the right side out just yet…

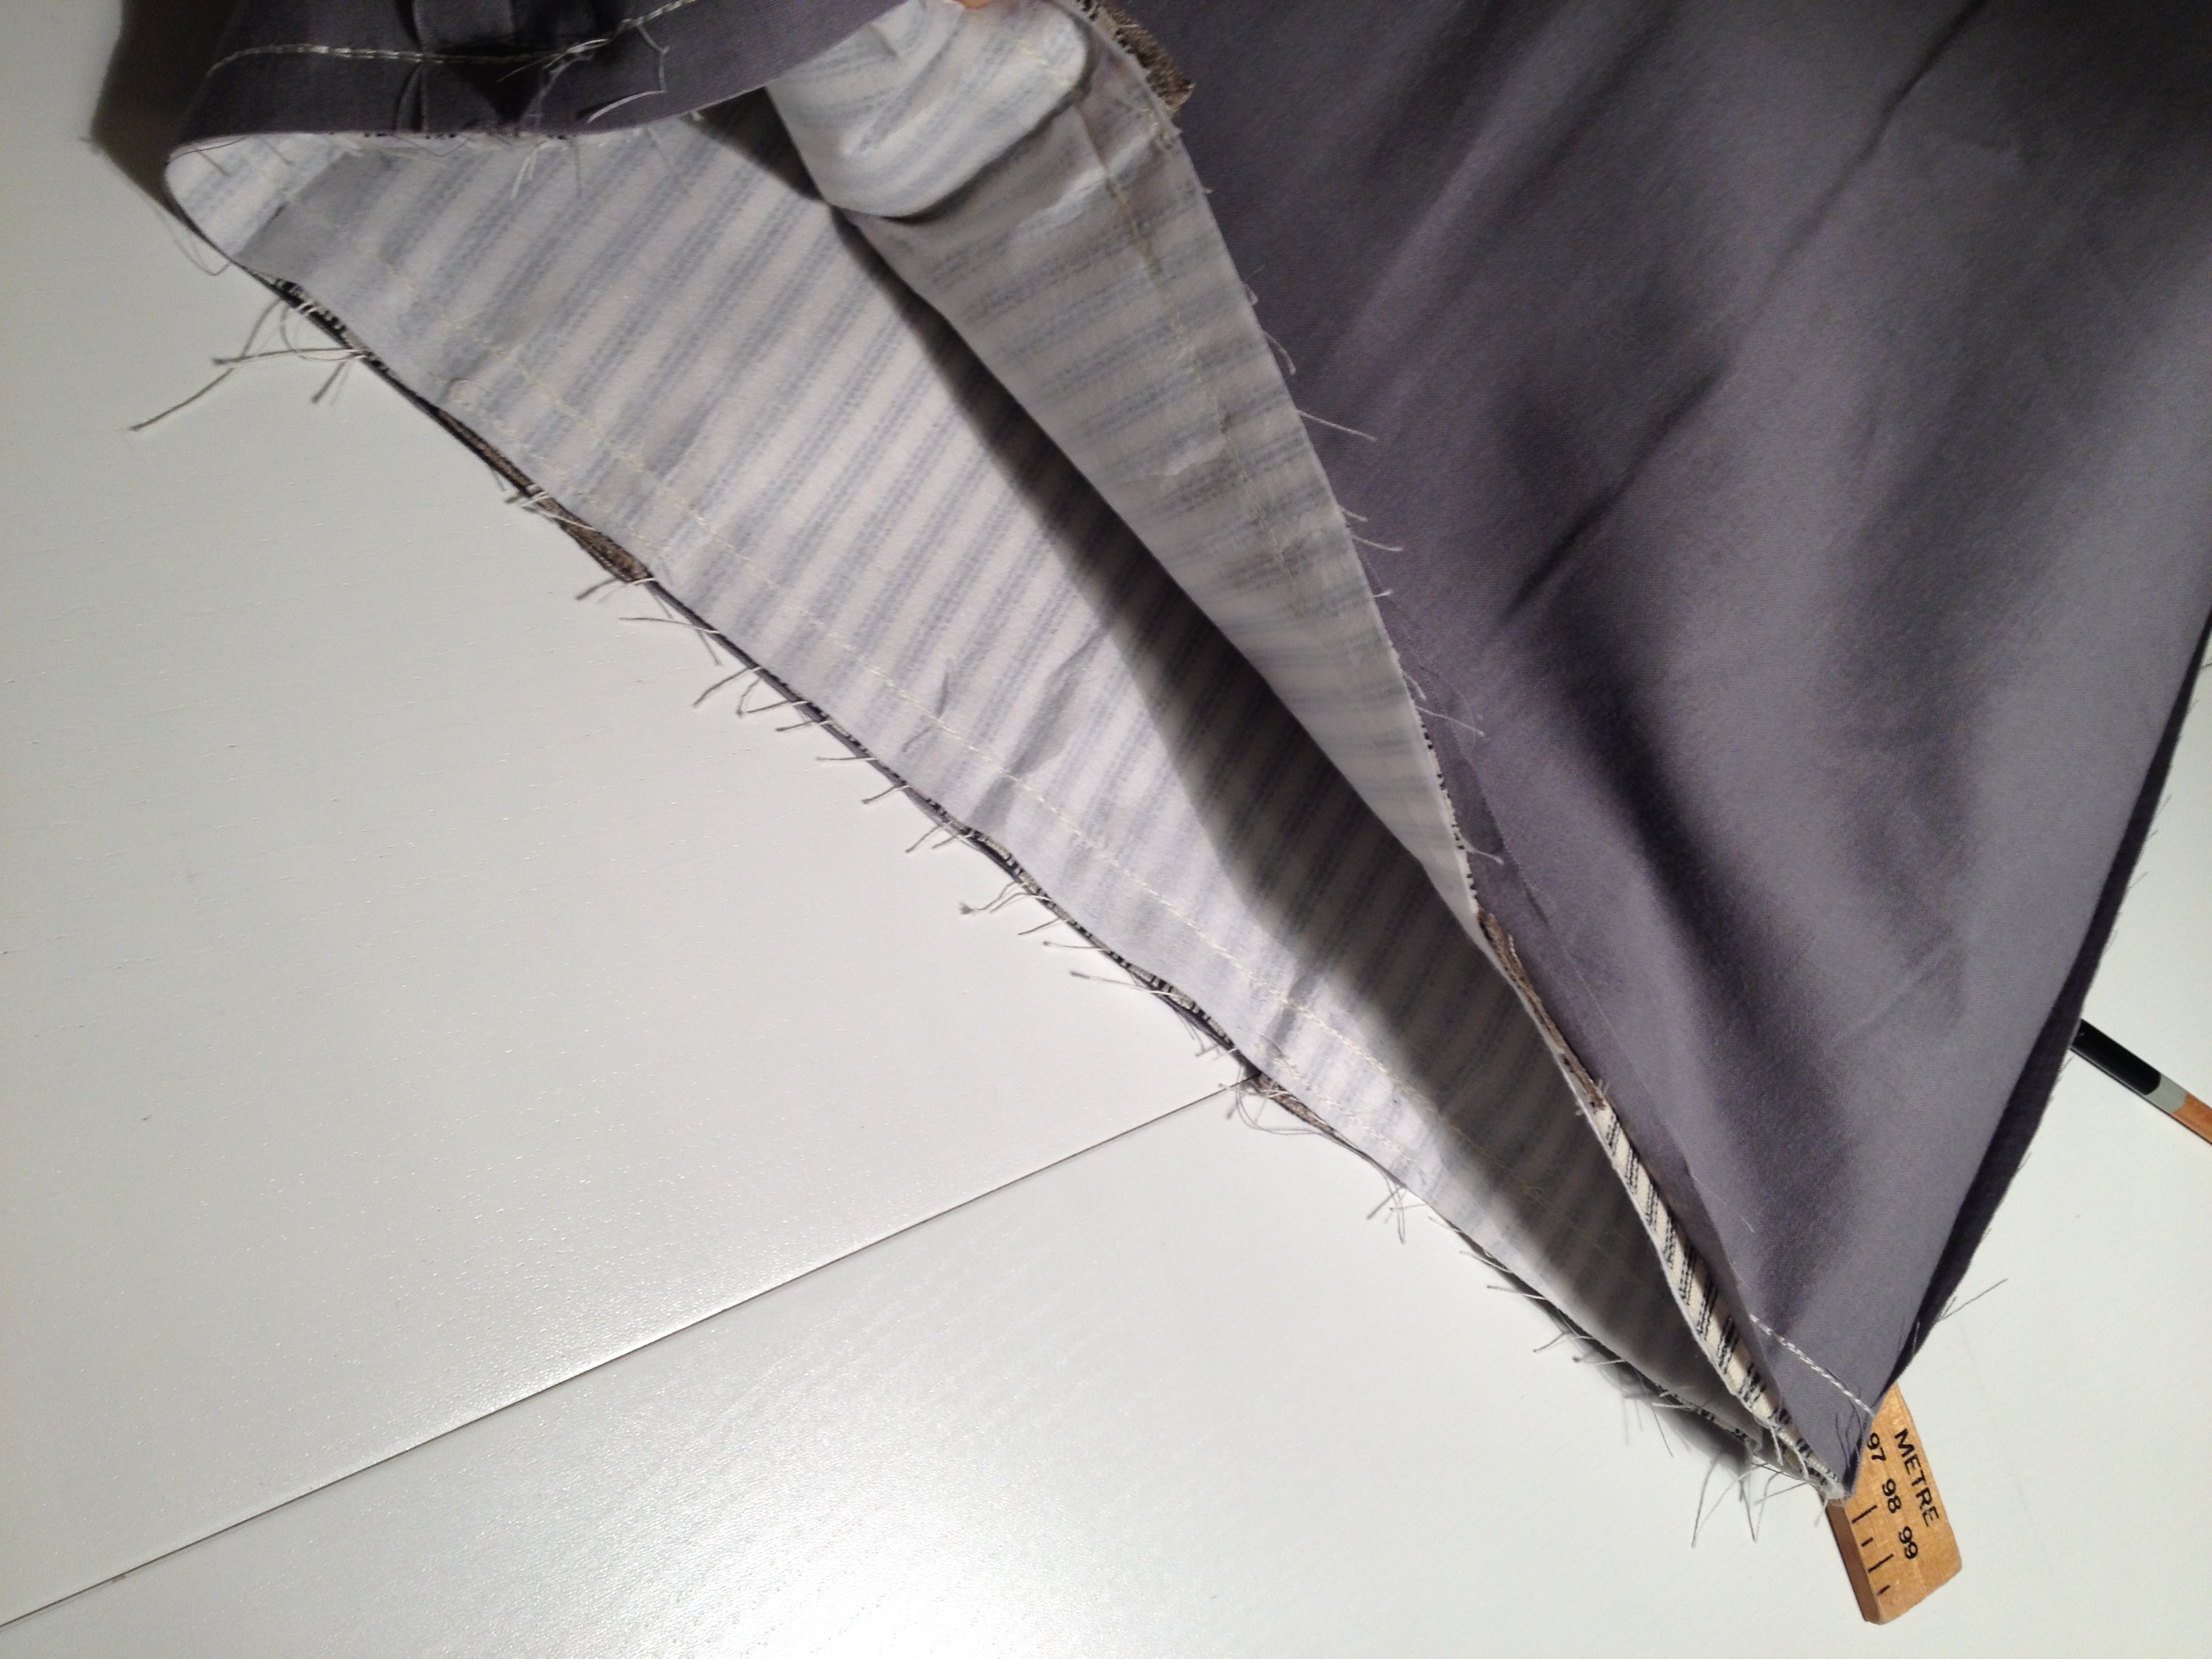
If you are happy with your boxed out corner, repeat on the other side and then you can snip off the corner:

Turn your bag to the right side and admire your handiwork! Boxed out corners complete! Cup of tea time.
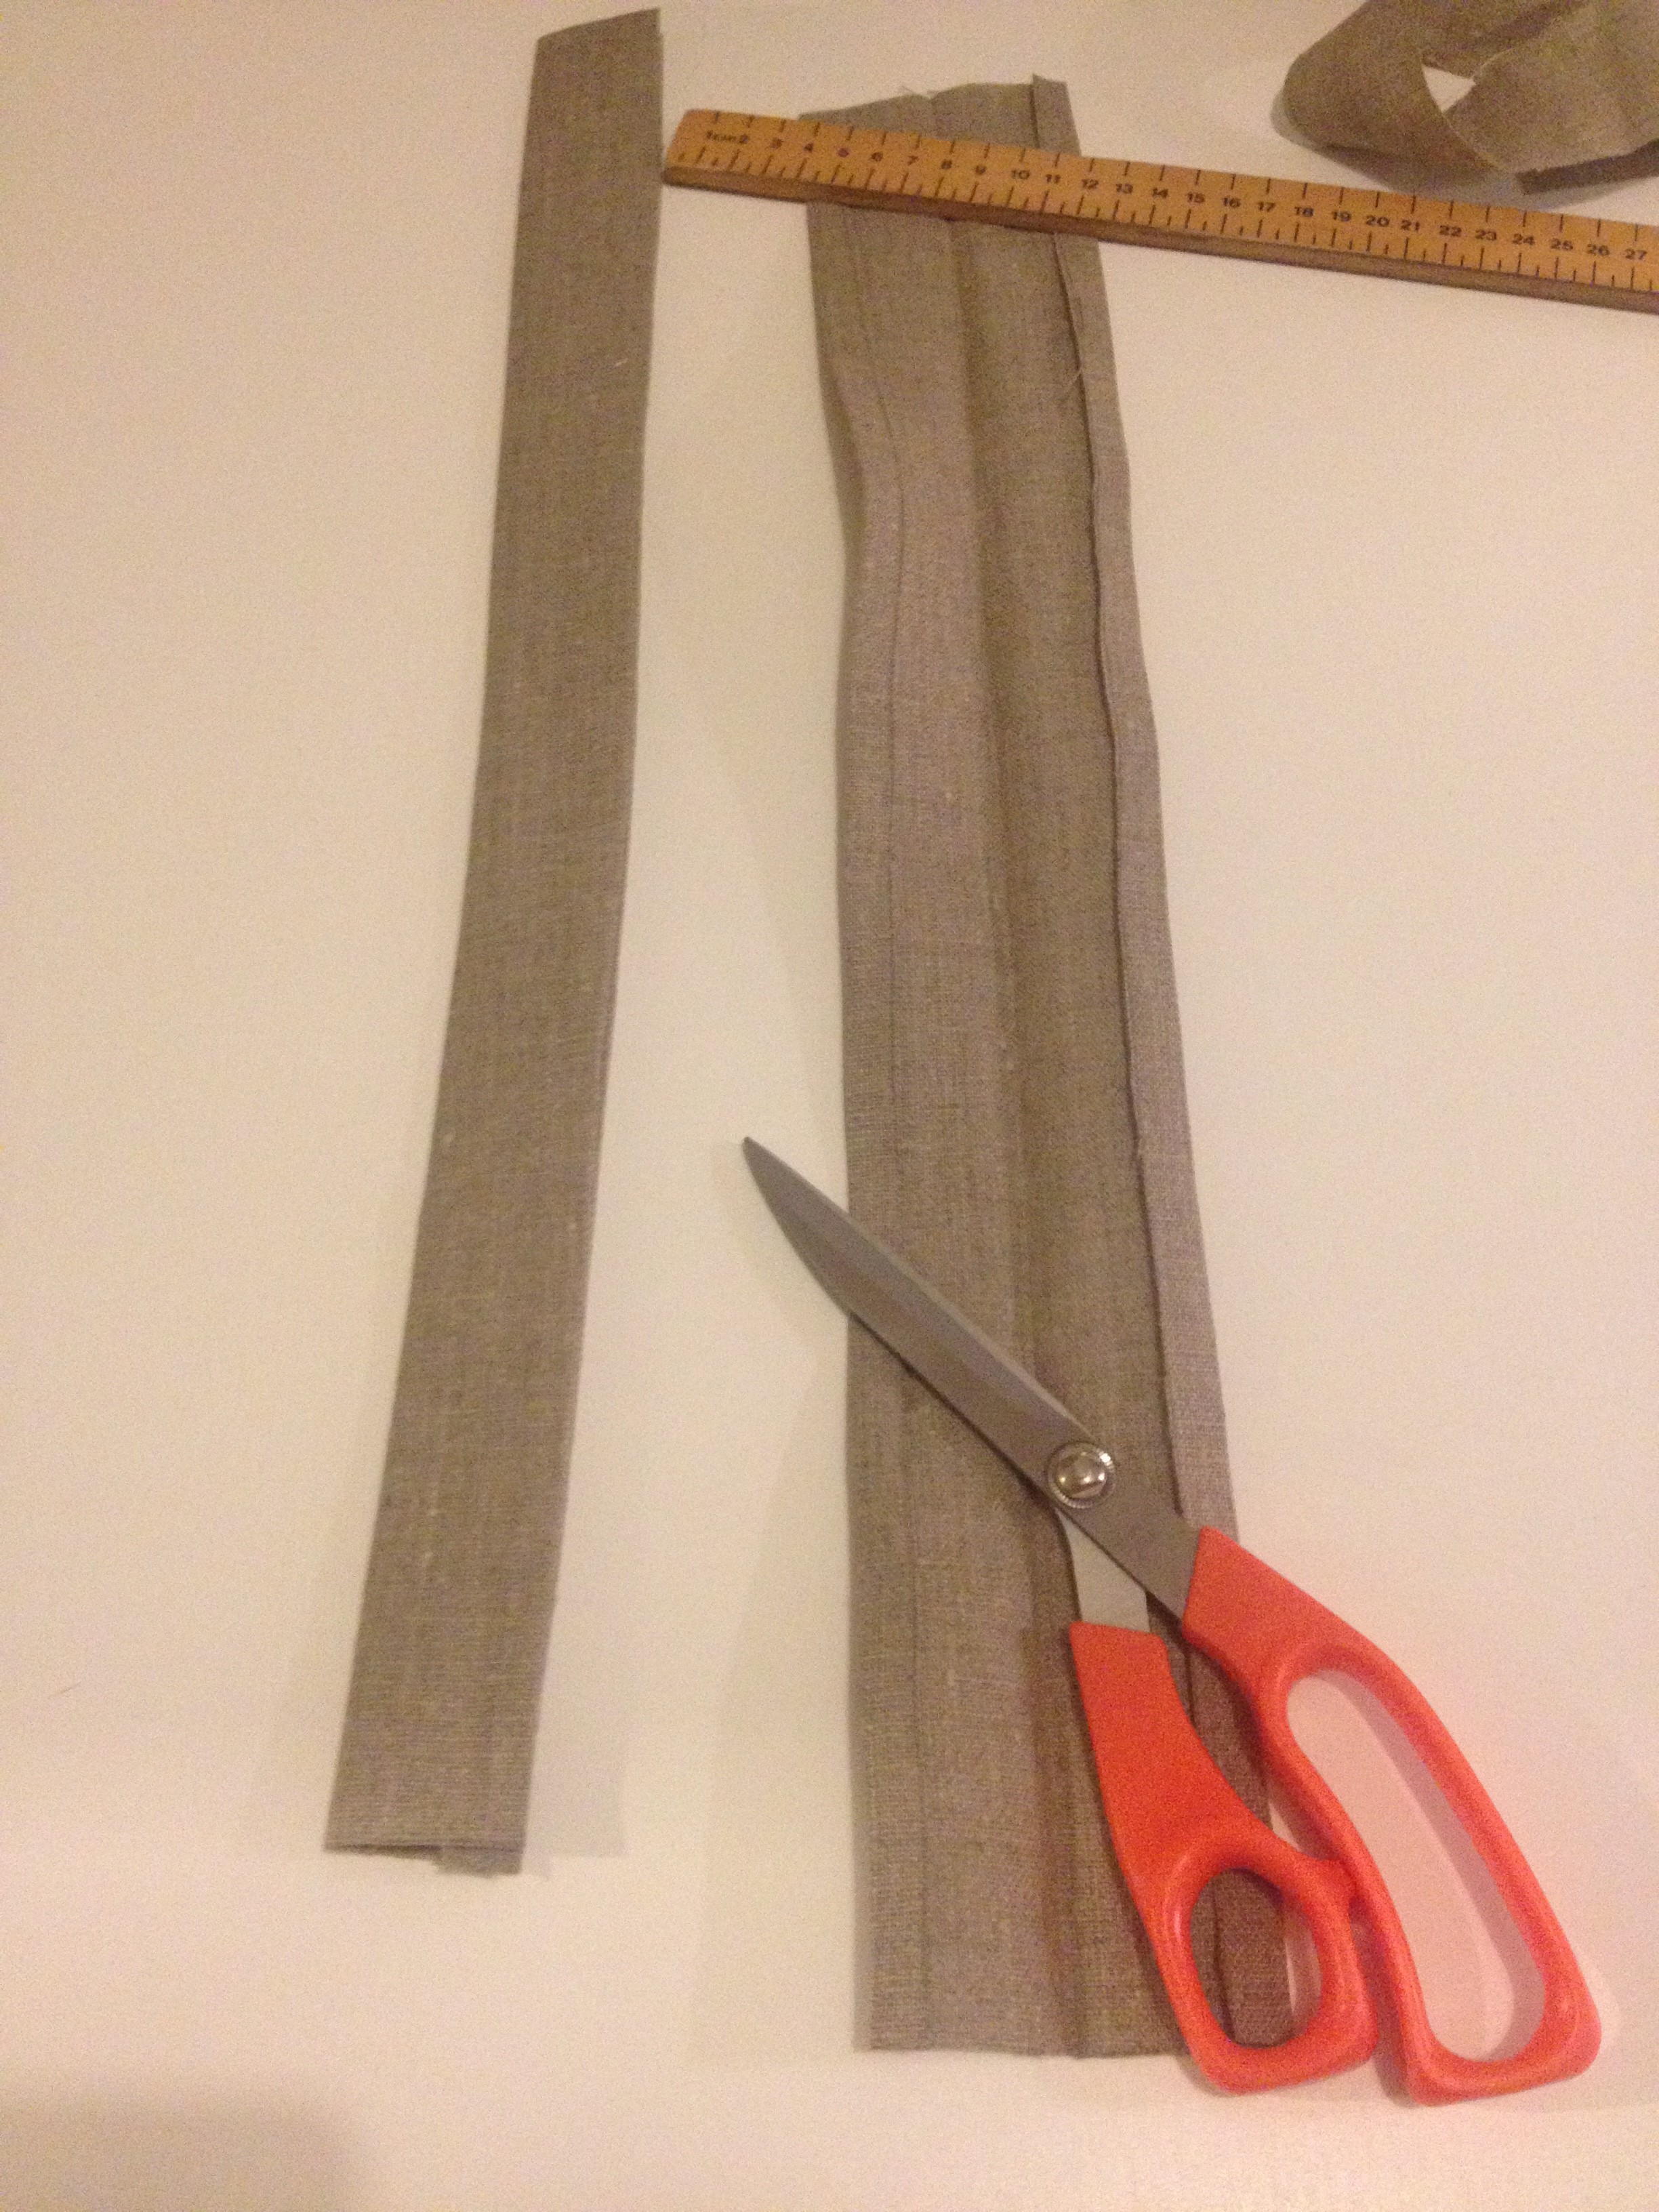
Straps
Decide on the fabric for your straps and then cut two pieces 10cm wide and 55cm long. You can make the straps longer or shorter – it’s up to you! Iron 1cm in on each side and then fold the strap down the length and iron. Sew along the edge and your straps are done. You could use a contrasting thread or even create another row of stitches on the other side – it’s up to you.
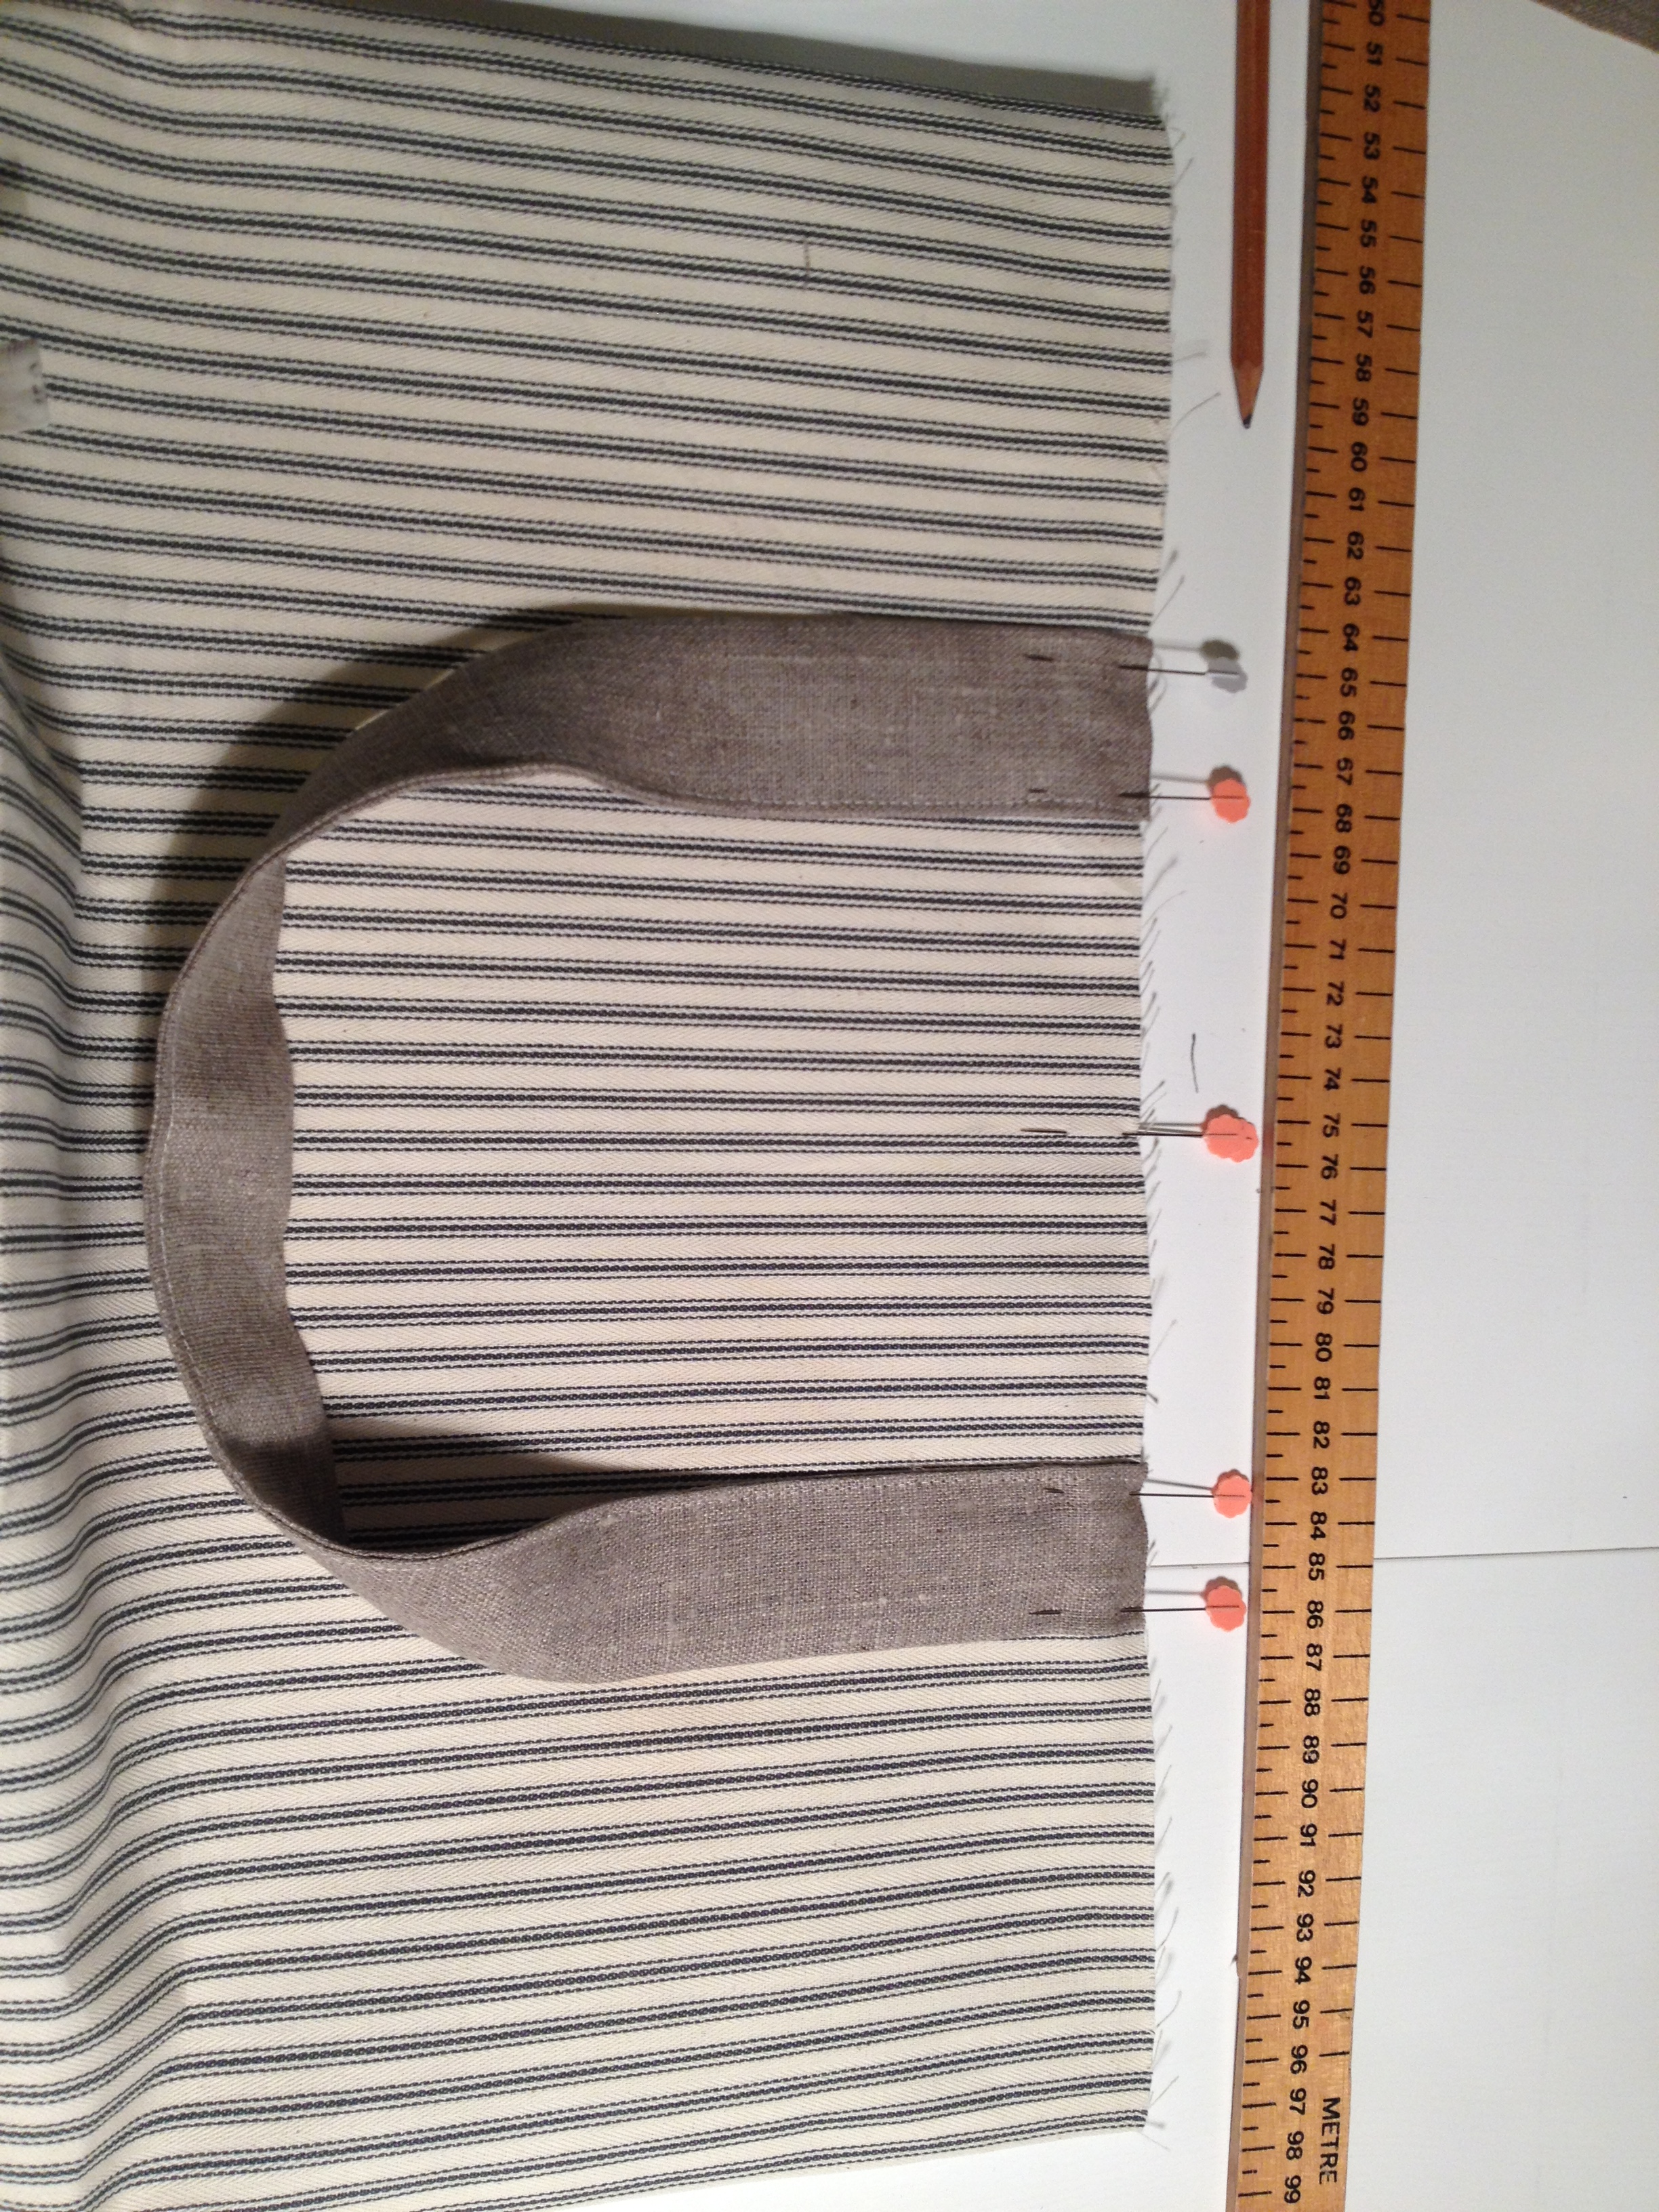
 Attaching the straps
Find the centre between the two sides of the top of the bag and pin on opposite sides of the bag. Make sure they are exactly opposite each other. Then measure 6cm on either side of the pin and this is where your straps will go. Make sure they are exactly the same on both sides and that the straps haven’t twisted or turned the wrong way while you pin them.

Remove the arm of your sewing machine so that you can slide the bag onto the machine plate. We are going to just sew the handles to the bag now:
The lining (not far now!)
Join your front and back lining together and sew down the side seams and the bottom – except this time keep a section of the bottom open – around 10cm – in the middle. Make sure that you do lots of reverse stitching at the bottom as you are going to be pulling the whole bag through this “hole”!! You will need to box out the corners here to but hey you are now a pro at it!


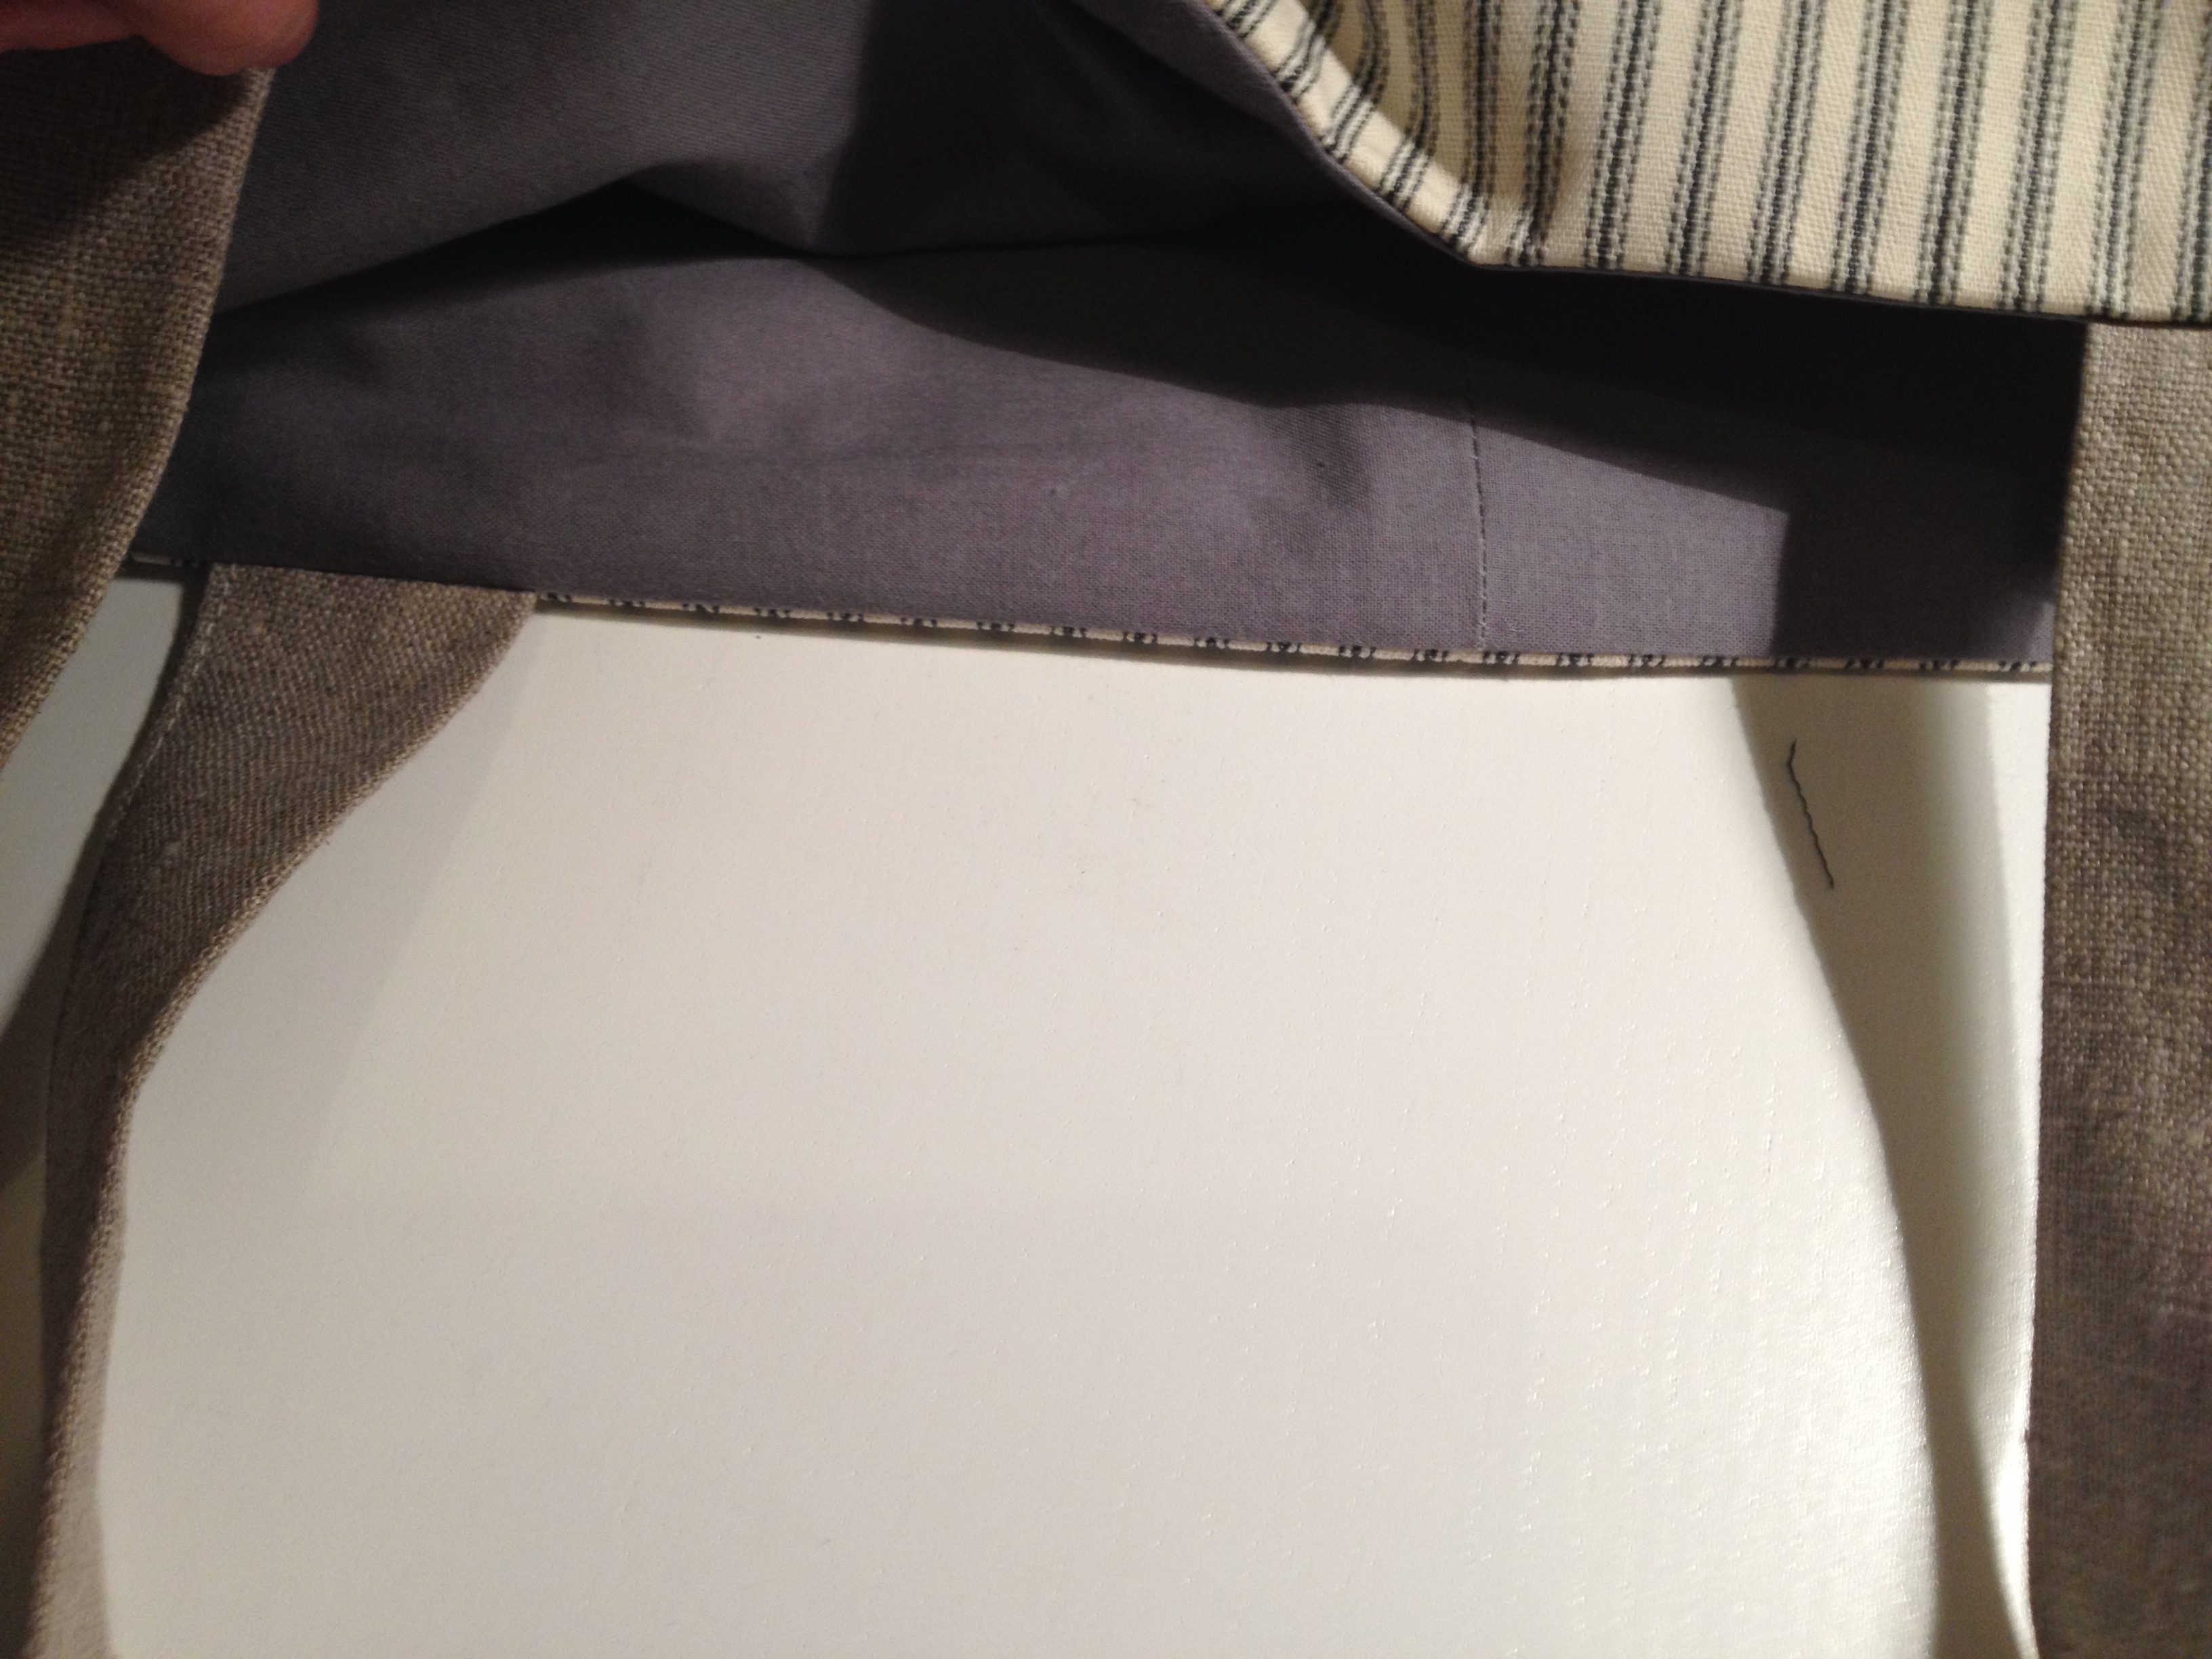
Attaching the lining to the main bag
Slide your main bag into the lining – RIGHT SIDES TOGETHER (very important) and line up the side seams – you will need to do a bit of adjusting here and pulling it around until the sides seams match up perfectly.
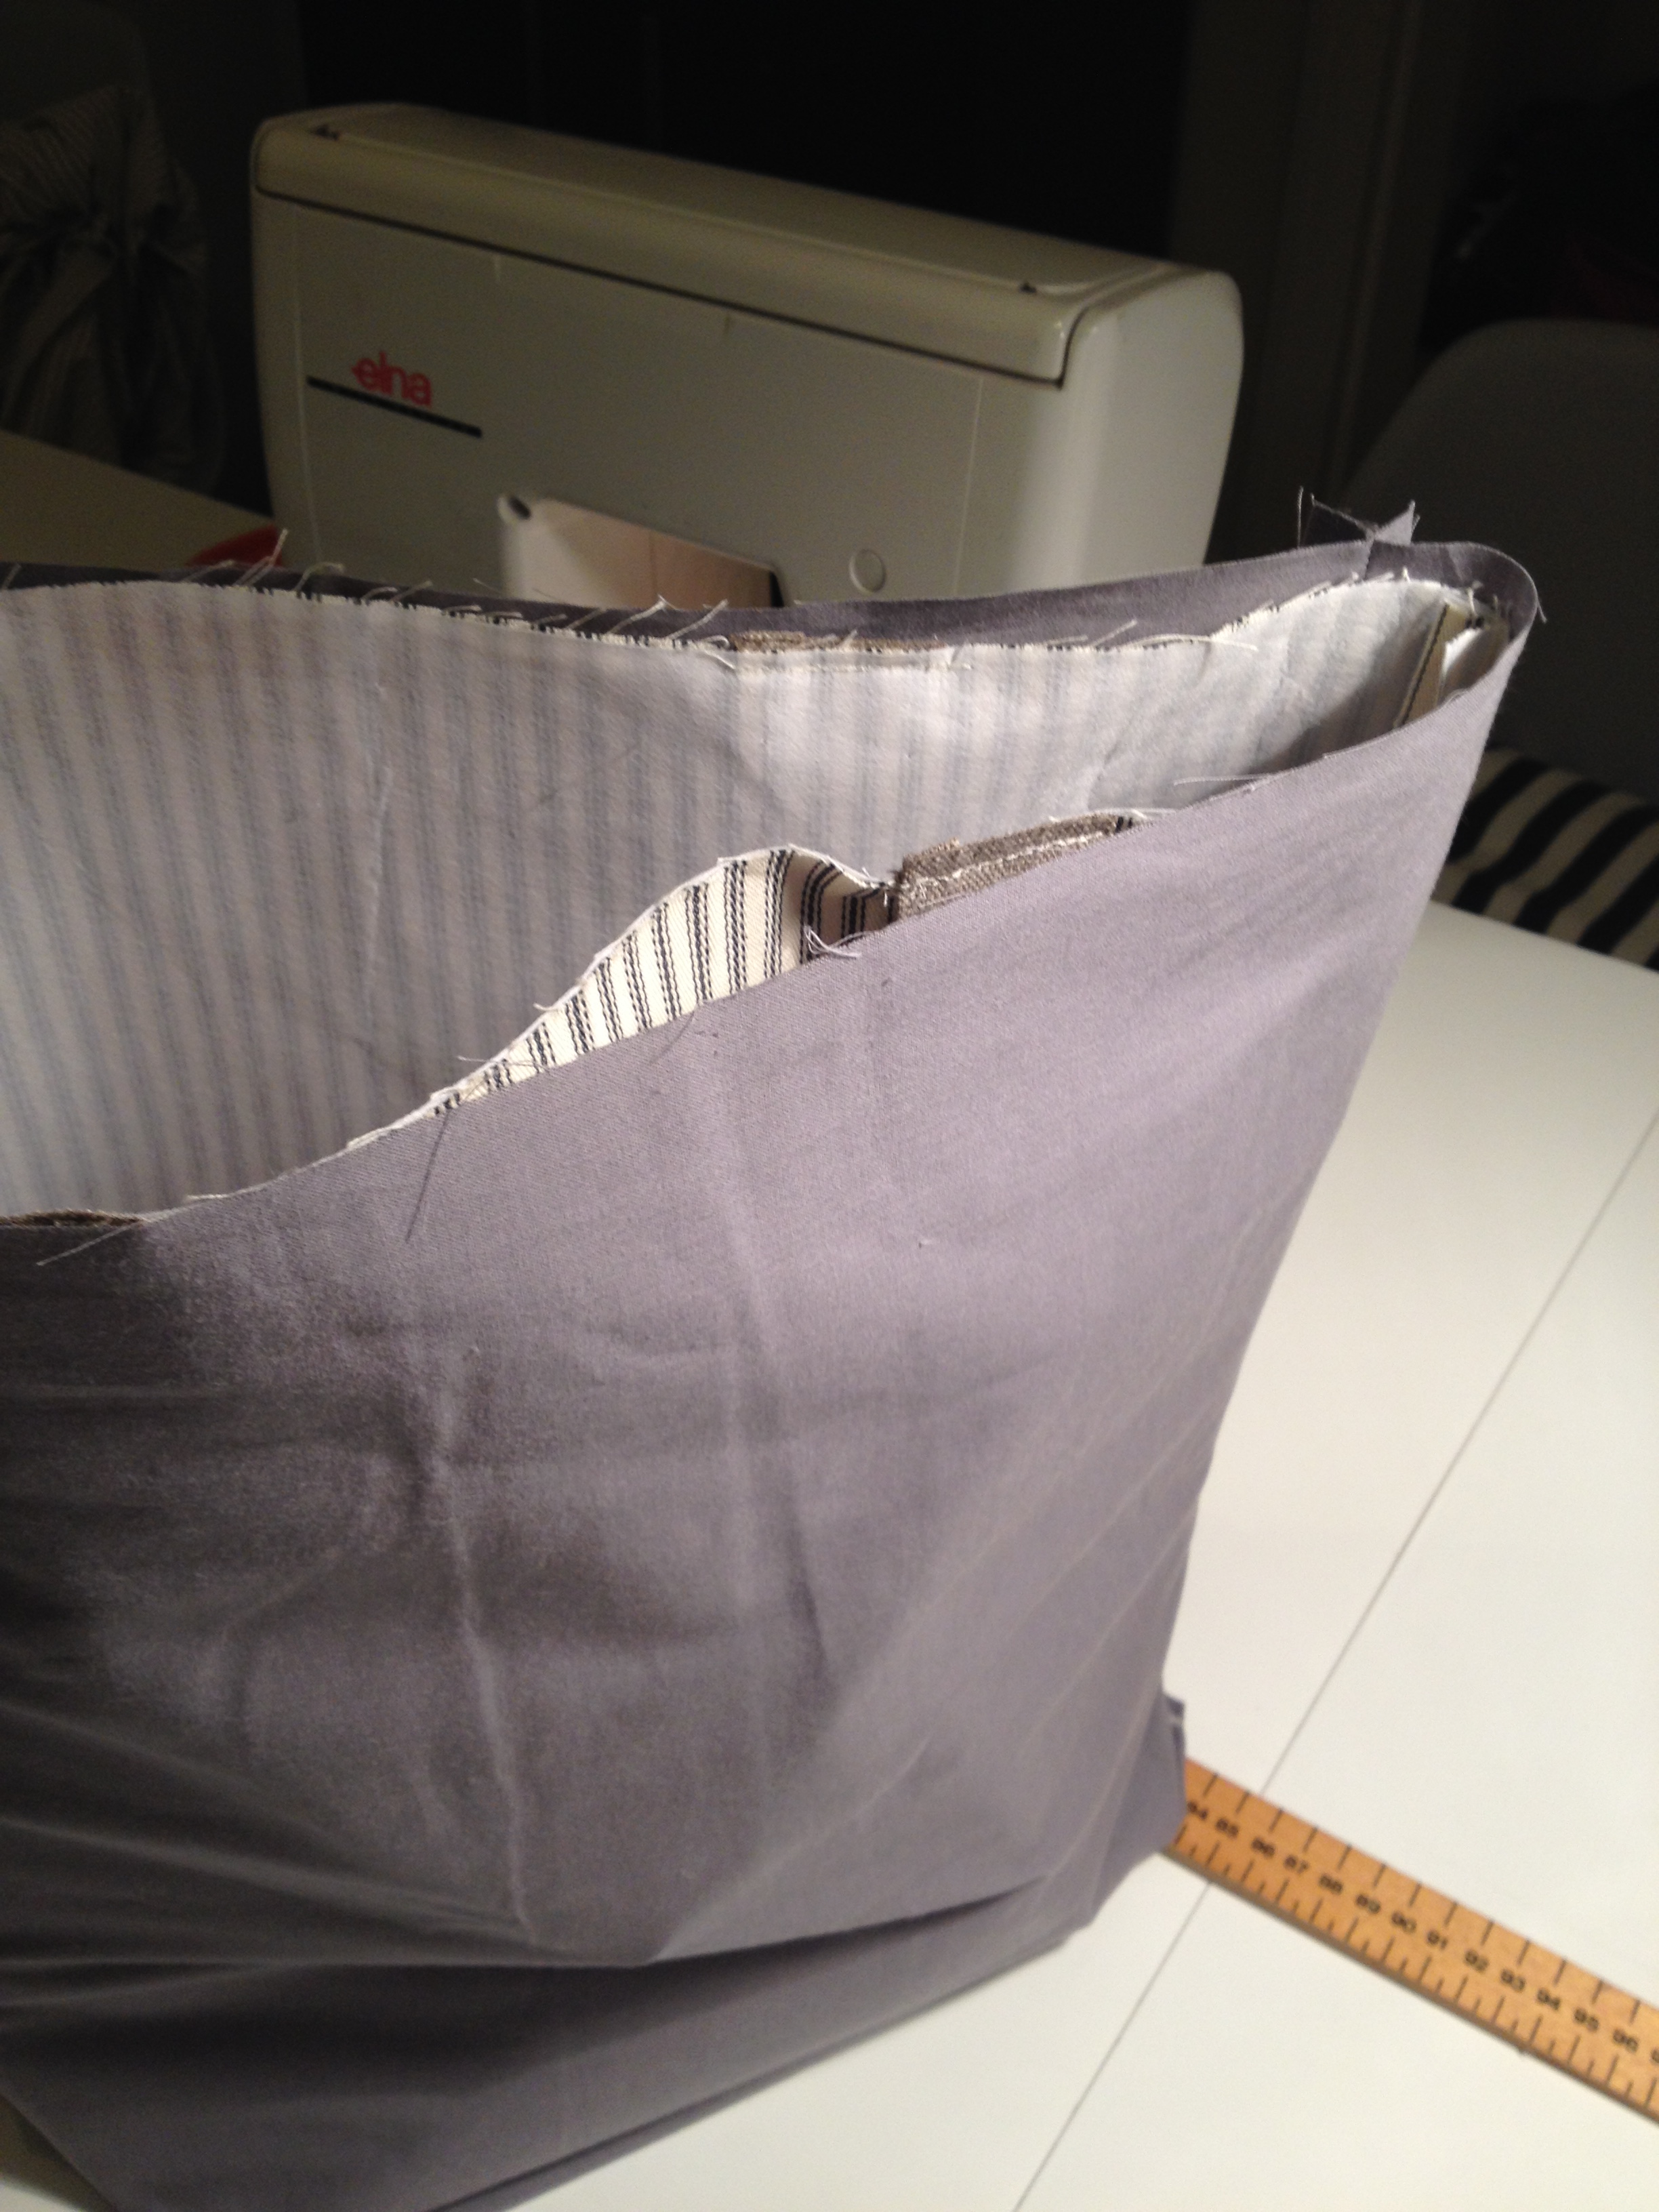
Pin all the way around making sure that the main fabric and the lining fabric are flush against each other all the way around and the side seams match. Once you have pinned it all the way around you can then sew all the way around – again repeating your row of stitches that you have sewn at least twice around the bag.
This is how the top should now look:
The final step!
Put your hand into the hole of the lining at the bottom of the bag and pull your bag through so that it all comes through to the right side..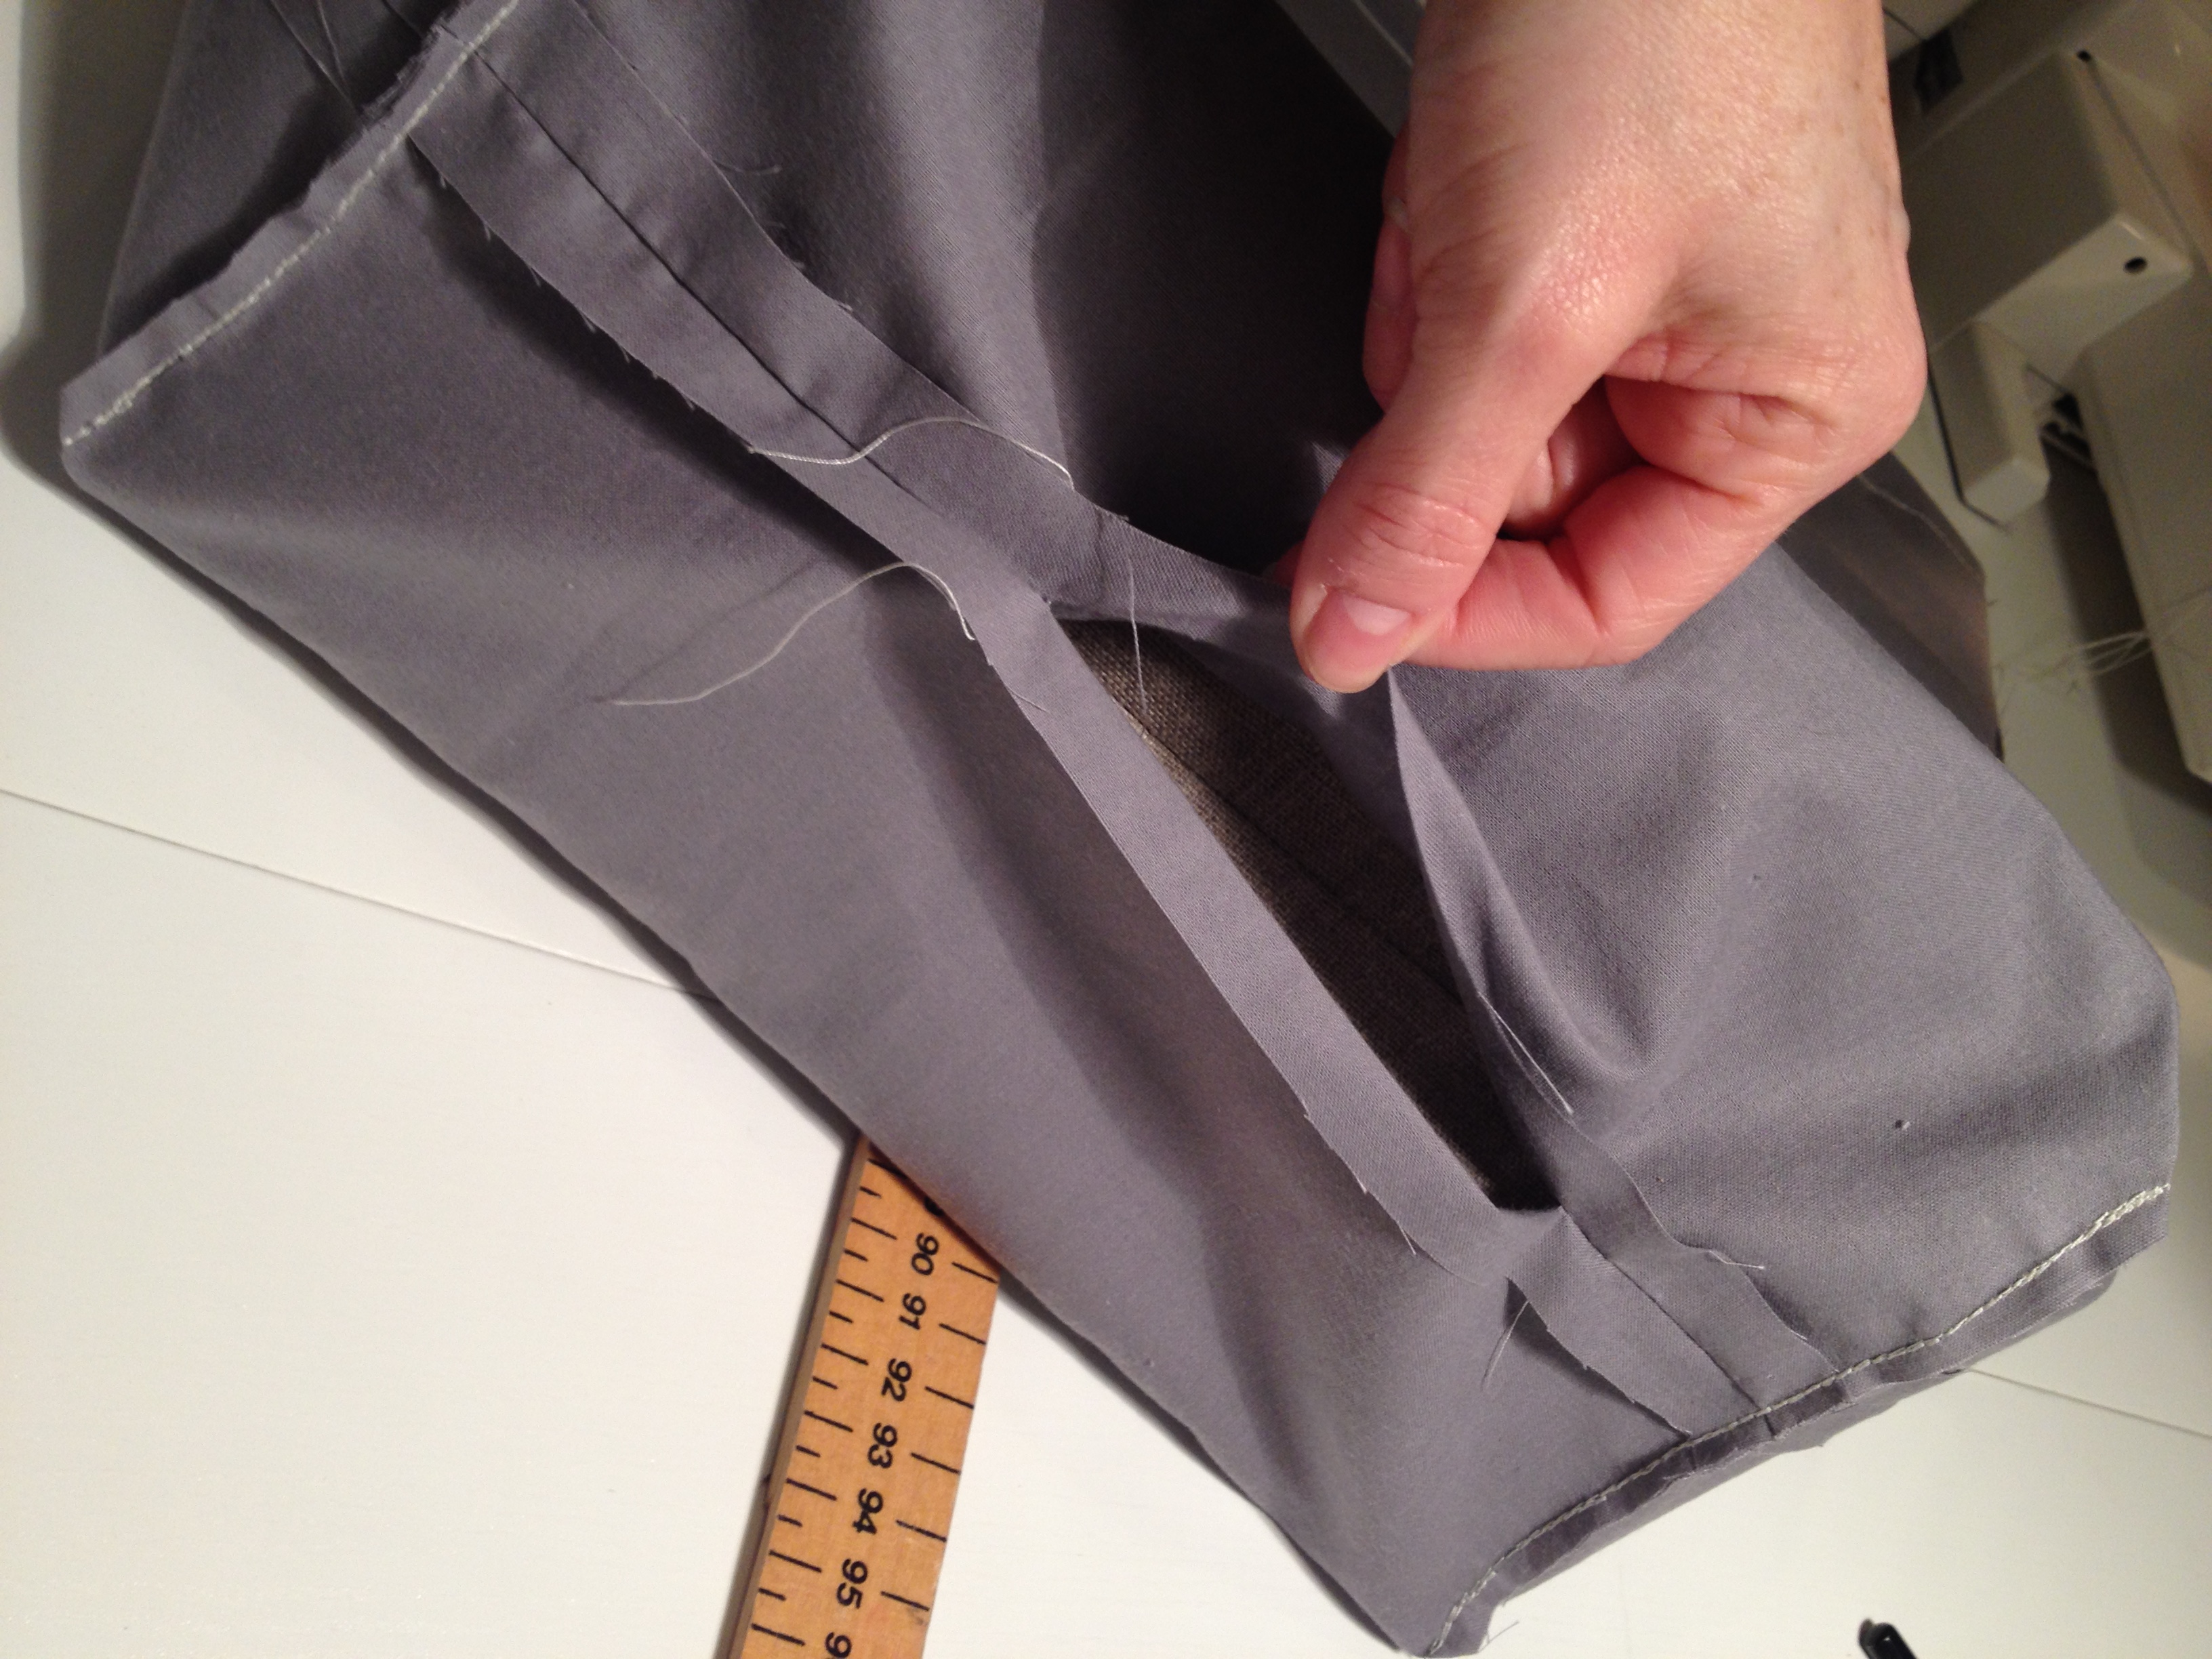

You can now hand sew or machine sew the lining closed.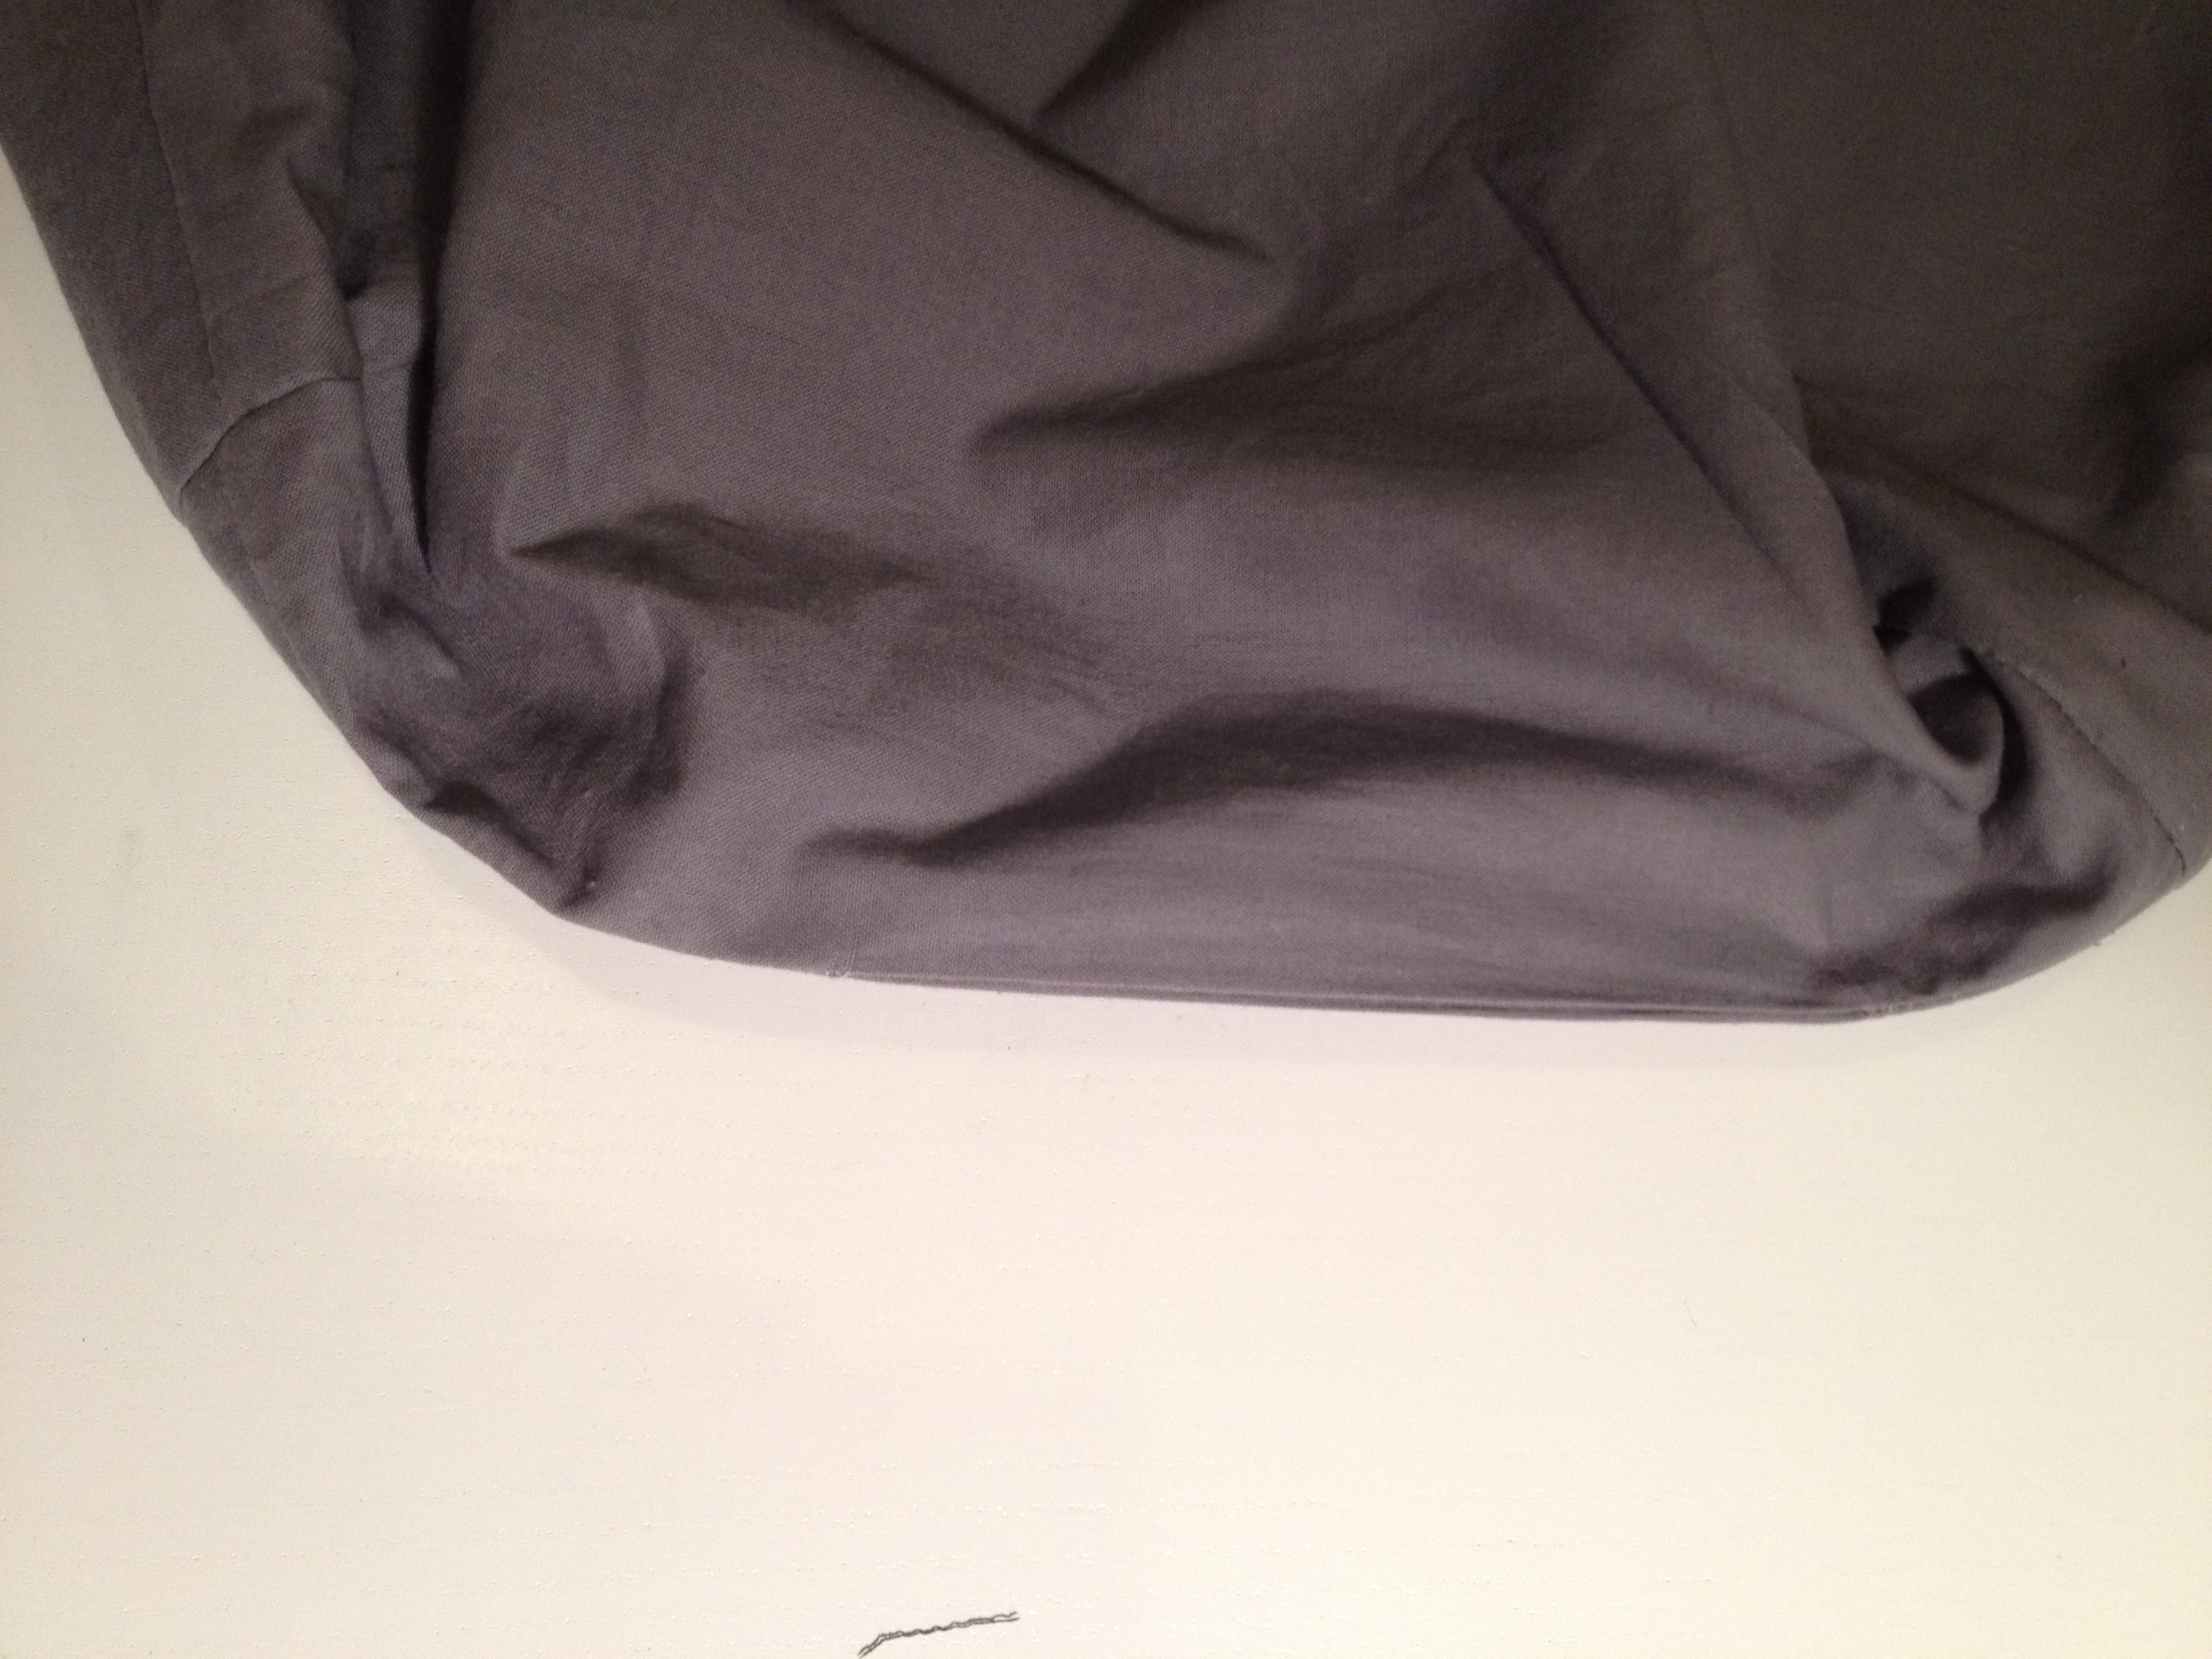
Push your lining inside the bag and iron all the way around the top so that the lining sits nicely just inside the bag.
Are you ready!?” Voila here is your beautiful work of art.
