
Trouser patterns have a bad reputation – from the overwhelming fly front / waistband / darts / pockets all in one pattern it’s enough to make anyway choose something else to make! Unless you are a confident sewer and up for a challenge, trousers tend to be the last thing on the “things to make” list!
BUT we want to change that. We love trousers! We love pockets! We also love trousers that are flat on the front with pockets that don’t add inches to your hips. We also don’t want to spend hours making them! So we created “The City Trousers”

Click here to buy this gorgeous trouser pattern.
Most trouser patterns will need to be lengthened or shortened. We’ll show you how:
To shorten a trouser pattern
If you were last in the height queue like me, you’ll need to shorten your trouser pattern. You have two ways to do this:
1. Measure from your top inner leg to the desired length of your trousers. Don’t forget if you plan to wear heels with them to take that into account
2. OR, measure the inner leg of a pair of own trousers that have the same leg length as the ones you are making!
Golden rule – double check your measurements!
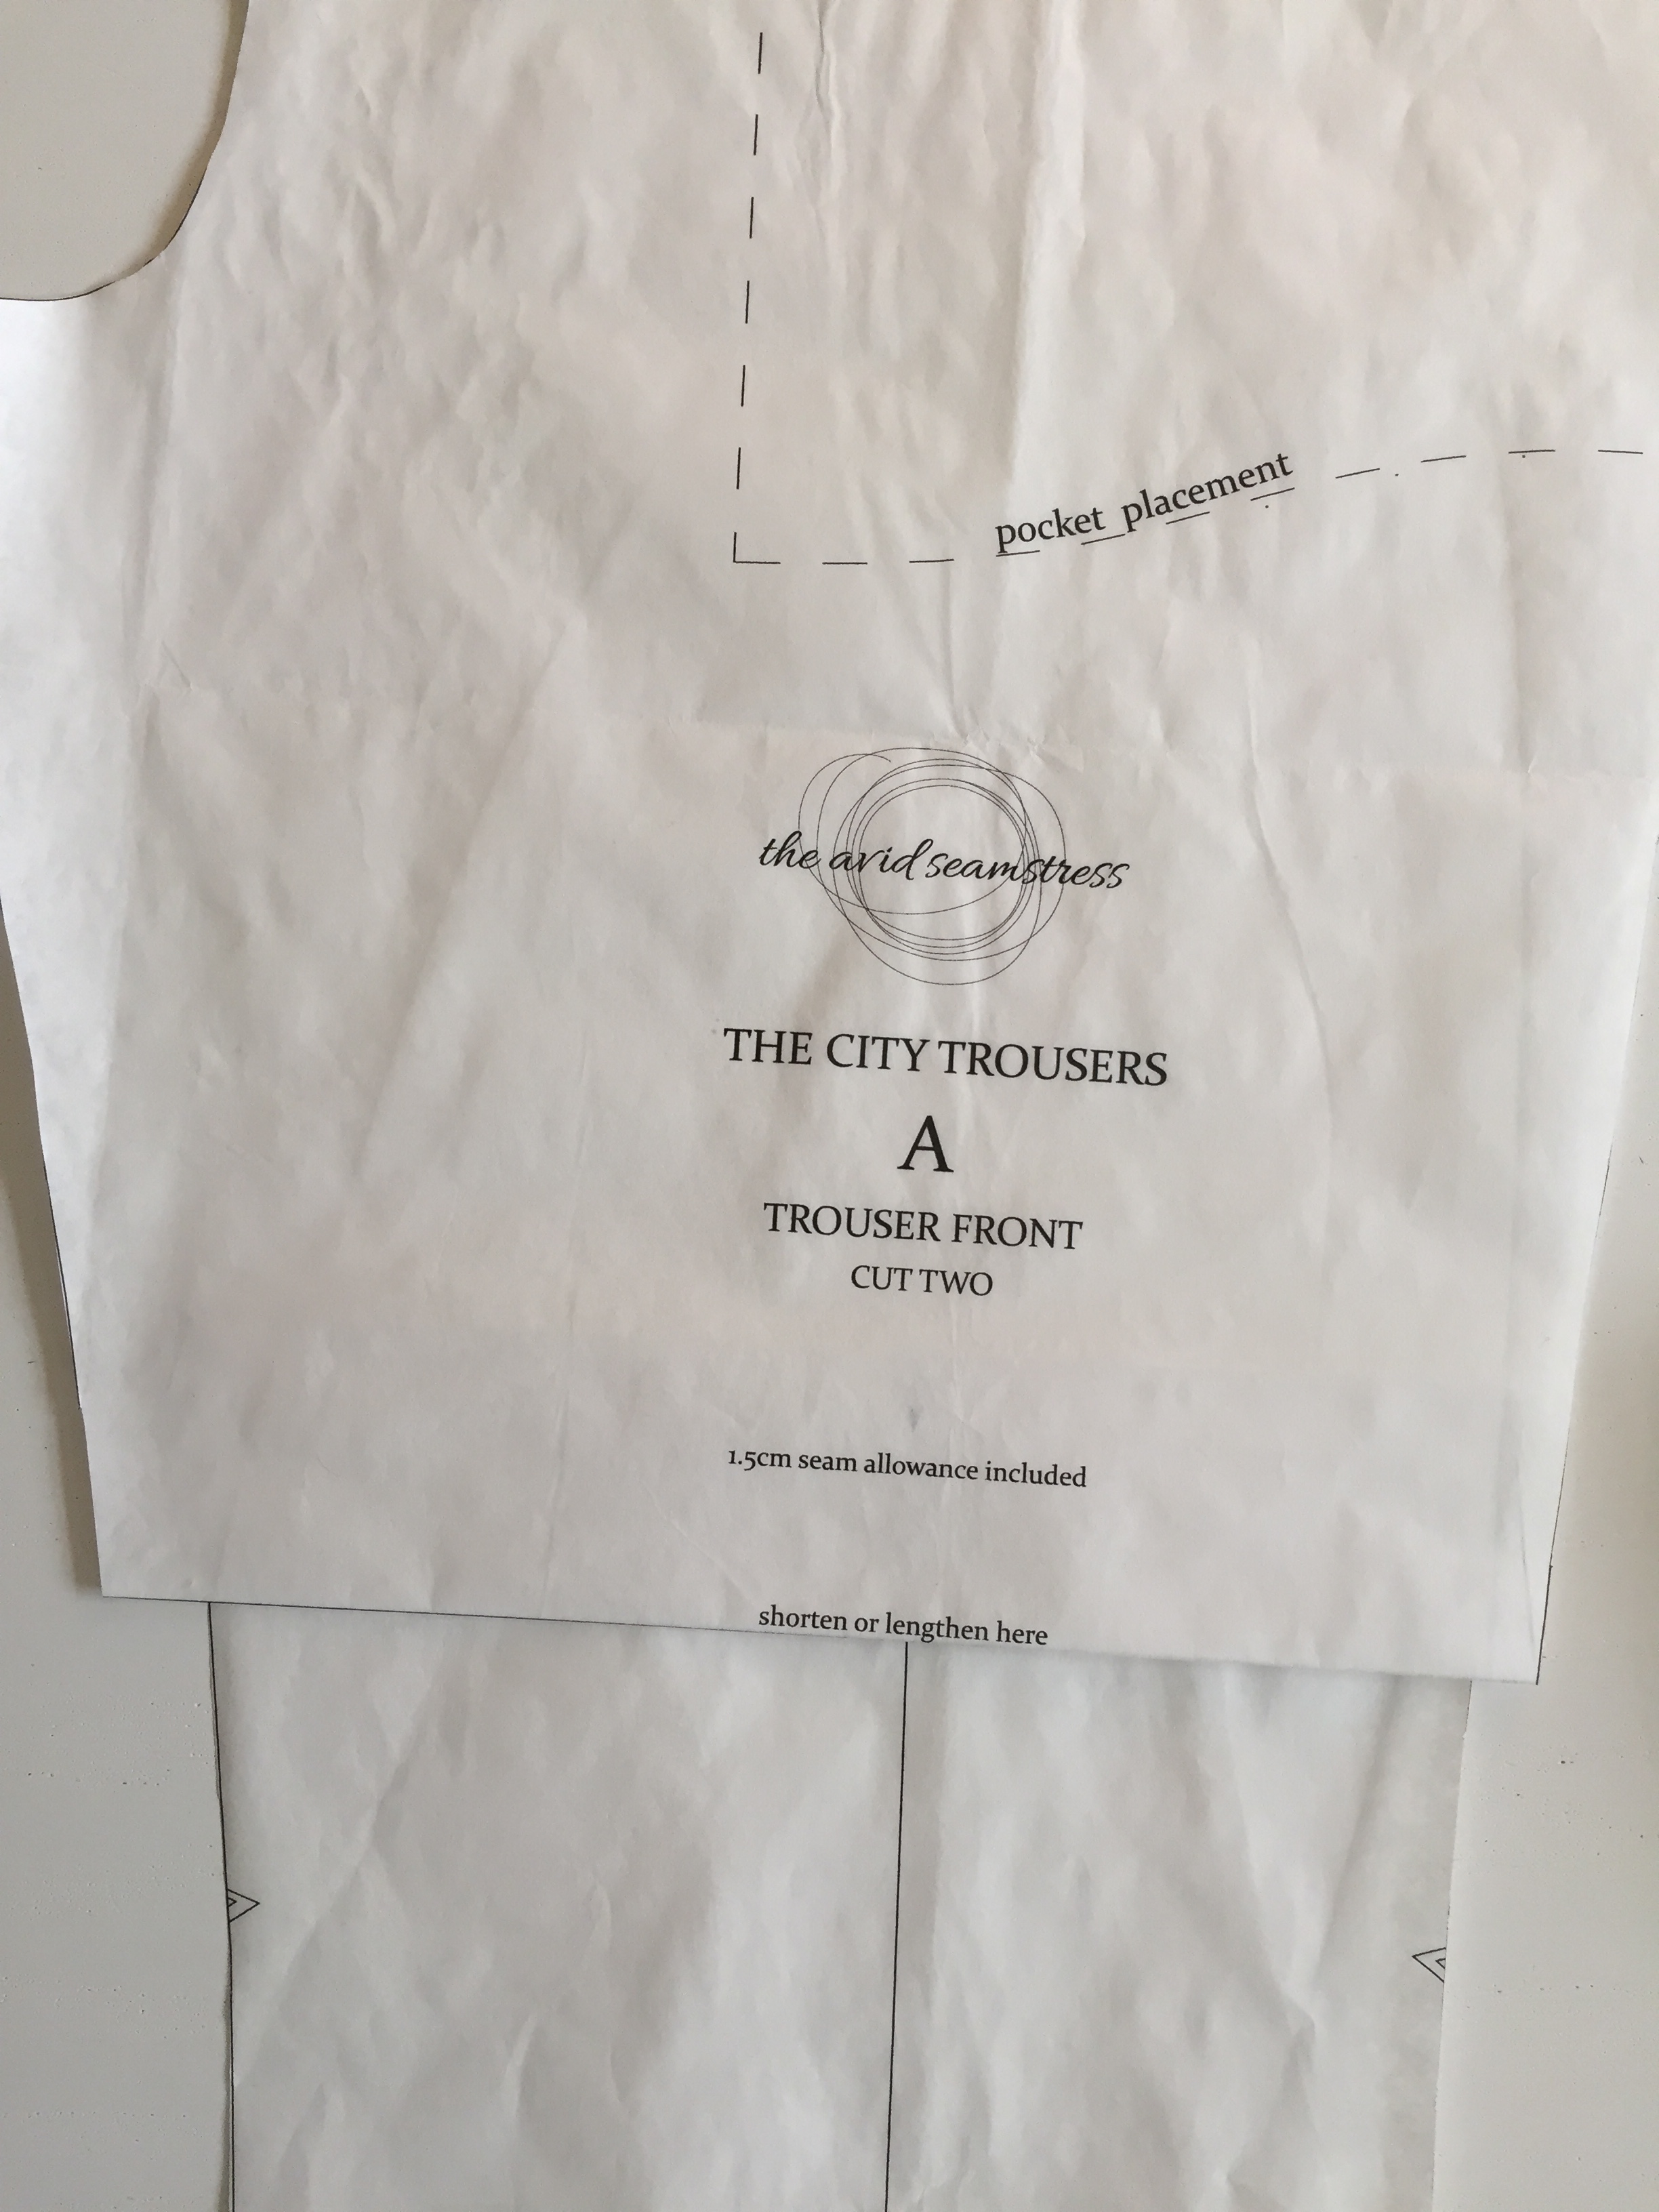
You’ll find a “shorten/lengthen” line on the pattern. Check what the hem measurement is on the pattern – for example on the City Trousers the hem is 3.5cm:
* The finished trouser leg length that we would like to have on our trousers is 65cm
* Add seam allowances – 1.5 for the crotch + 3.5cm for the hem
= 65cm + 1.5cm + 3.5cm = 70cm
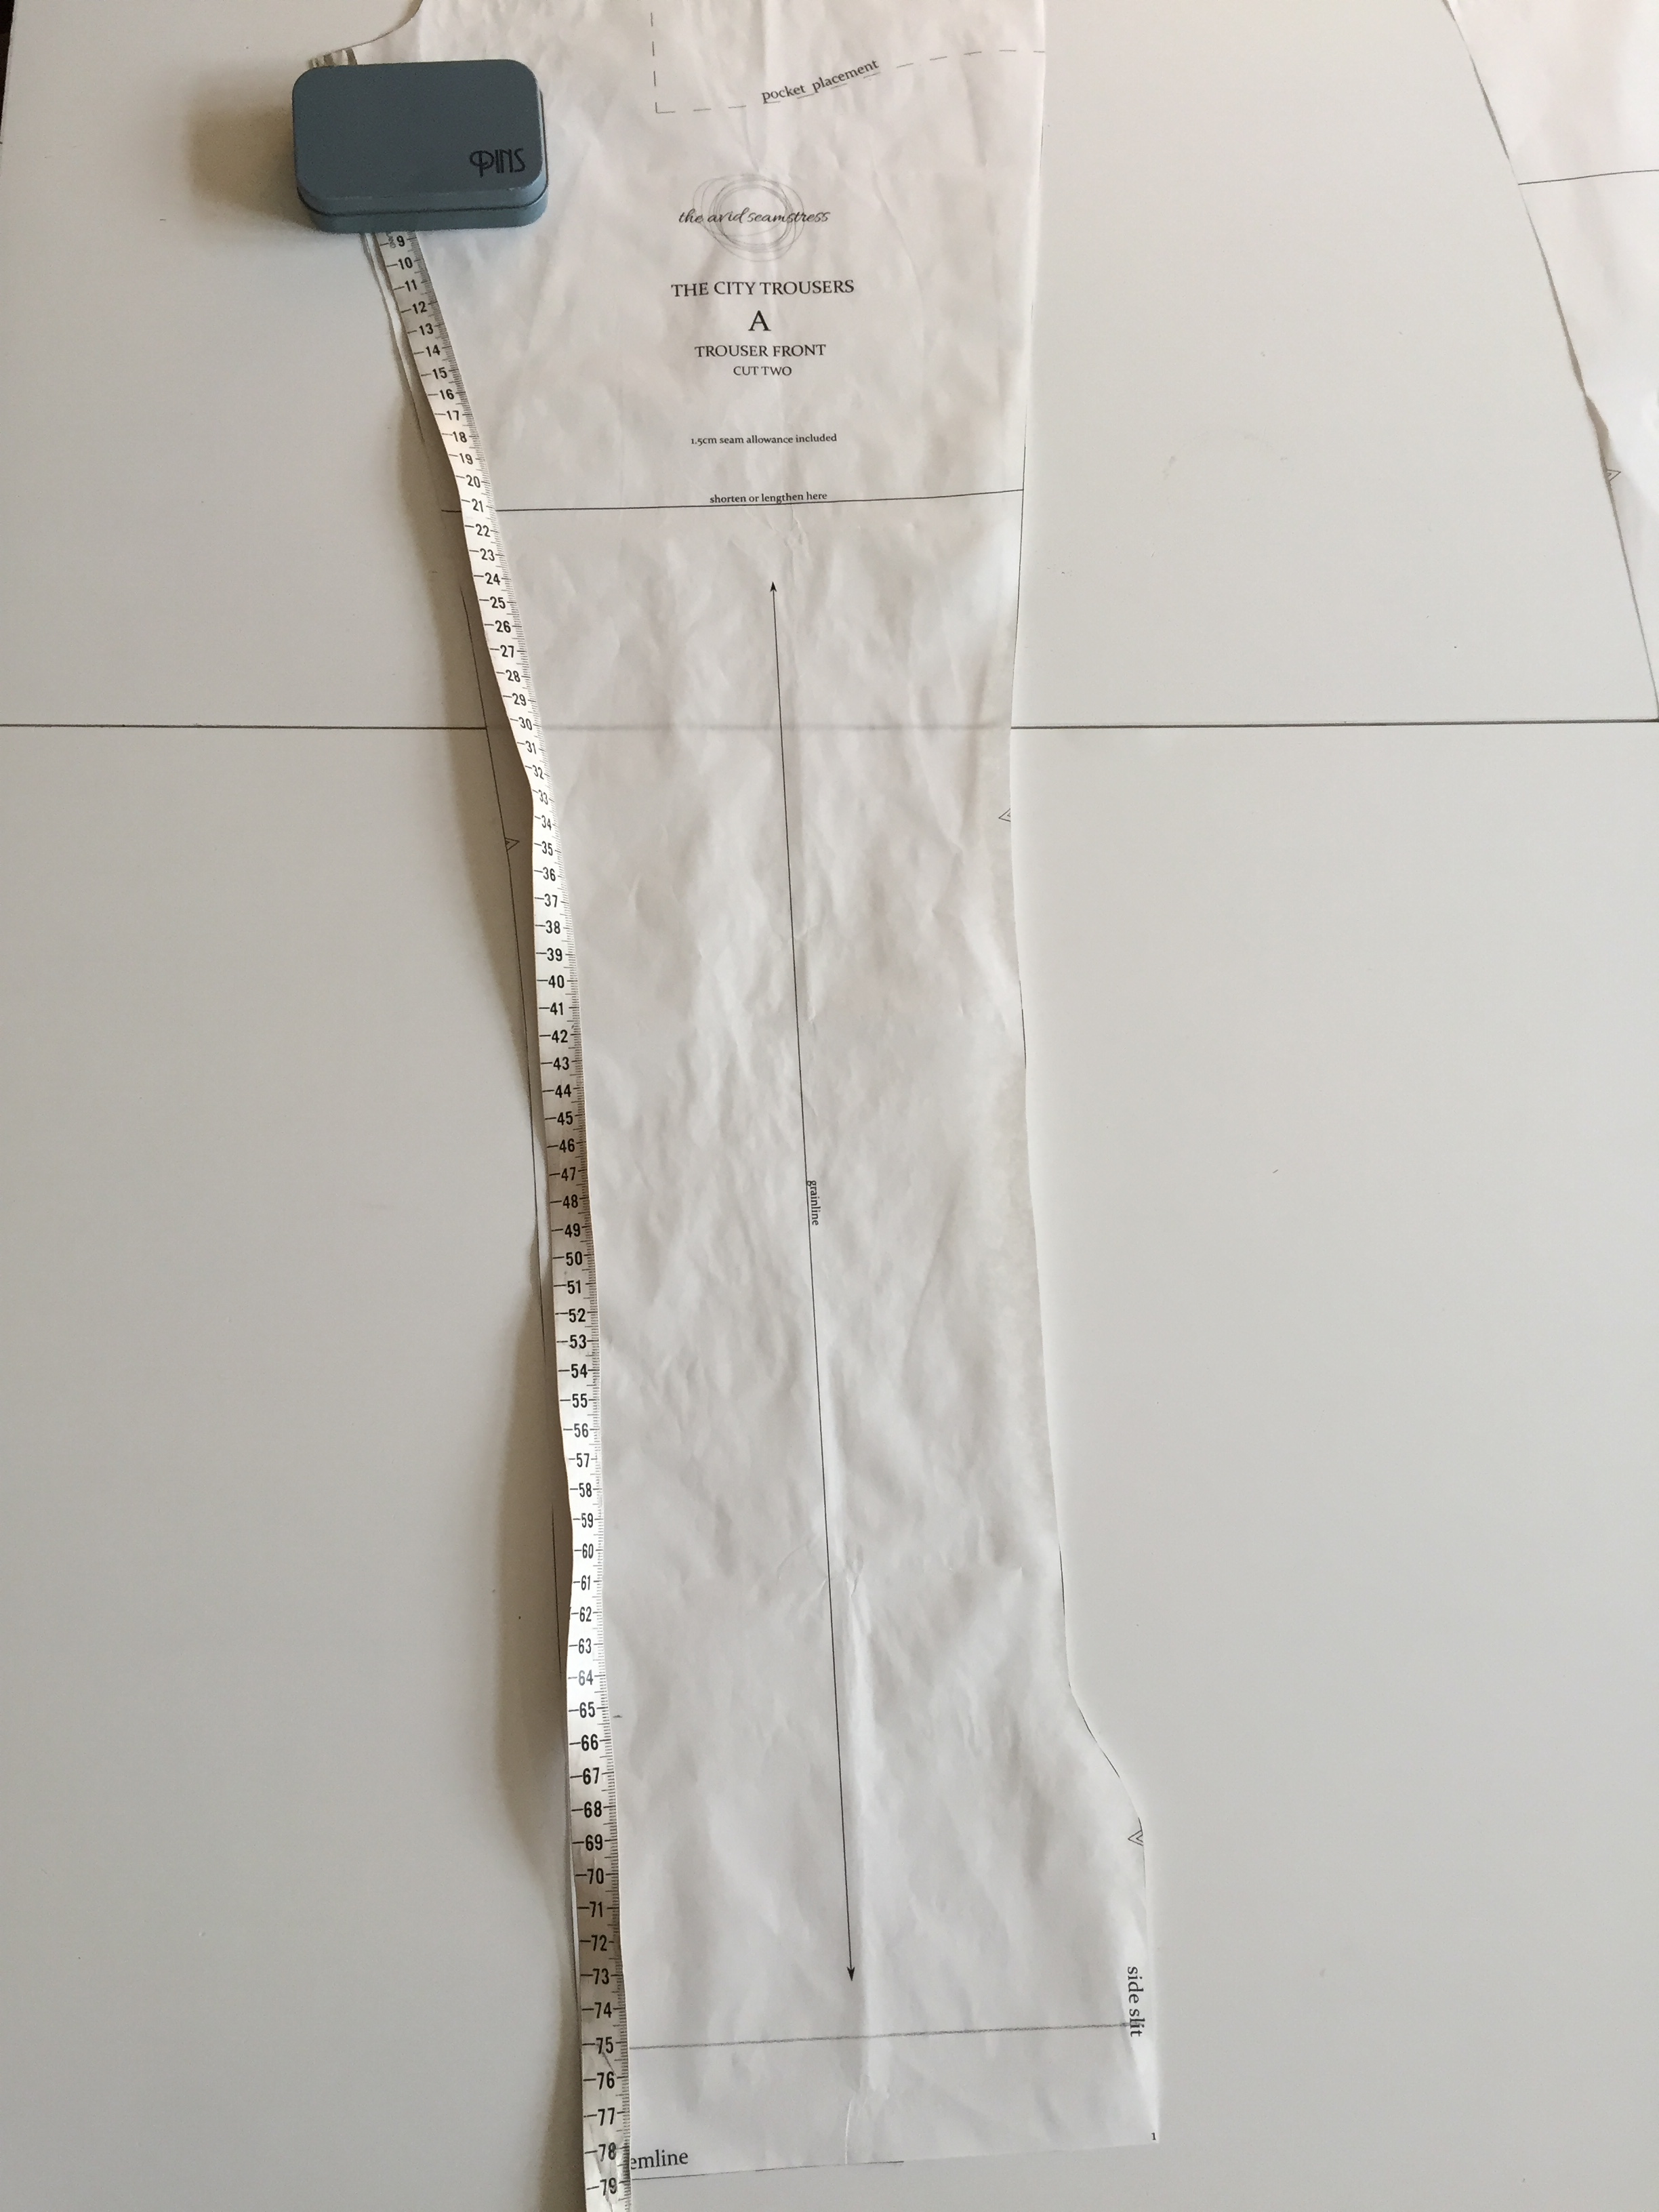
The pattern’s leg length cut out is 79cm which means we need to remove 9cm of the length:
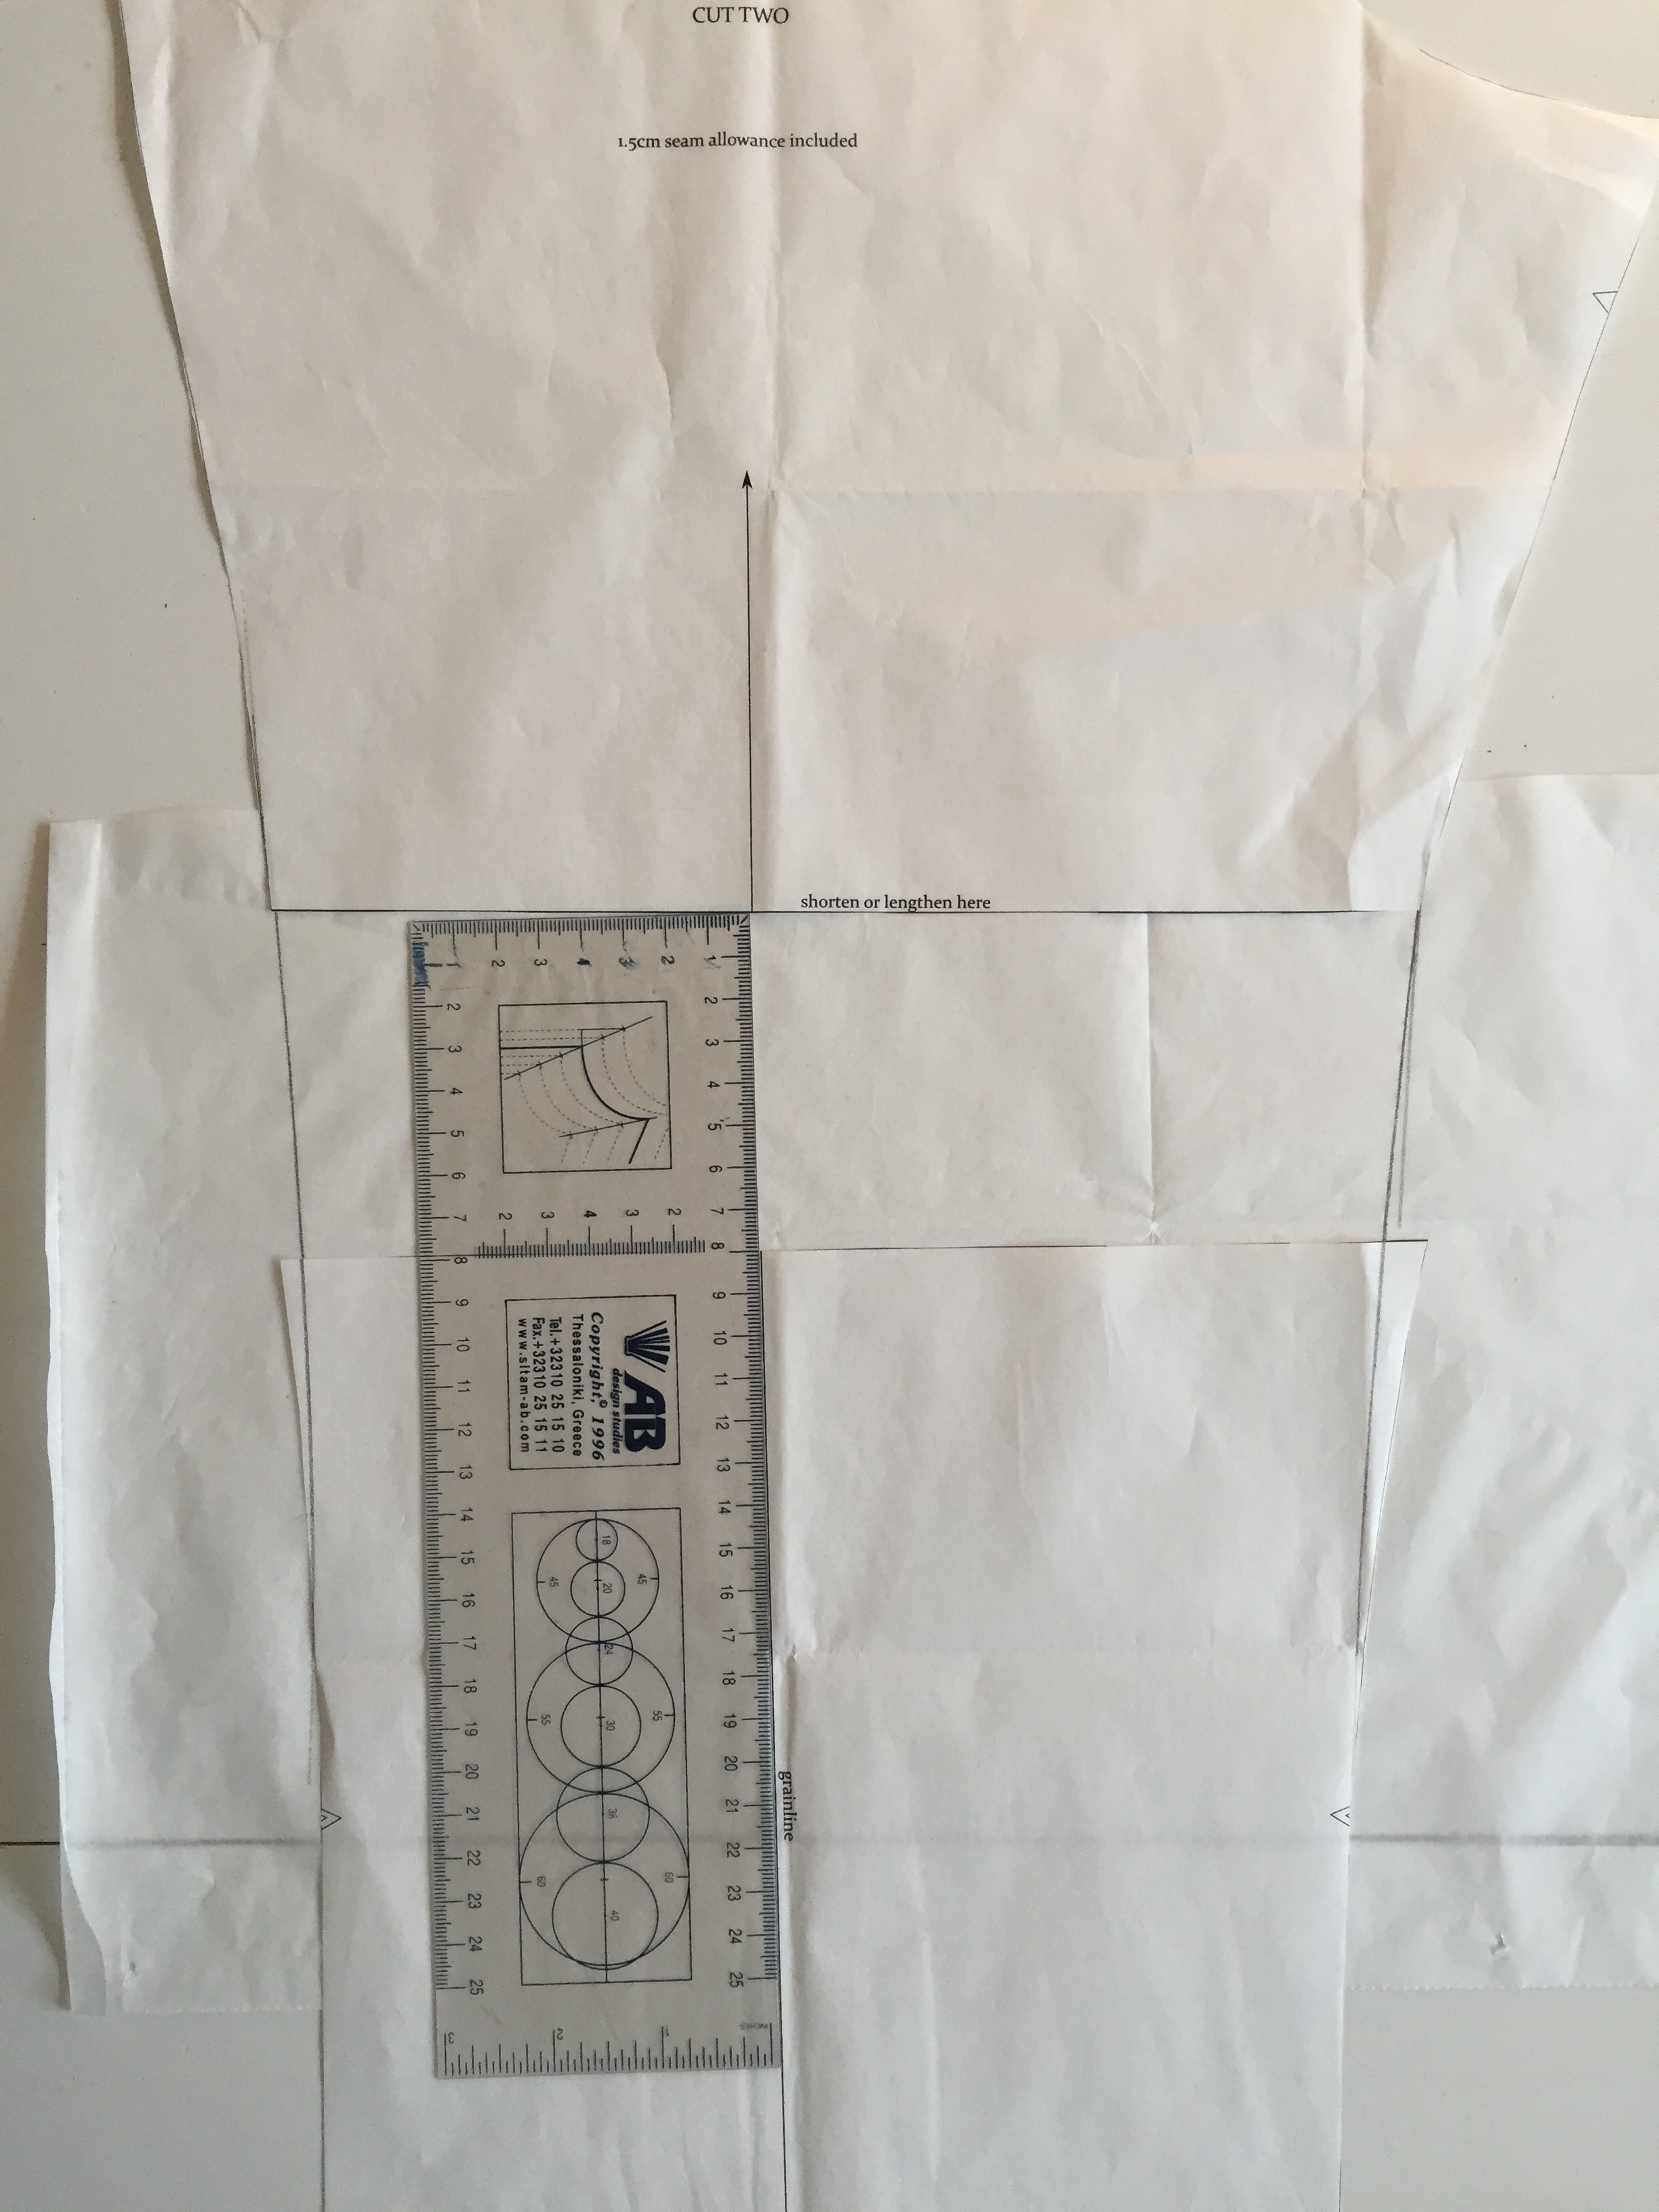
* Crease the trousers on the “shorten/lengthen” line.
* Then start to fold the trousers downwards (essentially in this example I’ve created a fold of 4.5cm which x2 = 9).
* Double check the inner leg length is now 70cm
You’ll notice the sides of the trousers have changed shape. In my example the shape has changed quite a lot as I took off 9cm.
Lay a piece of pattern paper underneath and glue it, then redraw the leg side seams:

You now have your one pattern leg finished. Repeat on the back leg pattern piece and then double check that your inner leg and outer pattern pieces match.
To lengthen a trouser pattern
You are really just doing the opposite of the above. Instead of folding the pattern piece you are going to cut along the “shorten/lengthen” line and open it out the length that you are adding. We find it easier to stick the top piece along the cut to your spare piece of pattern paper and then use your ruler to make sure you are creating the accurate length before sticking down your lower leg piece.
I would suggest that if you make changes to a pattern to always make a “toile” – basically scrap fabric that is similar to the fabric you are using.
We hope this helps! Let us know if you have a better way to do the above – we are always interested in how other seamstresses do these things!
