This tutorial is for View A and C.
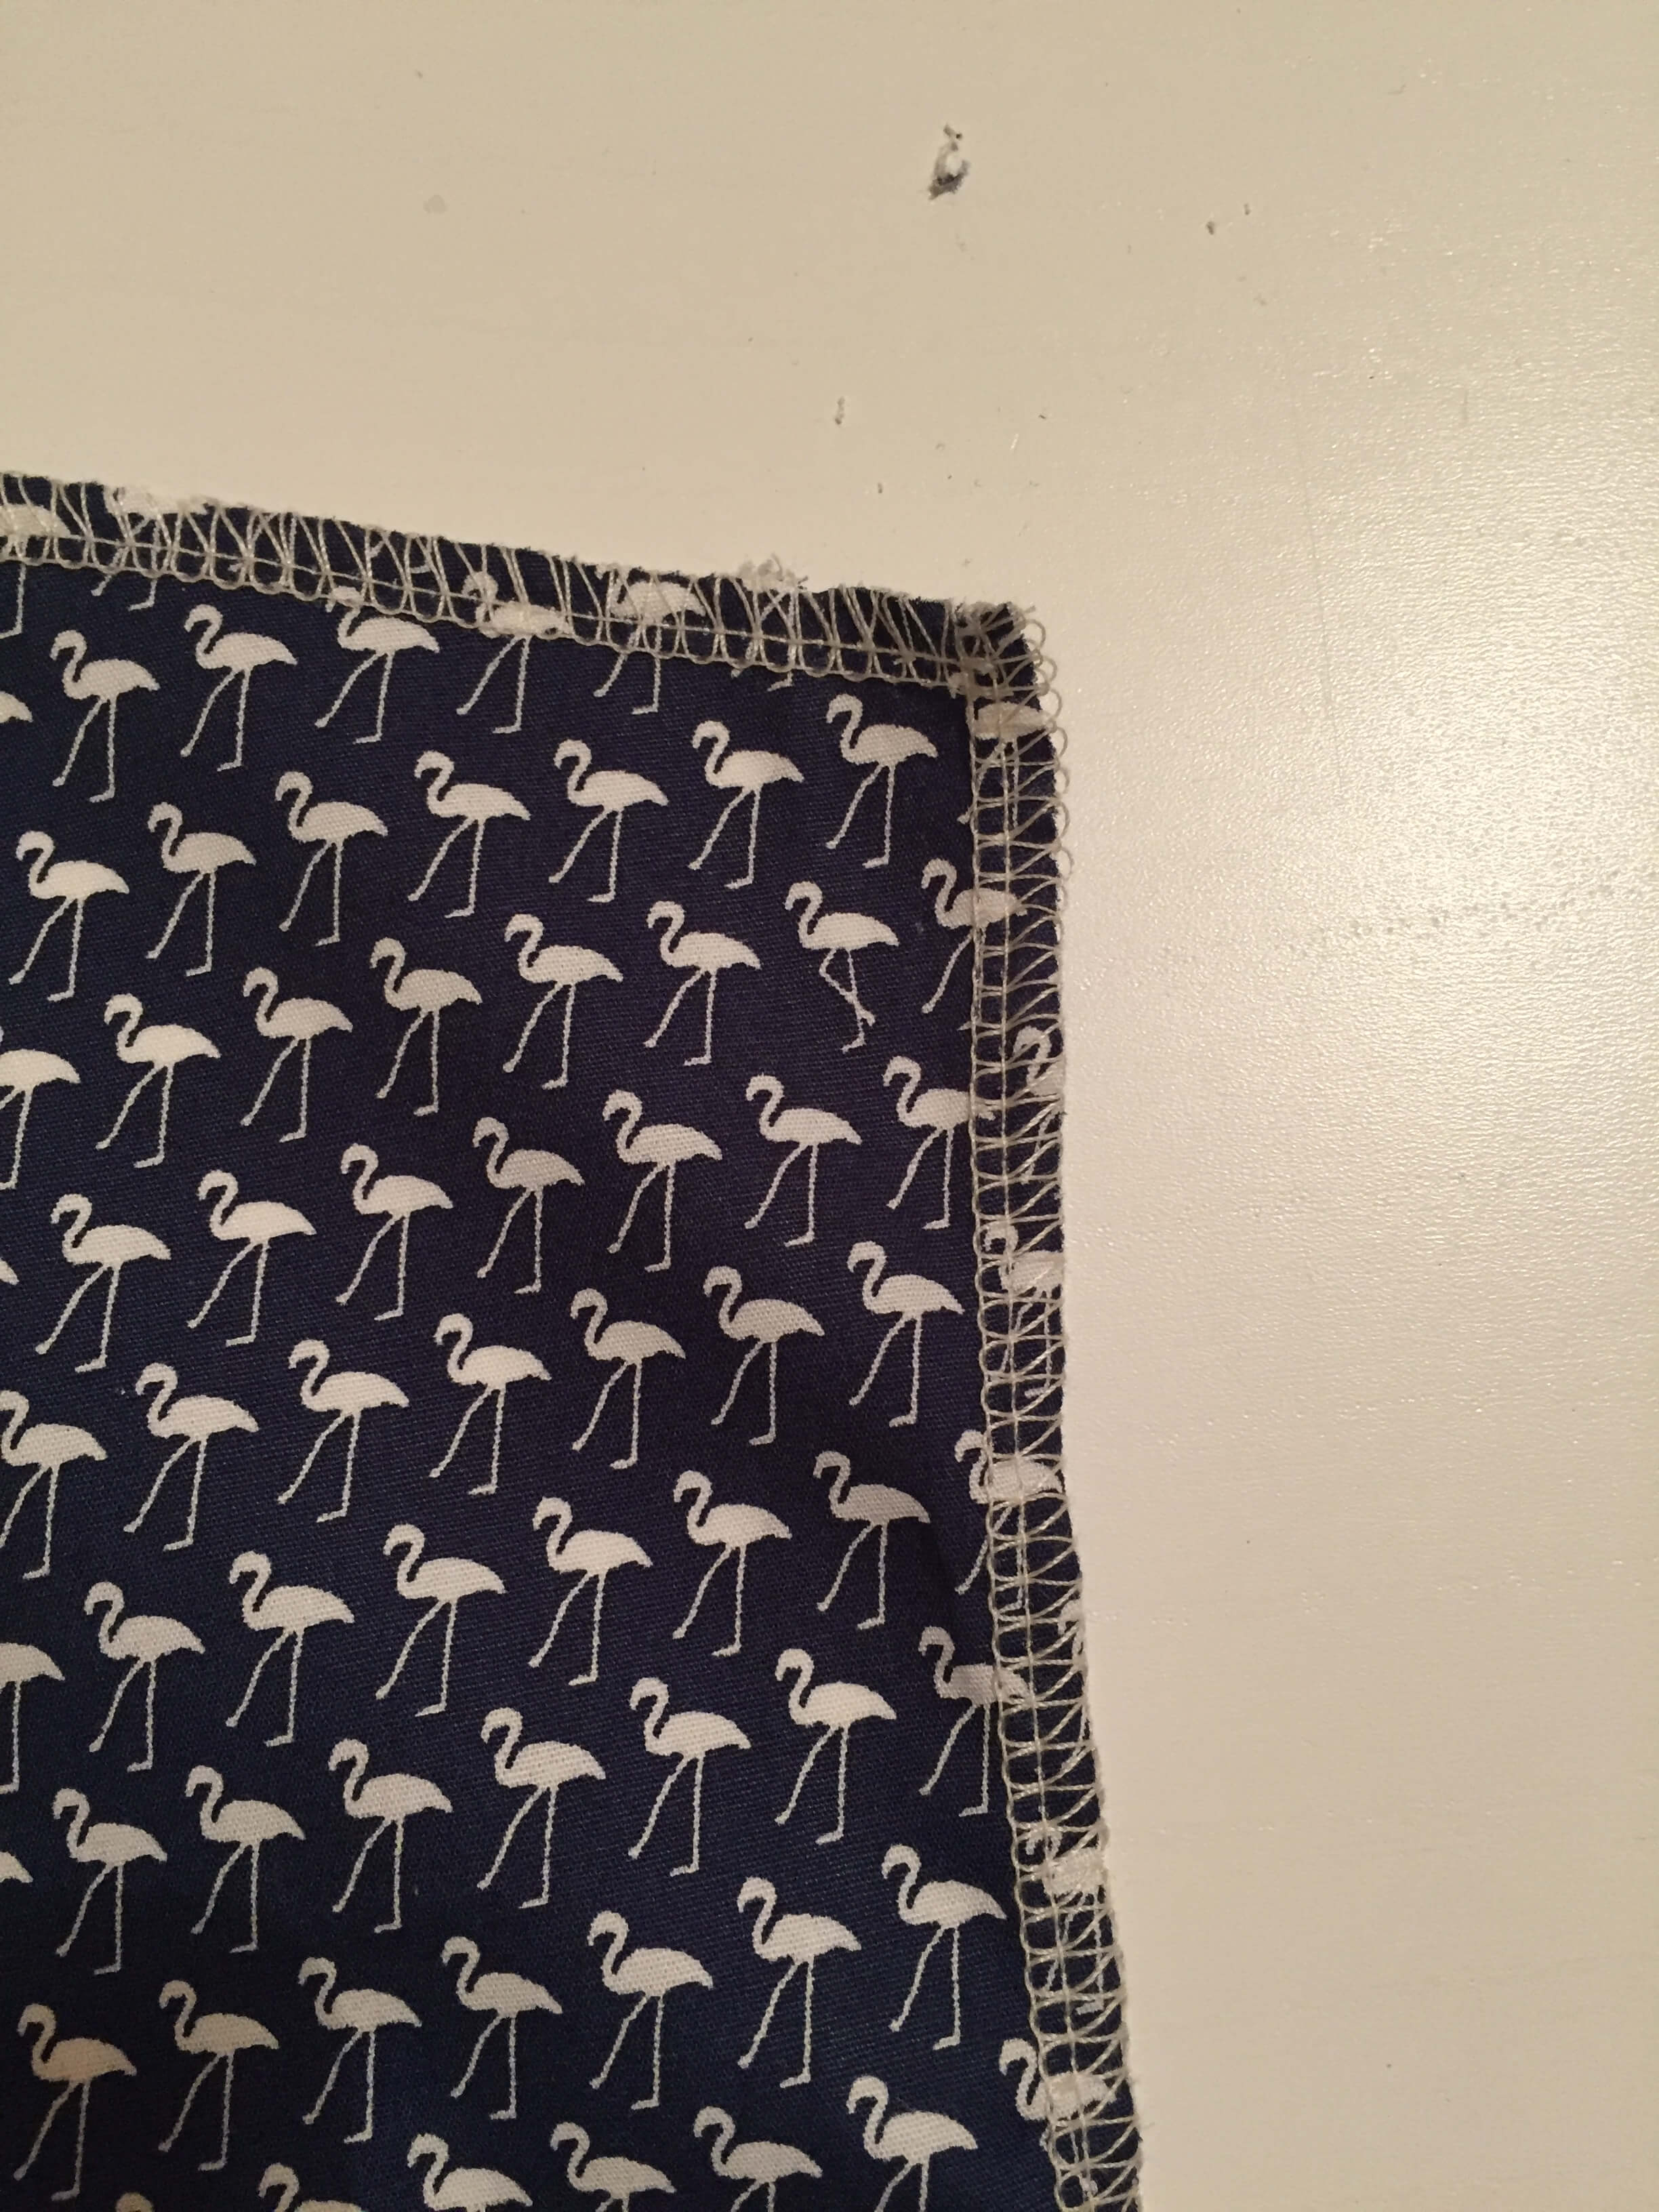
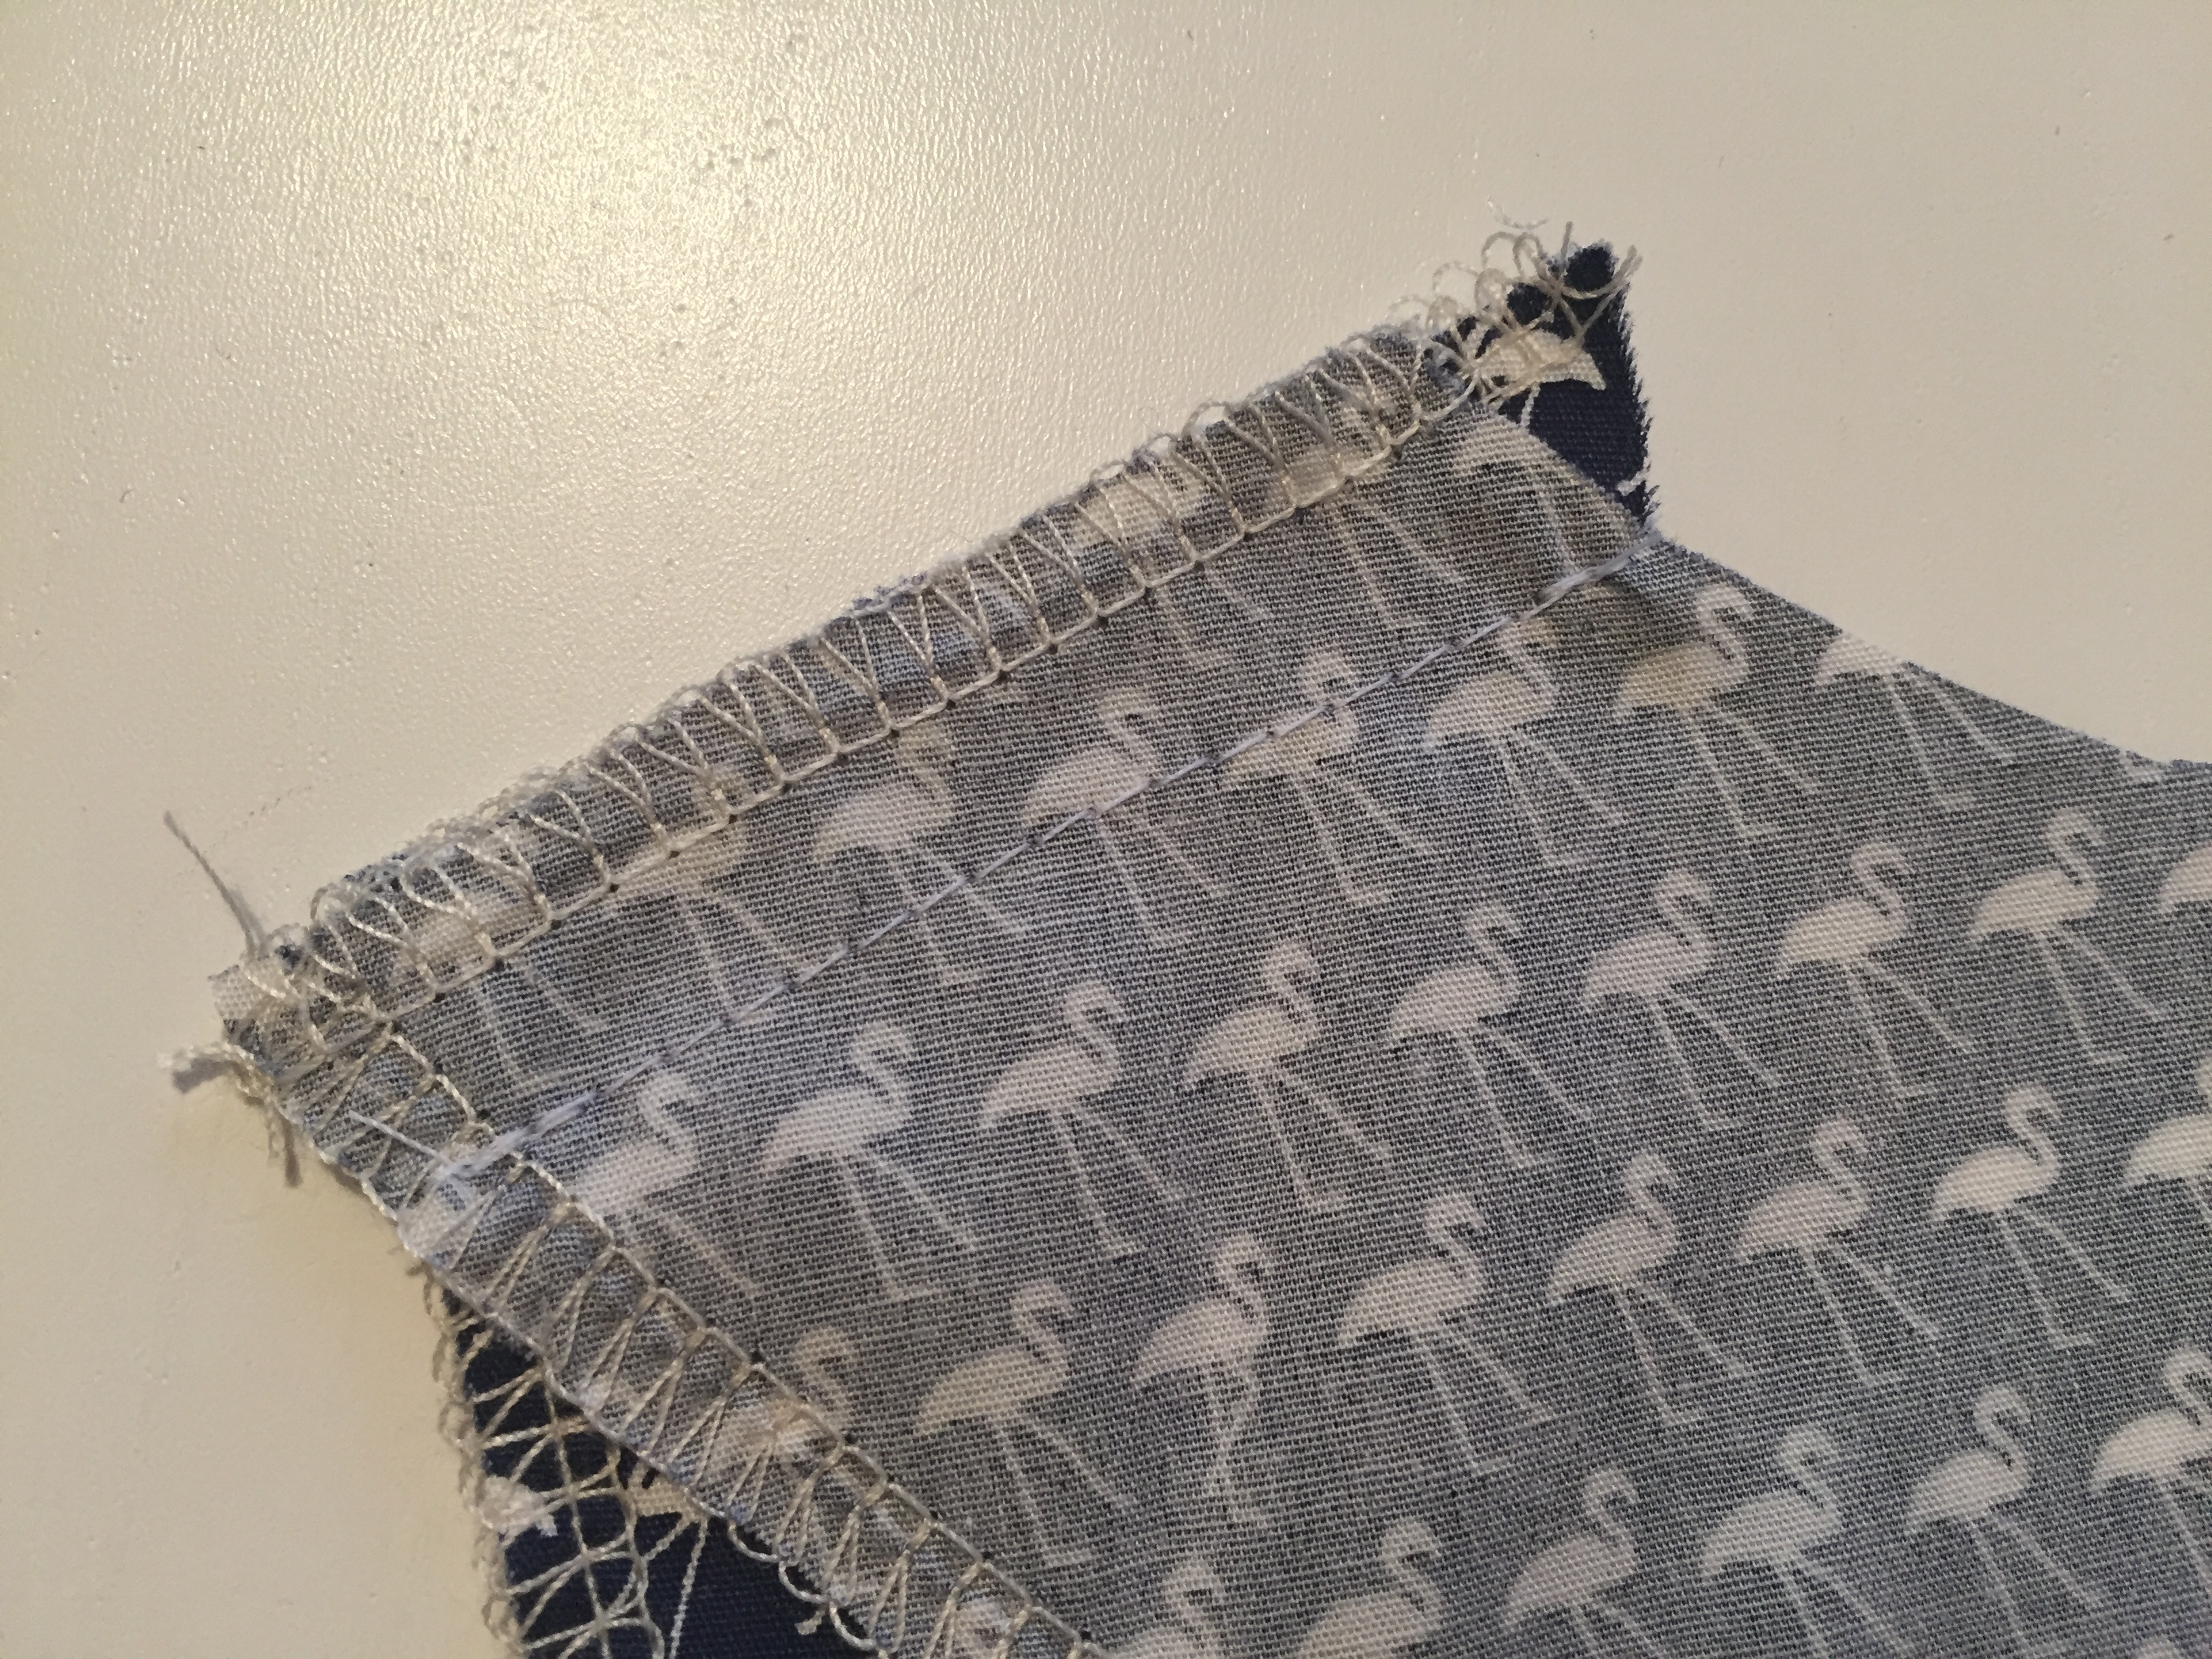
Before you start- overlock / zigzag the raw edges. Overlocking buying guide and tips here
POCKETS
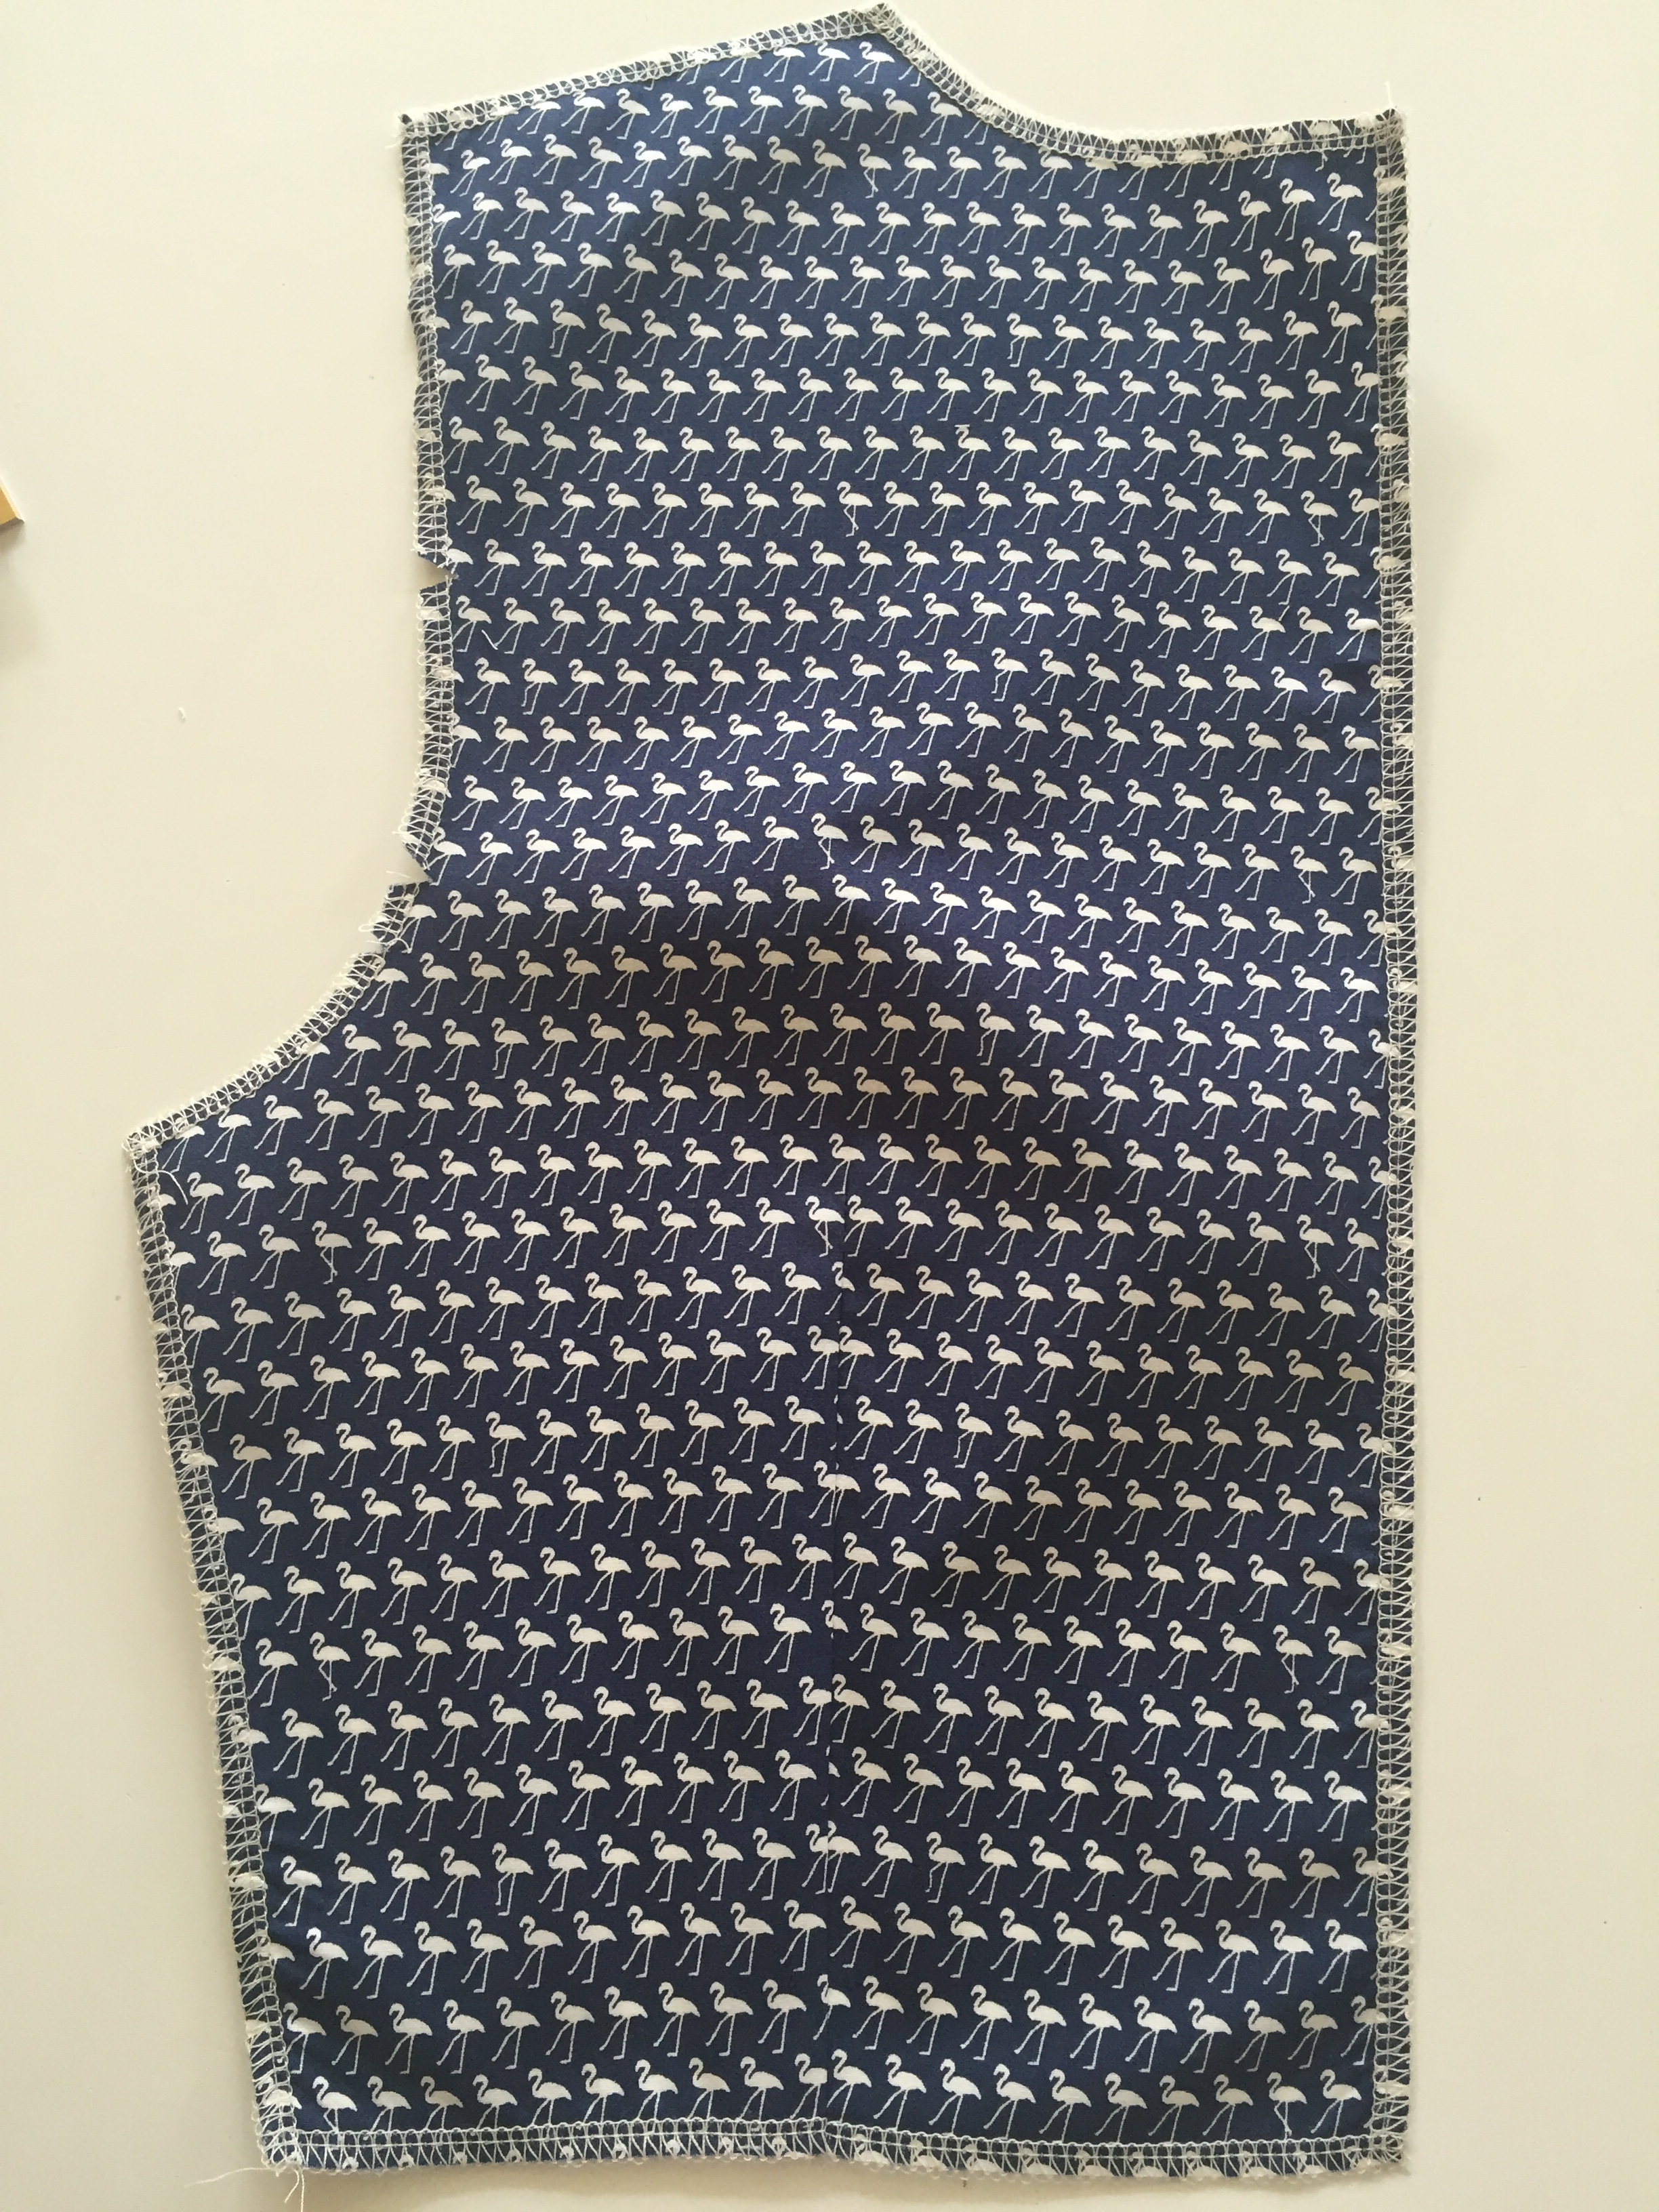
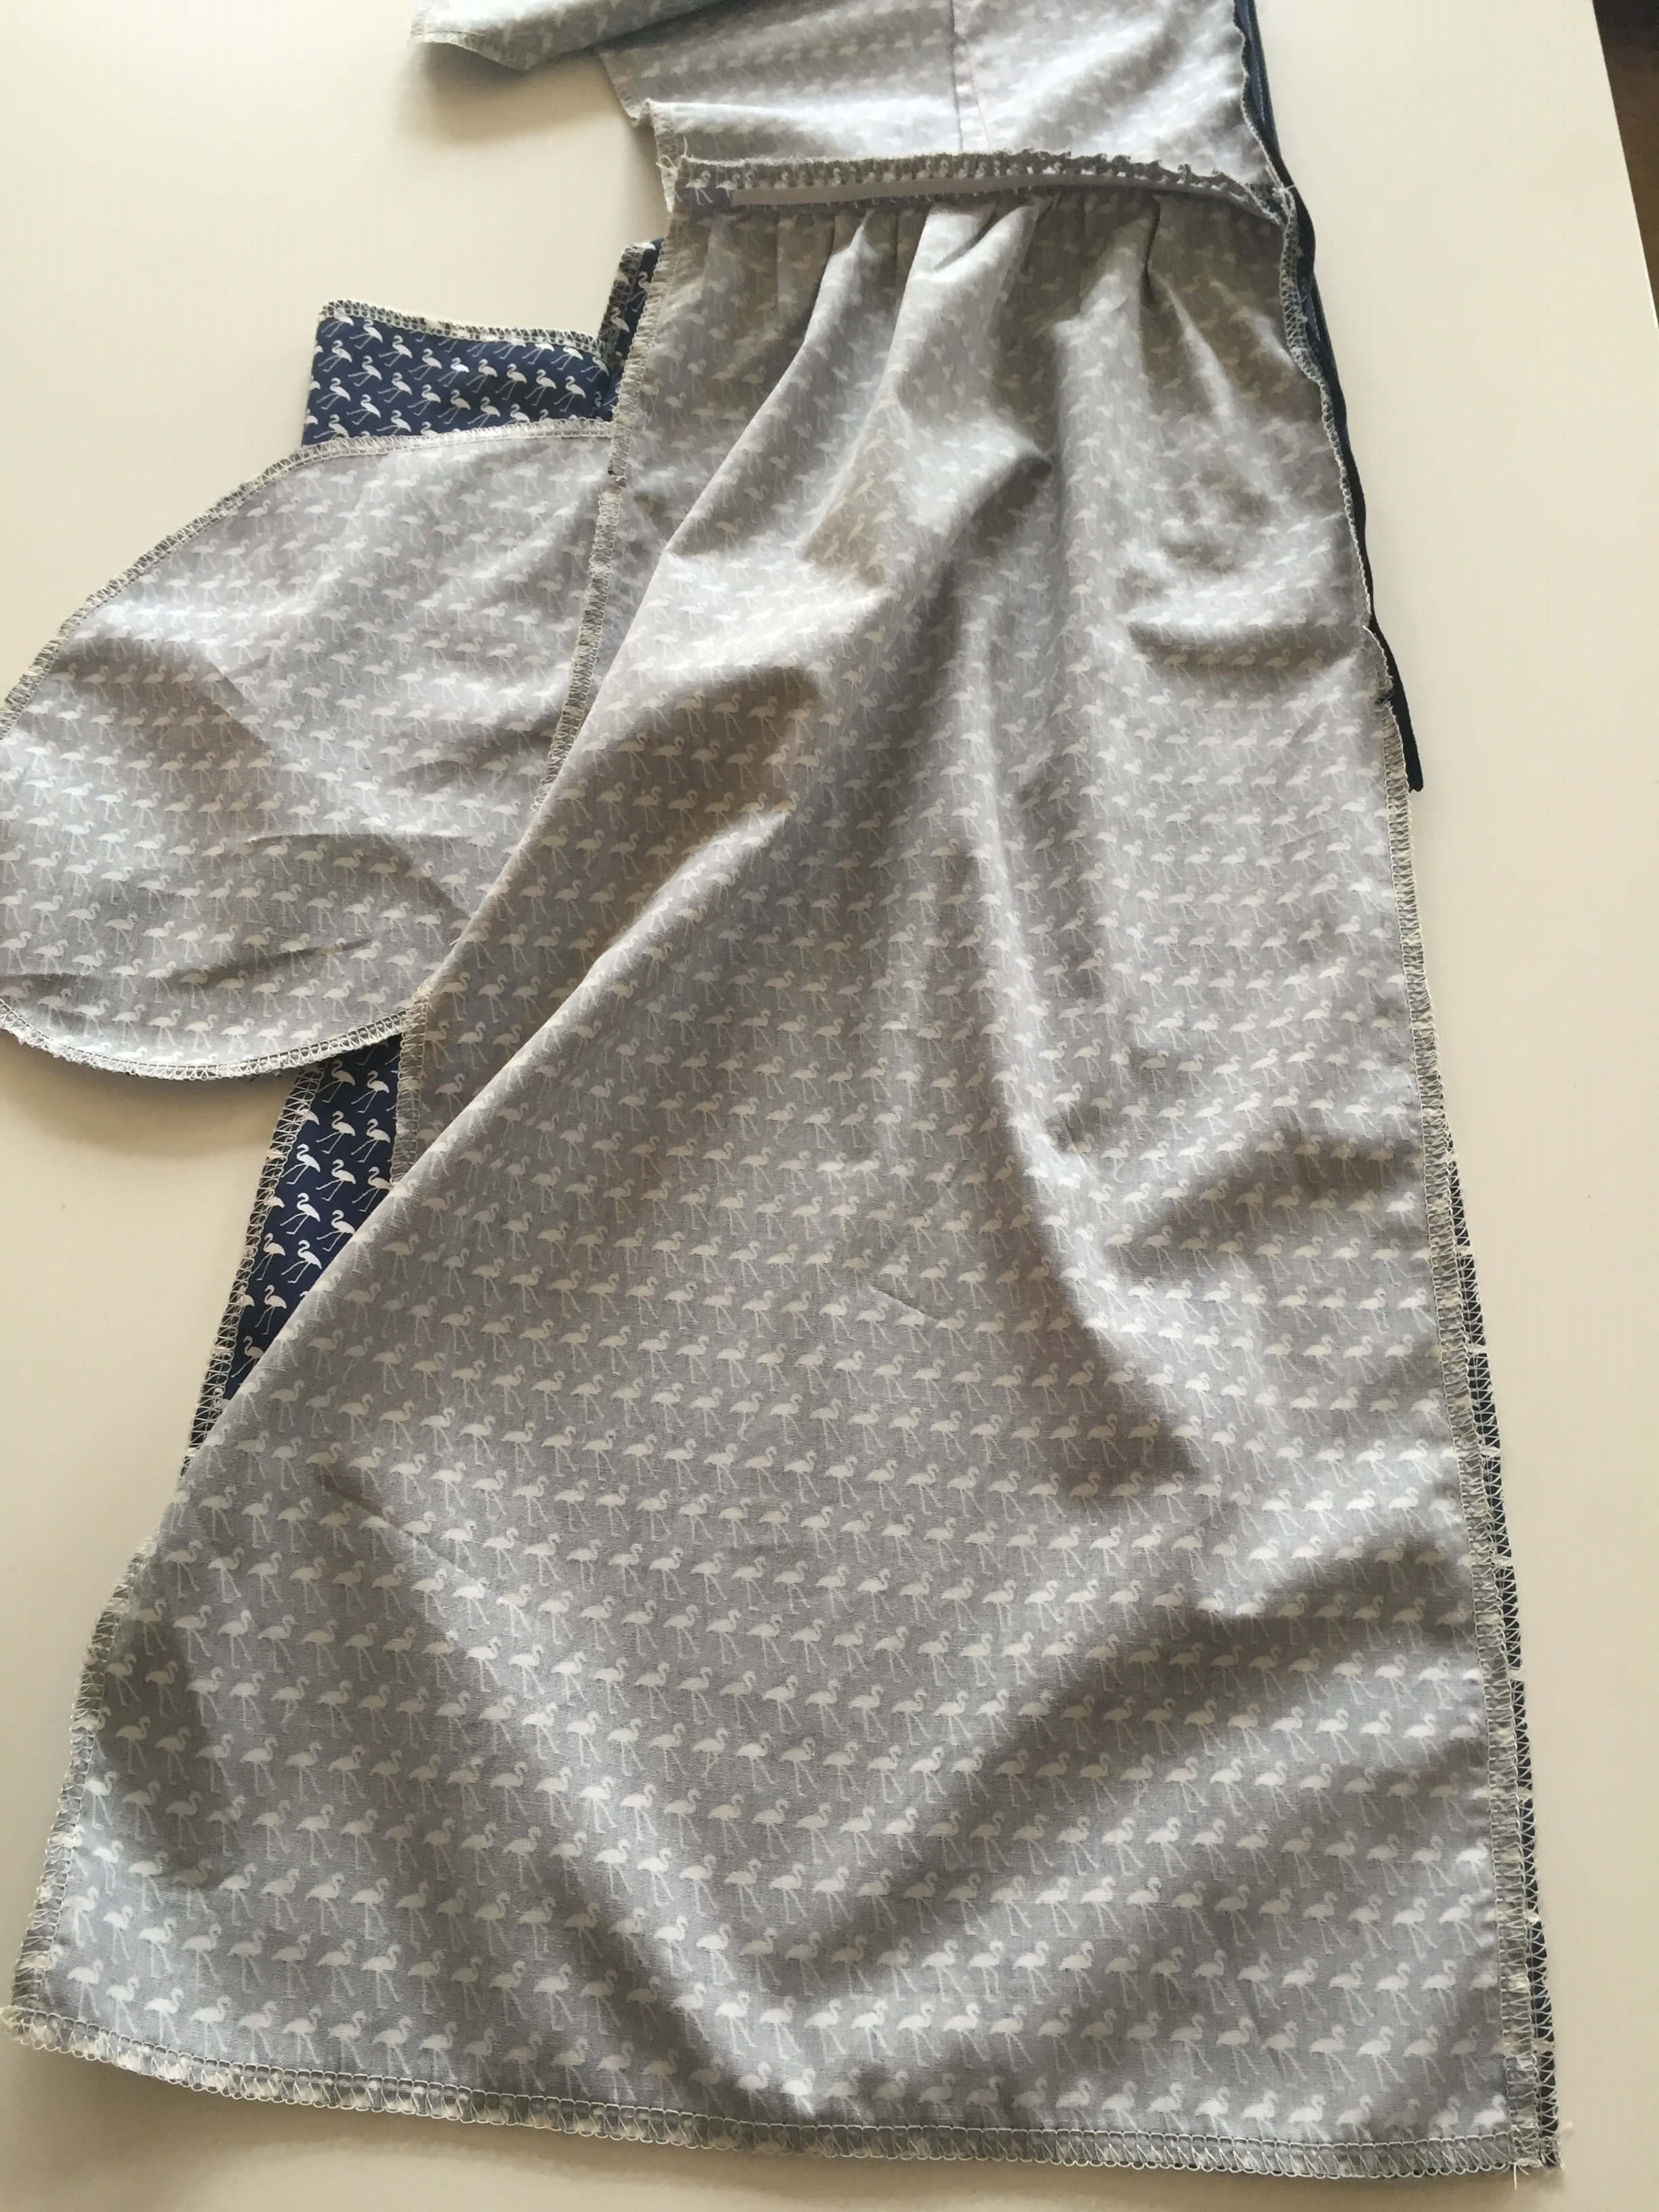
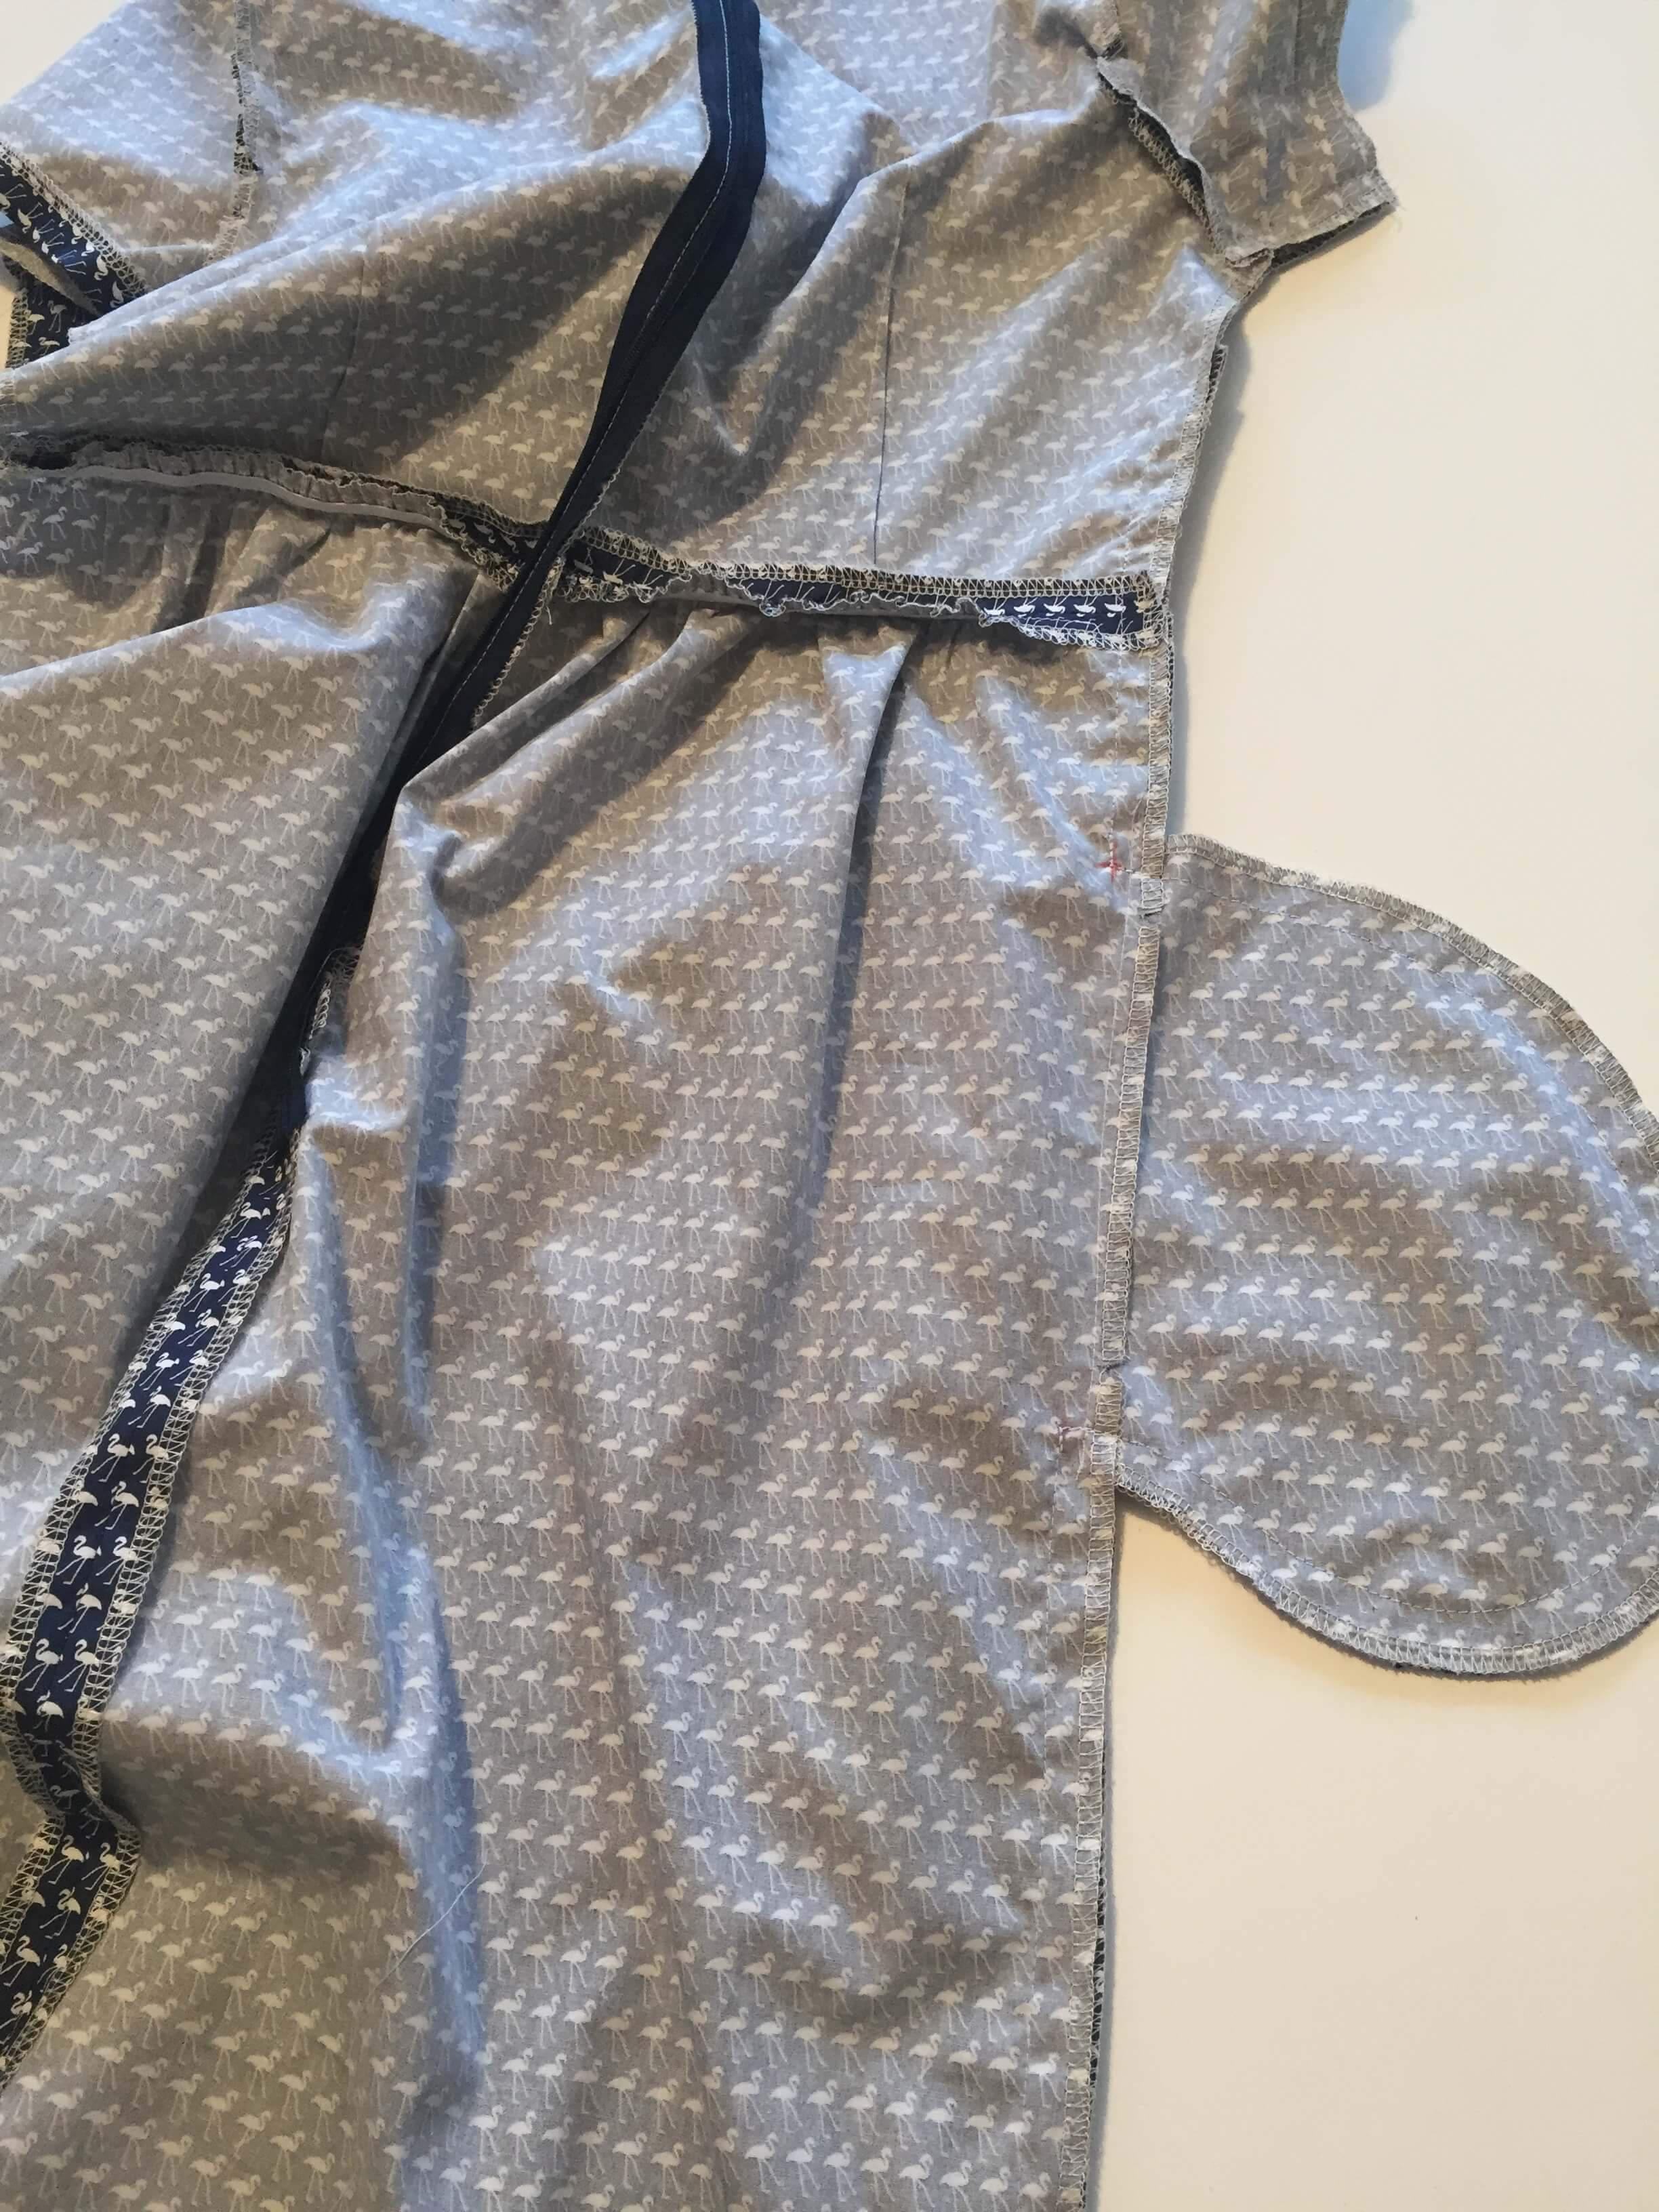
1. Place the front skirt E right side facing you. Place your inner pocket H pieces right sides together onto E, matching up the pocket notches. Sew the pocket to the skirt, using a 1cm seam allowance.
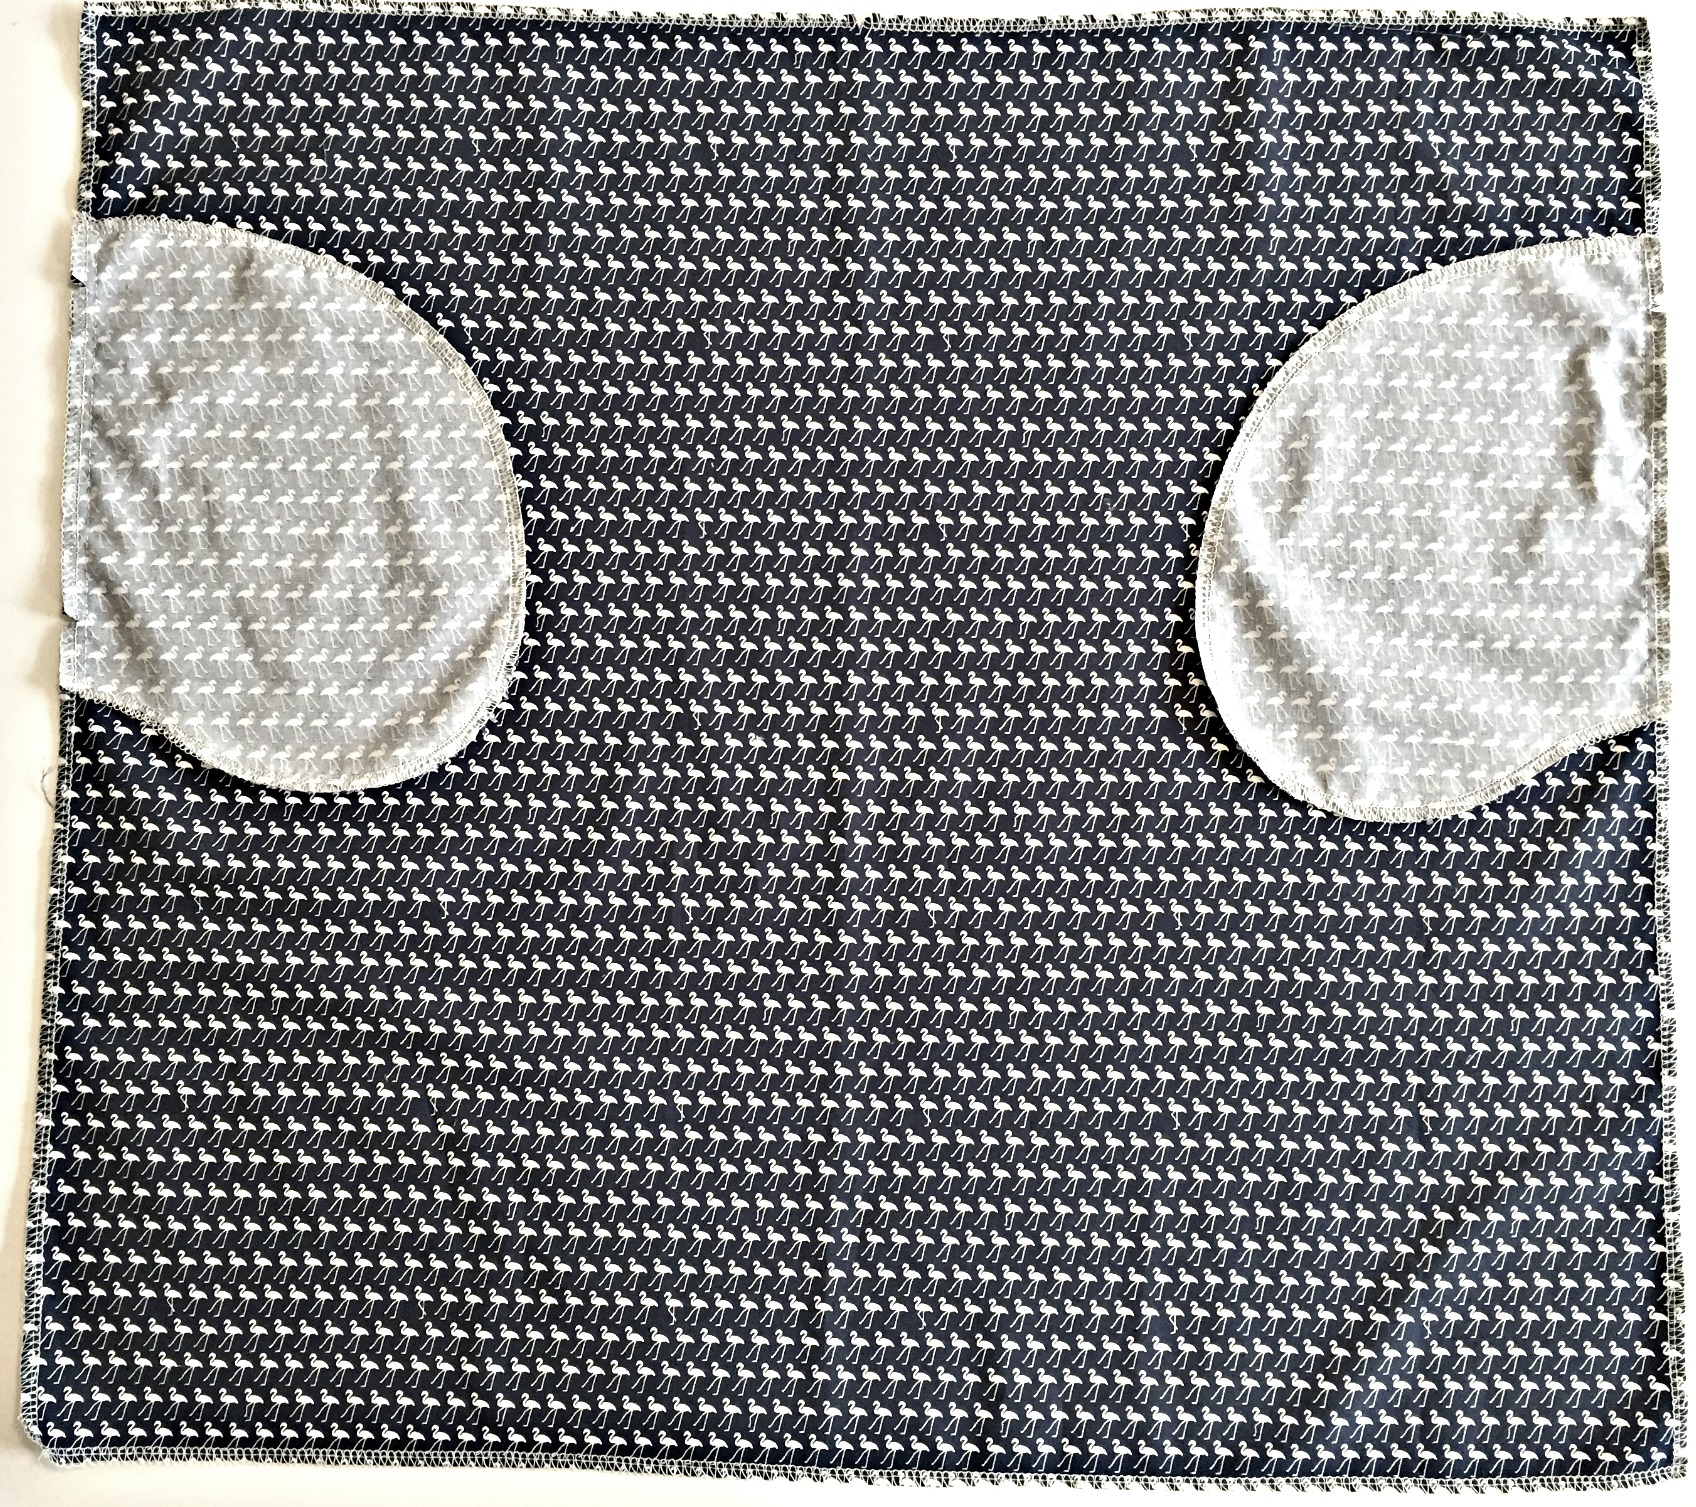

2. Repeat on the back skirt / pocket pieces, using a 1cmseam allowance.
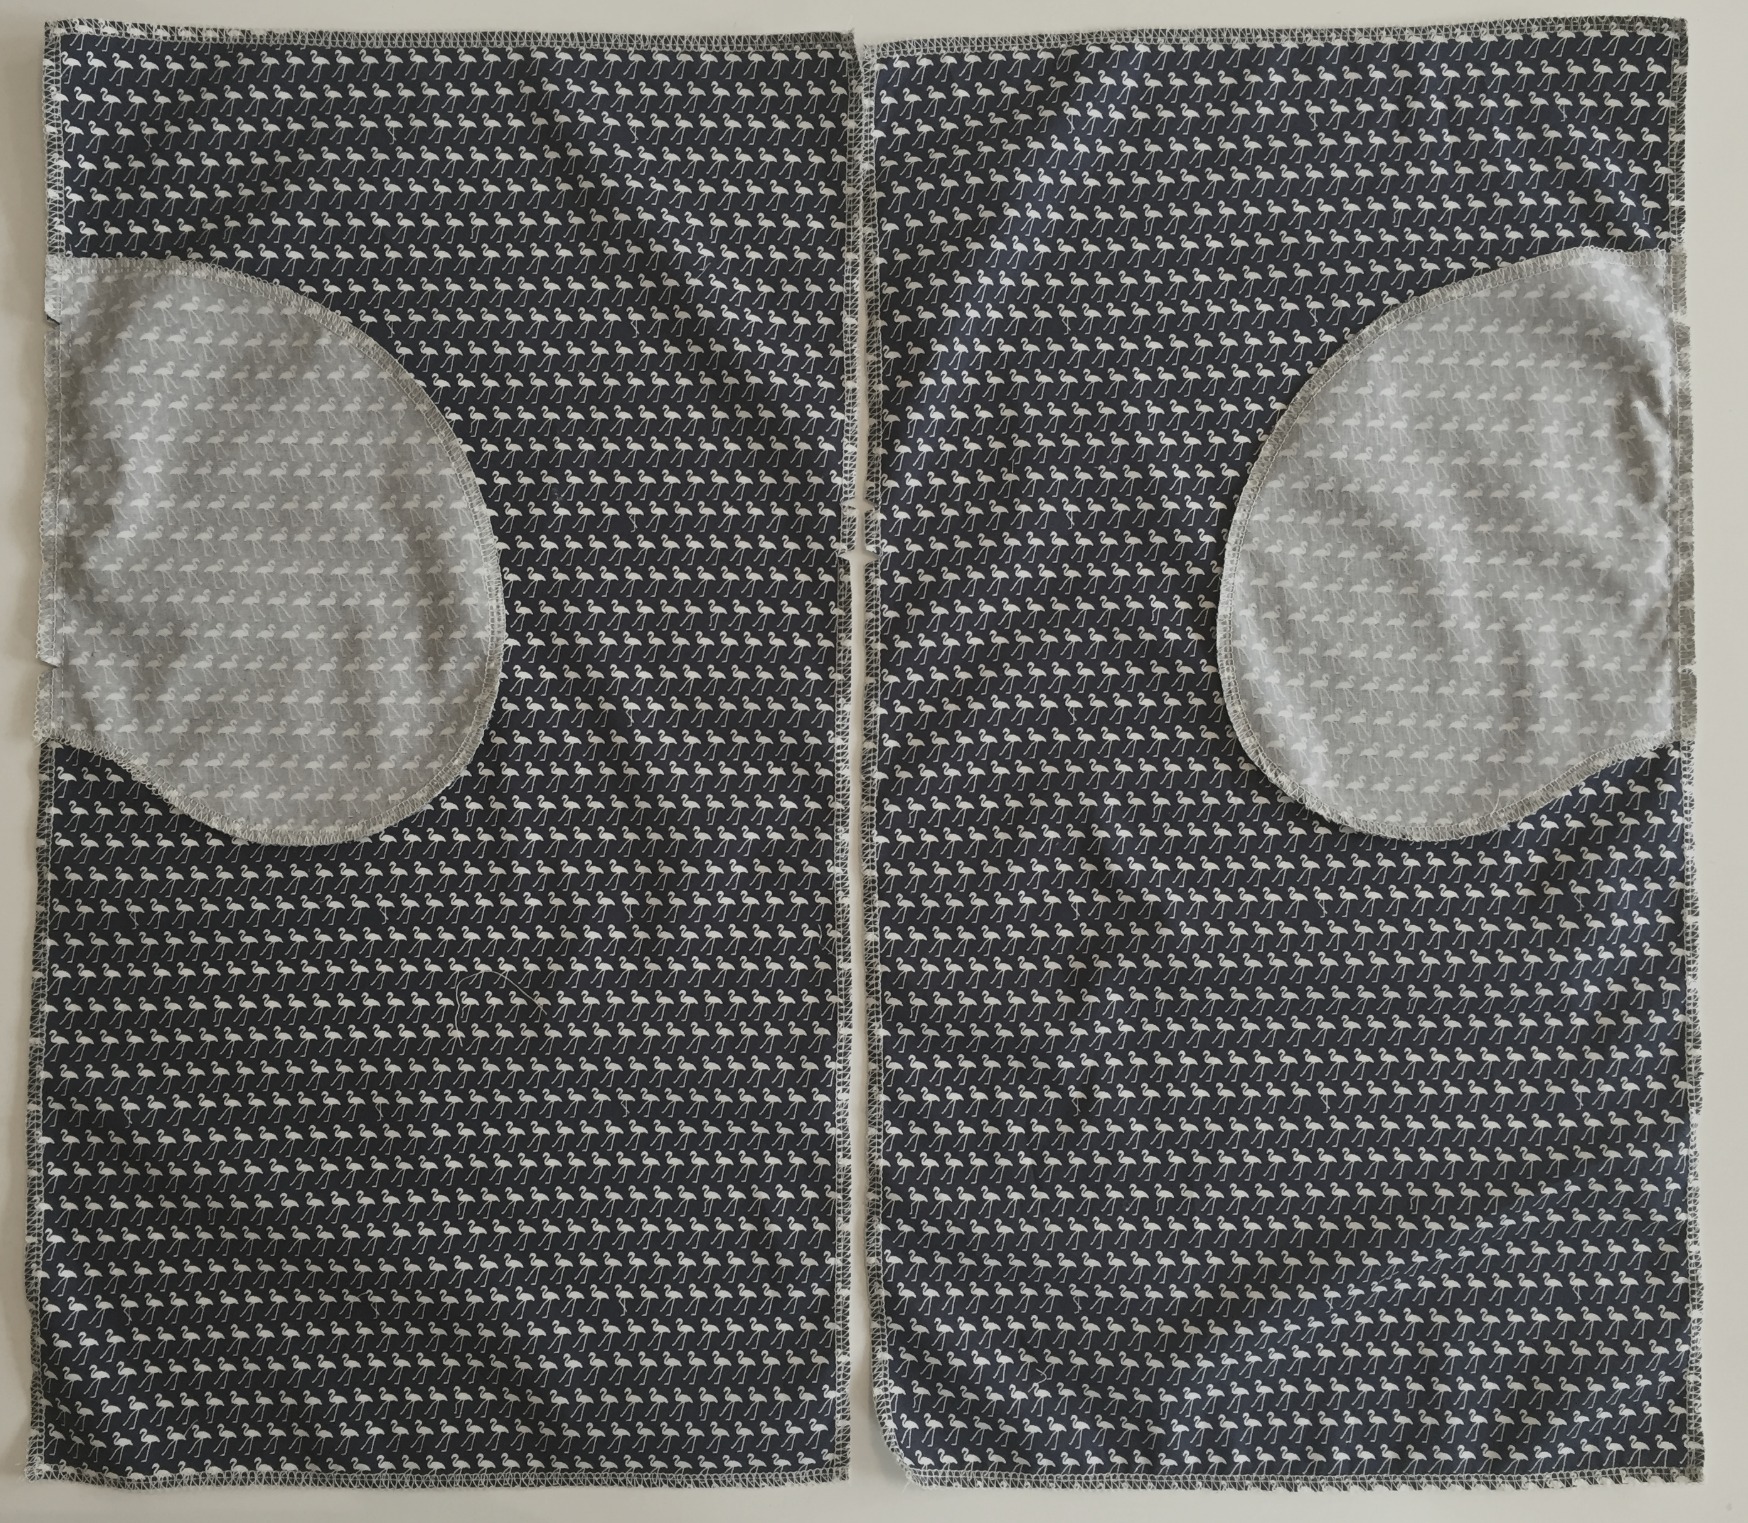
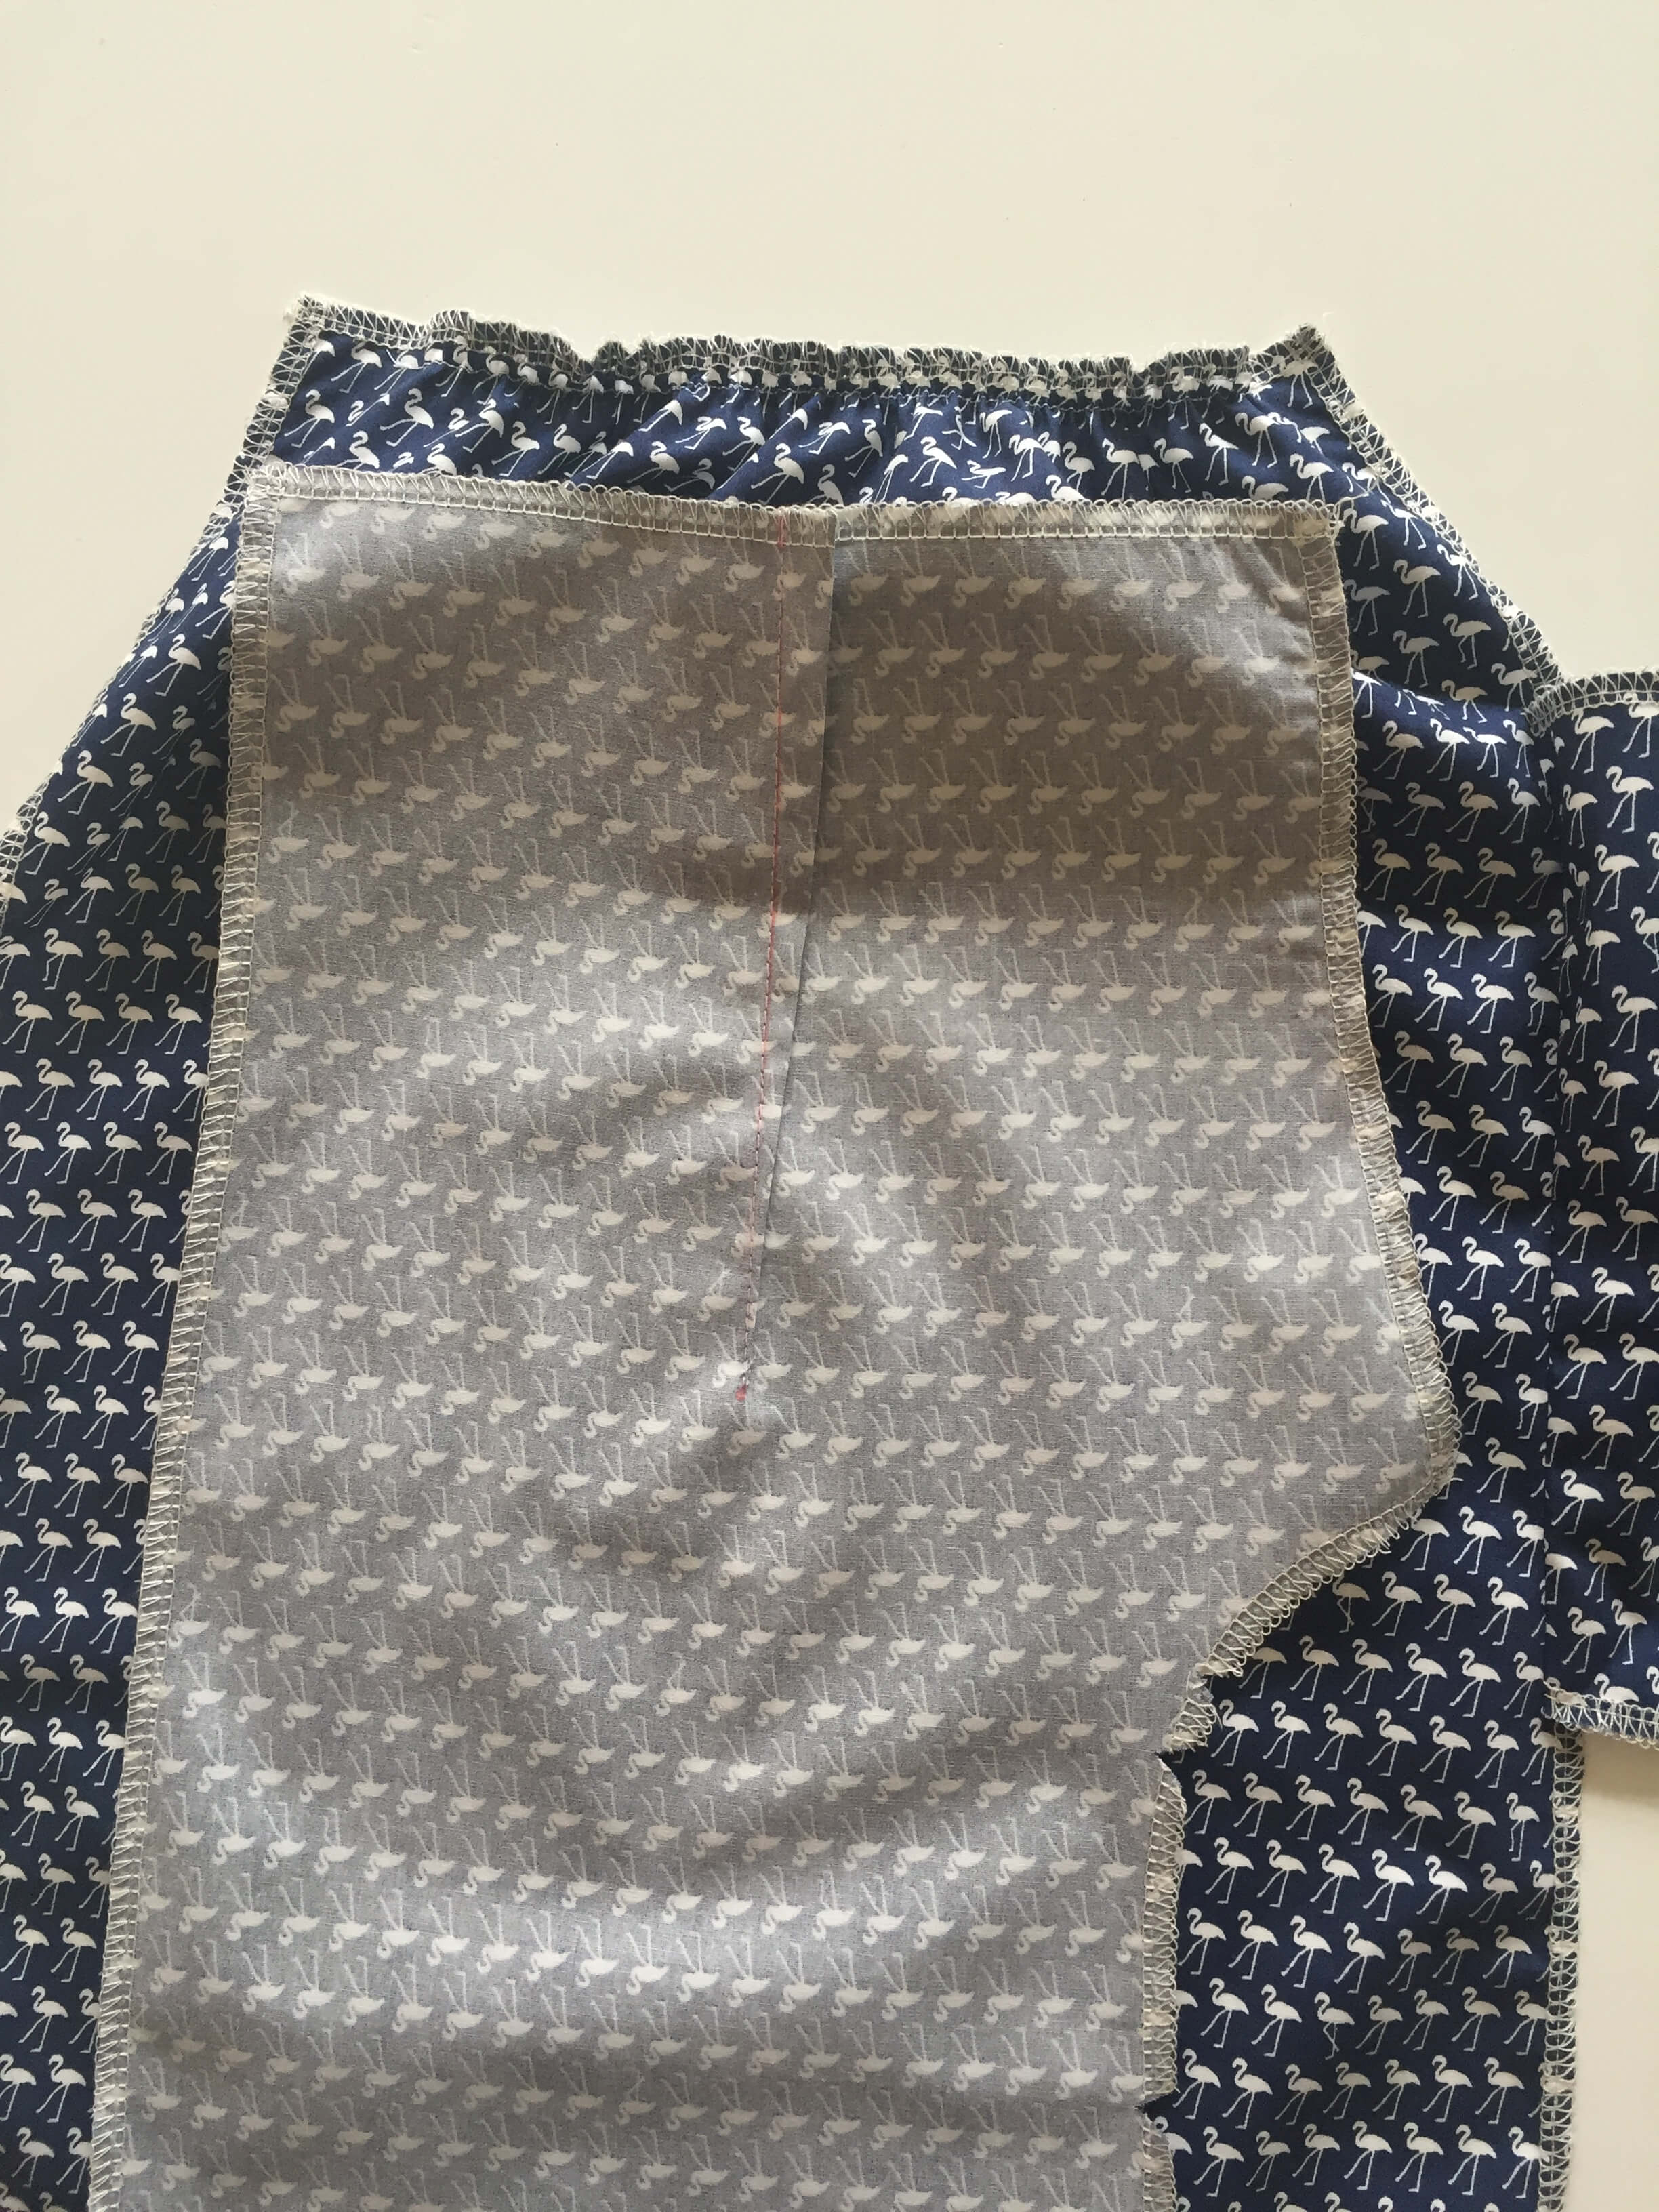
3. Iron the pocket pieces open to the side.
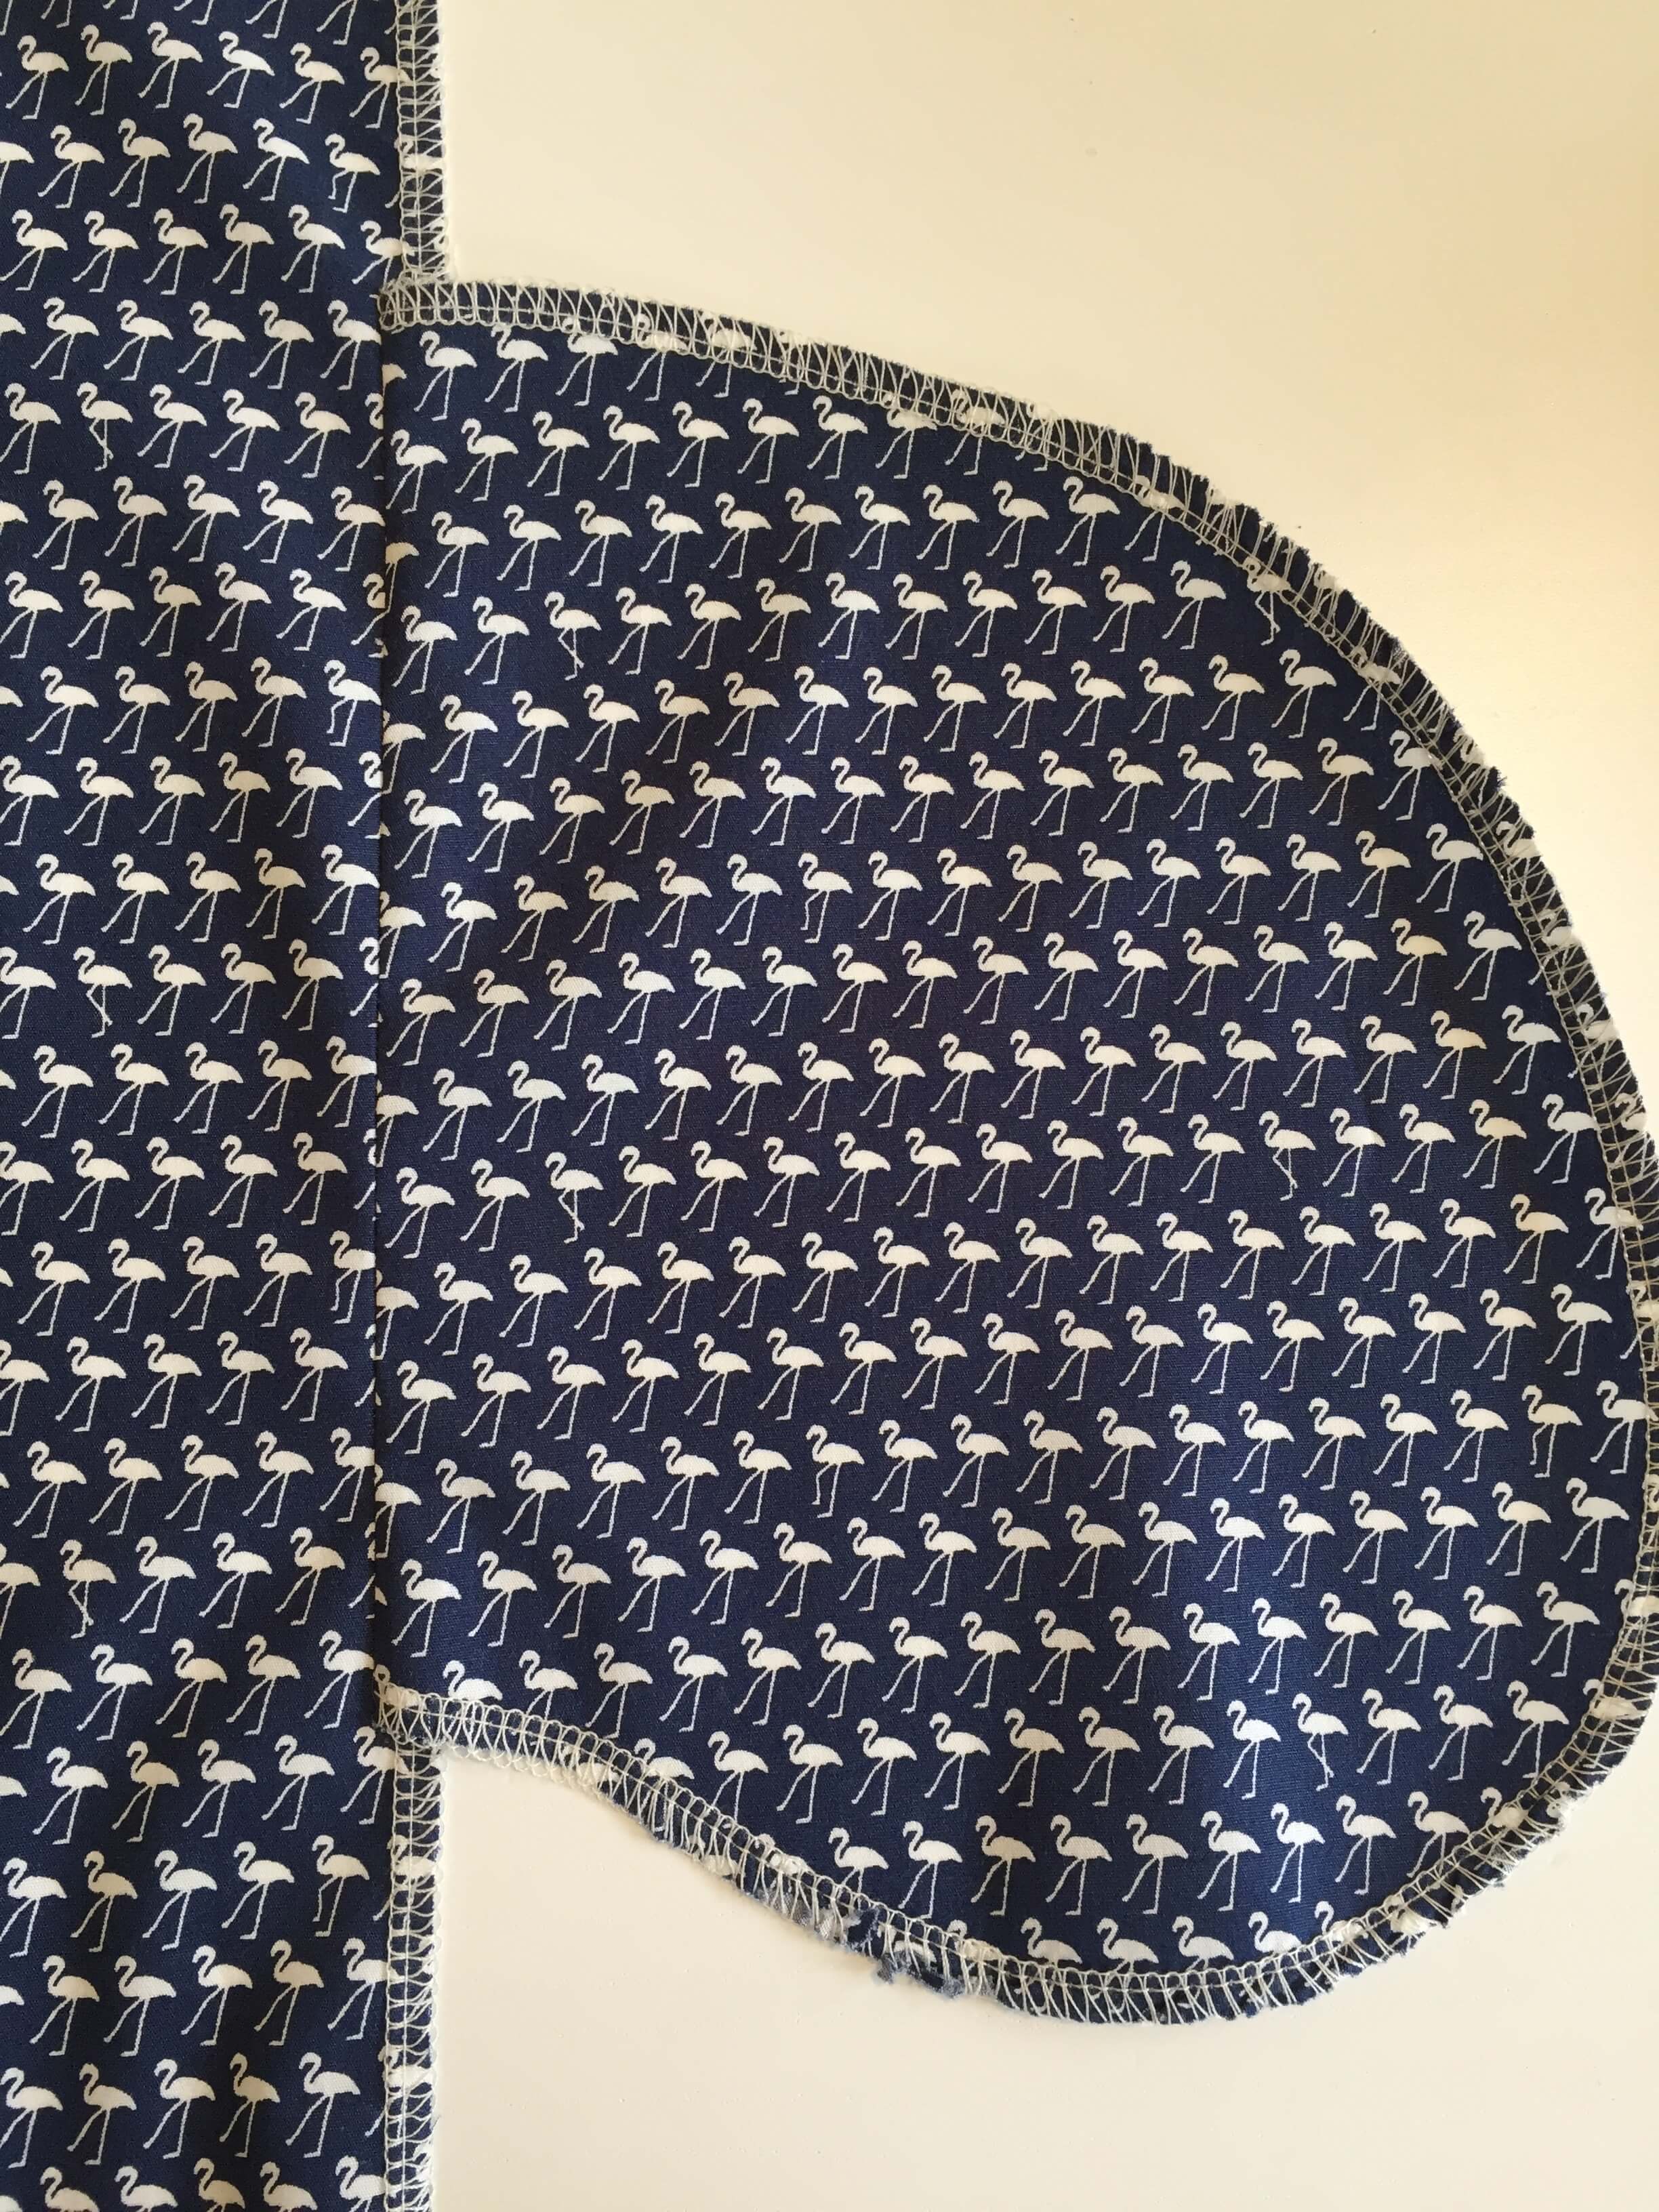
Use a 1.5cm seam allowance for the rest of this pattern, unless otherwise indicated.
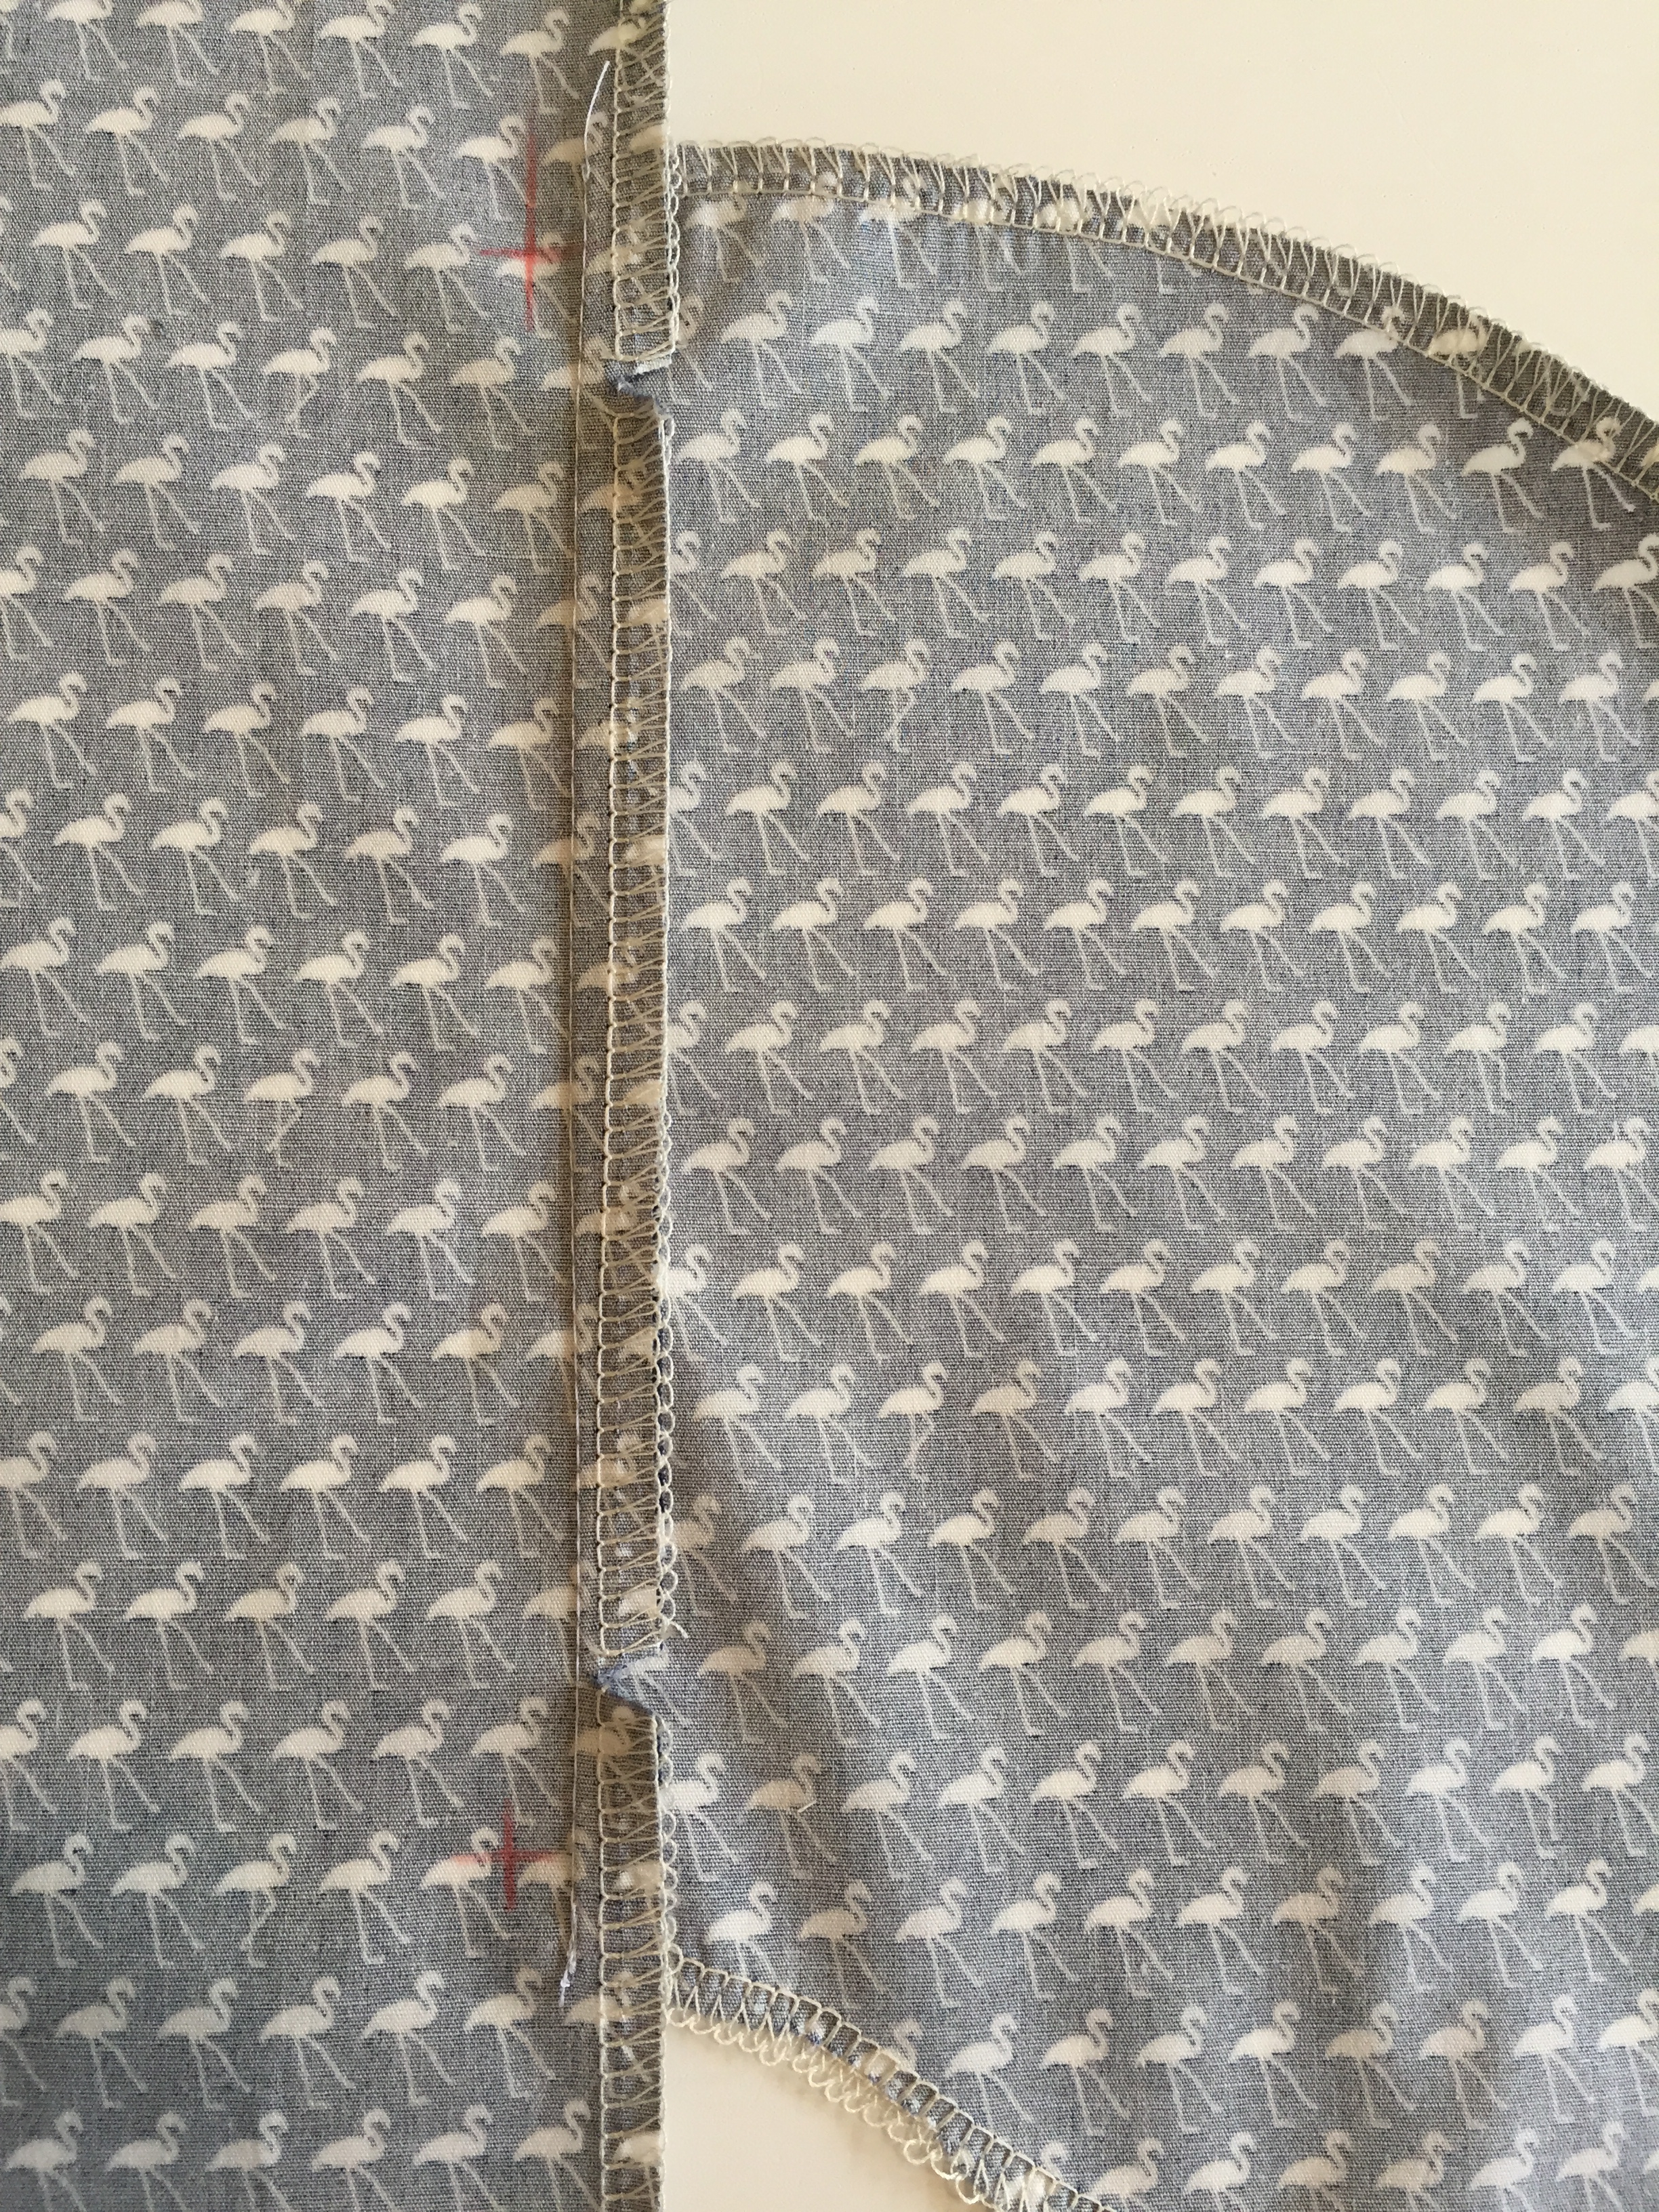
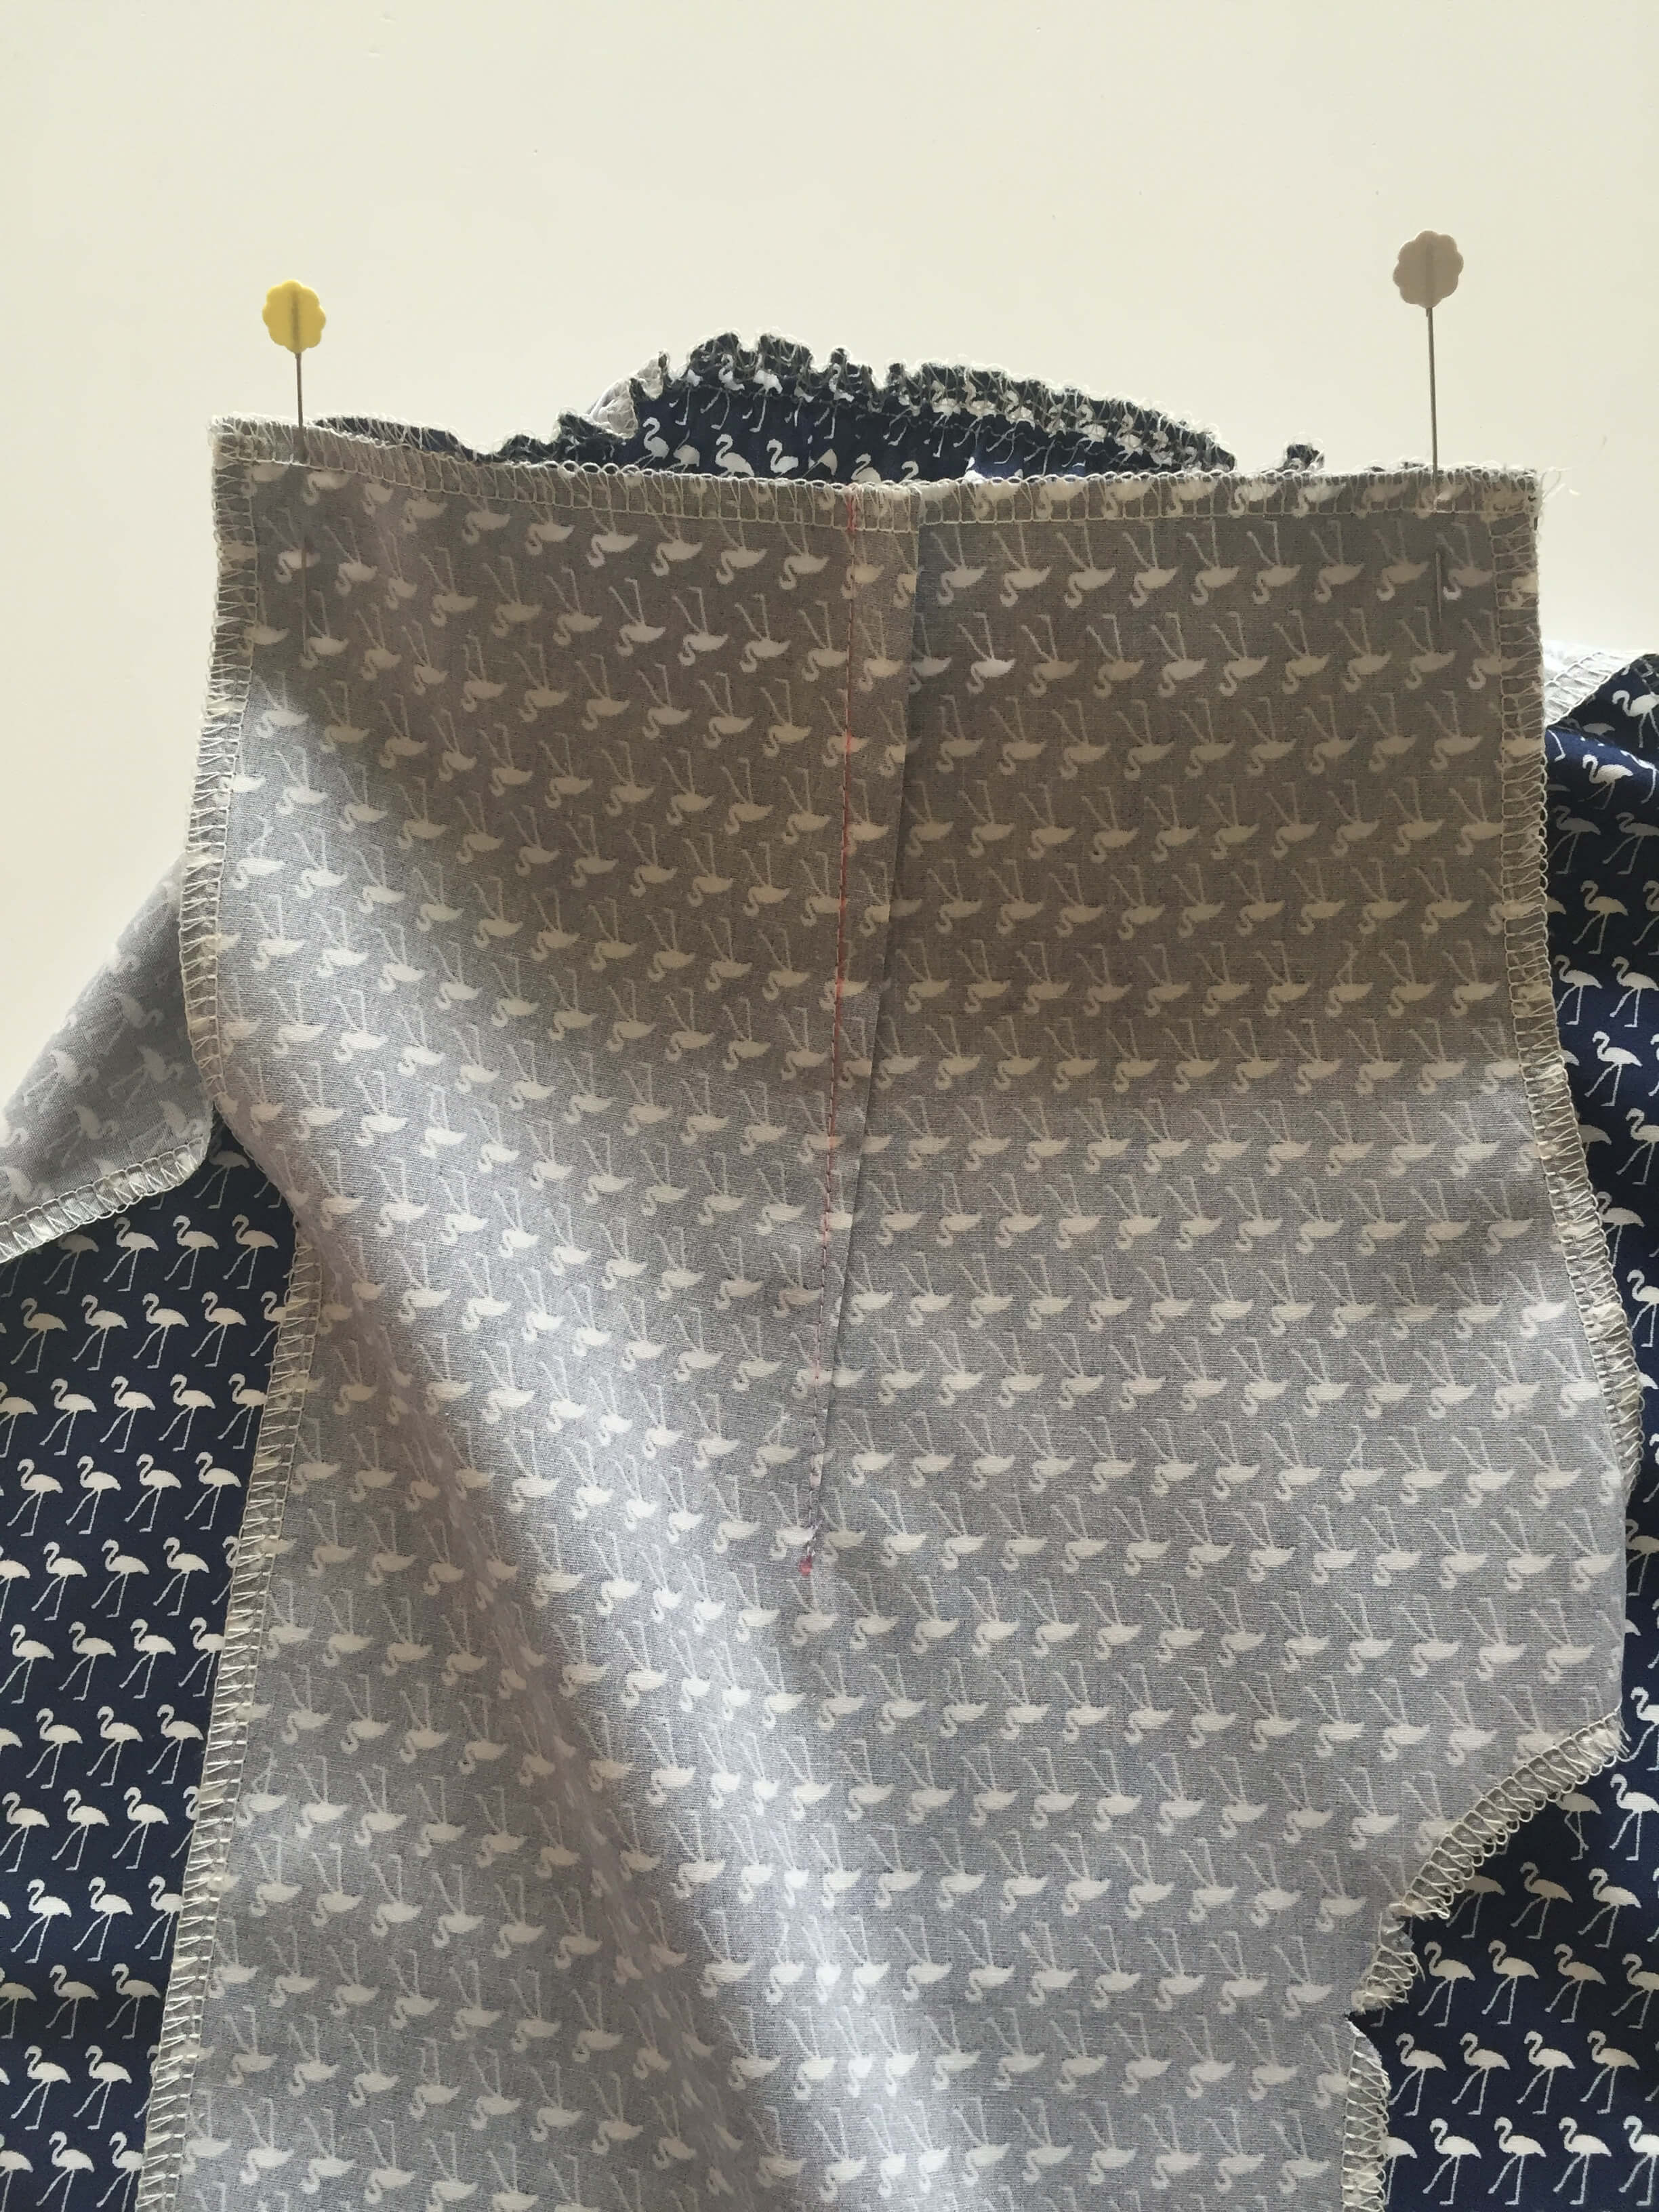
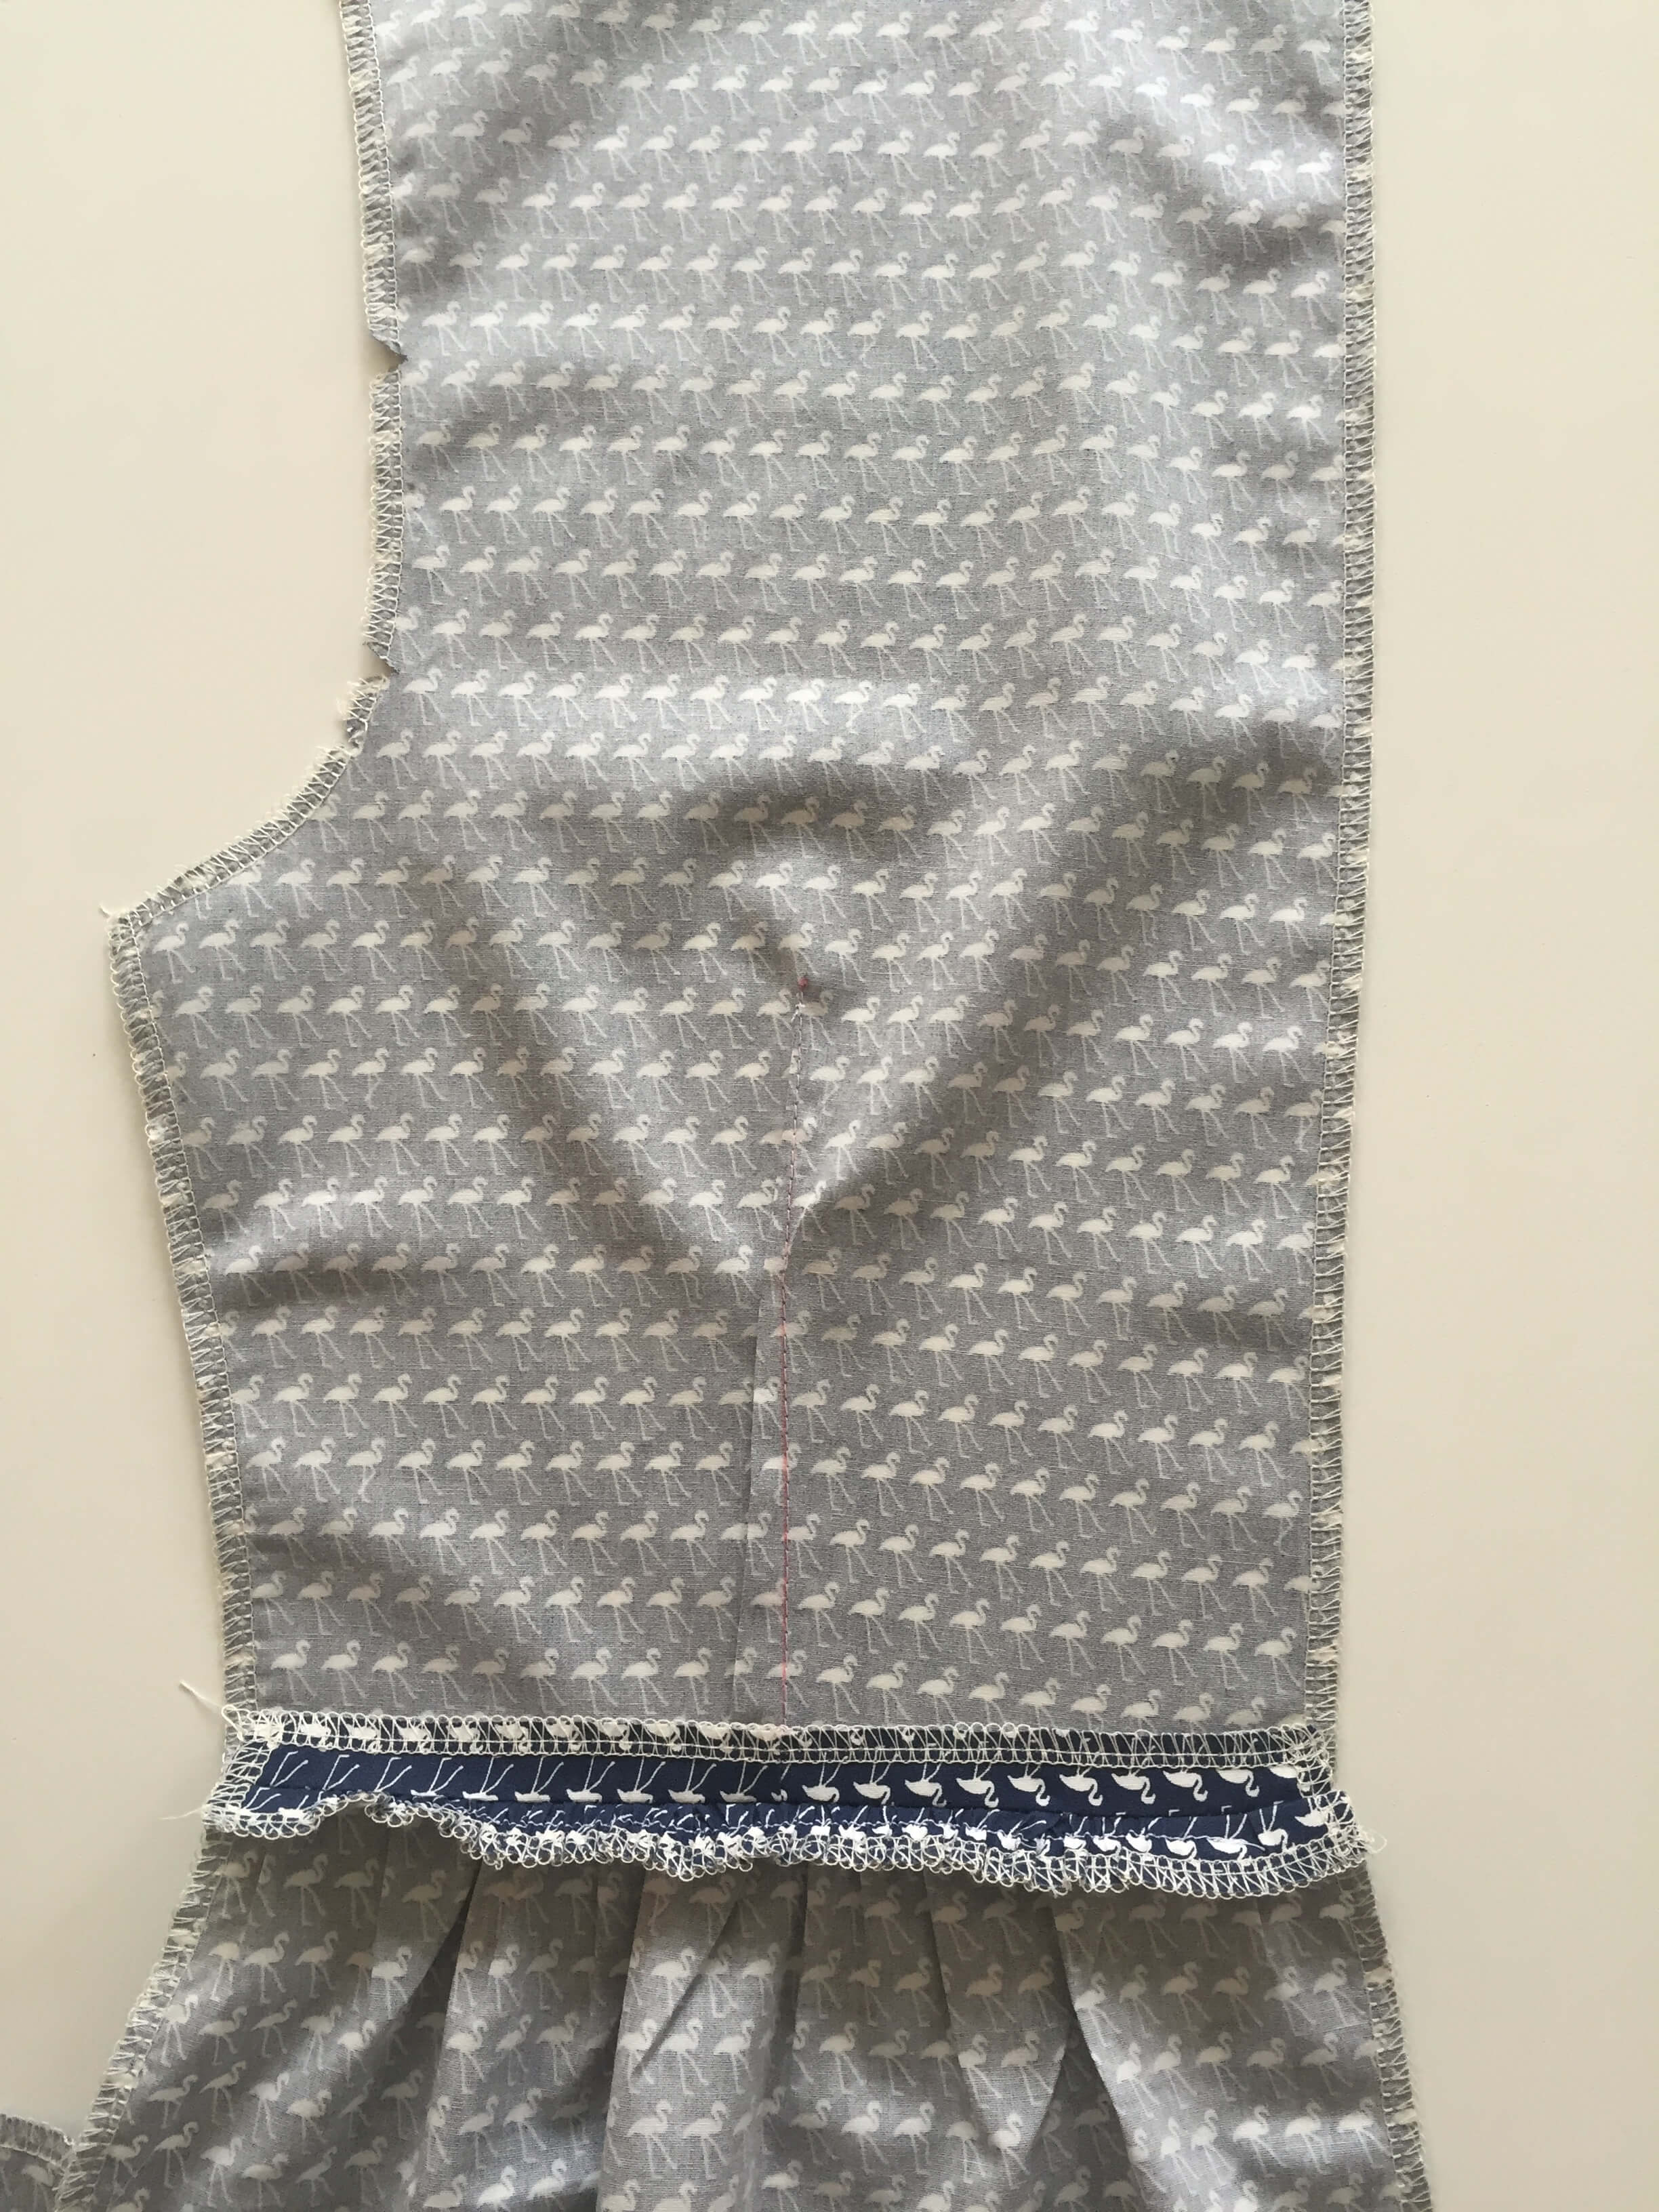
4. At the pocket and on the wrong side, mark the side and pocket seam allowance 1.5cm. When we sew the skirt front and back pieces together at a later stage, this will show you where to pivot so that you keep to the 1.5cm seam allowance from the side seam and around the pocket.
FRONT AND BACK SKIRT – ELASTIC GATHERING
5. Cut your elastic pieces:
Front- one piece 37cm (if you are making size 3 or 4 you can make your elastic piece 40cm)
Back- two pieces 17cm each (if you are making size 3 or 4 you can make your elastic pieces 20cm each)
Watch our video tutorial on how to attach the elastic here
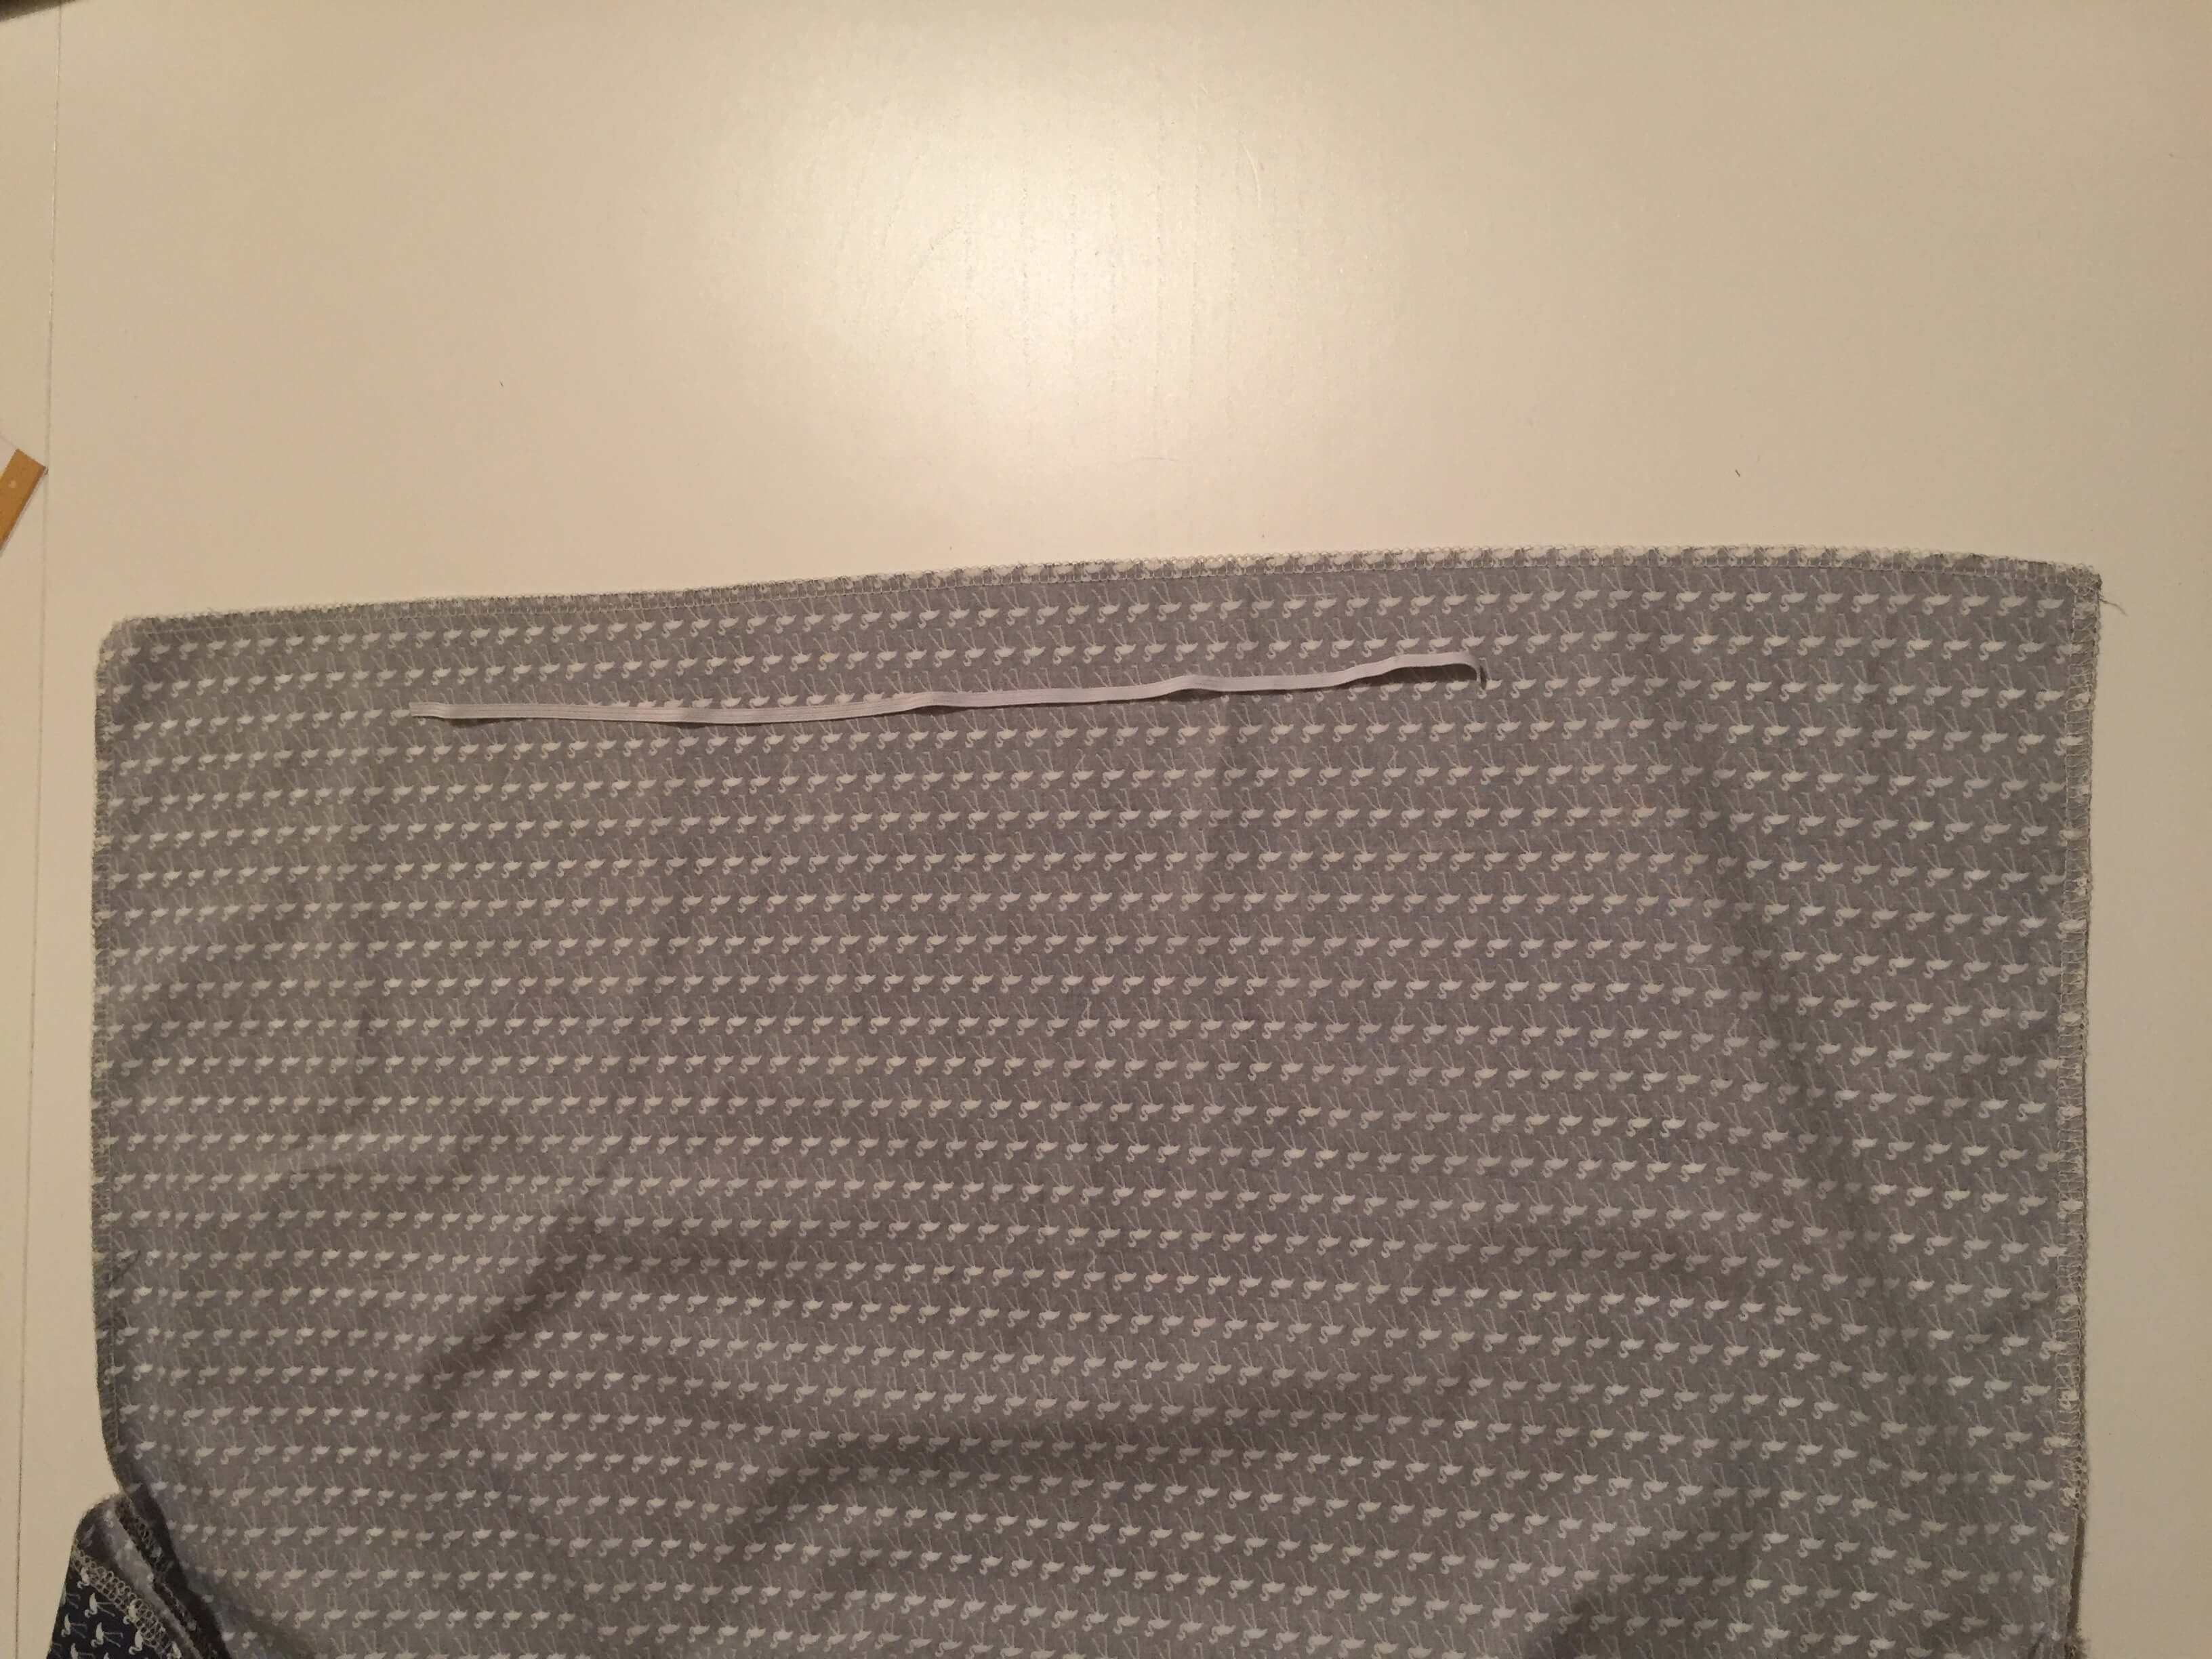
Front
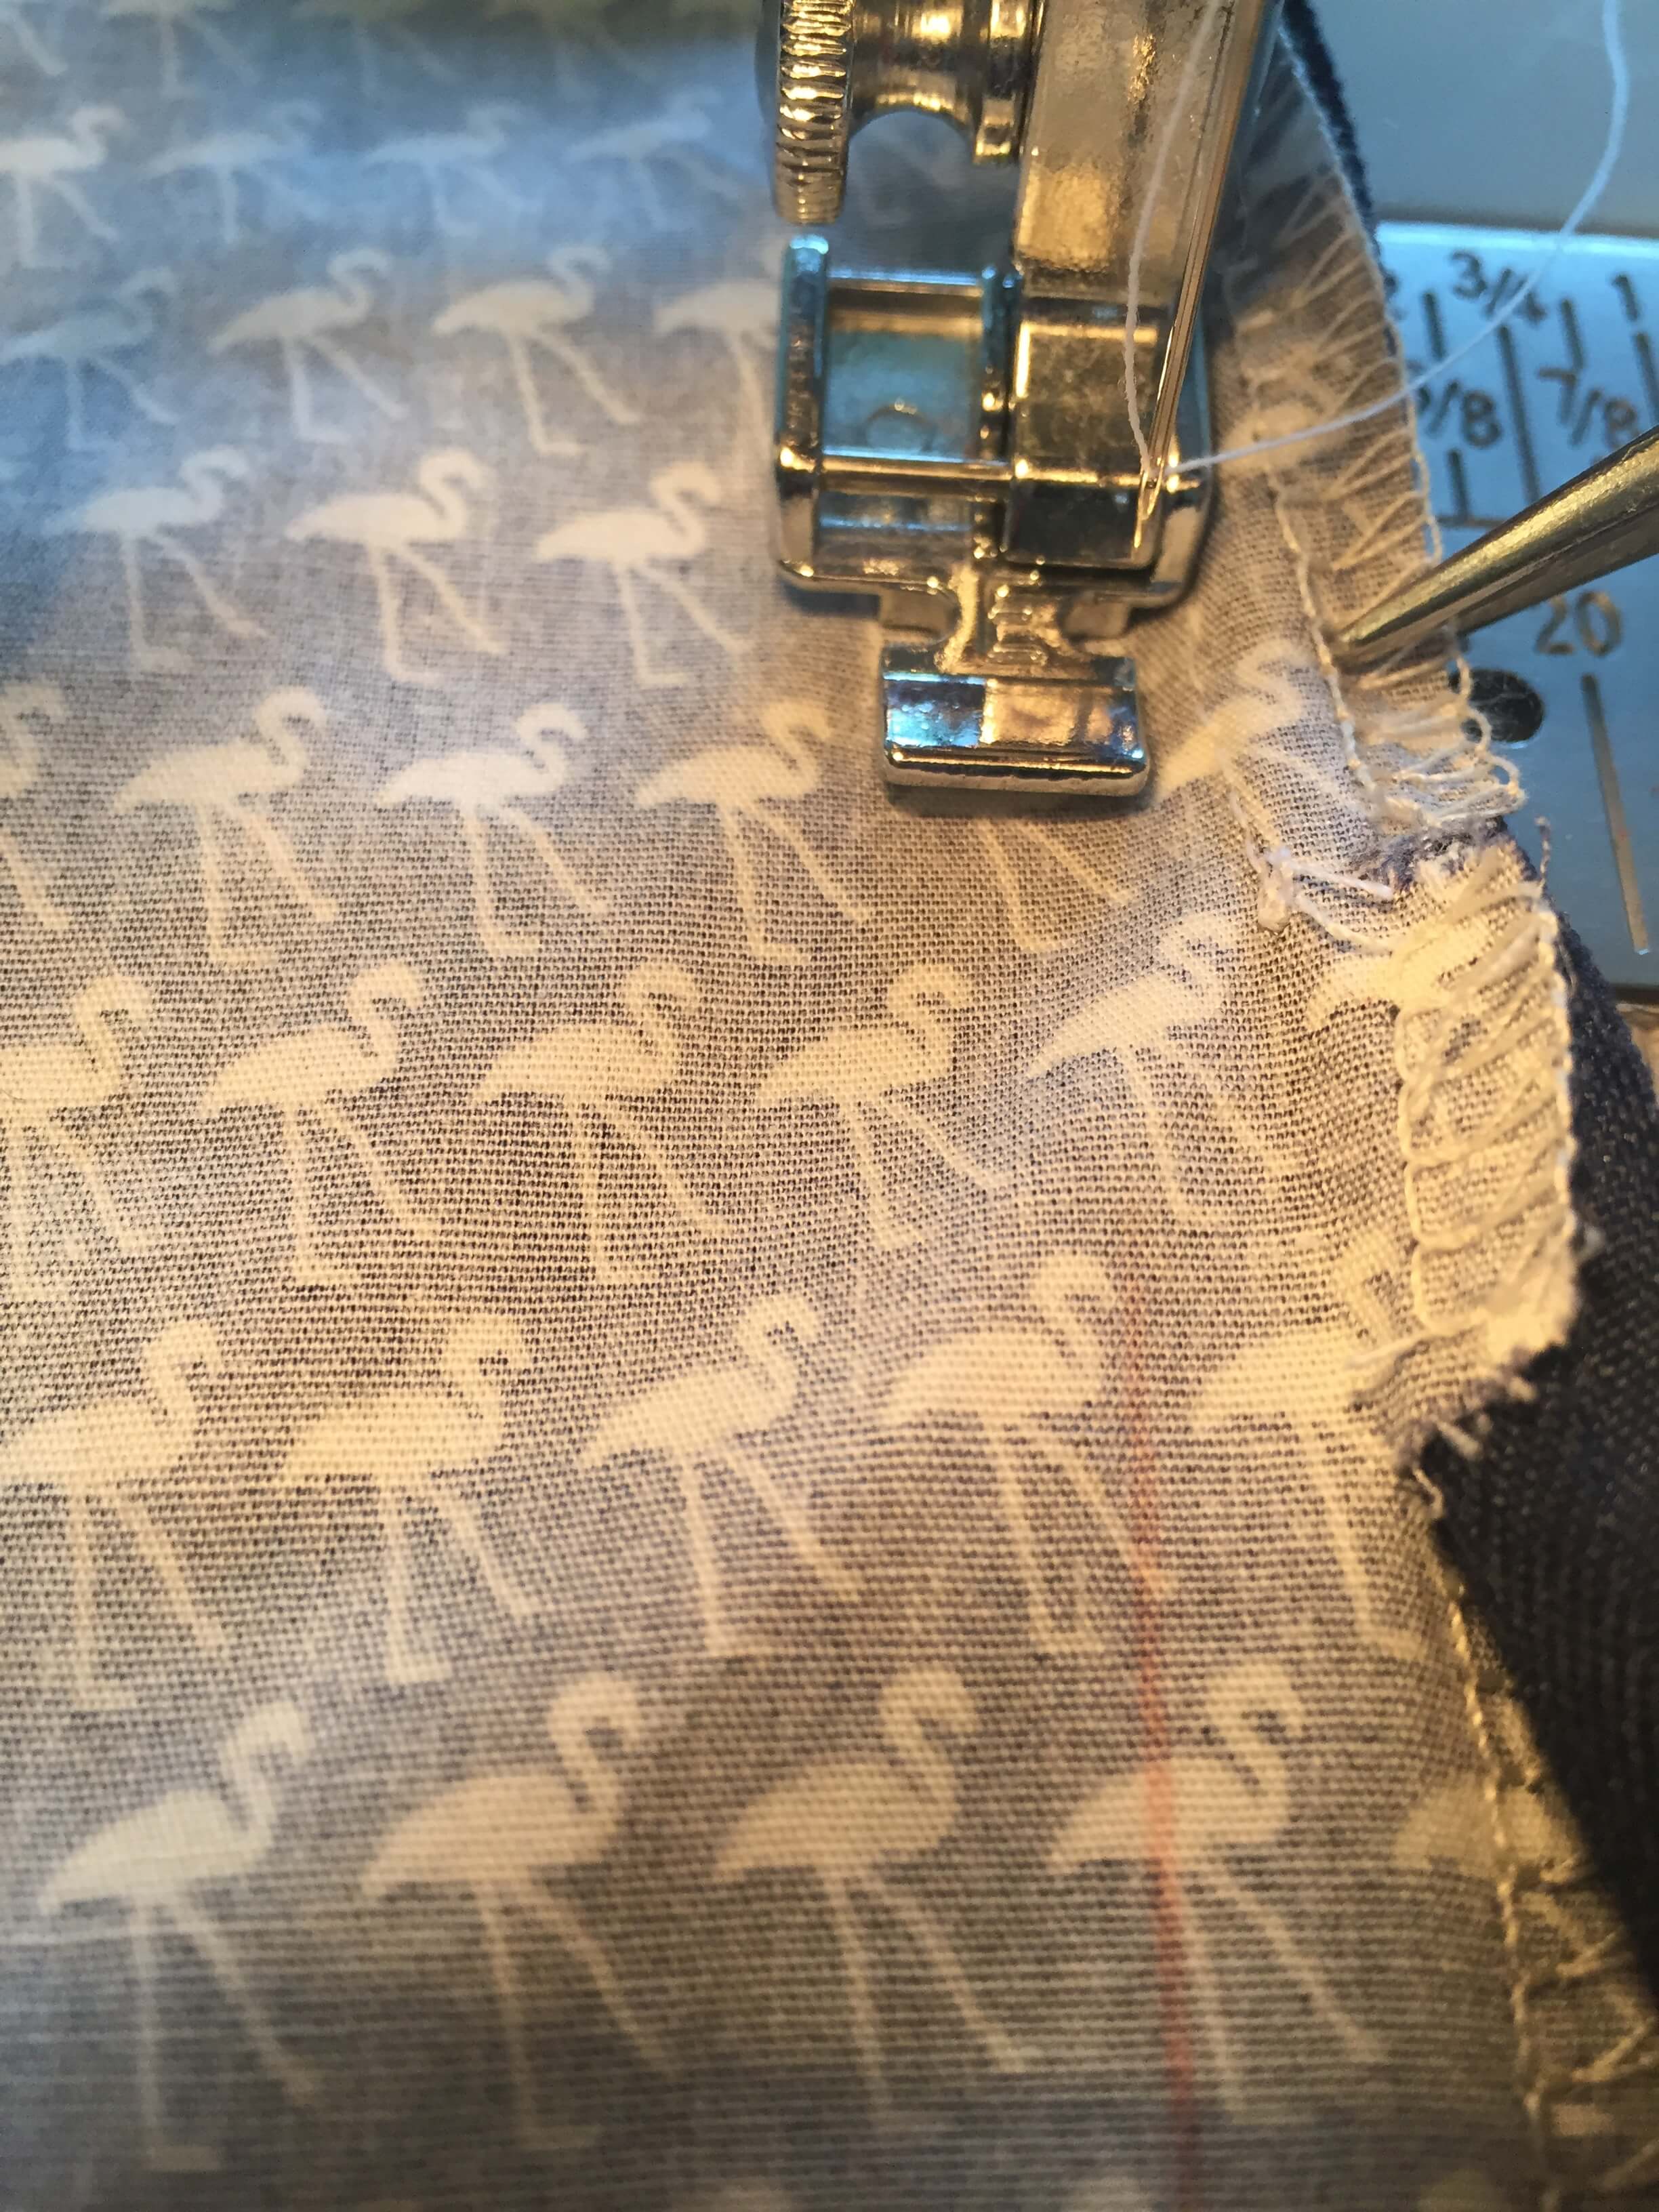
Fold your elastic in half and place a pin to mark the half way mark. Using a pin, secure your elastic piece onto the skirt 2cm from the side and 1cm from the top. Move to the other side and place another pin, securing the end of your elastic 2cm from the other side and 1cm from the top. Then secure your middle pin to the CF notch (the middle of the skirt). Make sure the elastic doesn’t twist. The fabric in between these pins will ruffle – we need to stretch the elastic as we are sewing to fit the width. Make sure your pins are nice and secure!
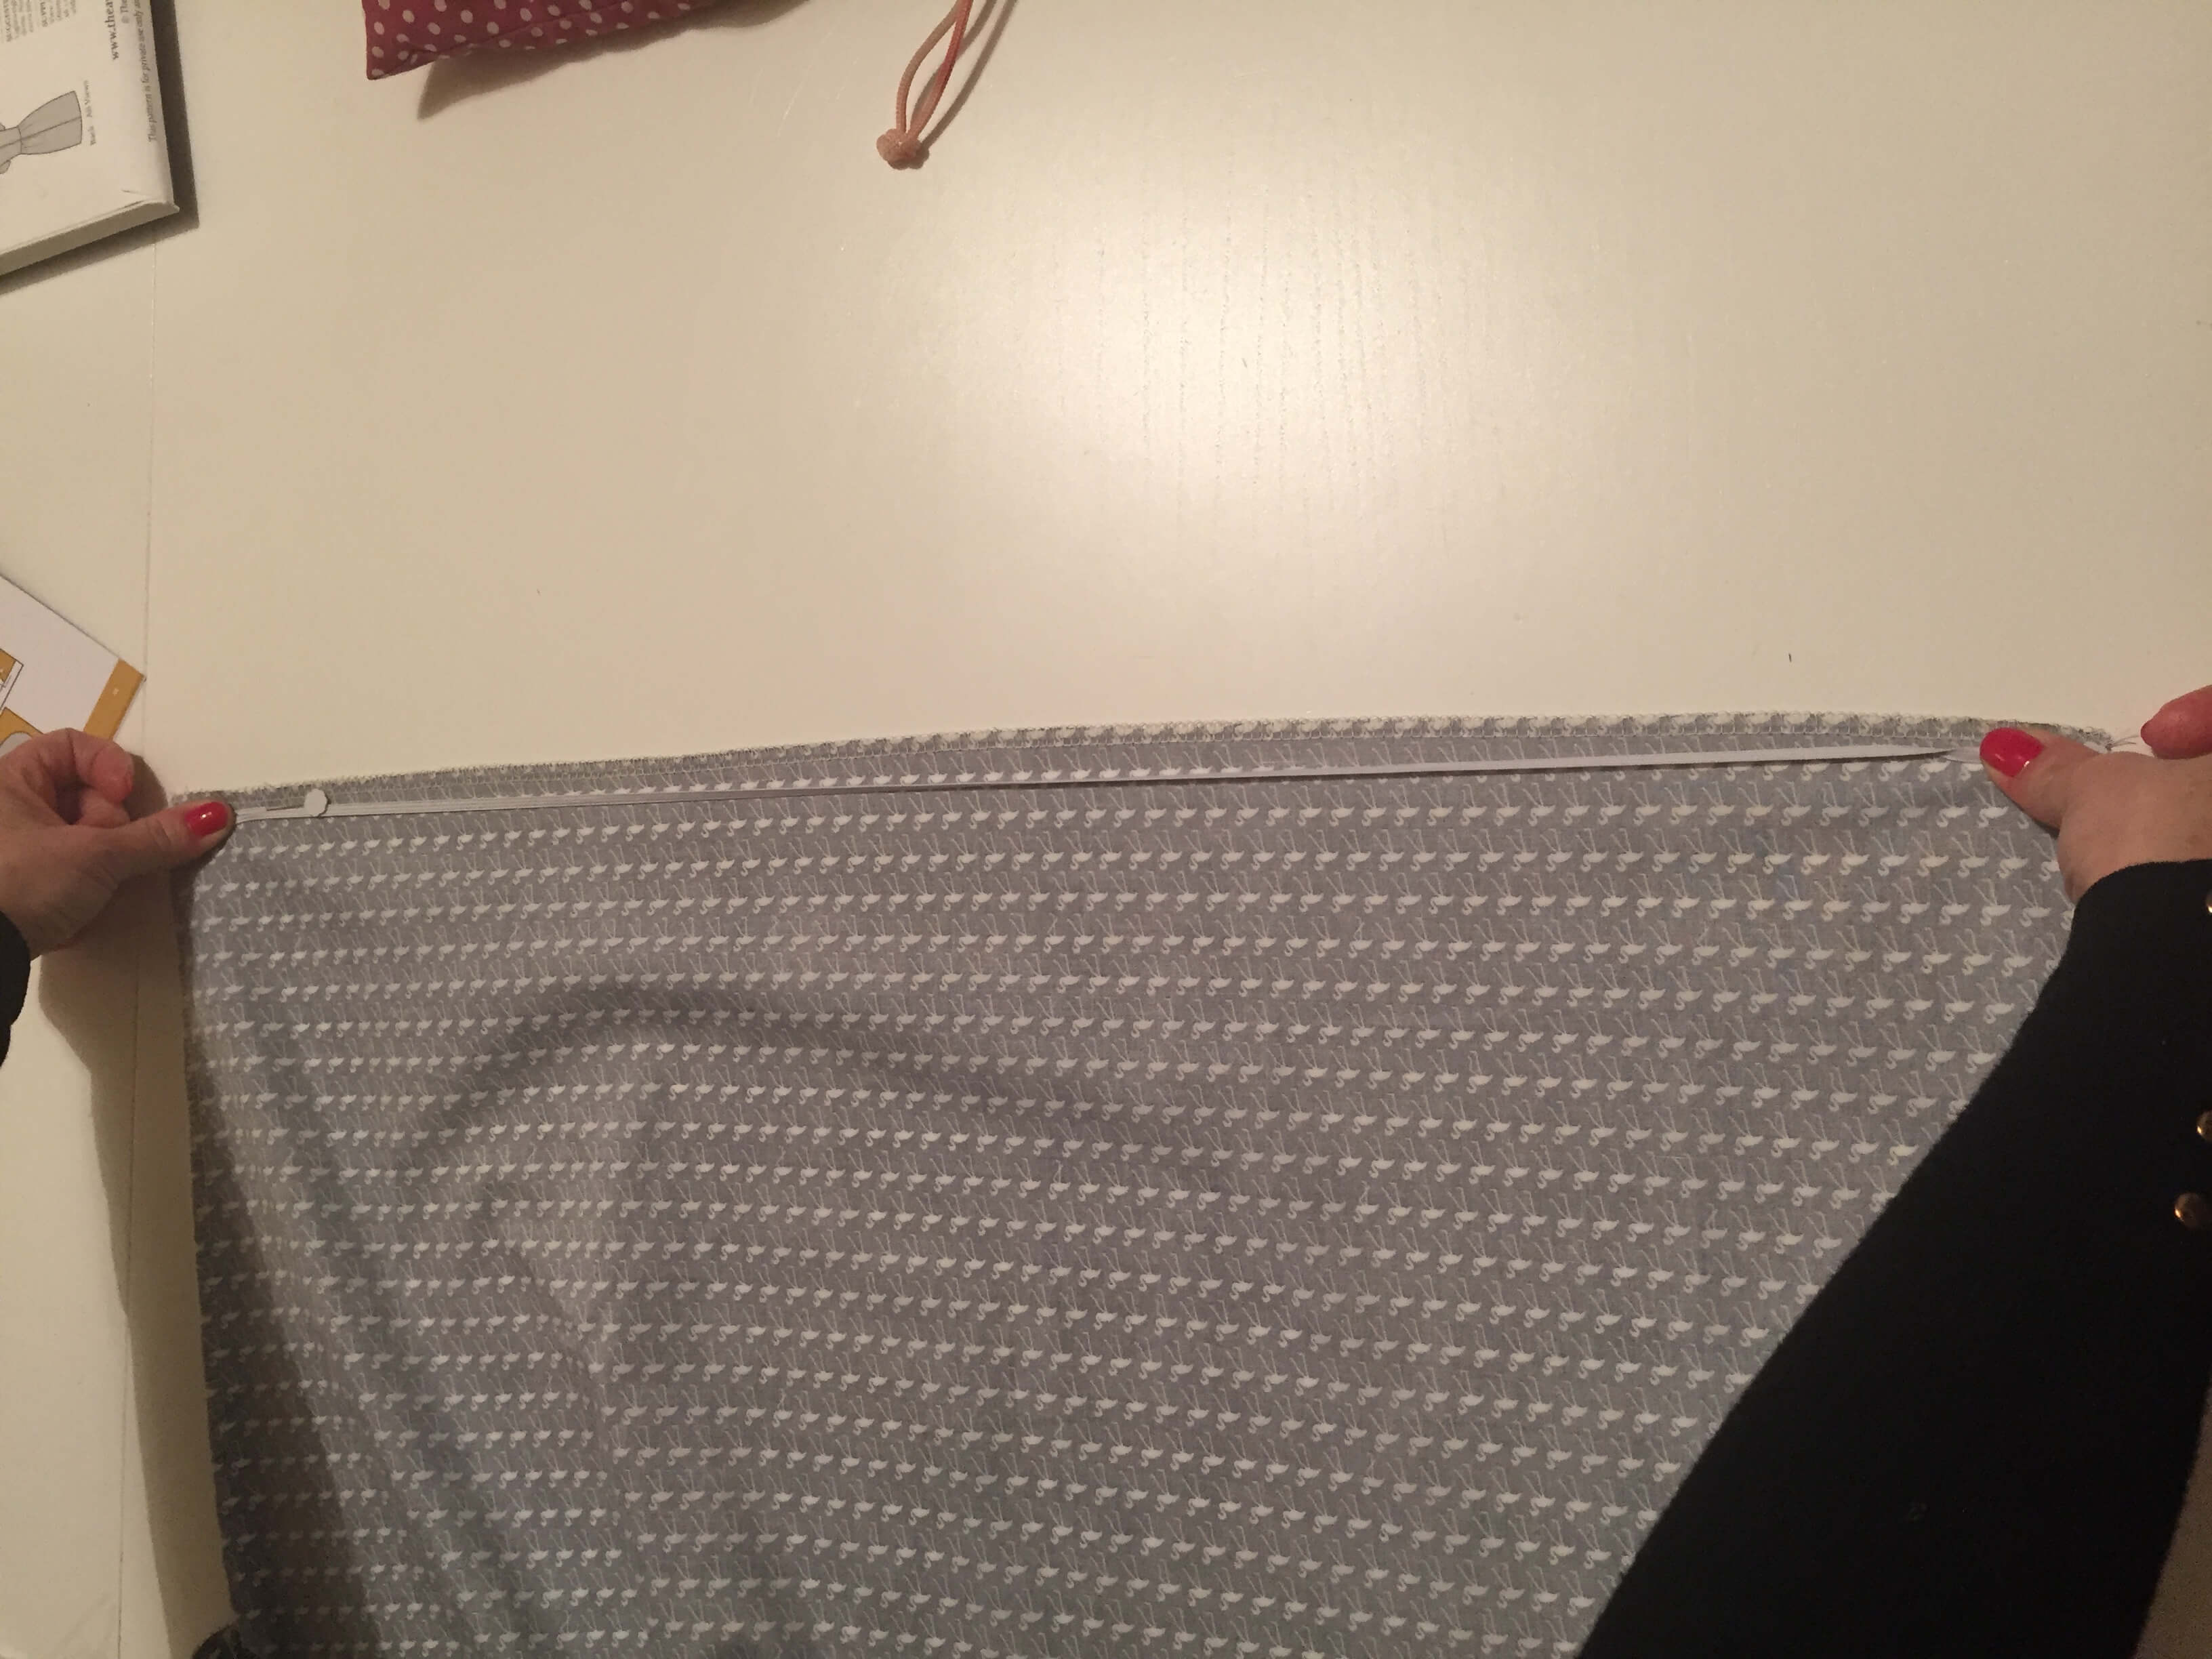
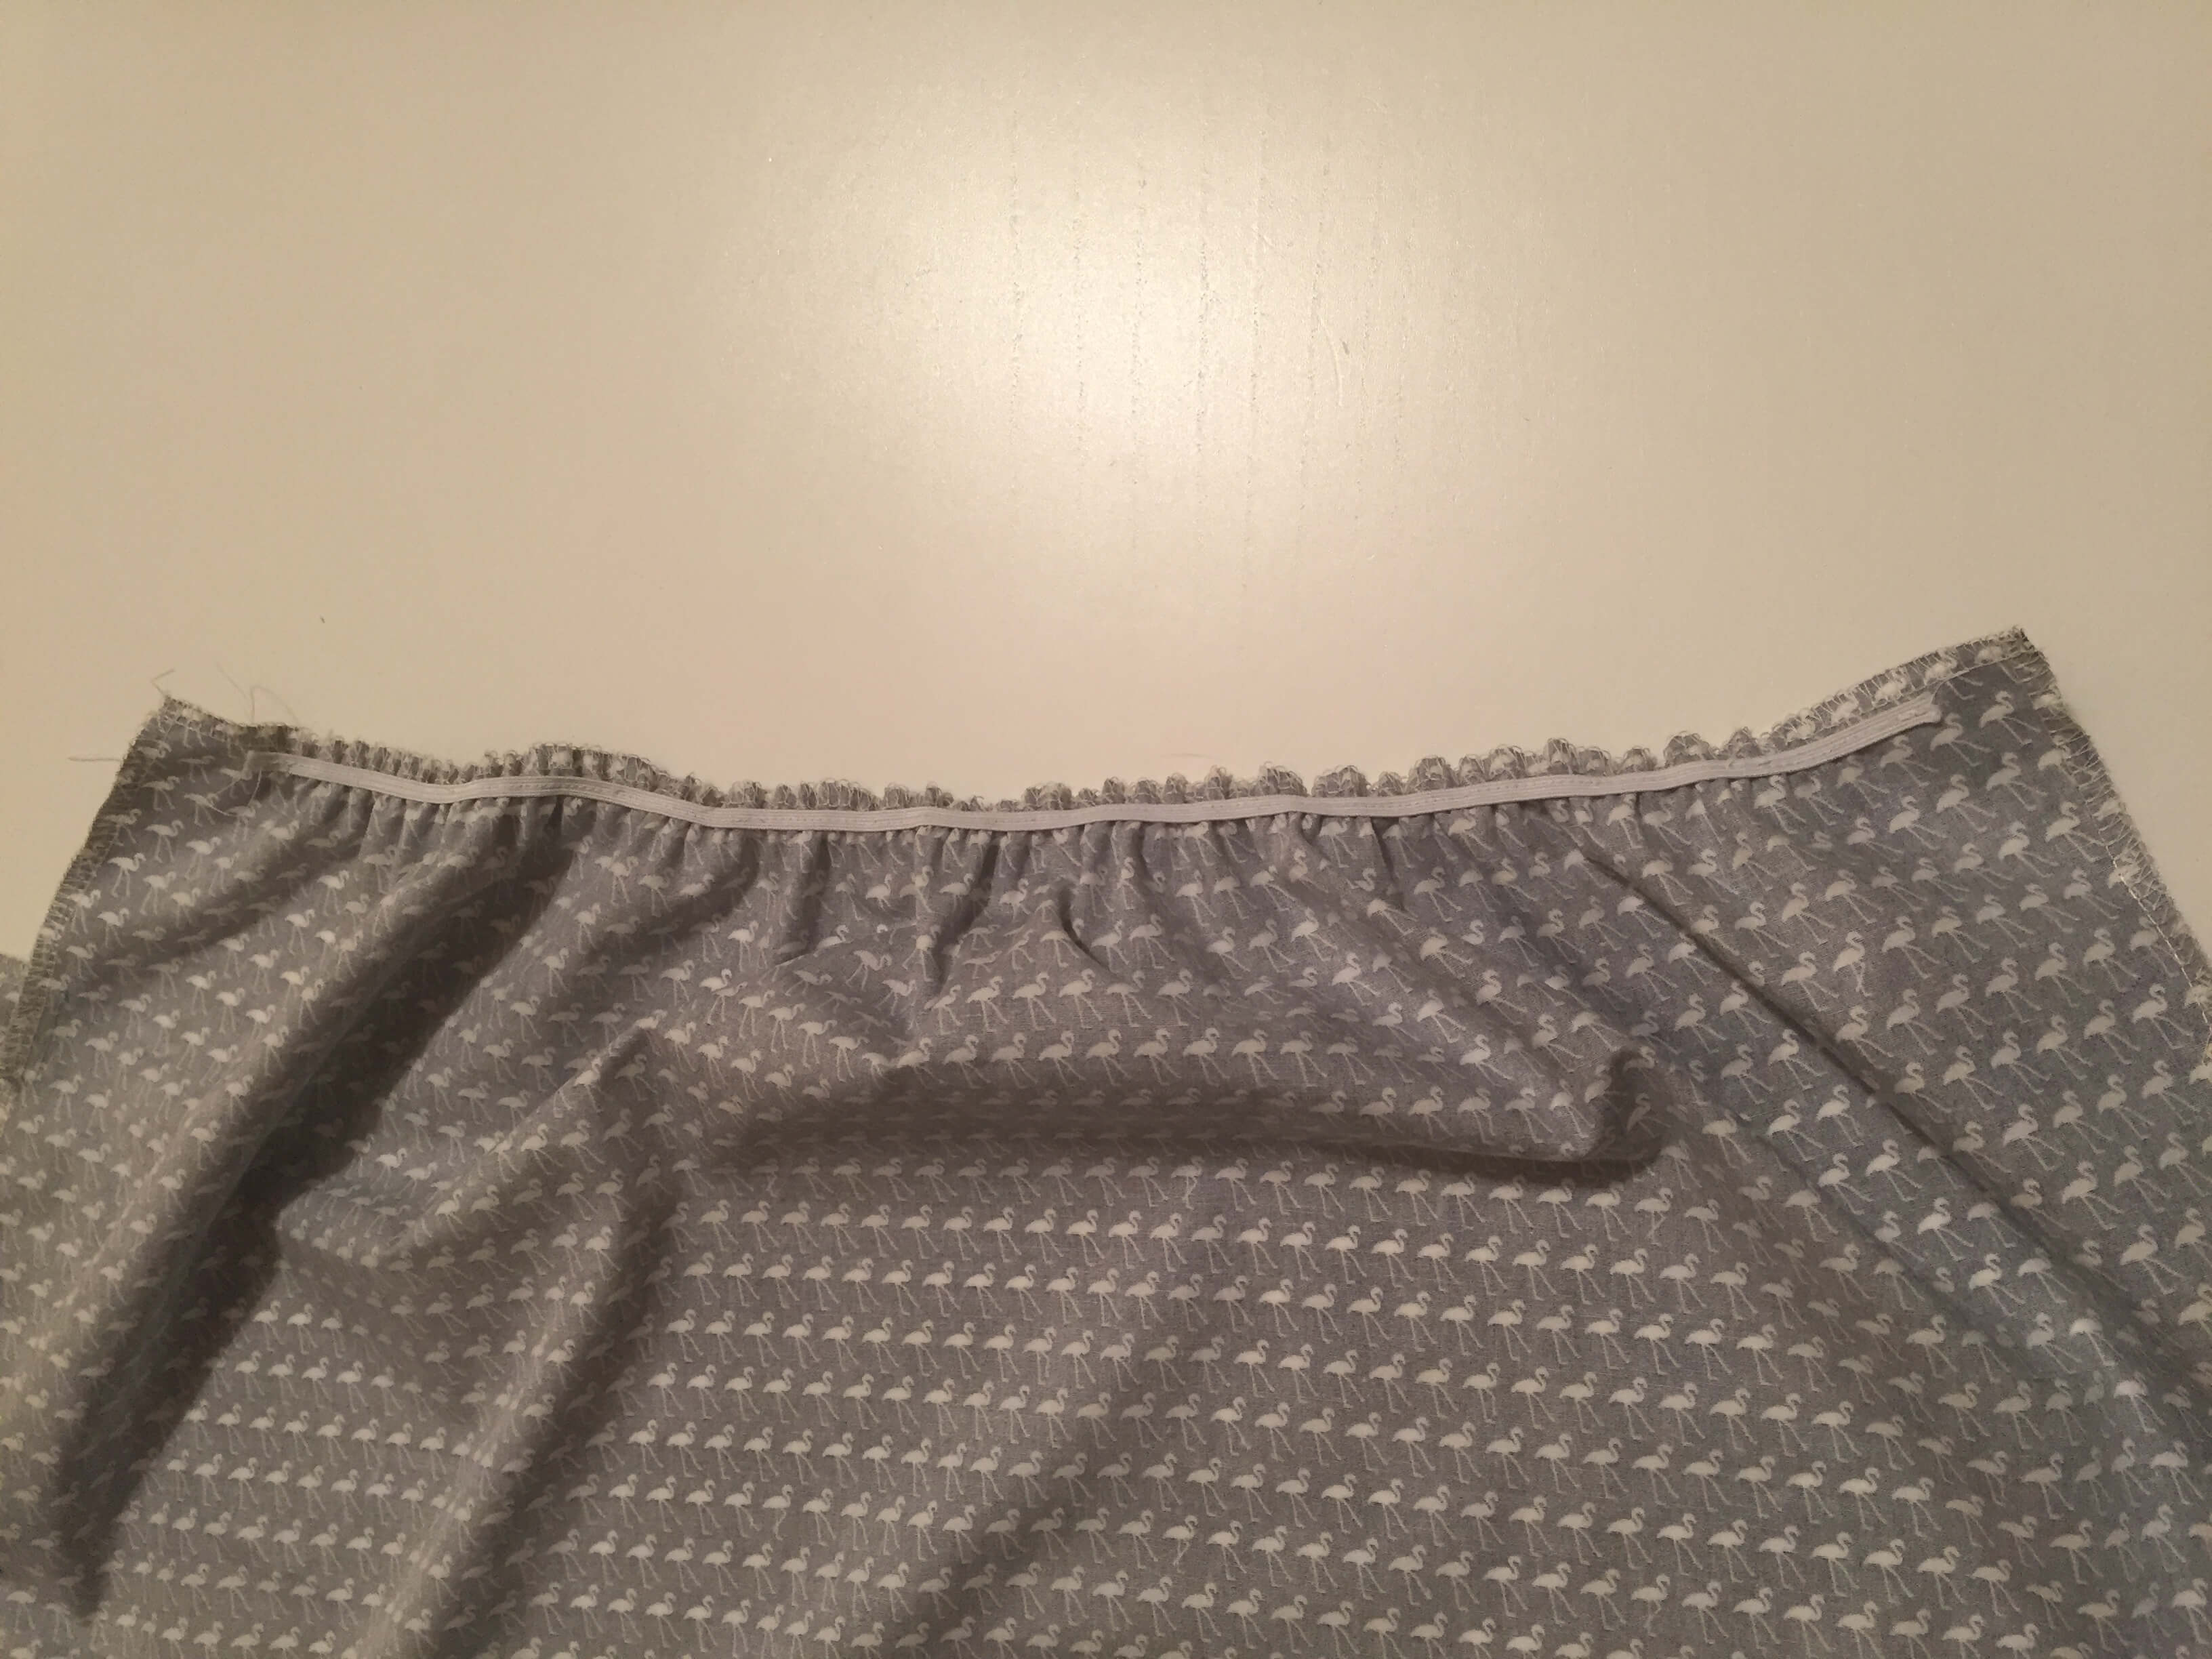
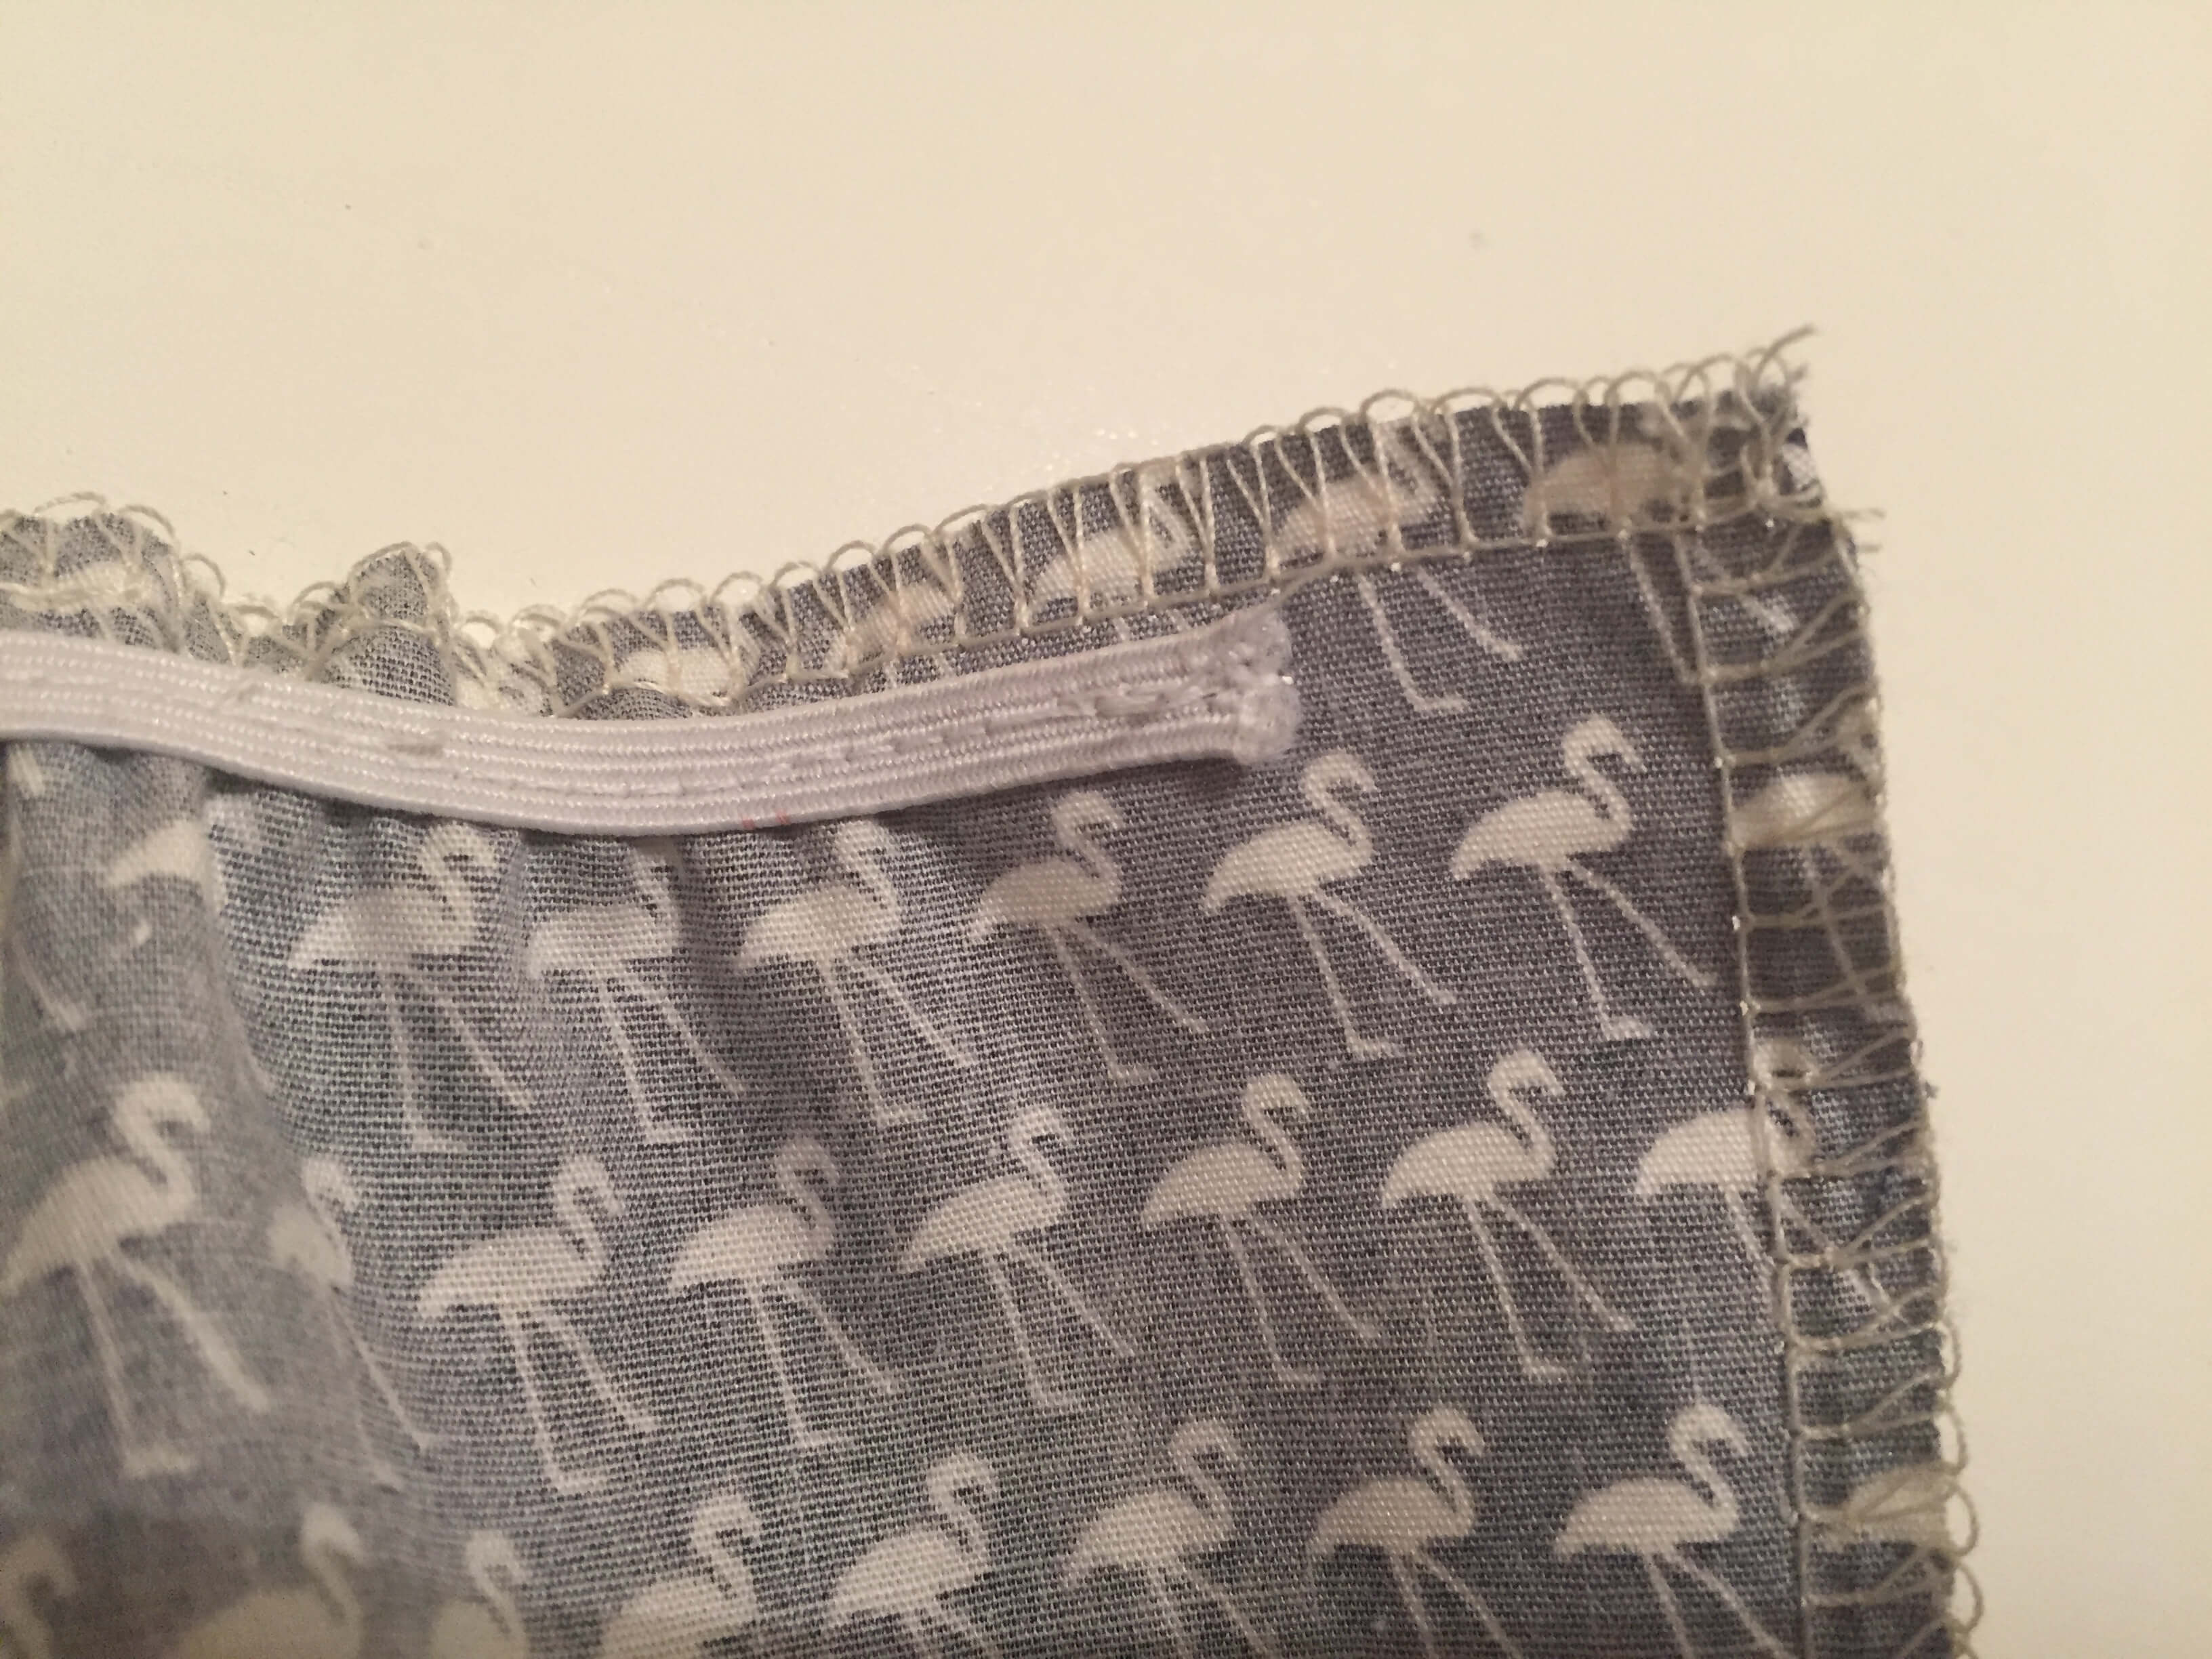
Starting from the left create a few reverse stitches to keep the elastic in place and then as you start sewing, stretch the elastic piece to fit along the edge of the skirt. You can remove the middle pin once you get to it. Once sewn, your top edge will make gorgeous even gathers!
Back
Repeat on the two back pieces.
BACK BODICE DARTS
What are darts?
A “dart” is used to shape fabric, often where there is excess fabric or when a more tailored look is required. A dart is usually created to shape the bust, waist, hip or
elbow curve.
There are two types of darts;
“triangle shape” – wide at the top and pointed at the end
“shaped” dart – starts with a point, widening in the middle and ending with a point (often found on dress patterns).
A badly sewn dart will result in the fabric puckering on the right side. A perfect dart will be straight and smooth and will be barely visible from the right side
6. Mark your dart notches and dot on your two back pieces. Turn your back piece so that the bodice is upside down and pin your two dart notches together.
Tip. It may help you to draw the line from the notch to the dot – this will help you to sew the dart in a straight line. When drawing or sewing the line, it should extend off the fabric at the dot. The line of sewing needs to be a perfect straight line from notch to dot otherwise the dart will pucker.
7. Stitch from the dart notch to the dot. Repeat on the other back piece. Here is your dart the “right way up”:
8. Turn your bodice the right way around and iron both darts towards the side seam. Here is your dart ironed and from the right side:
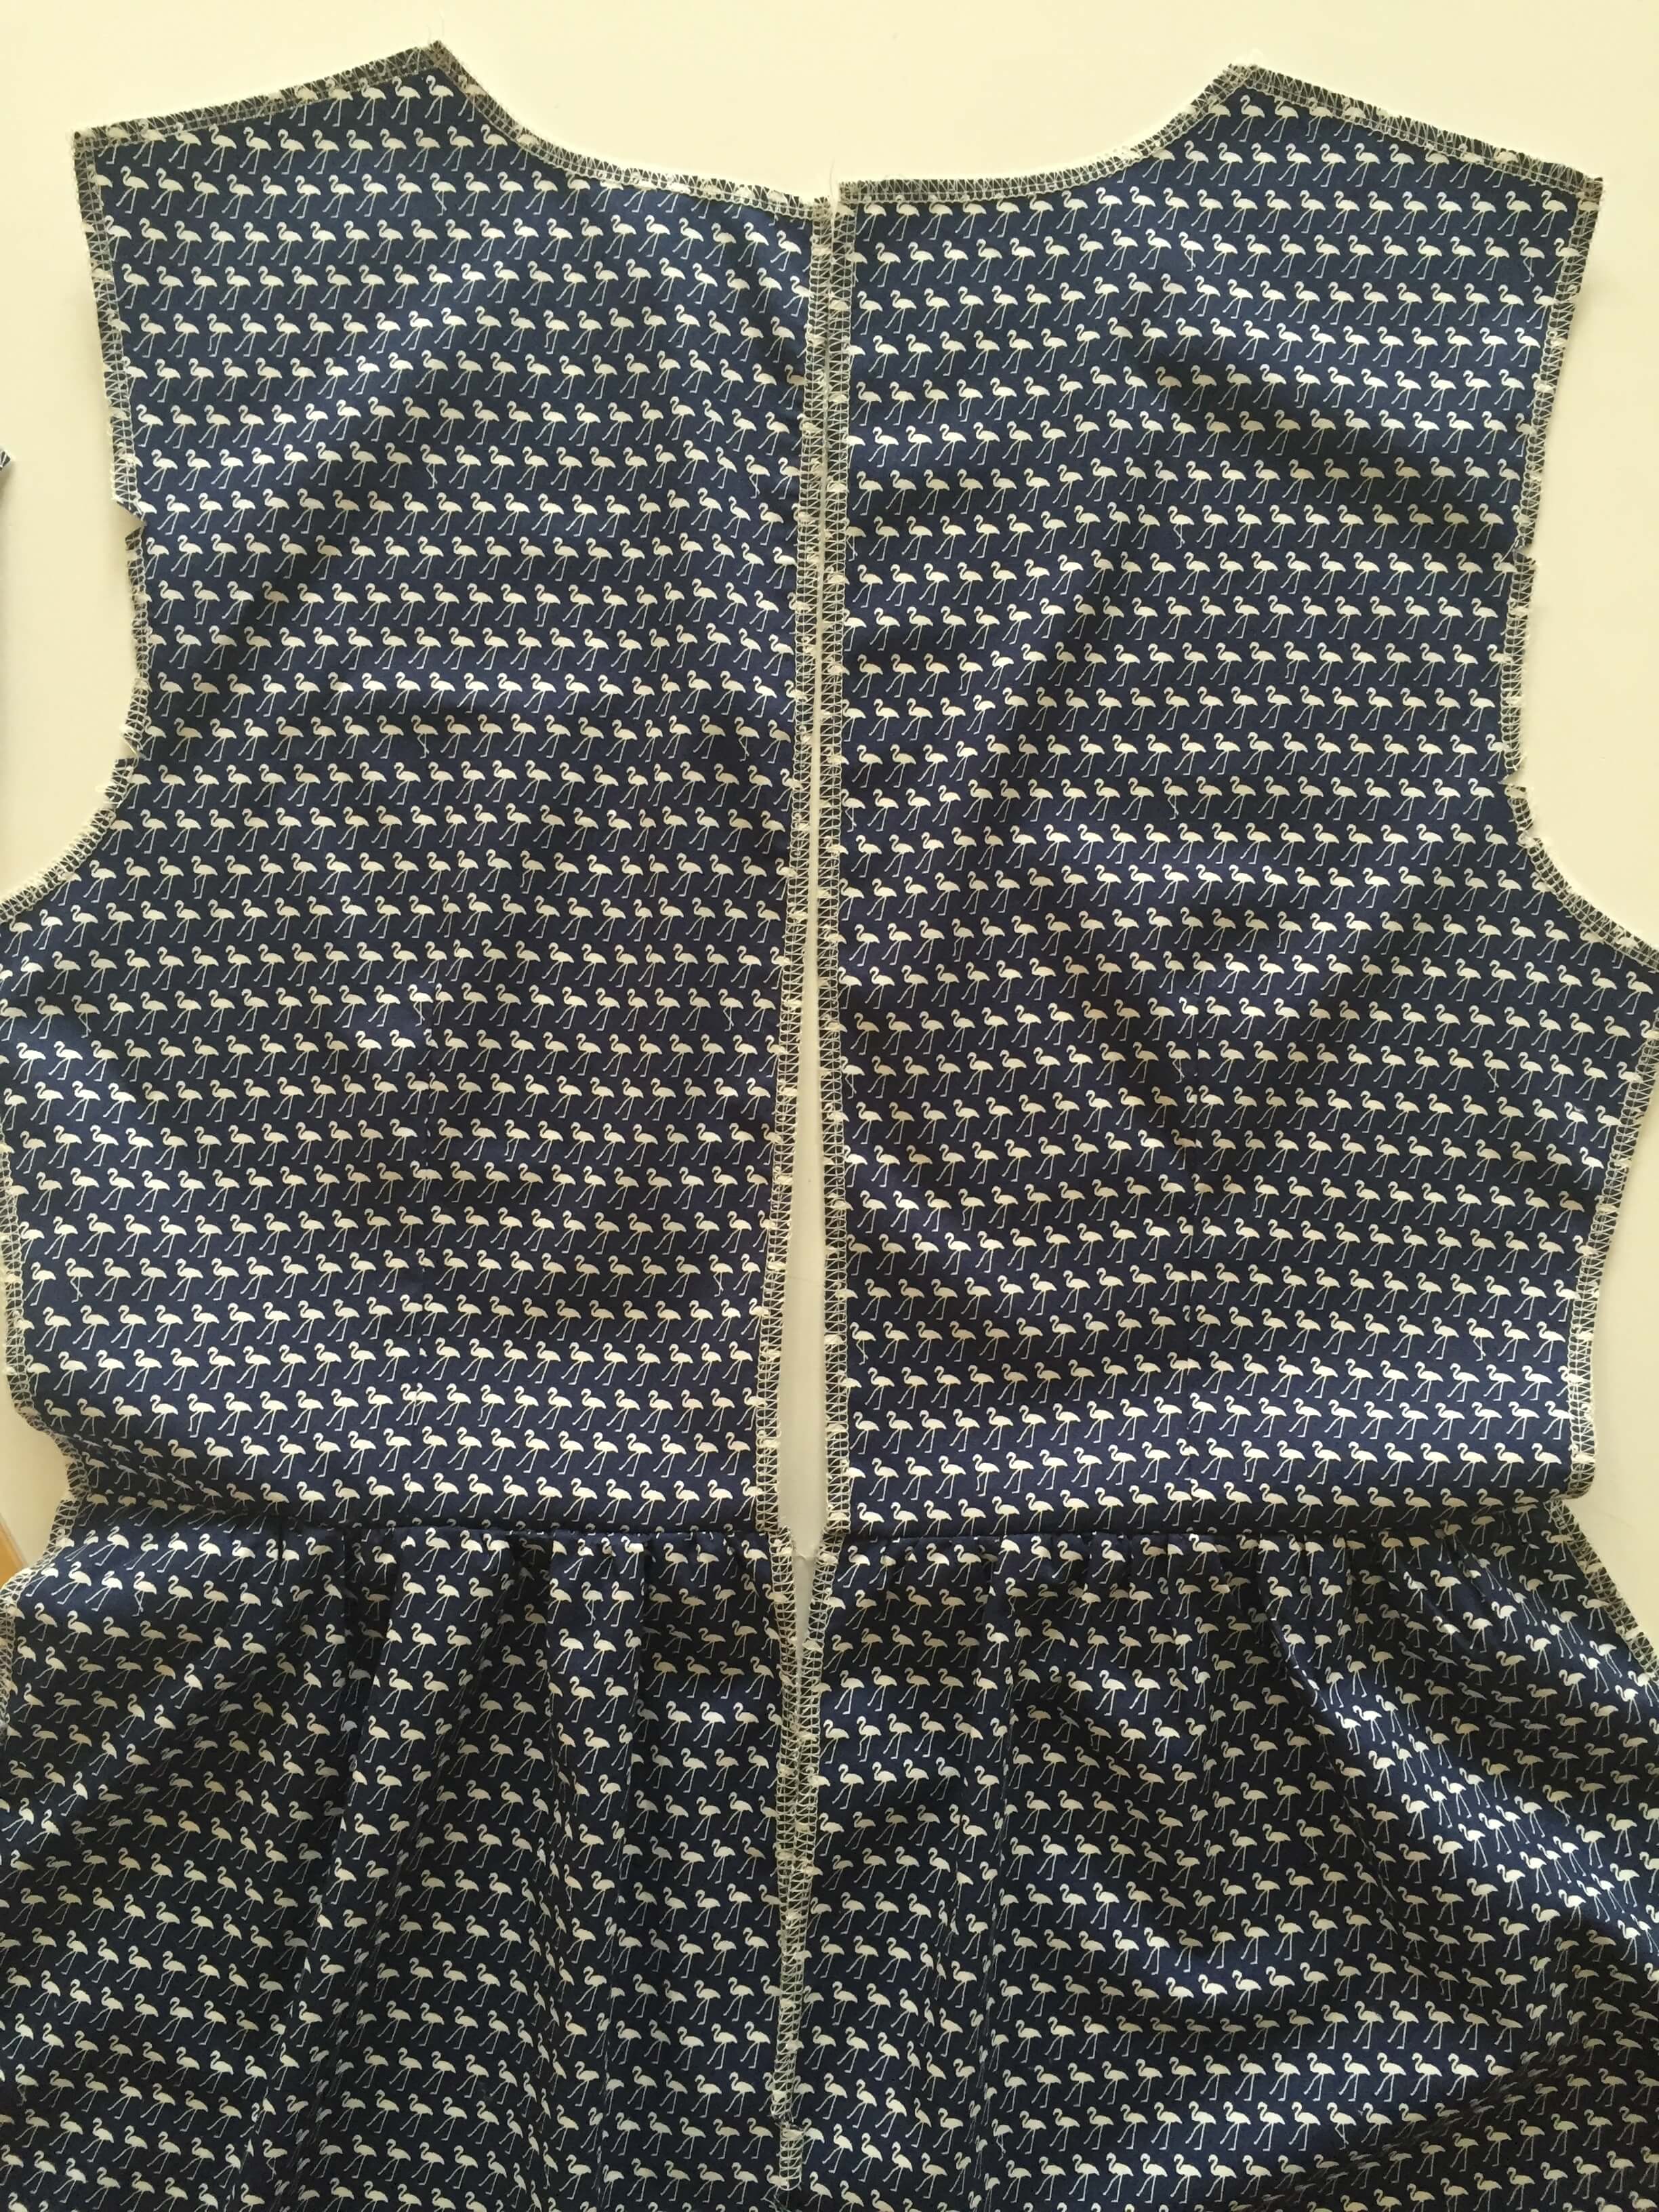
ATTACHING THE BACK BODICE TO THE BACK SKIRT
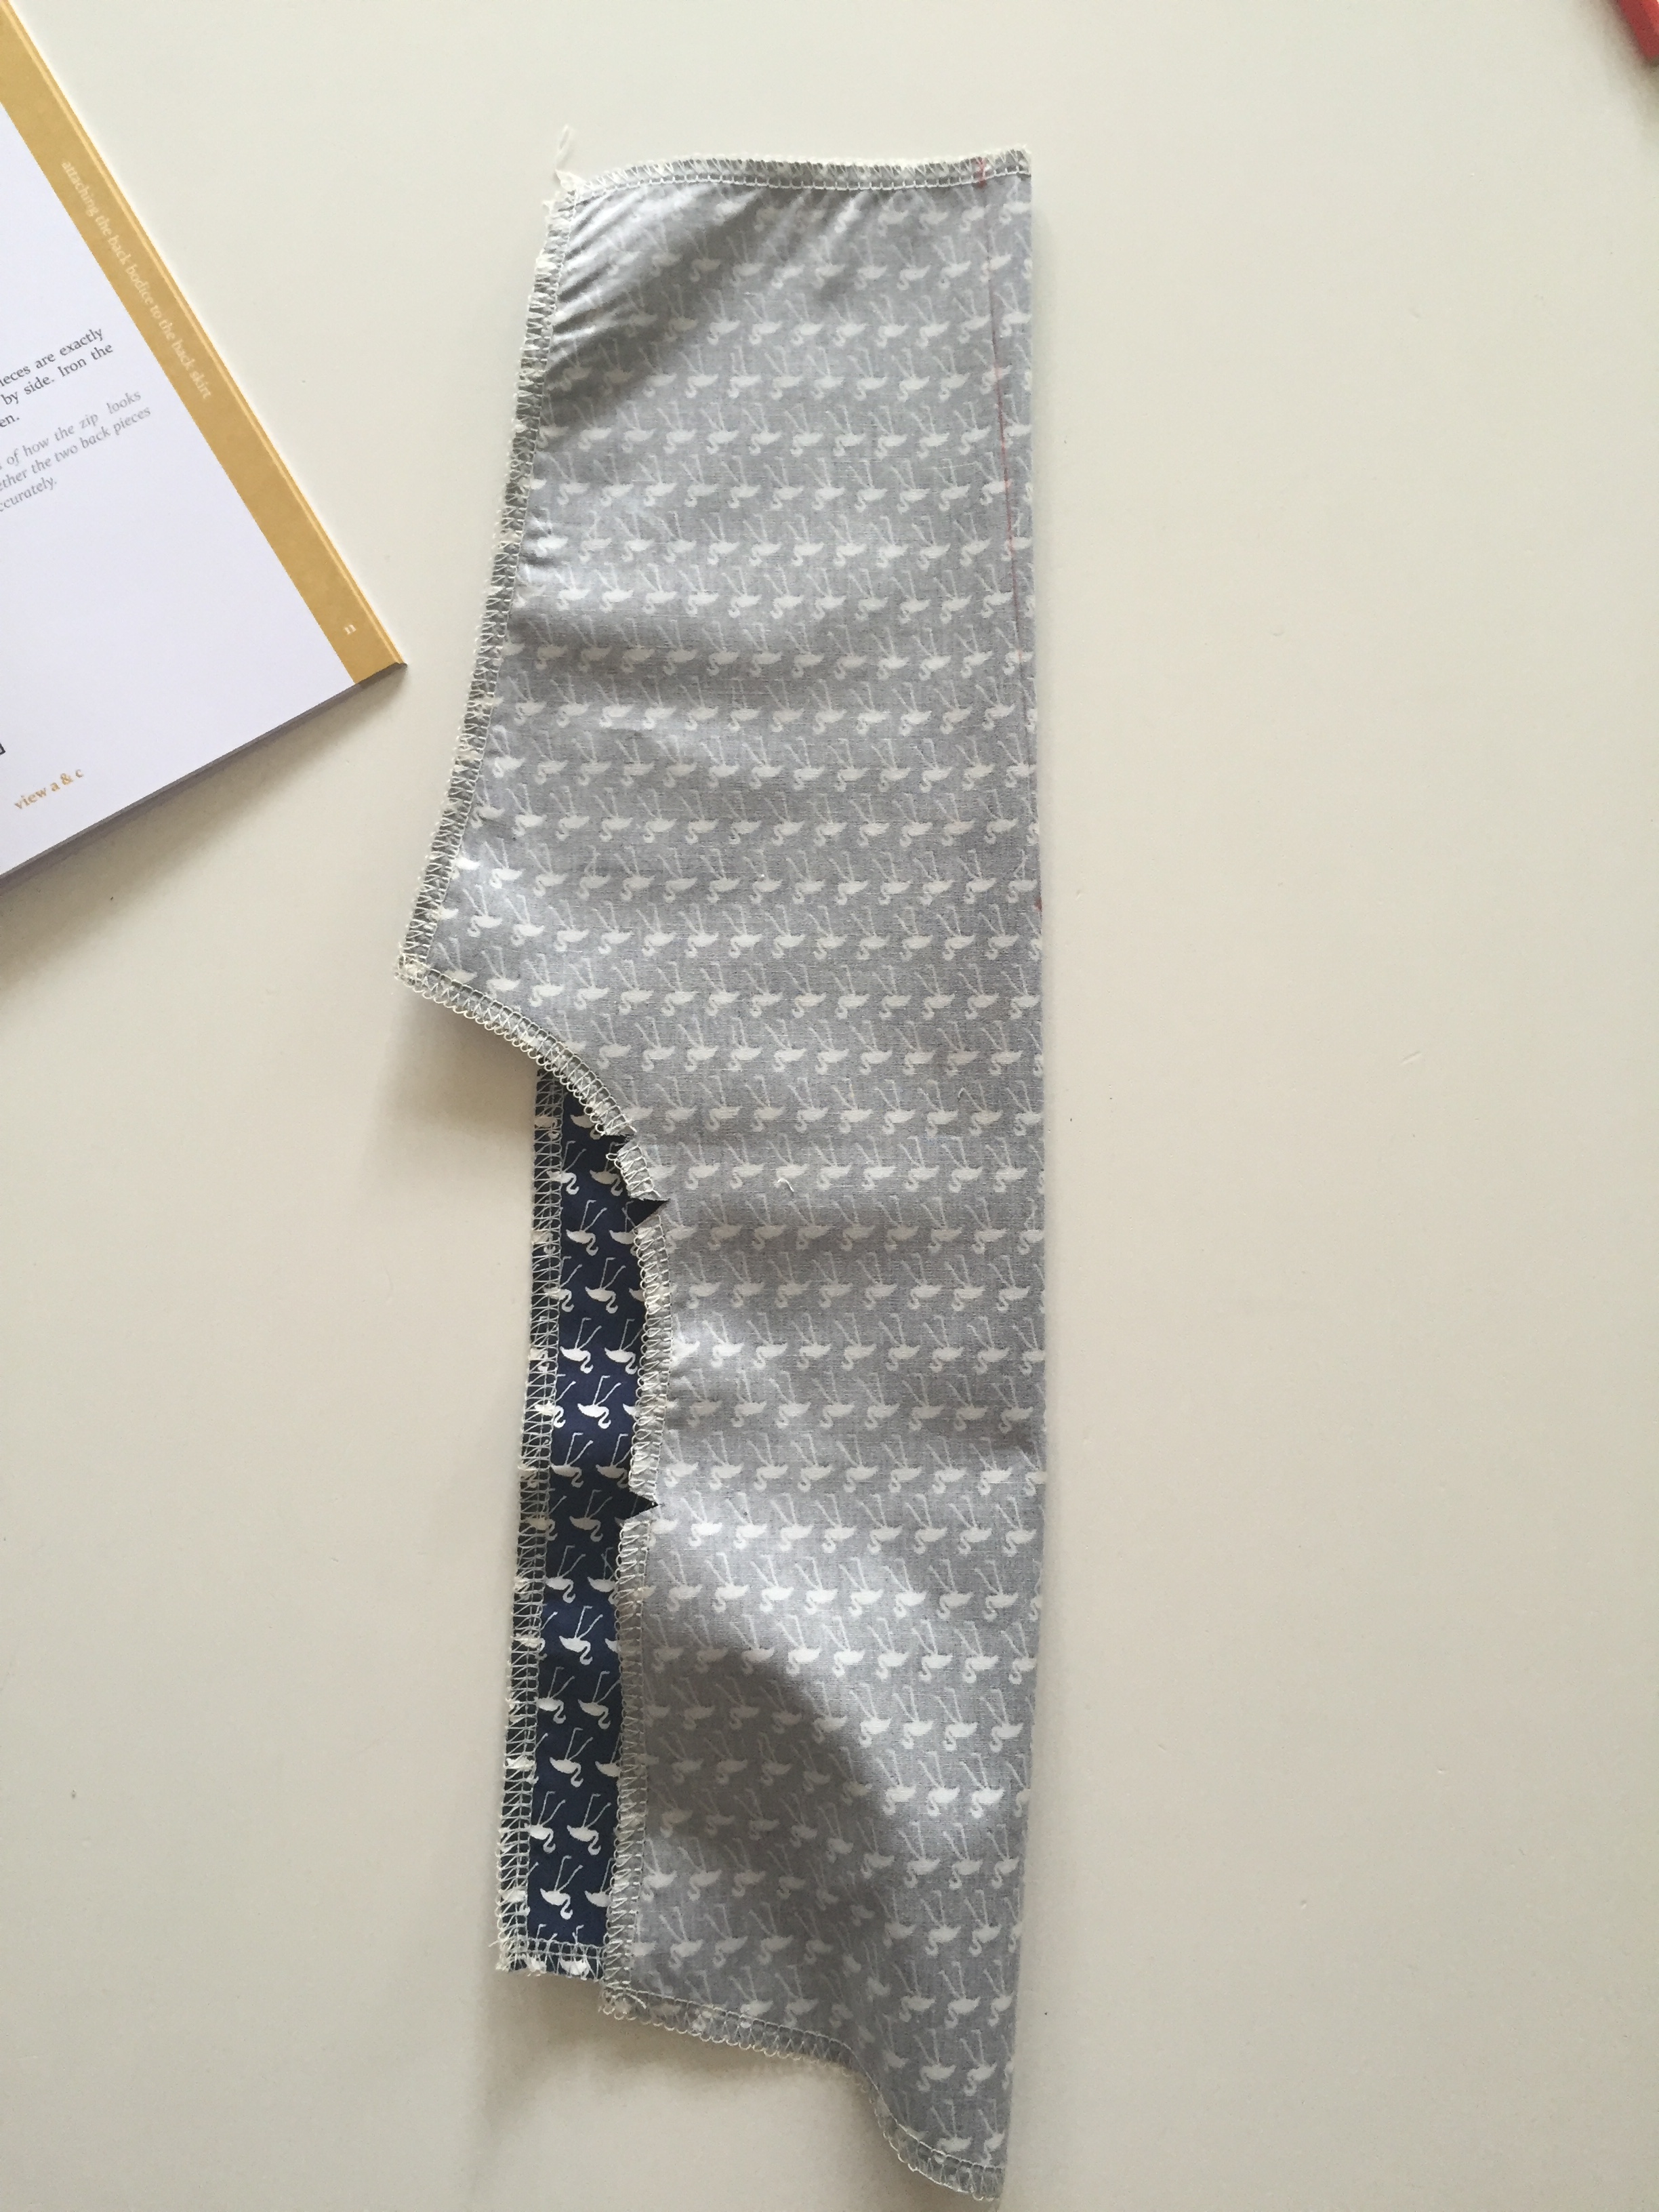
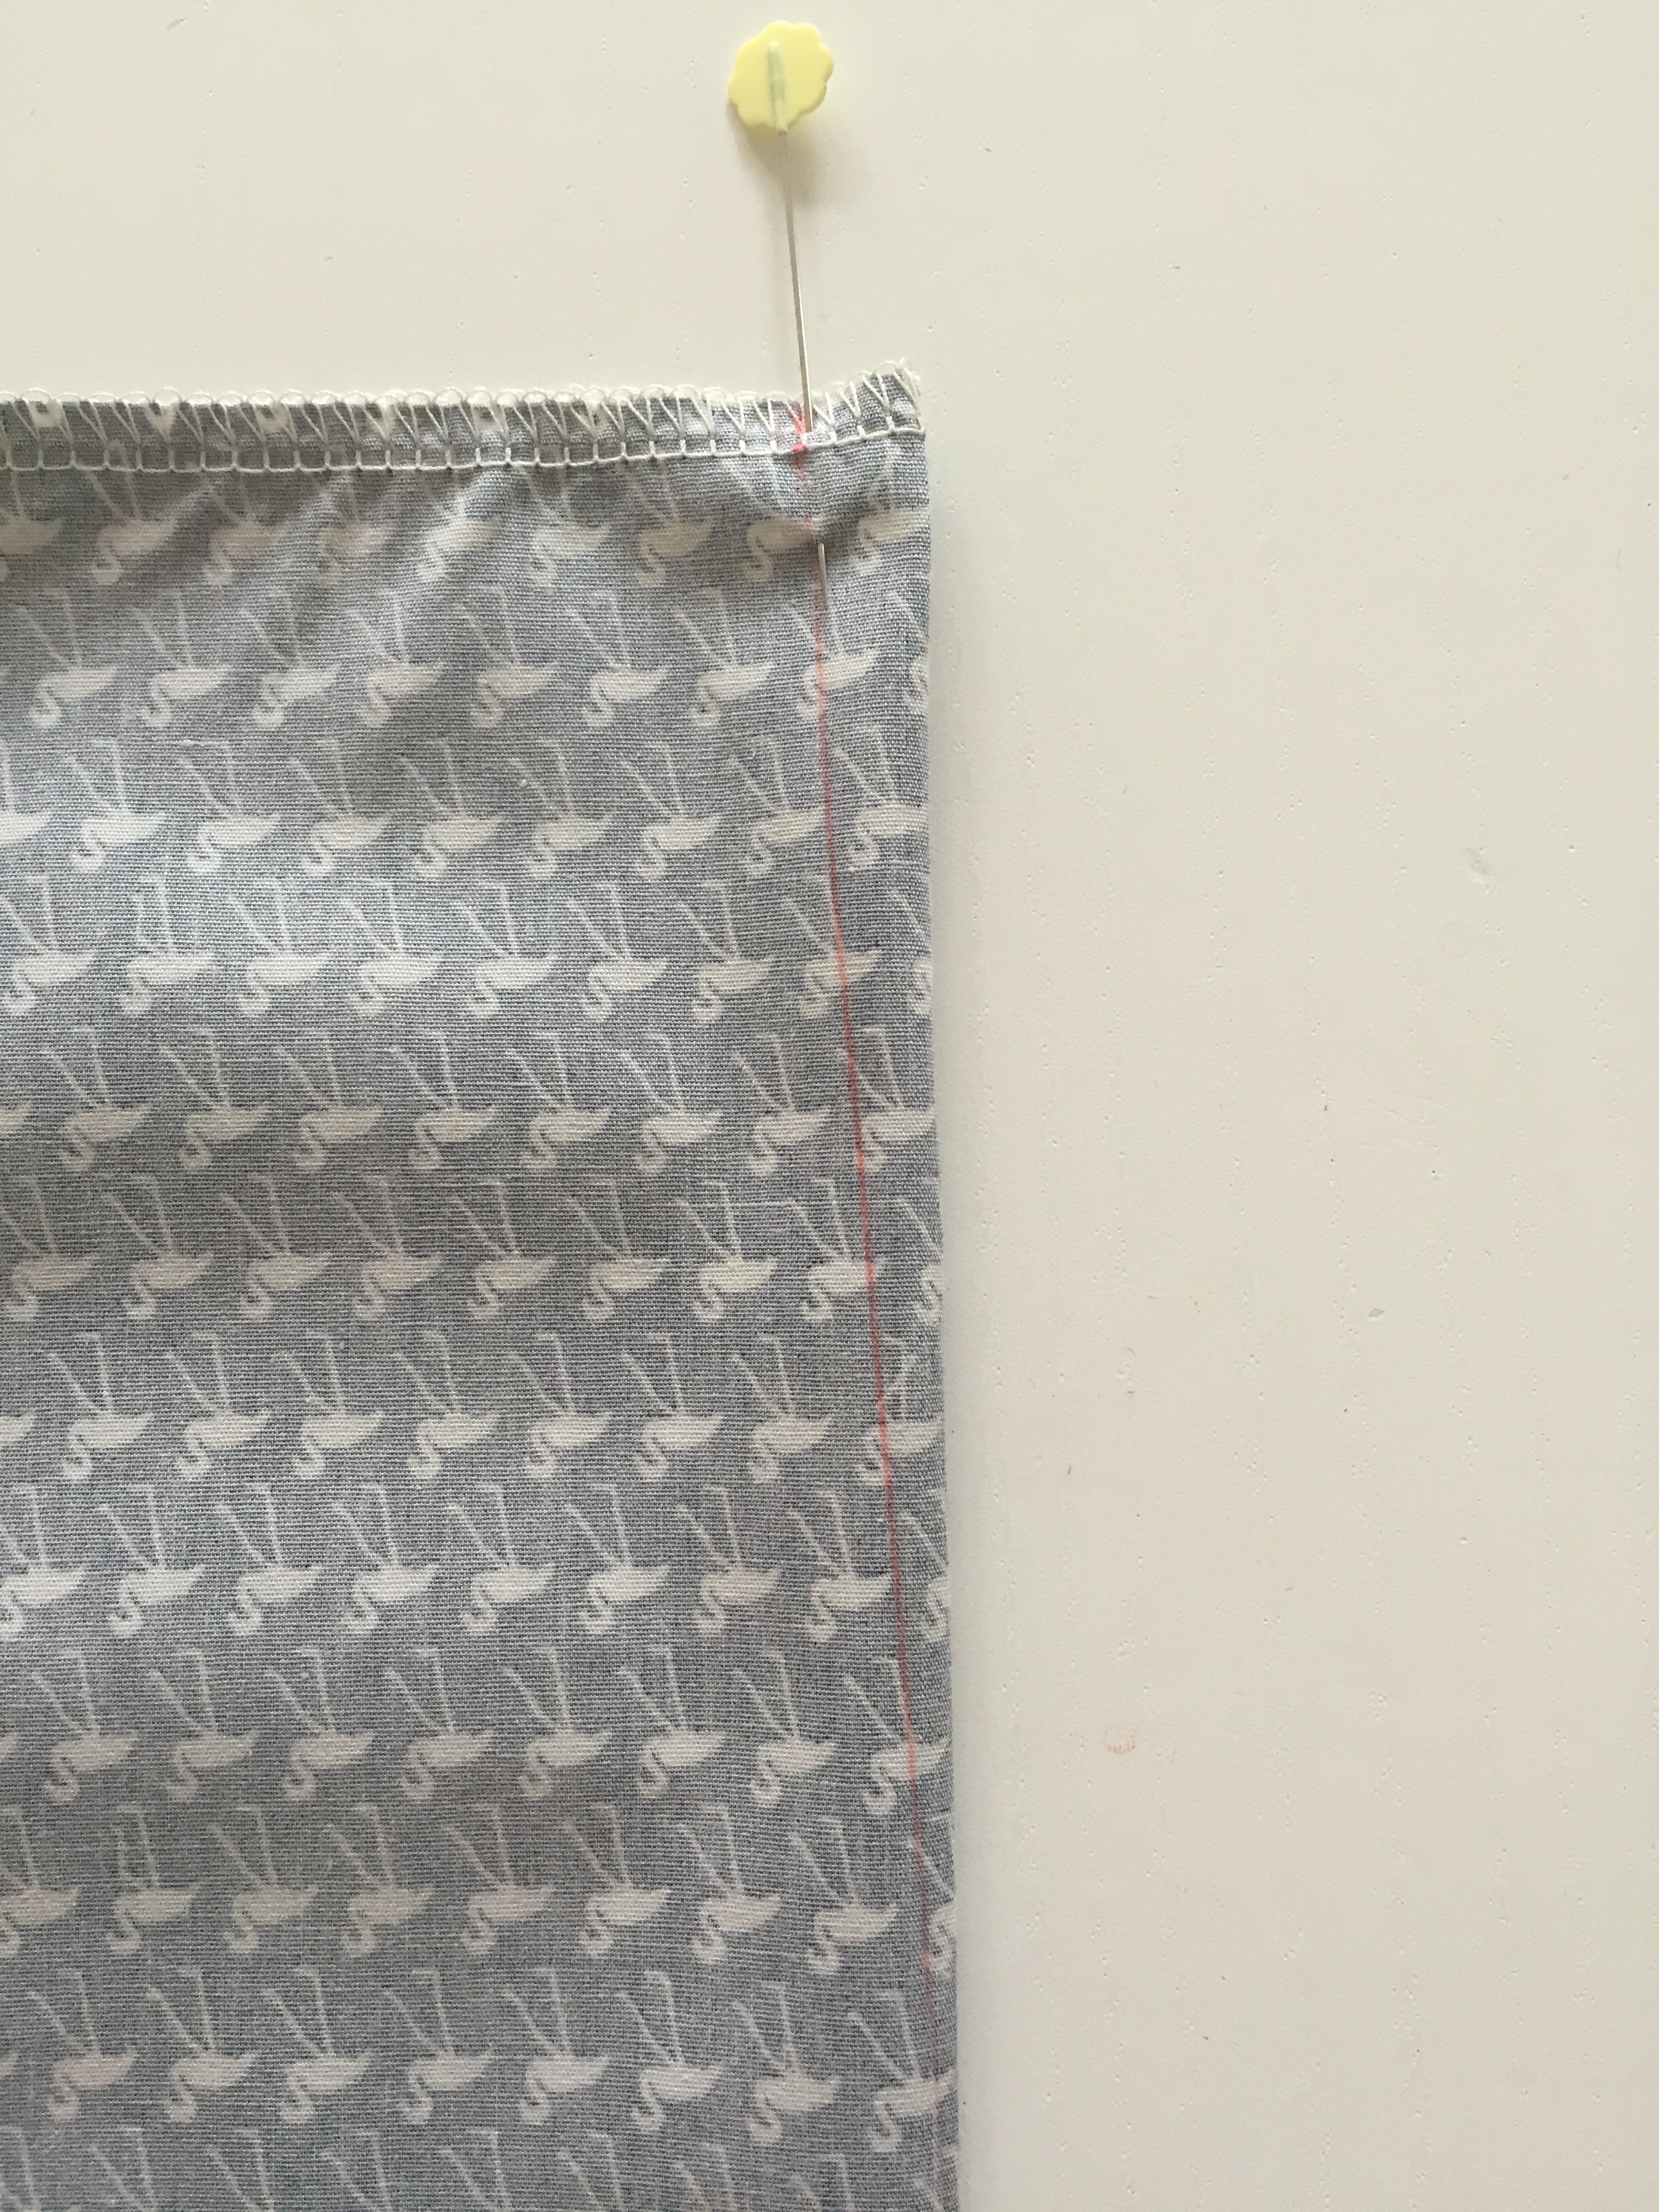
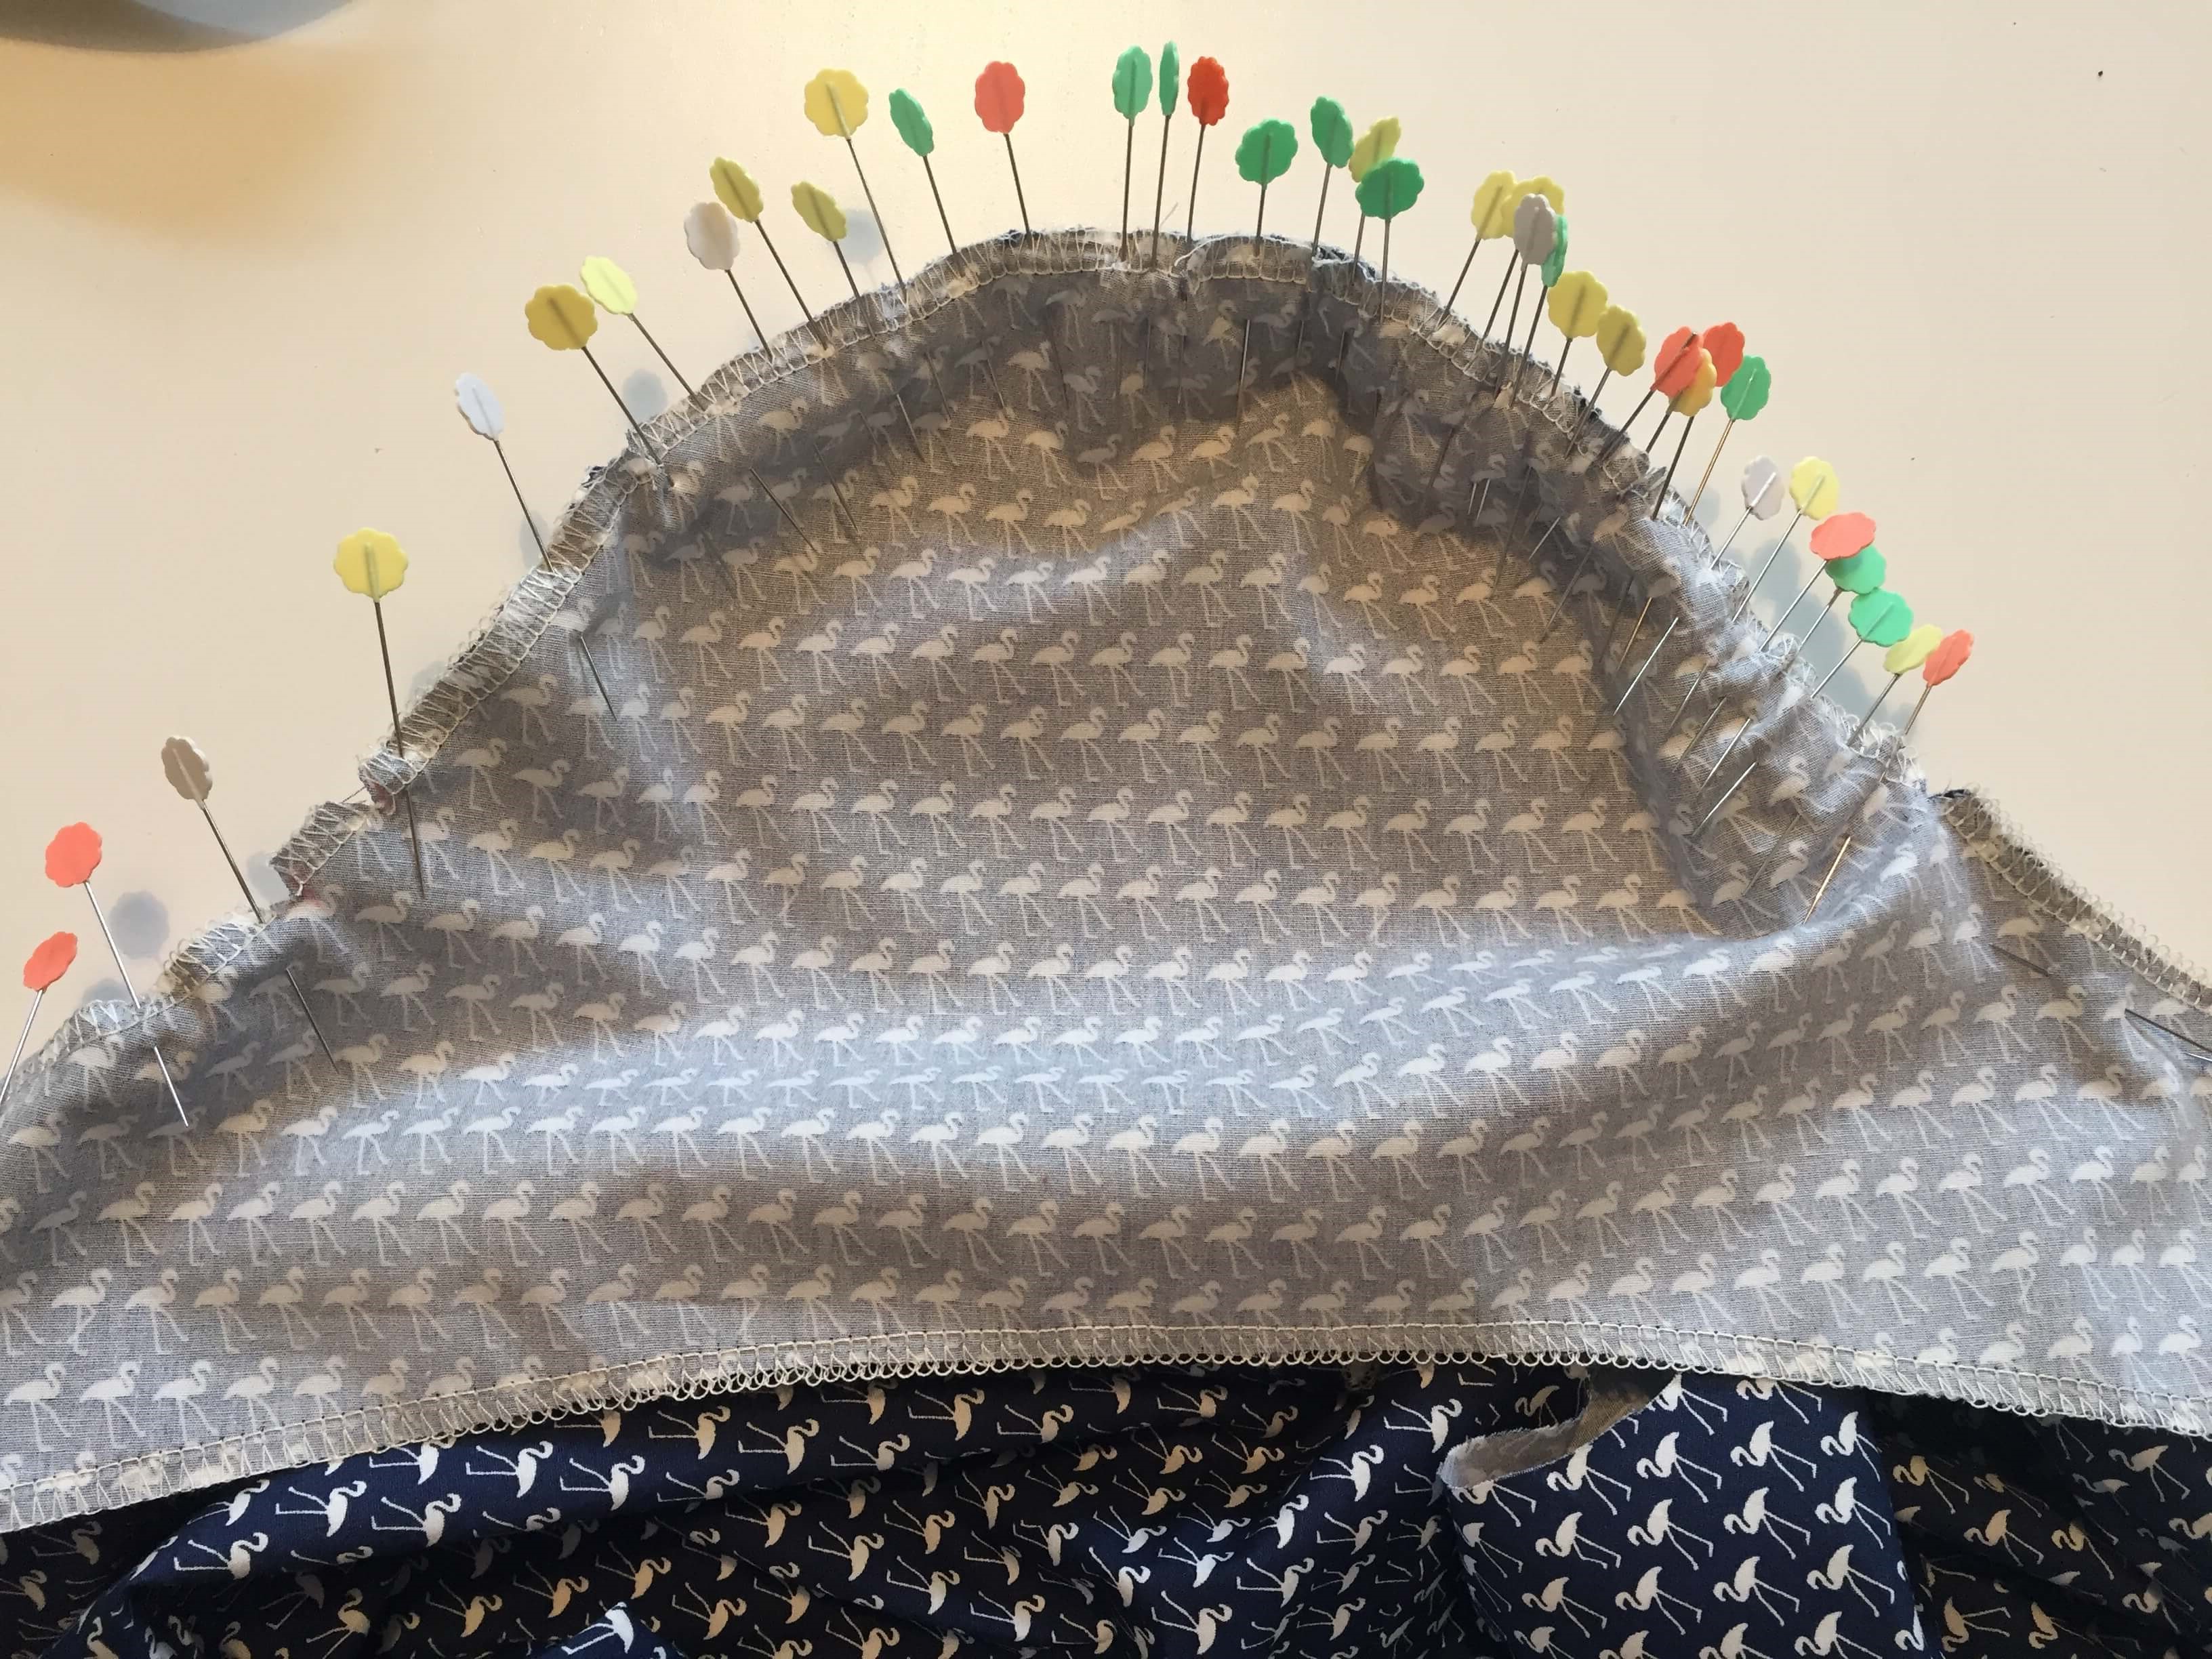
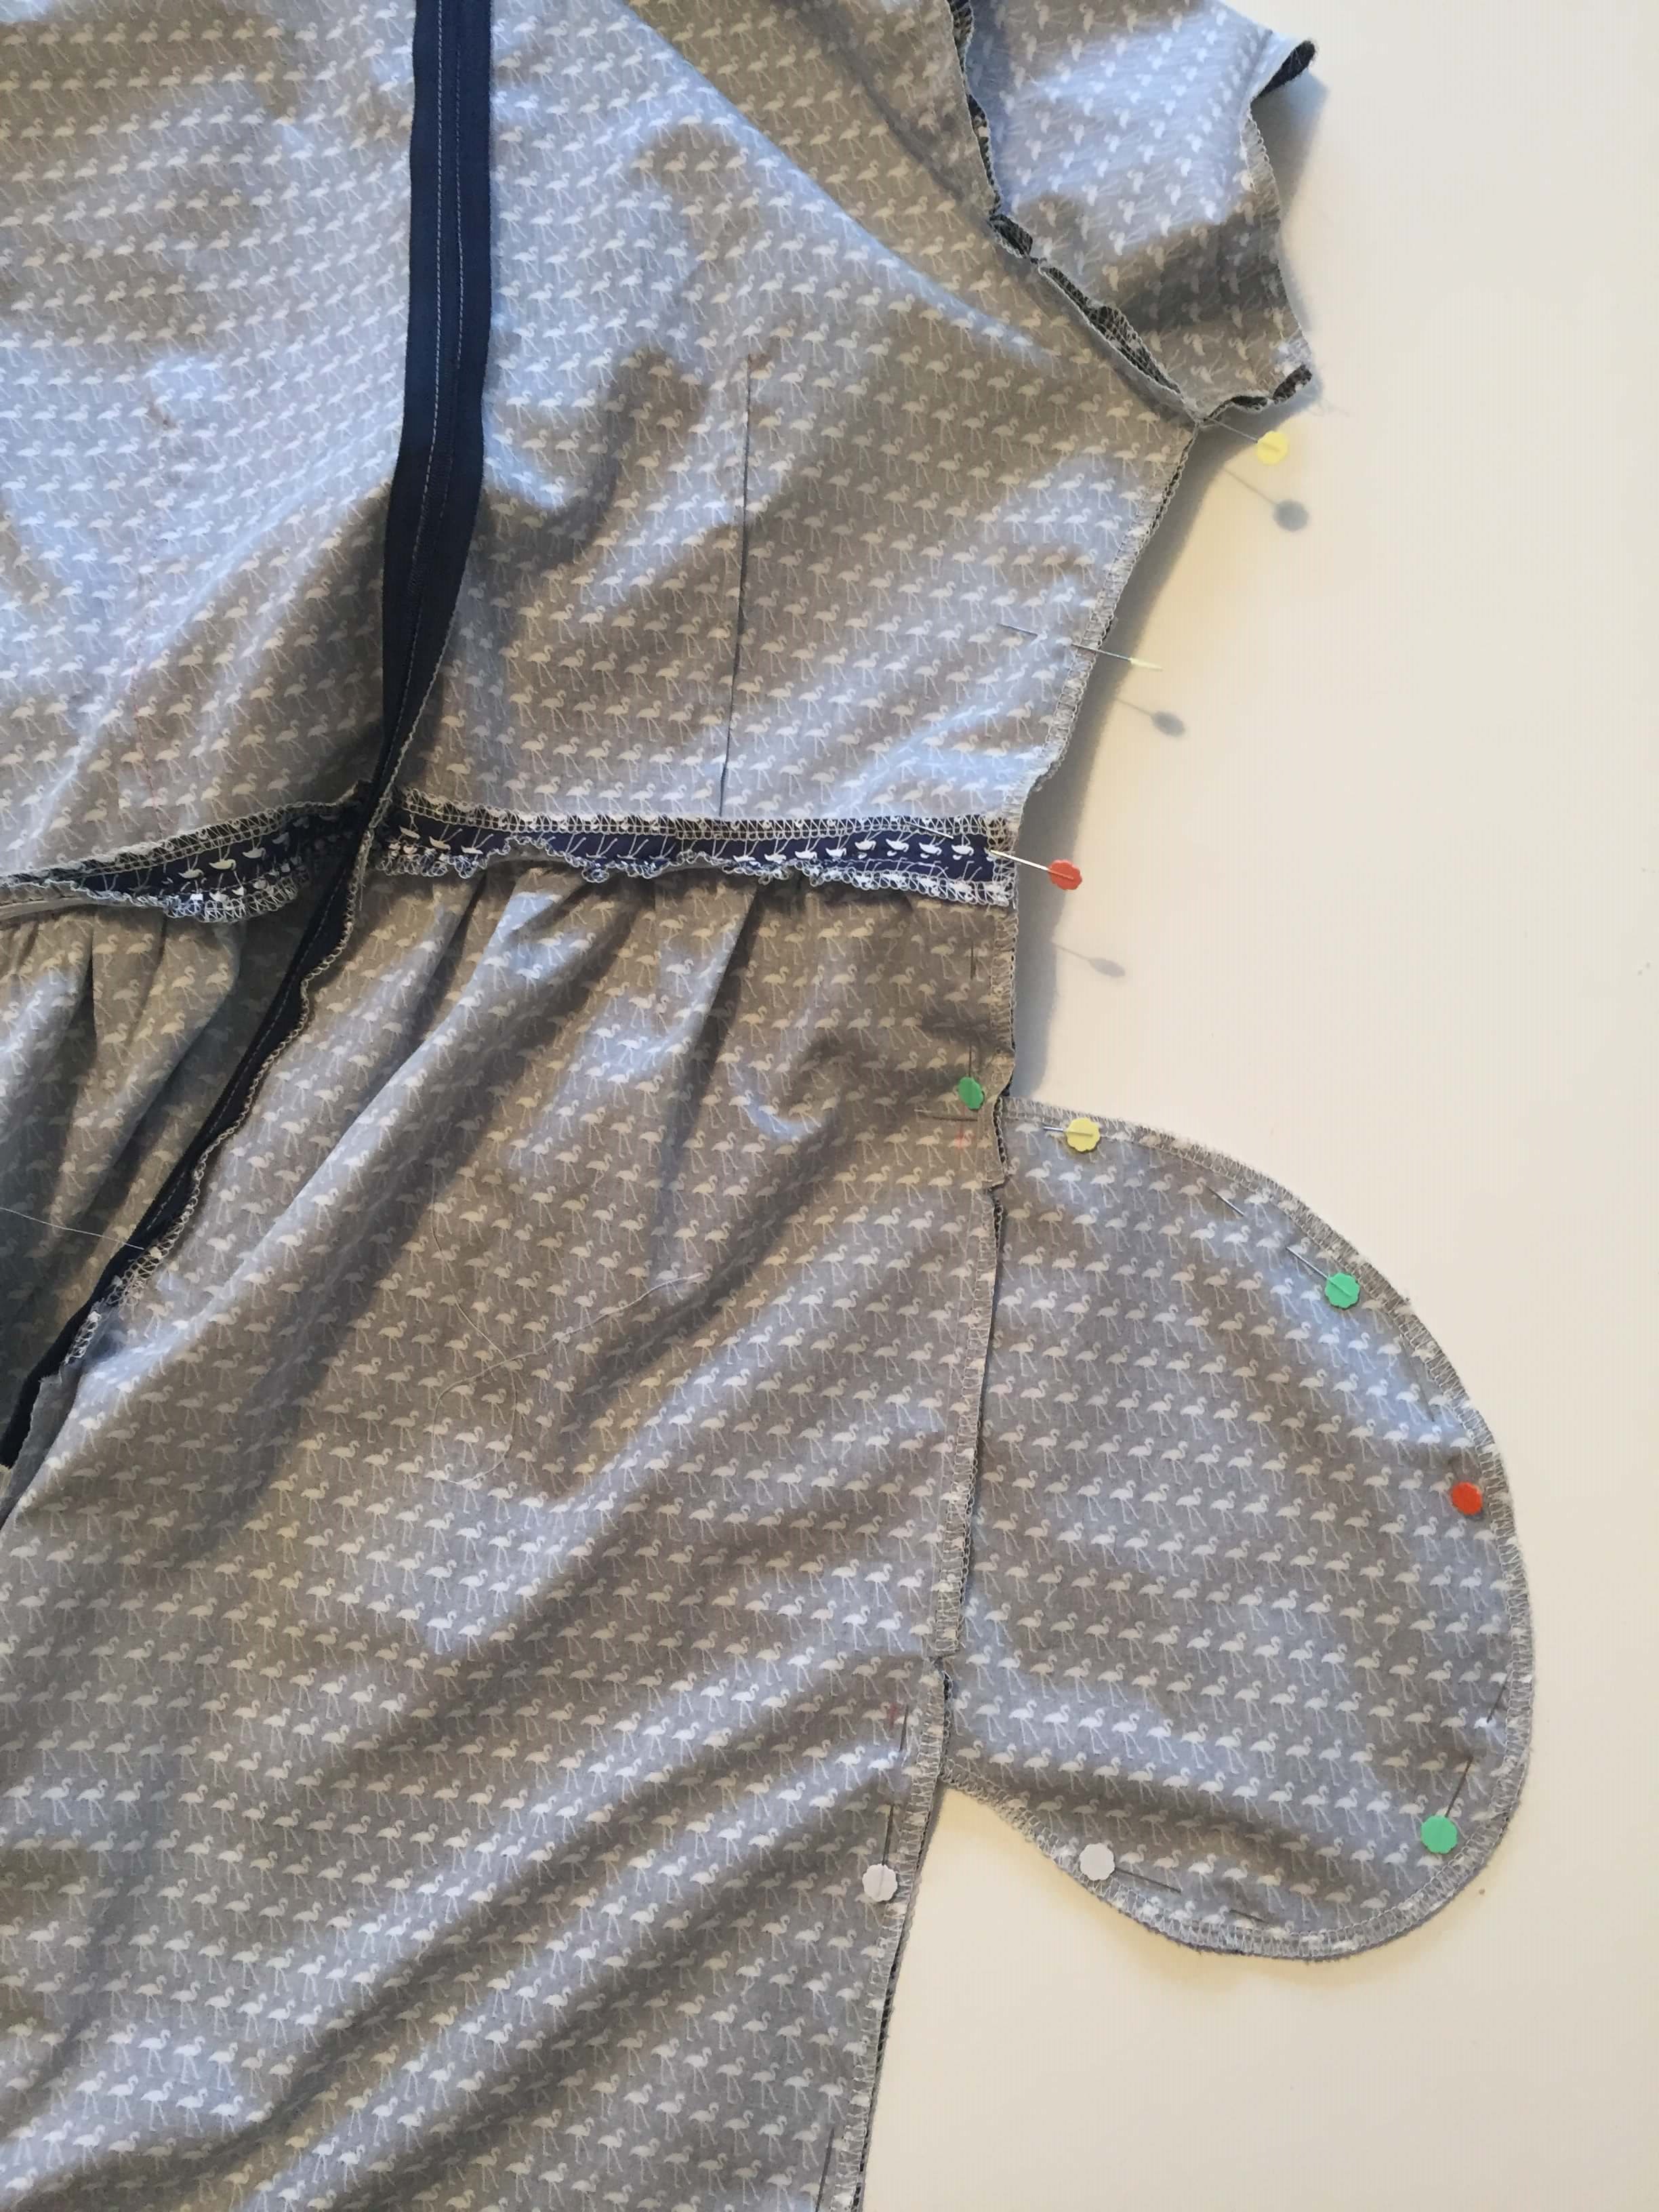
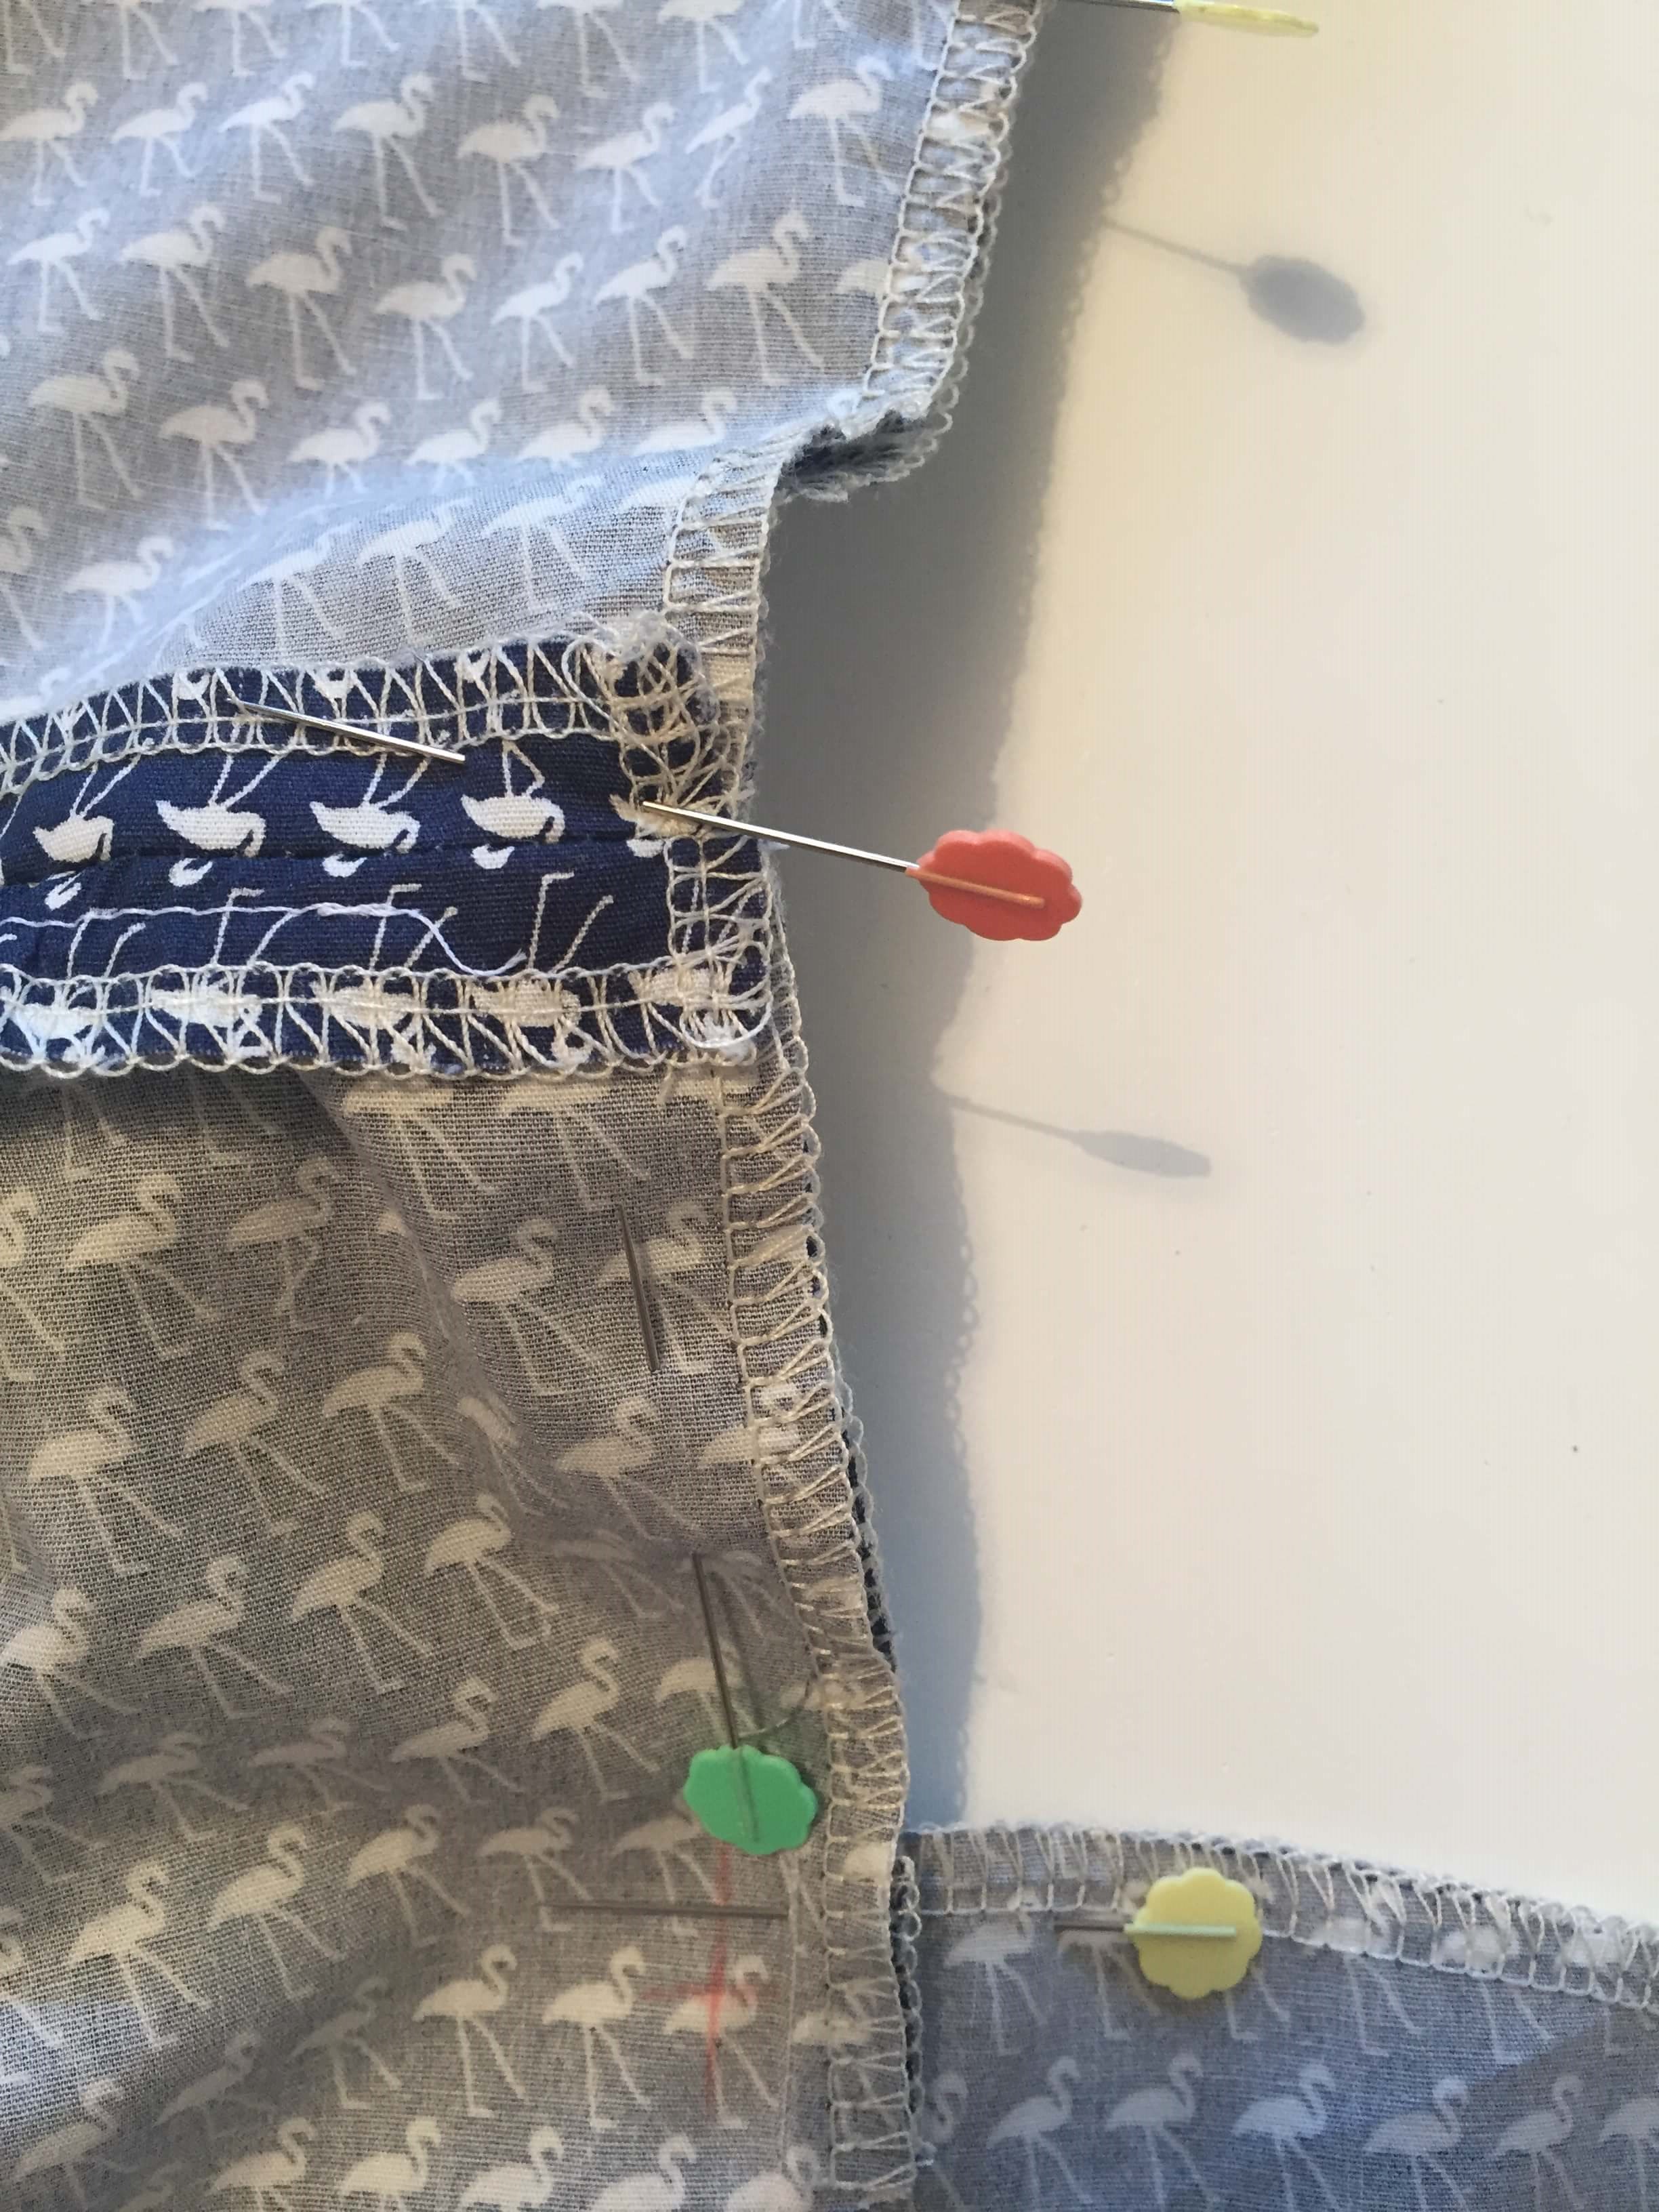
9. Place the back of the skirt and the back bodice, right sides together. Pin these two pieces together first pinning each side (as shown on the picture below). Then continue to fit the skirt to the bodice, ensuring that the edges are flush against the top.
Can you see how we have placed the pins at an angle downwards? This will help you to keep this in place and you can remove the pins as you get to them.
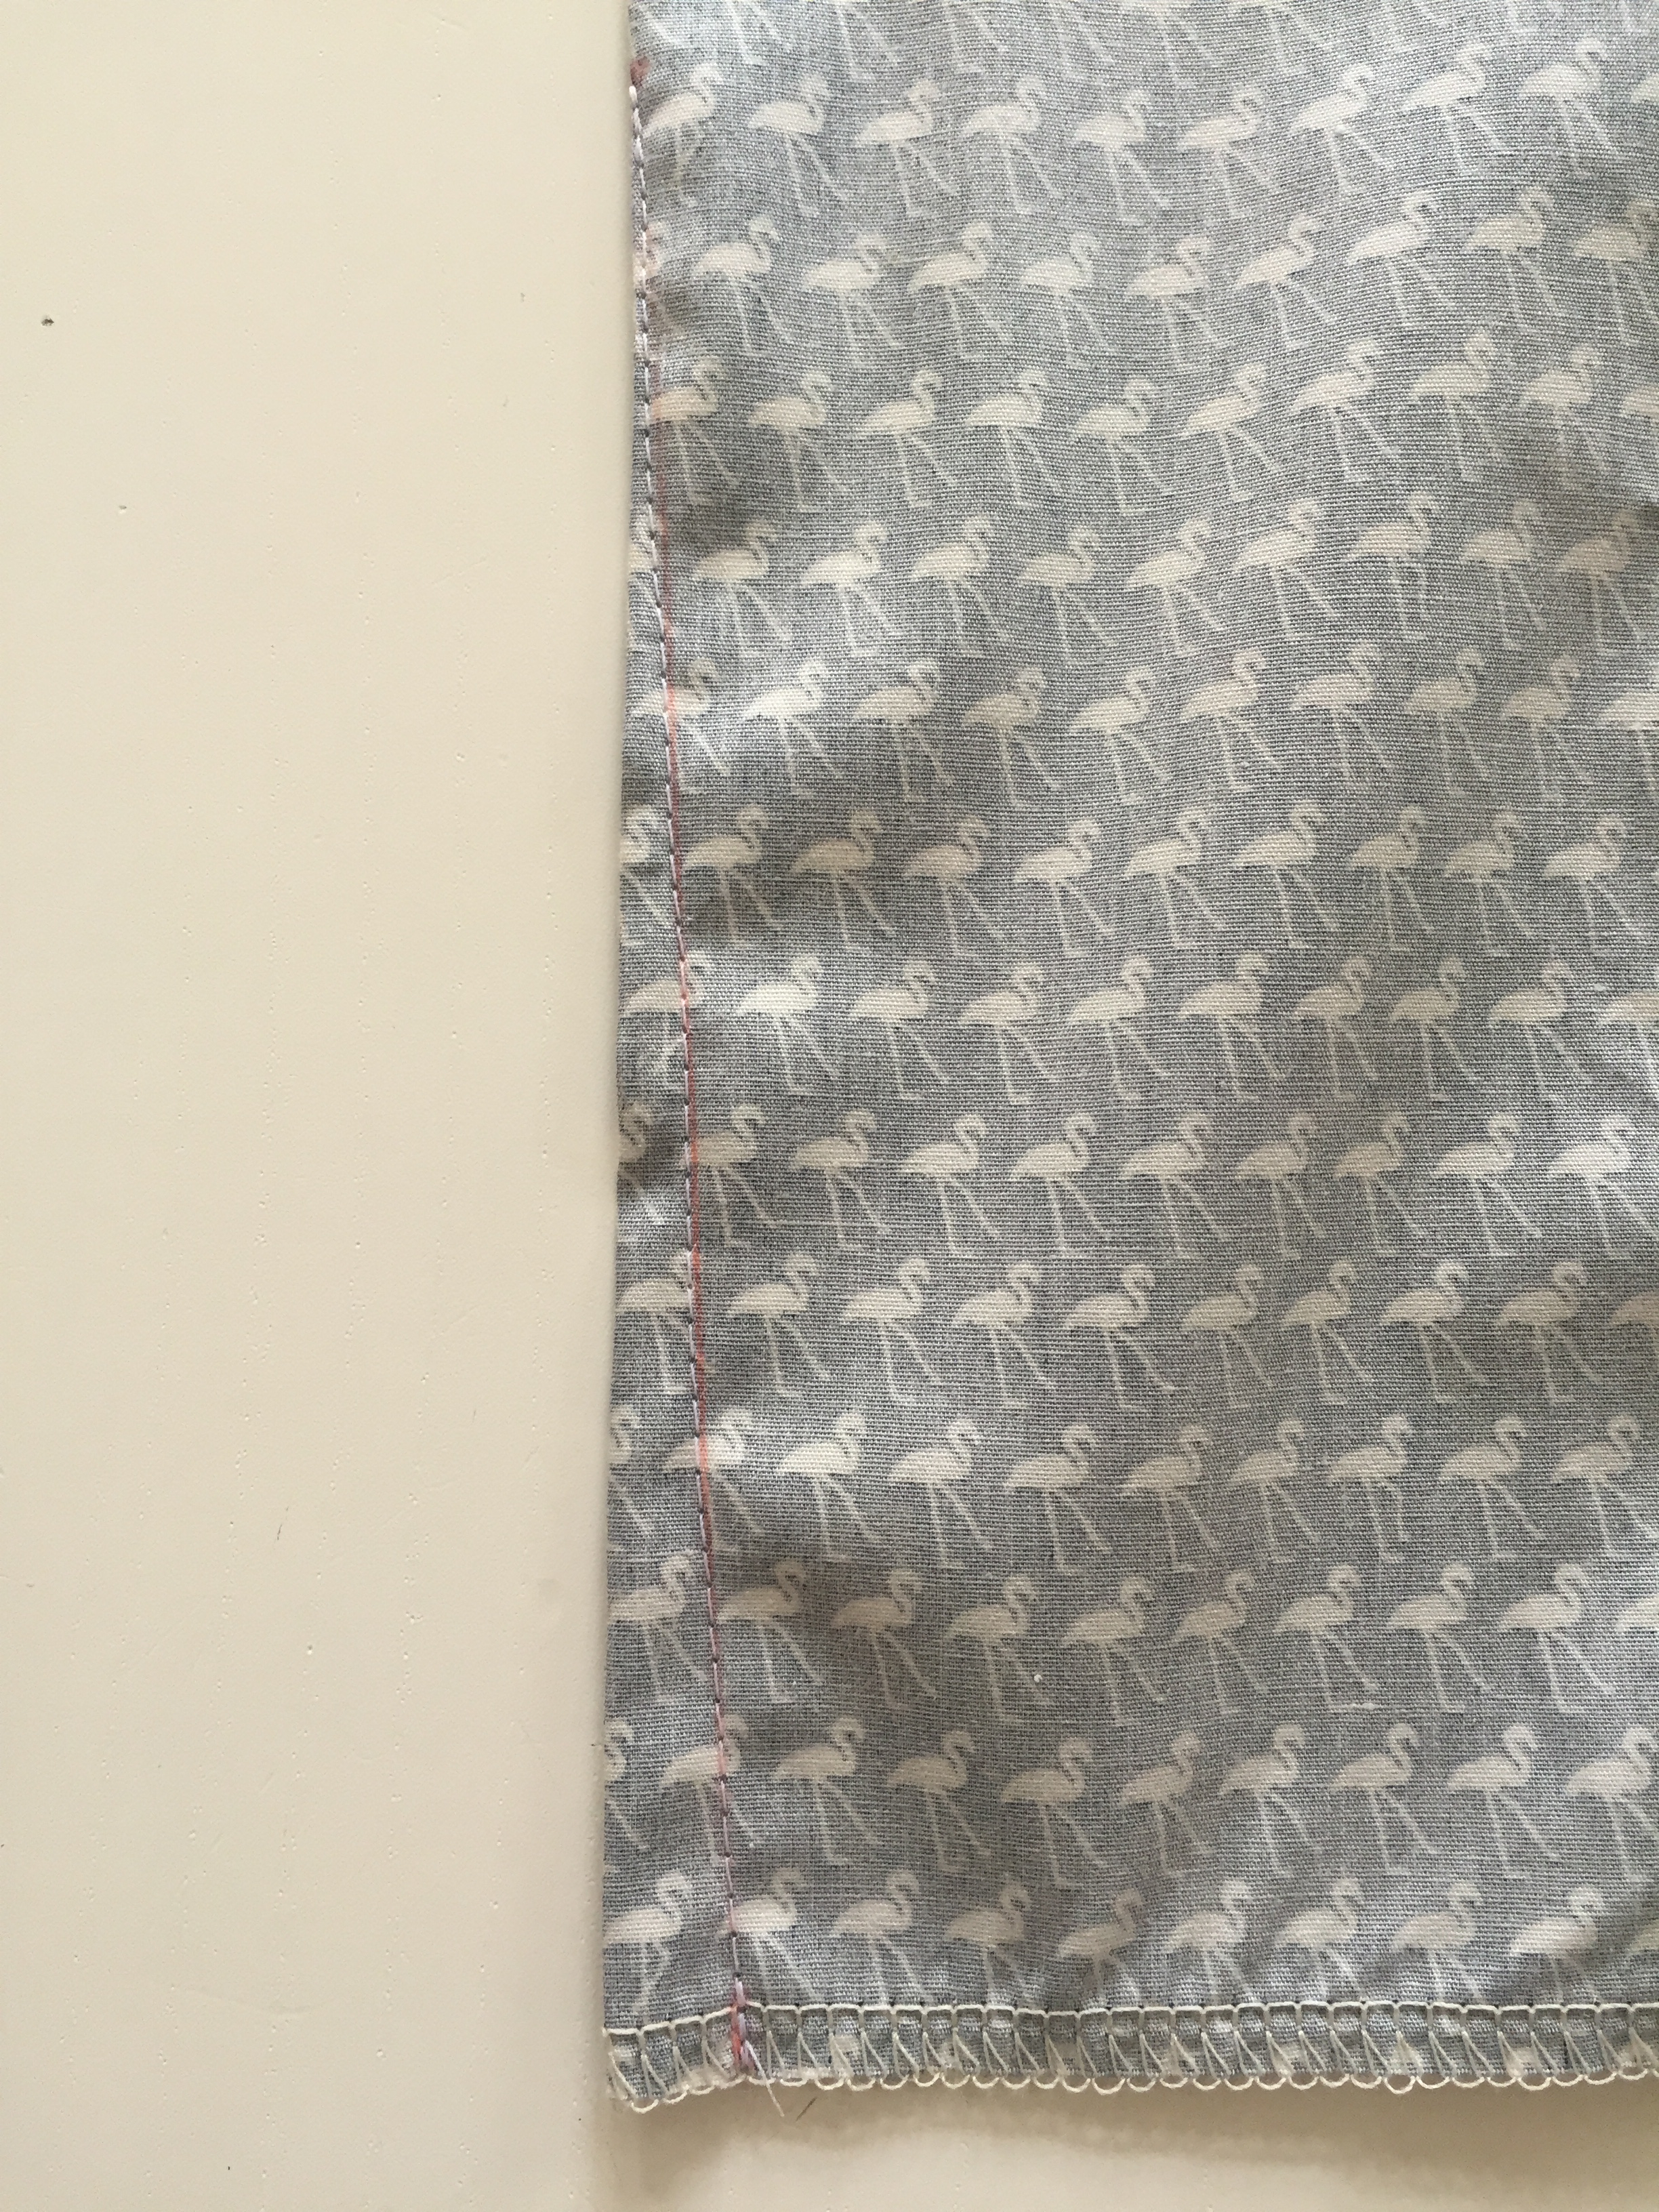
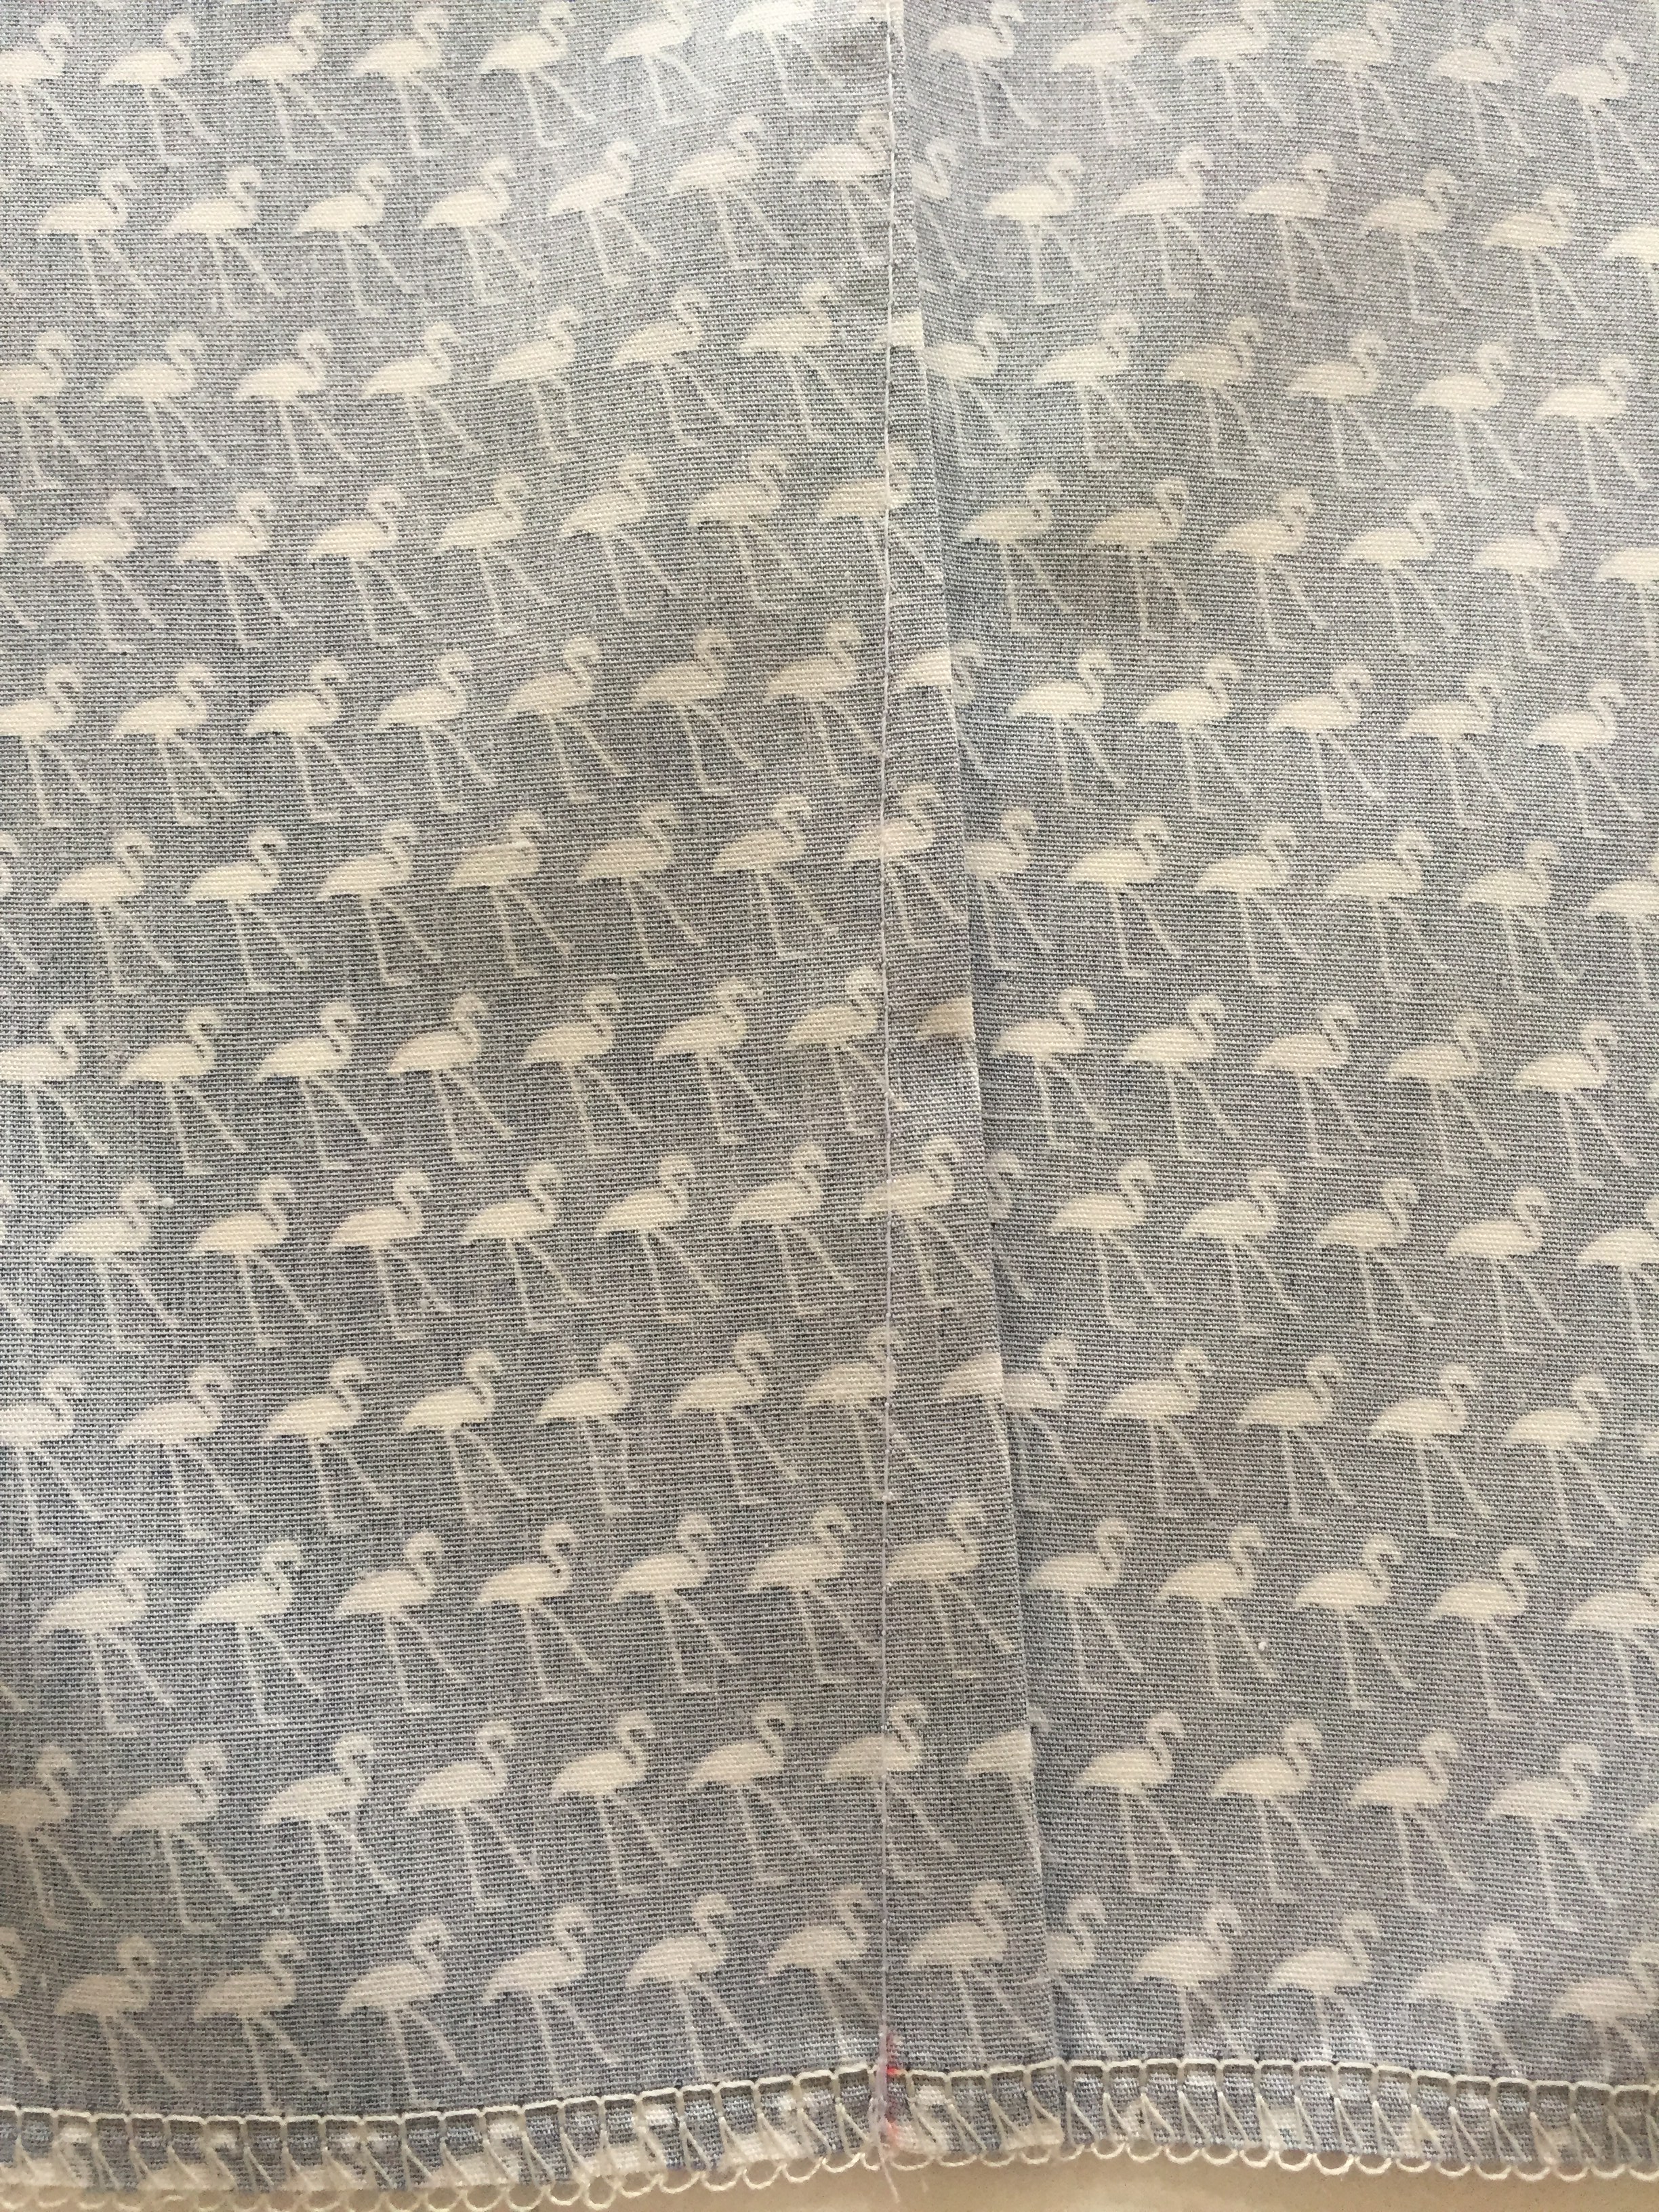
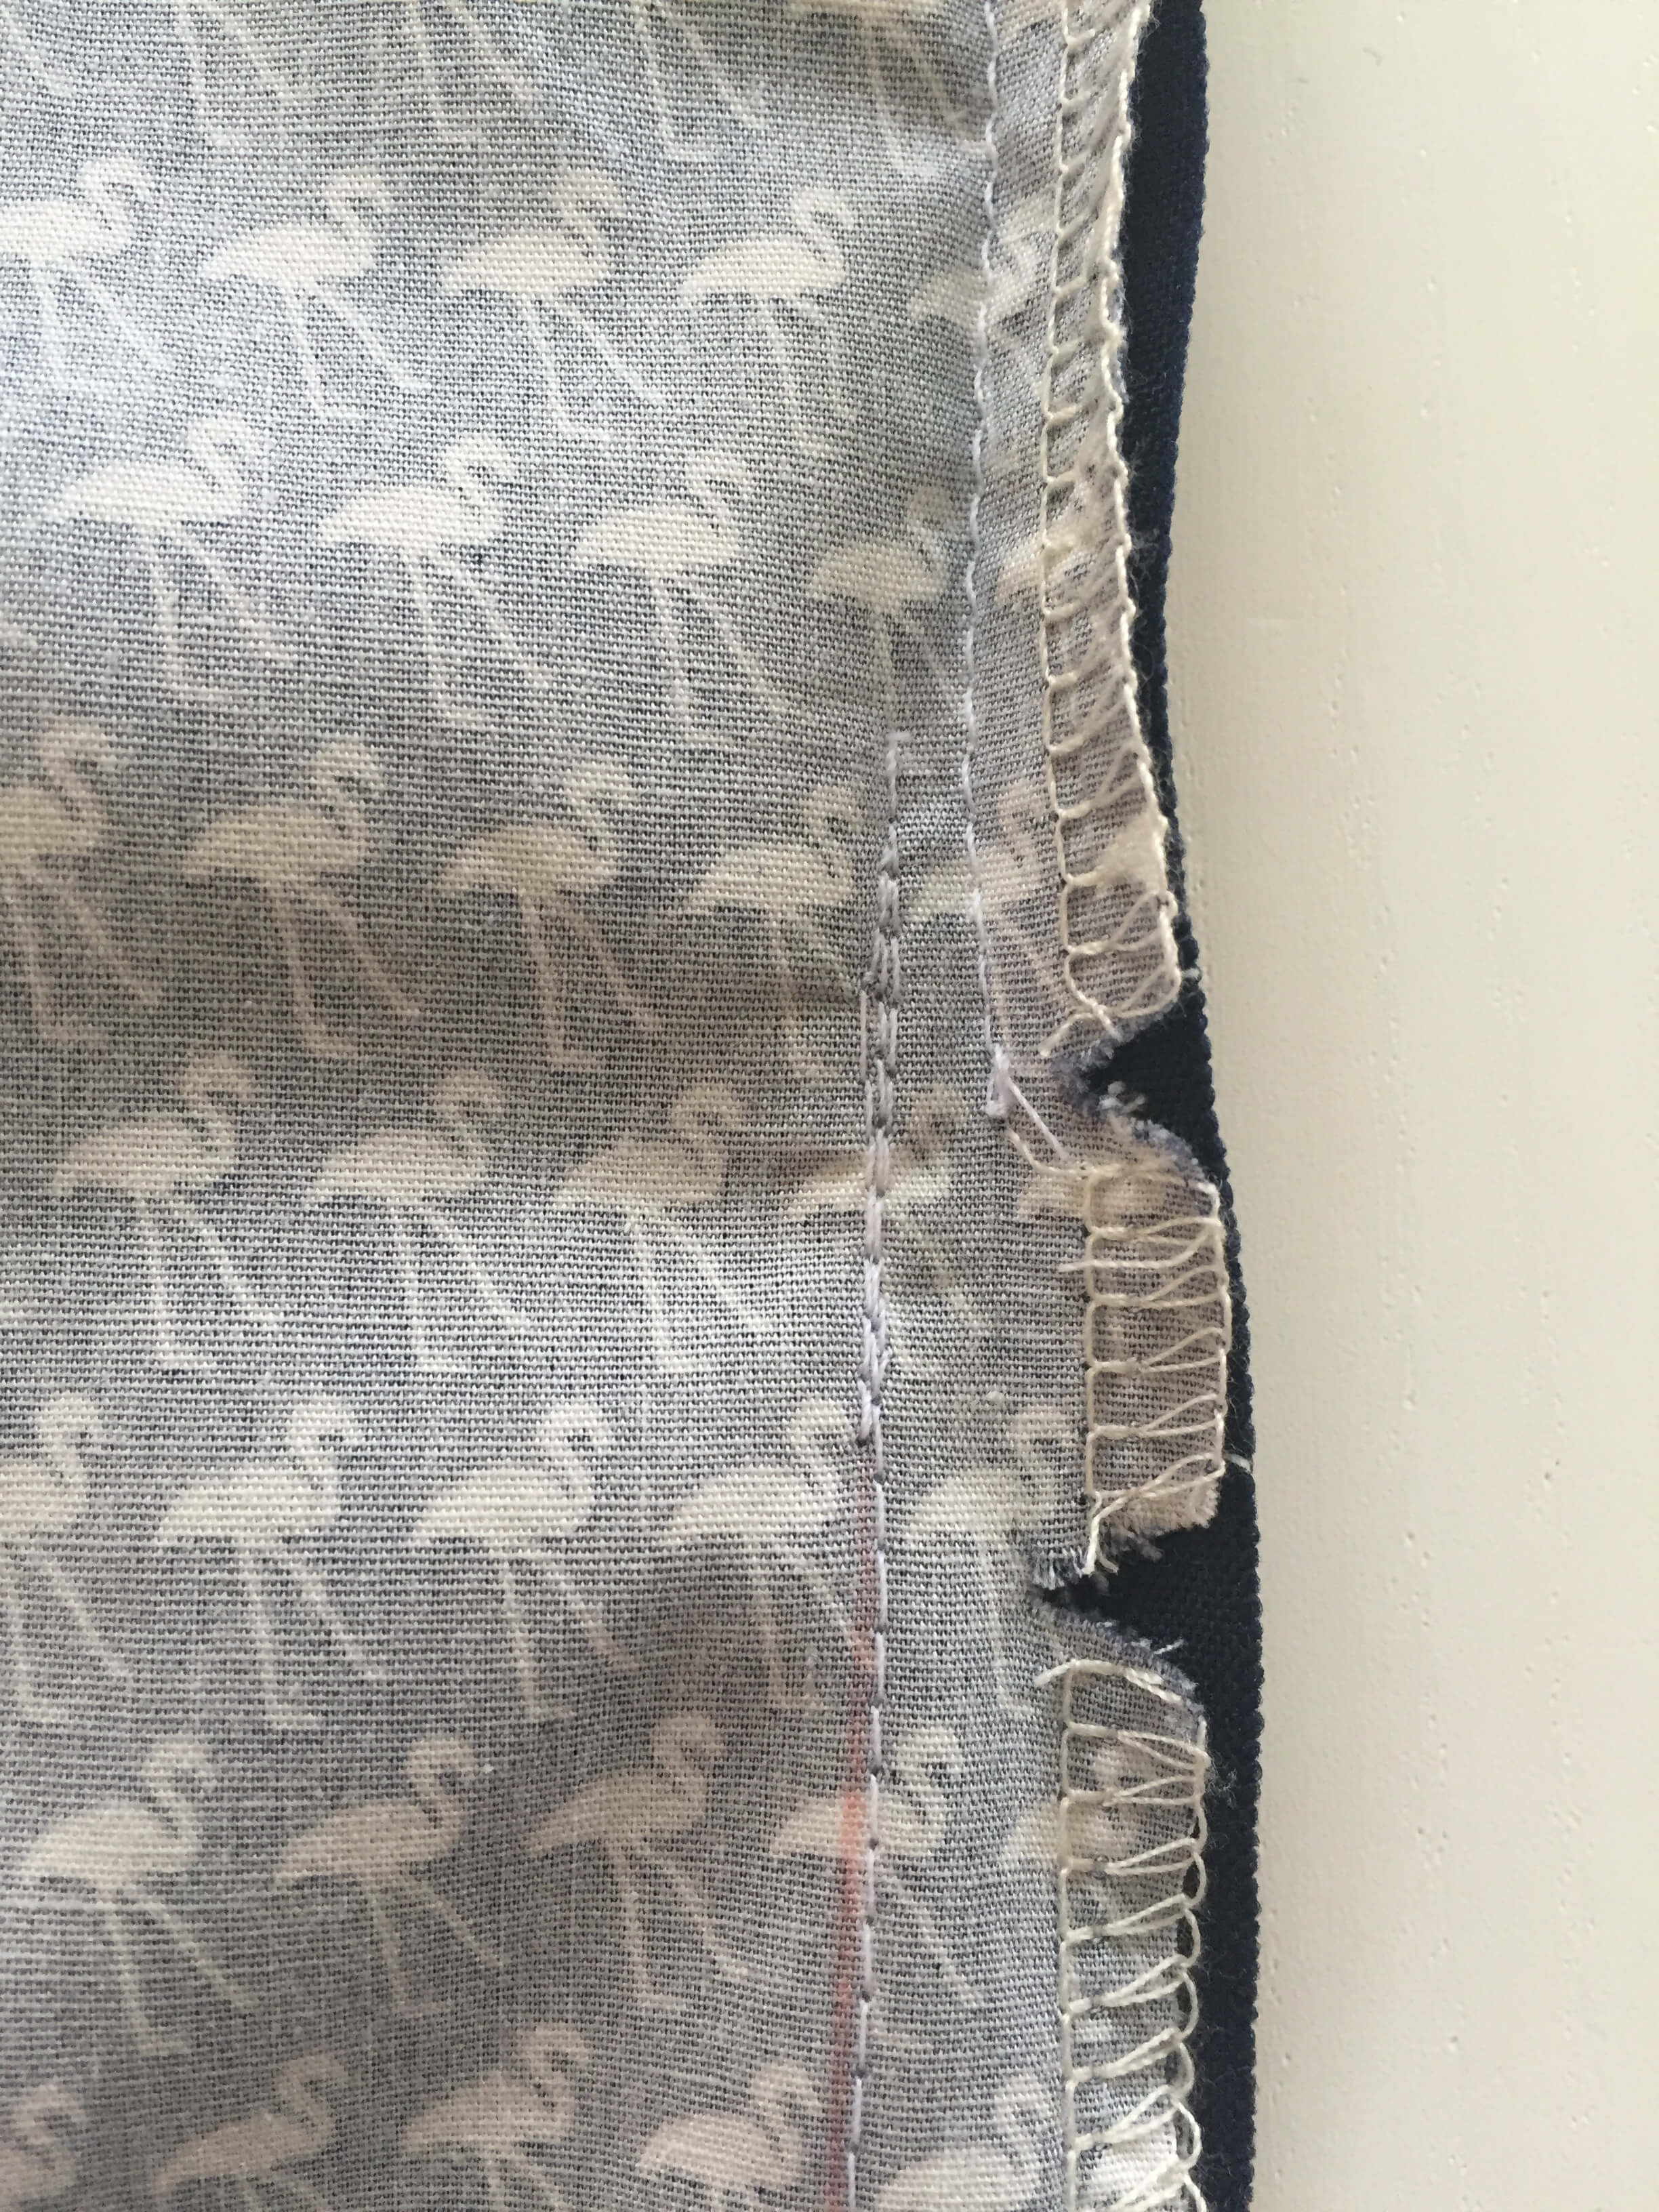
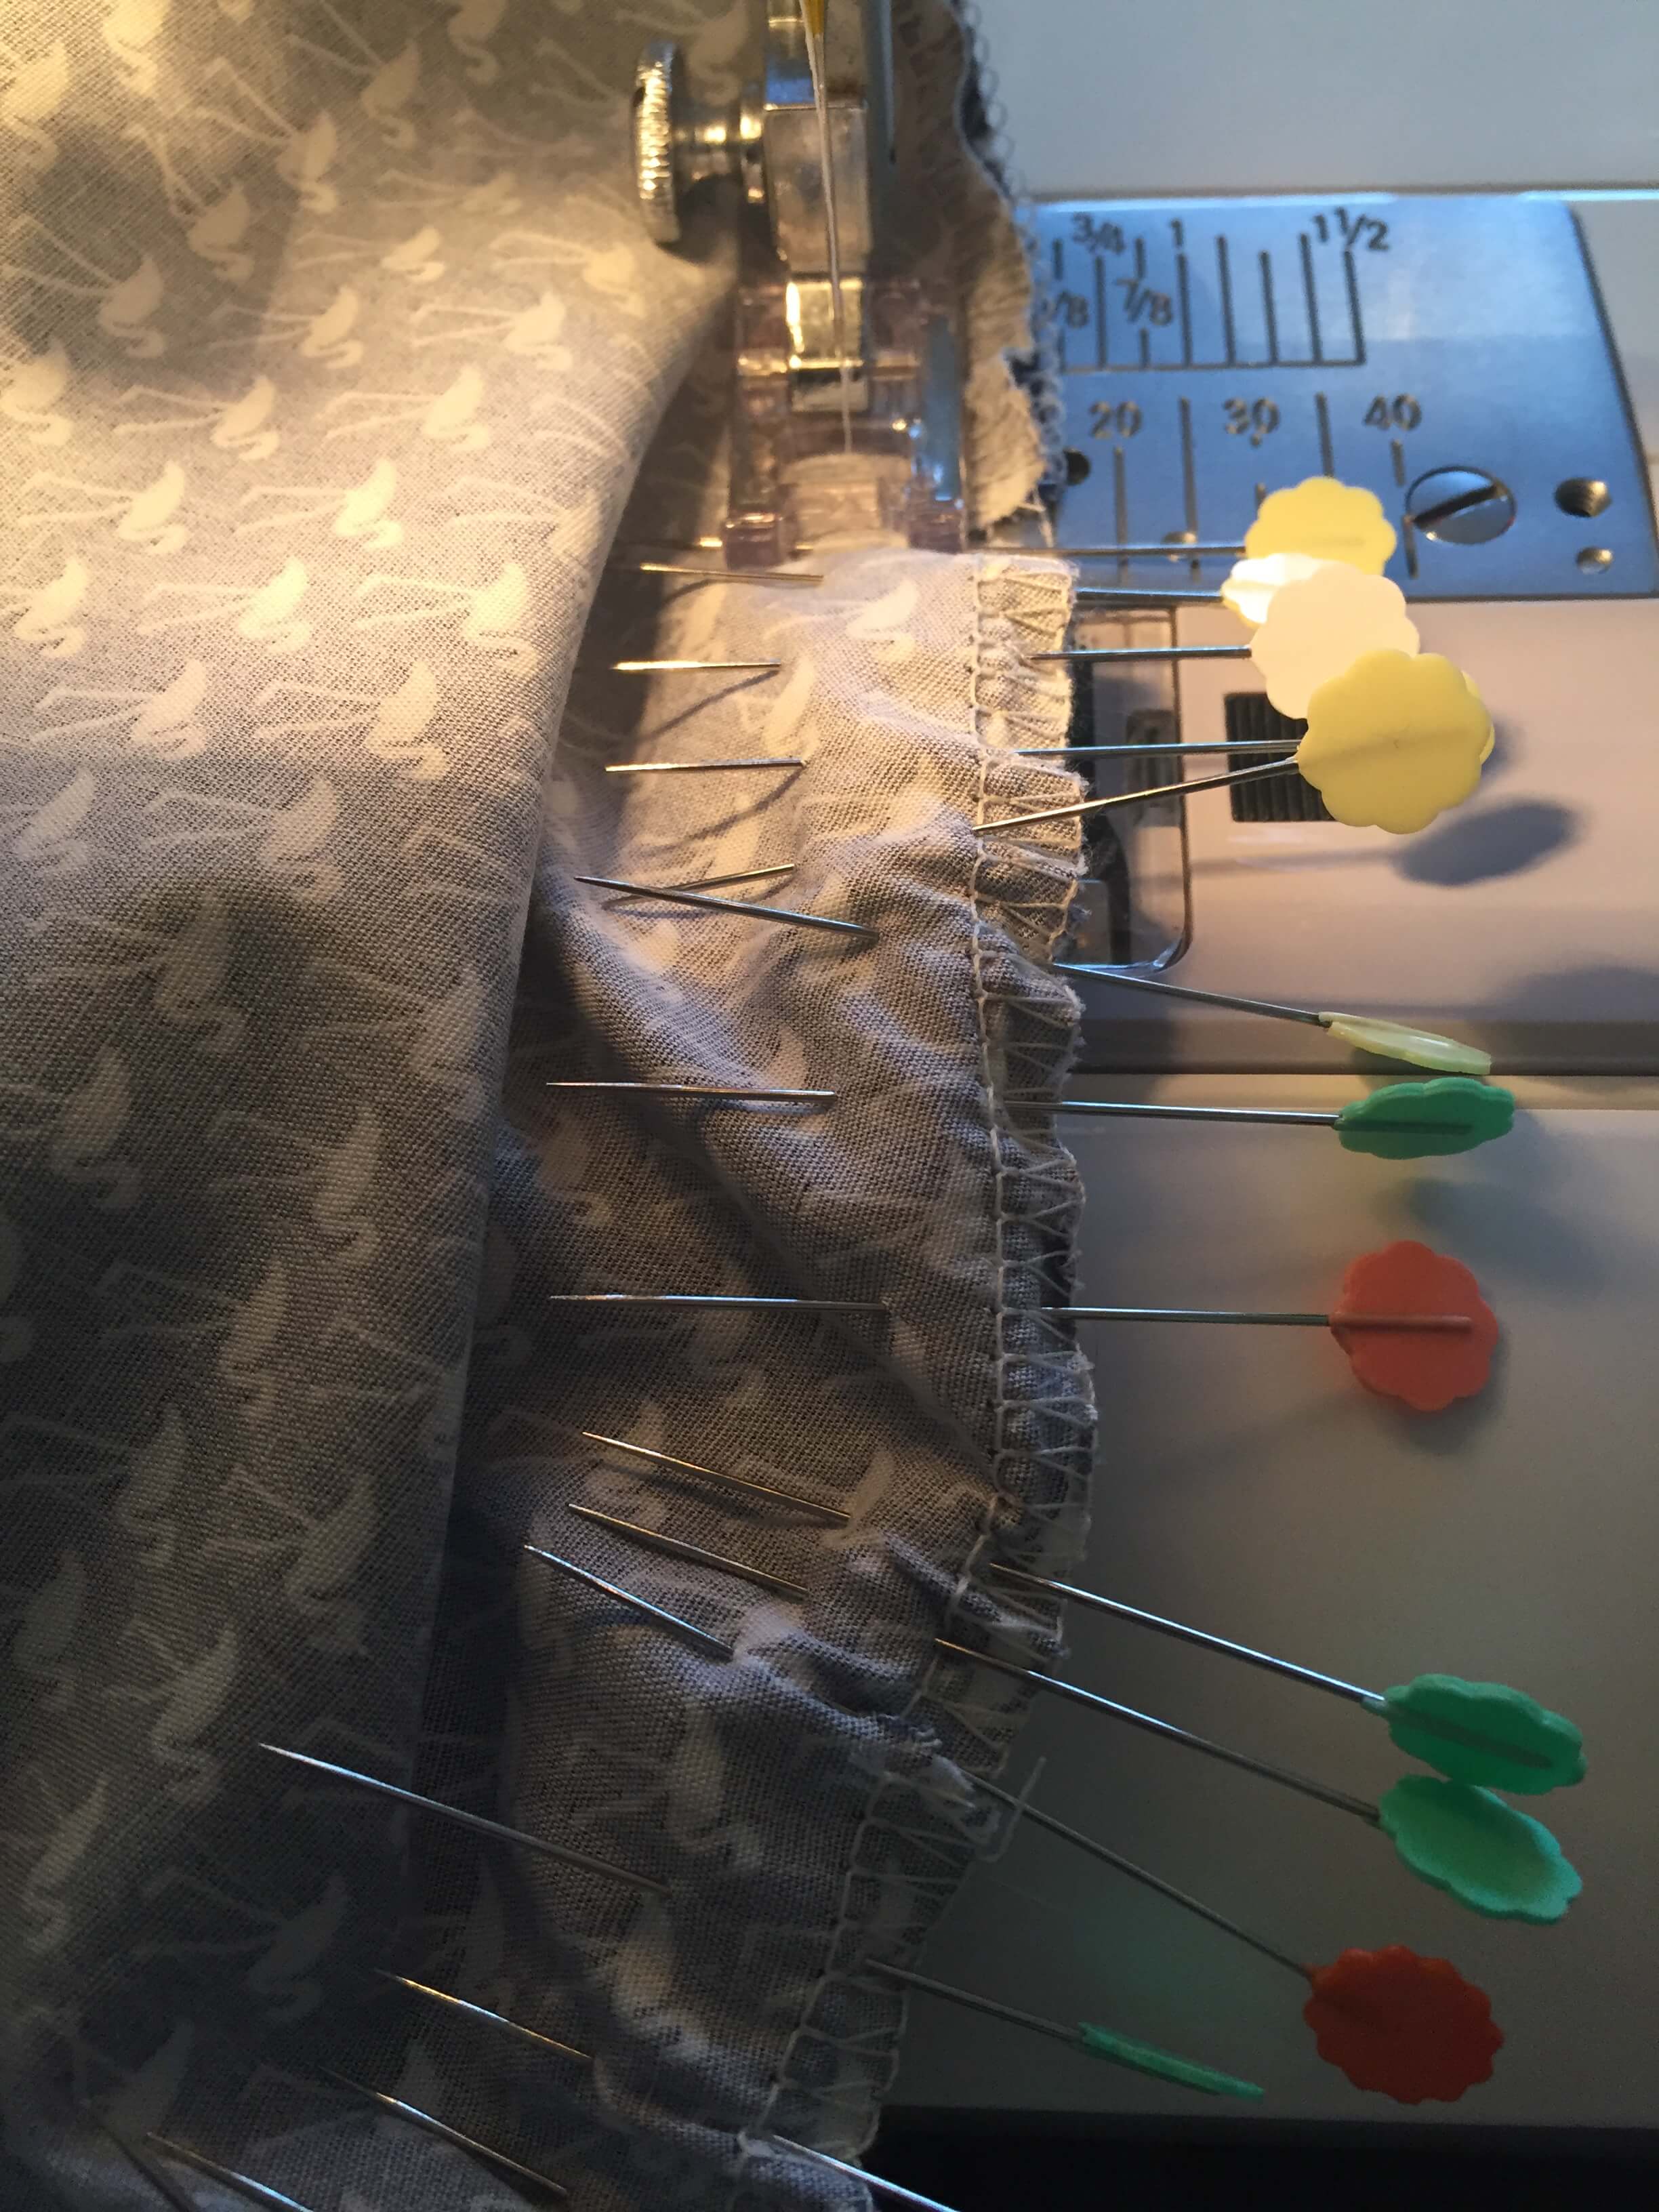
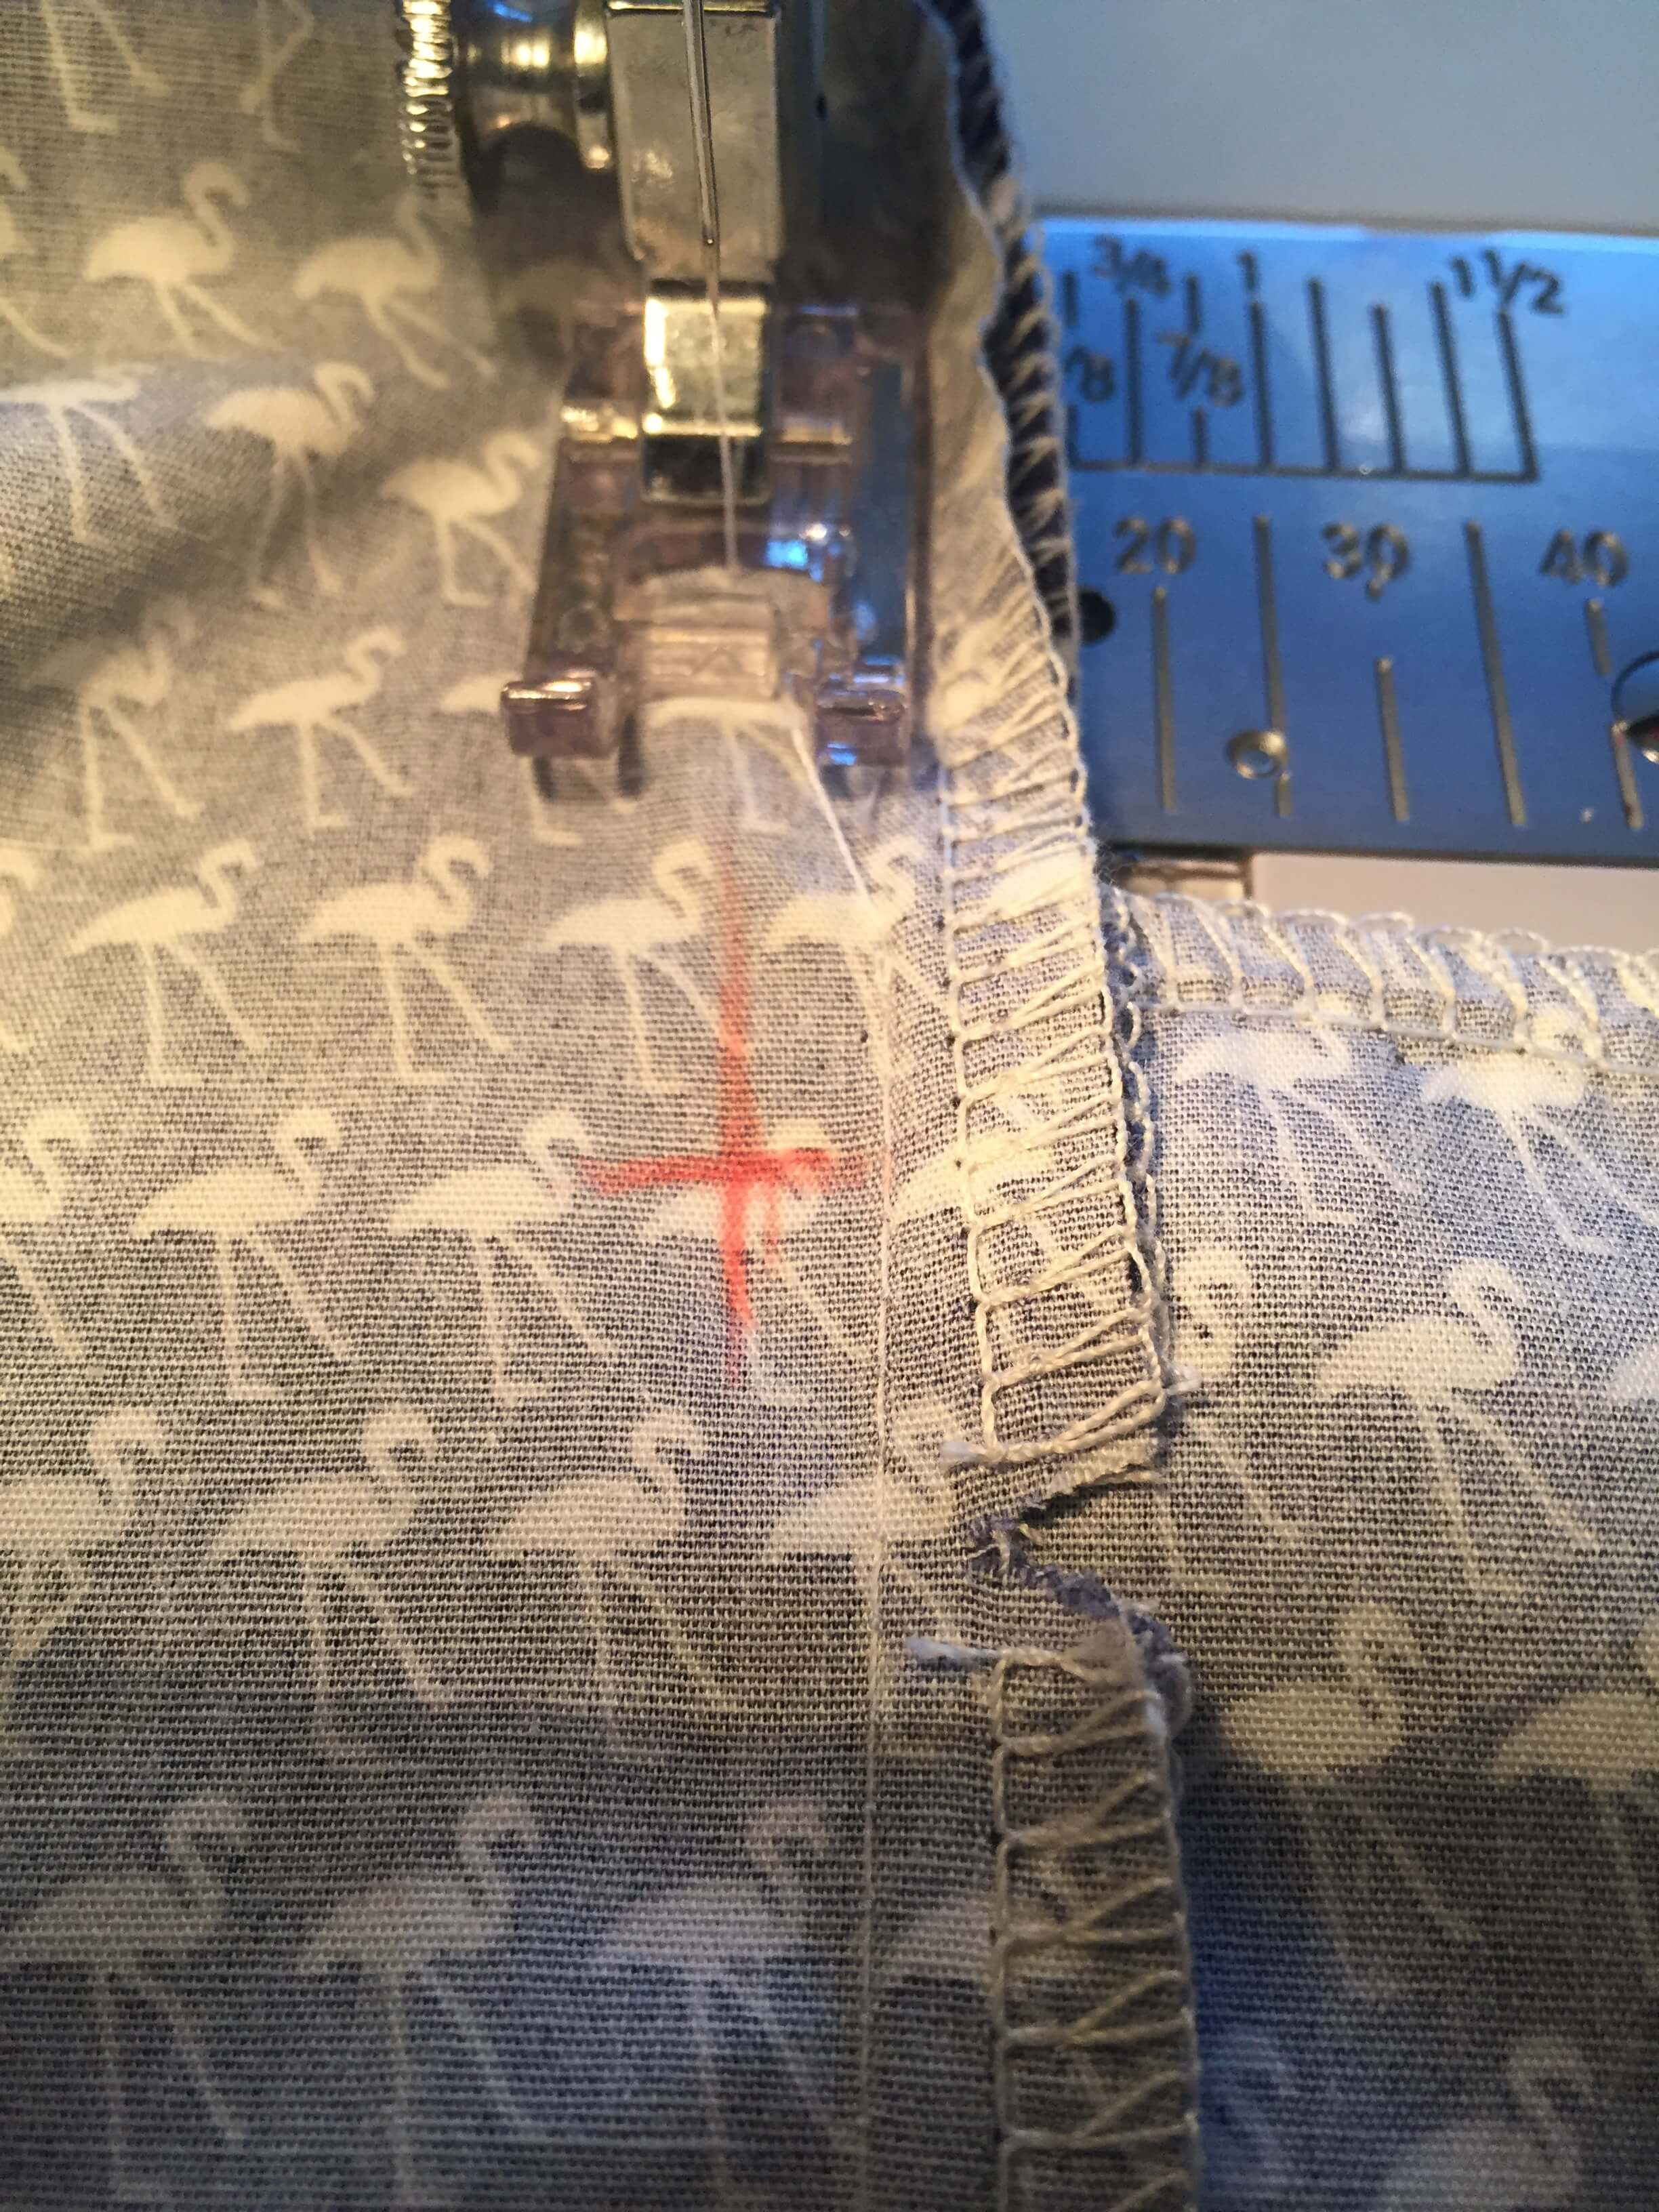
10. Stitch in place focussing on keeping an even seam allowance. Repeat on the other back piece and iron open your seam allowances.
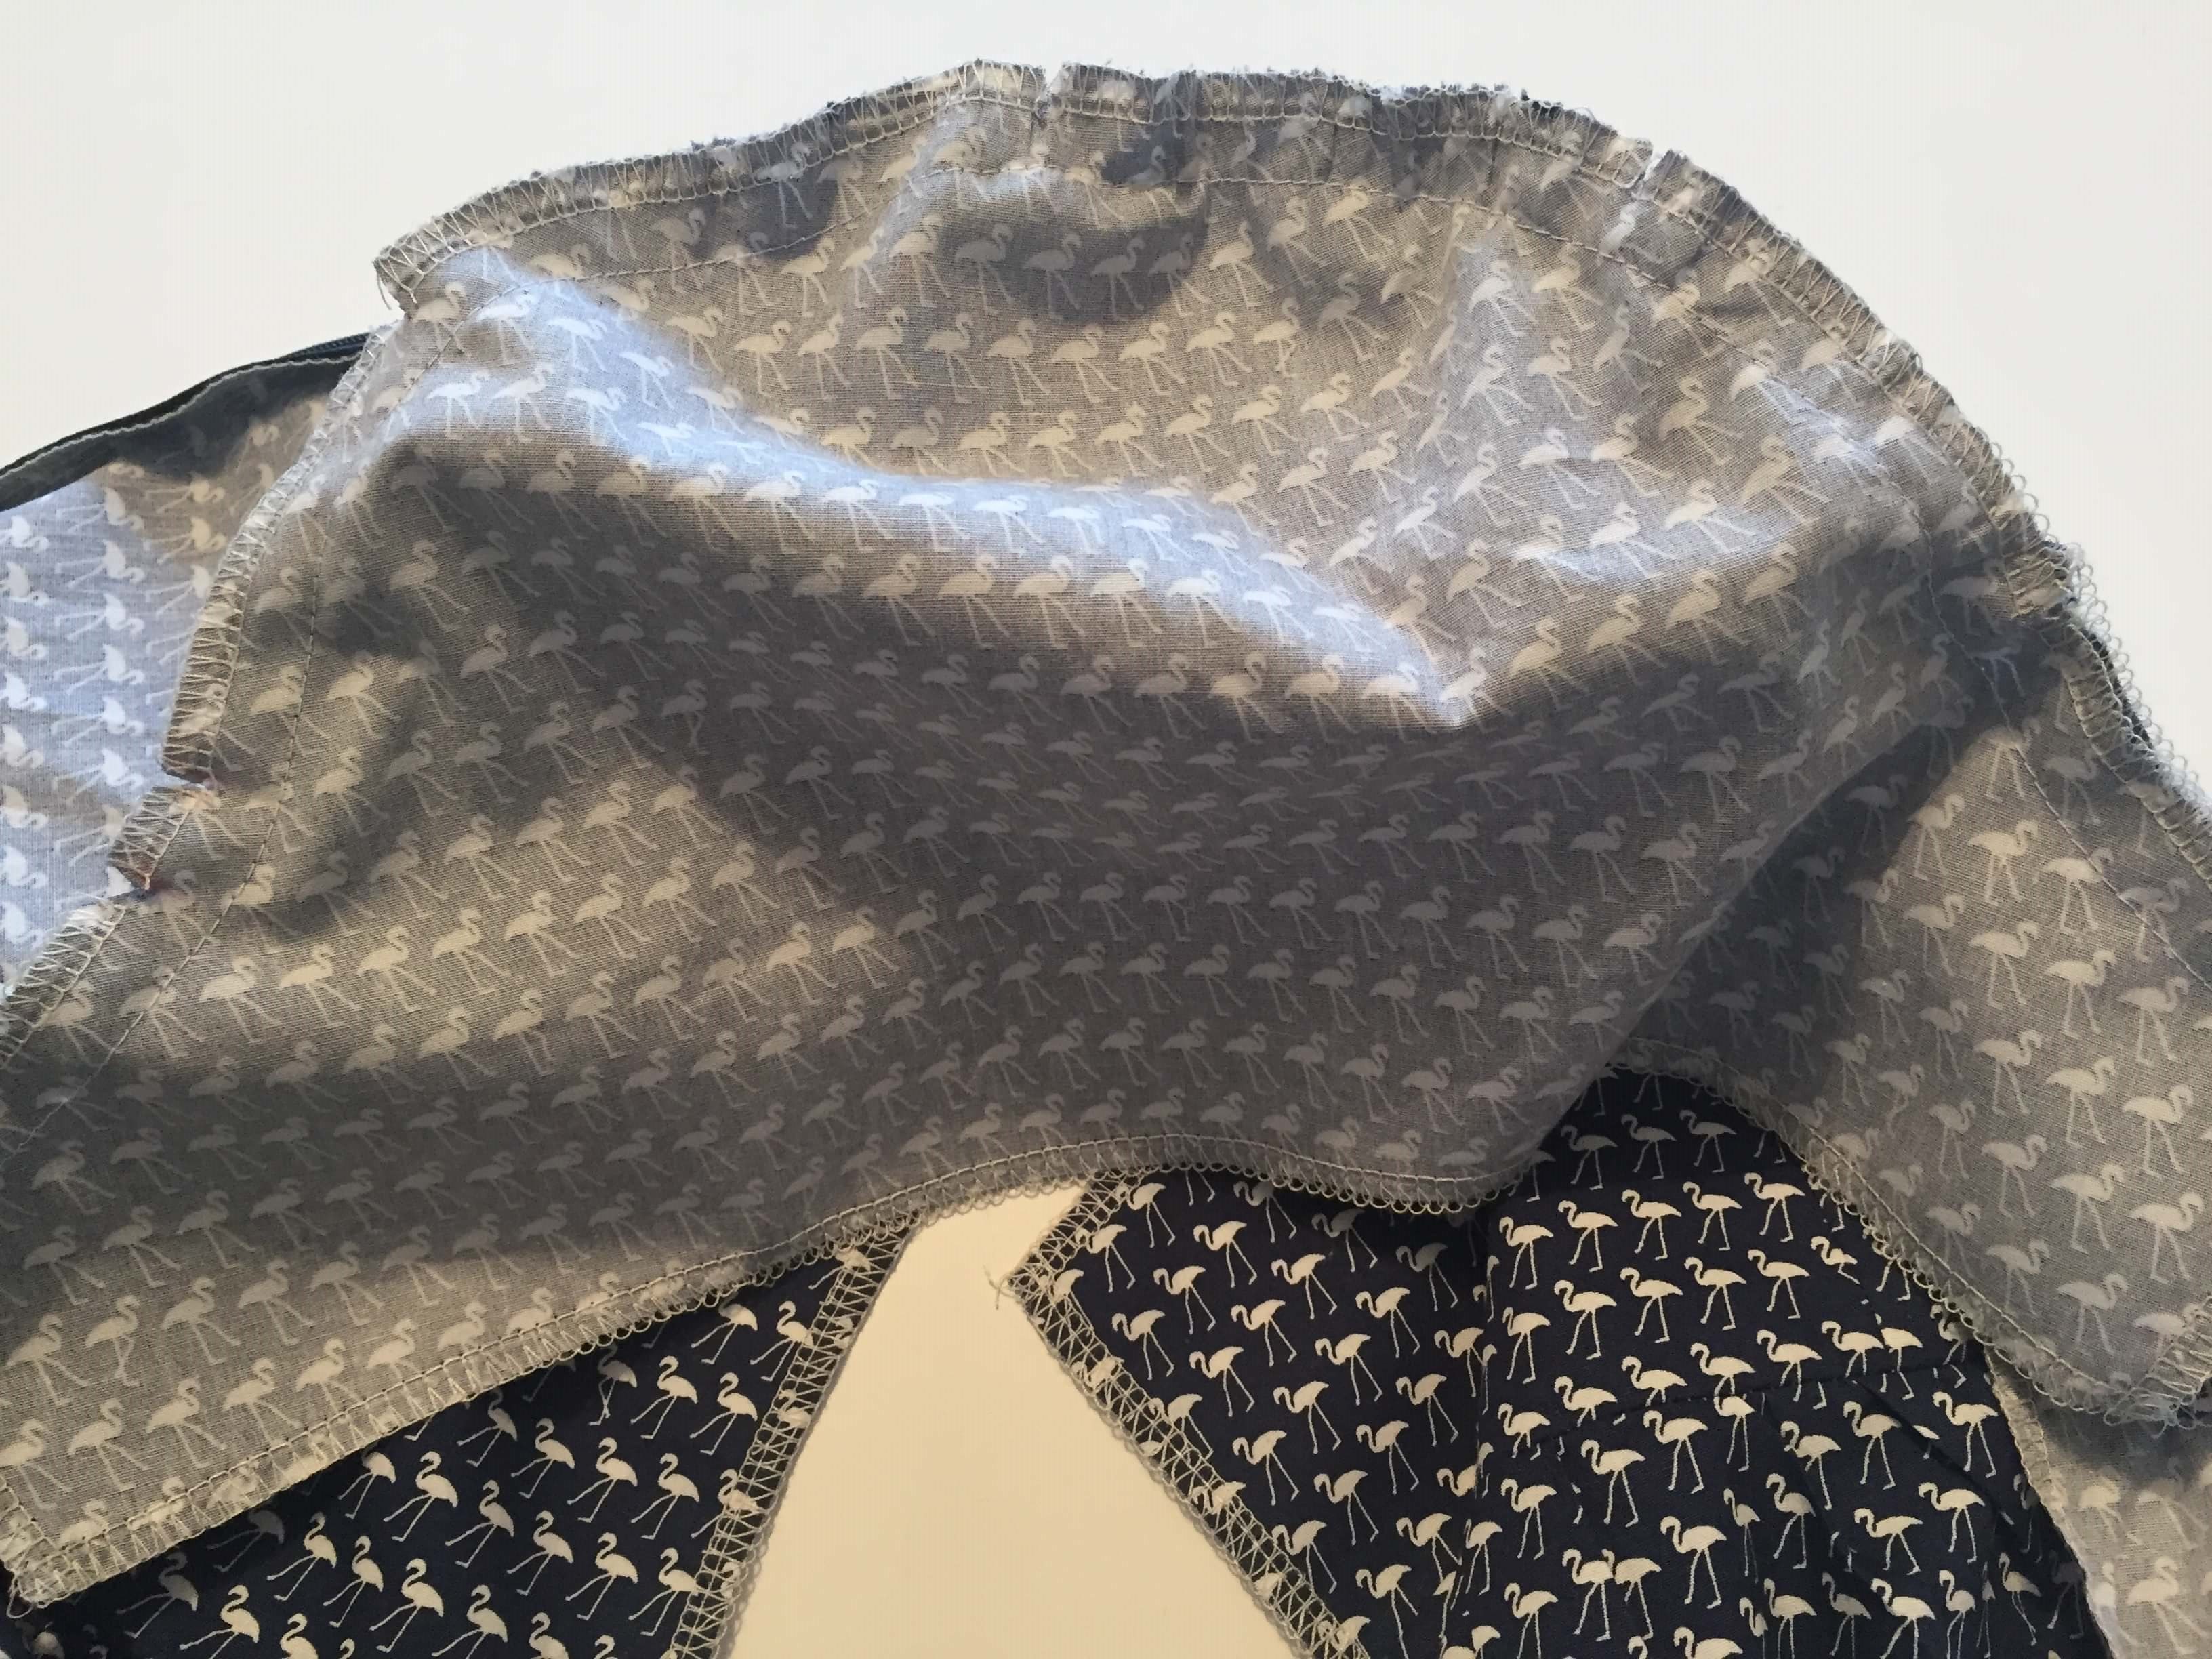
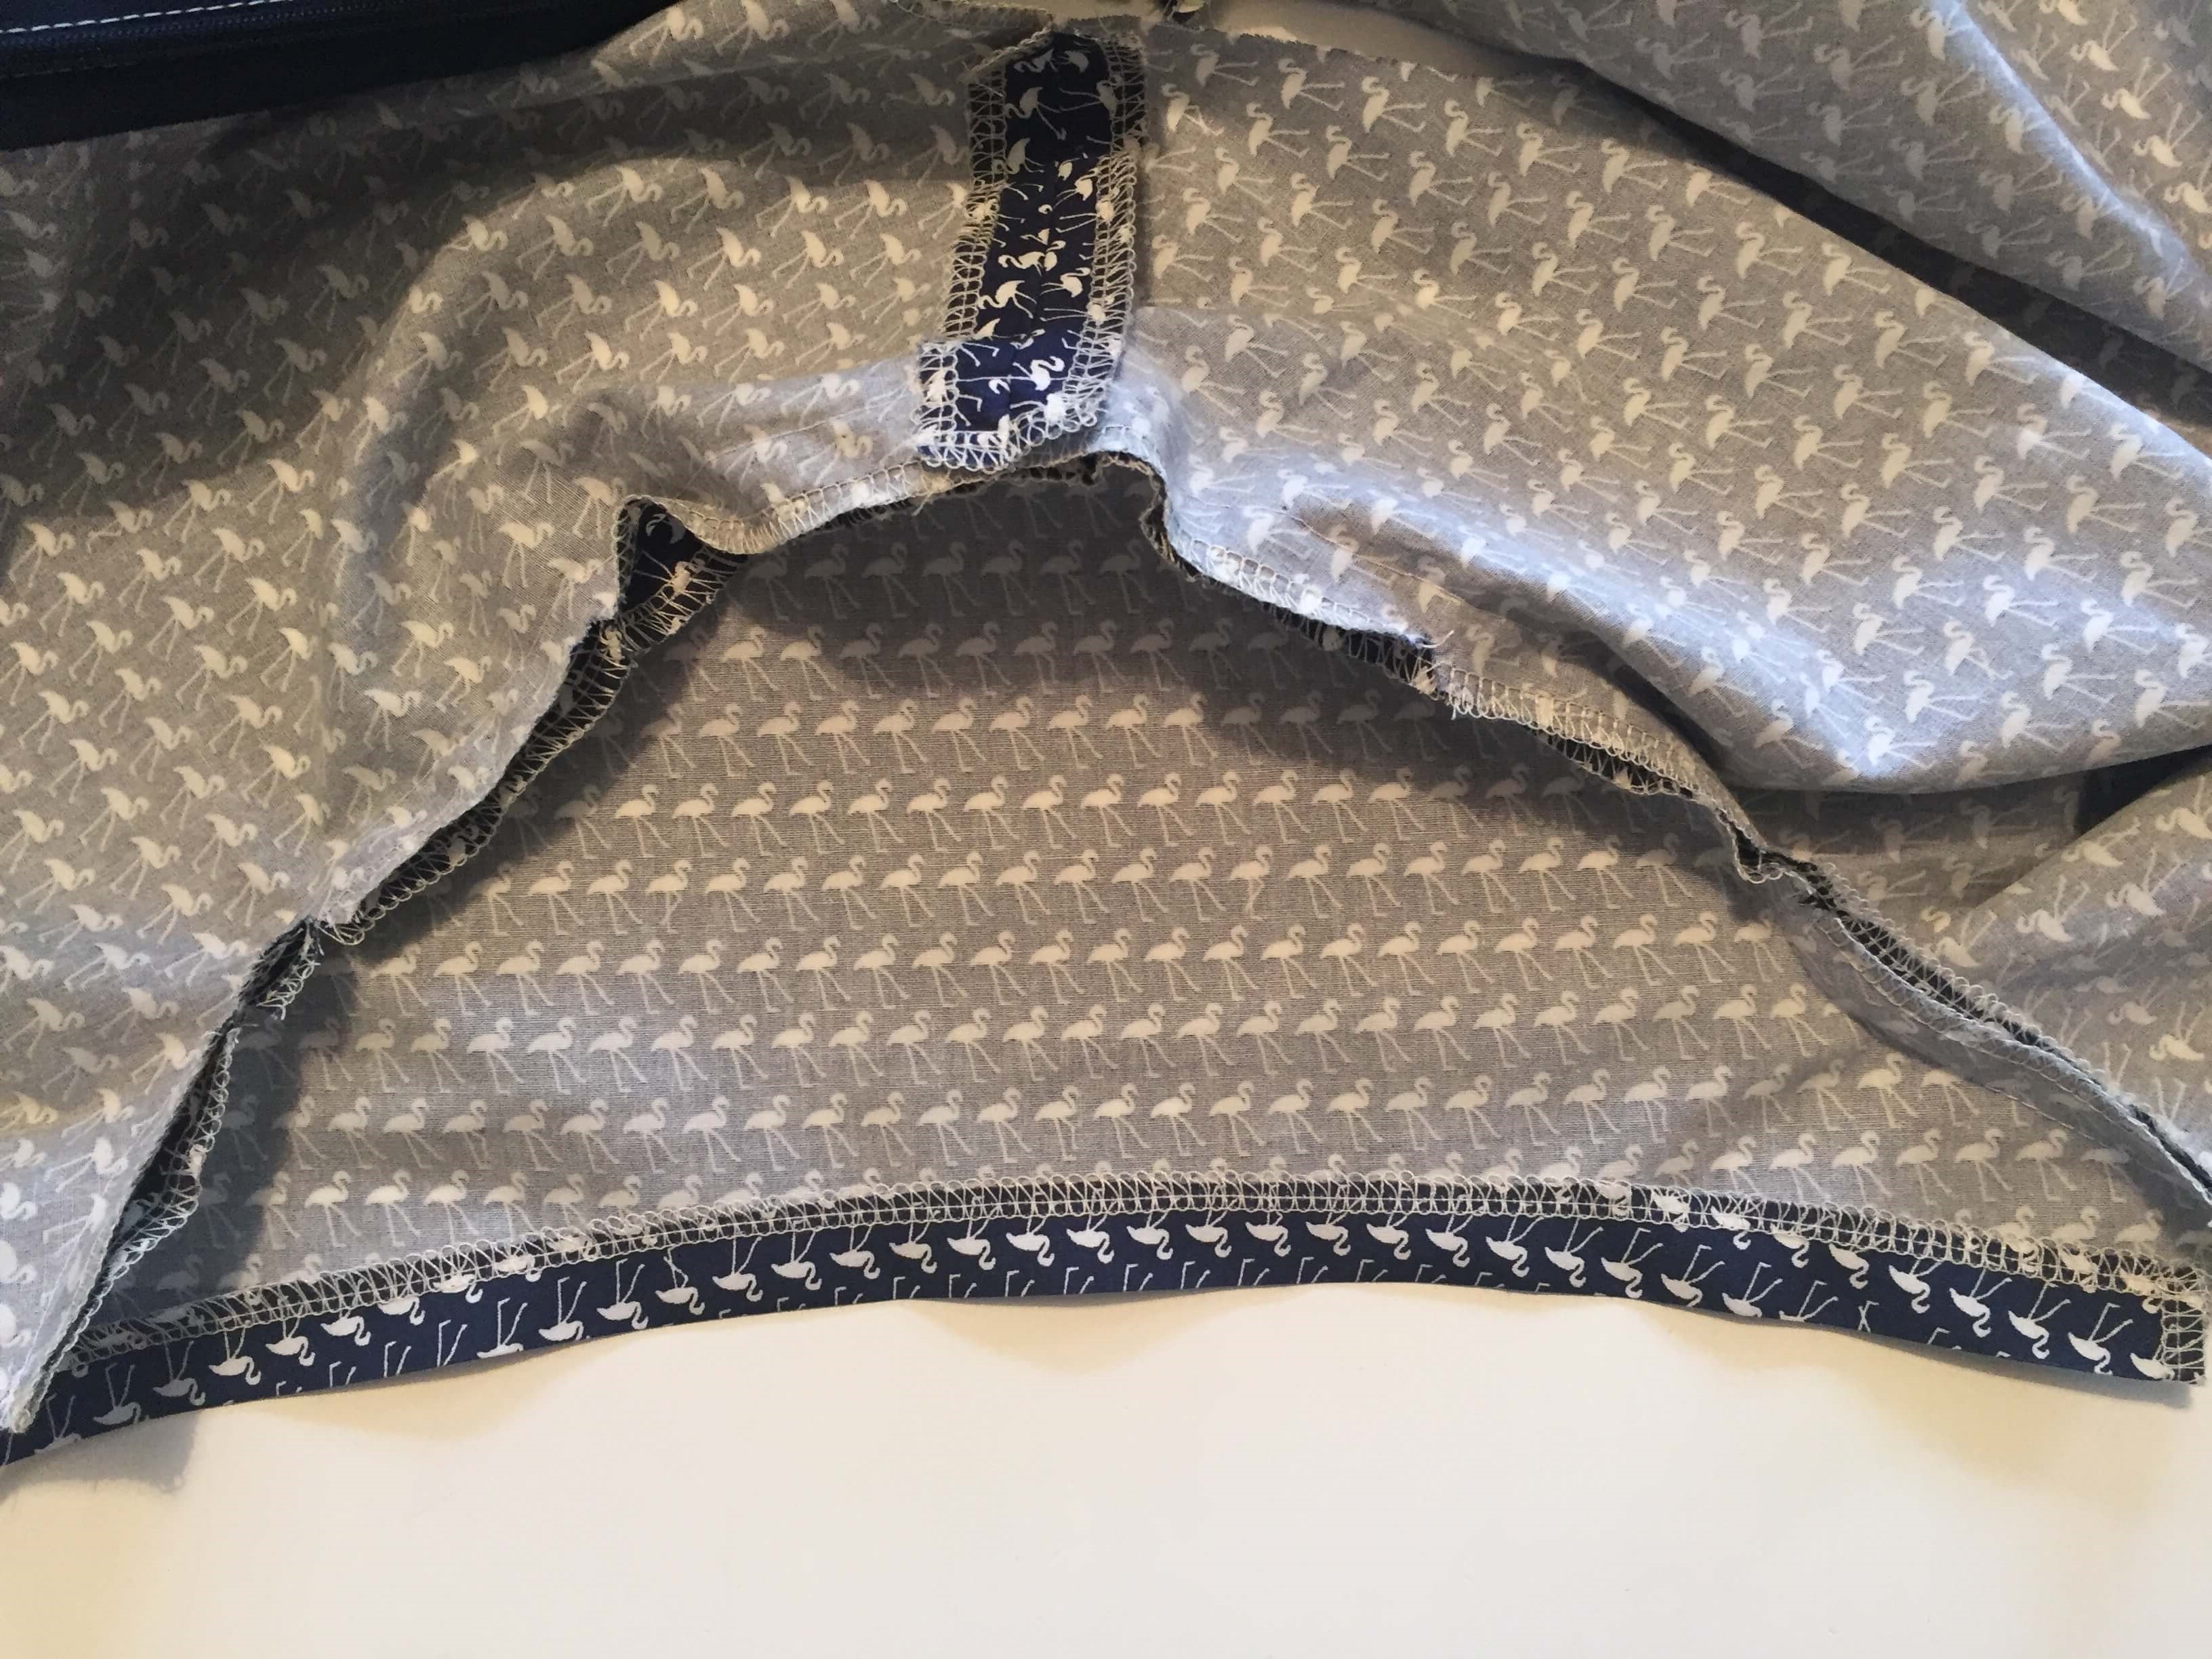
11. Check that both pieces are exactly the same when side by side.
Tip. The success of how the zip looks depends on whether the two back pieces are stitched accurately. Fix it now if the bodice is higher on the one side – it simply means that your seam allowances have gone off 1.5cm on one of the sides.
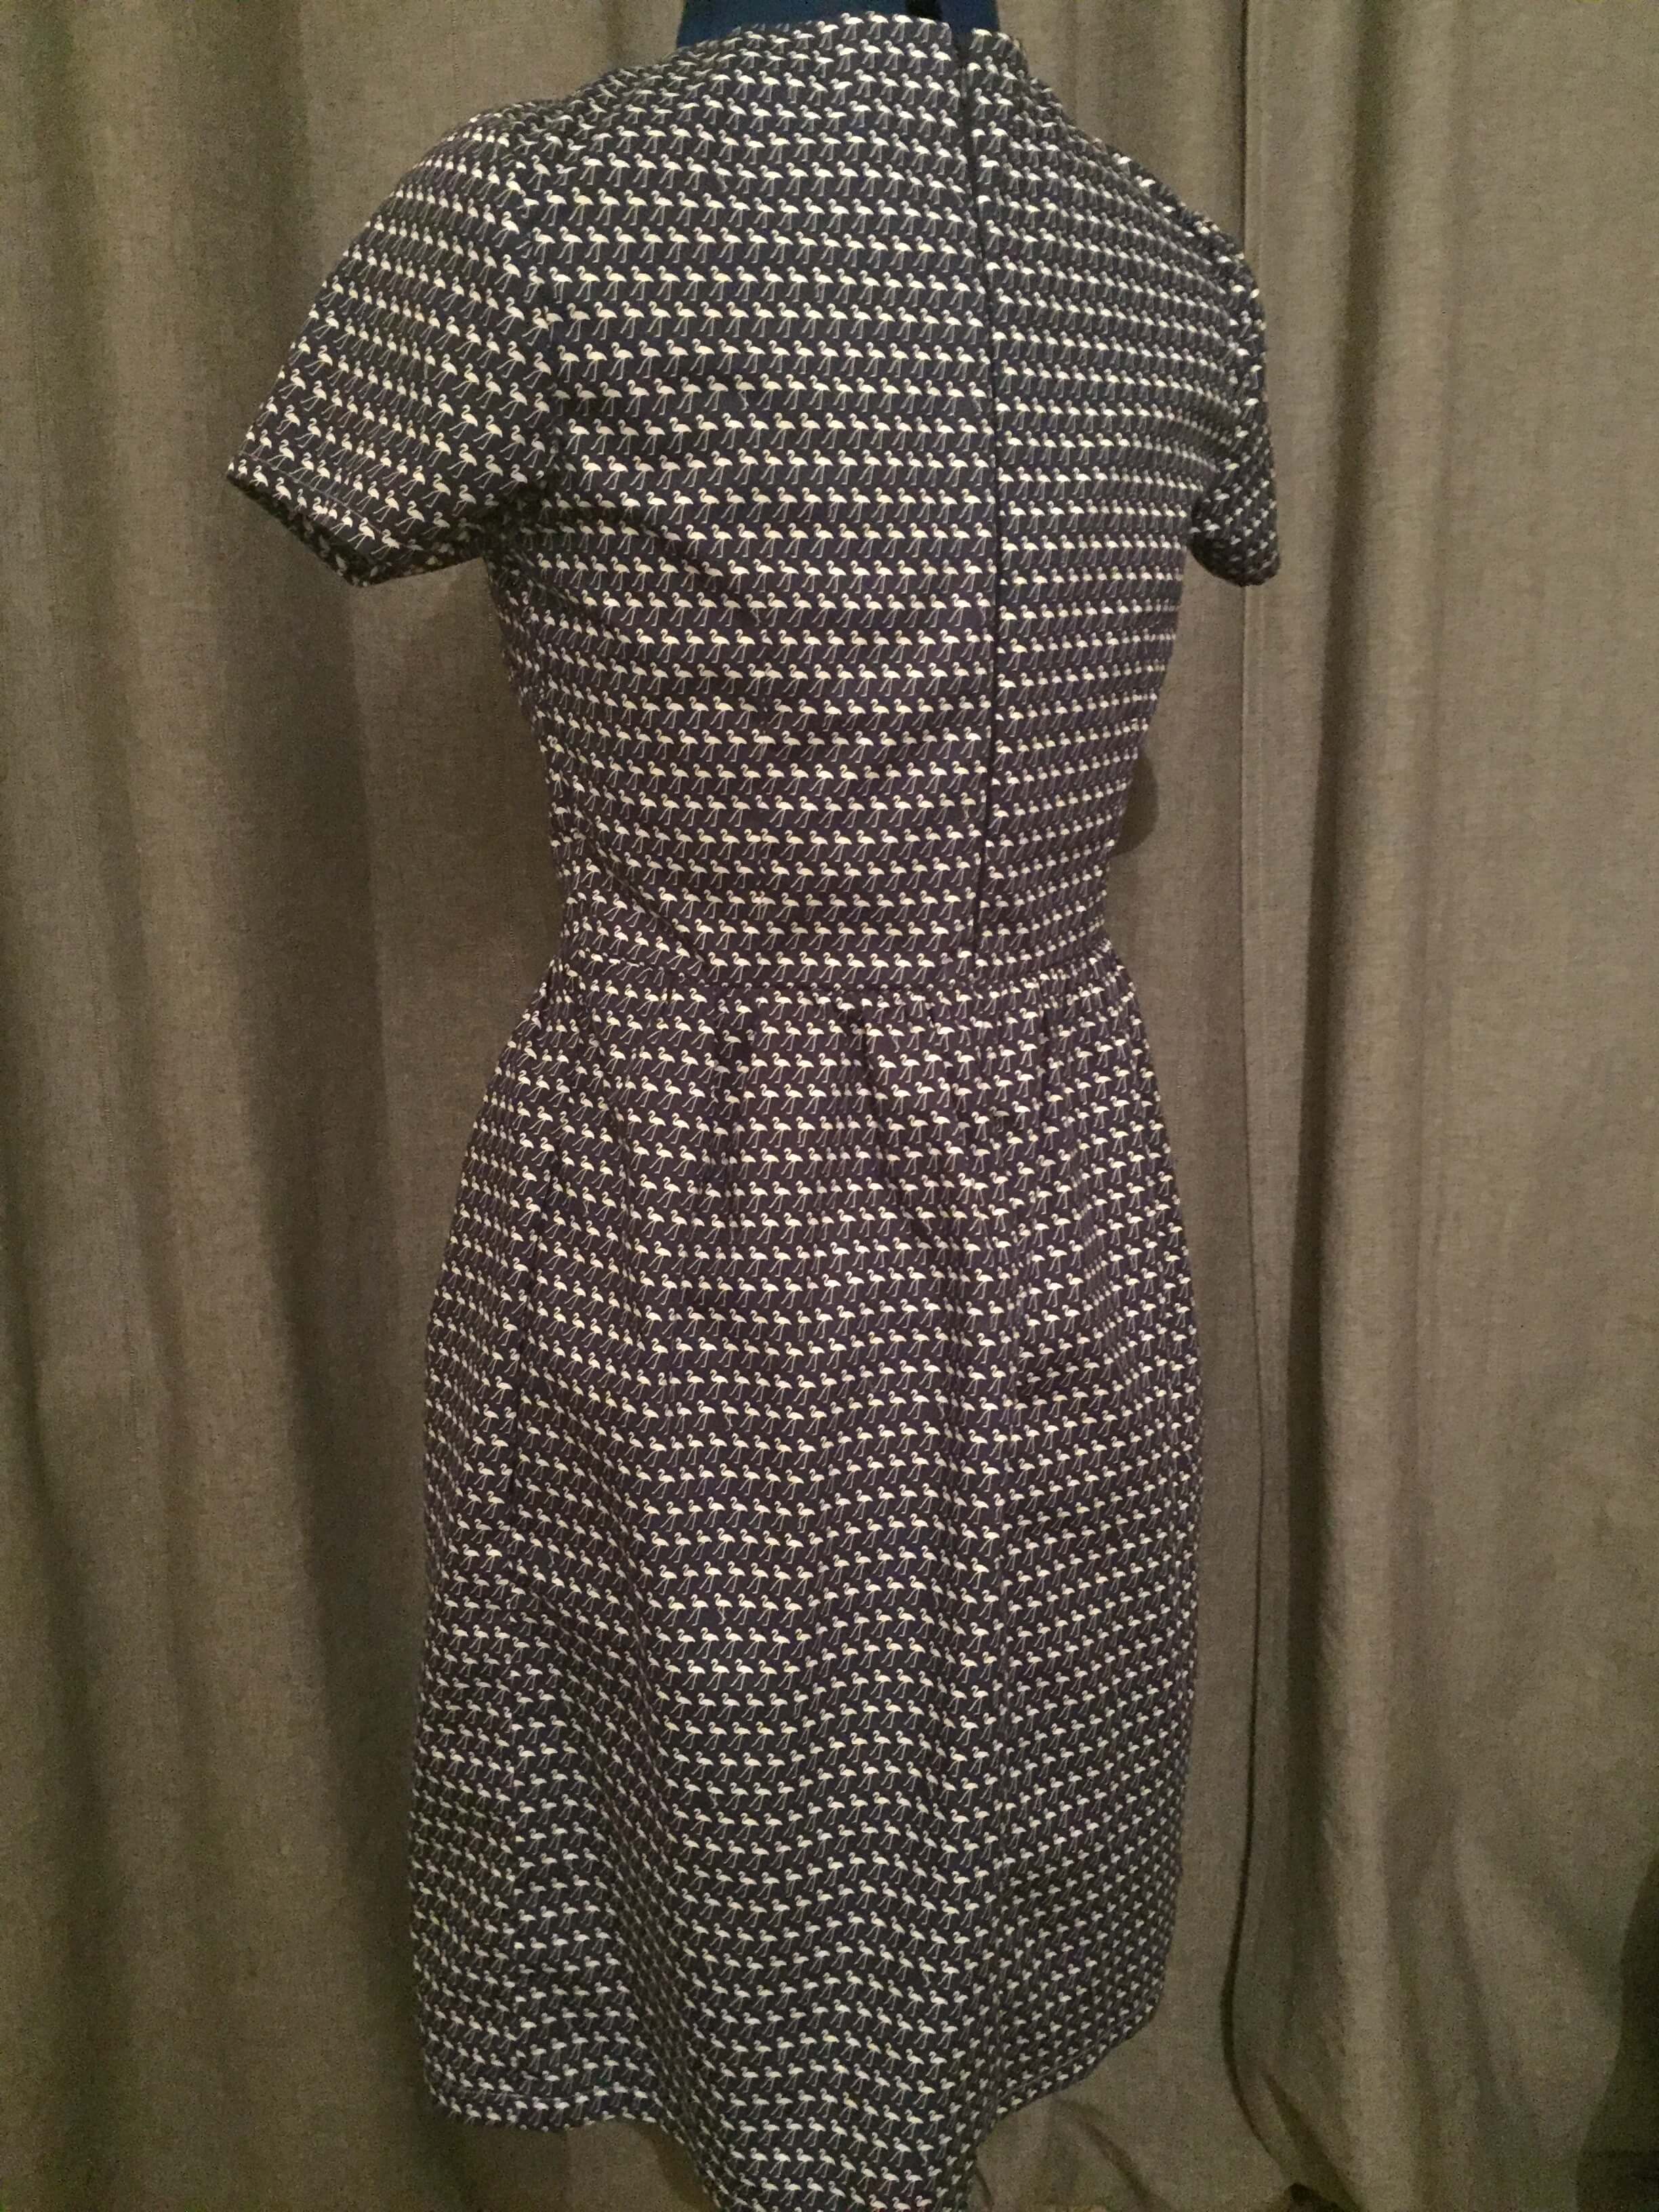
DRESS BACK – INVISIBLE ZIP
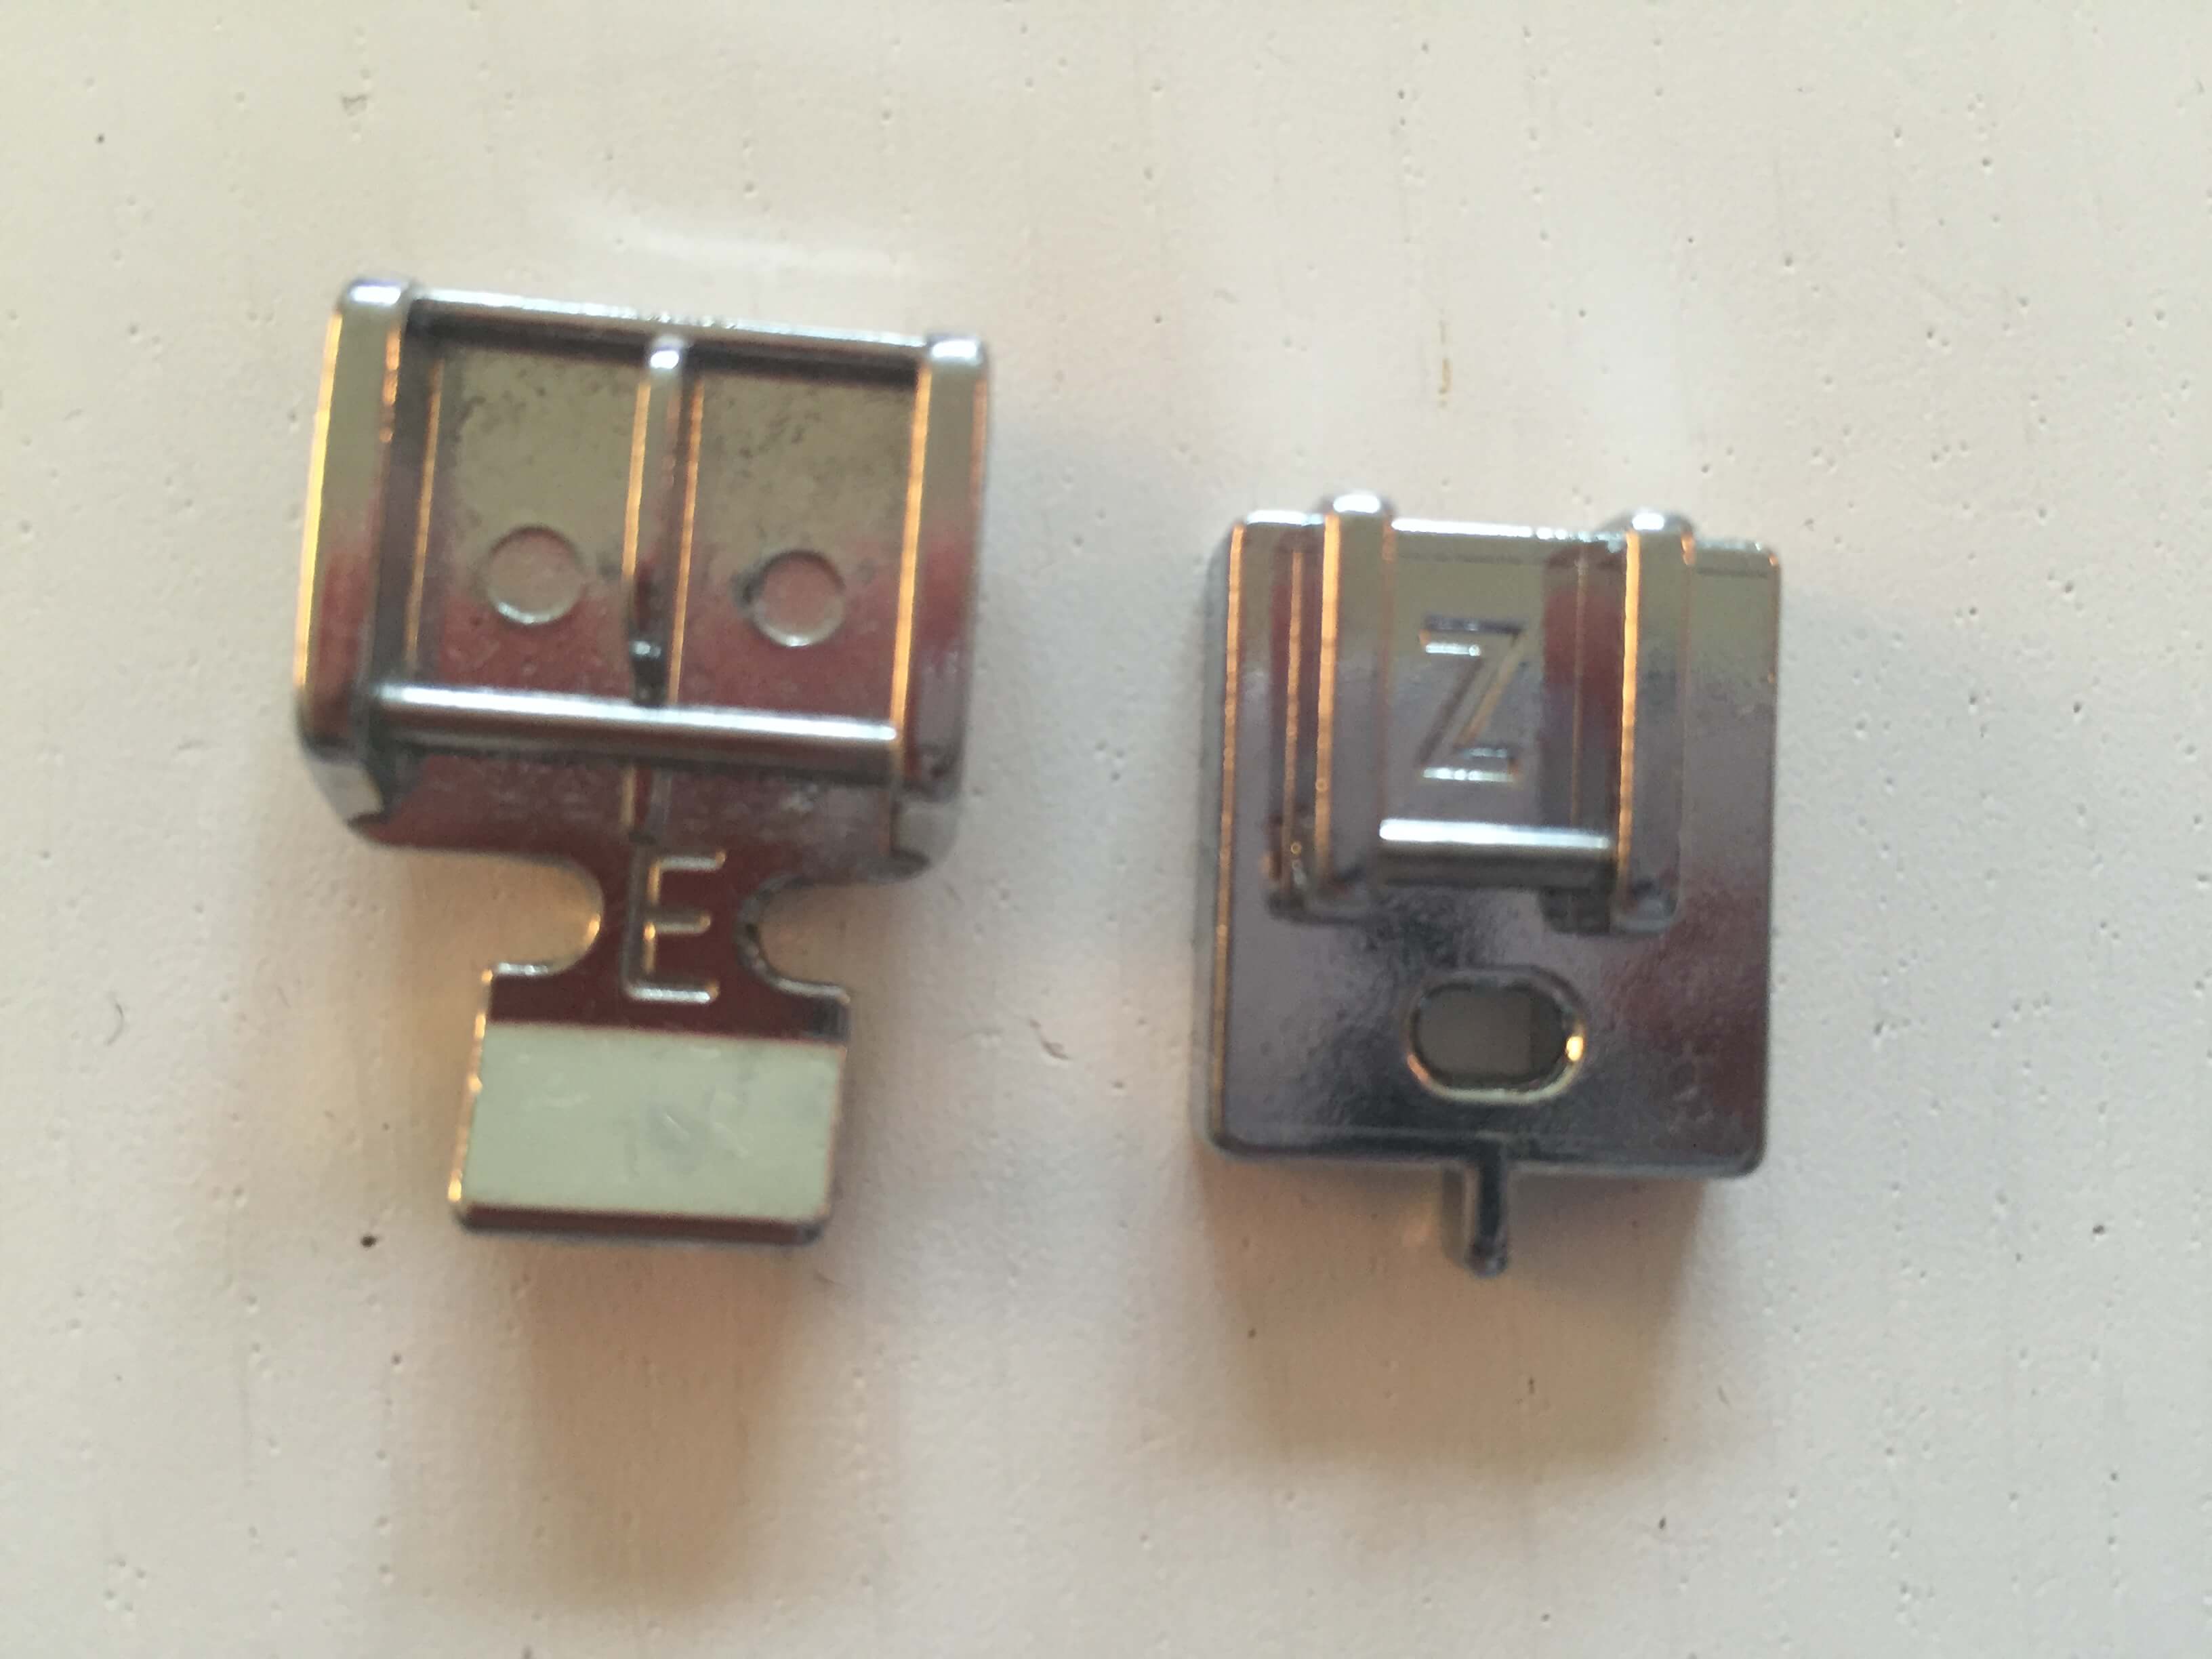
* This tutorial is showing you how to attach an invisible zip using your zipper foot that comes with most machines. You can buy specific invisible zip foots that are great but the application is slightly different. We will add a tutorial on that soon!
Foot on the left is a standard zipper foot, foot on the right is an invisible zipper foot.
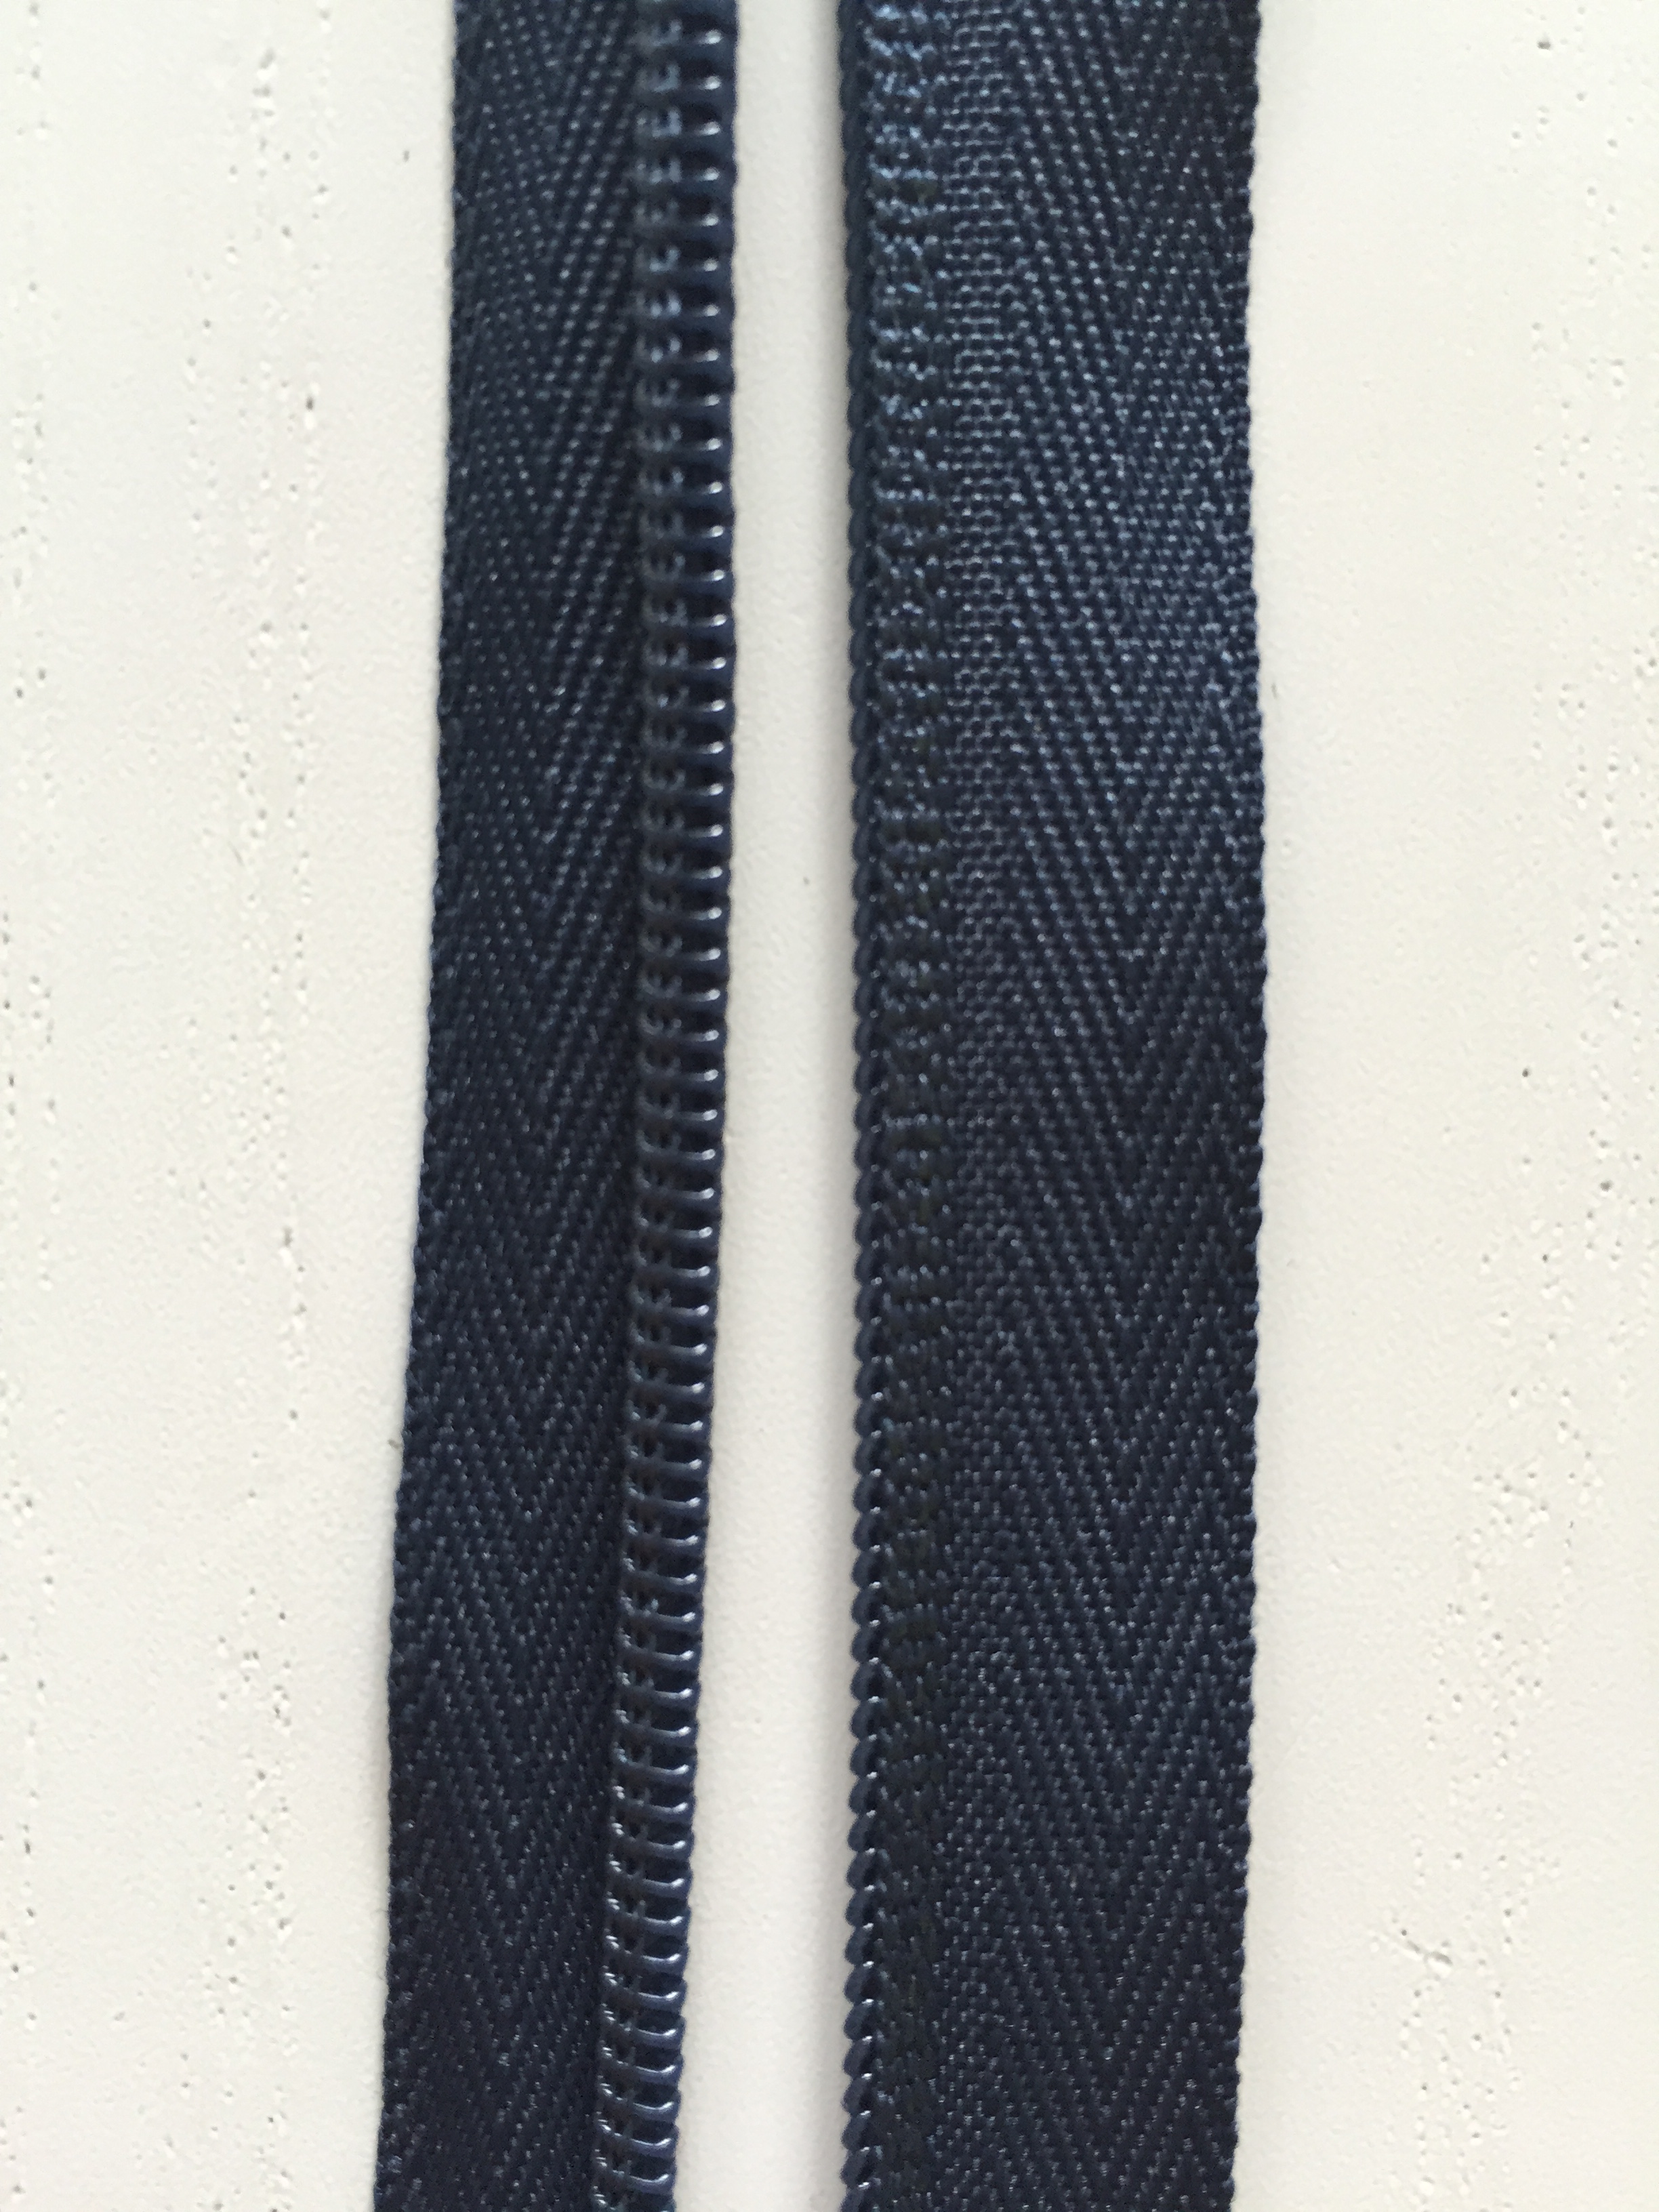
An invisible zip is completely different from a standard zip – the way it looks is different and the way you insert it into the garment is different.
You always work on the right side of the fabric when putting in an invisible zip.
The ‘teeth’ of the zip are on the inside of the zip whereas the ‘teeth’ of a regular zip are on the outside.
Invisible zip

Standard zip
Front of zip

Back of zip

12. Prepare the zipper. Unzip the zipper and you will notice that the zip “rolls” to the side. Take your iron and, on a warm but not hot setting, iron the zip so that
each rolled side lies very flat.
Left side is the zipper un-ironed, right side is the zipper ironed.
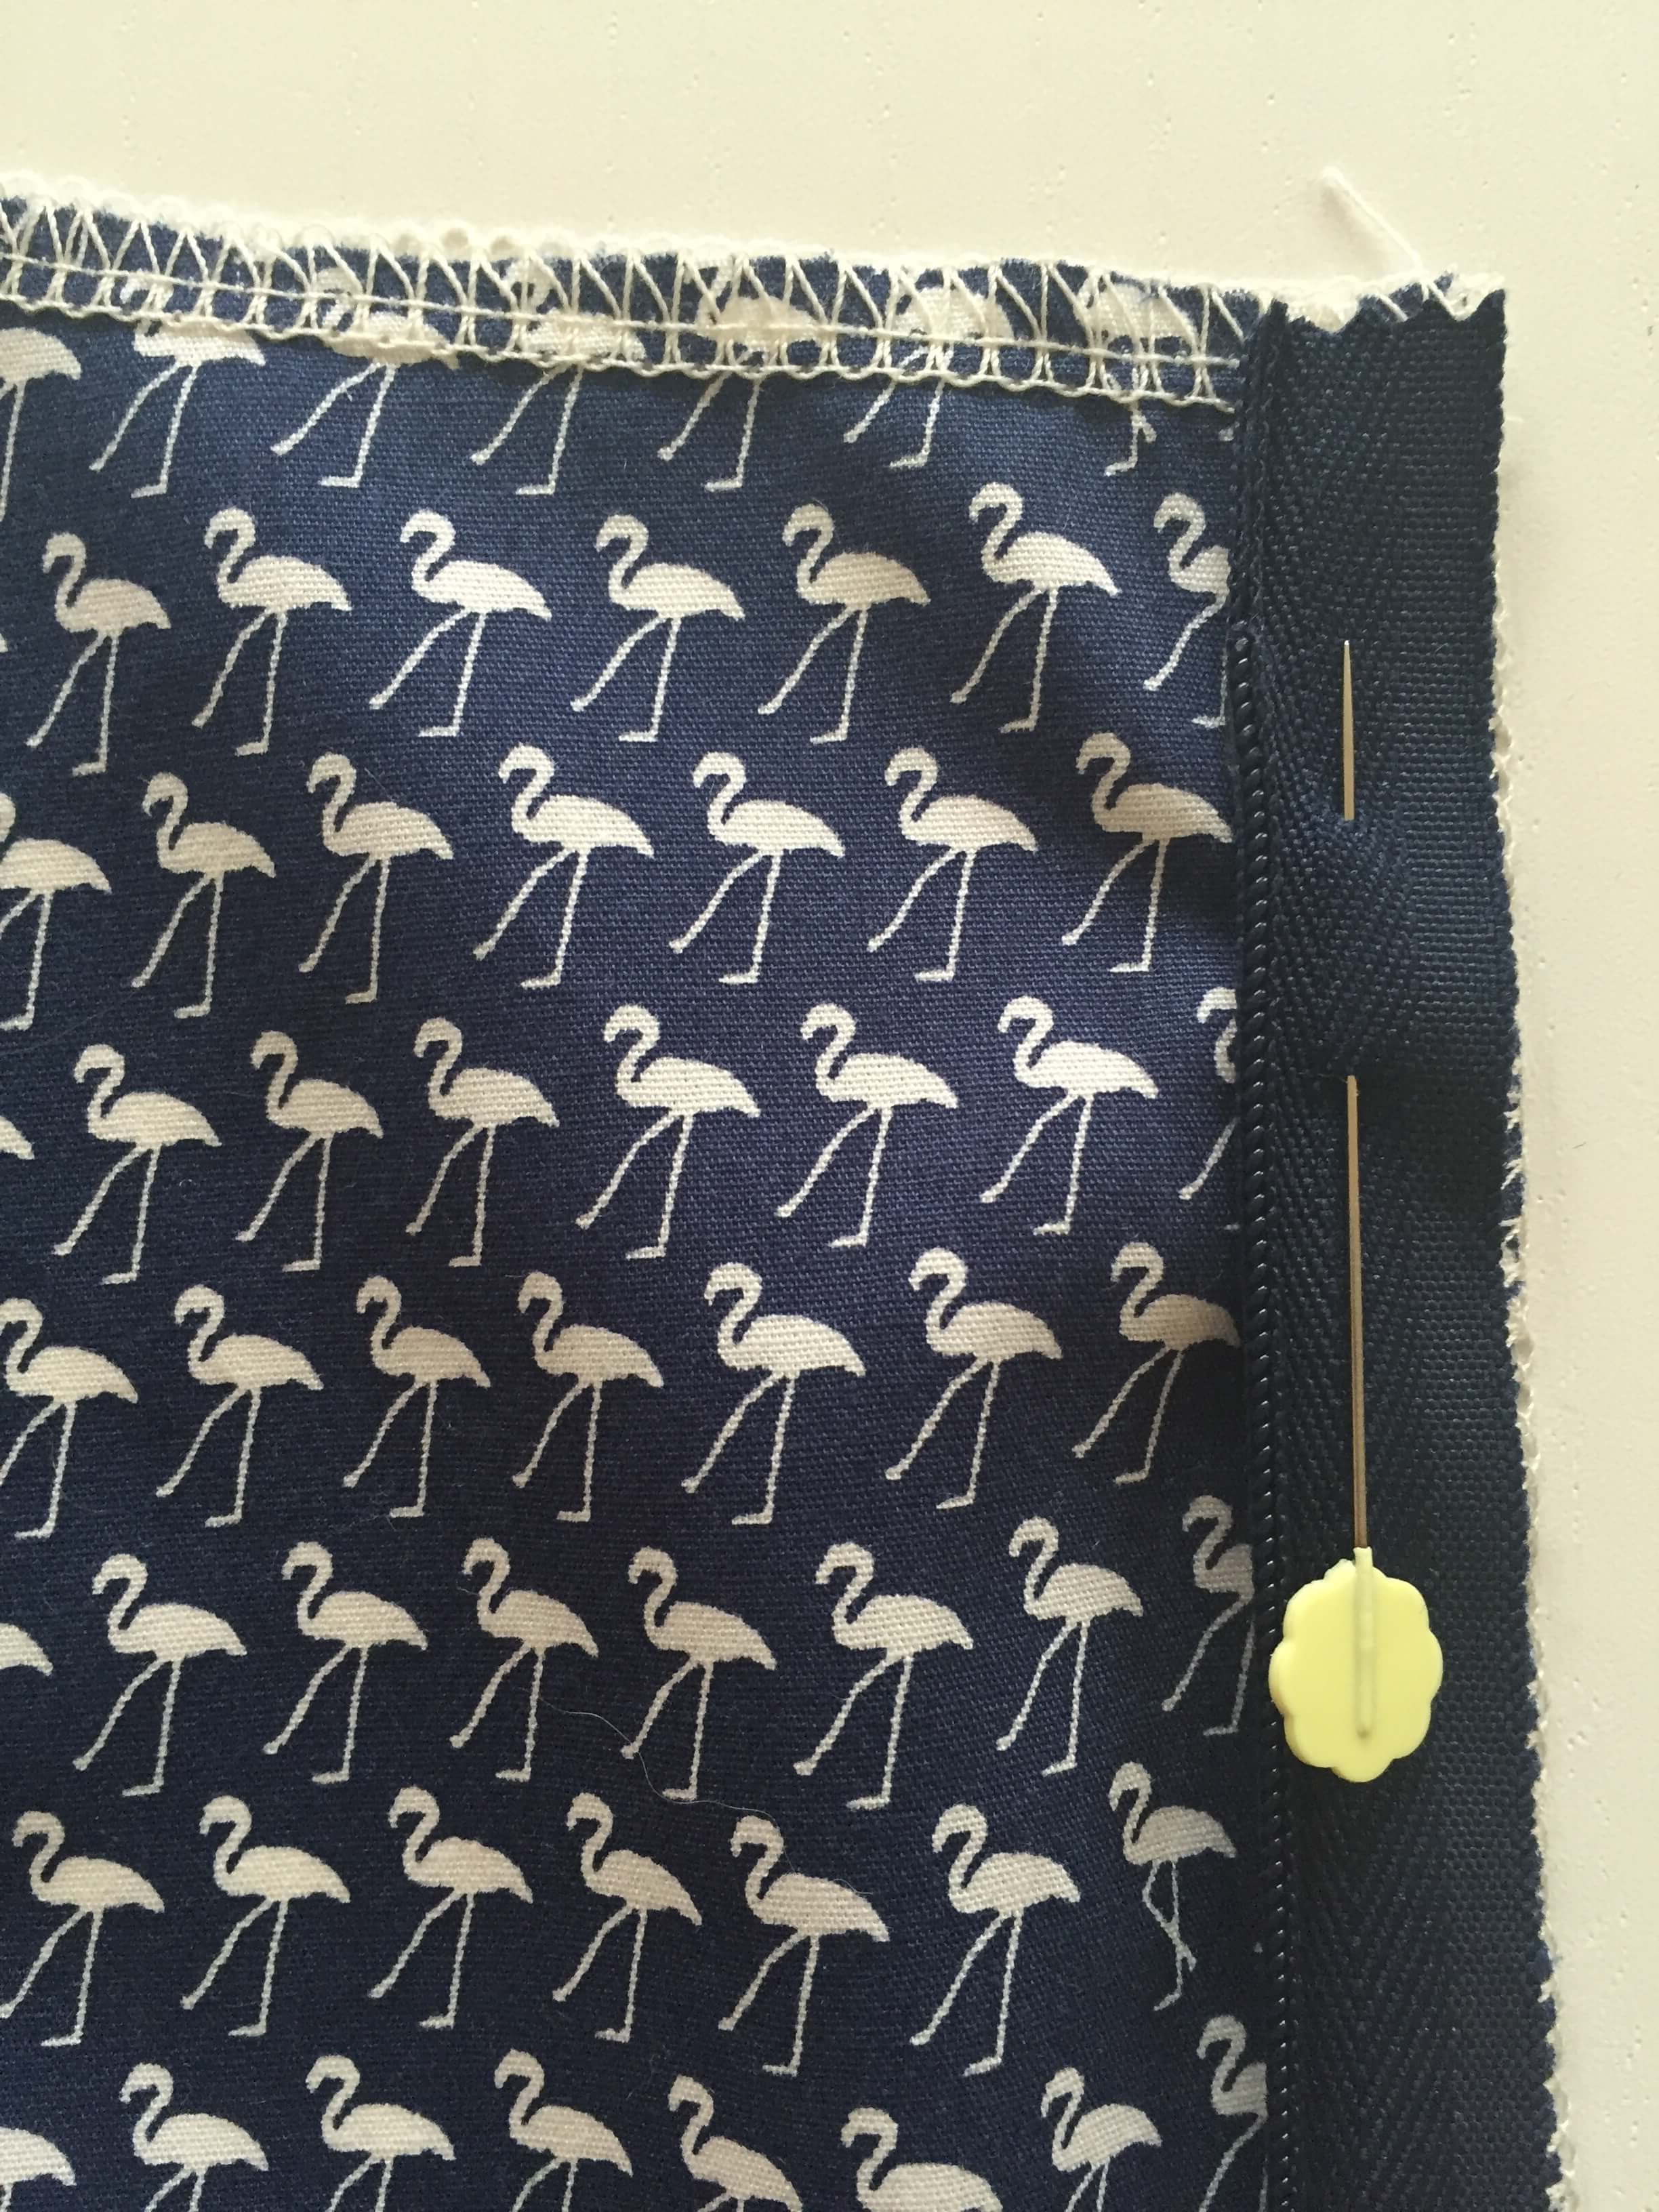
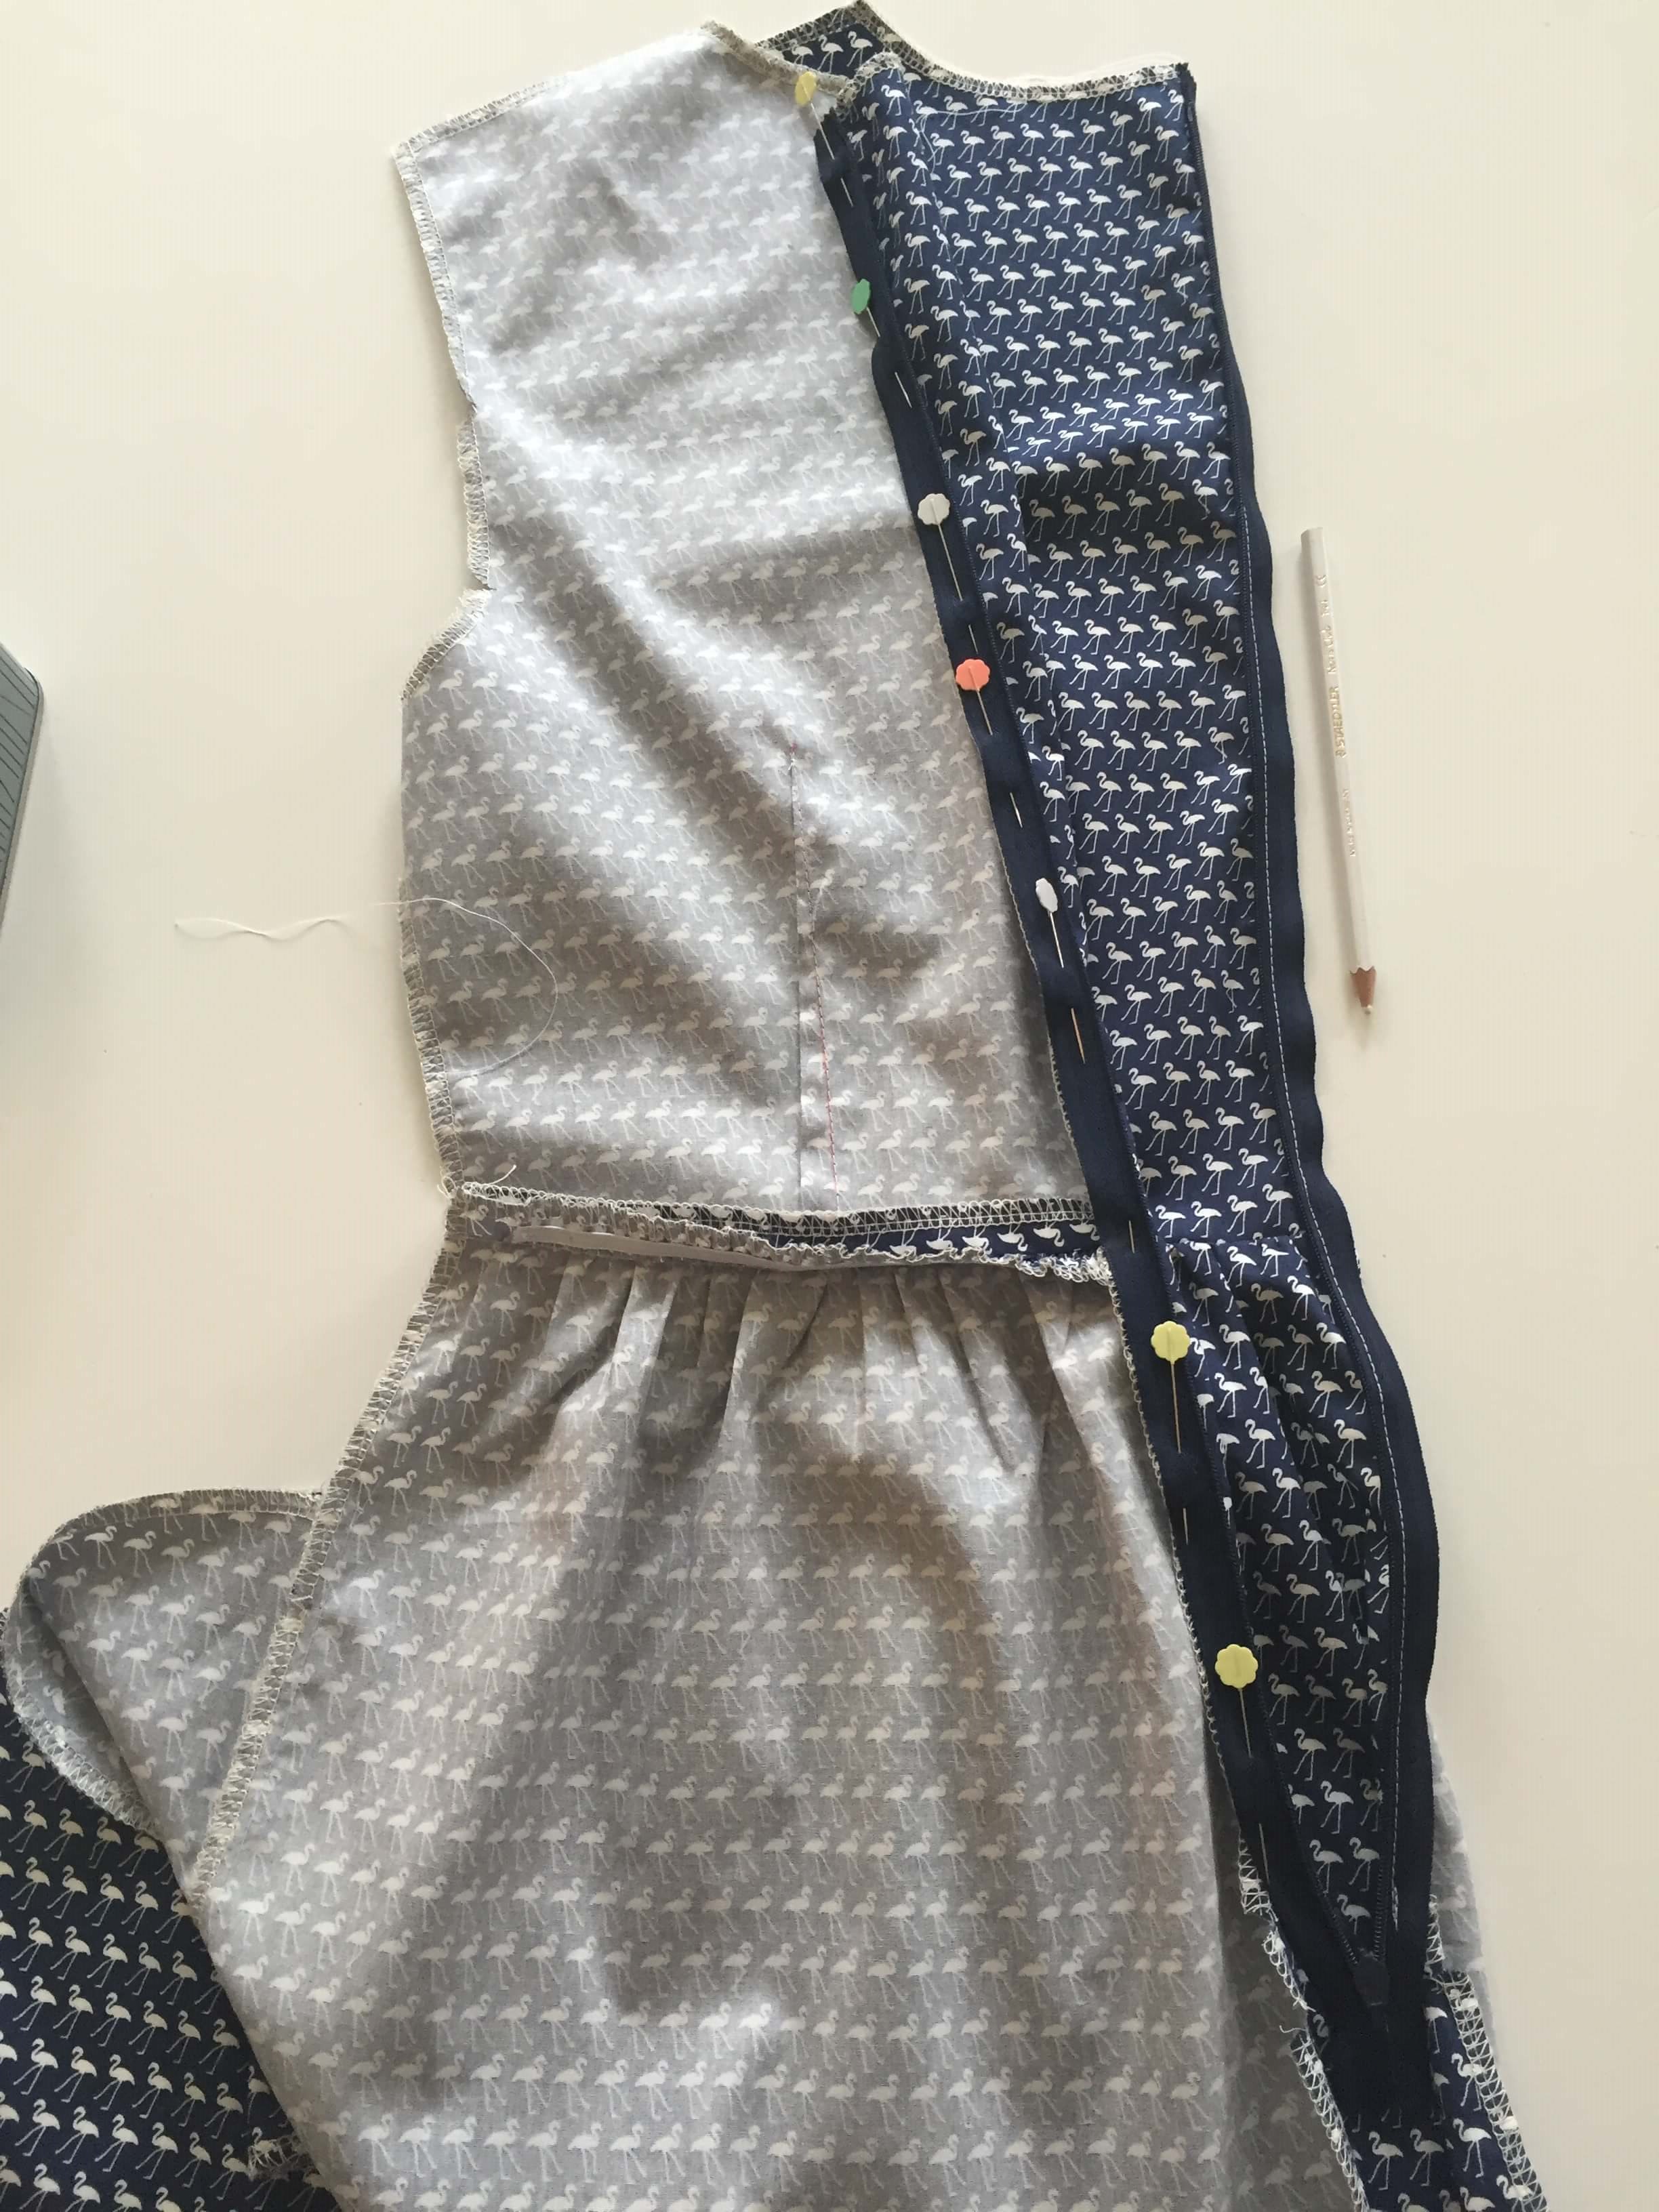
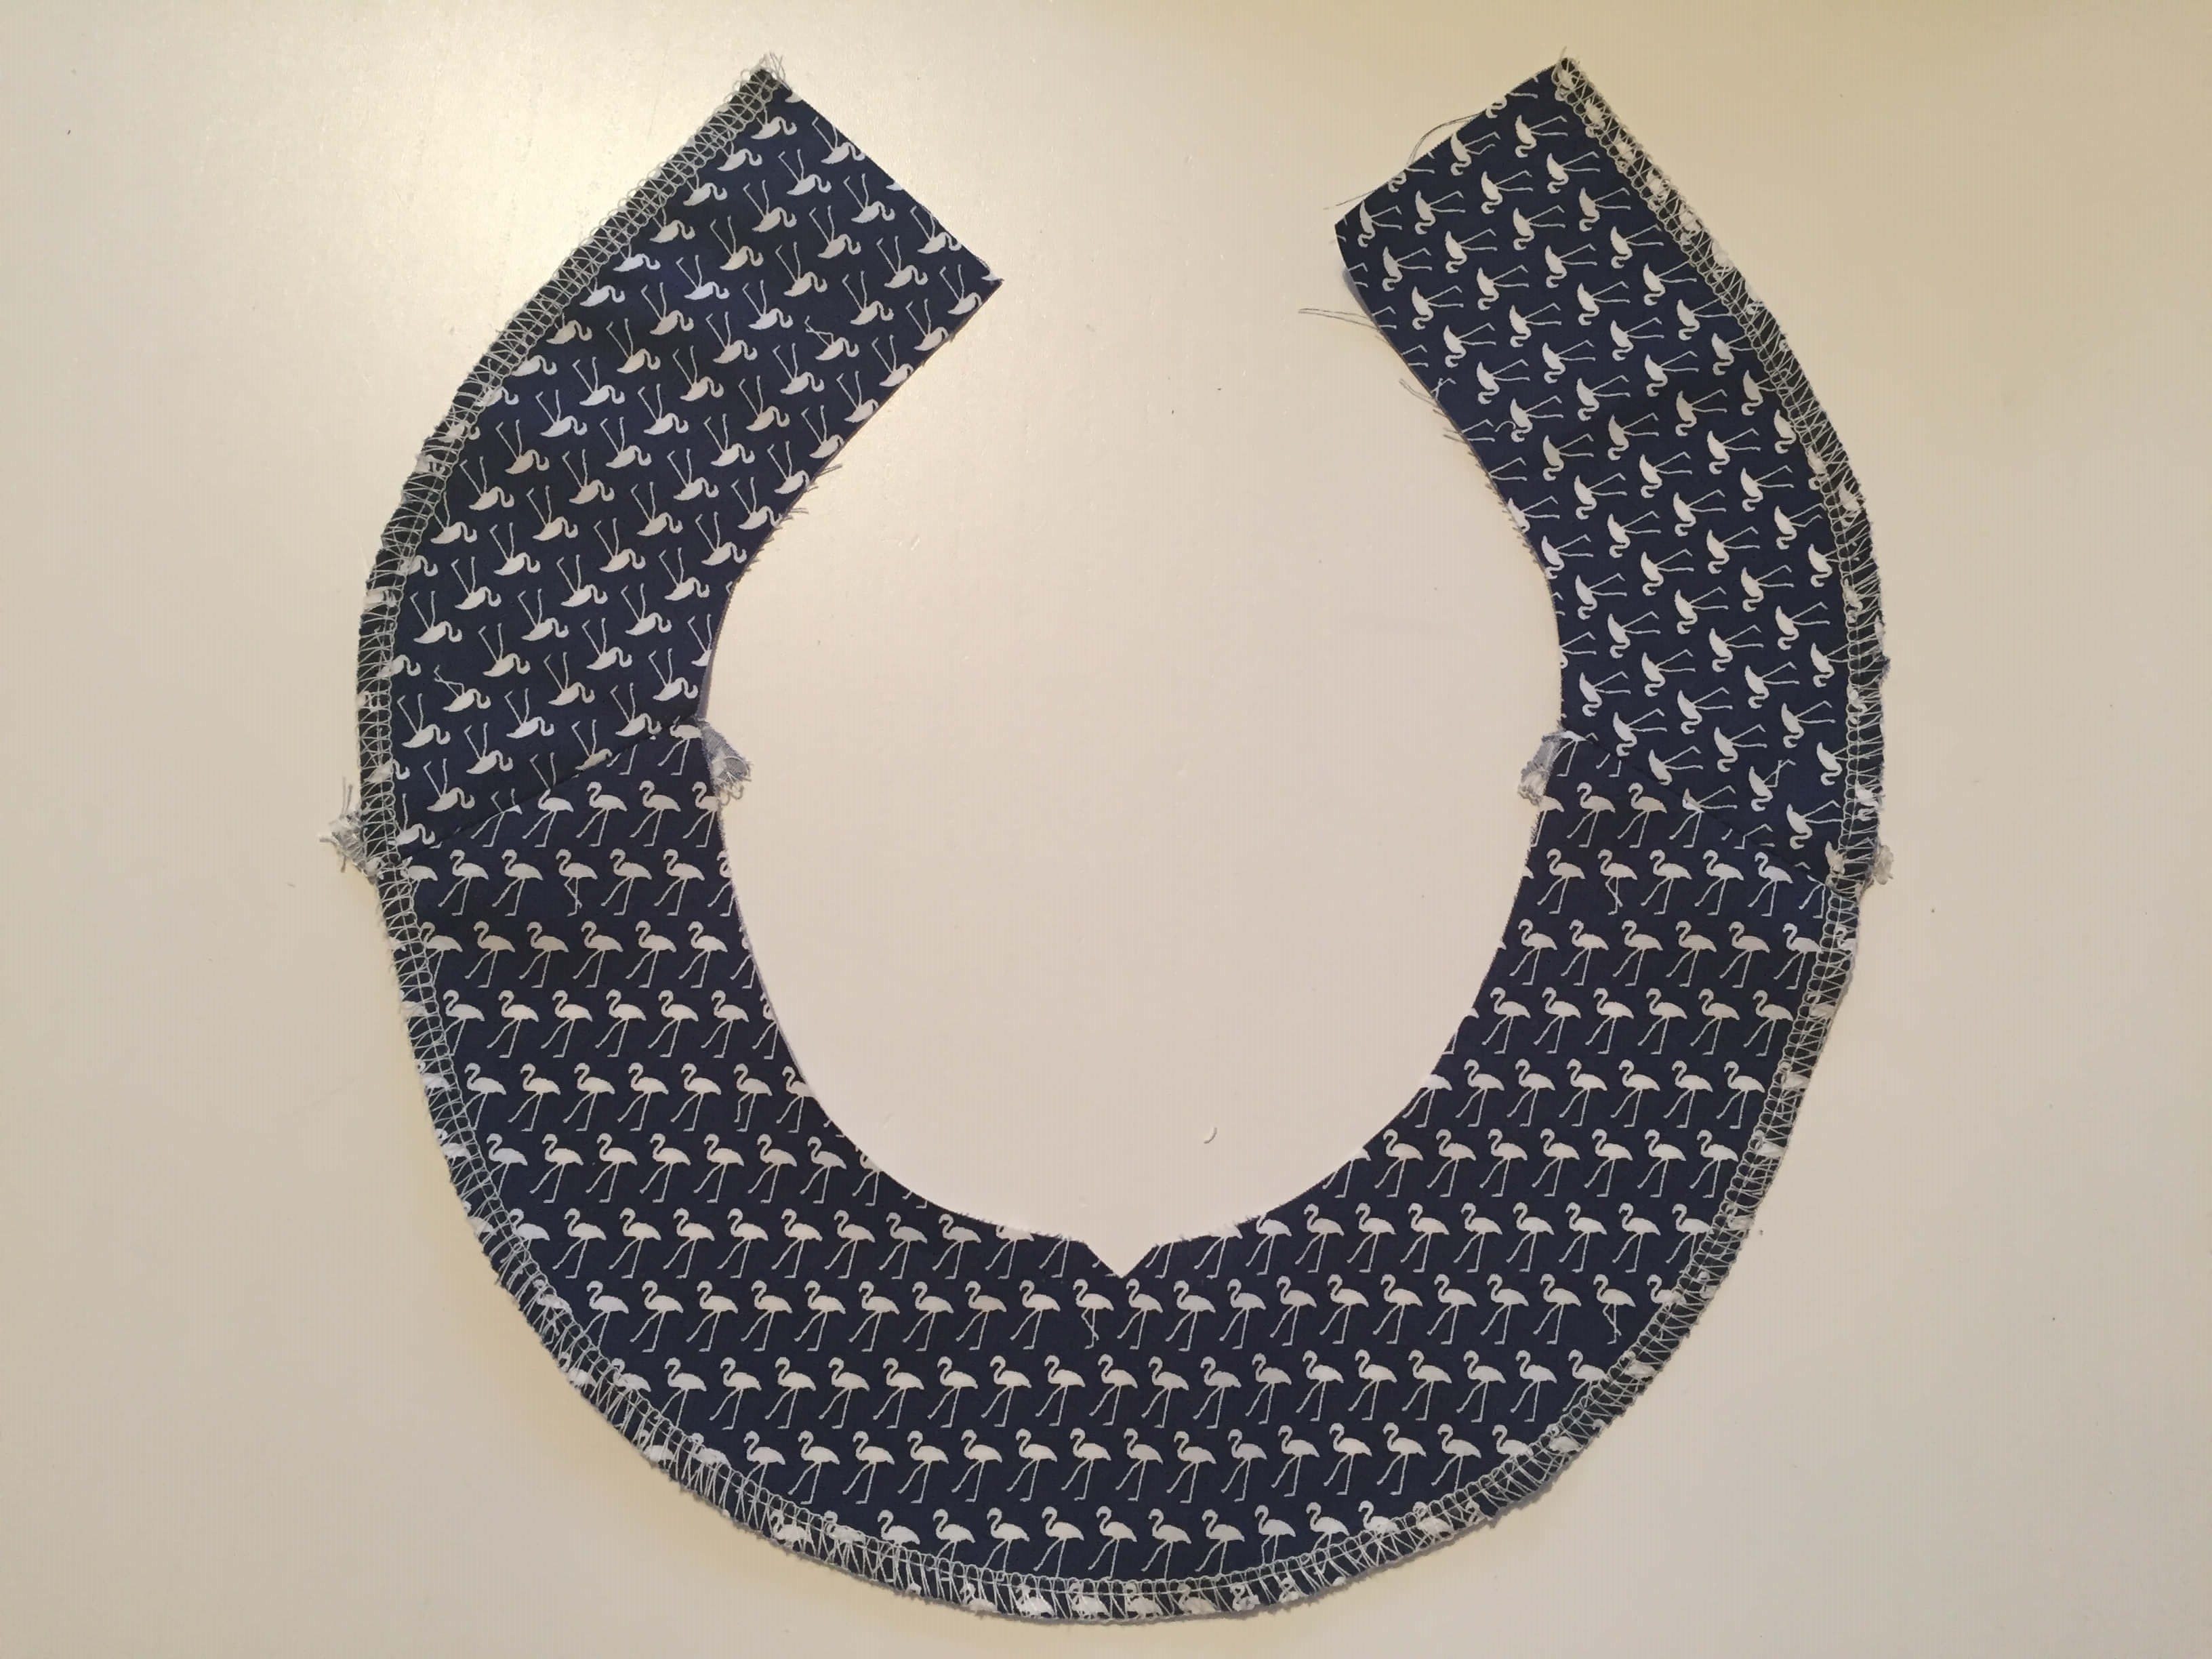
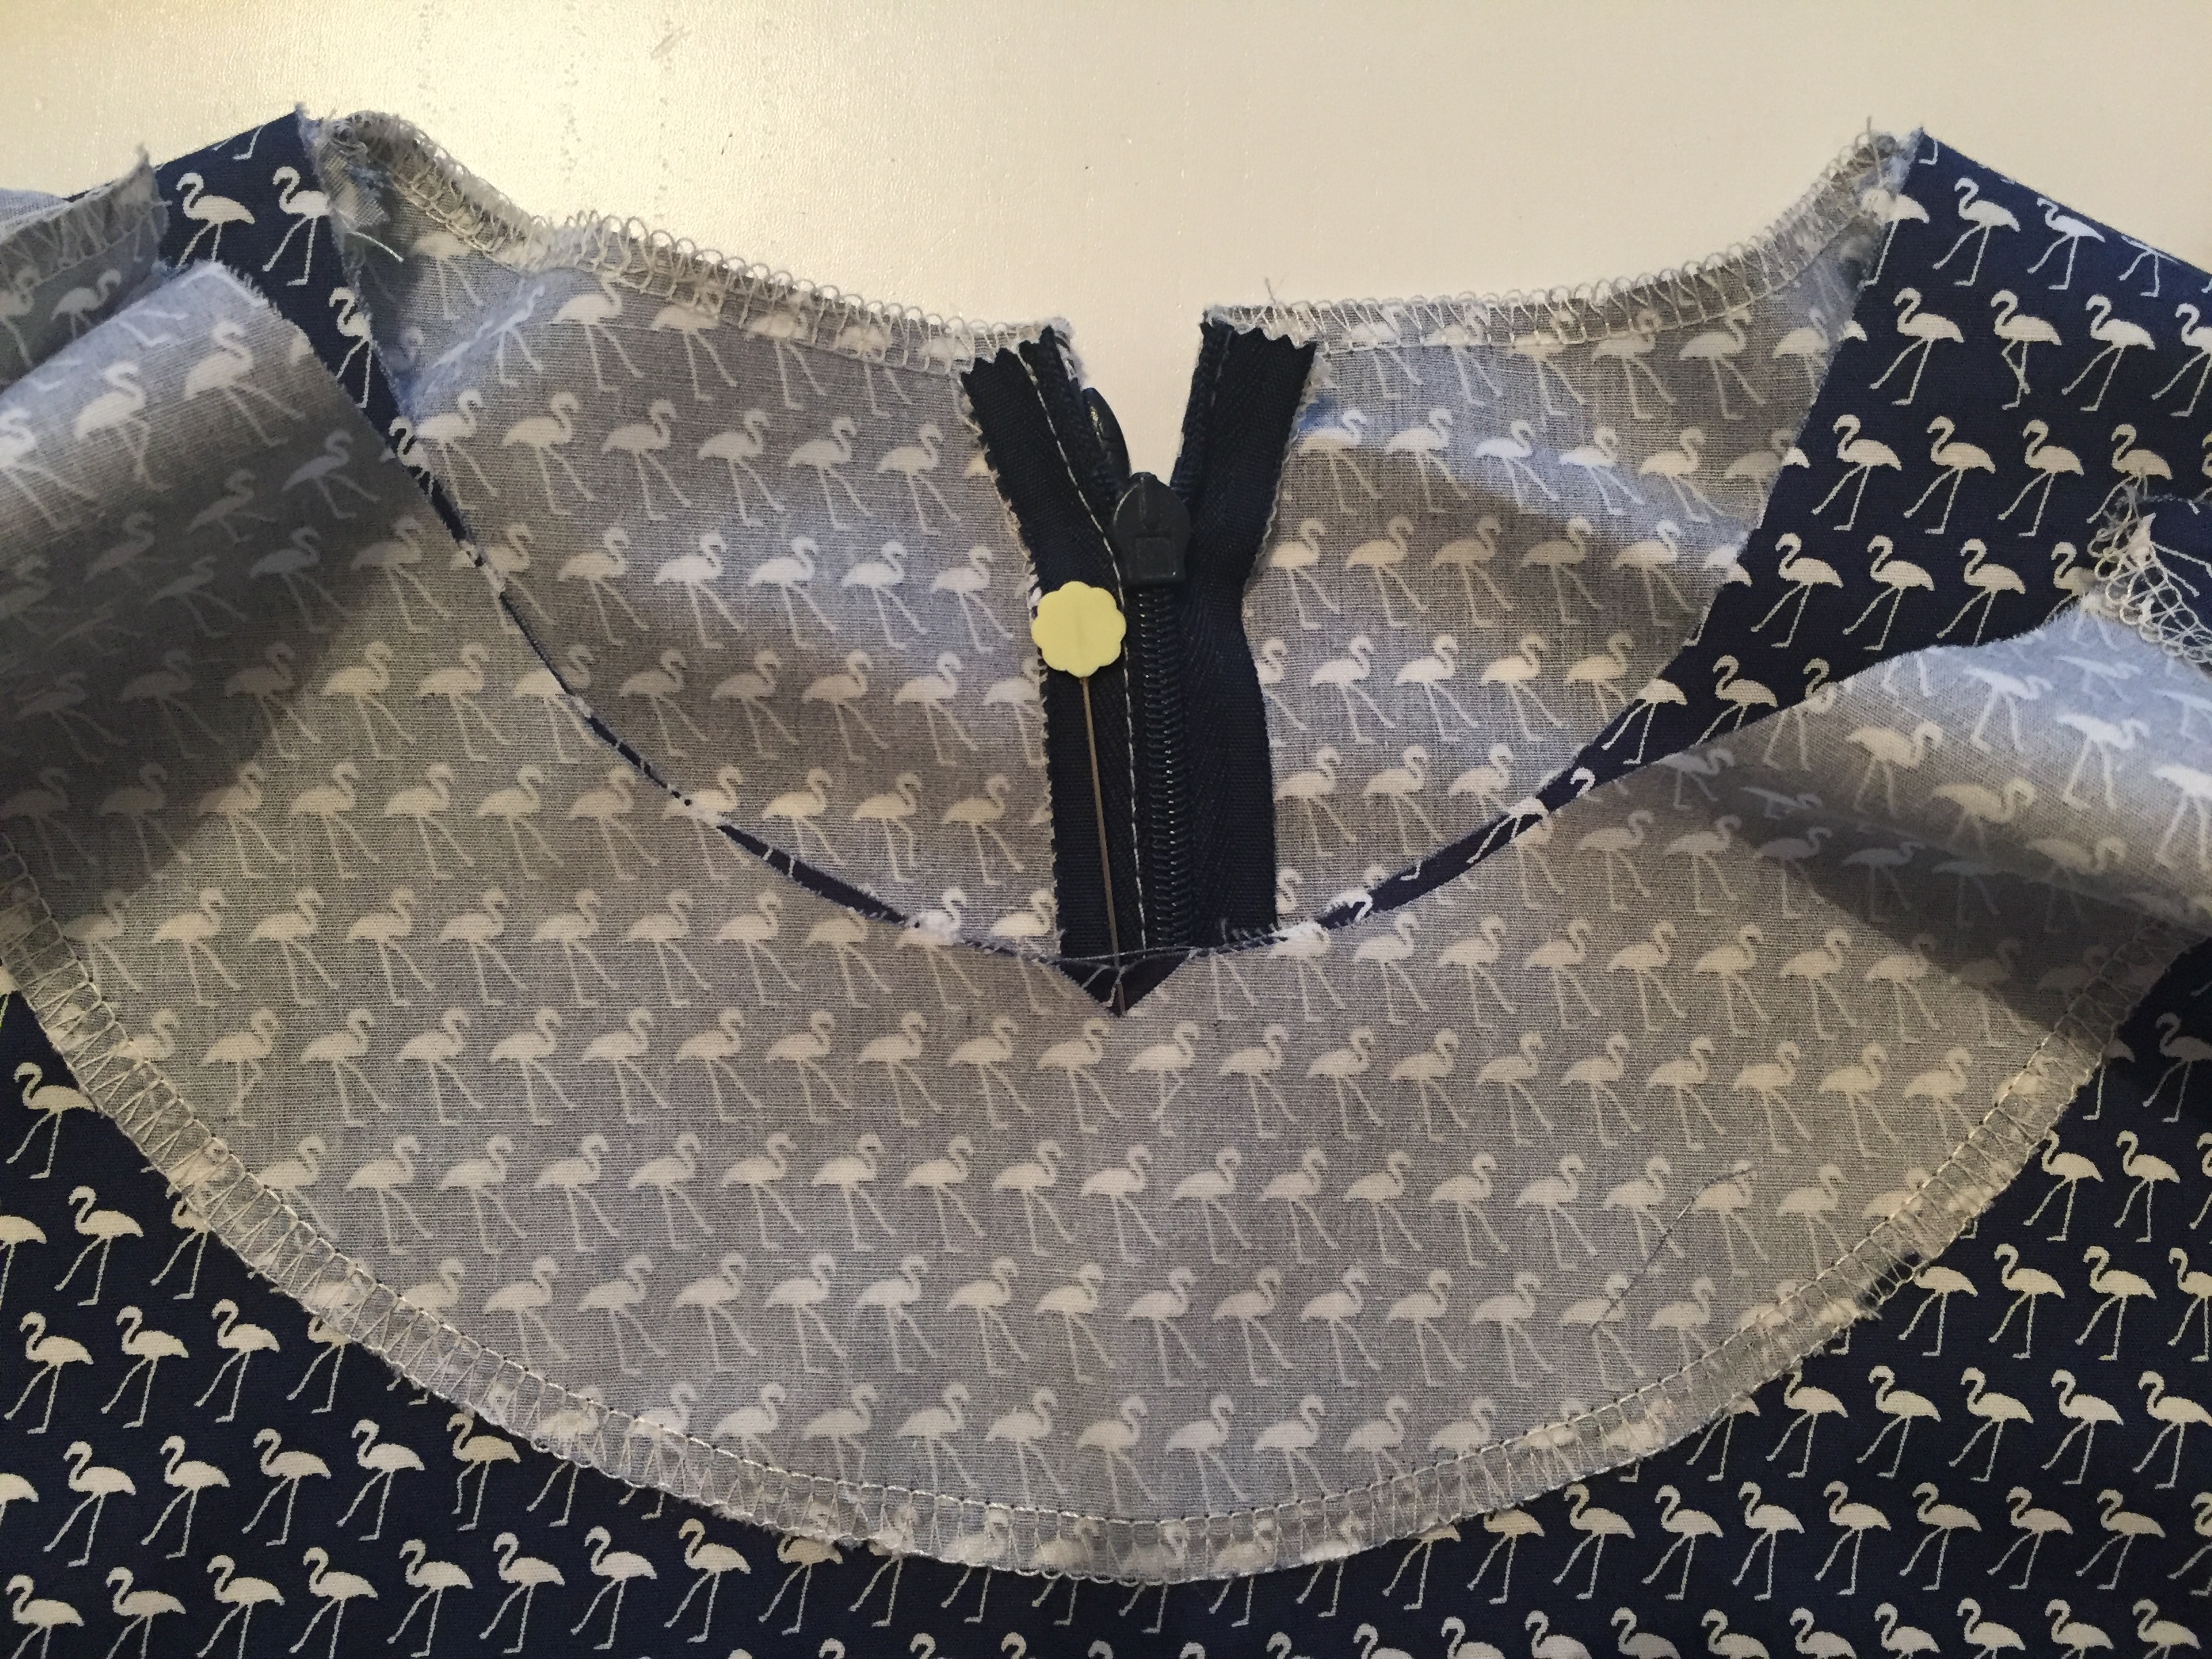
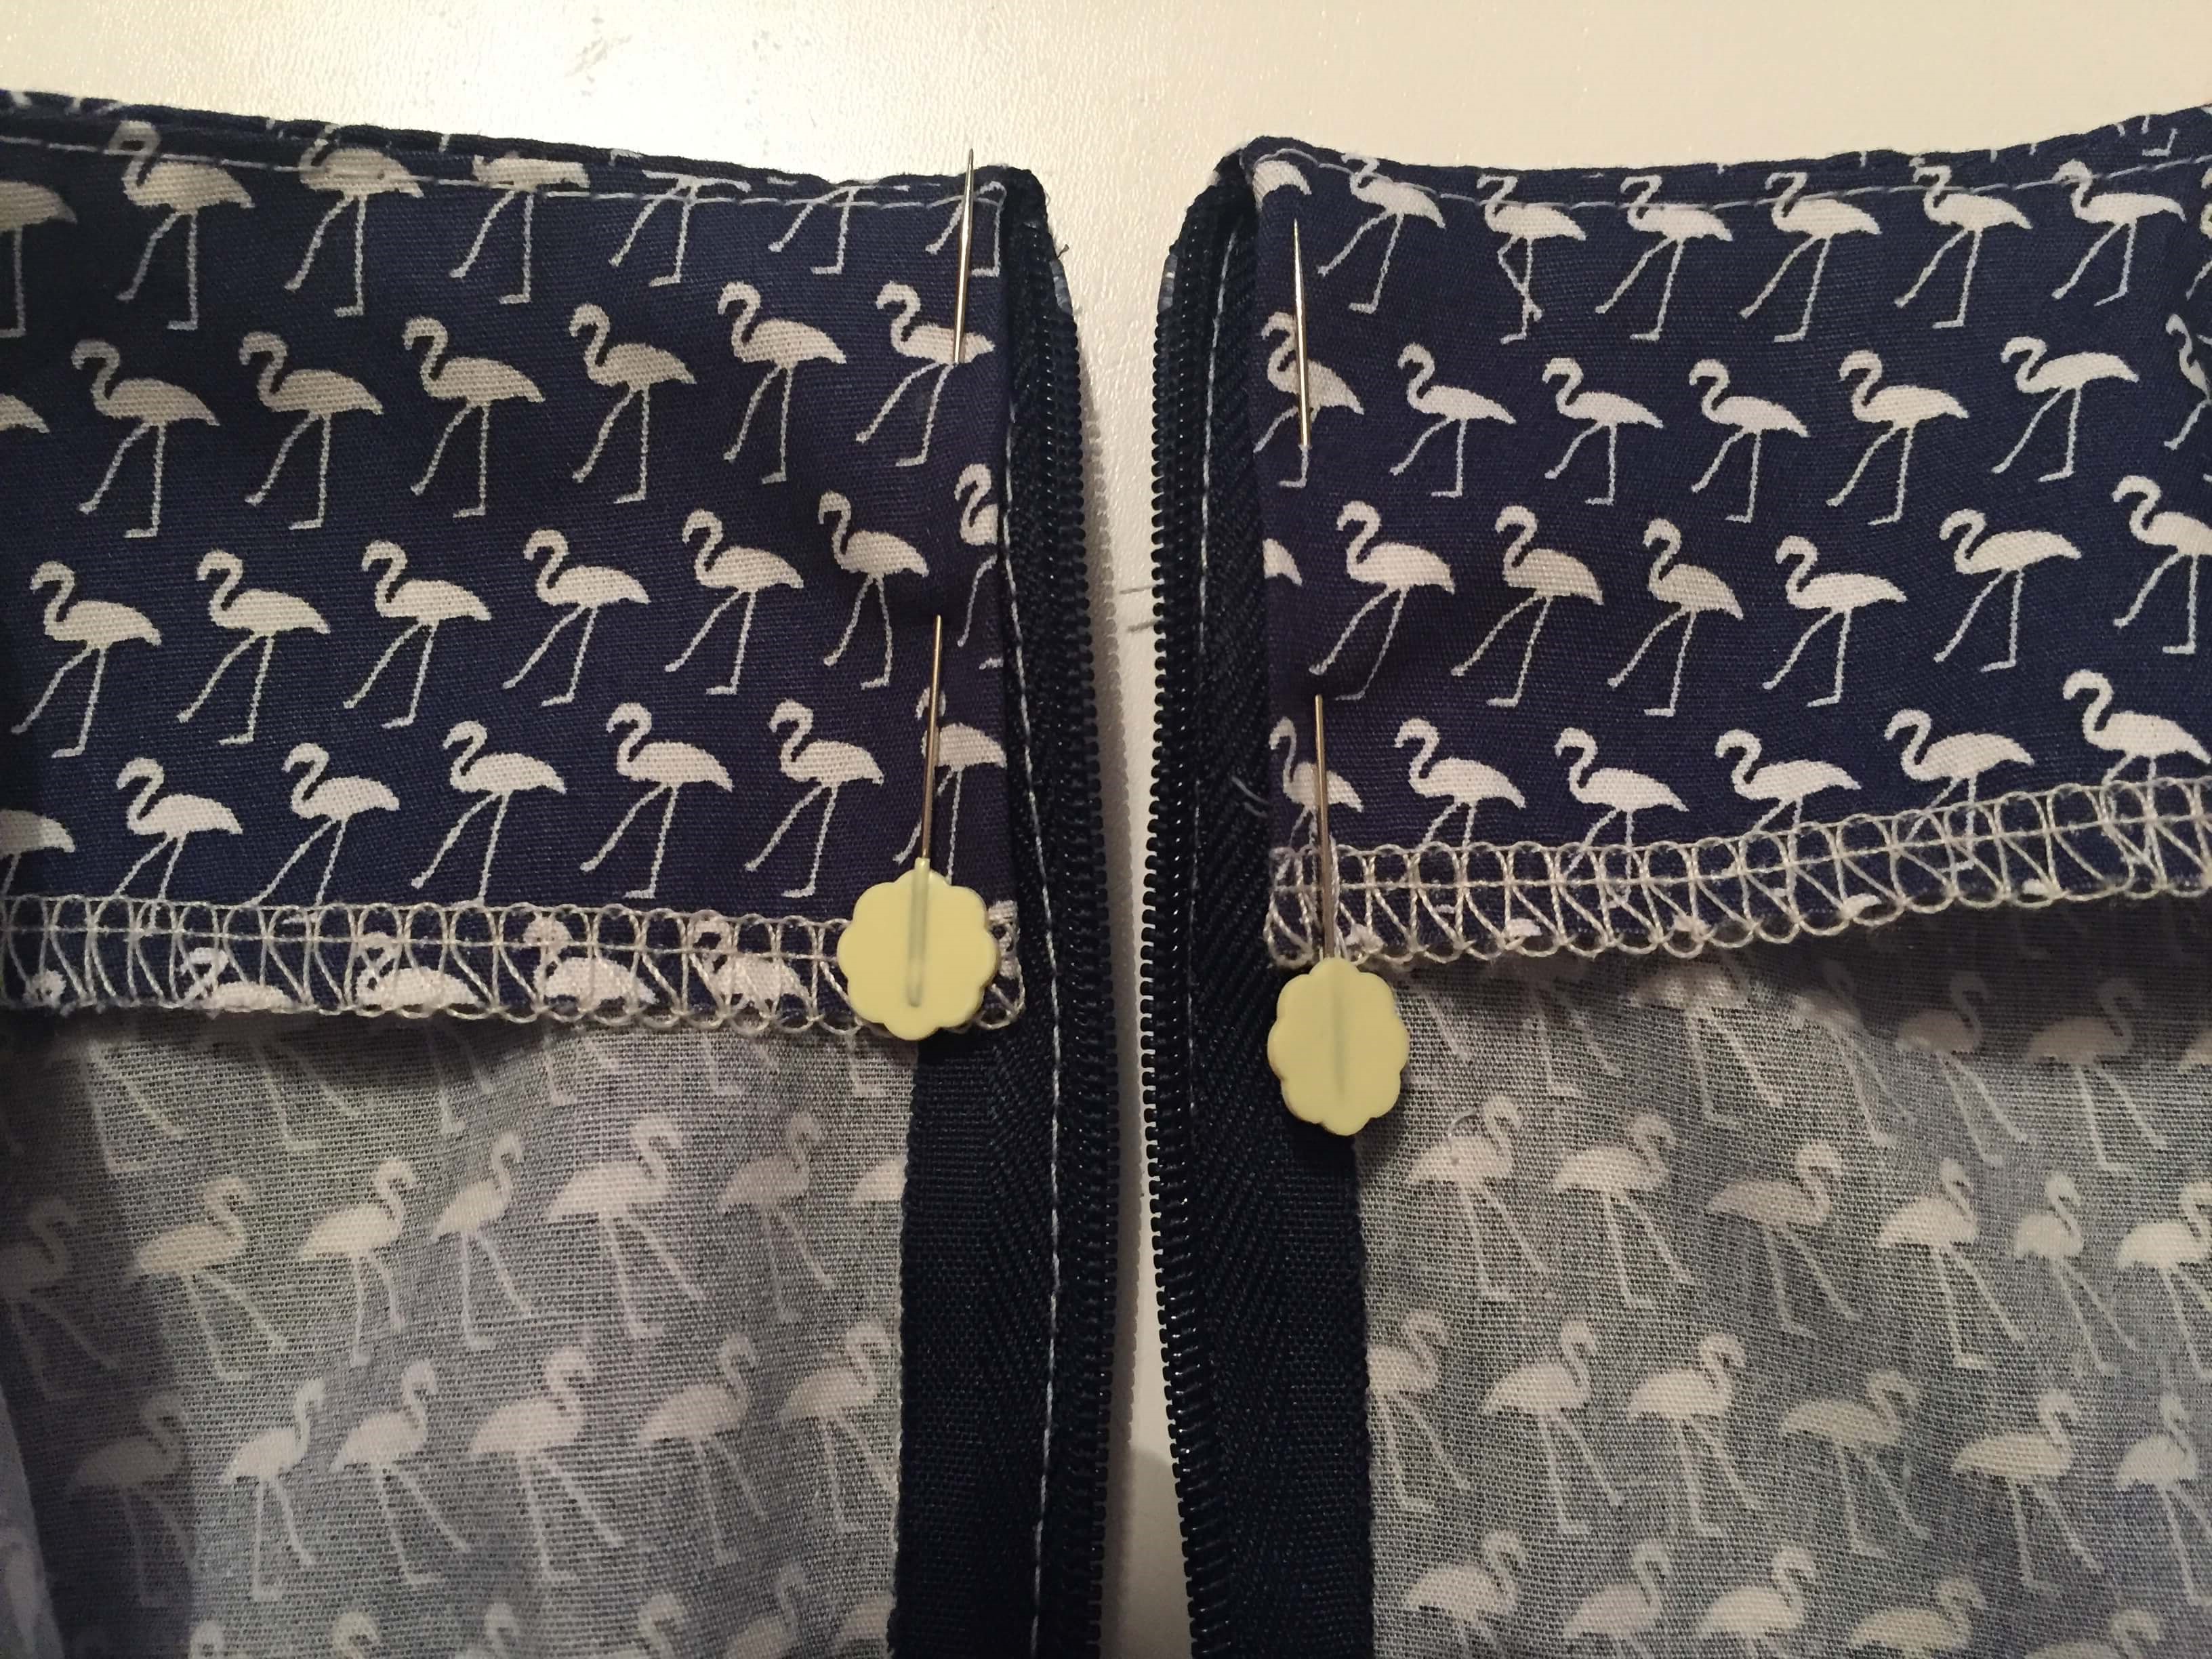
13. Place D right sides facing you. Working on the left side, place the zip right side down, along the CB edge. Pin the right side of the zip to the left side of D. The loose side of the zip will be on the left.
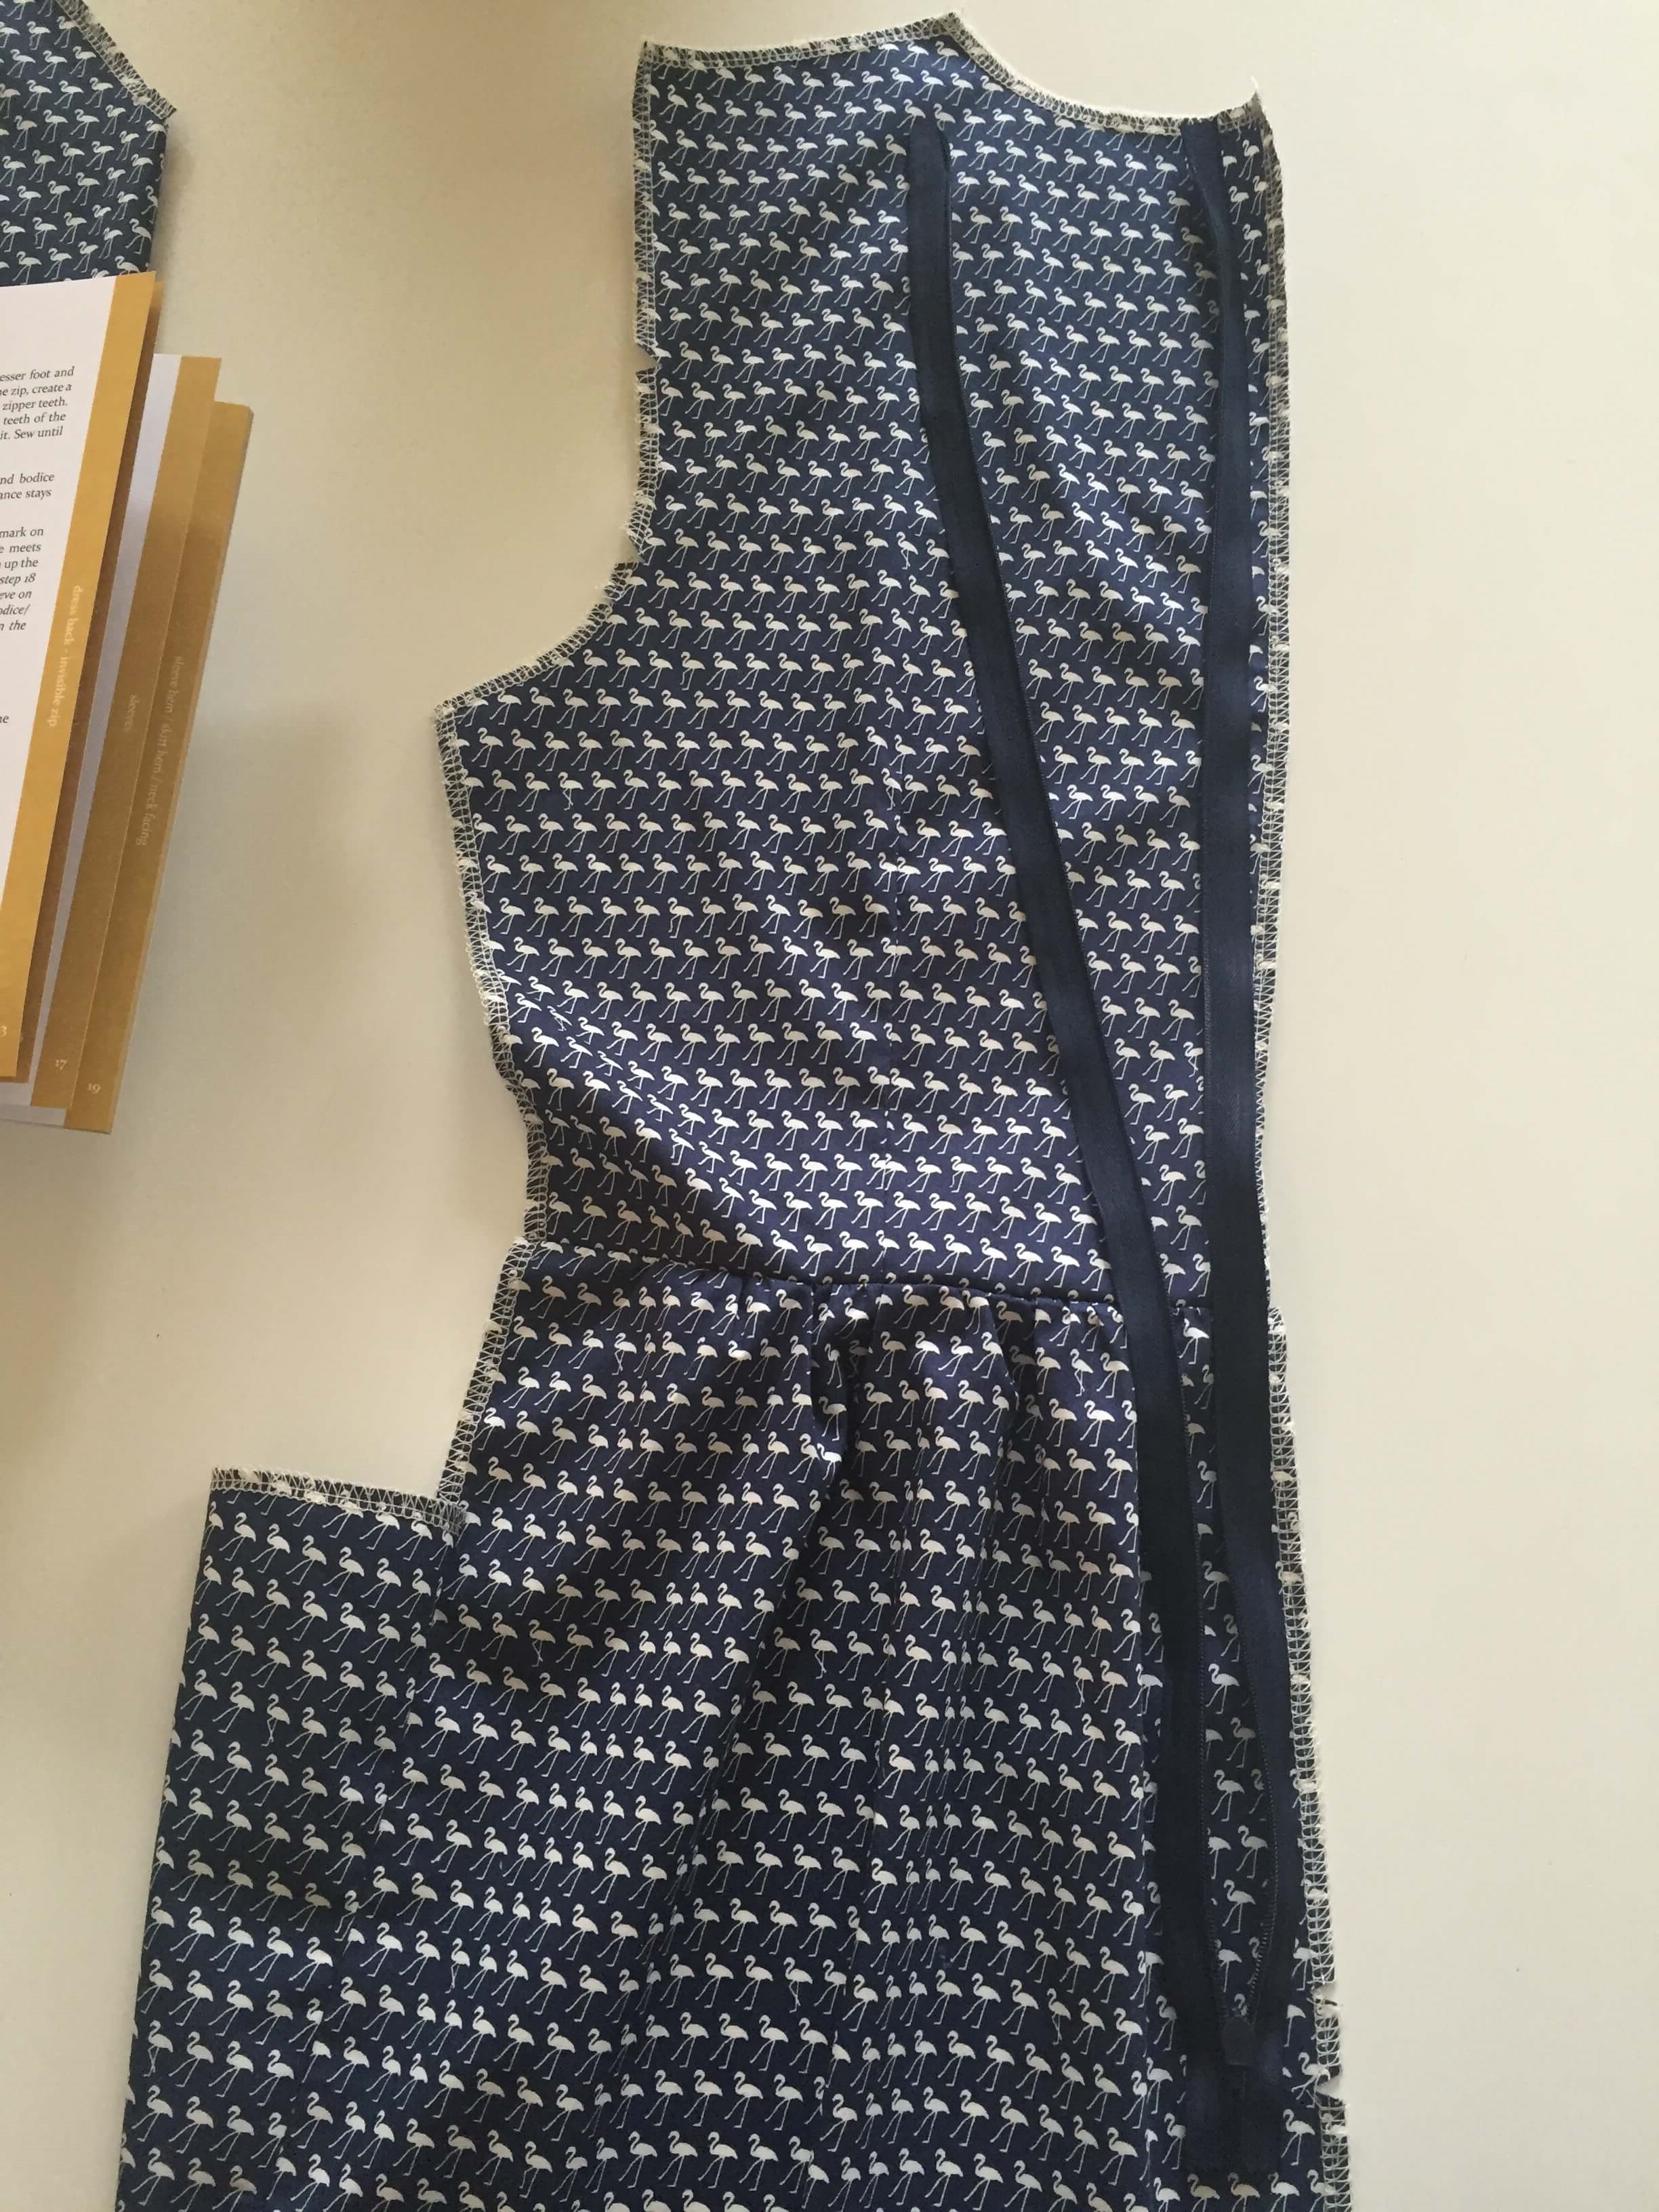
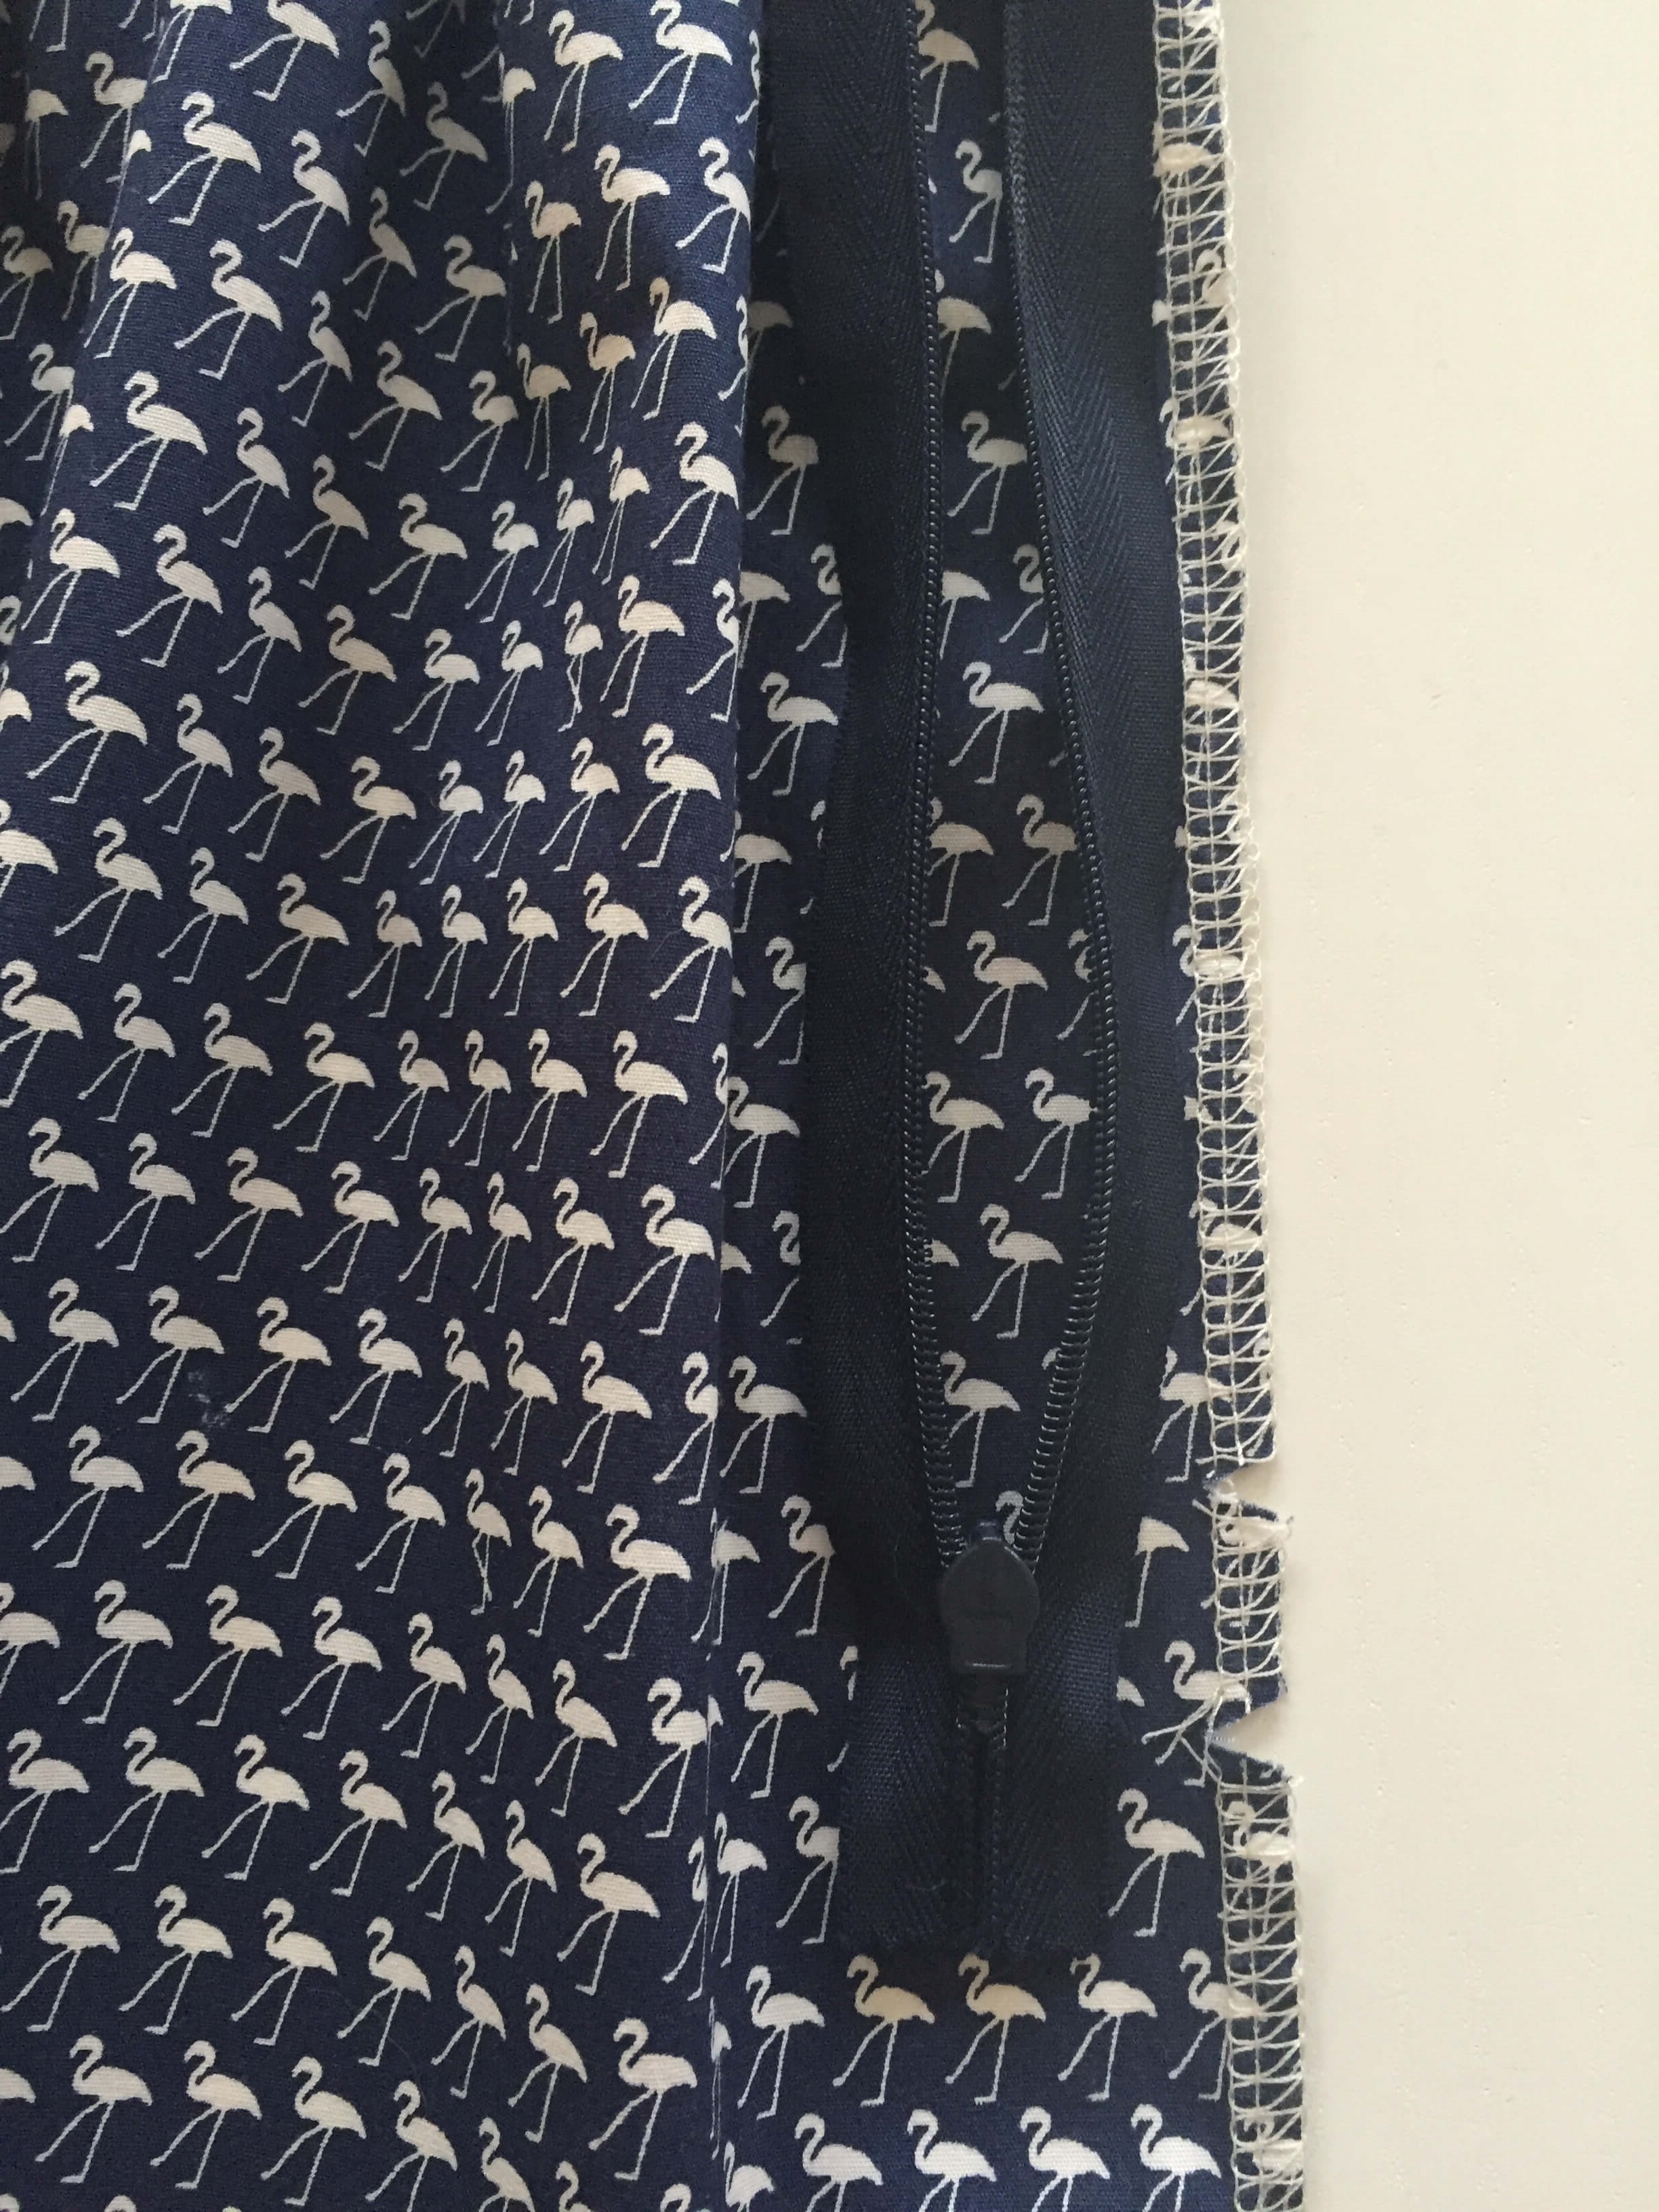
Pin the zip in place, ensuring that the top of the zip is flush with the top of the centre back. The edge of the zip should lie against the edge of the fabric.
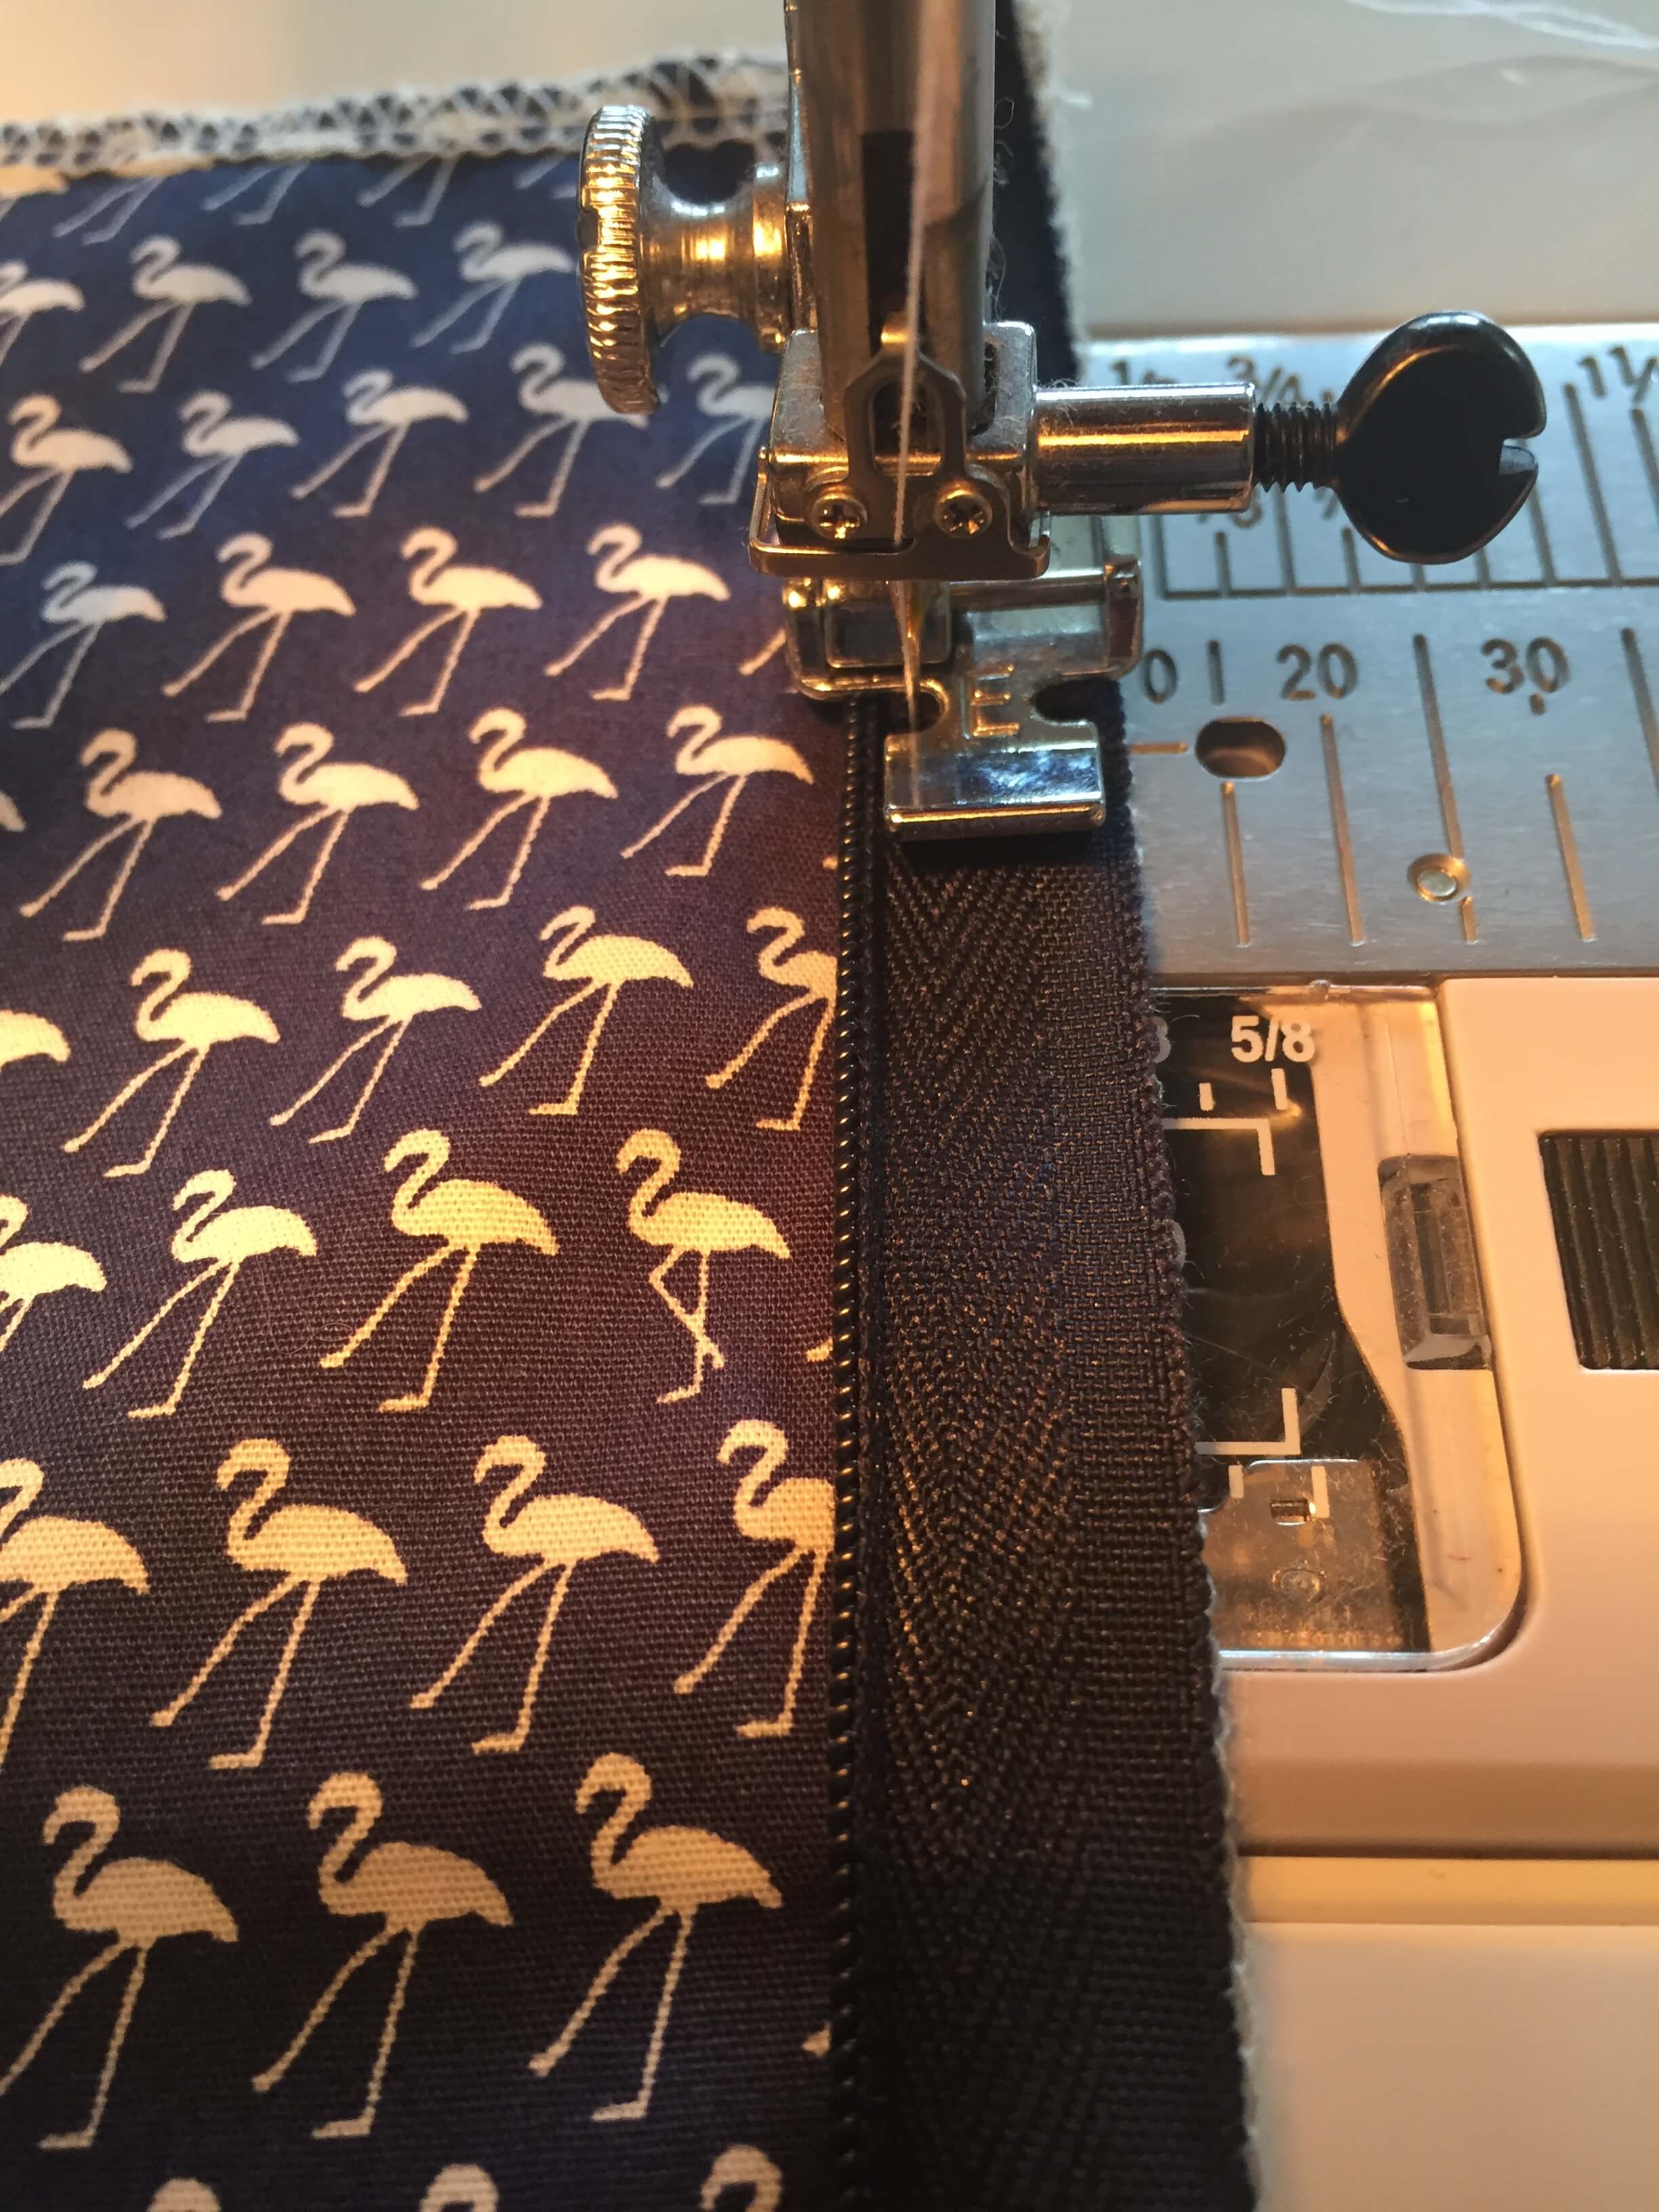
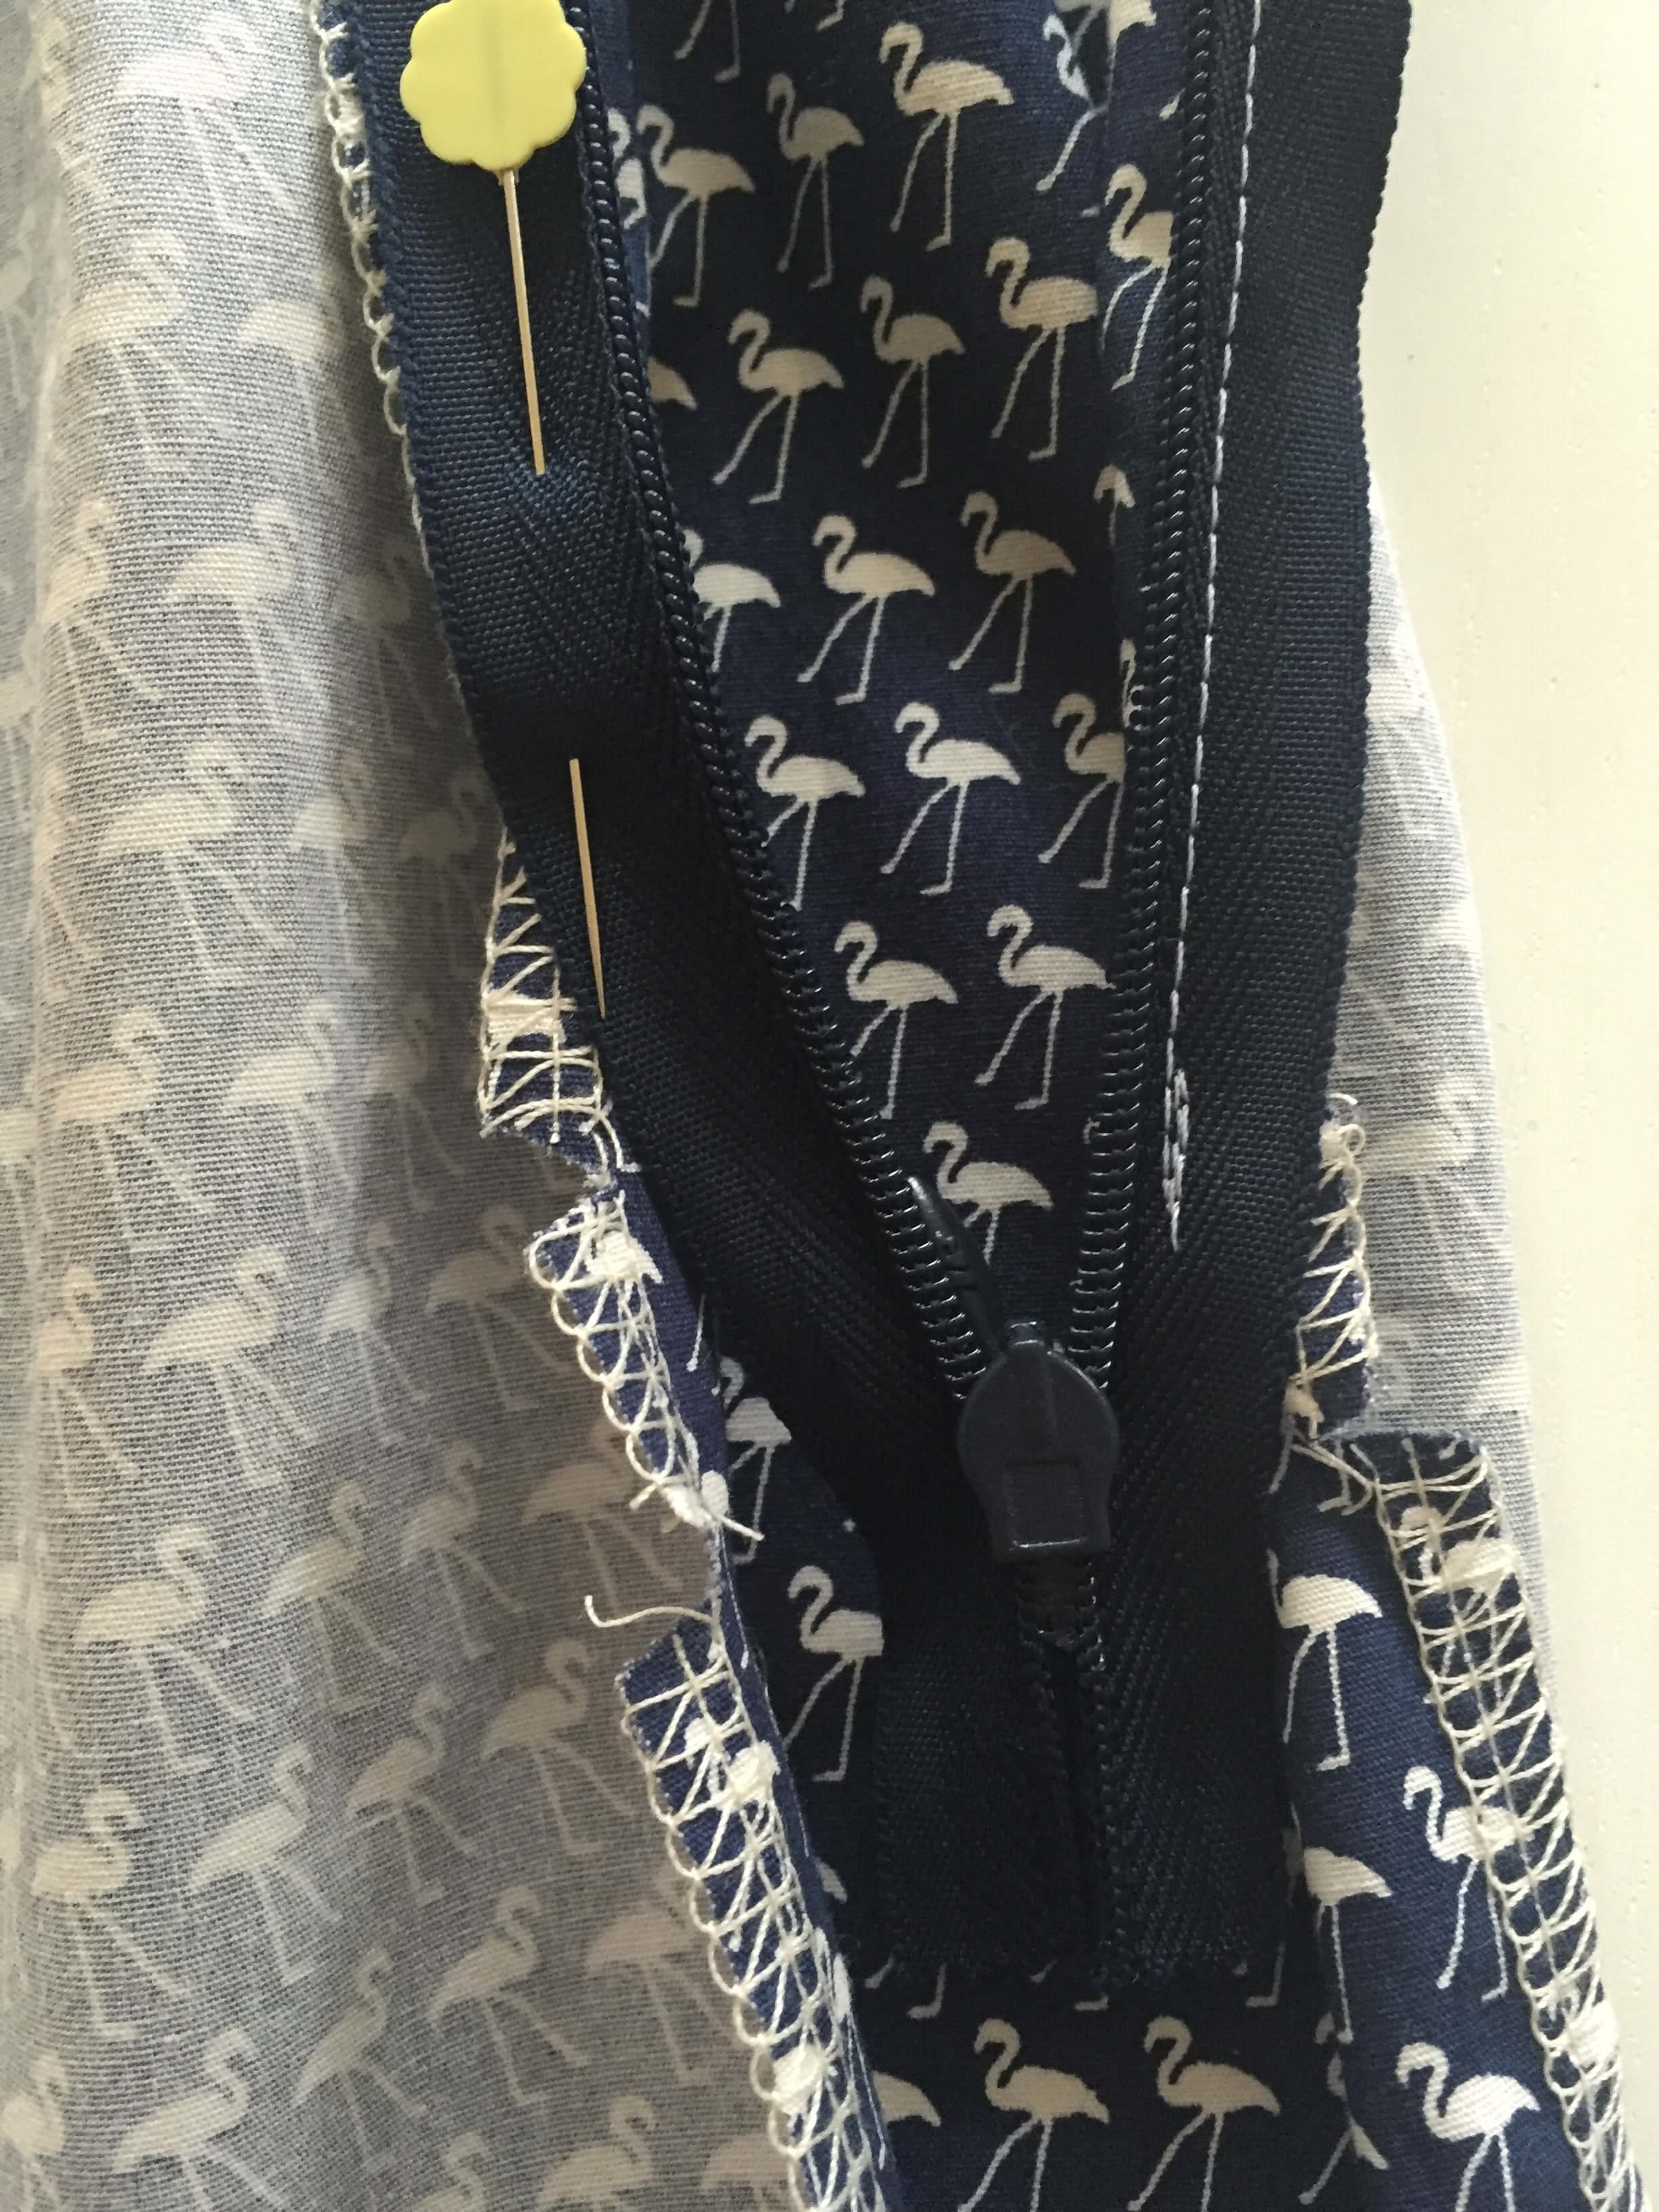
14. Using your zipper presser foot and starting from the top of the zip, create a row of stitches next to the zipper teeth. Don’t sew too close to the teeth of the zip – just a few mm next to it. Sew until you reach the bottom of the zipper, until you can’t sew anymore – don’t forget to reverse stitch. When you reach the skirt and bodice join, ensure your seam allowance stays open.
15. Zip up the zip and make a mark on the loose zip where the bodice meets the skirt. This will help us match up the bodice perfectly!
16. Unzip the zip again and place the back pieces right sides together. Take the loose zip side and pin it along the right side edge of D. Only pin zip and edge of the fabric.
Ensure that:
The top of the zip is flush with the top of the garment.
The mark you made on the zip in step 15 lines up where the bodice joins the skirt.
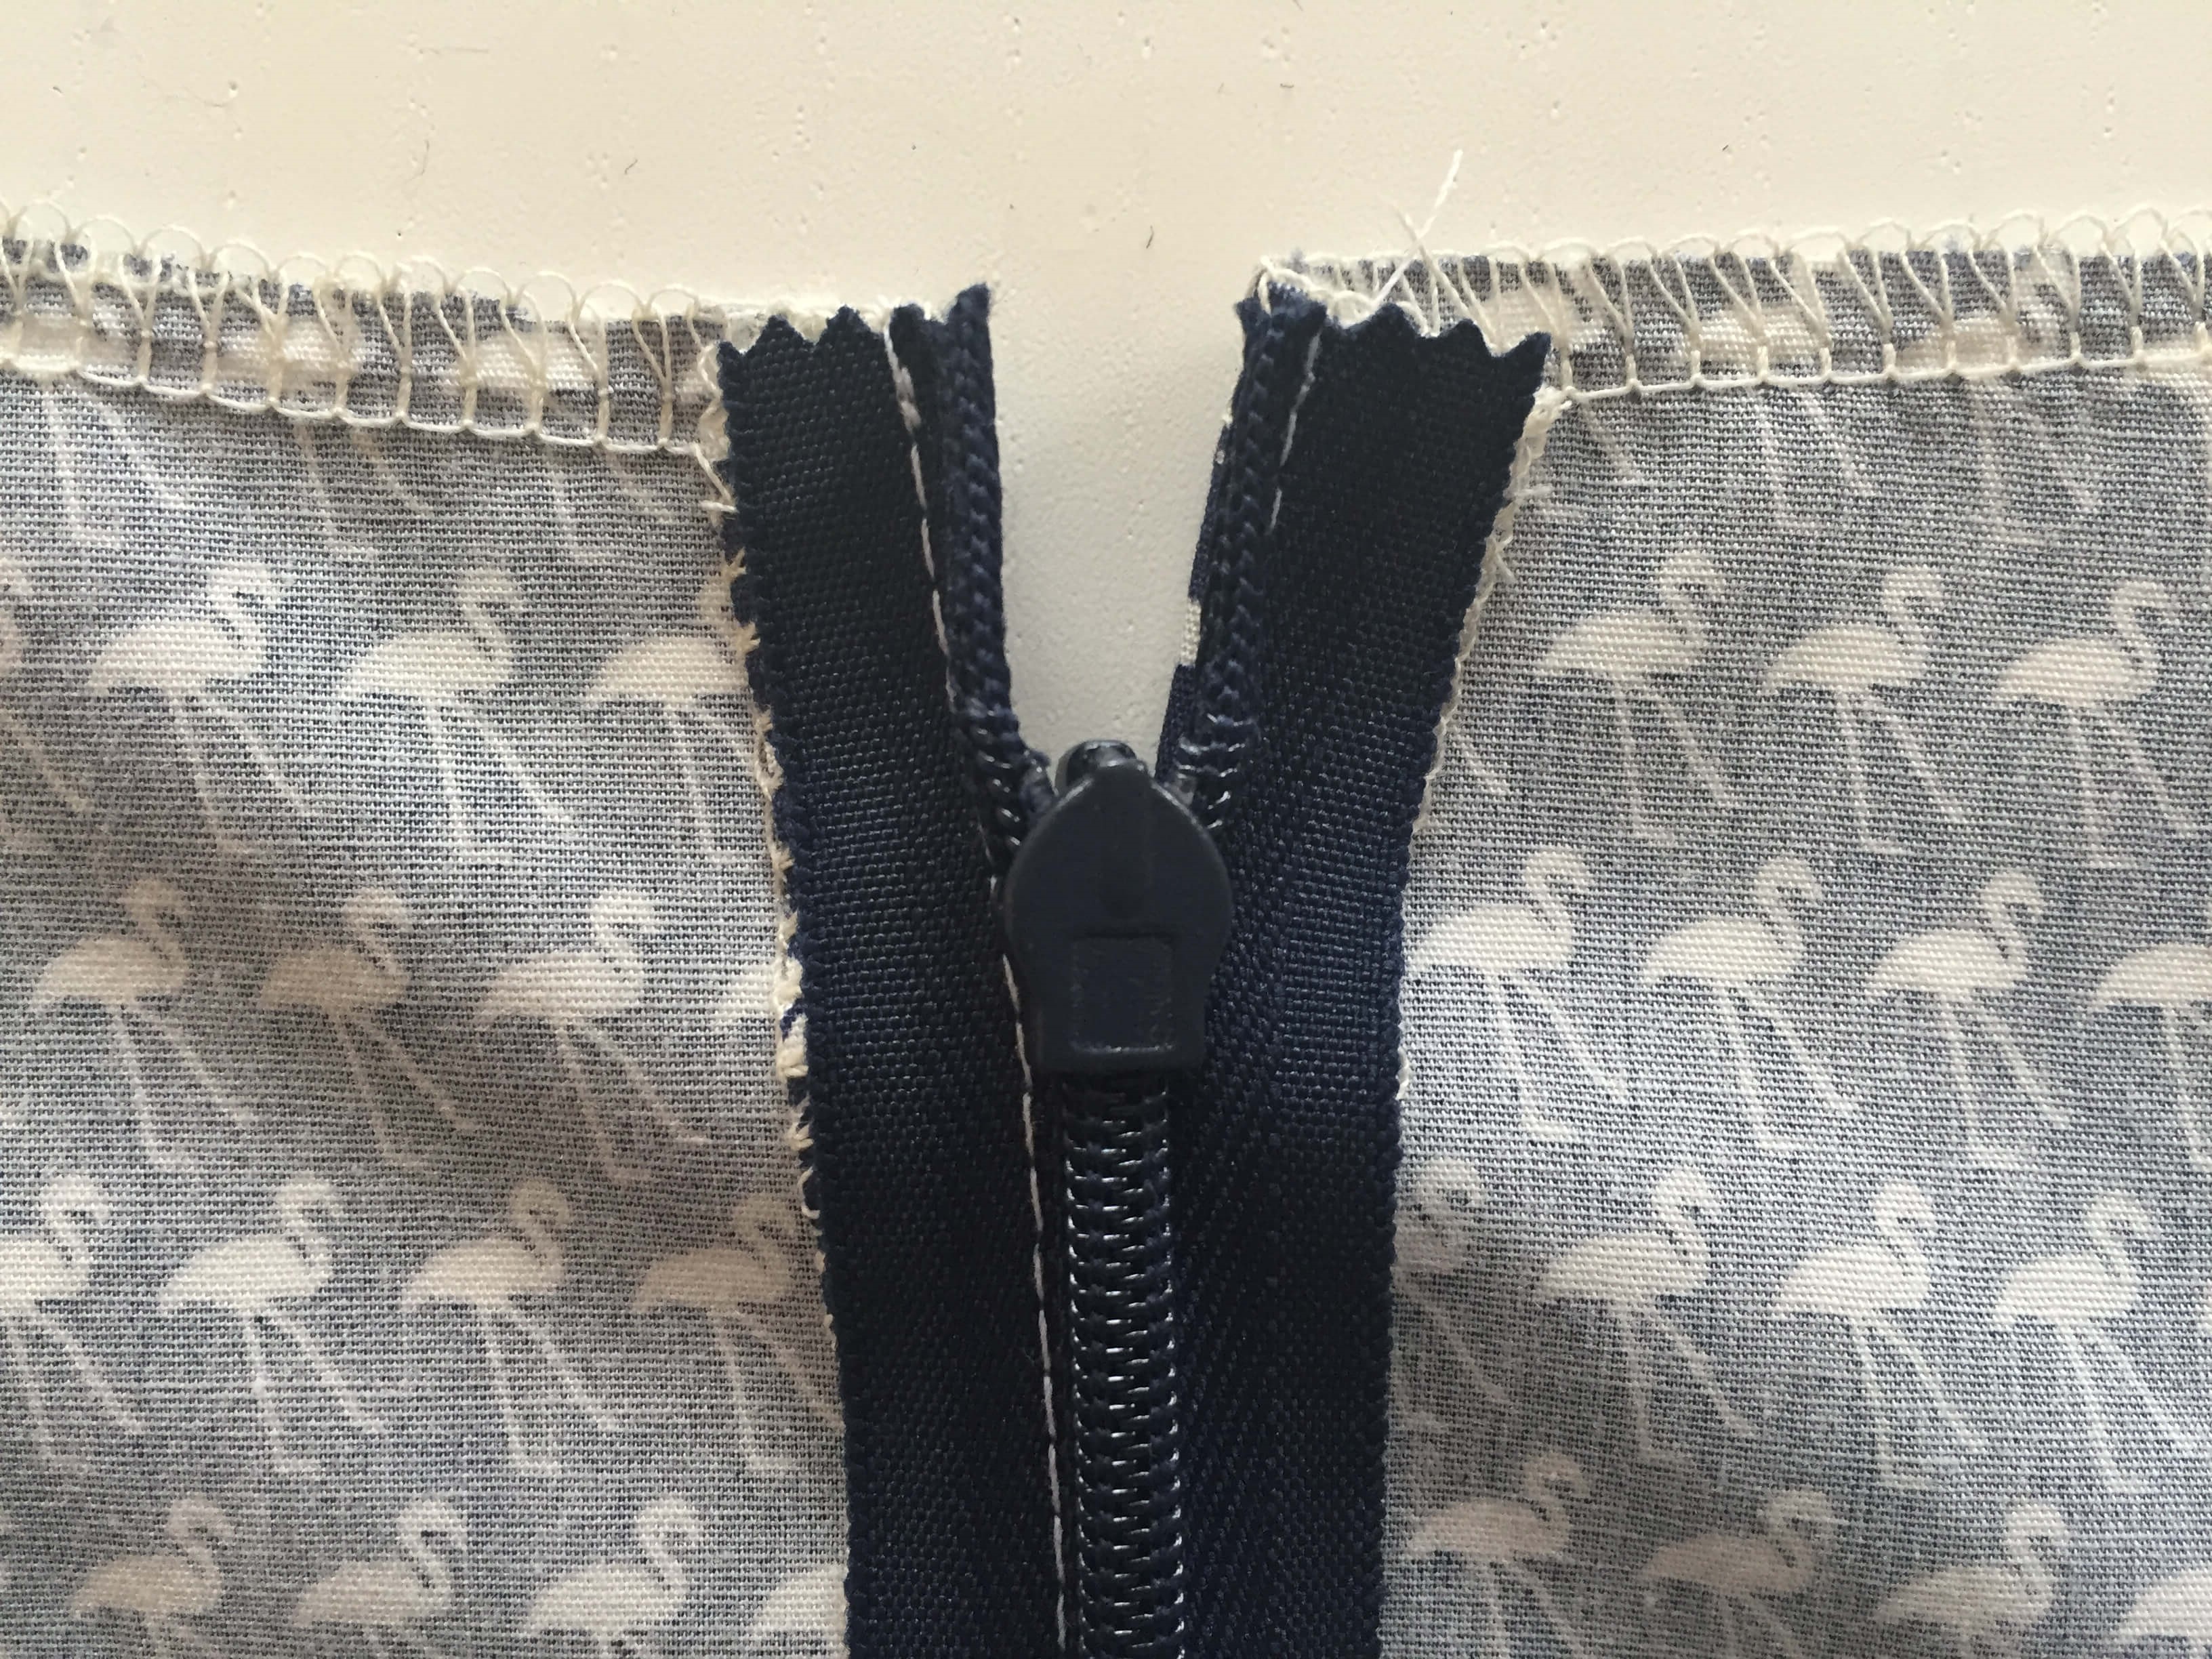
The bottom of the zip starts at the same place on both sides – use your notches as a guide.
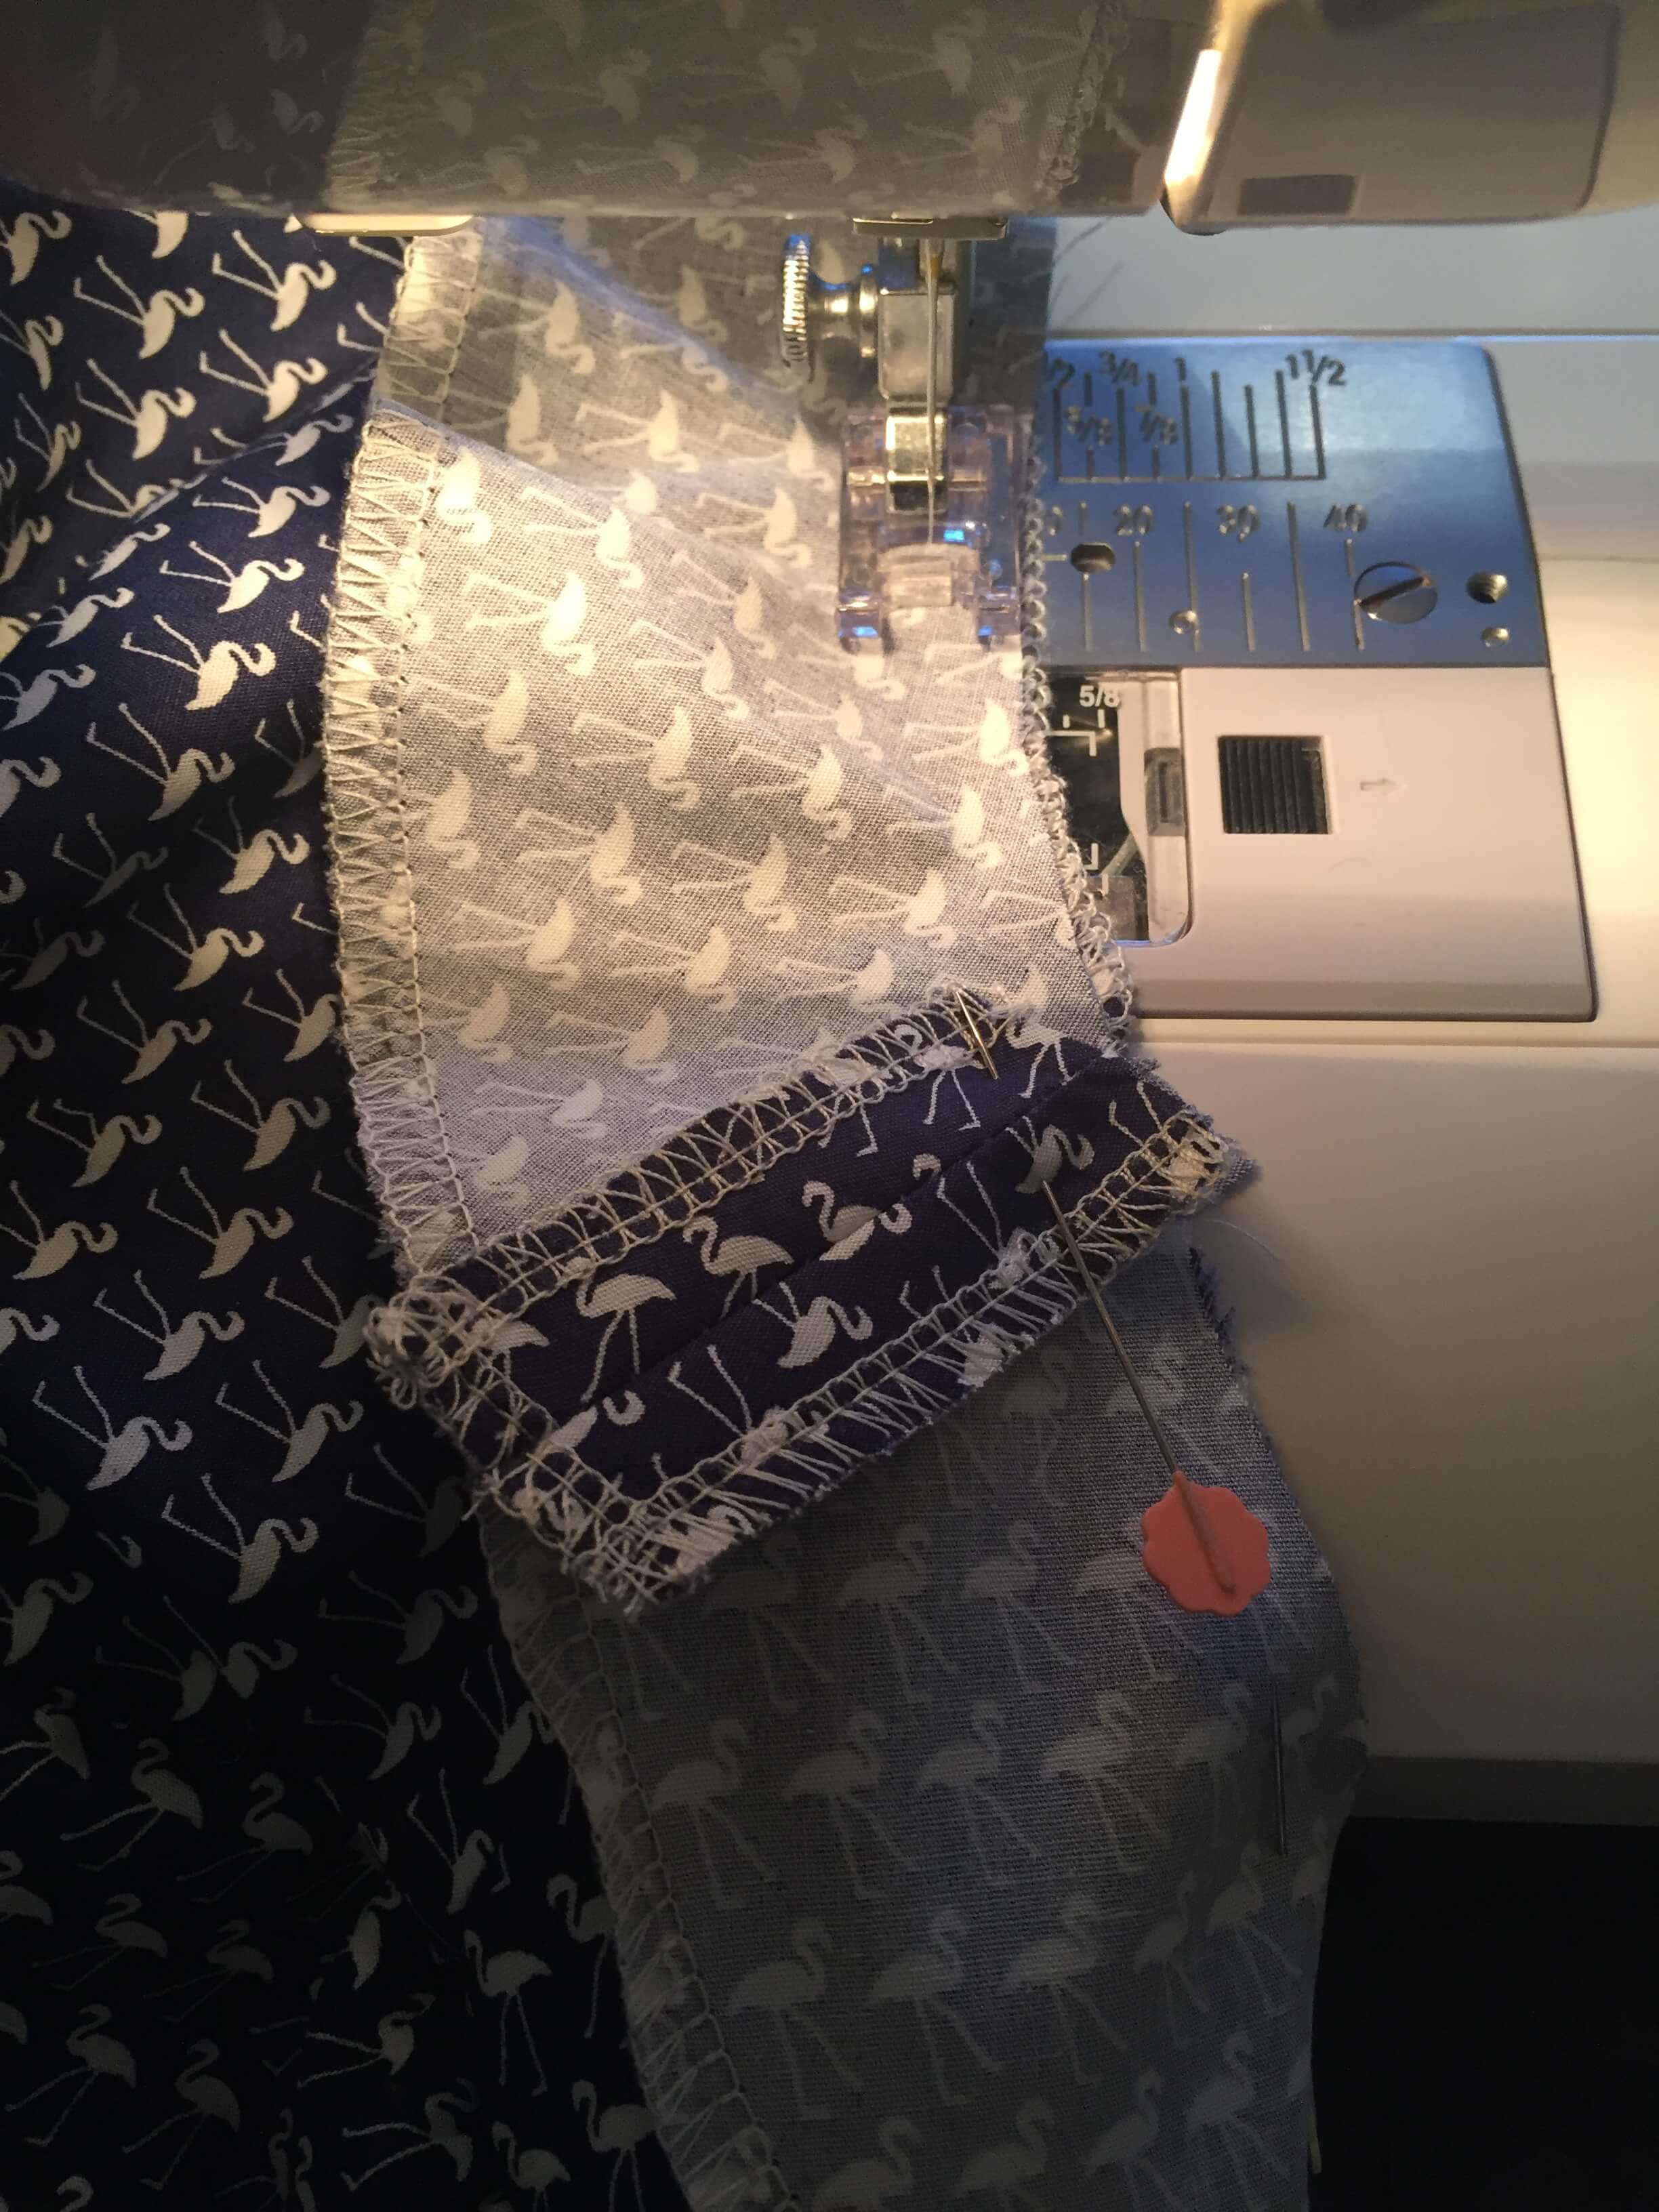
17. To complete the zip, you now need to start sewing from the bottom of the zip up to the top of the dress. Make sure you don’t stretch the zip as you are working your way up to the top.
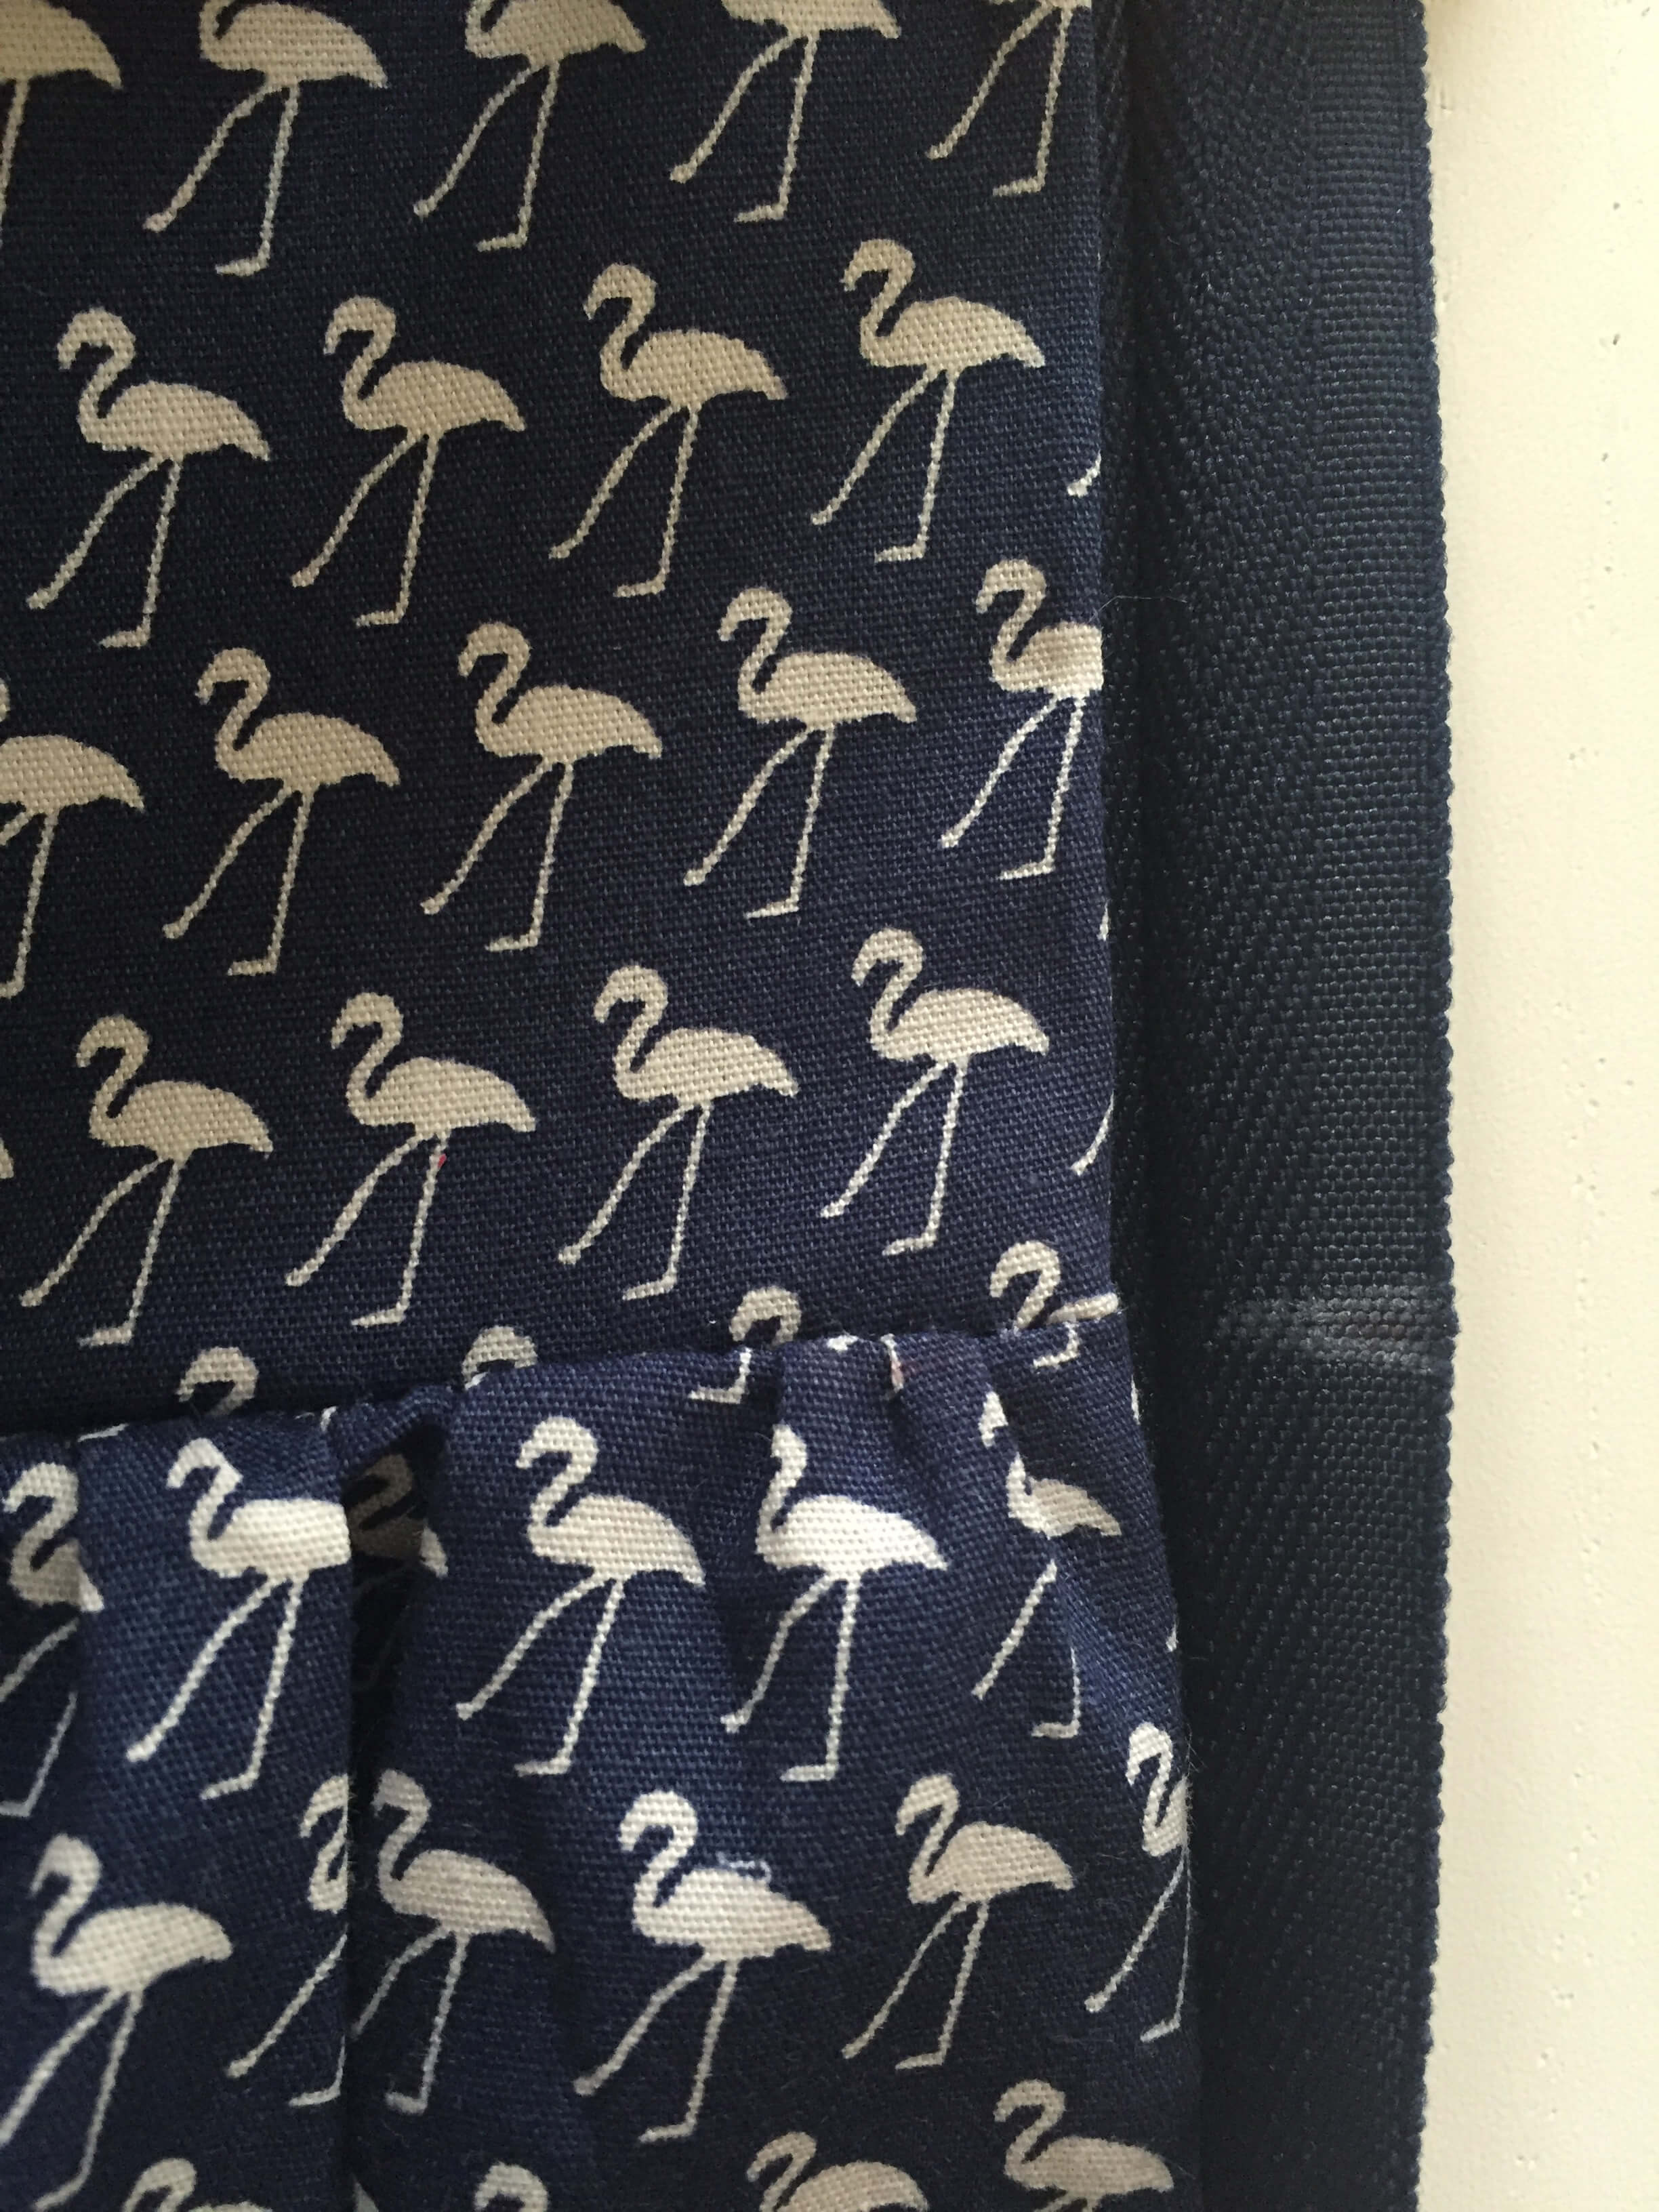
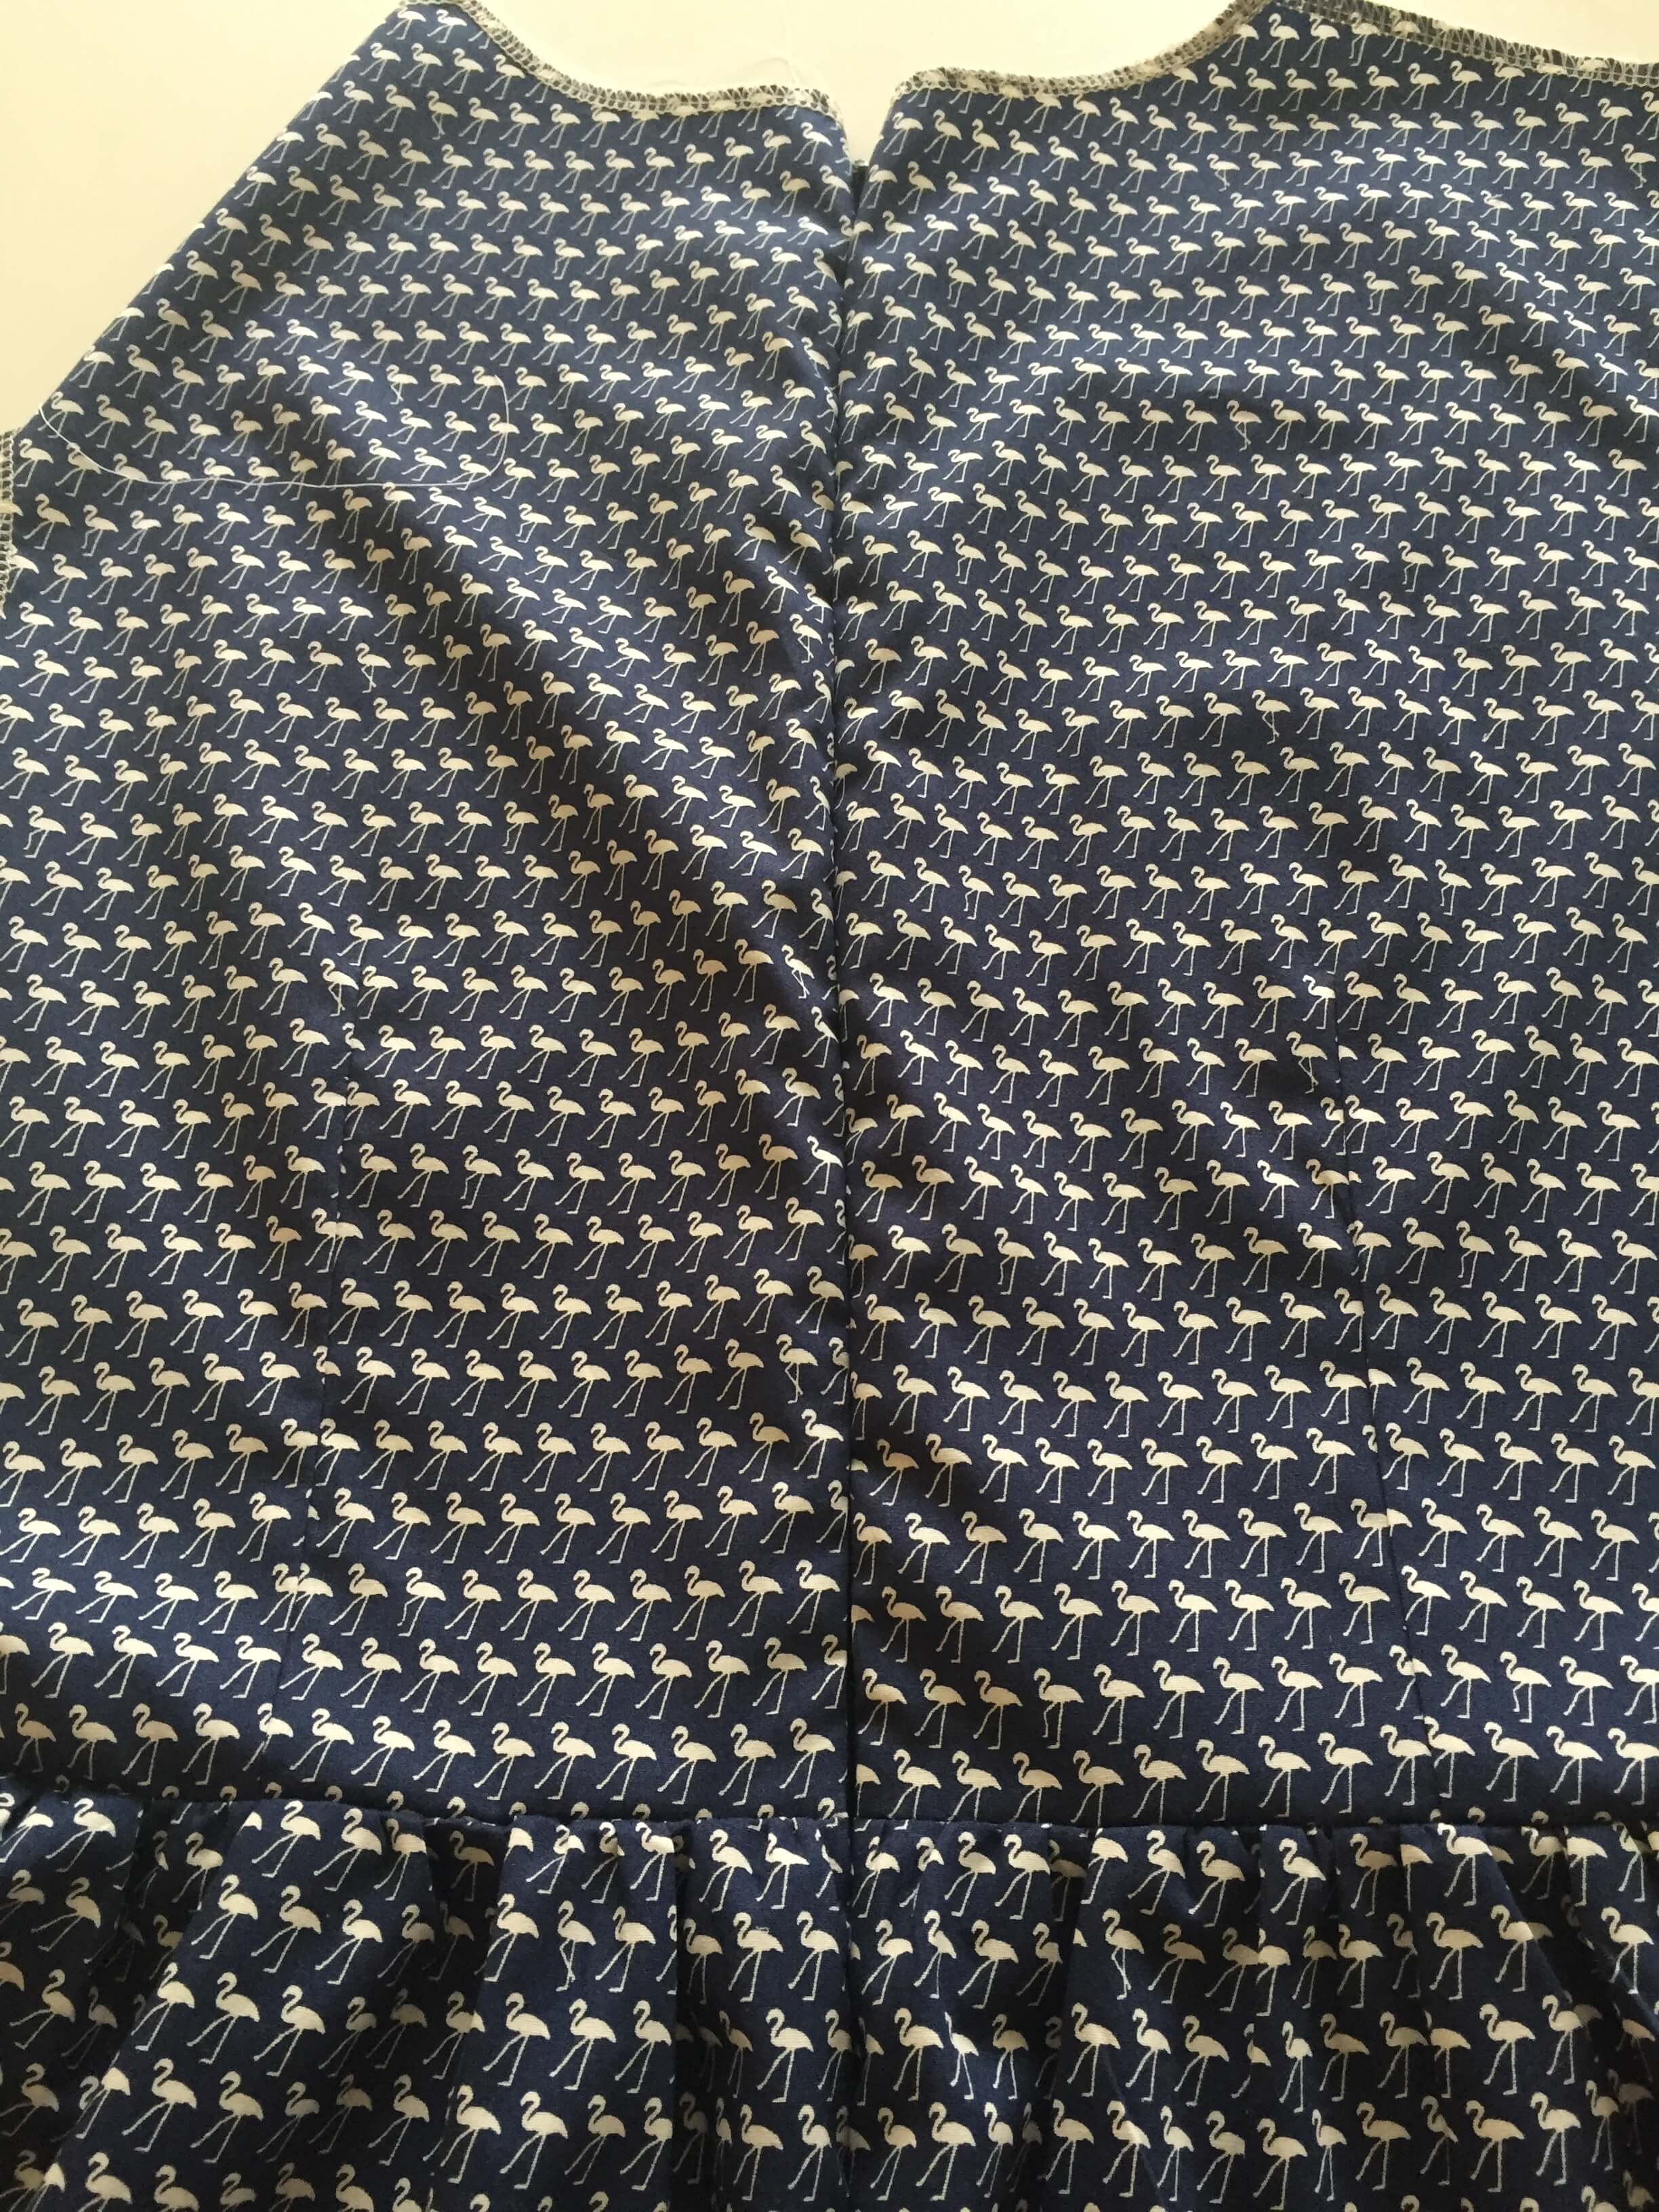
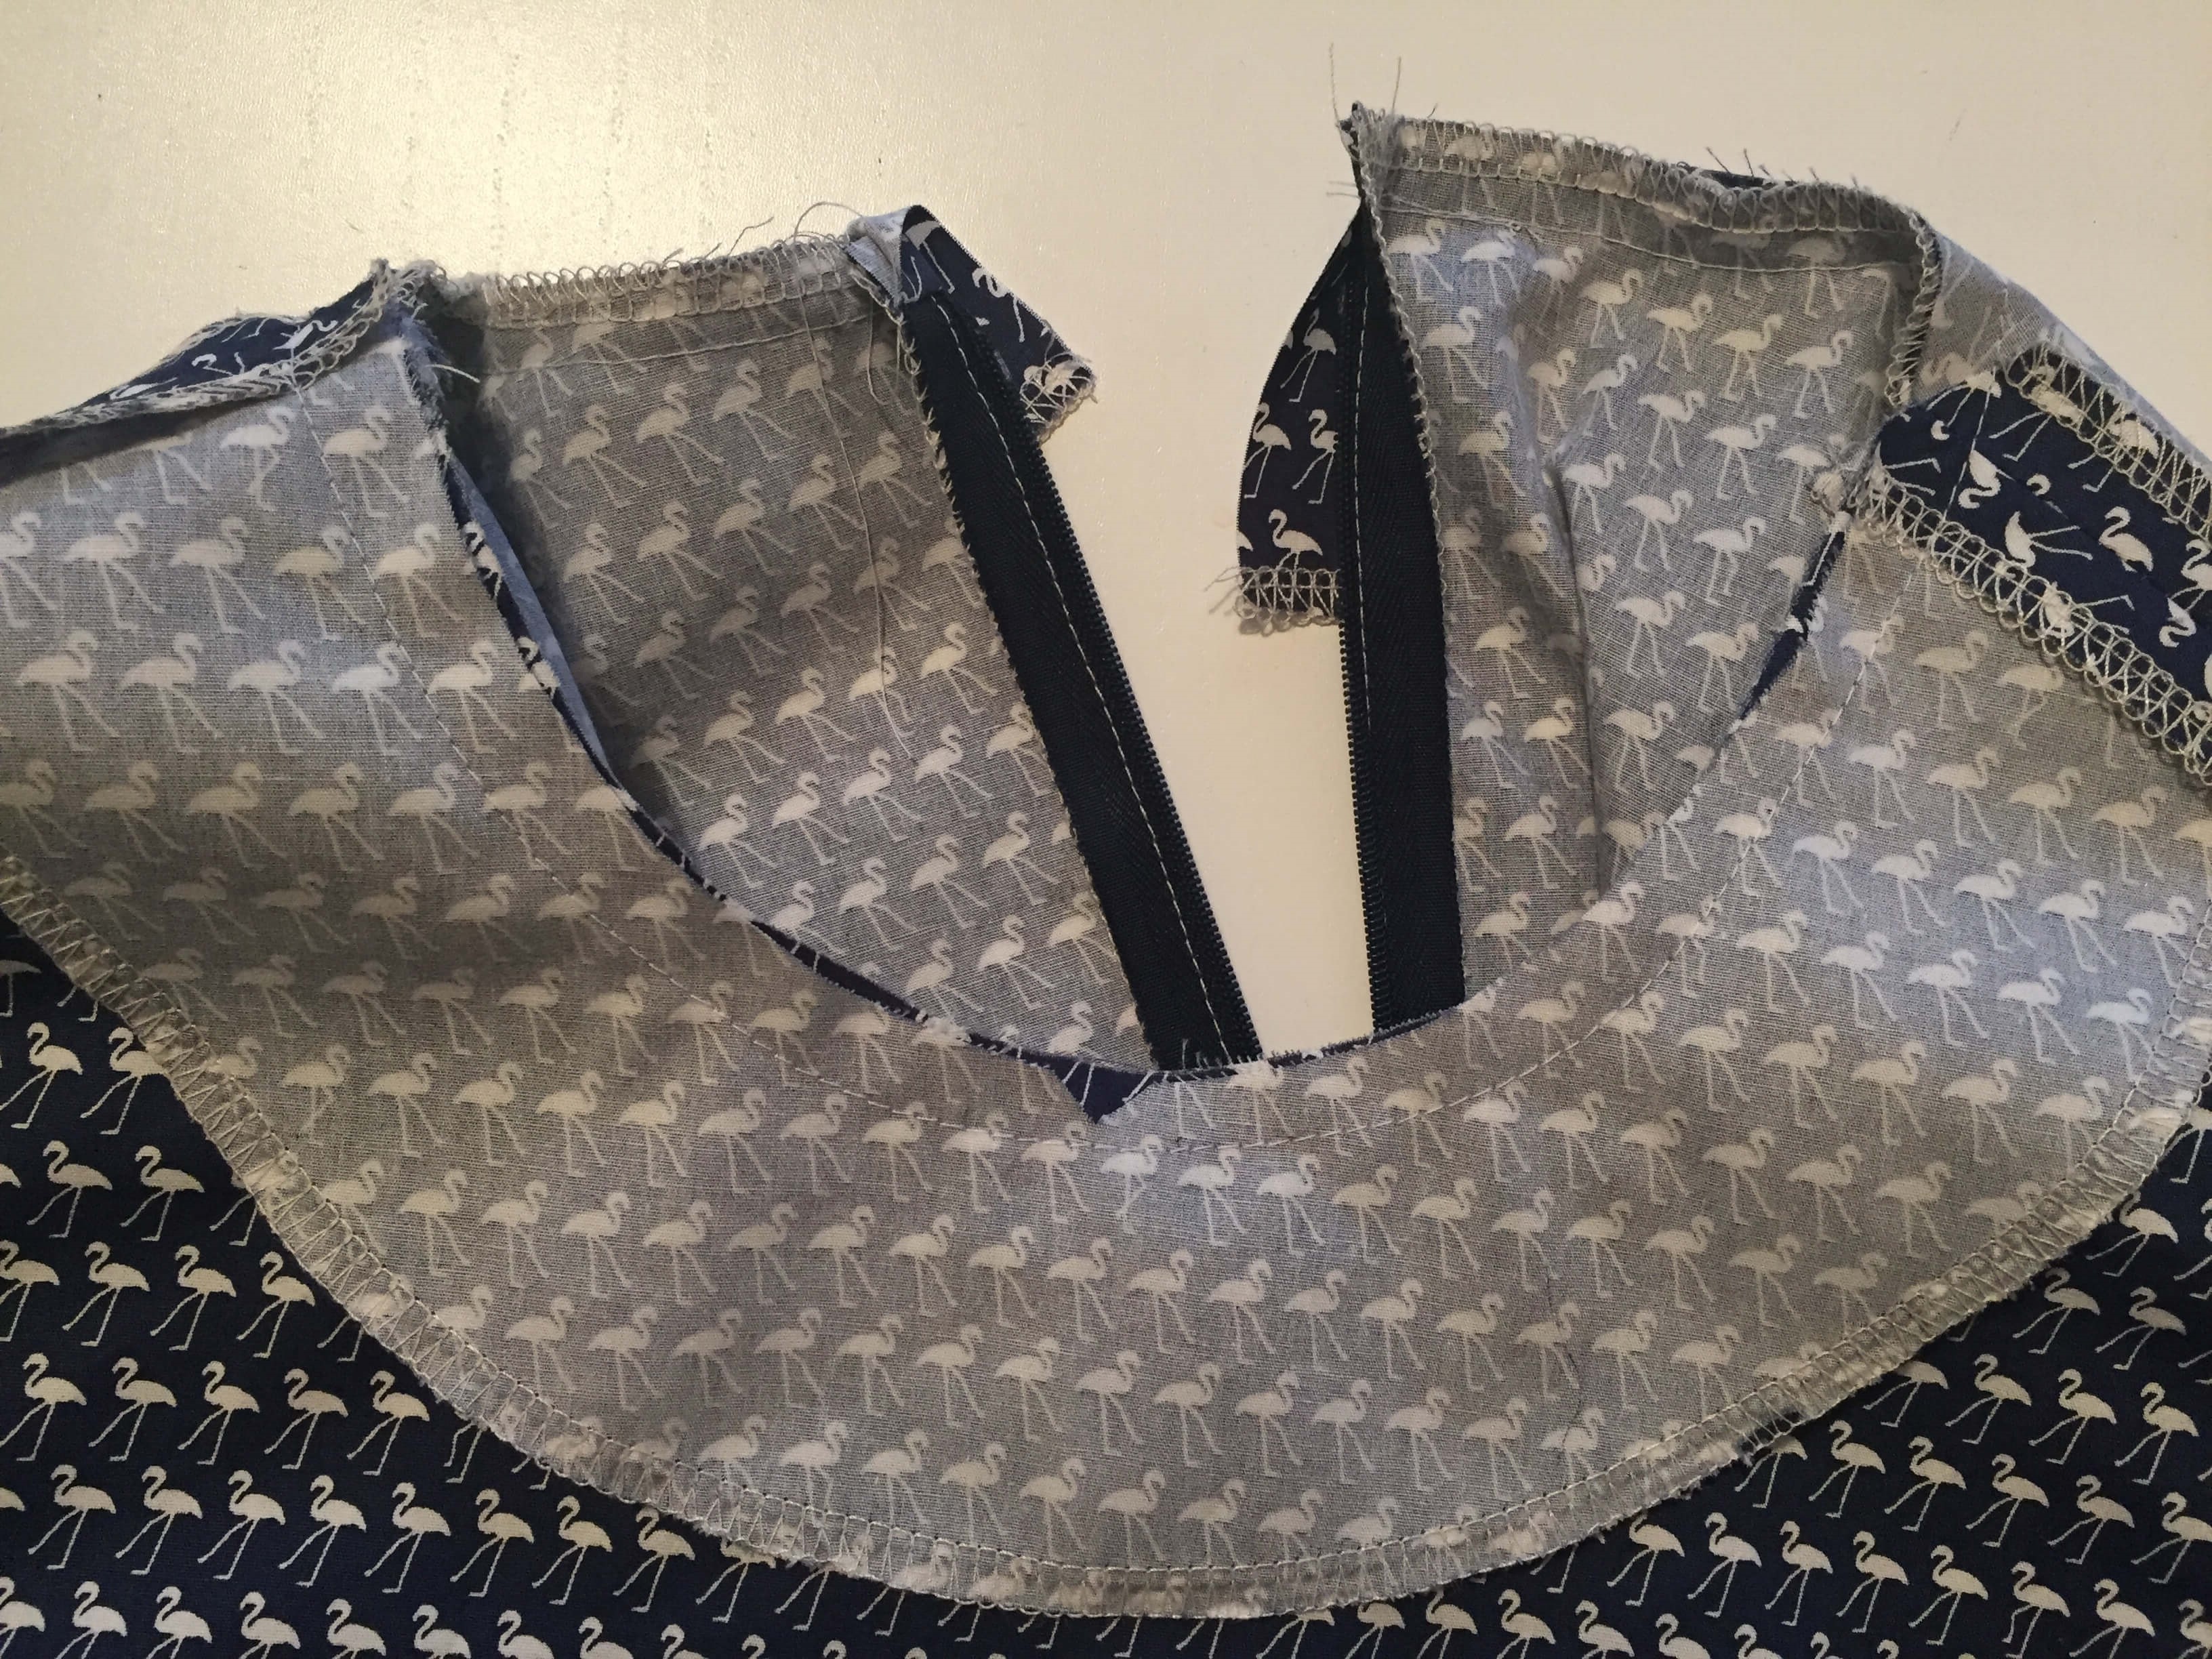
18. Zip up your zip and check that, where the bodice meets the skirt, both sides are the same. Ta-dah!
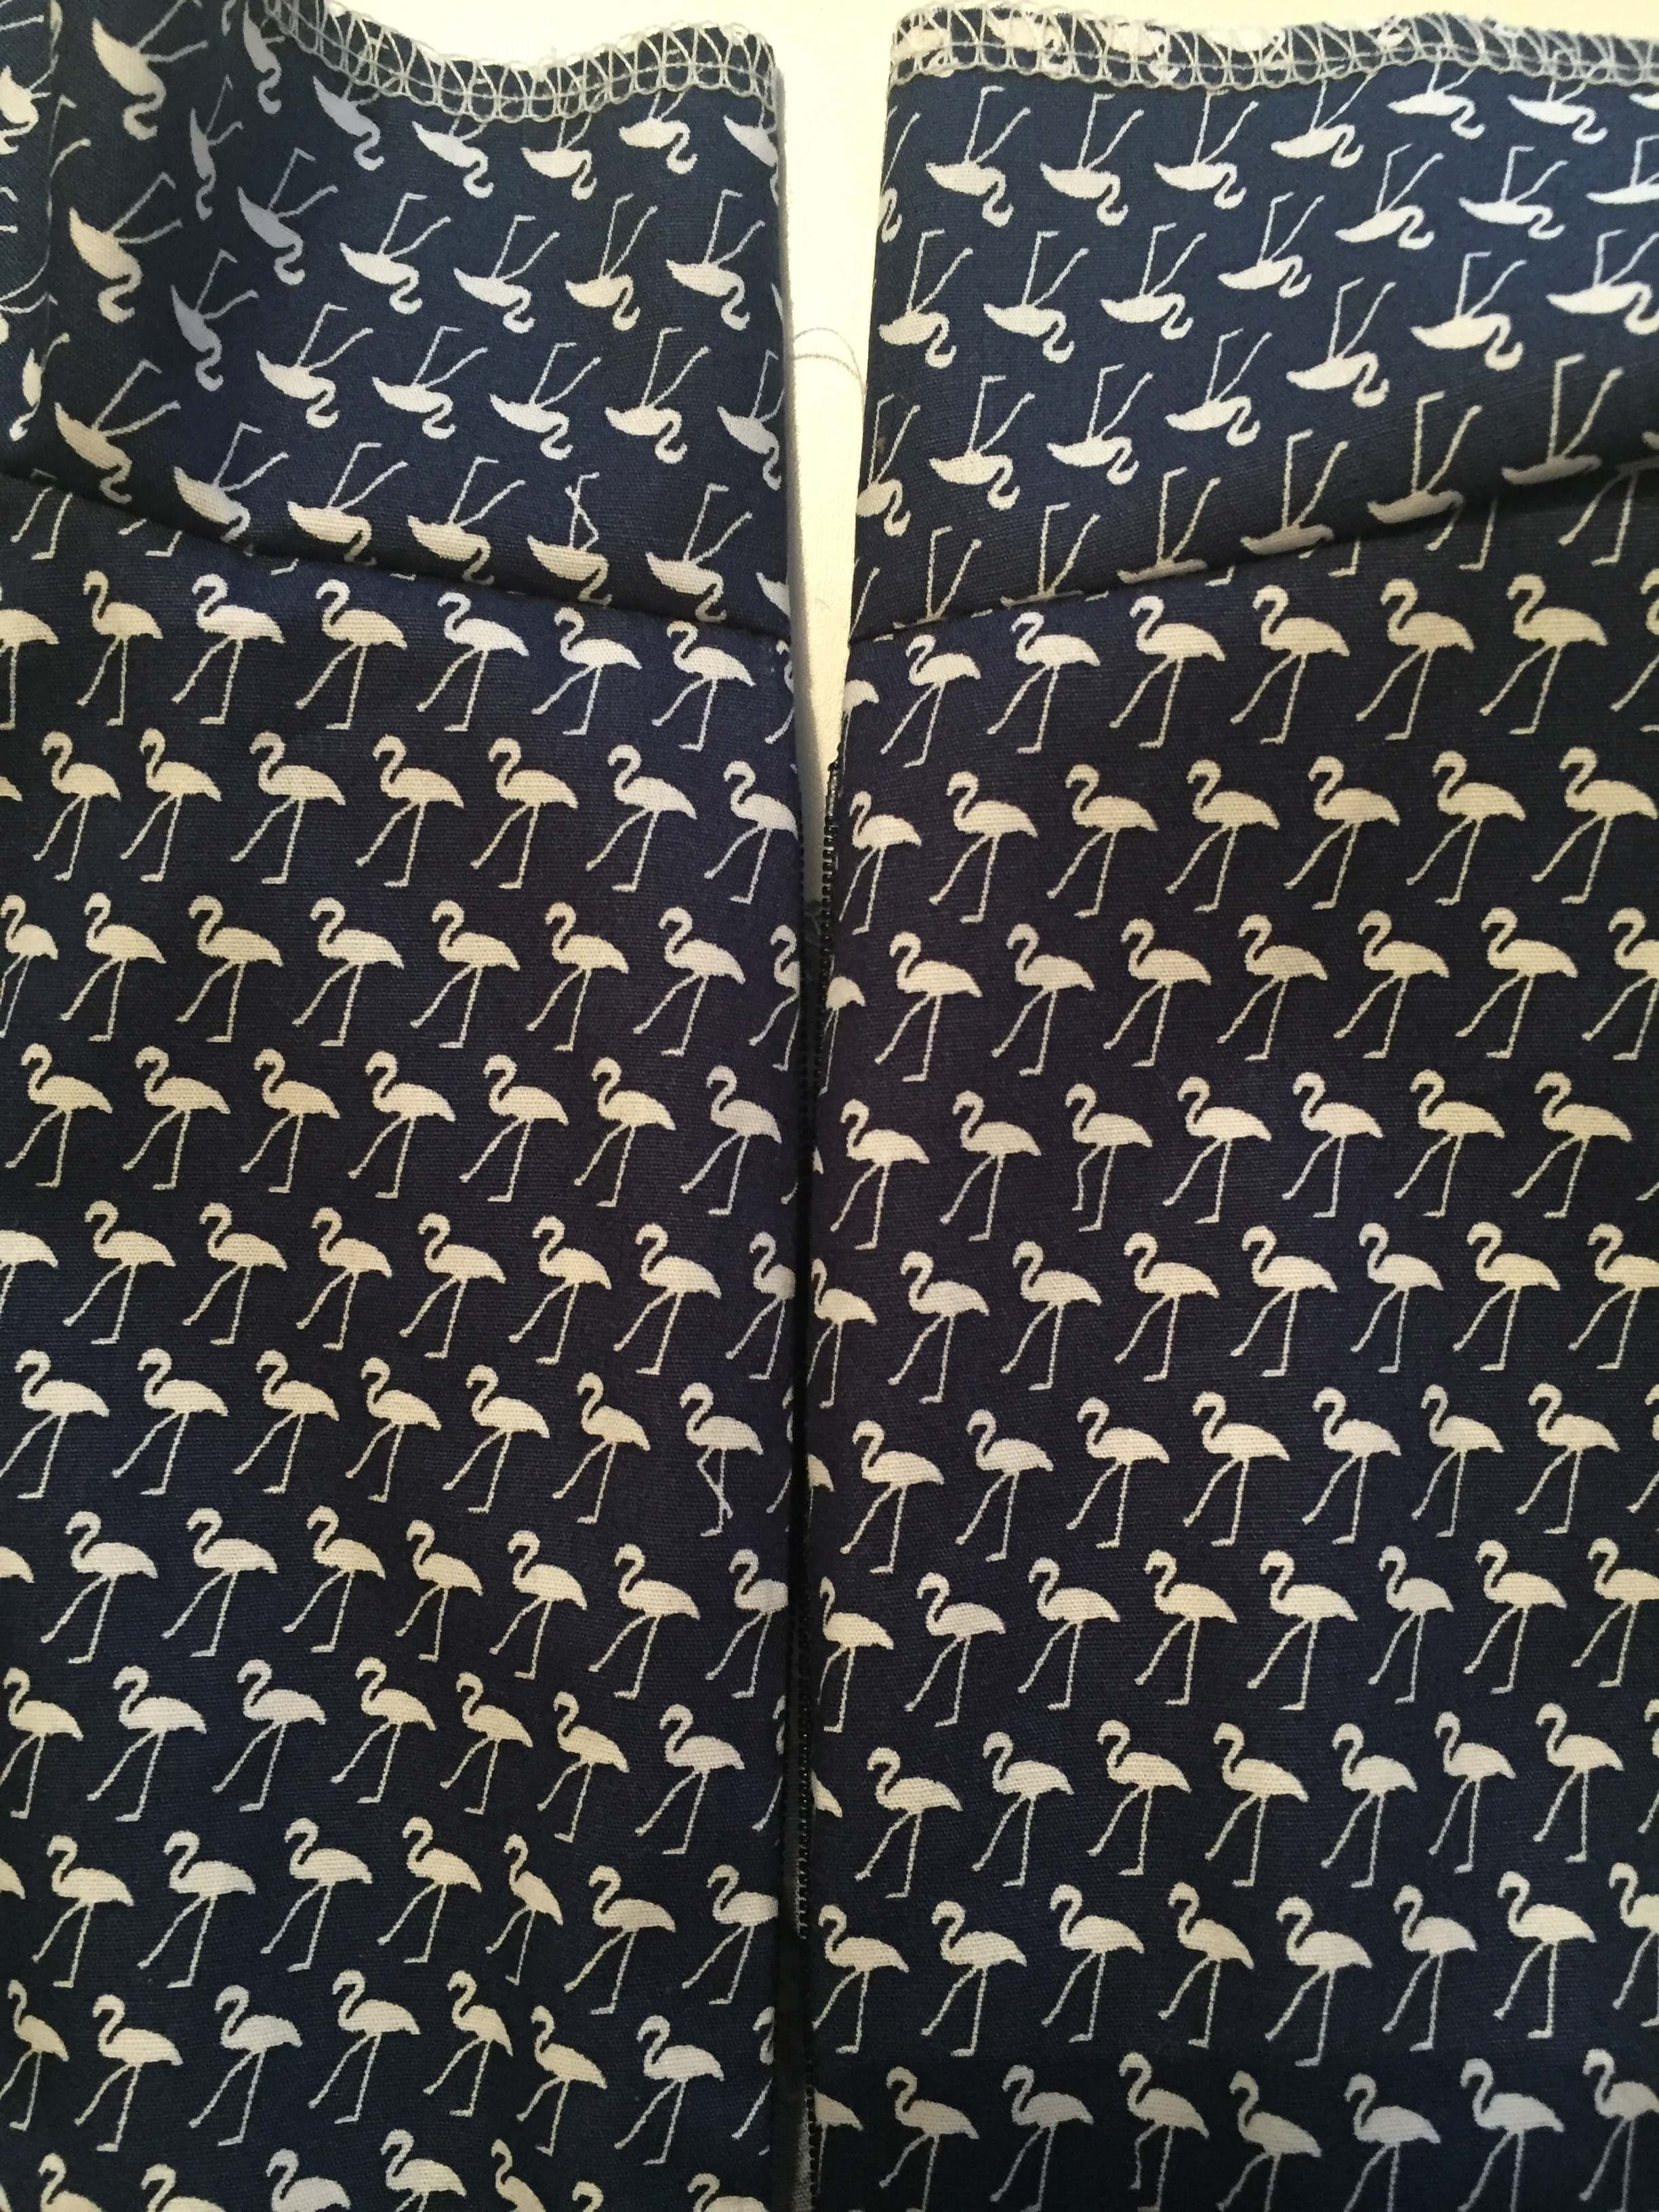
19. Pin the unsewn remainder of the skirt on the CB edge, matching up the notches and bottom hem.
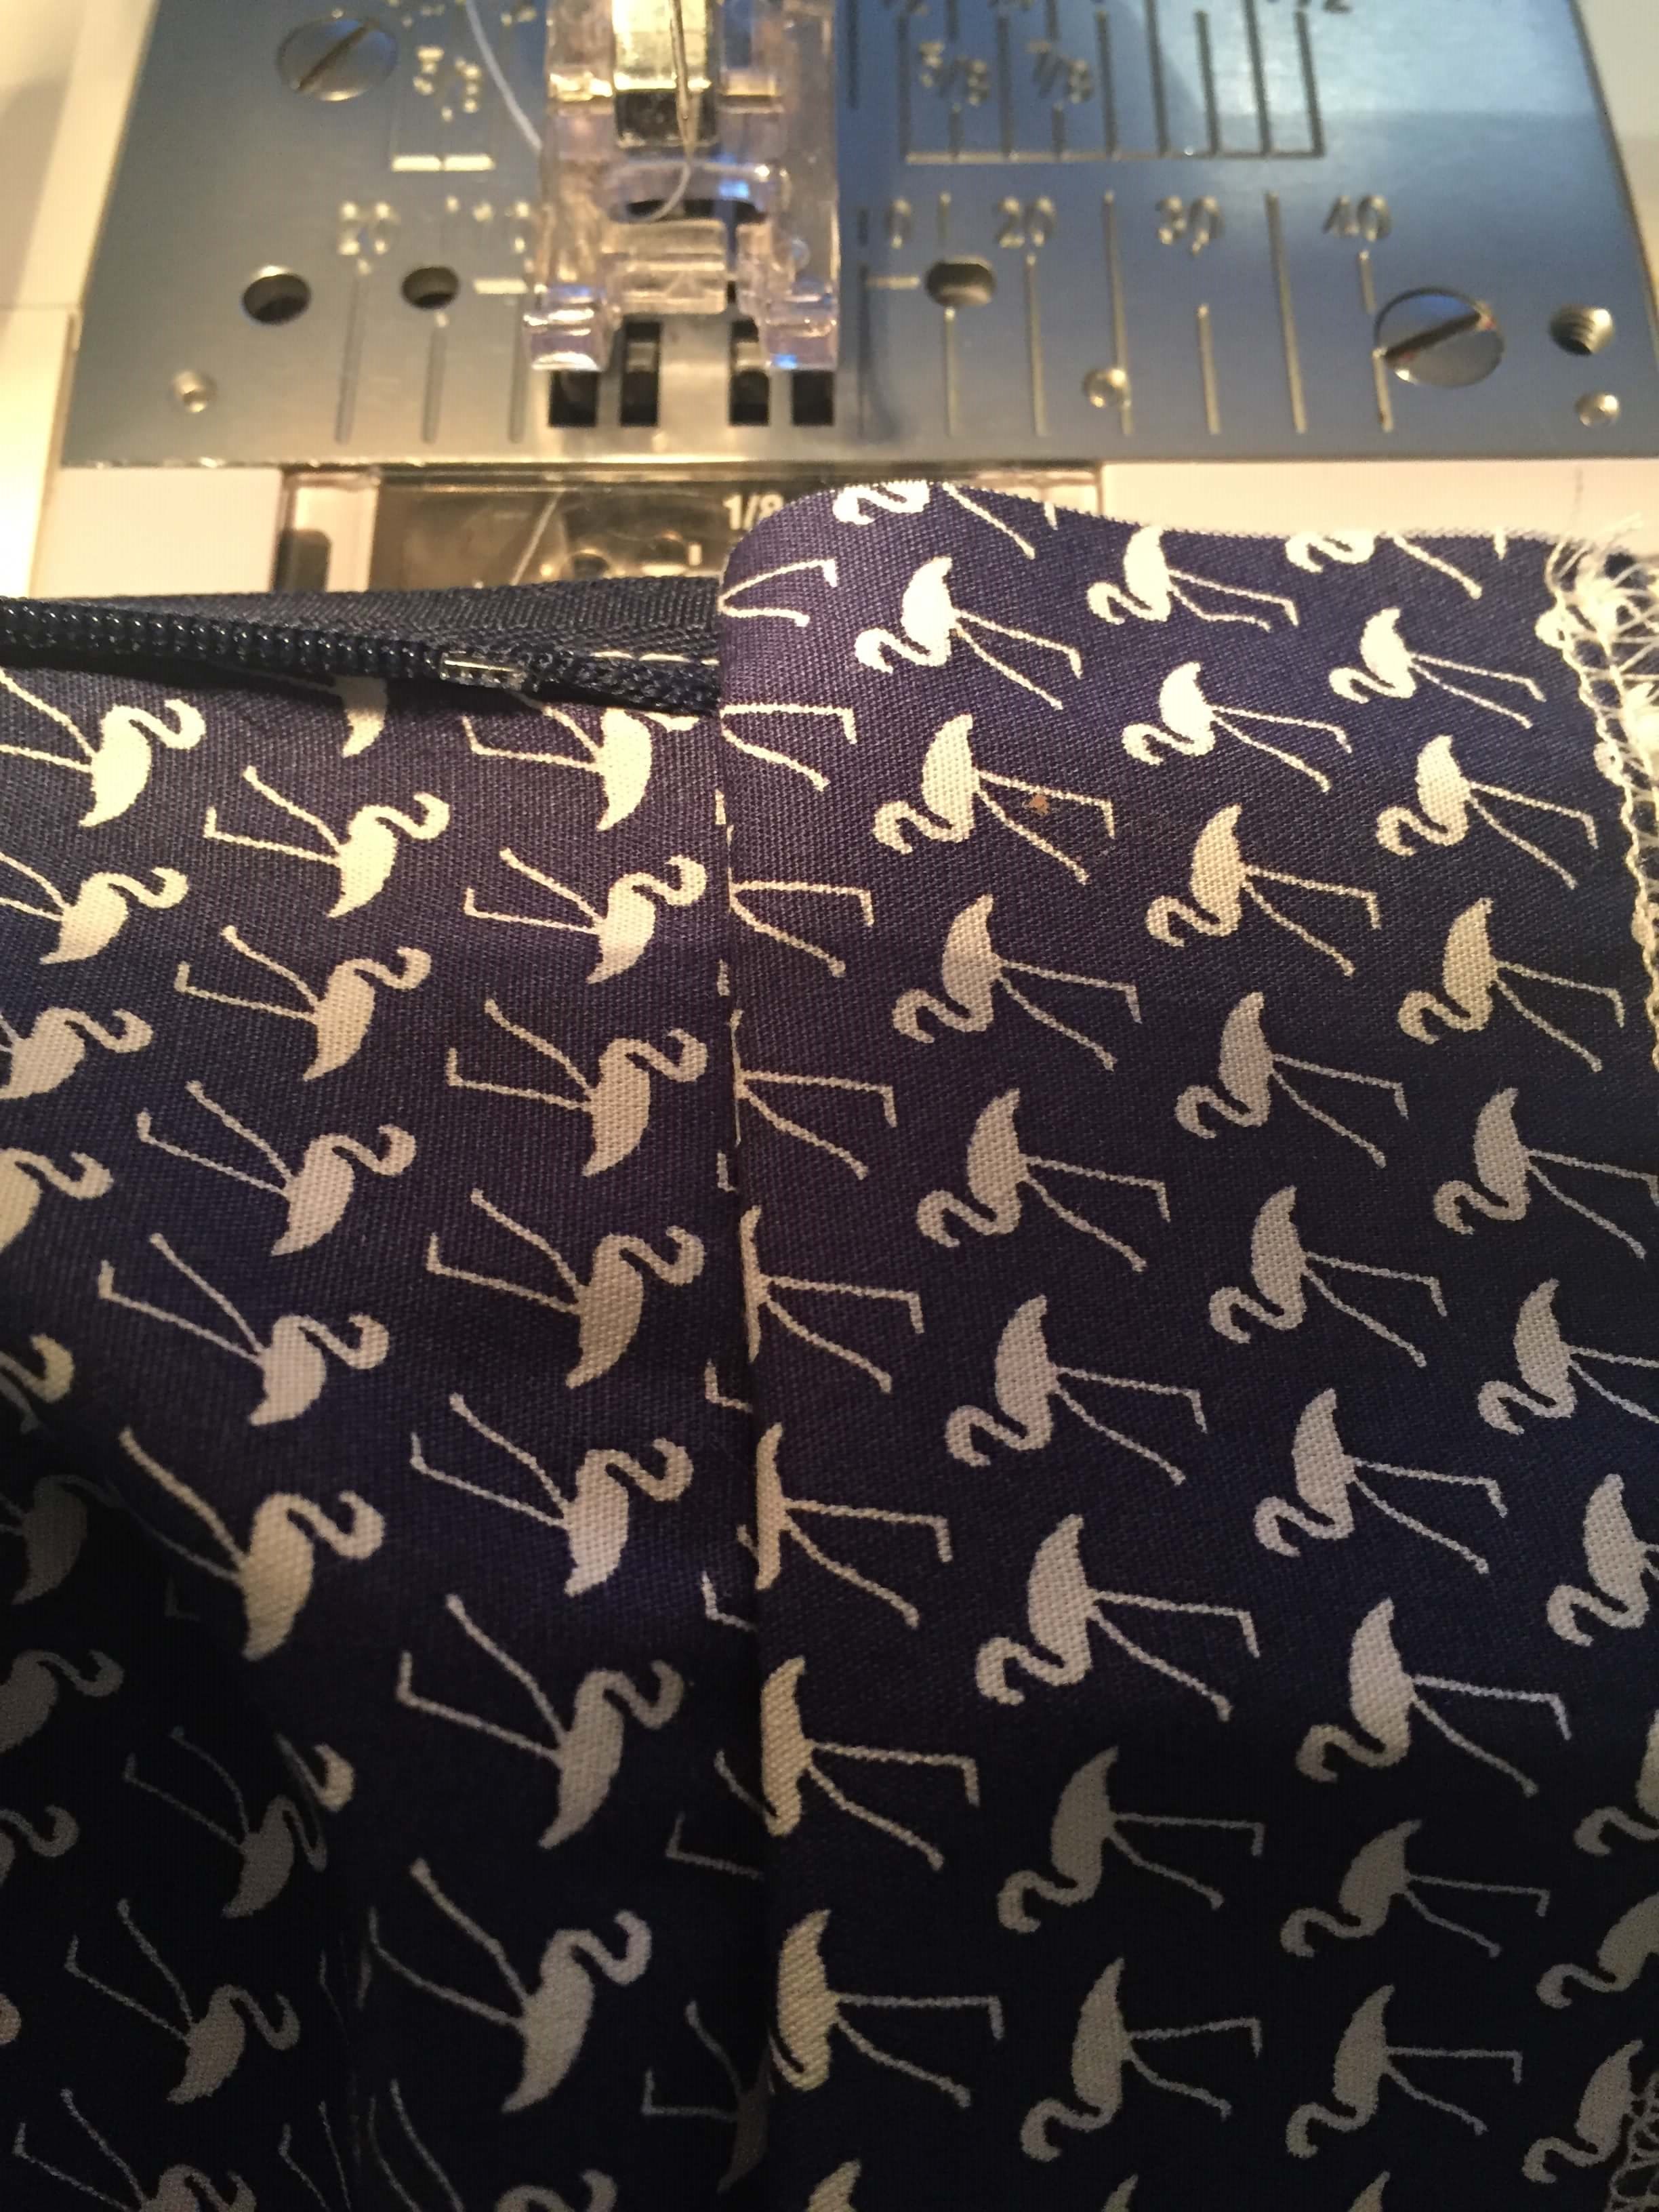
20. Push the loose unsewn zip piece to the right hand side and starting just above and to the left of the zip stitches, sew down to the hem, completing the centre back skirt (you will have to put your zip foot on the other side to the left of the needle to be able to sew closely to the stitches).
Tip. The trick here is to start as close as possible to the stitches you have done when putting in the zip. You will then need to manoeuvre your sewing line to get back onto sewing a 1.5cm seam allowance.

21. Iron open your seam allowance. You can now change your presser foot back to your normal foot.
FRONT BODICES
VIEW A FRONT BODICE
22. Place your two bodice pieces right sides together. Sew together along the front and iron open your seam allowances. Then continue with number 23.
VIEW A & B FRONT BODICE DARTS
23. Place the front bodice piece A (for View A) or C (for View C) in front of you. On the wrong side, ensure that you have marked your dart notches and dart dots.
Pin your darts and stitch in place, using the same technique as the back darts. Iron both waist darts towards the side seam. Iron both bust darts down towards the waist.
24. Place your skirt front and the bodice front right sides together. It’s important here to ensure that the middle of the bodice and the middle of the skirt are matched up. Start by pinning the two sides, then the middle and then work your way in between the pins. Keep your edges flush along the edge you are going to sew.
Stitch together, using a 1.5cm seam allowance and iron open your seam allowance.
FRONT BODICE / SHOULDER SEAMS
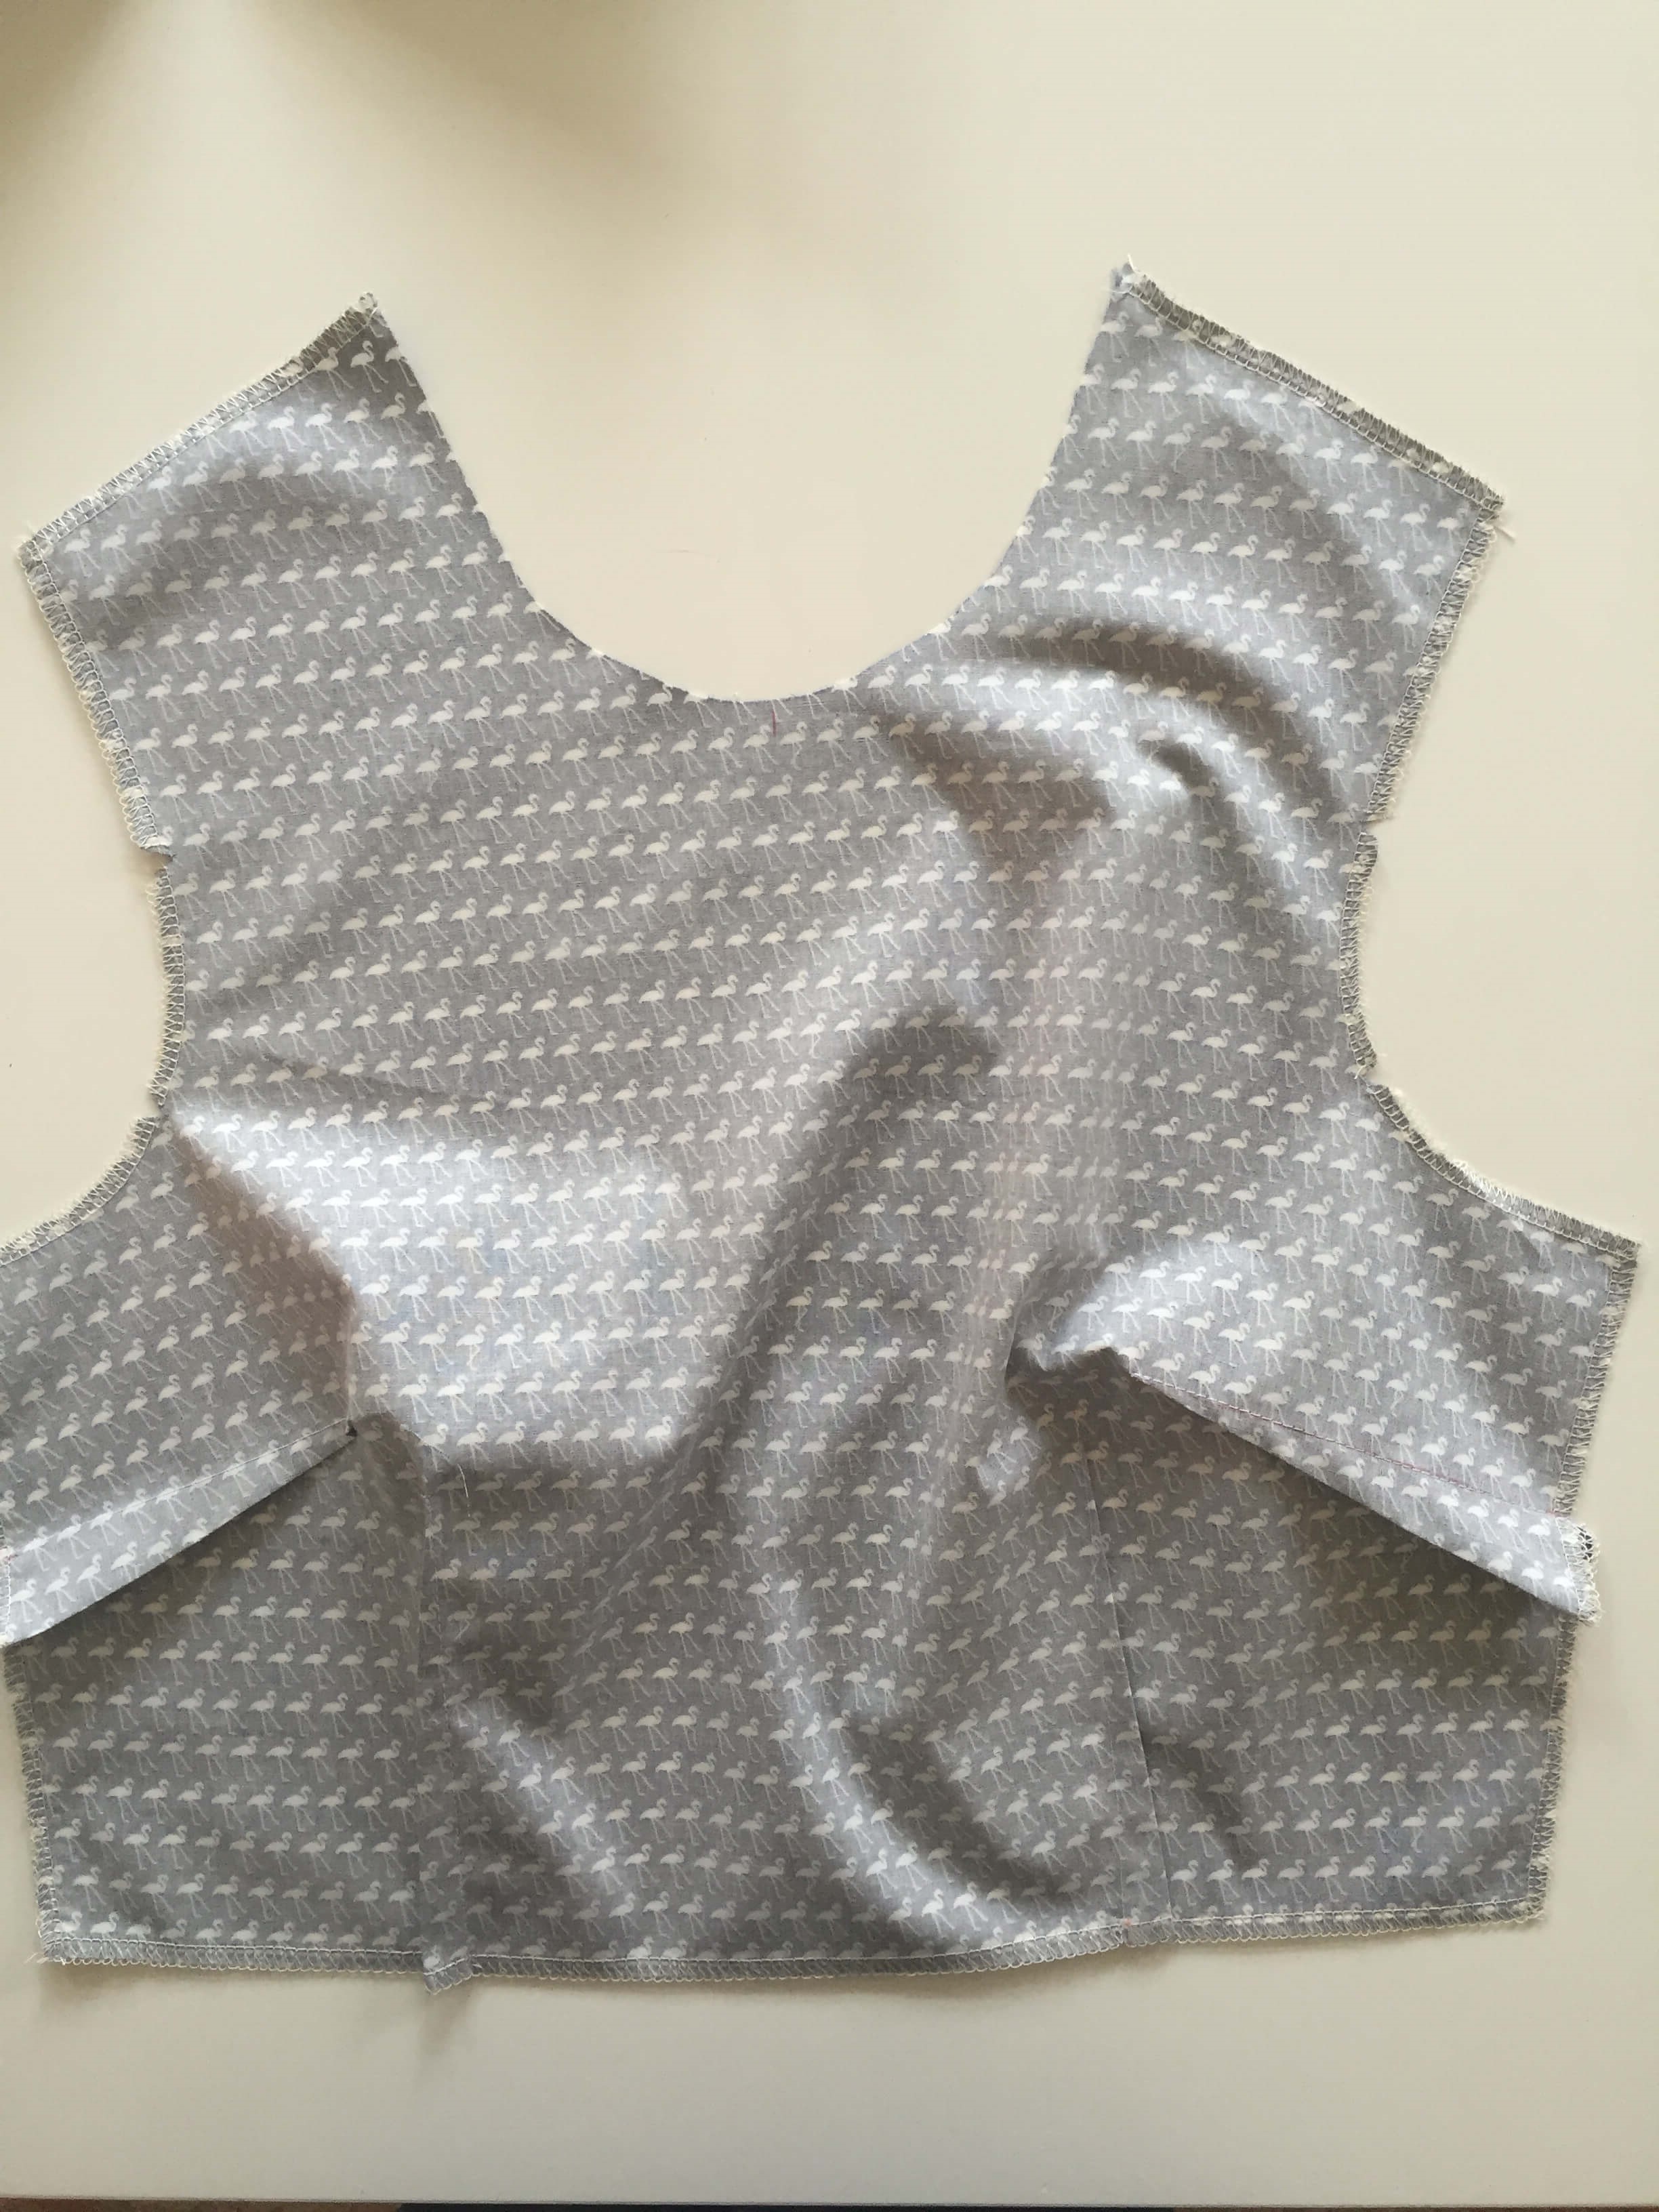
25. Place your back and front dress right sides together, matching up the shoulder seams. Sew the shoulder seams in place and iron open your seam allowances.
SLEEVES
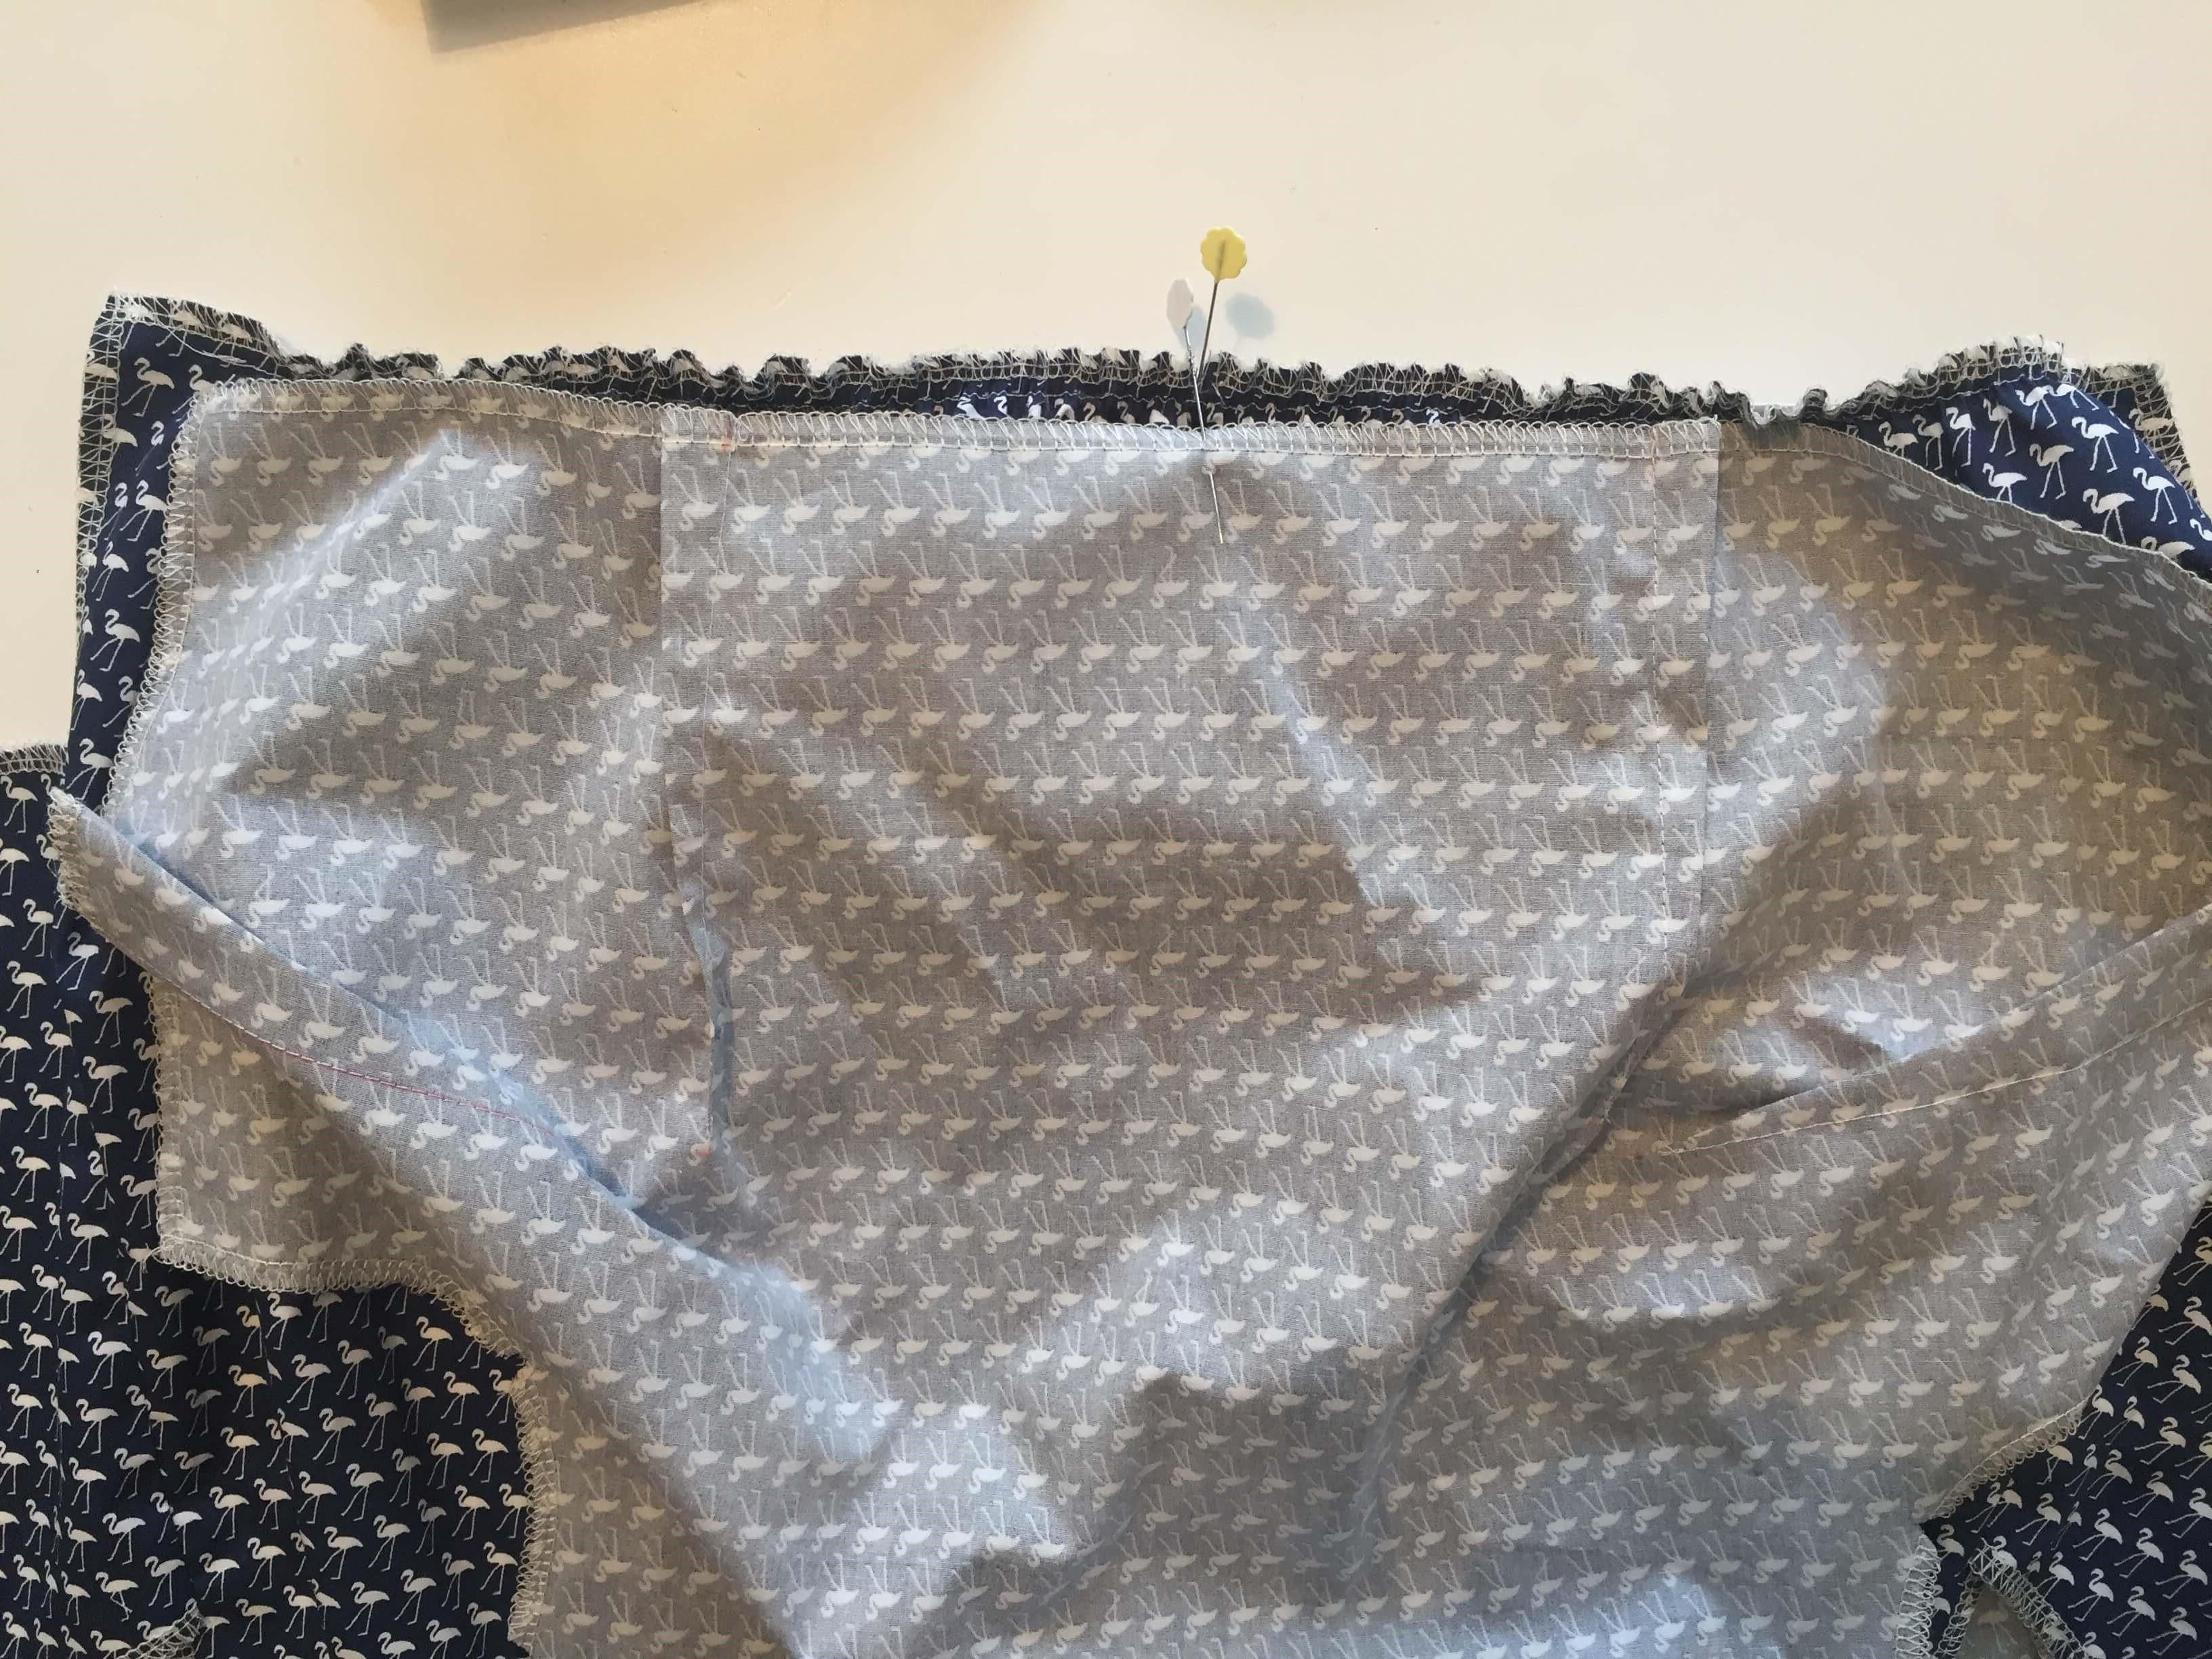
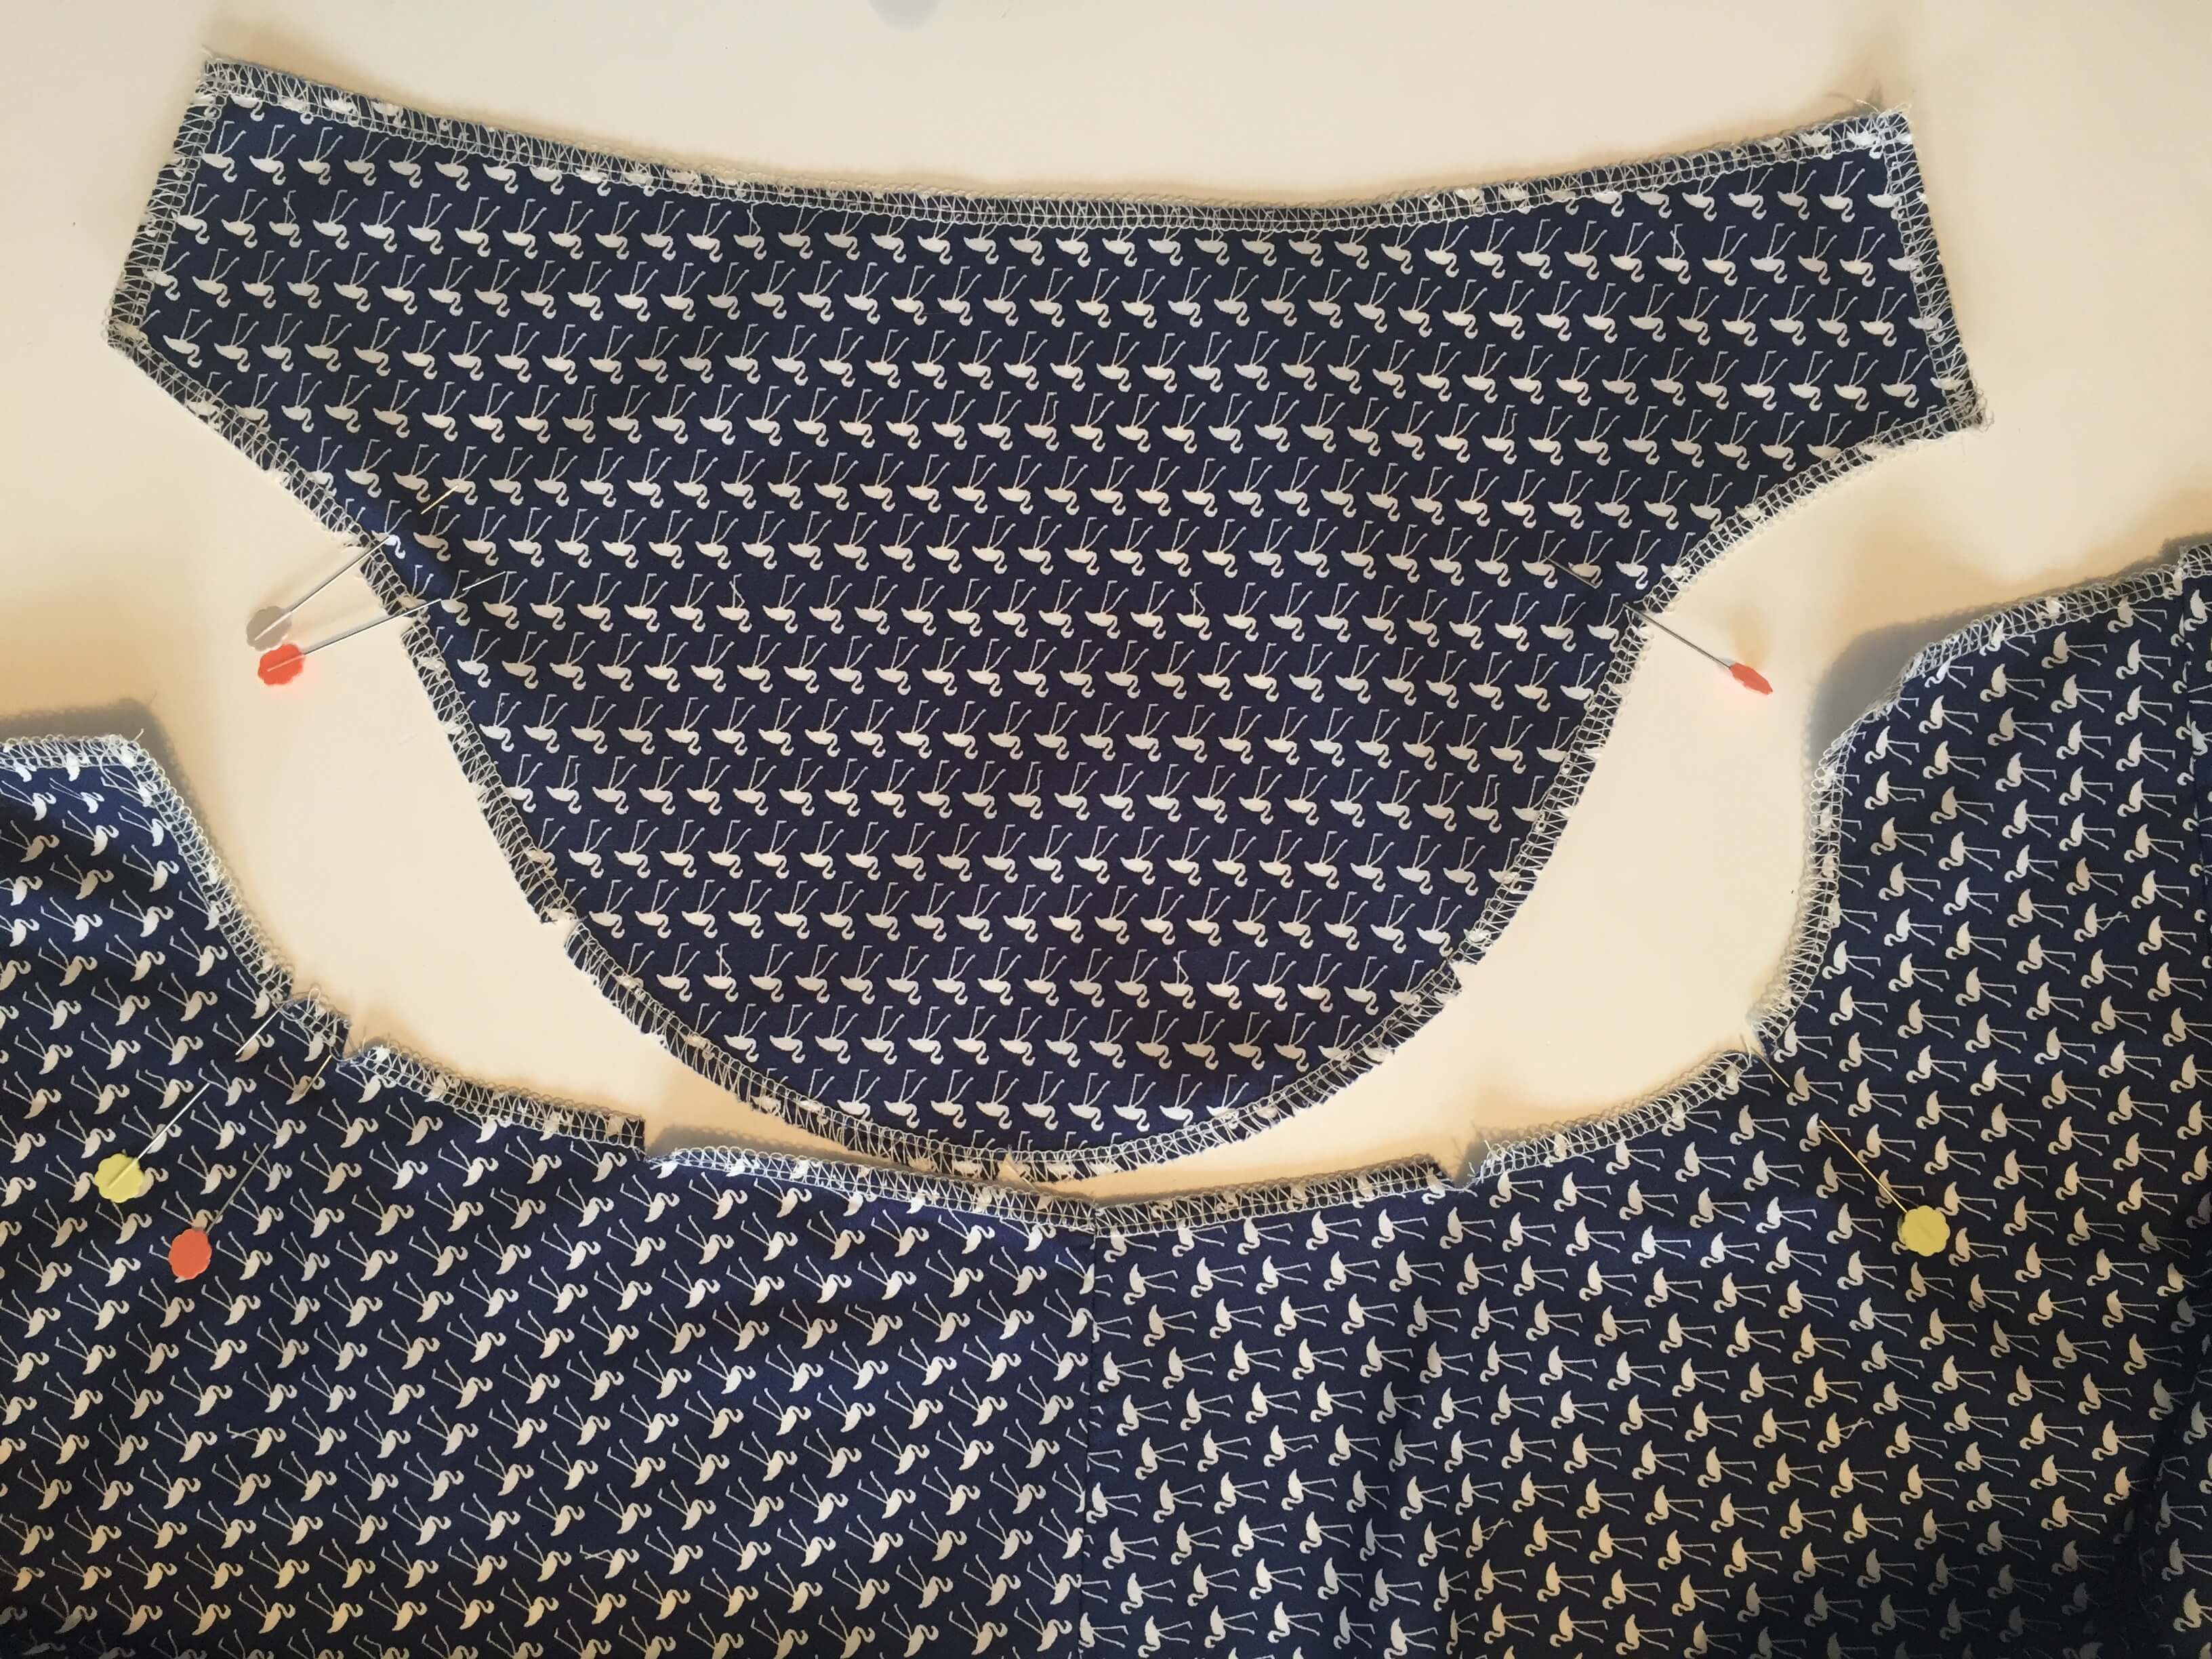
26. Open out your dress so that you have the curve of the armhole flat on the table, right sides facing you. Can you see that the back sleeve has three notches and the front sleeve has two notches? These match up to the dress notches! We’ve placed two pins on the sleeve back and two pins on the bodice back to show you how they match up.
Tip. It’s very important that you are sewing the front of the sleeve to the front of the dress and the back of the sleeve to the back of the dress.
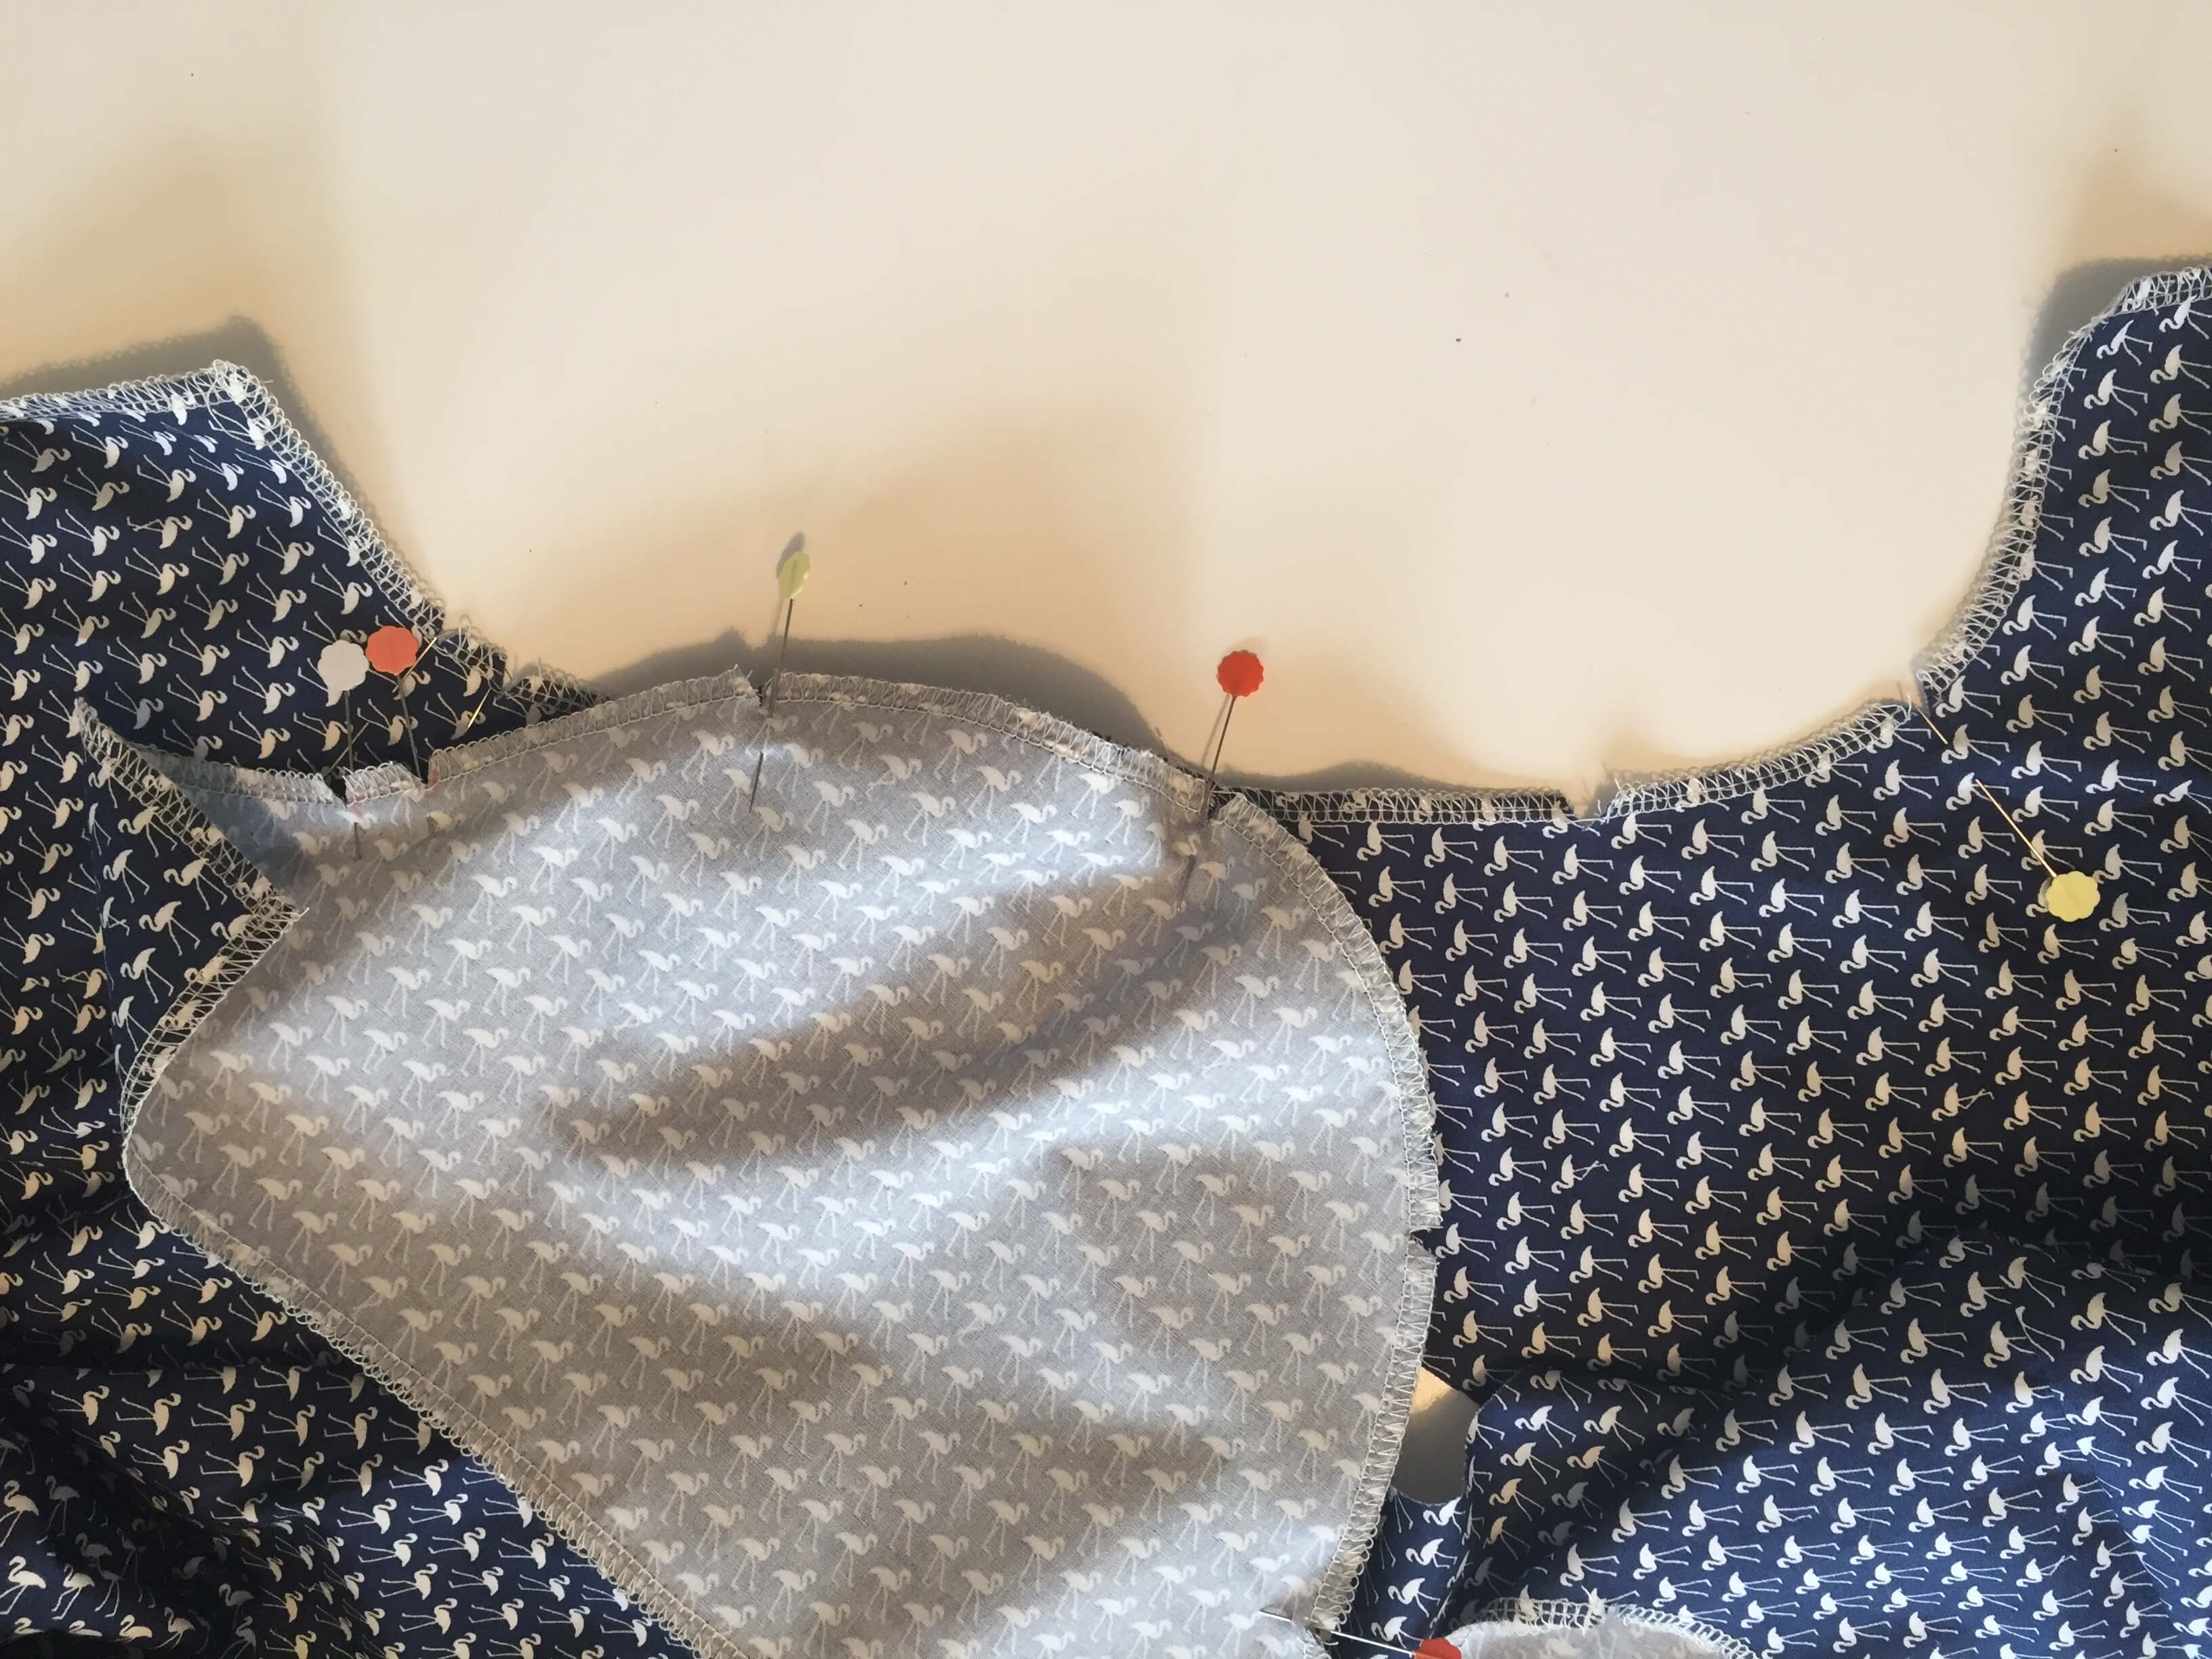
27. Flip your sleeve onto the dress so that the sleeve and dress are right sides together.
Match up and pin:
The top notch of the sleeve with the dress shoulder seam.
The corresponding notches on the back and front of the dress.

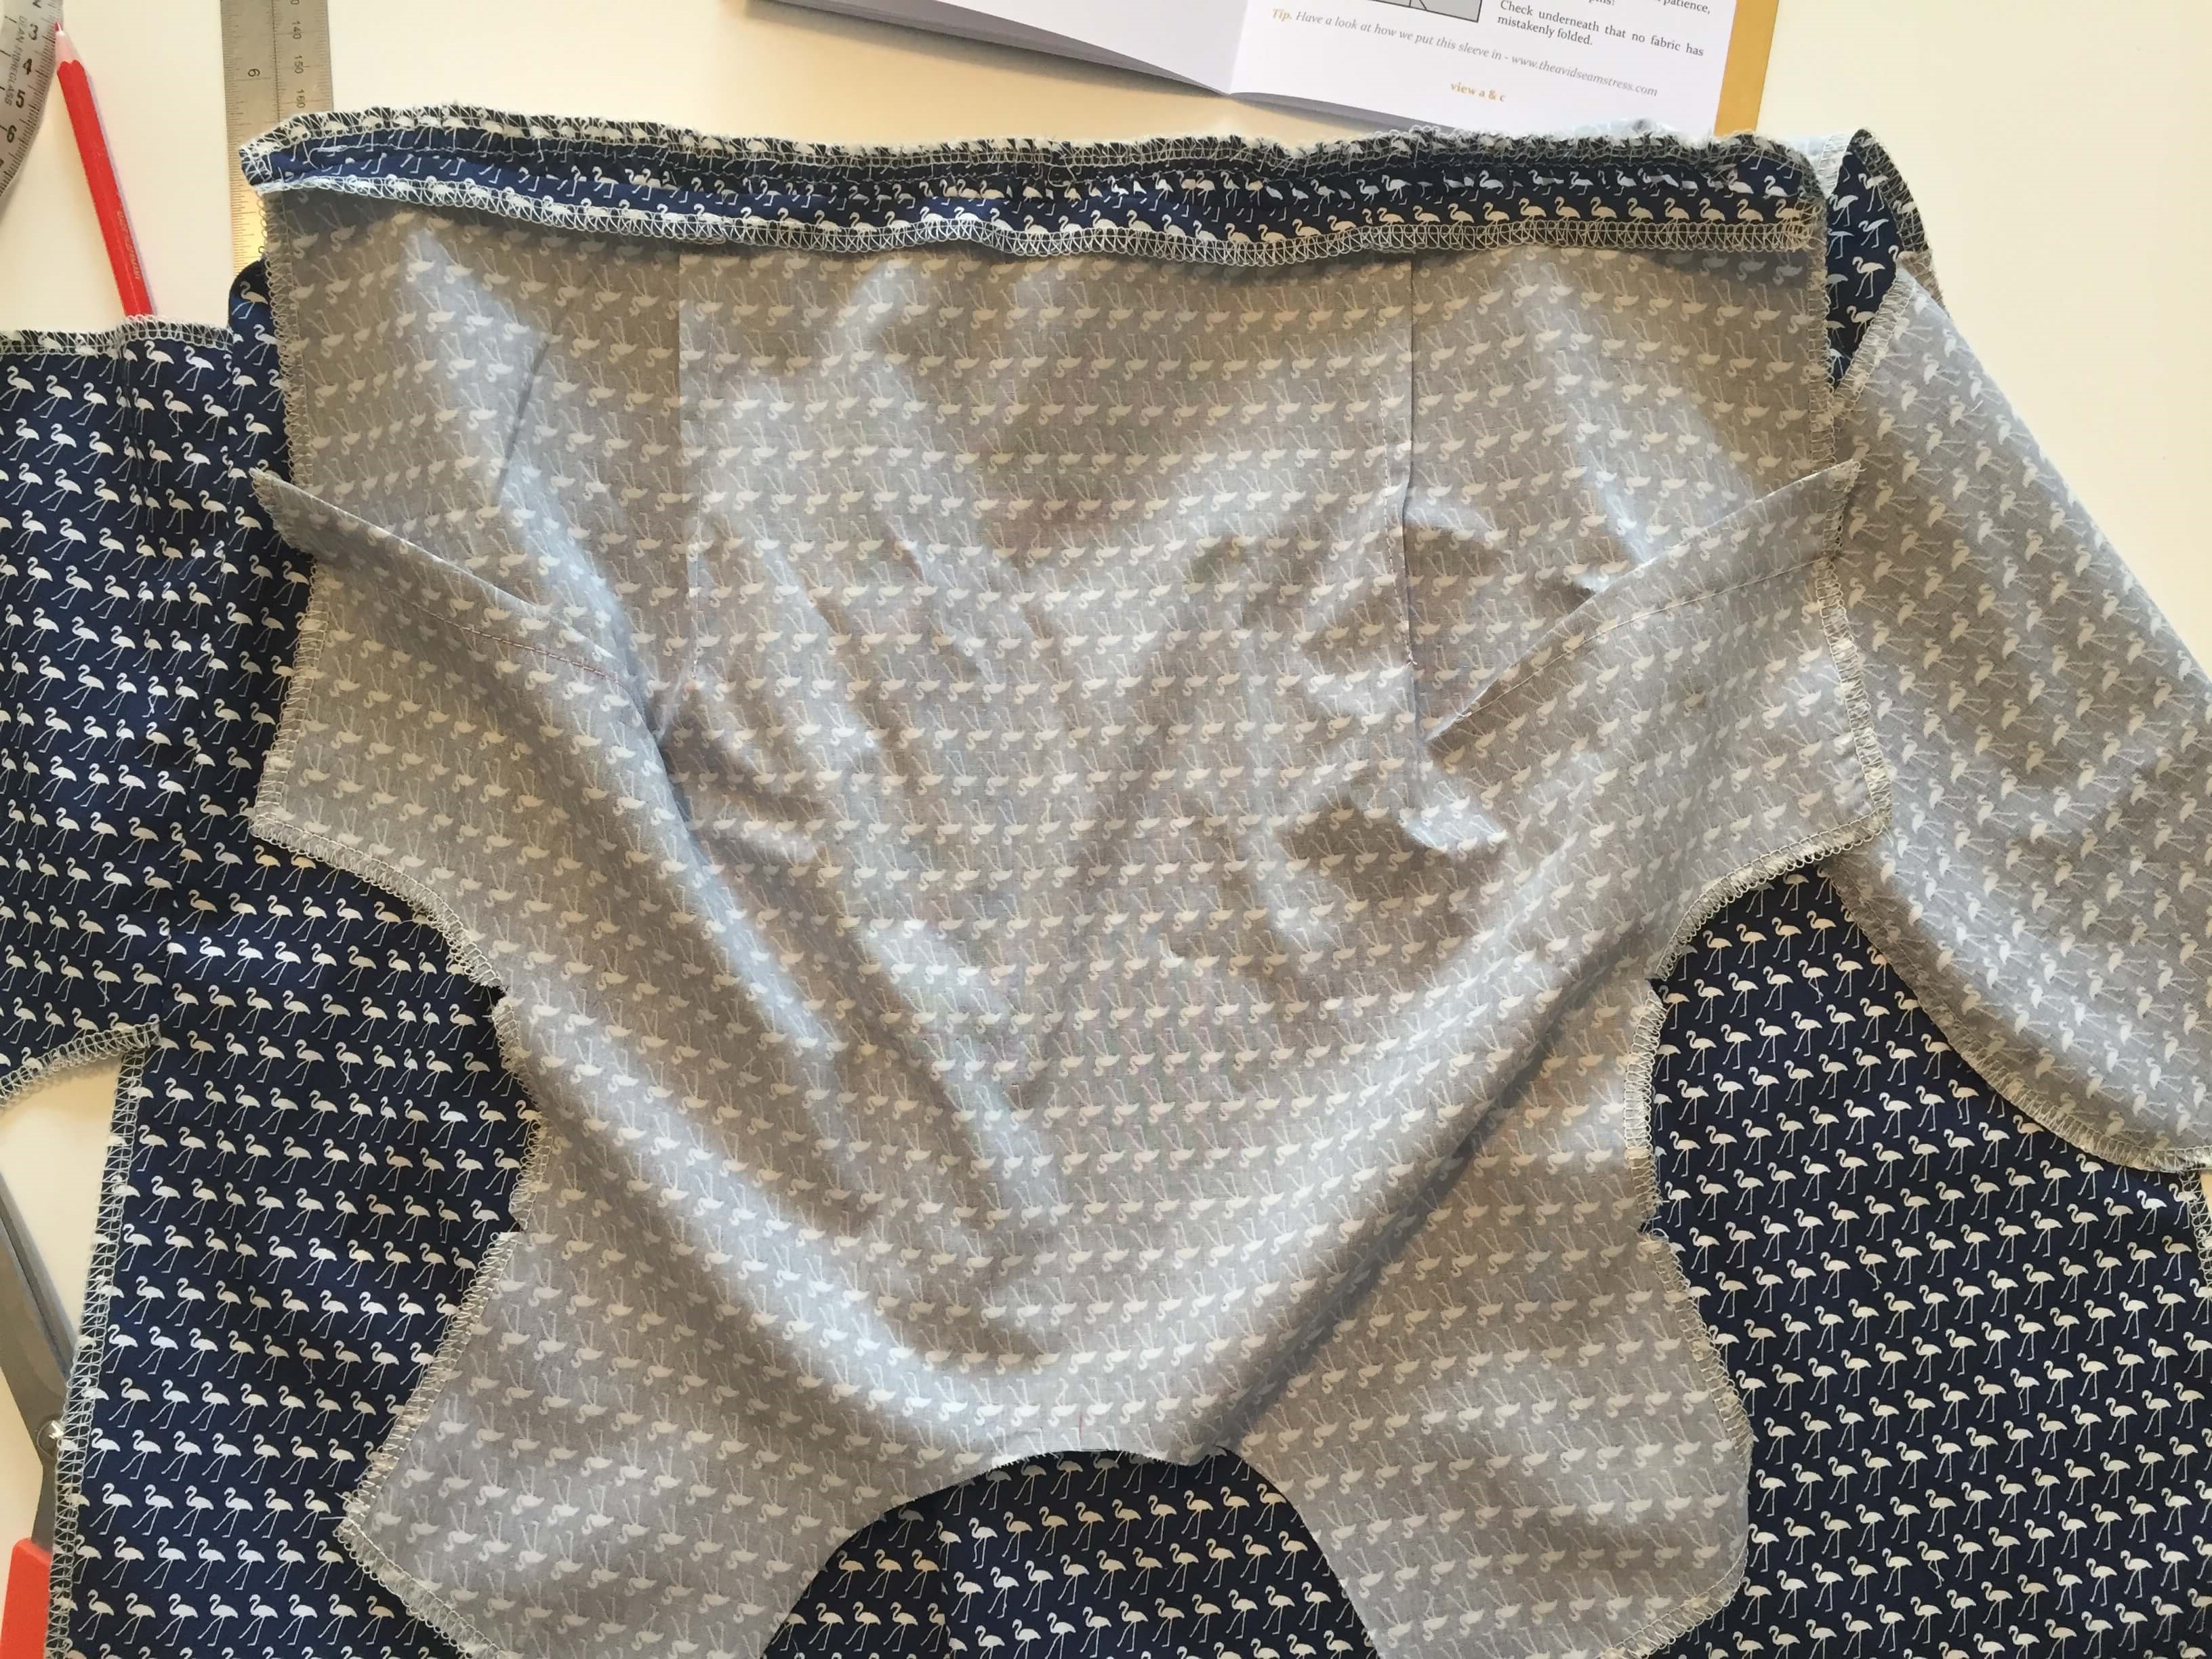
28. Place your pins facing downwards, instead of across – this will help you shape this piece. Work your way slowly and carefully, easing this sleeve into the dress. Your sleeve piece will fit with a bit of patience, time and lots of pins! Check underneath that no fabric has mistakenly folded.
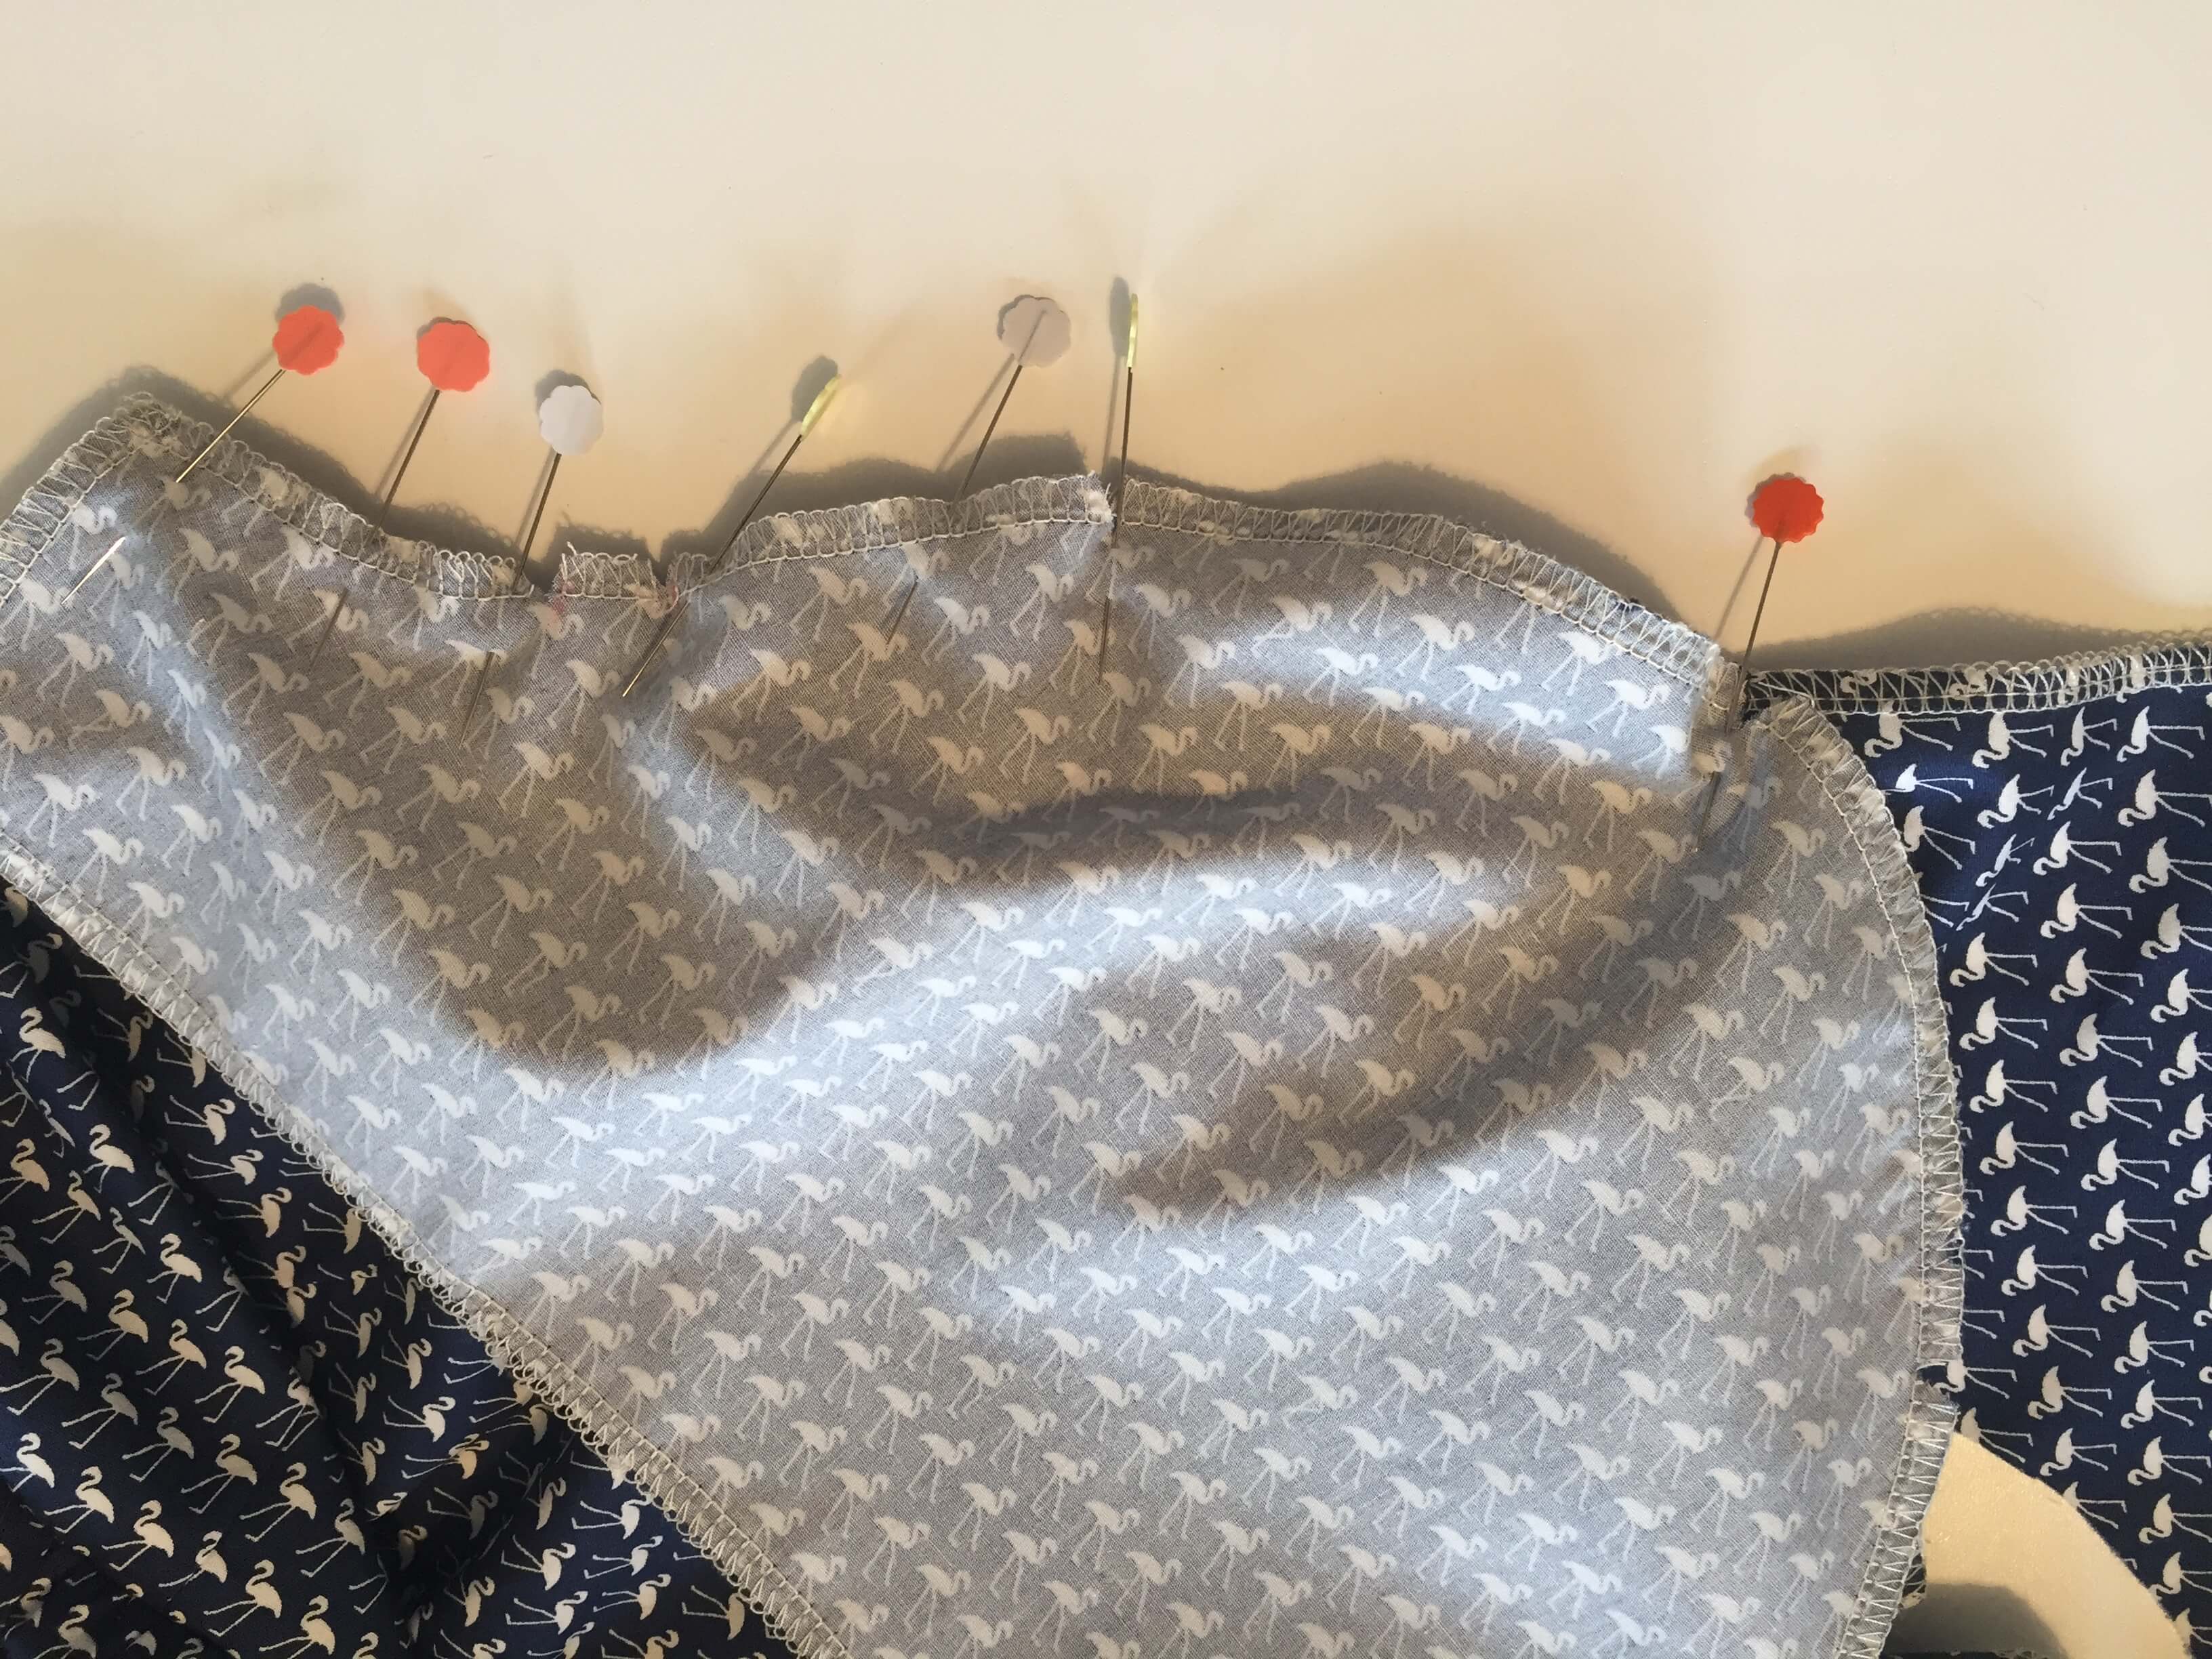
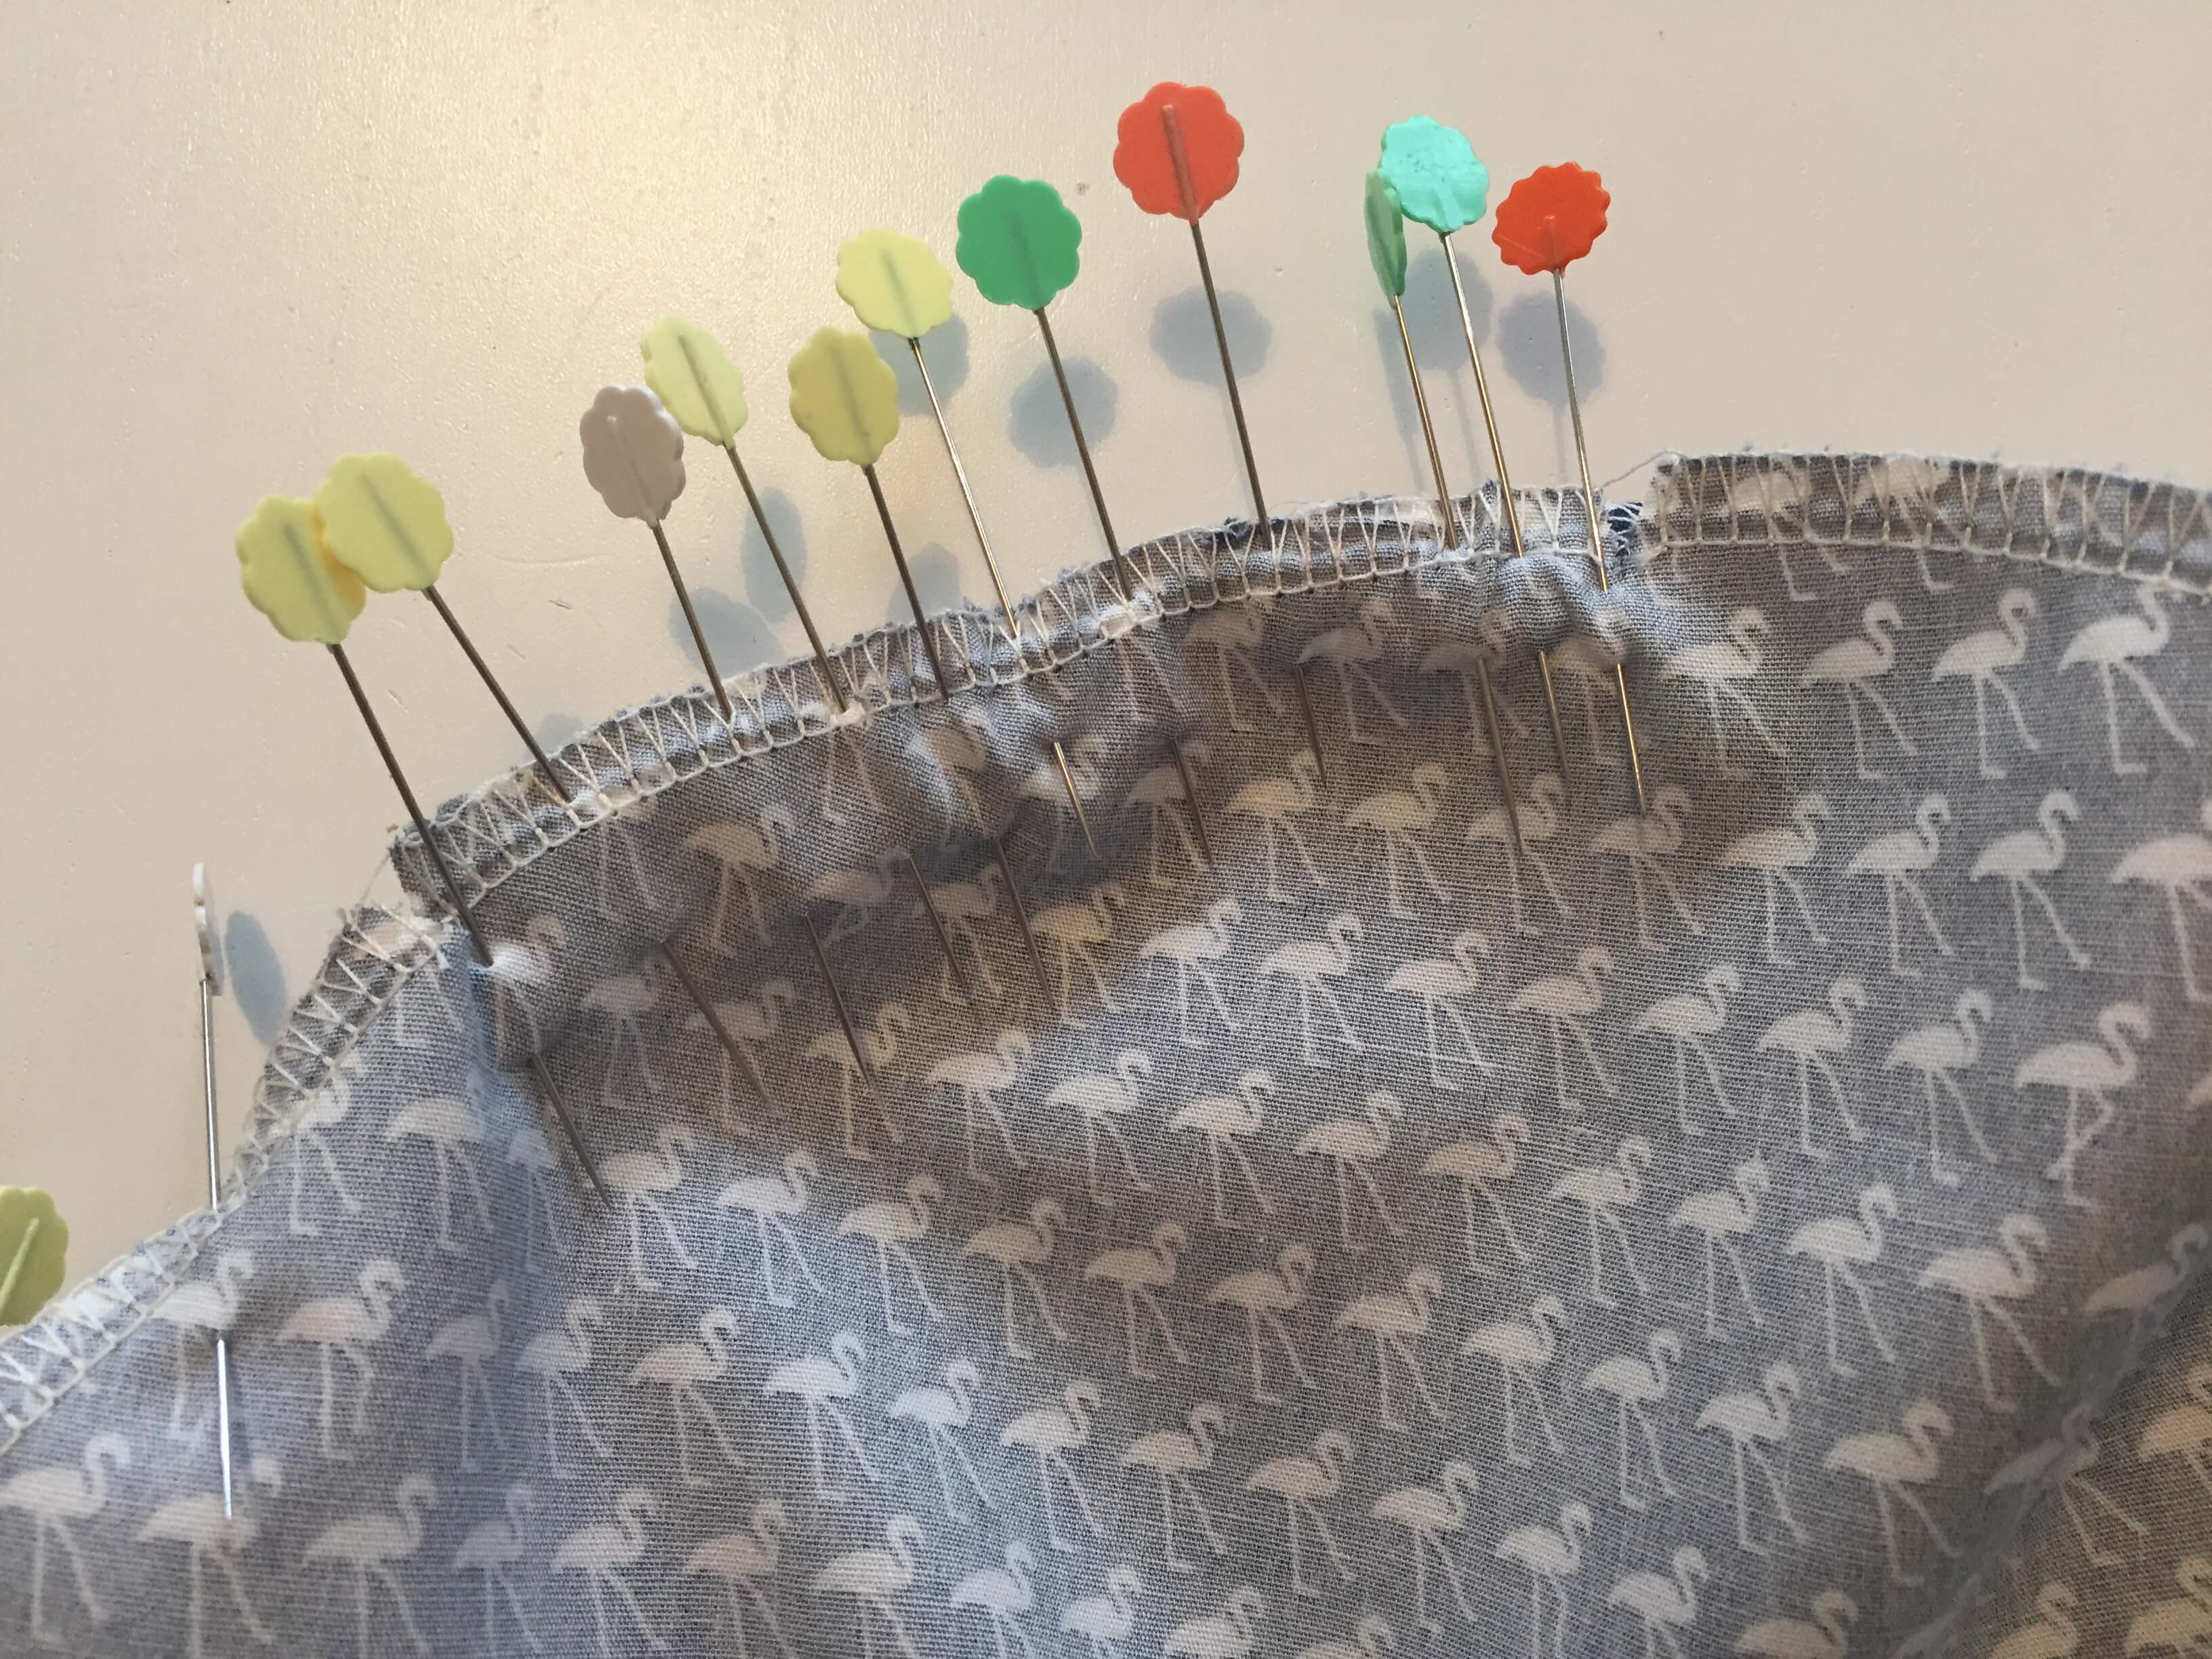
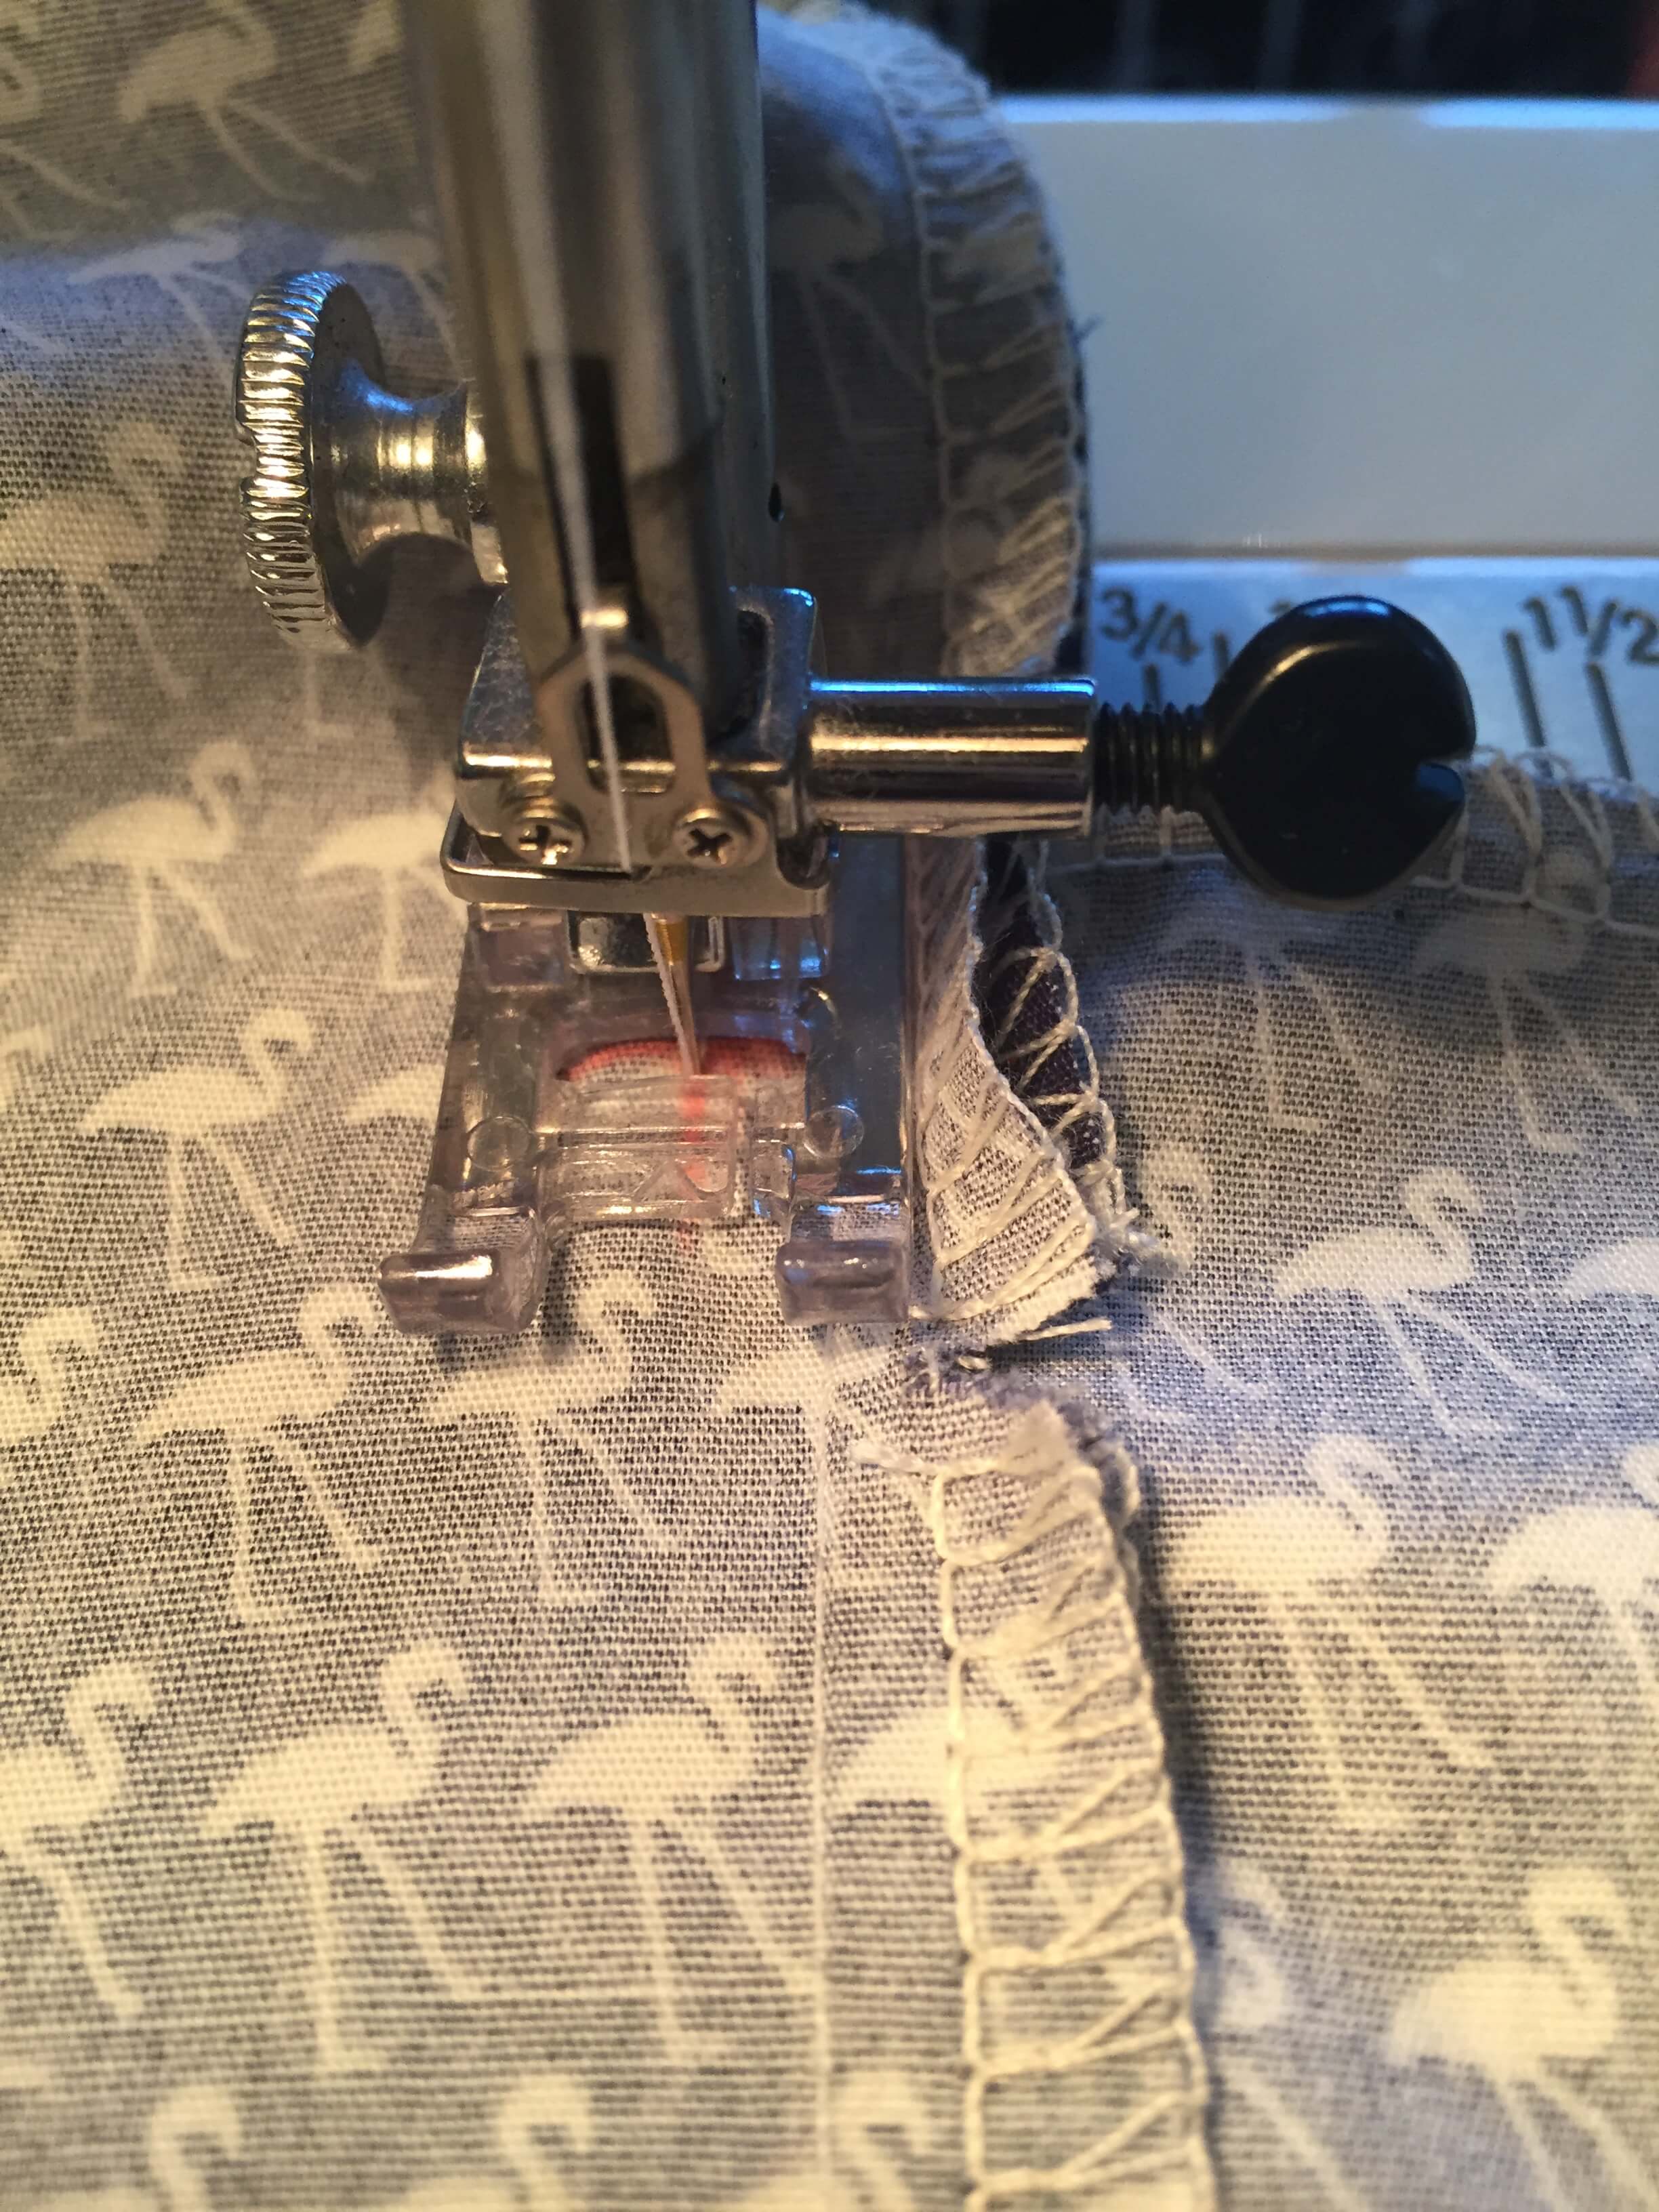
29. When sewing the sleeve, take your time and remove the pins as you get to them. To ensure that you keep sewing on a 1.5cm seam allowance, line up the fabric edge against the seam allowance guide on your sewing machine. Keep checking that the fabric underneath is not getting mistakenly caught.
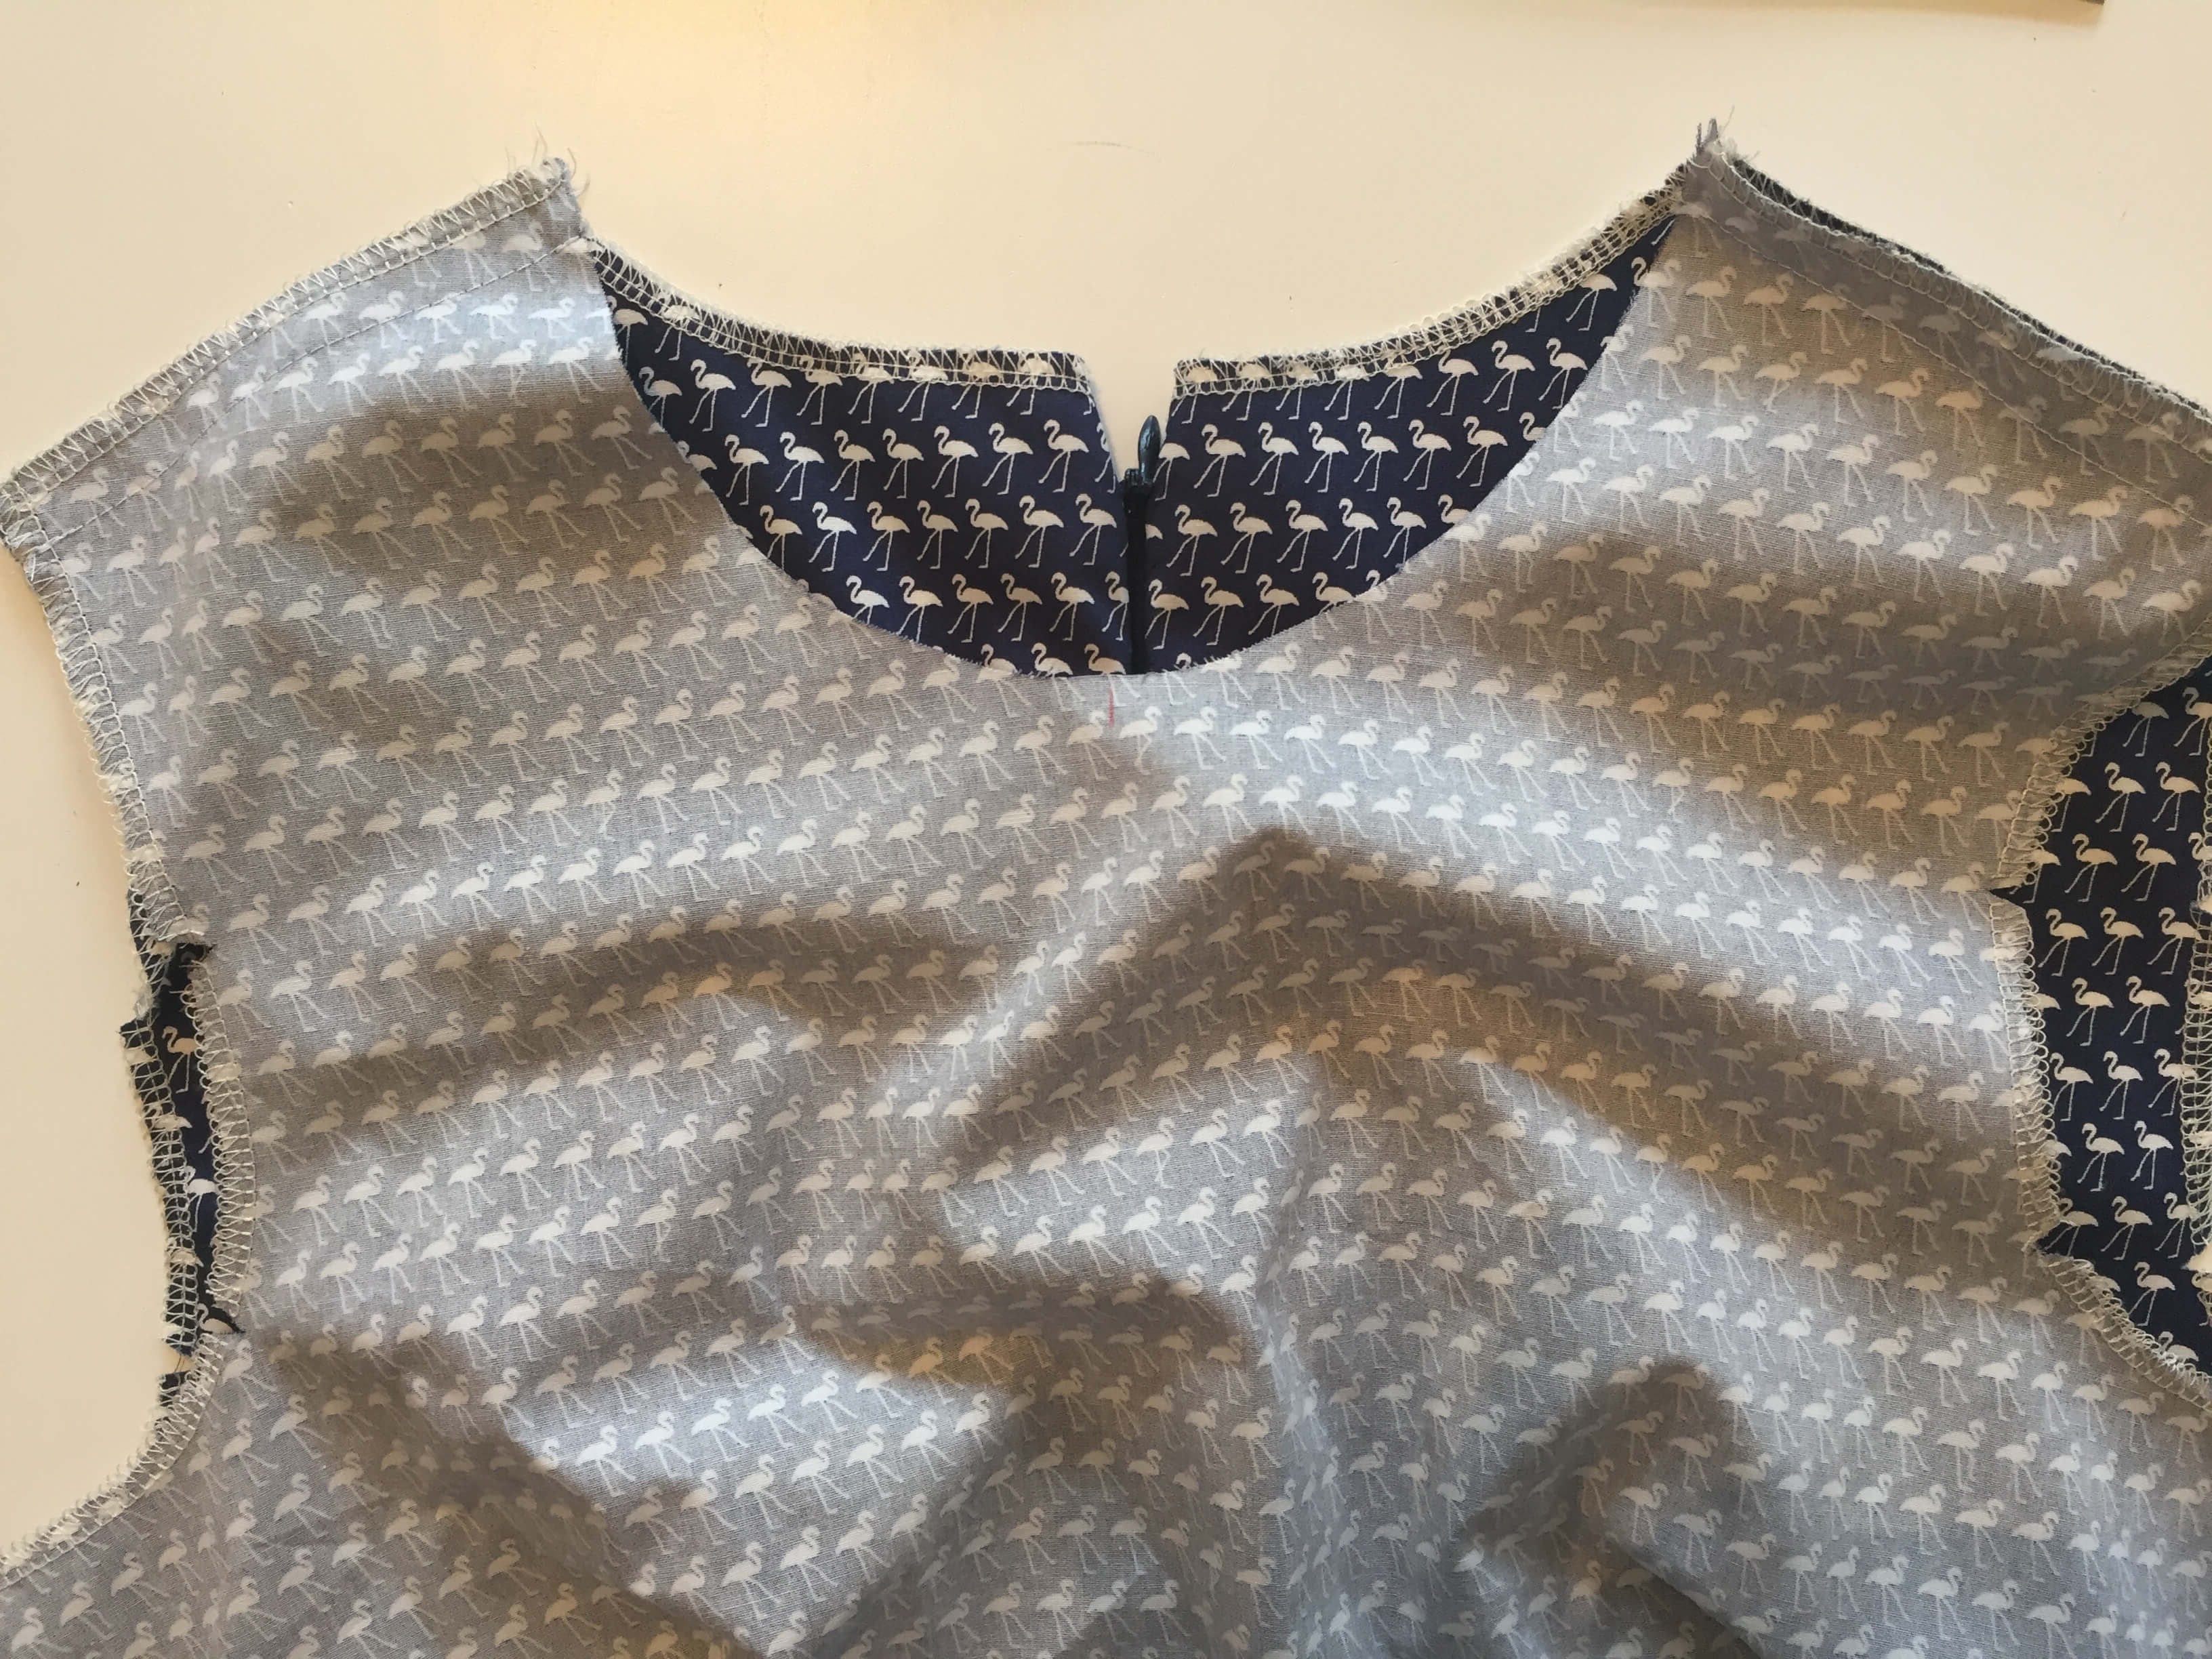
30. Your completed sleeve! Check the sleeve on the right side to make sure there is no fabric caught. Repeat on the other side.
* Now I have a little trick – before you move on to the next step iron your sleeve hem 2cm. Once the sleeve is sewn it’s quite hard to then try to iron evenly around the sleeve – so we iron it now while we have it open and flat (we aren’t sewing it now, just preparing it).
SIDE SEAMS
31. Place the front and back dress right sides together, pinning:
- Start of the sleeve
- Underarm (seam lies flat towards waist)
- Bust dart (should lie flat towards waist)
- Waist seam (seam should be open)
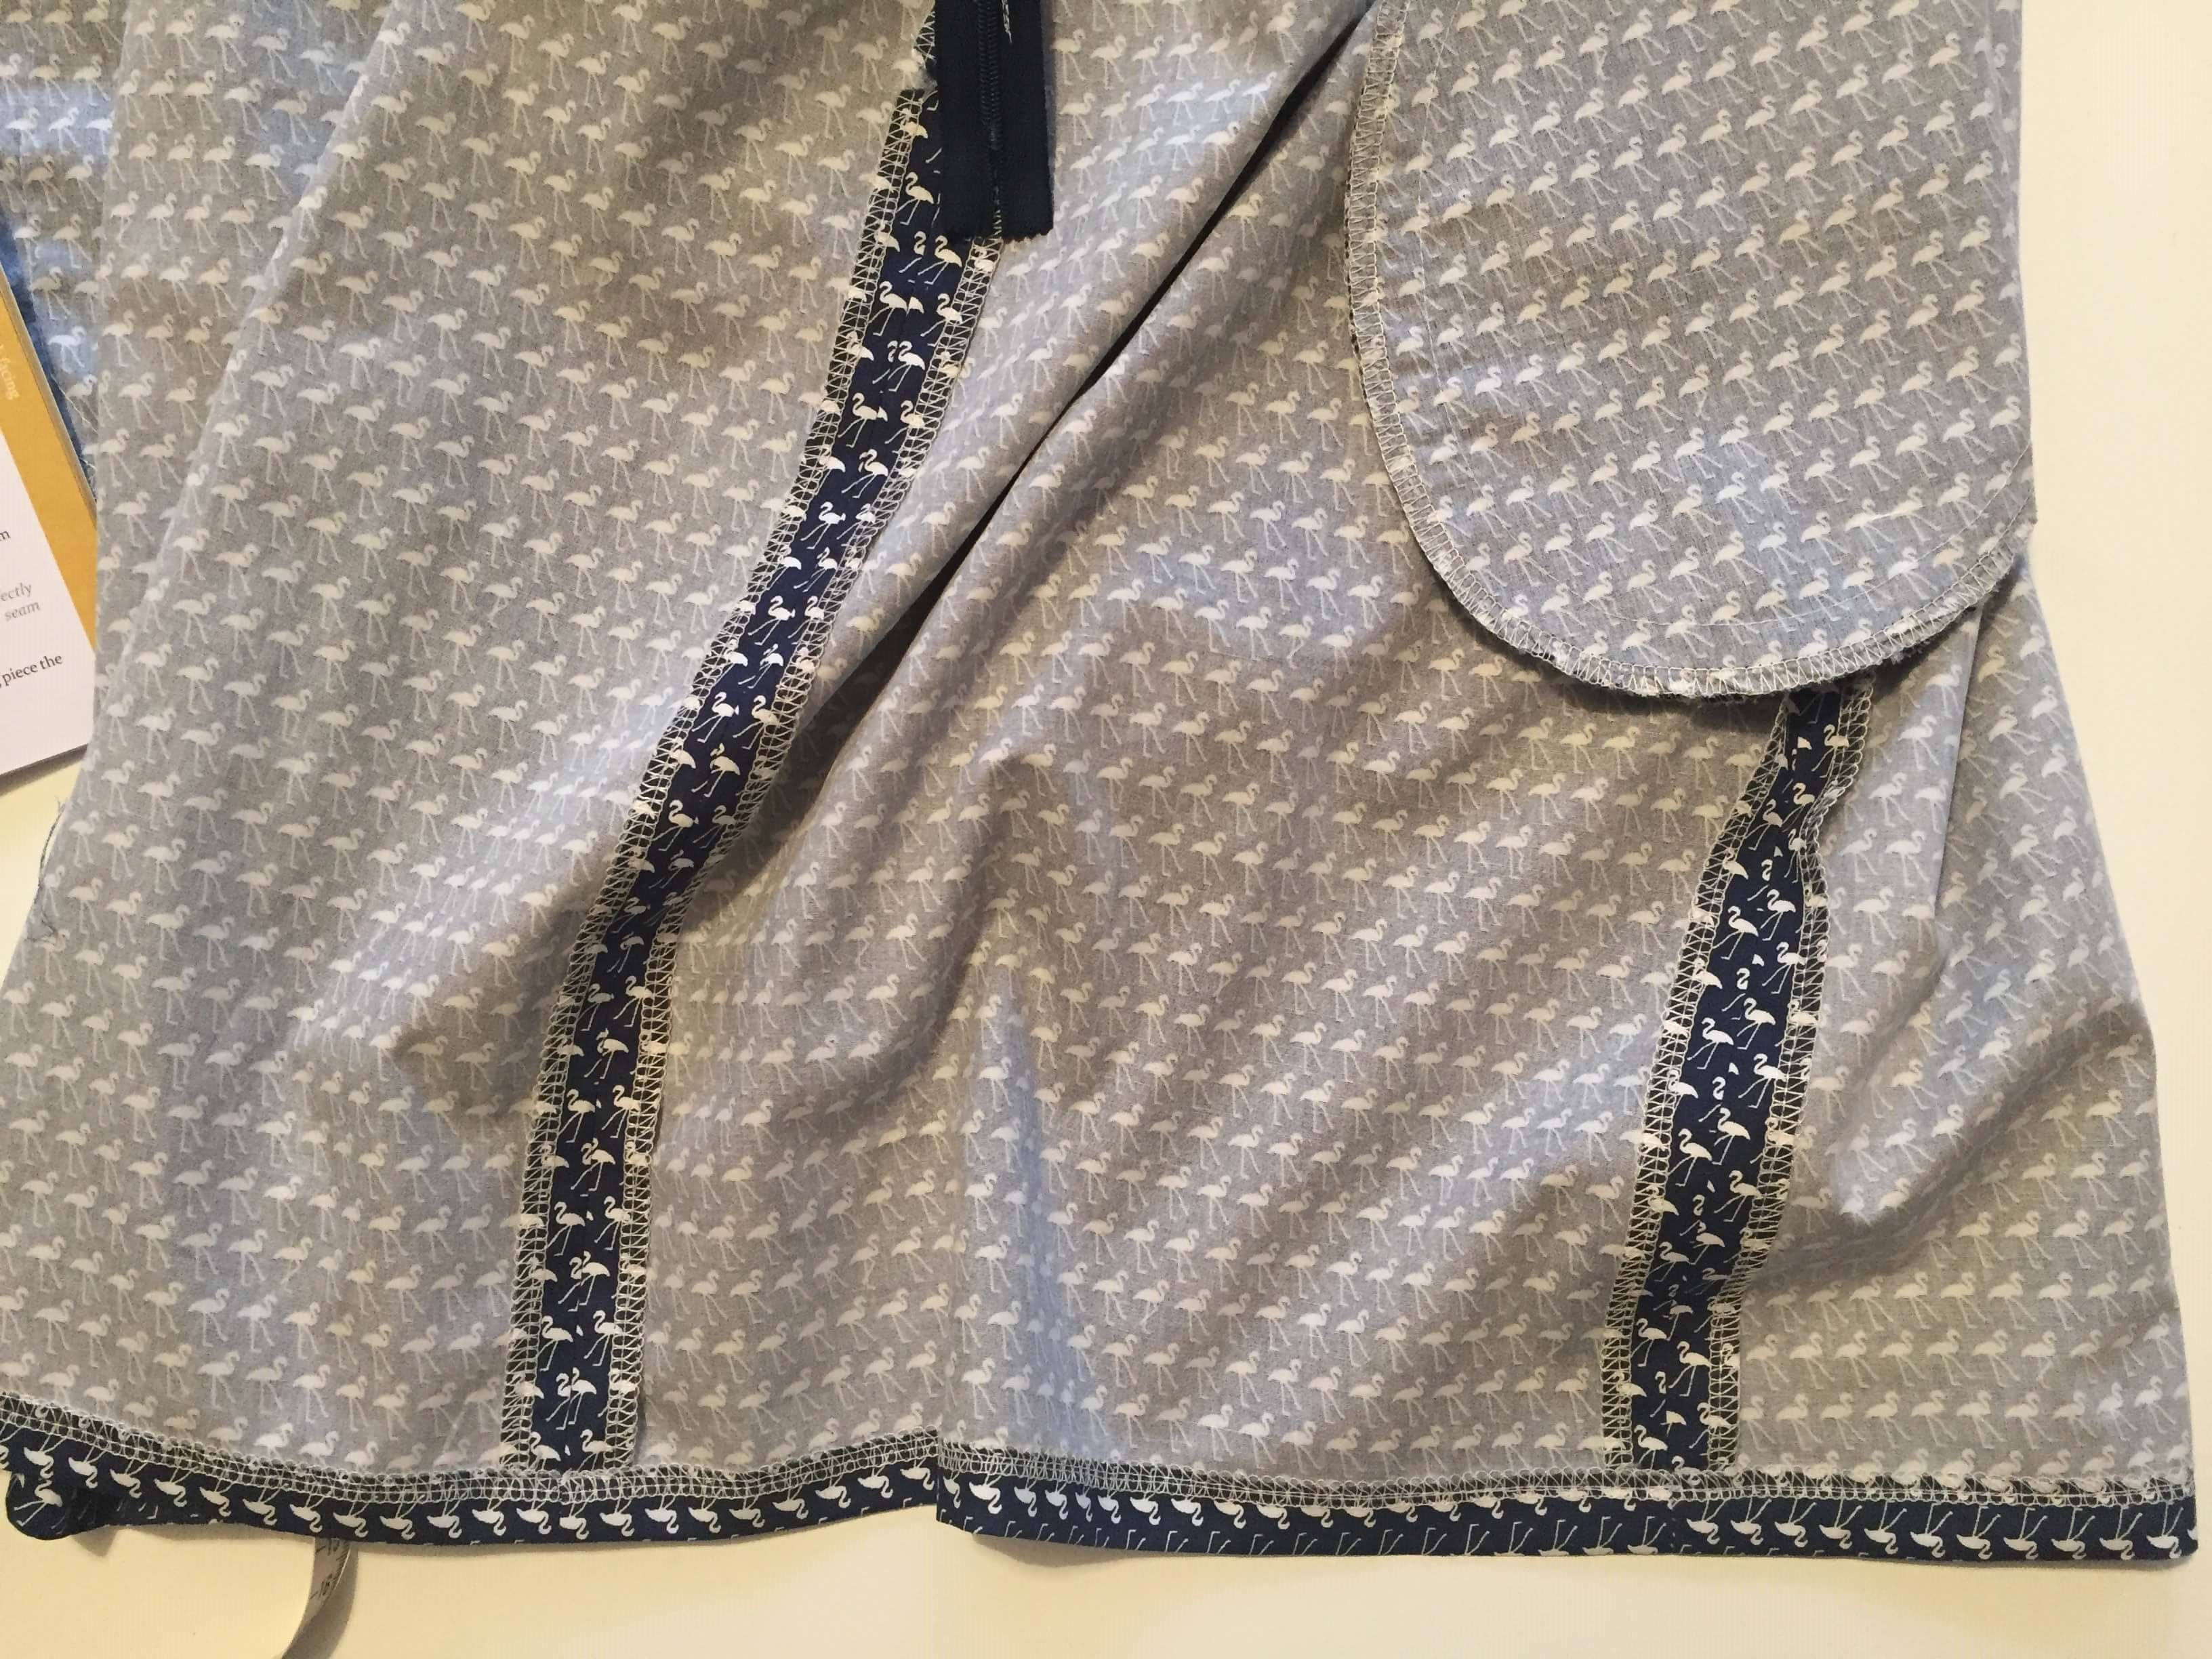
- Pockets
- Hem
Sew together, pivoting at the pocket (remember those guides you drew earlier?). Your pocket will sit beautifully inside the seam allowance. Iron open the seam allowances.
SLEEVE HEM
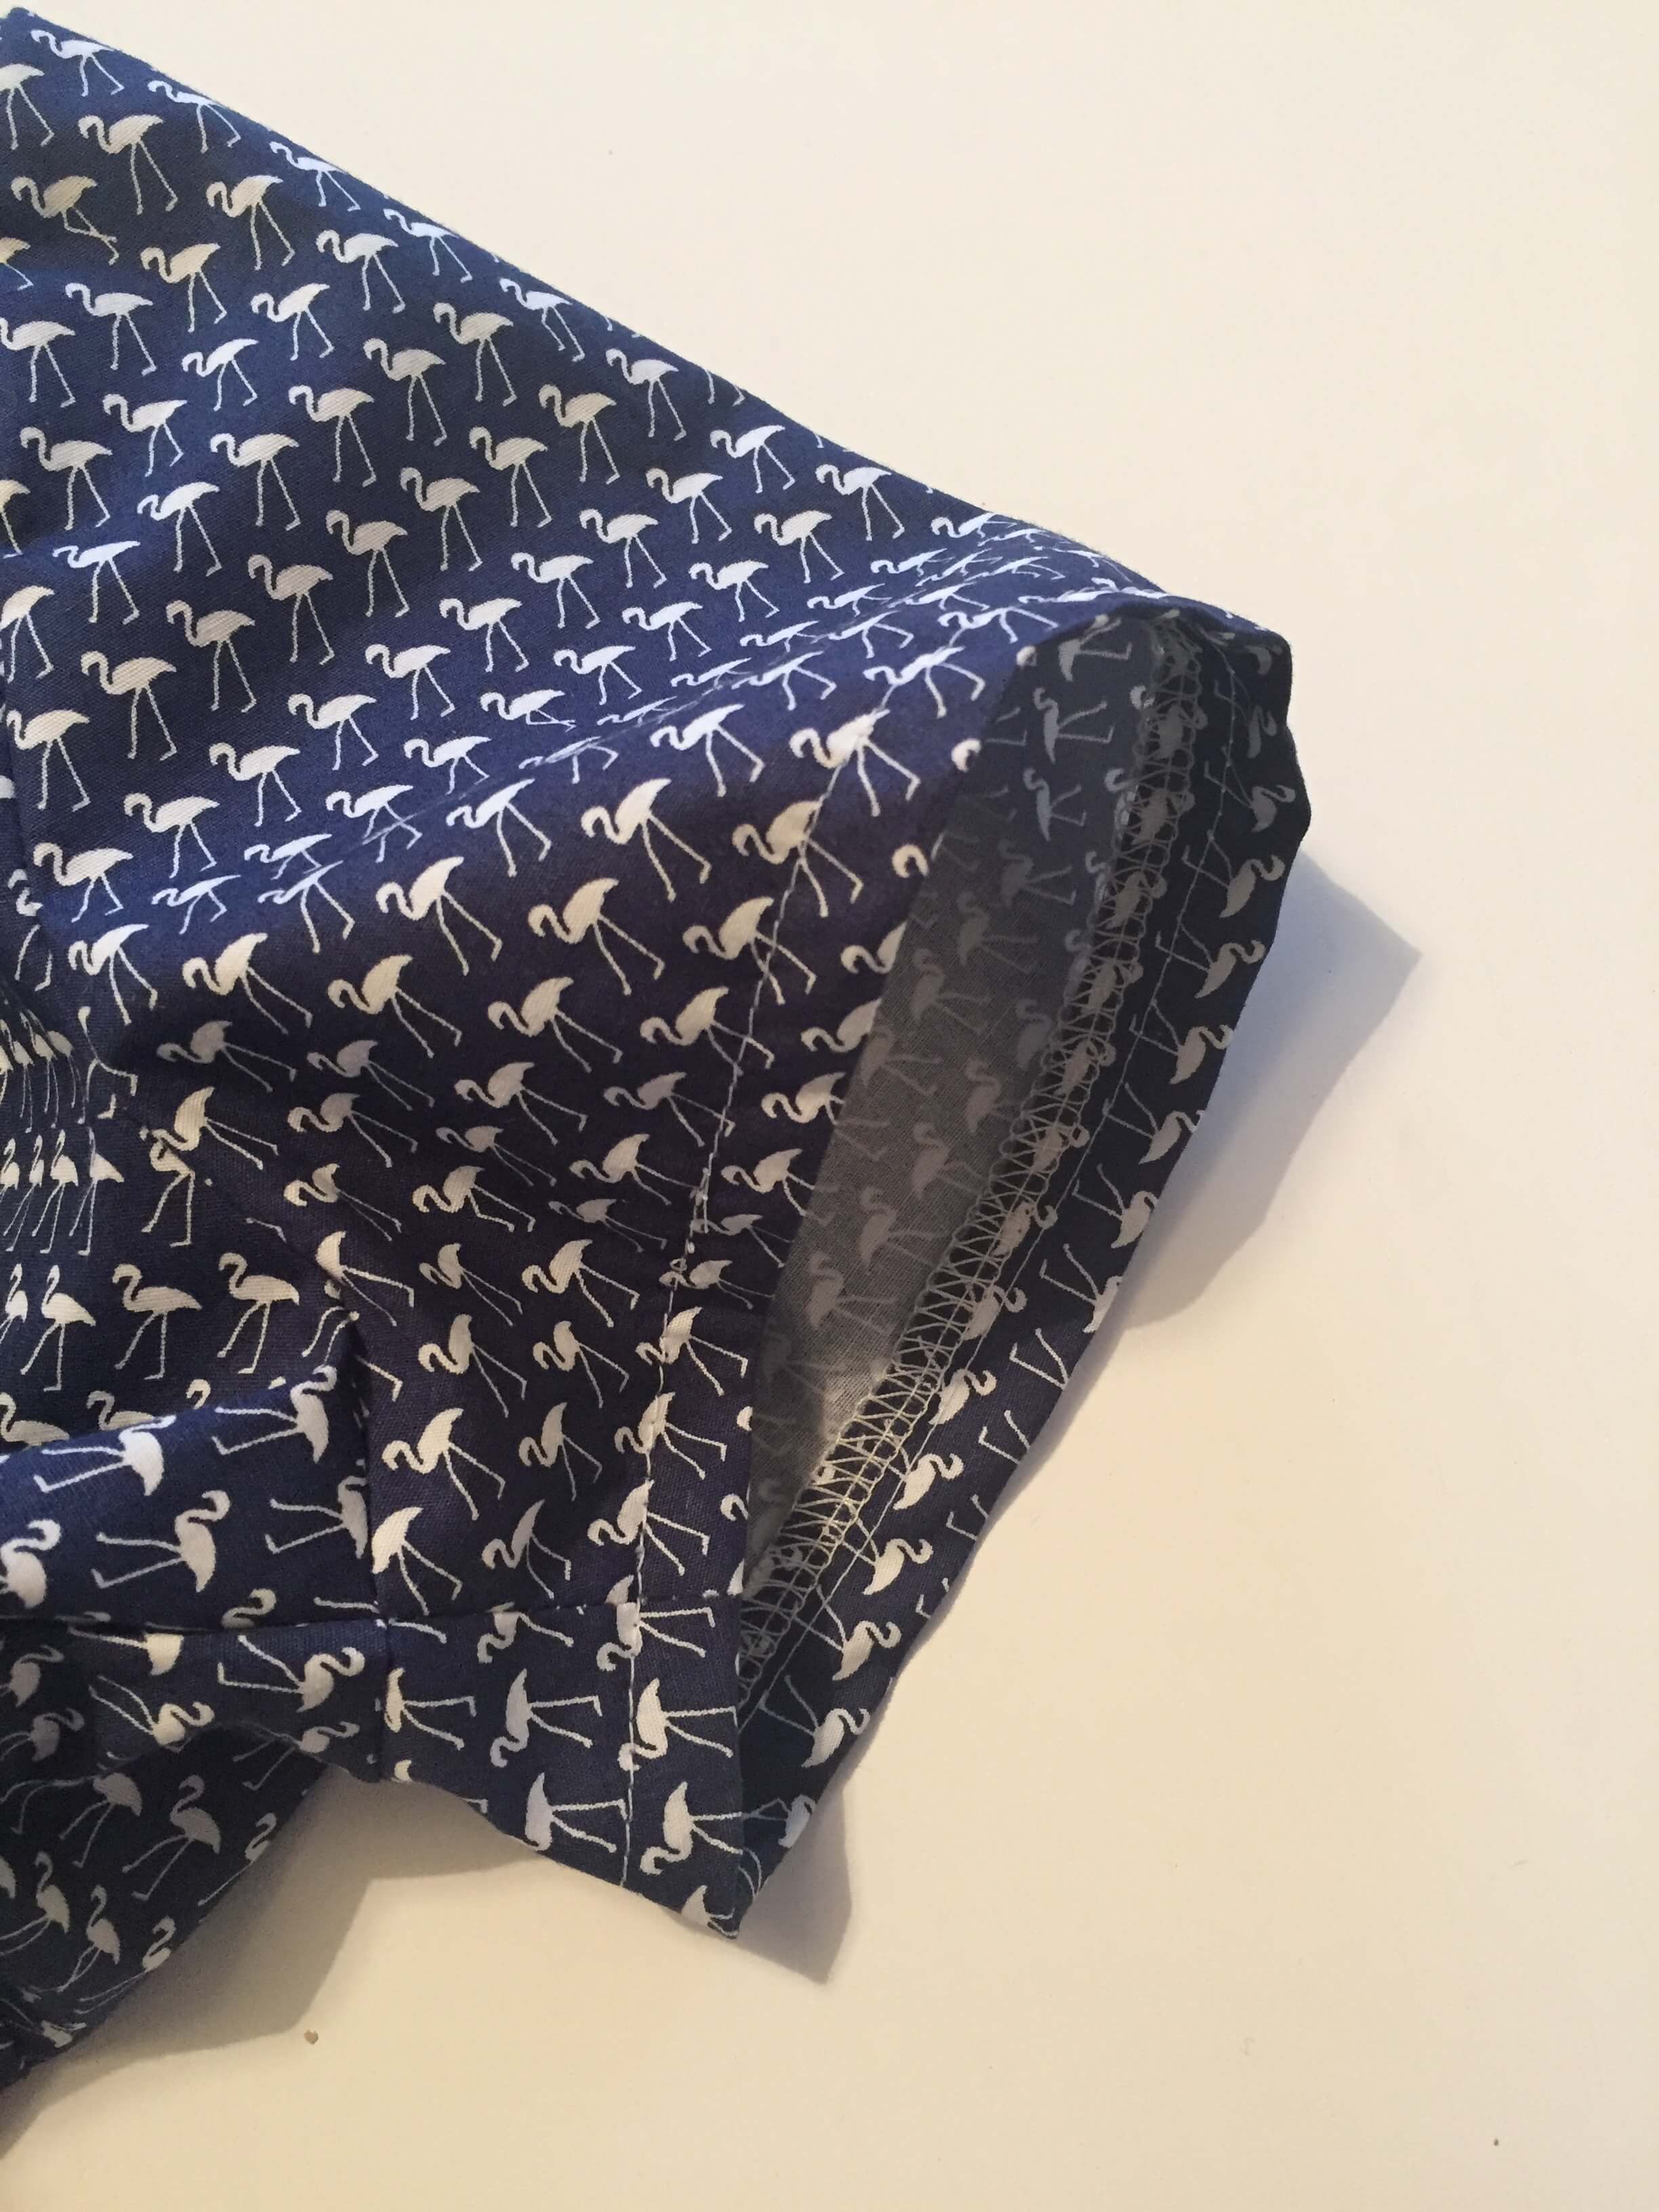
32. Turn in your sleeve hem 2cm and stitch. Now can you see how lovely it is to sew as we have ironed it ;)
SKIRT HEM
33. Turn up your hem and iron in place, ensuring that the seam allowances stay open. Stitch in place.
Tip. For the perfect hem, use your measuring tape to keep the hem even and iron in place before sewing.
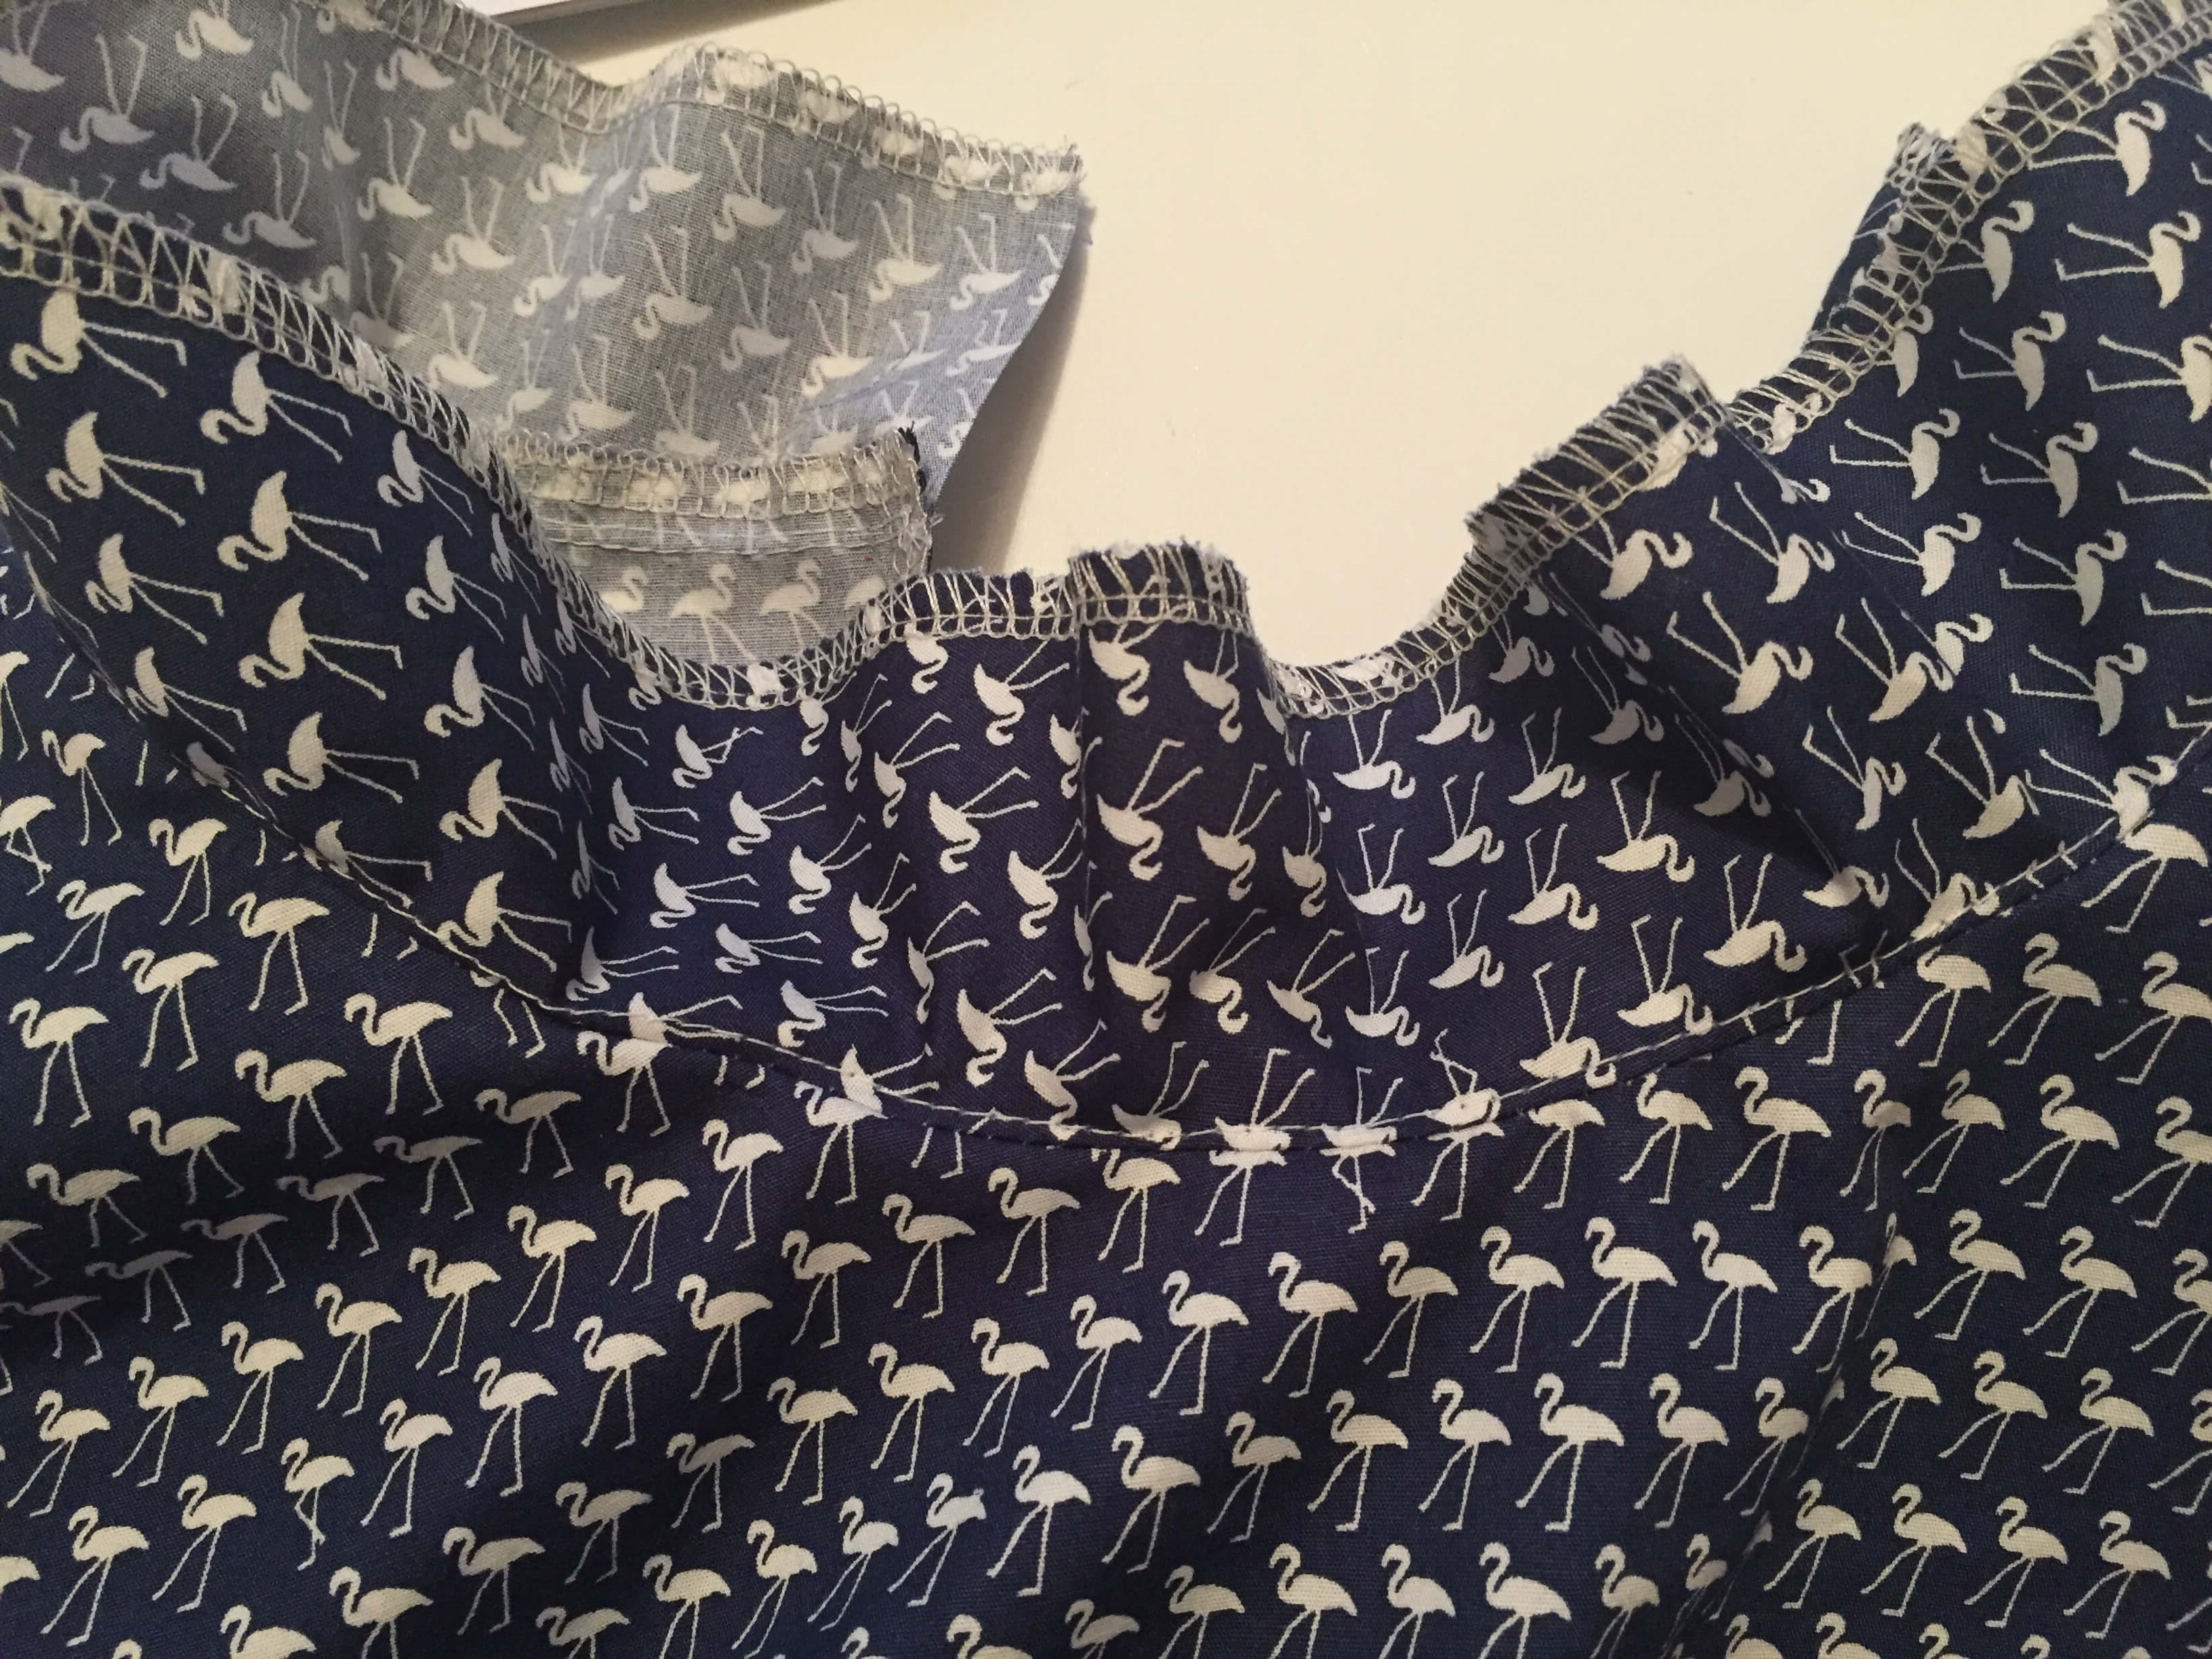
NECK FACING
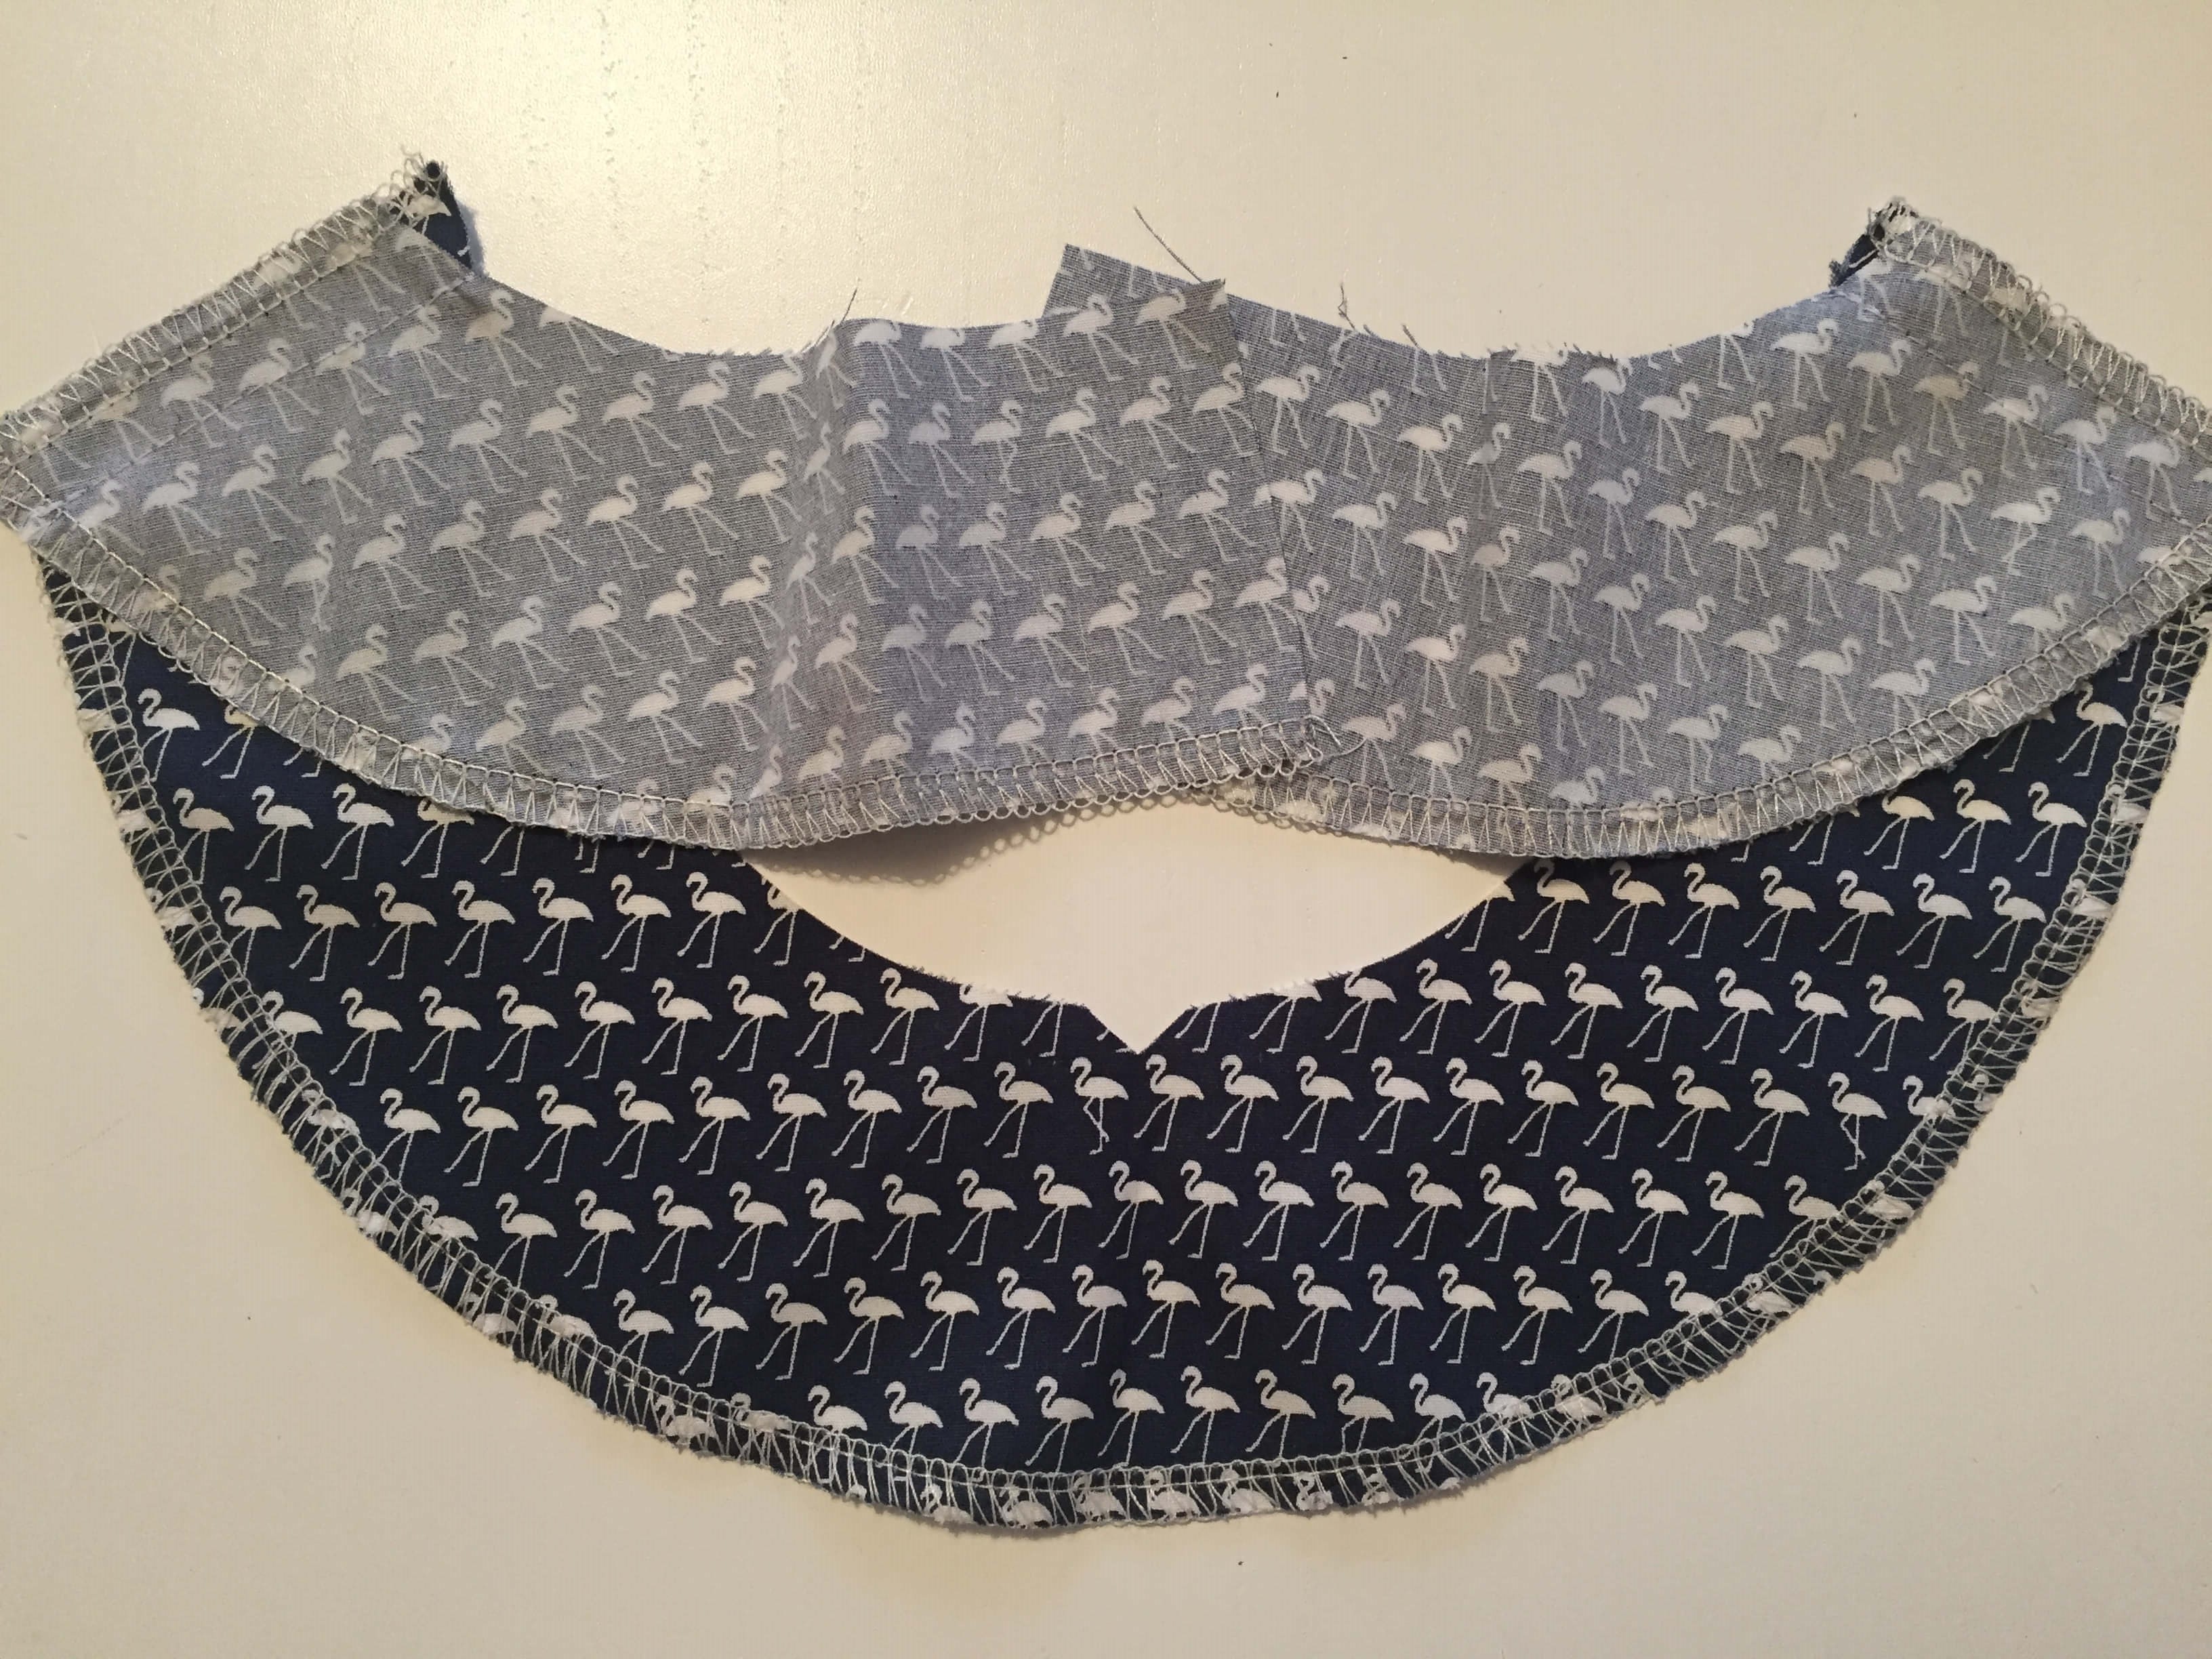
34. Place the facing pieces right sides together, lining up the shoulder edges. Can you see how these pieces don’t match up perfectly – this is because of the shape of the neckline. Stitch in place using a 1.5cm seam allowance and iron open seams.
Tip. The facing fits the neckline perfectly but only if you are sewing the seam allowance accurately! When you open out the facing piece the neckline has a lovely curve
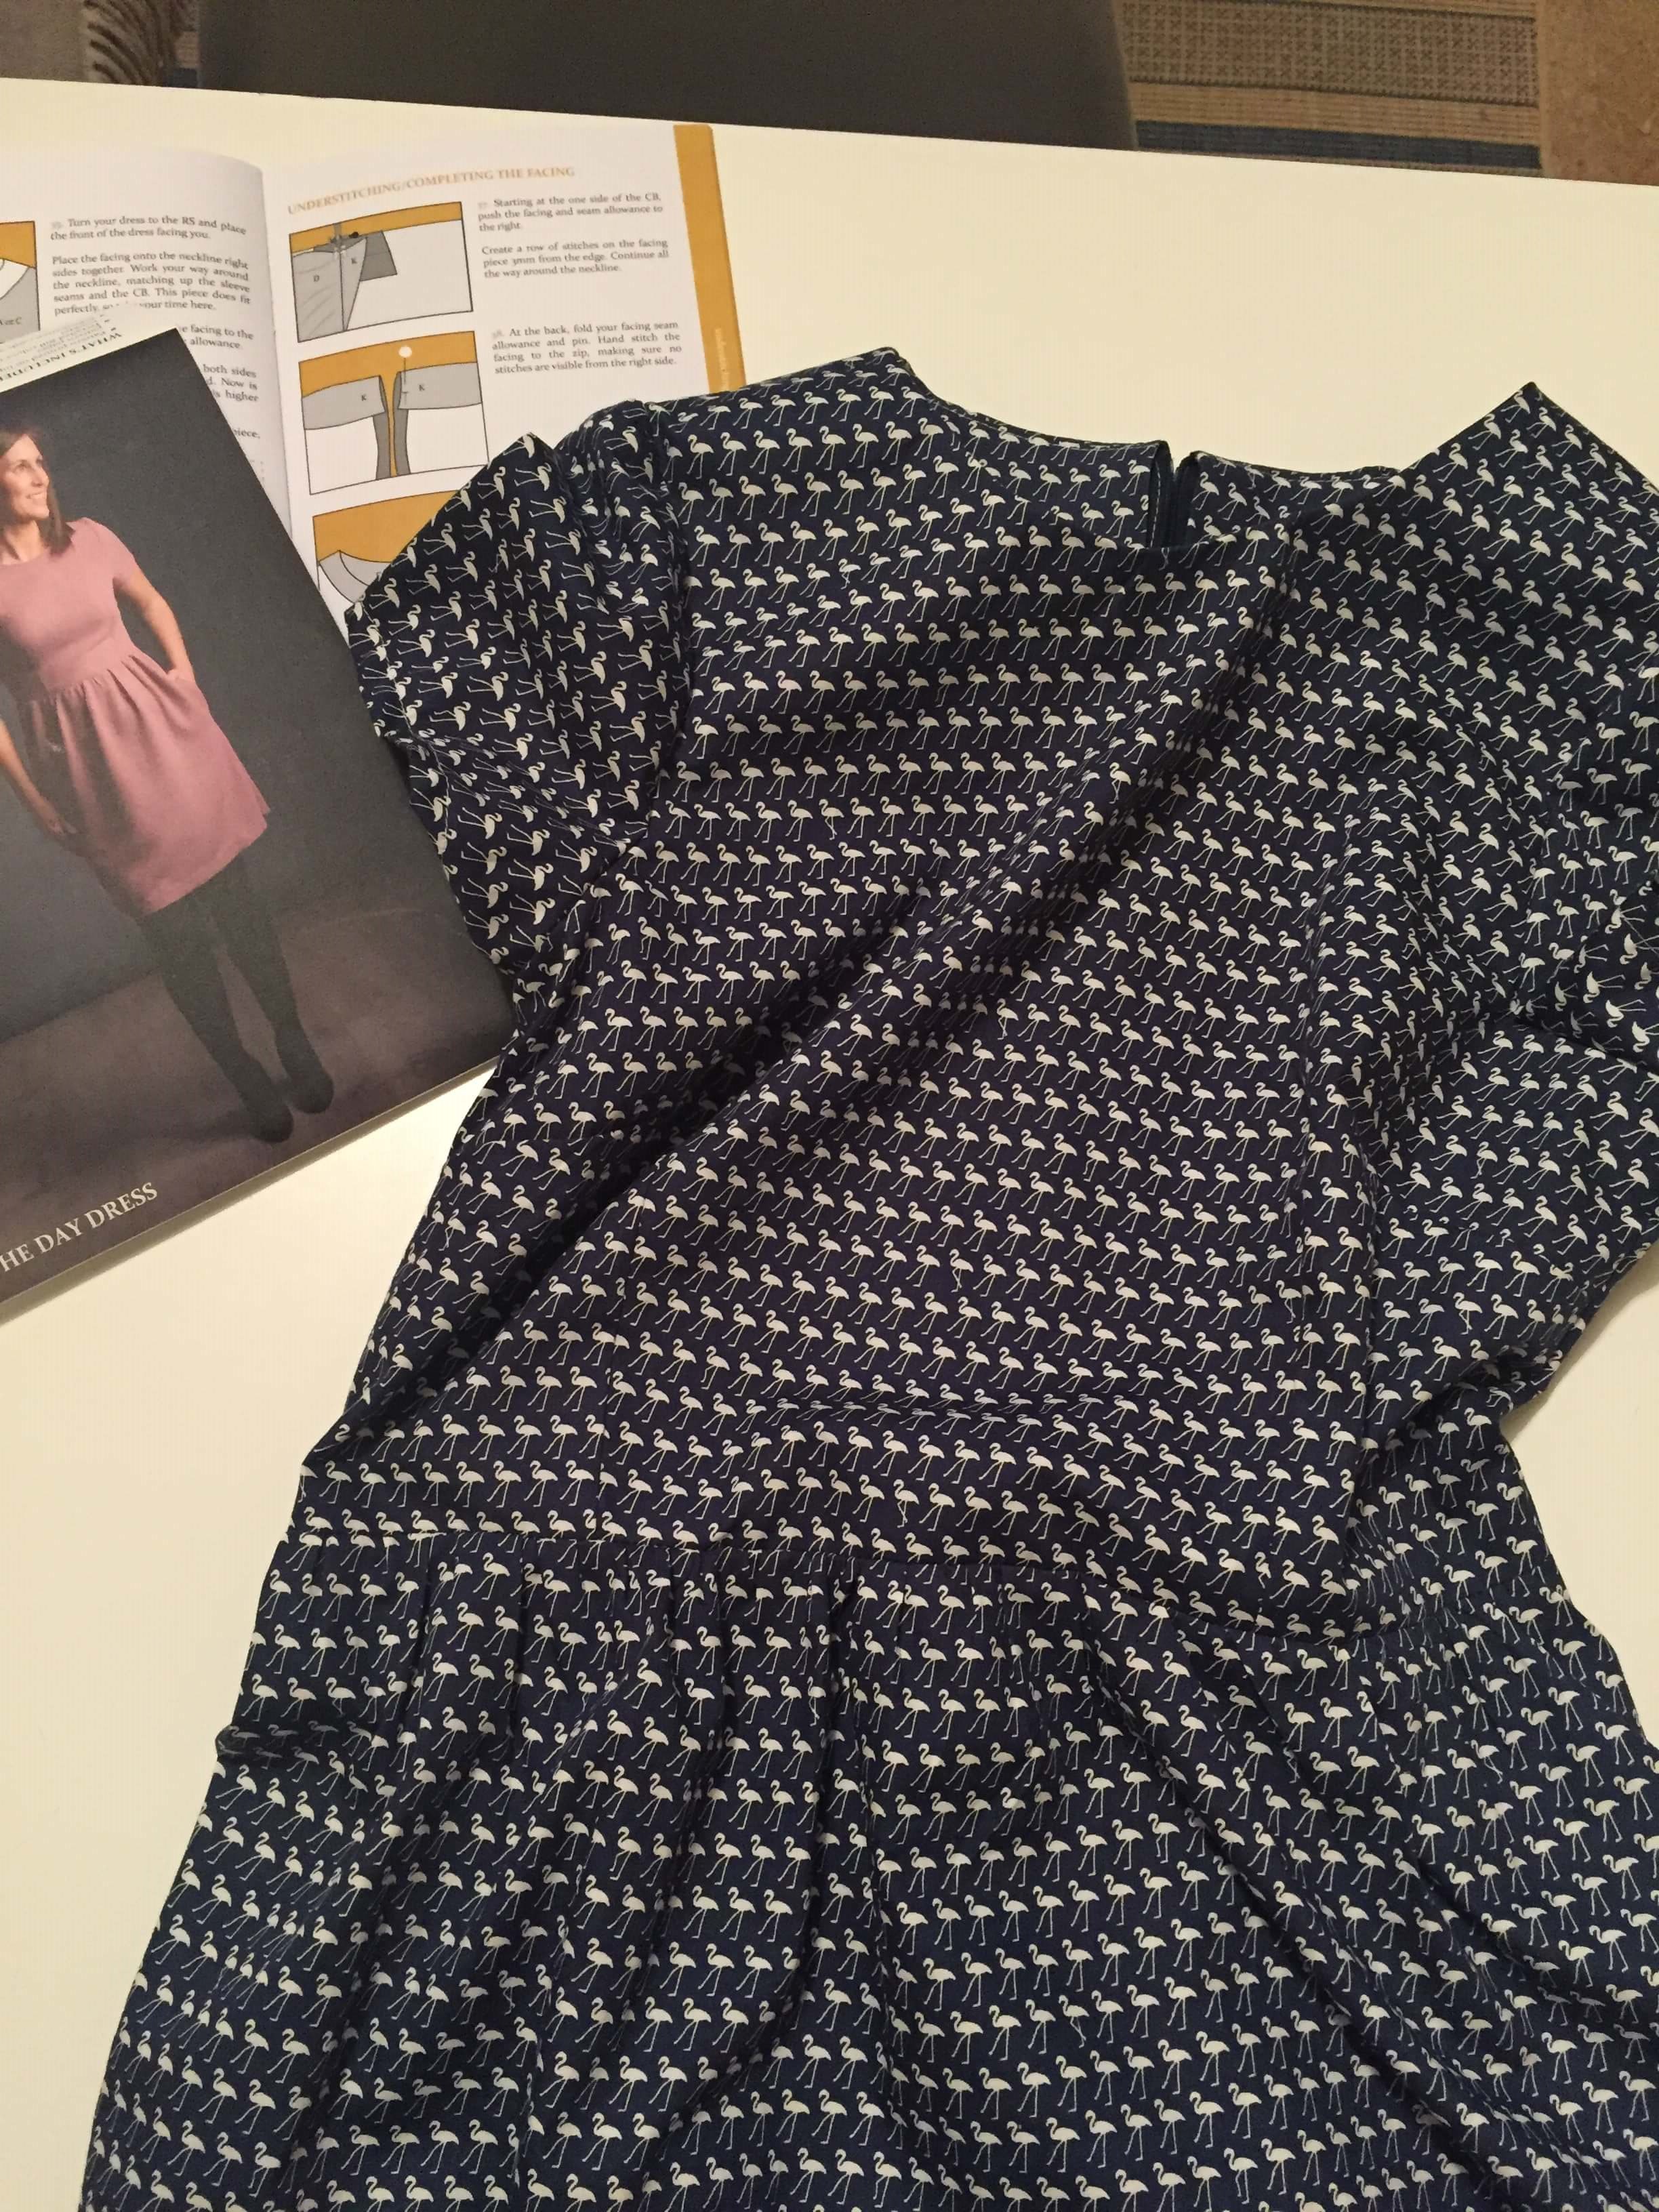
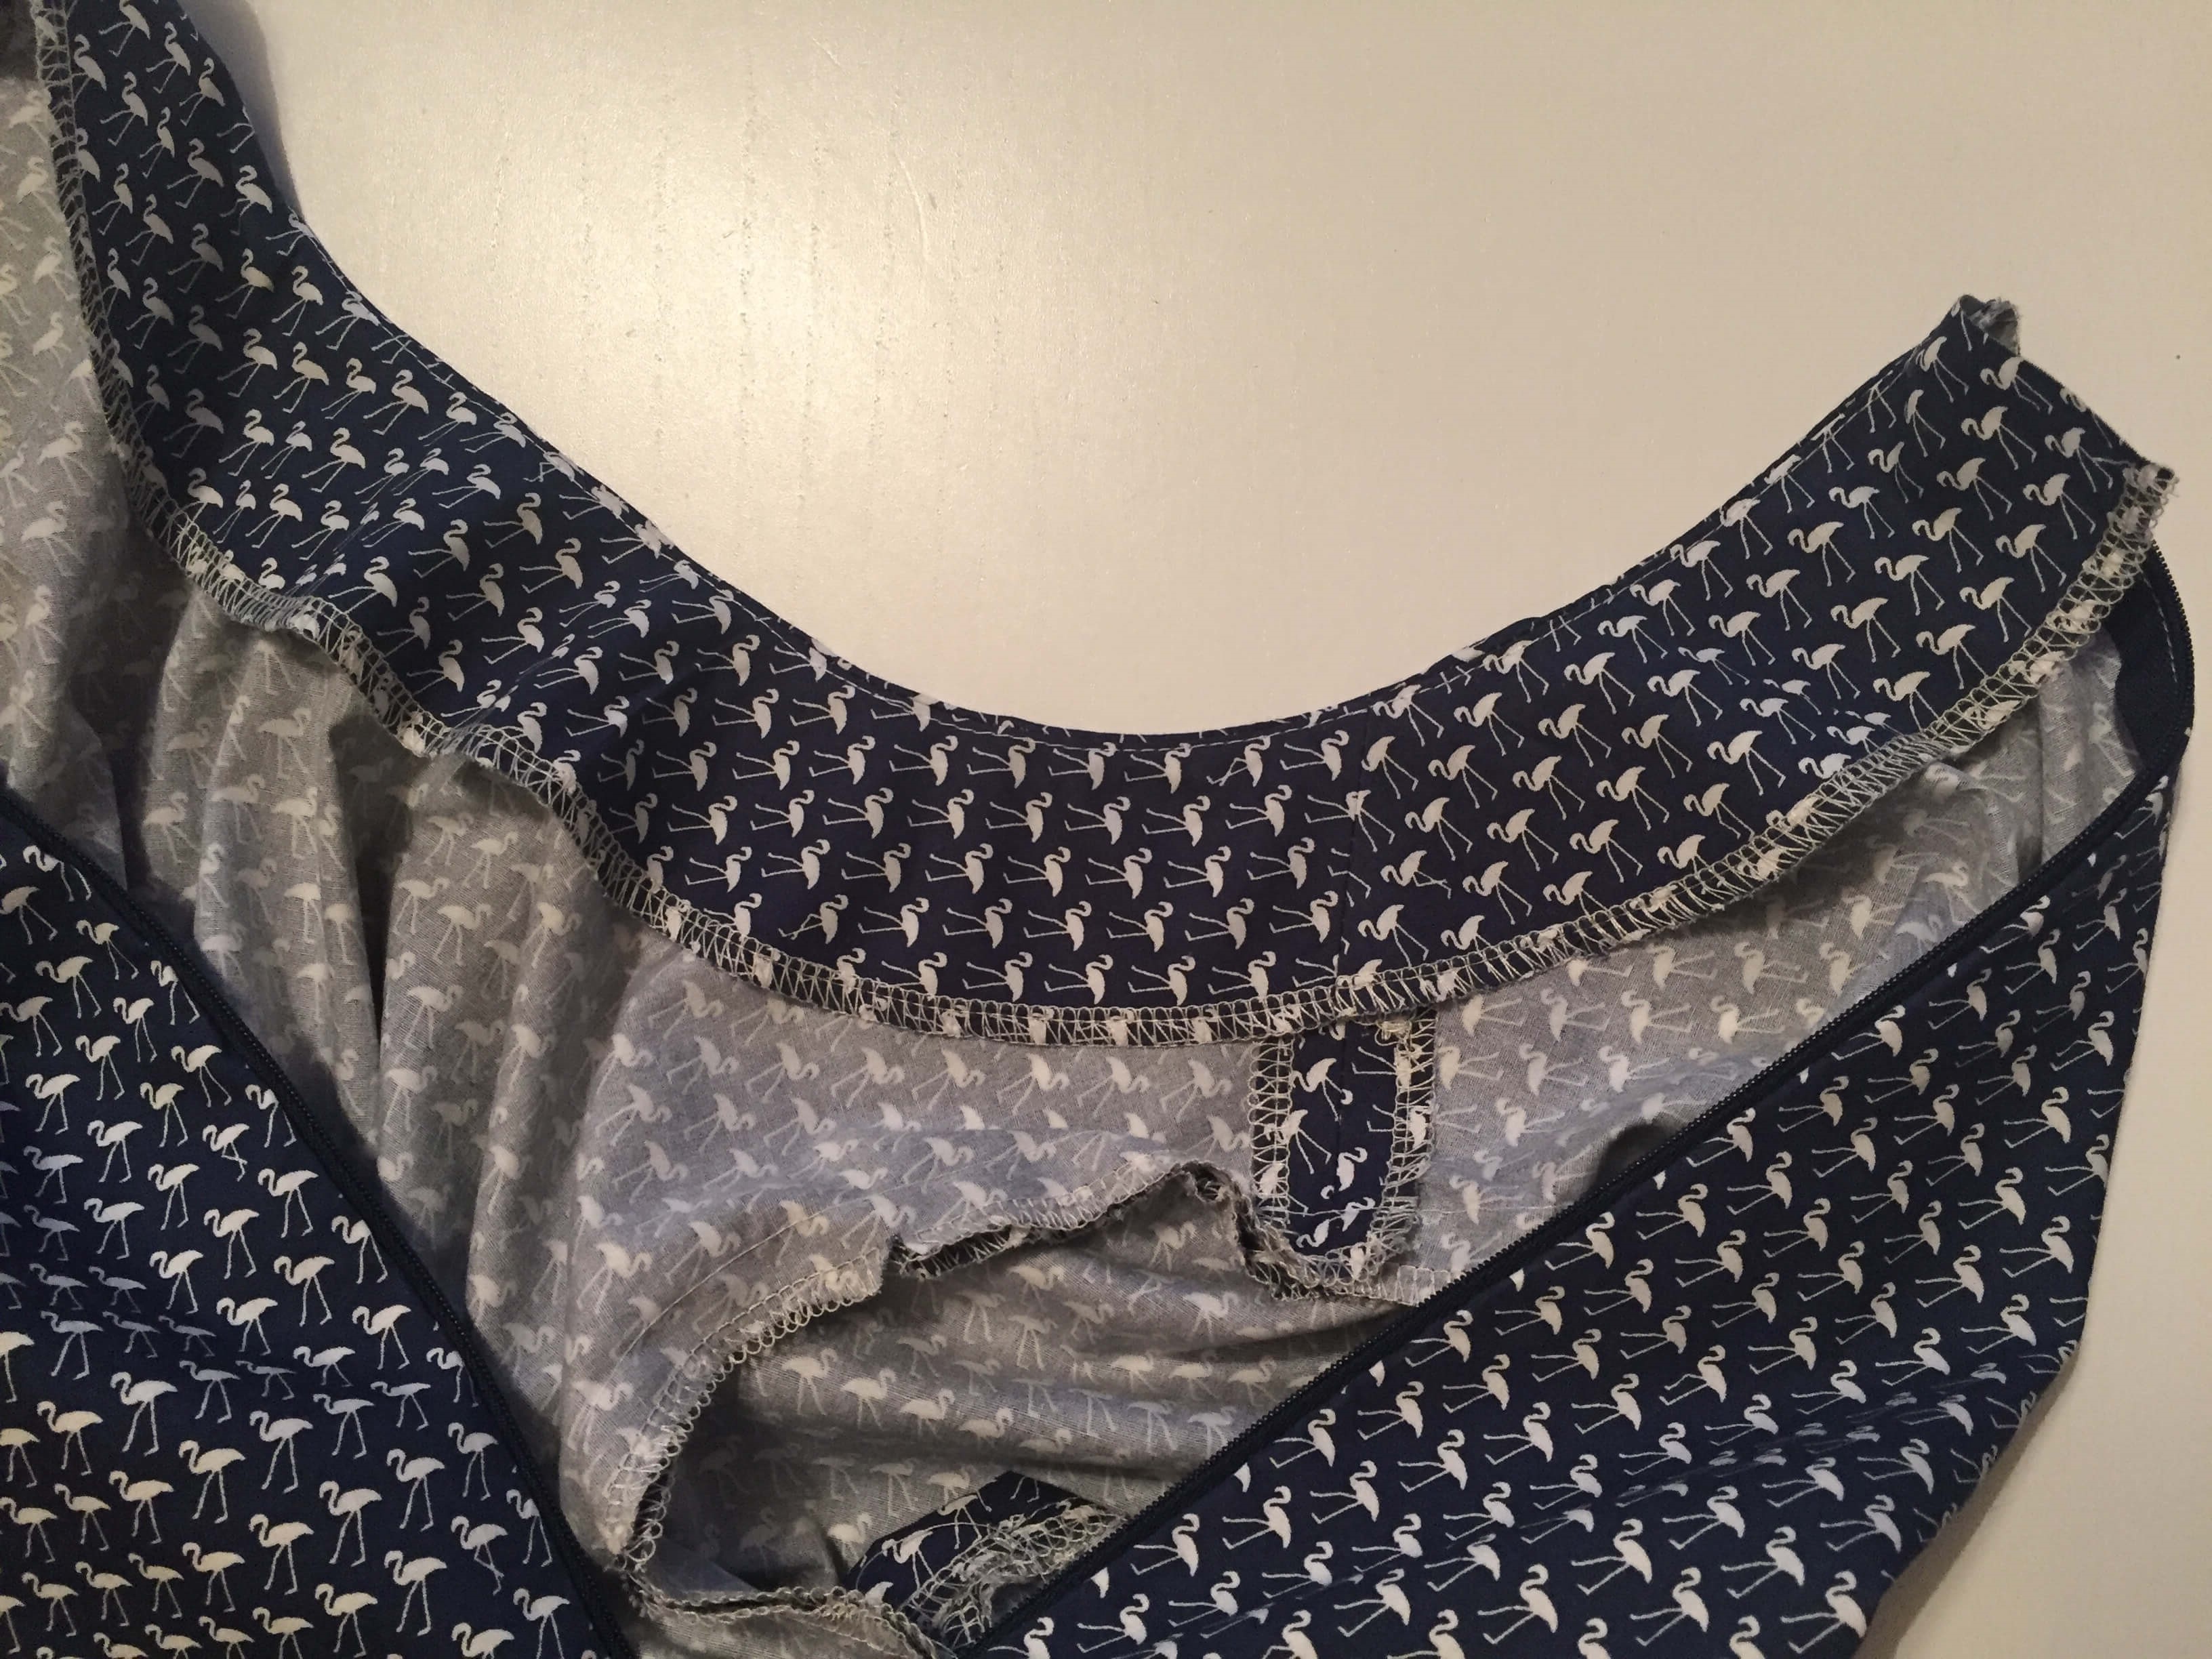
35. Turn your dress to the RS and place the front of the dress facing you. Place the facing onto the neckline right sides together. Work your way around the neckline, matching up the sleeve seams and the CB. This piece does fit perfectly, so take your time here. Starting at the CB, sew the facing to the neckline using a 1cm seam allowance.
36. At the back, check that both sides match when the zip is closed. Now is the time to fix it if one side is higher than the other. Once you are happy with this piece, snip into the curve of the neckline.
UNDERSTITCHING/COMPLETING THE FACING
37. Starting at the one side of the CB, push the facing and seam allowance to the right. Create a row of stitches on the facing piece 3mm from the edge. Continue all the way around the neckline. You are sewing on the facing and catching the seam allowance underneath.
38. At the back, fold your facing seam allowance and pin. Hand stitch the facing to the zip, making sure no stitches are visible from the right side.
39. On the inside, you can stitch your facing piece by hand to the shoulder seam so that it stays flat.

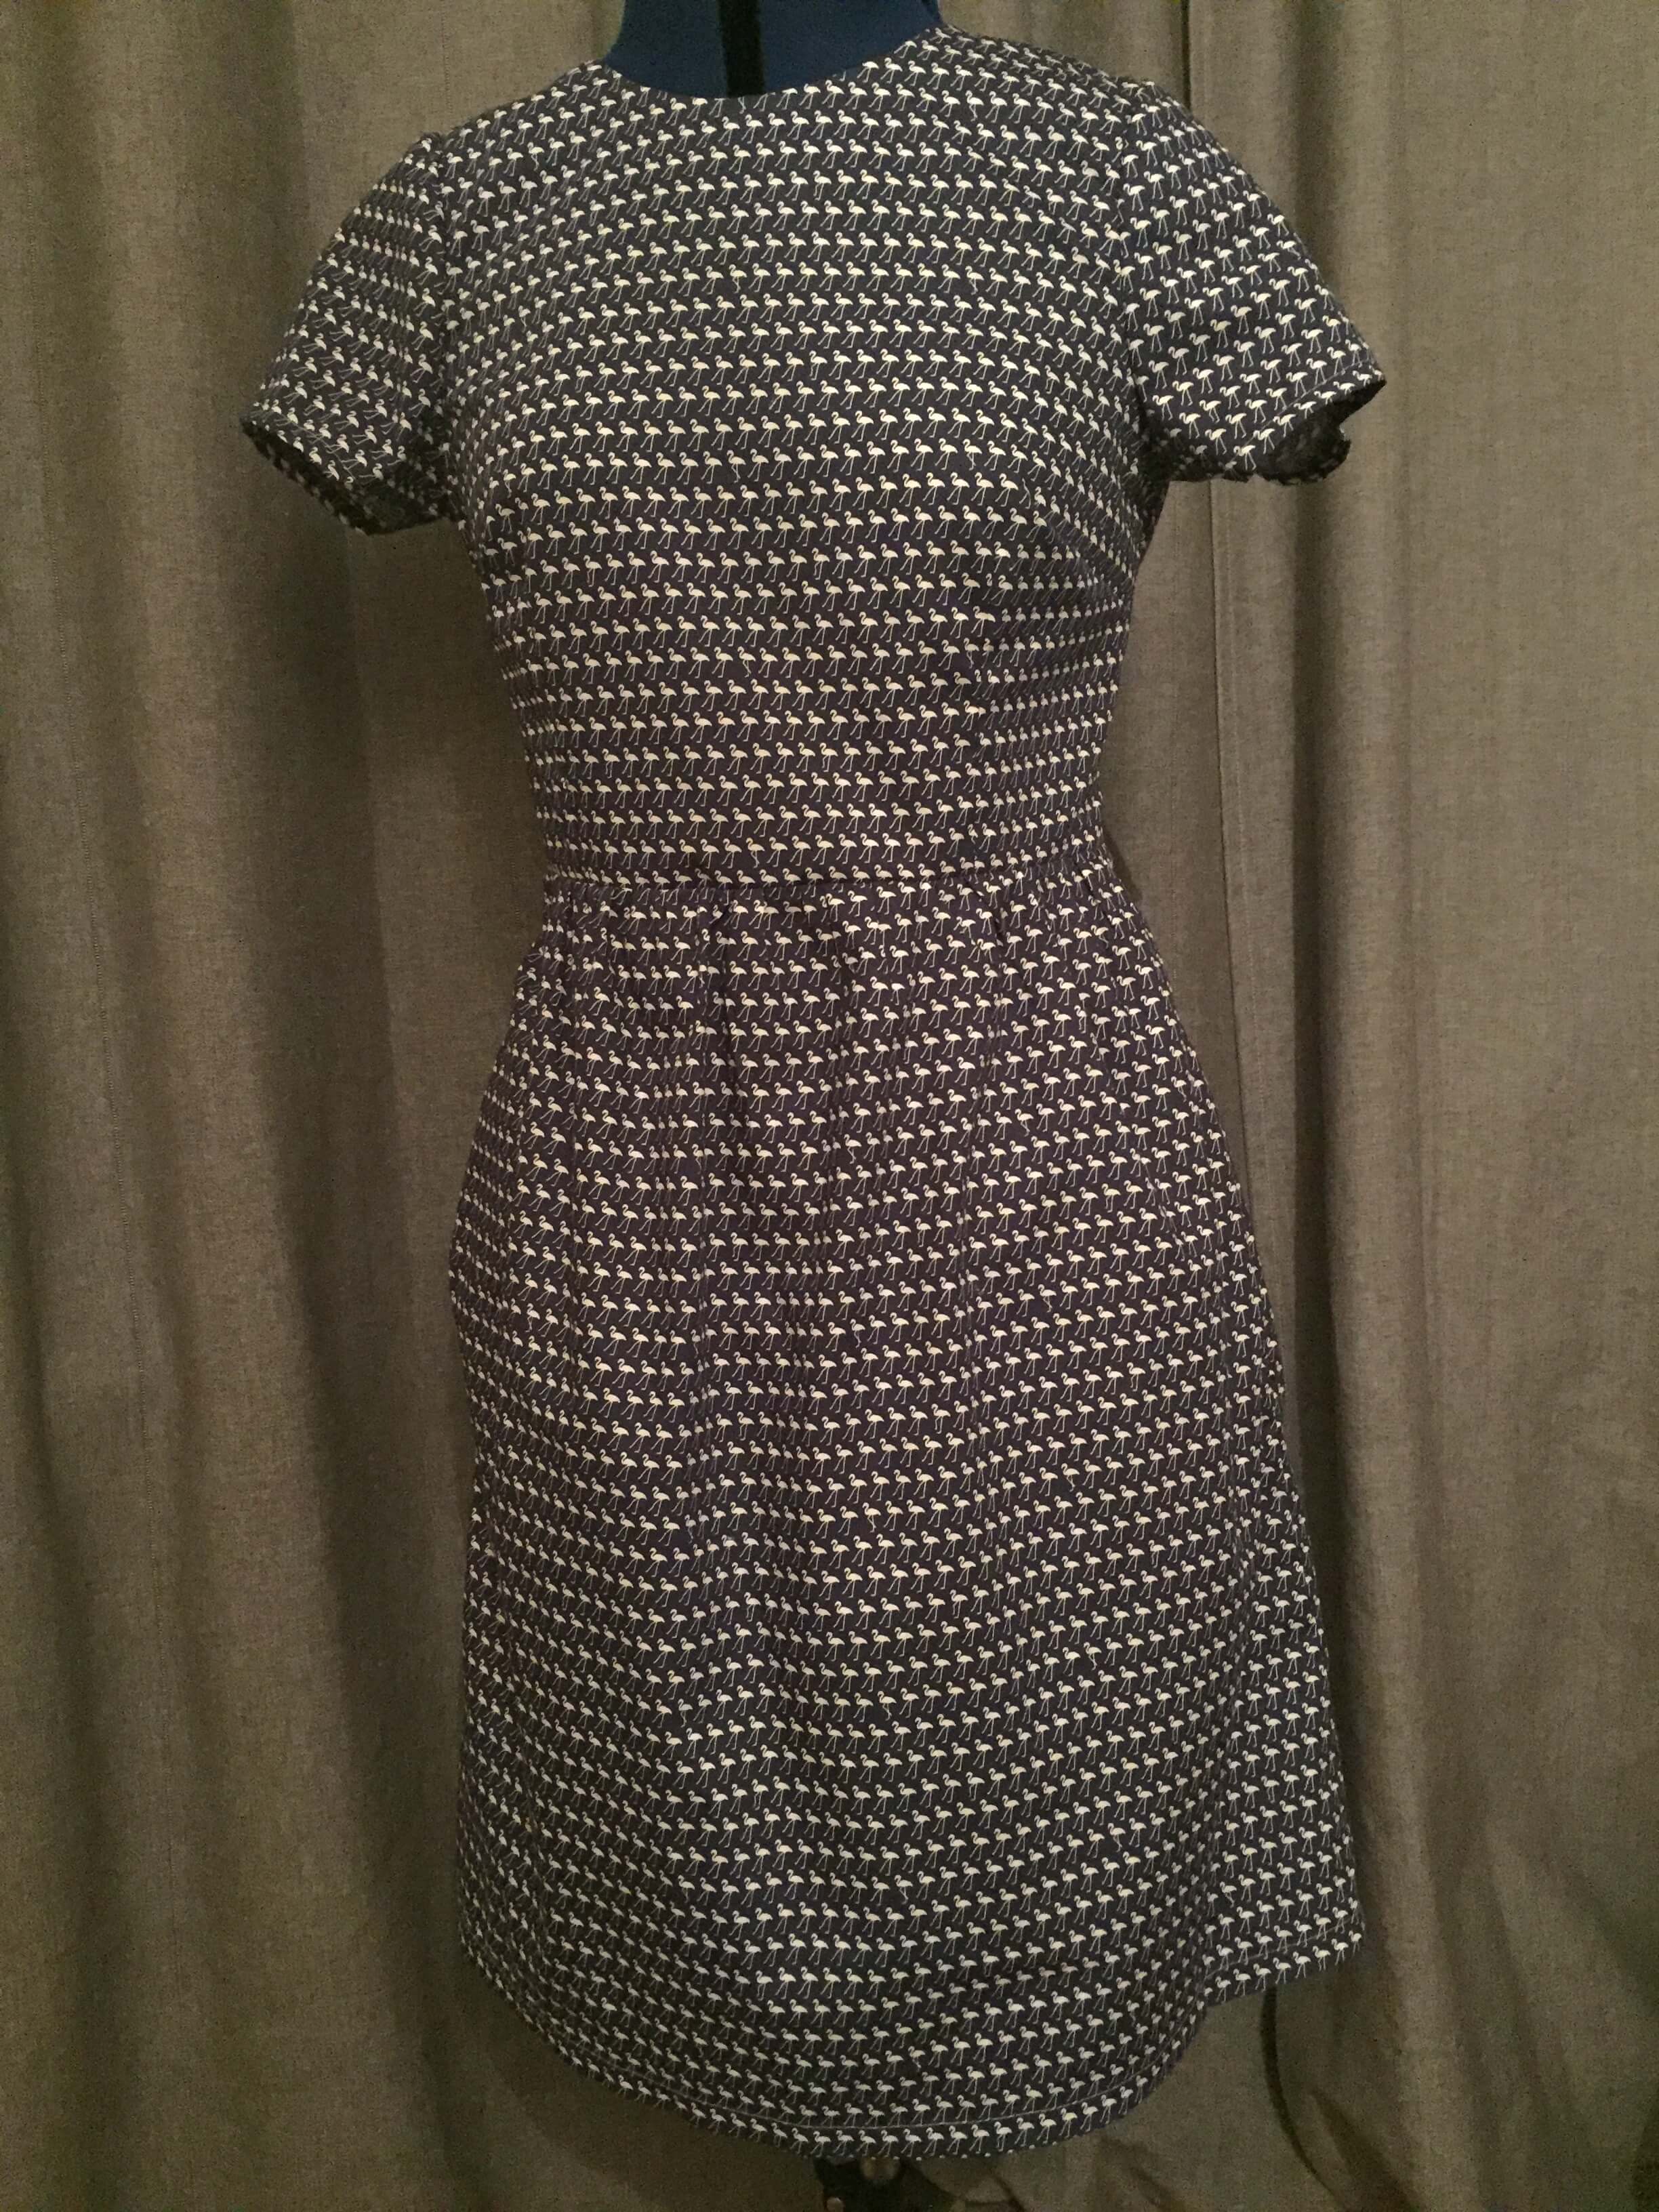
Give your dress an iron and then turn to the right side. Slip on your gorgeous new dress and let us see!