
It is very easy to line the sleeves of The Coat and, in doing so, creates a beautiful finish. For this tutorial, we’ve used a Liberty Cotton Lawn for the back facing (buggy lining) and the sleeves.
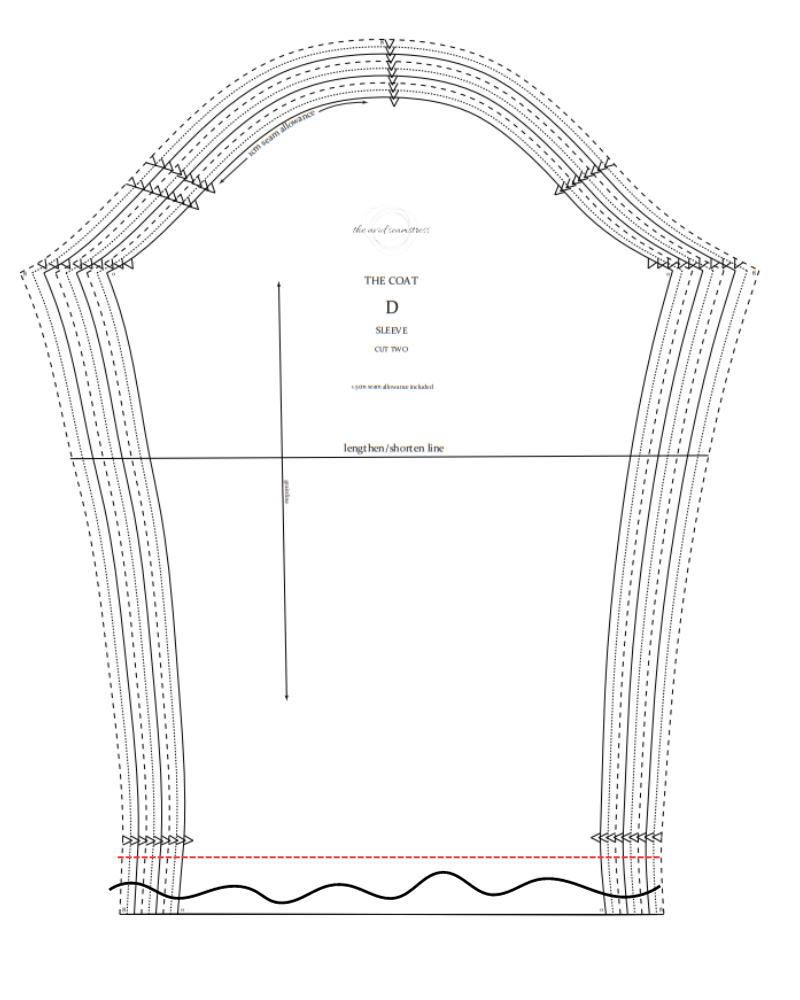
CREATING THE SLEEVE LINING PATTERN PIECE
Trace the sleeve pattern piece. Ensure that all notches and markings are traced and it is an exact replica of the main pattern piece. Using the traced pattern piece, measure 1cm below the hem notch and draw a horizontal line across the sleeve. Remove the lower section. The sleeve and new sleeve lining piece have a 1cm hem allowance already included. The seam allowance does not need to be added.
SEWING THE COAT
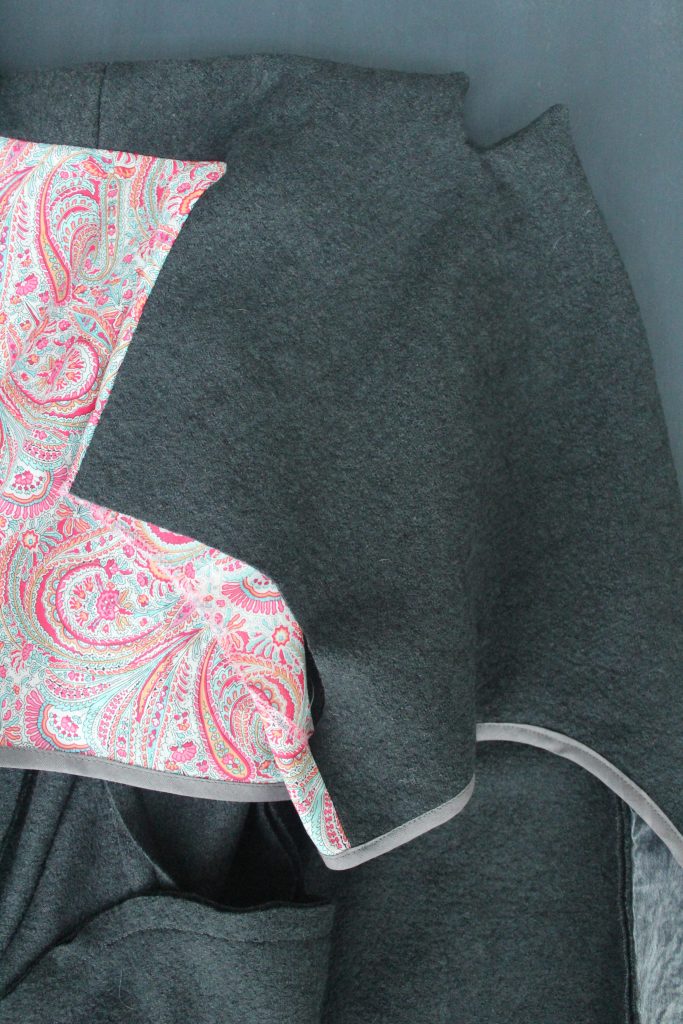
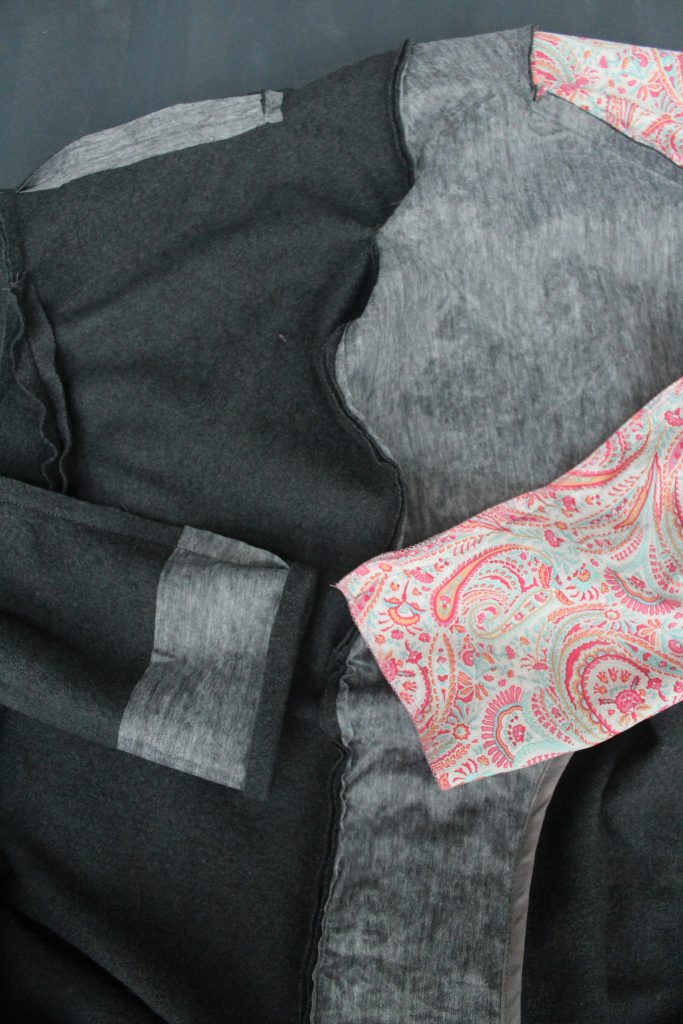
Using The Coat instructions, sew the garment until step 20 has been completed. There will now be two armholes and each side; one will be the main fabric and the other the Front Facing (made out of the same fabric as the main fabric) and Back Facing (made out of the lining fabric):
This image is showing the Front Facing and Back Facing sleeve armhole.
Put the instructions to one side and follow these steps to line the sleeve:
With right sides together, stitch the side seams of the main fabric sleeve pieces and the sleeve lining pieces.
Following the sleeve notches, pin and set in the sleeves; right side of sleeve inserted into the armhole so it is next to the right side of the garment and sleeve lining to the front facing and back facing/buggy lining. On completion, there will be four sleeves attached which you will join in the following steps.
Pull the sleeves through to the right side and check that they have been sewn in accurately and no fabric has been mistakenly caught. If correct, pull sleeves back to the wrong side.
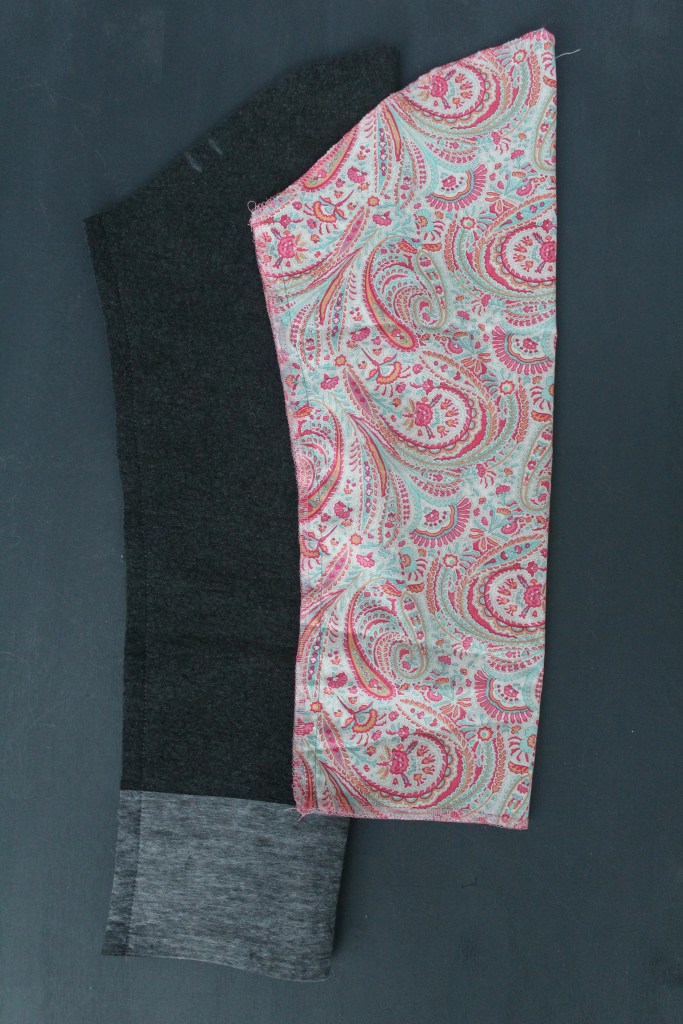
Place the coat with the wrong sides facing you. Place so that you have the left sleeve and the left sleeve lining opposite each other.
Turn up the 1cm sleeve allowance on the main fabric cuff. Gently press in place with your fingers, it is not necessary to pin.
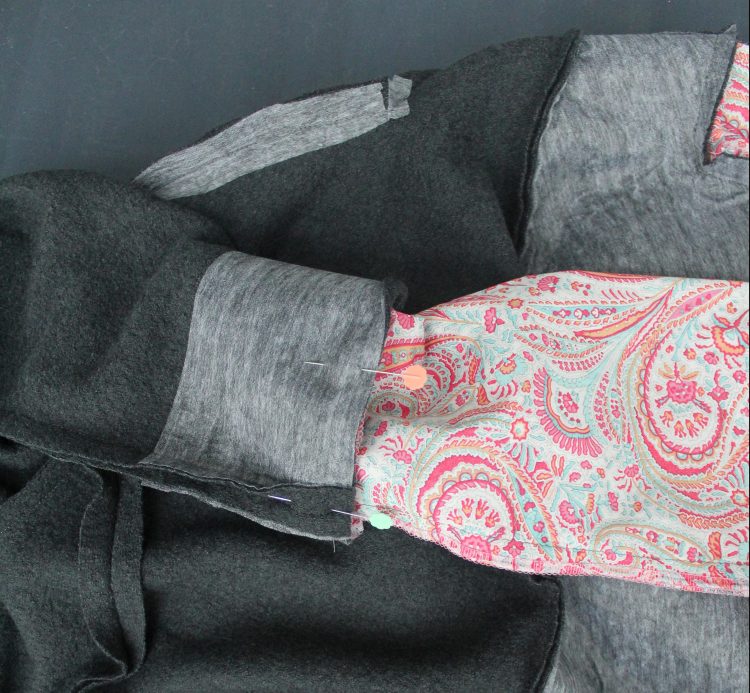
Unfold the 1cm seam allowance and slide the sleeve lining into the main fabric cuff. Turn up the edge of the sleeve lining and and pin the cuff raw edges of the sleeve and the sleeve lining together. Ensure that the seam allowances of both sleeves meet and the seam allowances are open. Ensure that neither of the sleeves have twisted. Do not pin through any other layers. Place the pins as shown as it will be easier to stitch in the next step.
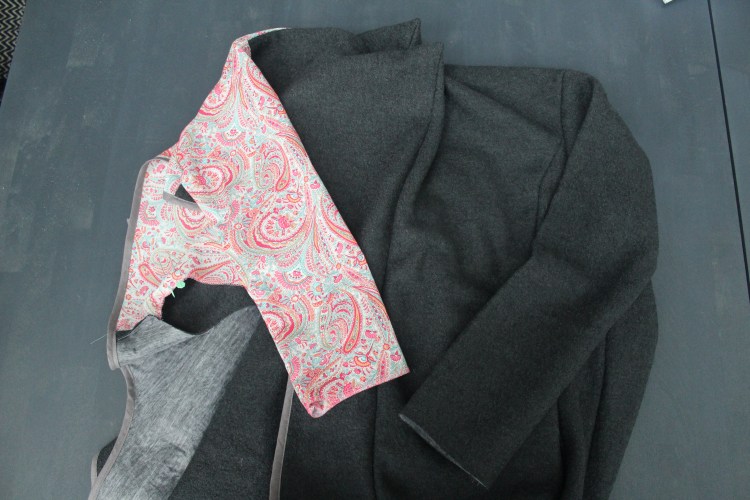
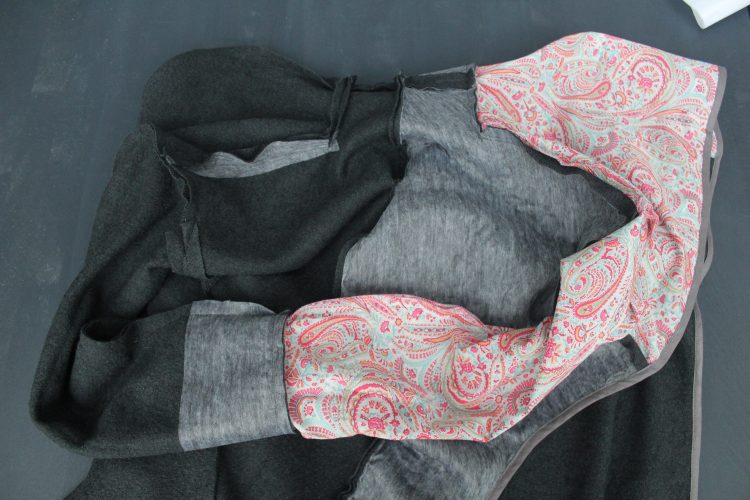
Stitch using a 1cm seam allowance. This requires a little manipulation, so take your time keeping the lining arm out of the way as you sew. The sleeve once stitched:
Next, turn the coat inside out. Ensure that the sleeve turn up is an accurate measurement all the way around the cuff. Pinch the fabric to form a gentle crease. The sleeve lining should look “baggy” as it needs to “fall down” over the main garment turn up which enables the lining to have some movement and not feel tight.

The sleeve can now be turned to the right side. Complete on the other sleeve / sleeve lining. Voila, done! You can now return to step 27 in the Coat instructions.

We hope that you have found this tutorial simple and love the finish it creates. Any suggestions for further tutorials or any help, please don’t hesitate to get in touch with us at hello@theavidseamstress.co.uk or pop your thoughts in the comments section.
