
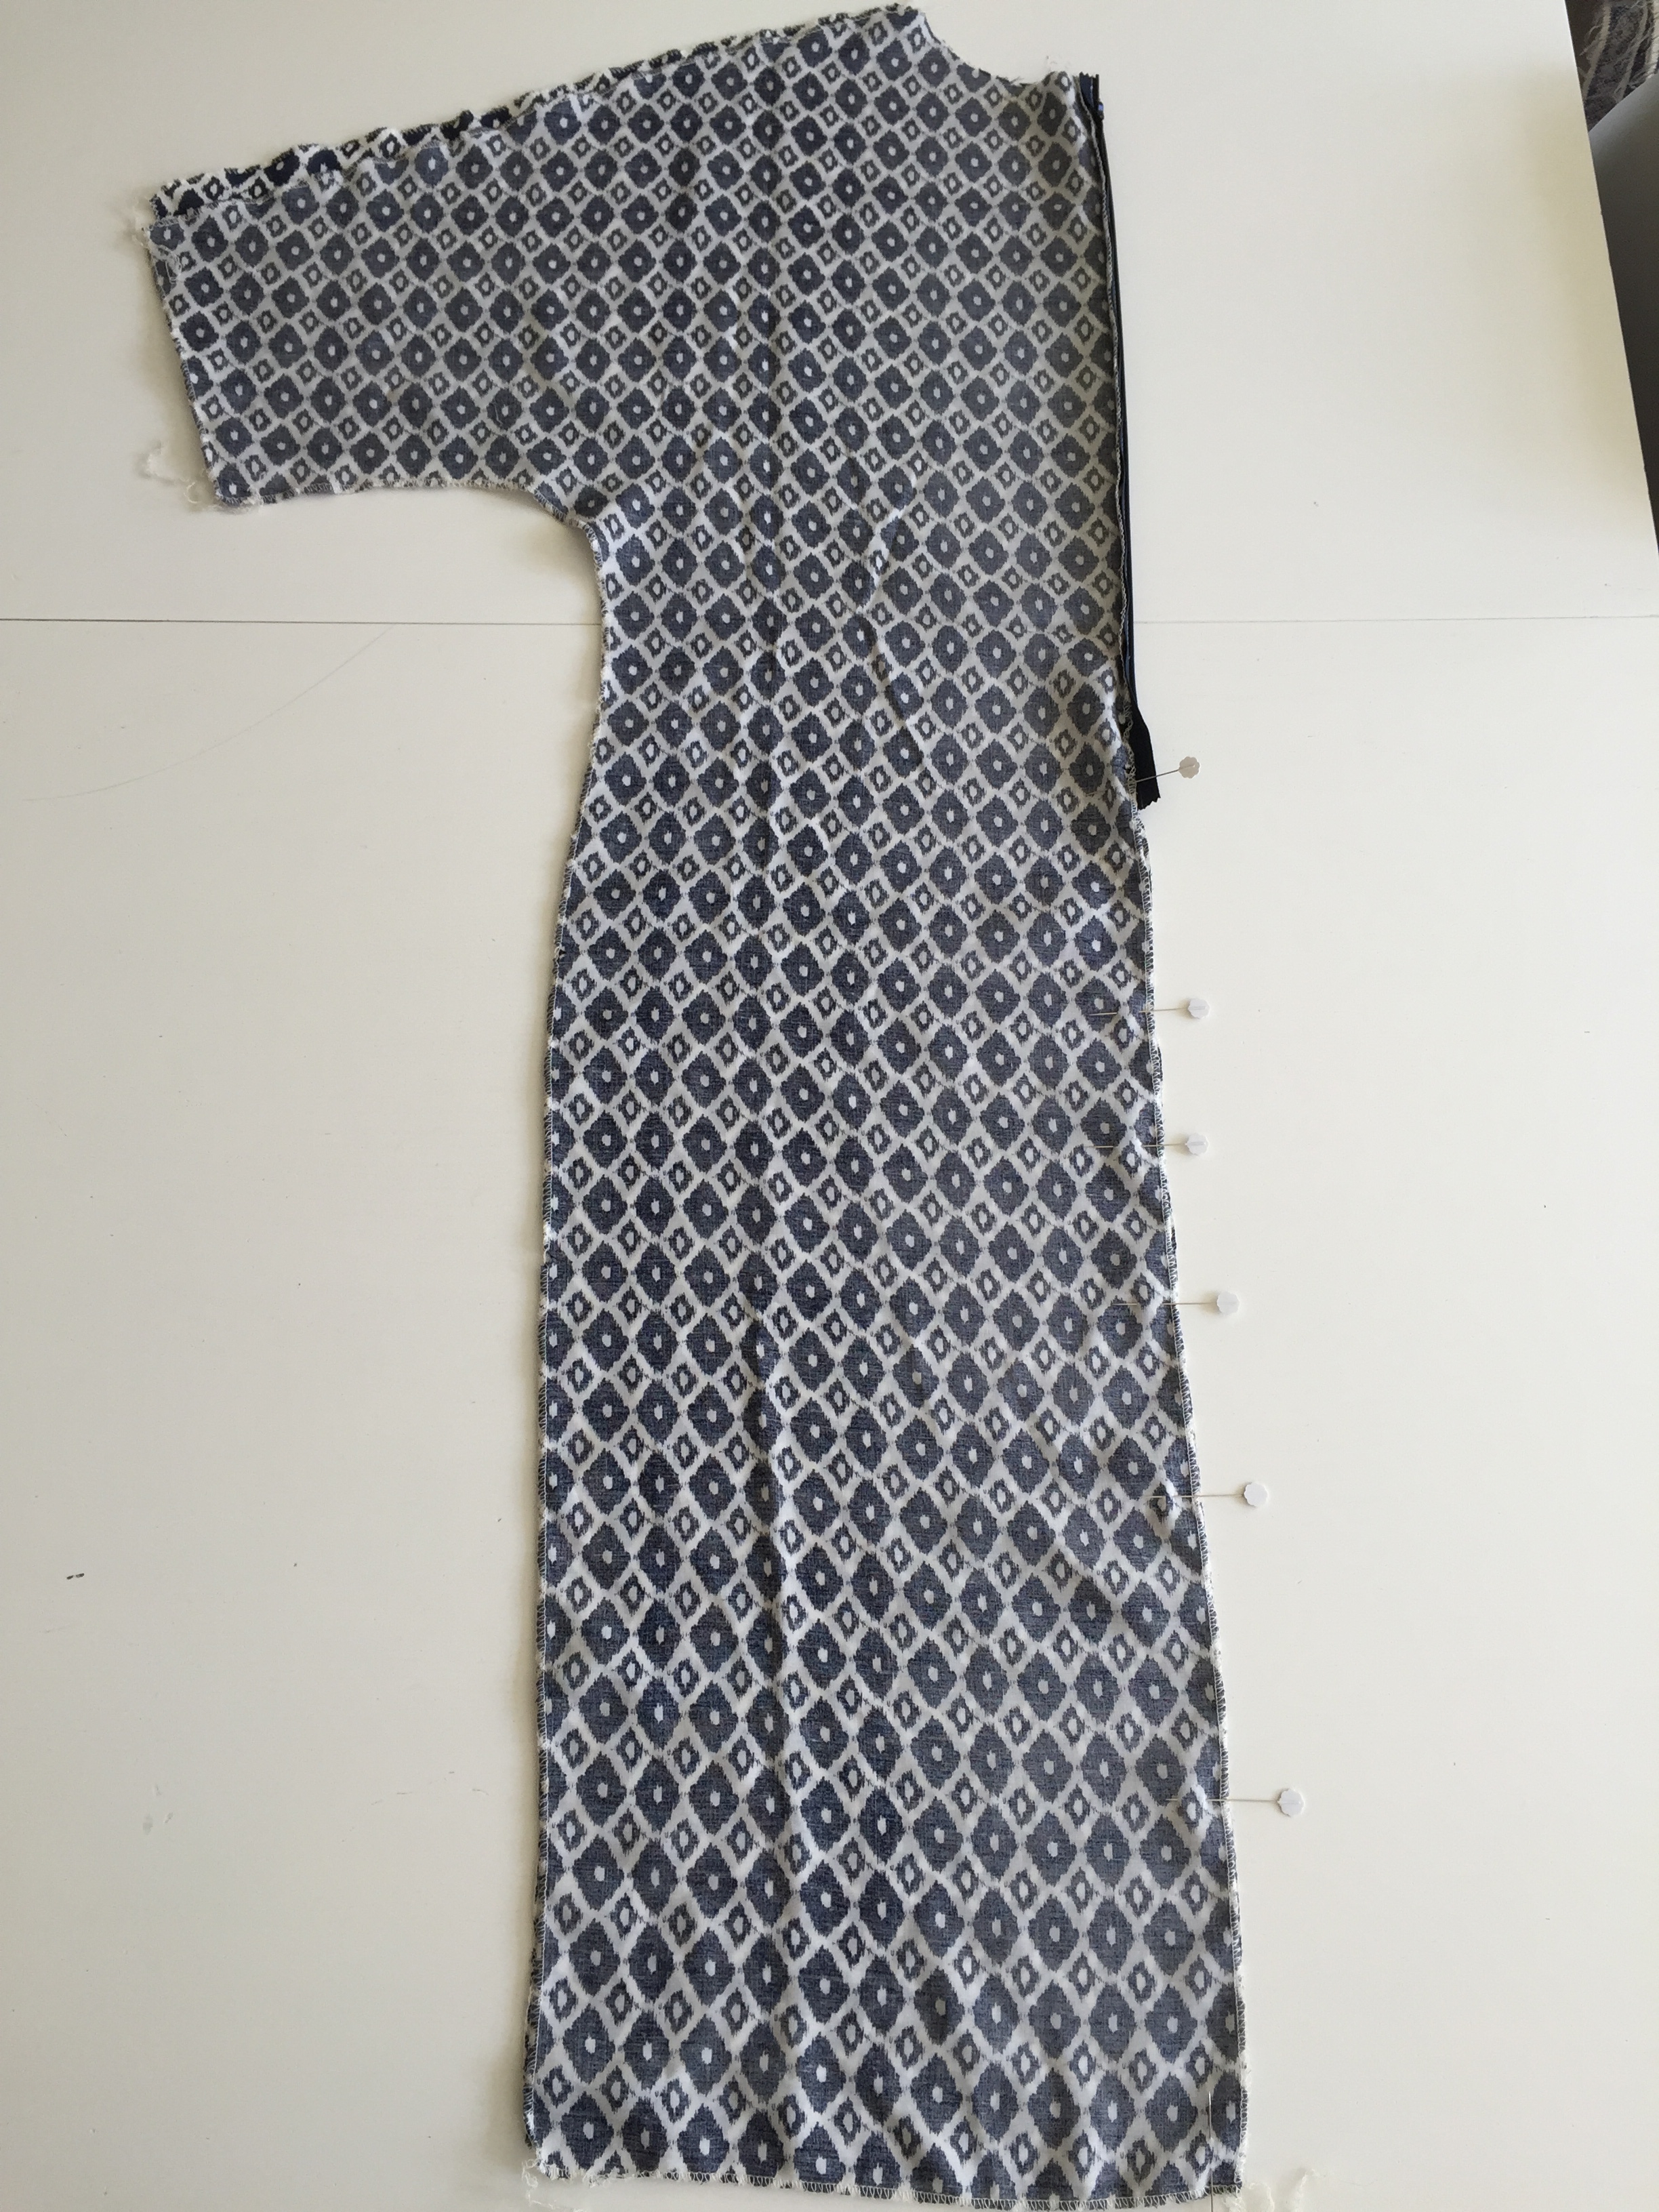
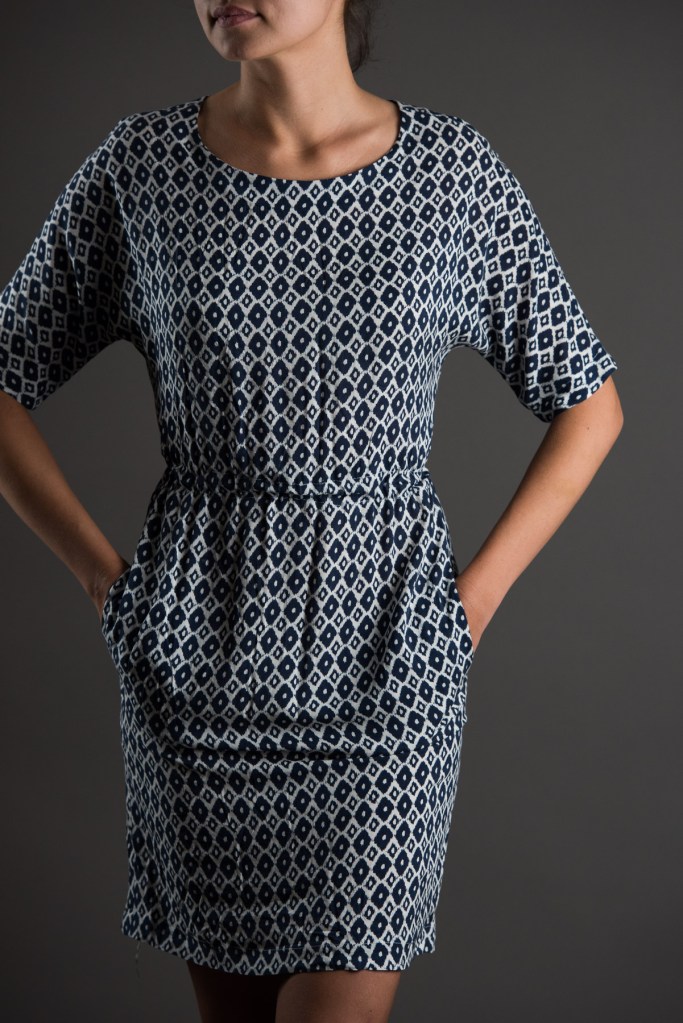
The Sheath Dress is a gorgeous dress that you will want to make again and again! It works in so many fabrics making it really versatile. The most important element of choosing fabric for this pattern is that it must be at least 128cm wide! This is because of the shape of the sleeves which are formed as part of the body of the dress. Allow extra fabric to match one way designs, plaids or stripes.
Suggested fabrics: Lightweight wovens, chambray, jerseys, crepes, silk, viscose and cotton.
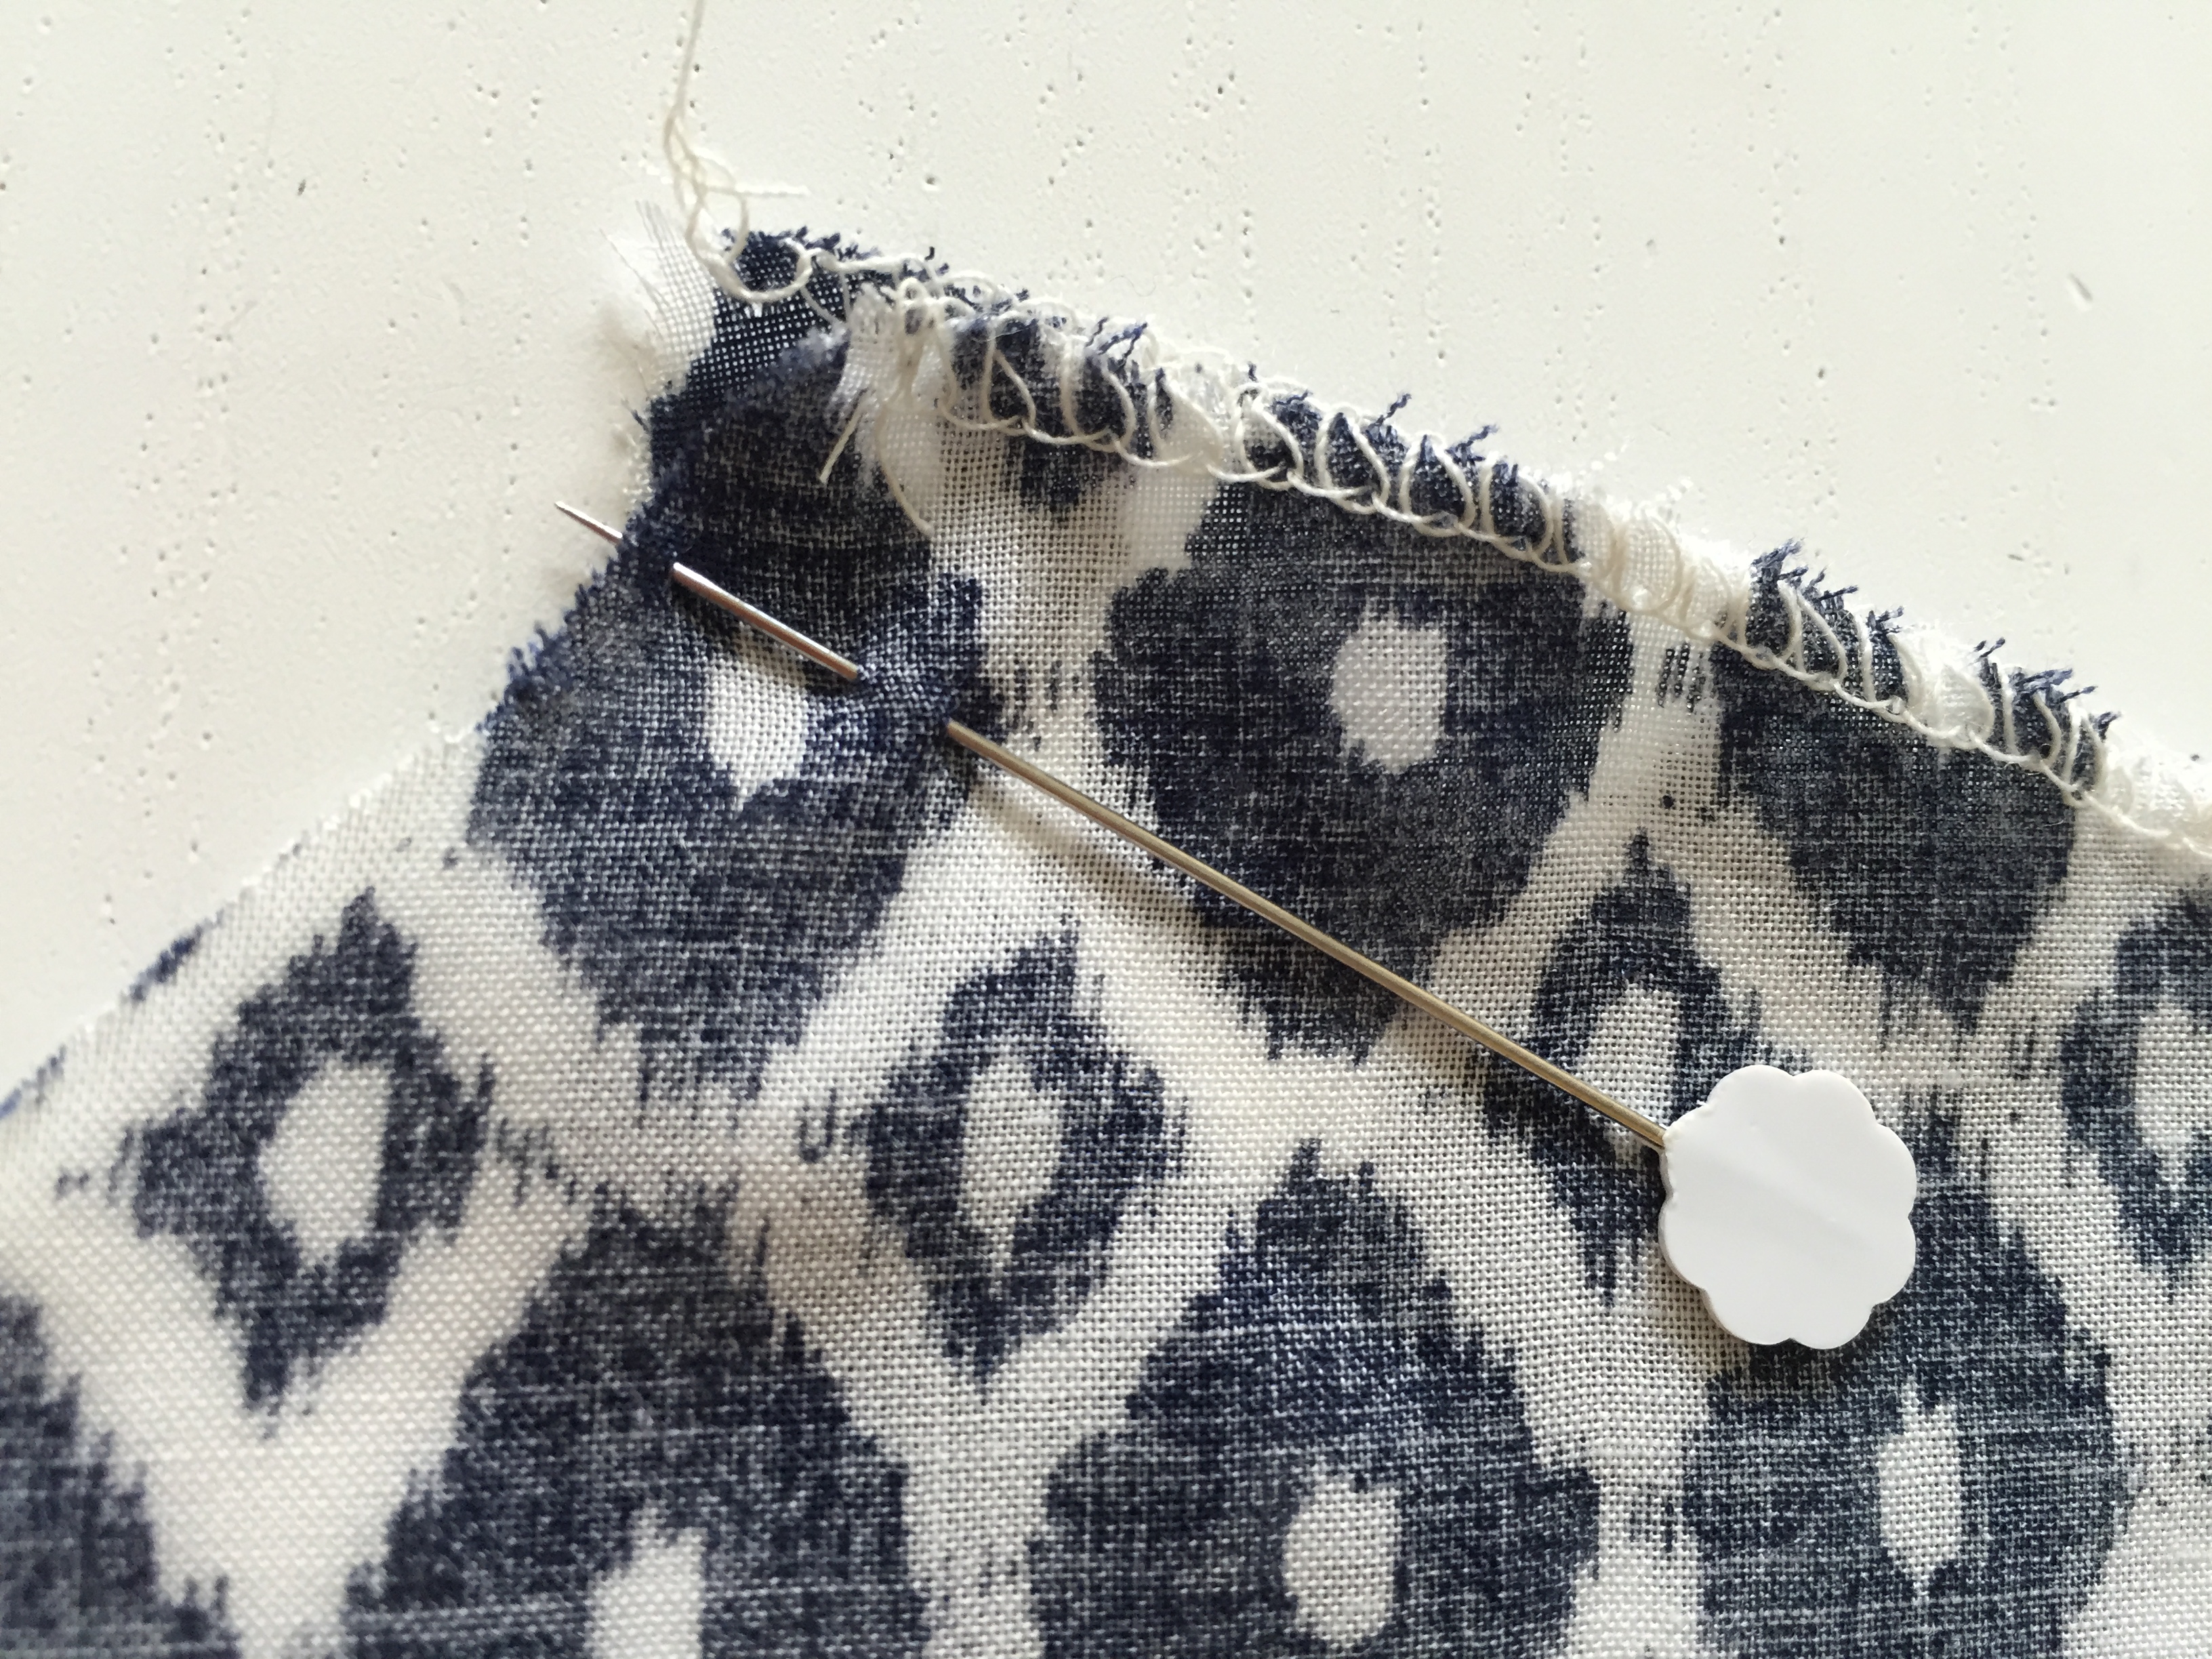
Before you start- Overlock / zigzag the raw edges. Overlocking is not required for the neckline of A and B or the neckline edge of the facing.
Open out B so that you have each piece separately. Stay stitch the neckline on the two pieces of B and the front neckline of A.
“Stay stitching” is a row of stitches that prevent the piece from becoming stretched. The stitches are created within the seam allowance so that you don’t see these stitches once the garment is sewn. The guideline is 5mm from the edge of the fabric.
INVISIBLE ZIP

What’s the difference between an invisible (concealed) zip to a standard zip?
A lot! The way it looks is different and the way you insert it into a garment is different. You always work on the right side of the fabric when putting in an invisible zip. The “teeth” of the zip are on the inside of the zip, whereas the “teeth” of a regular zip are on the outside.
Invisible (dark grey) / Standard (light grey)


This is the “right side” of the zip. The is the “wrong side” of the zip
Preparing the zip
Prepare the zipper. Unzip the zipper and you will notice that the zip “rolls” to the side. Take your iron and, on a warm but not hot setting, iron the zip so that each rolled side lies very flat.
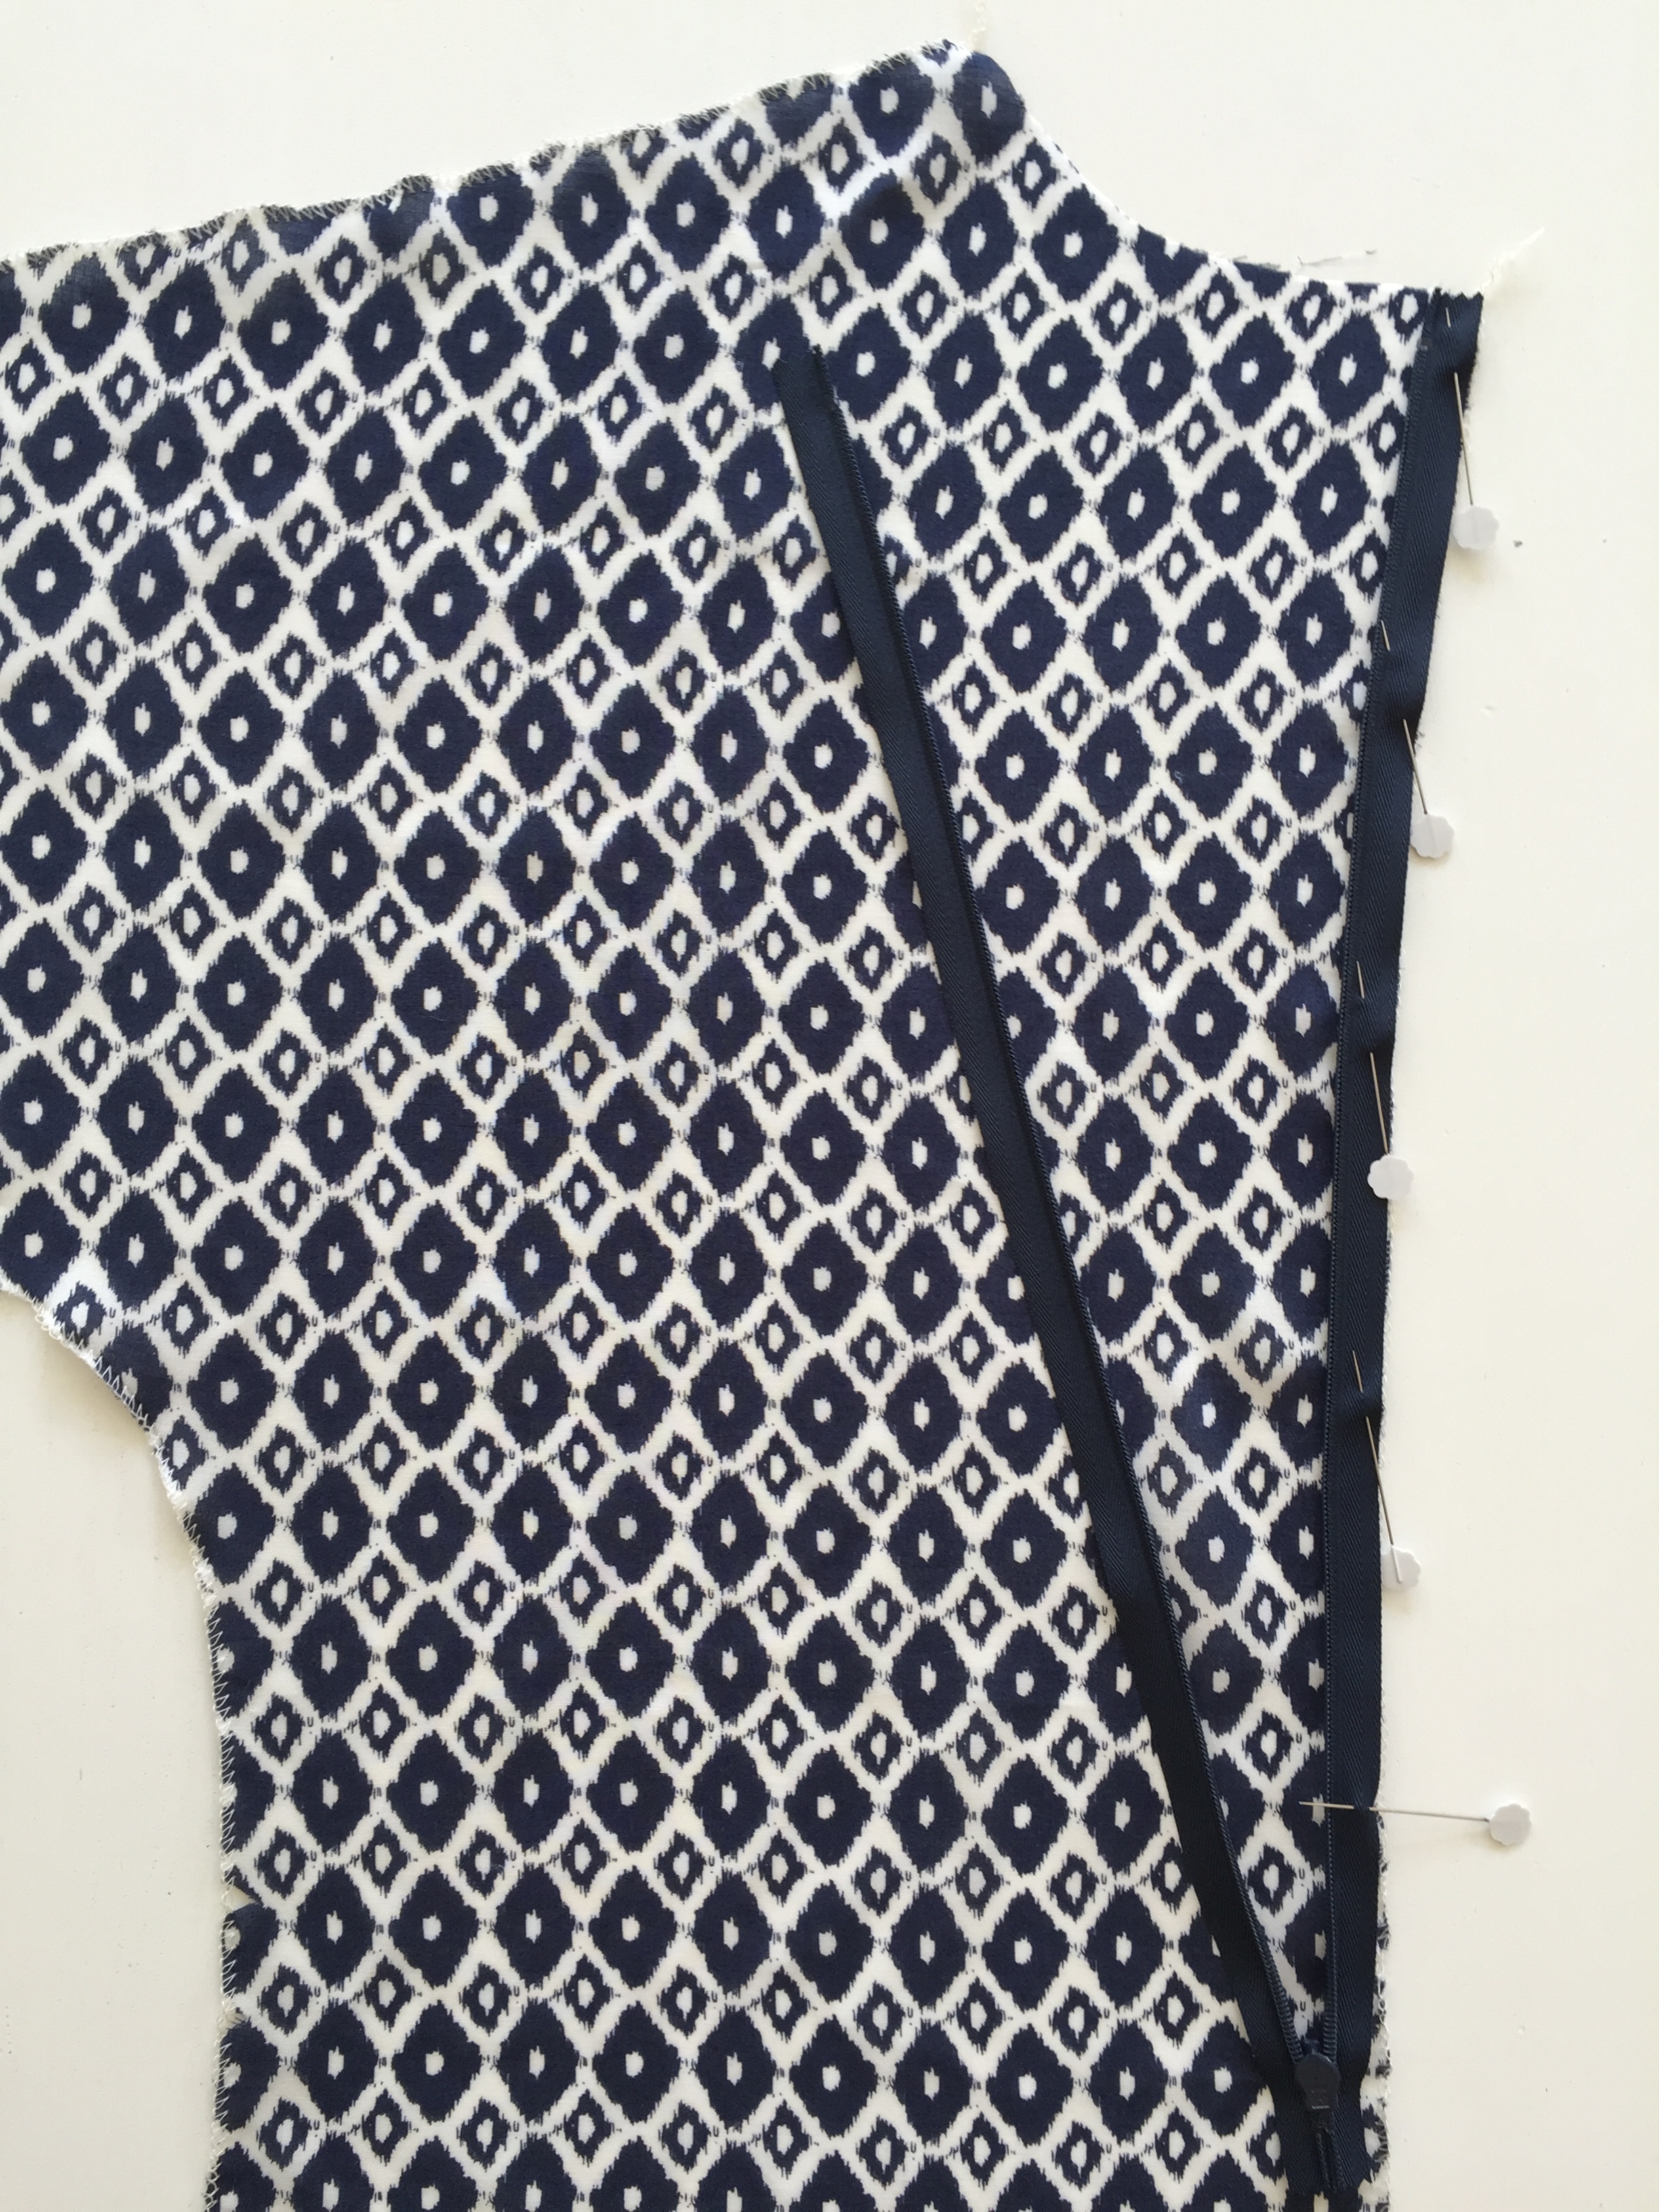
Place the left side of B right side facing you. Place the zip right side facing down onto B and pin the outer edge of the zip along the centre back edge of the dress. The unpinned, loose side of the zip will be on the left. Ensure that the top of the zip is flush with the top of the CB and the edge of the zip that you are pinning lies against the edge of the fabric.
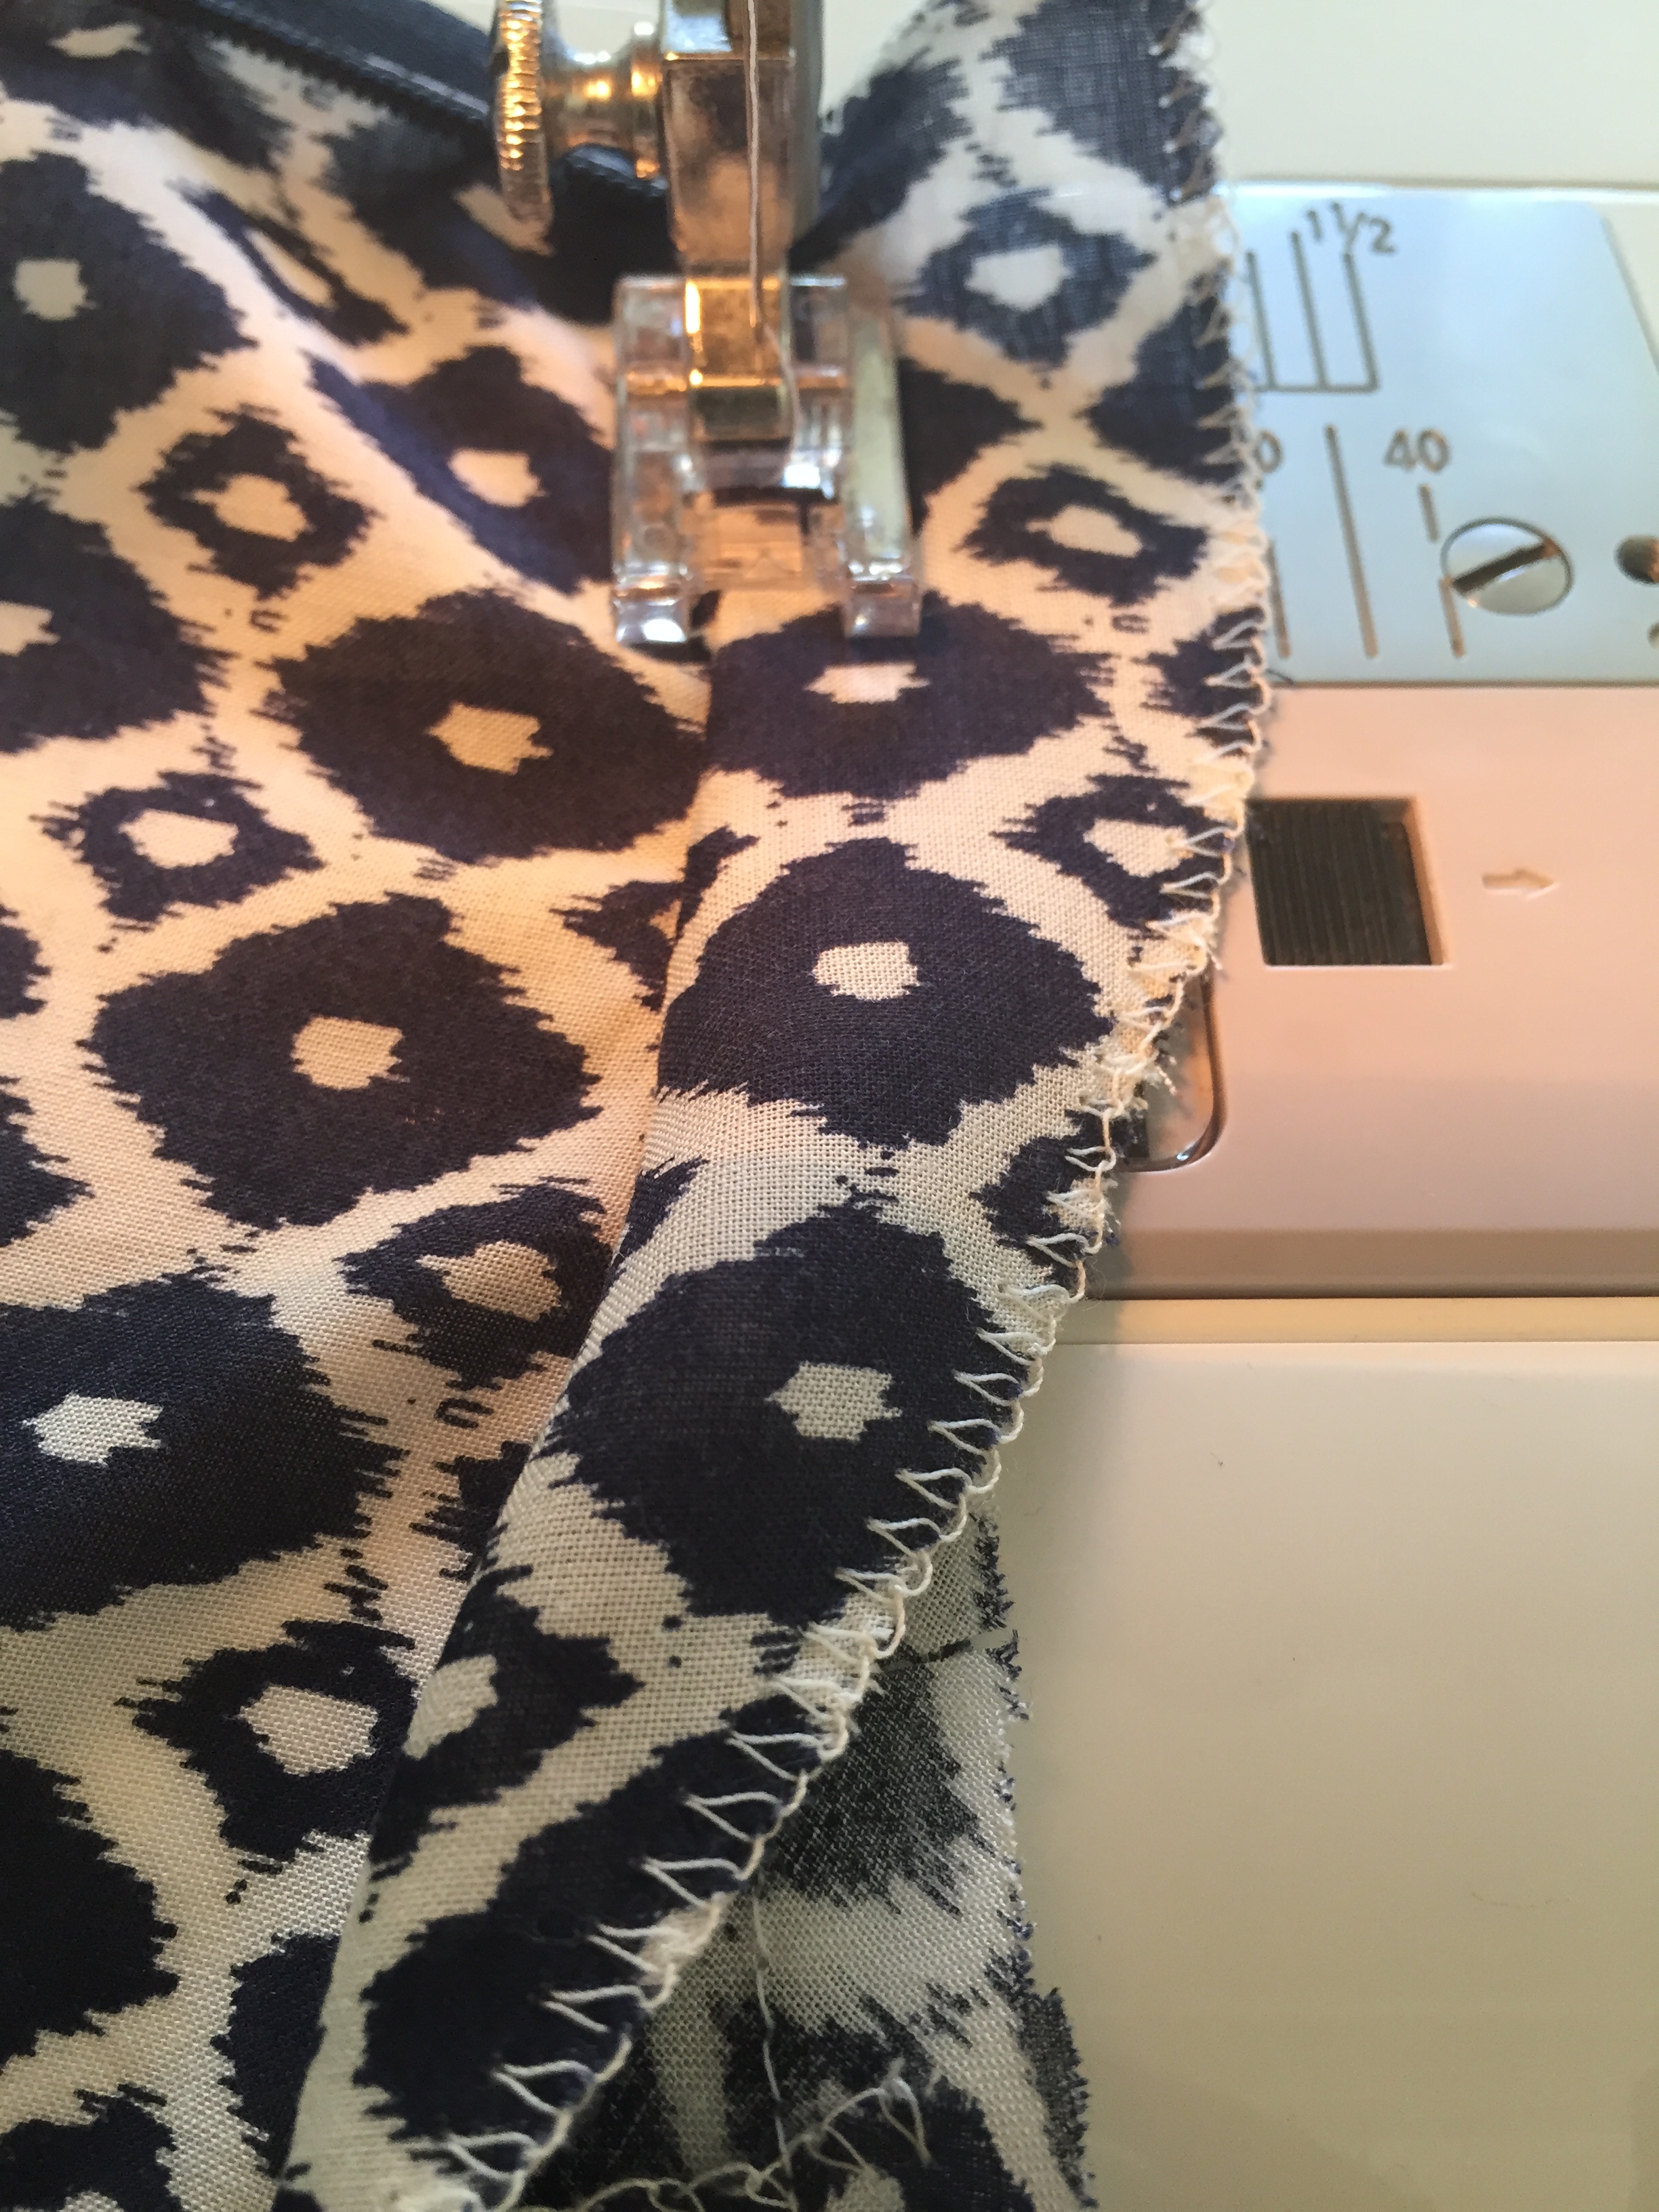
 Starting at the top, sew the zip onto the garment. When using a standard zipper foot, the stitches should be next to the zipper teeth but not too close. When using an invisible zipper foot the zip runs through the zipper foot creating the stitches next to the teeth. Sew until you reach the bottom of the zip (or as far as the foot will allow). Don’t forget to reverse stitch.
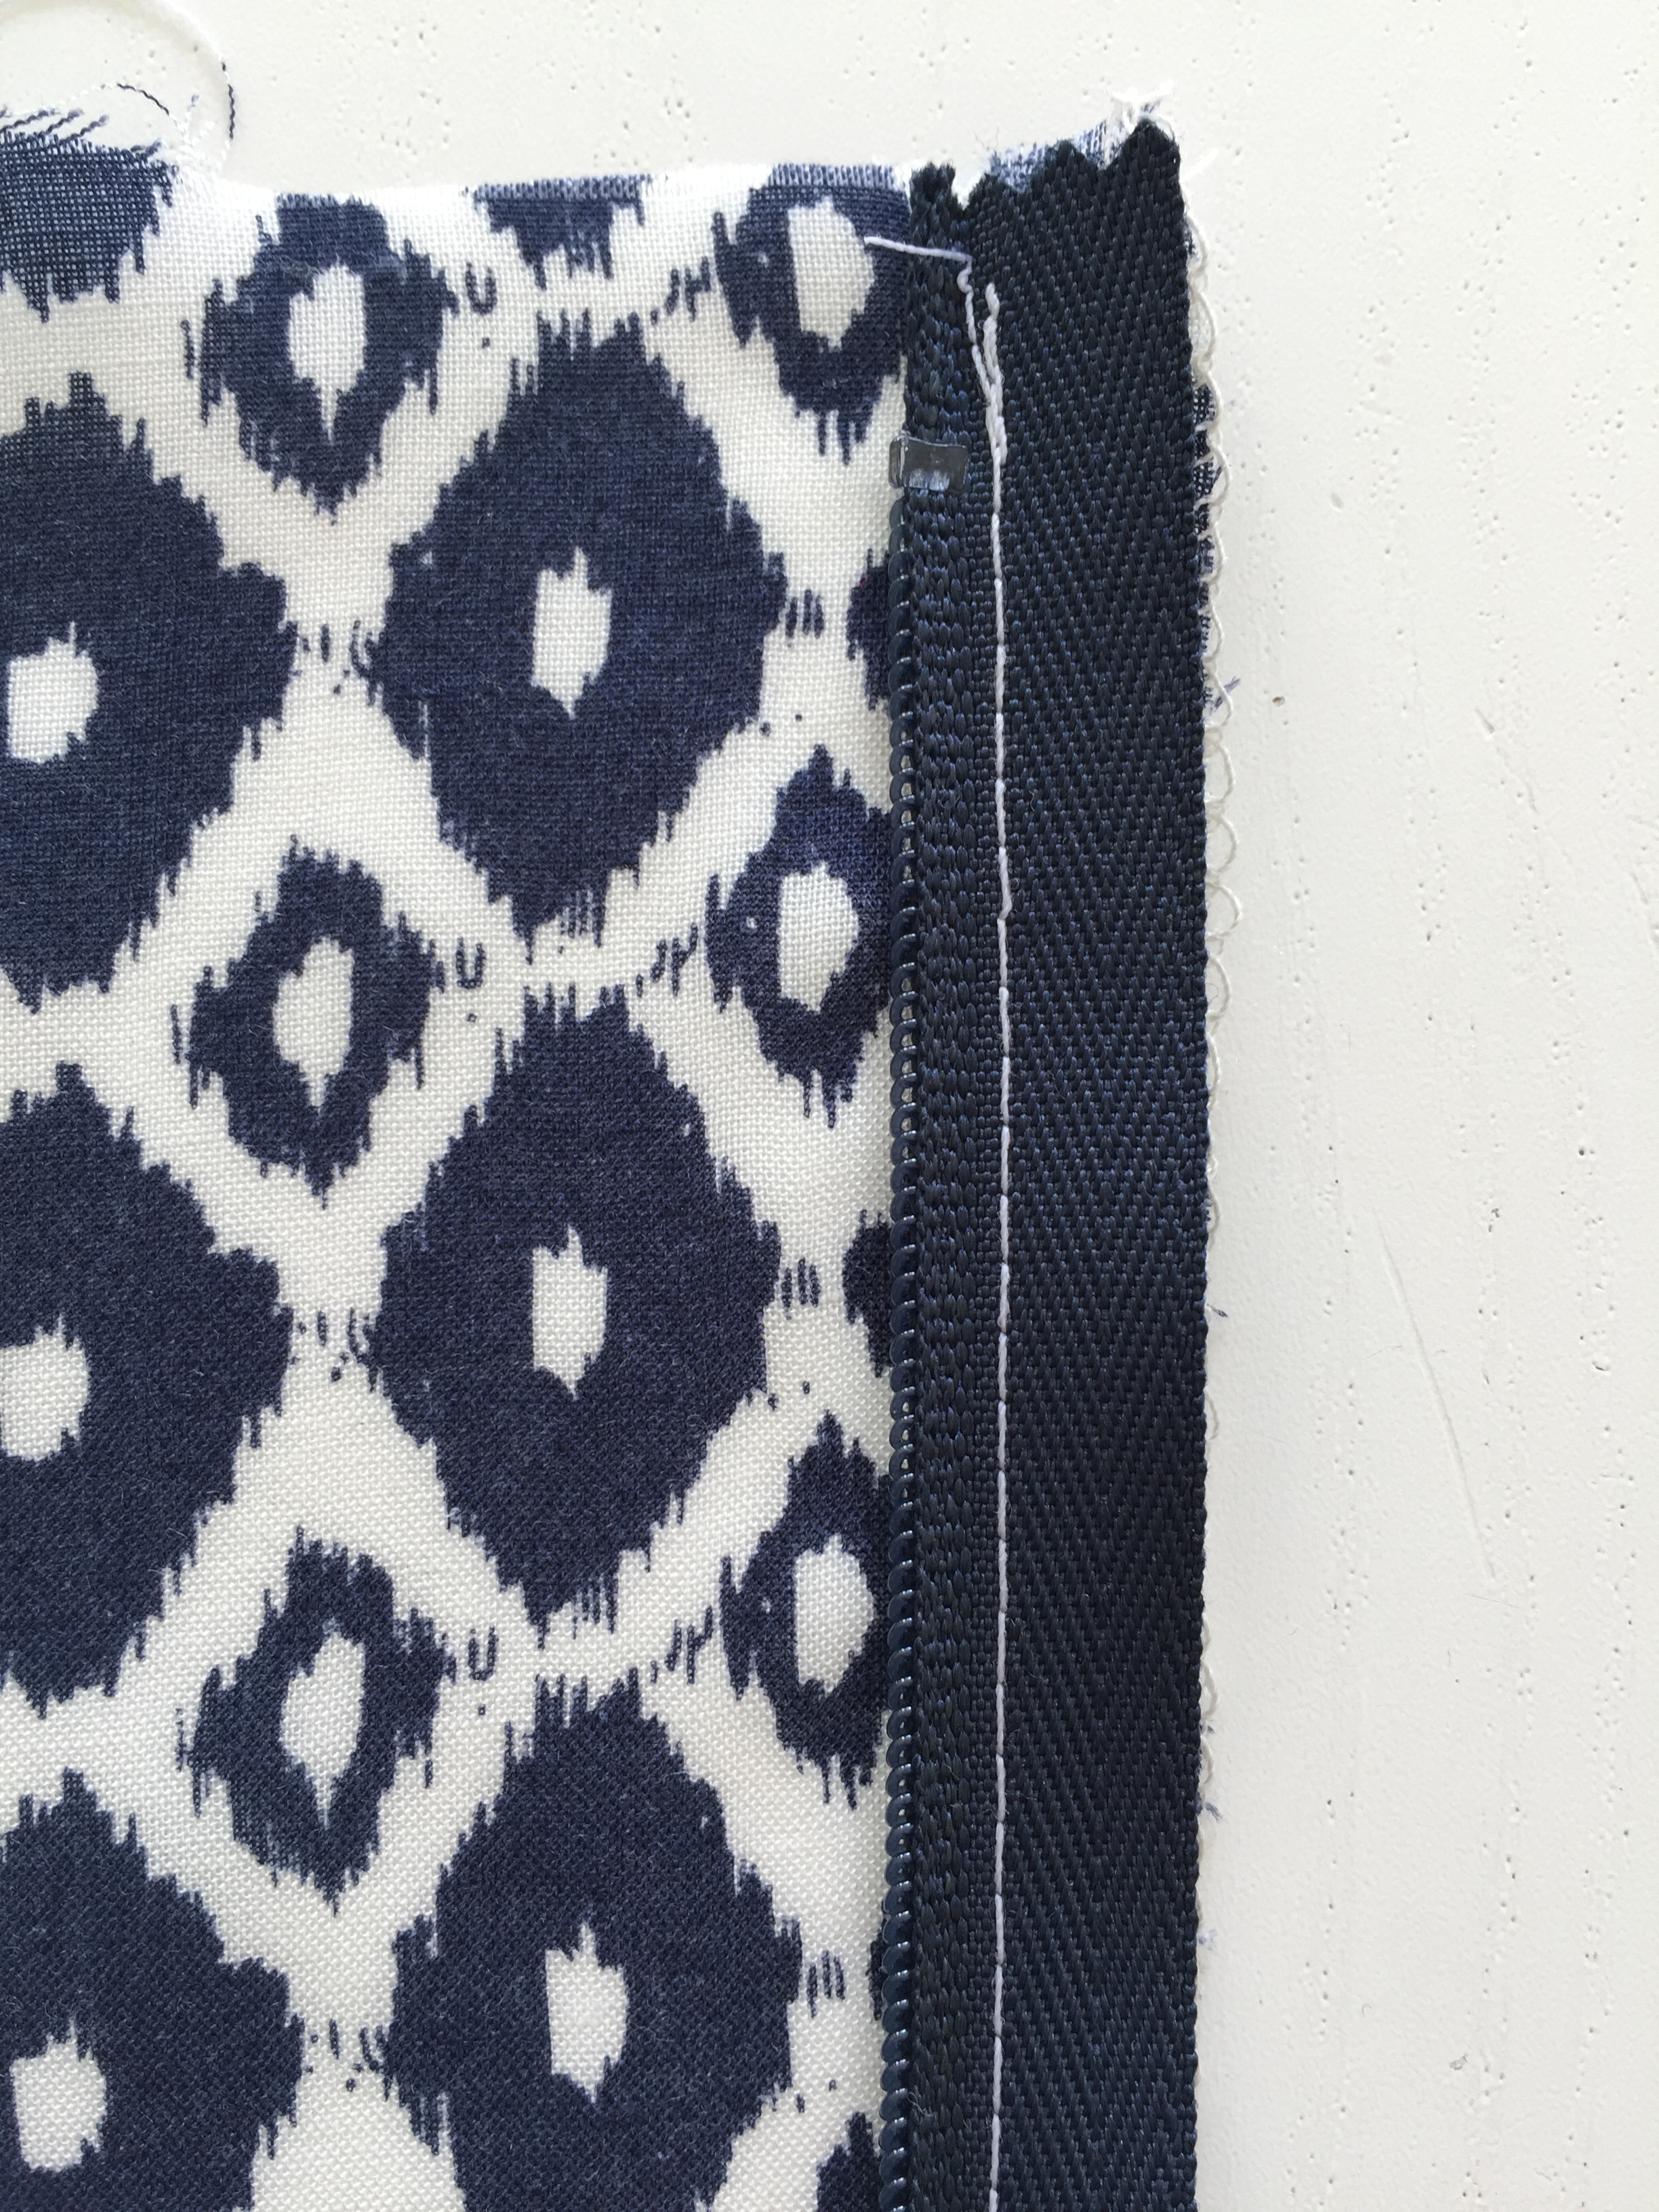 Place the back B pieces right sides together.
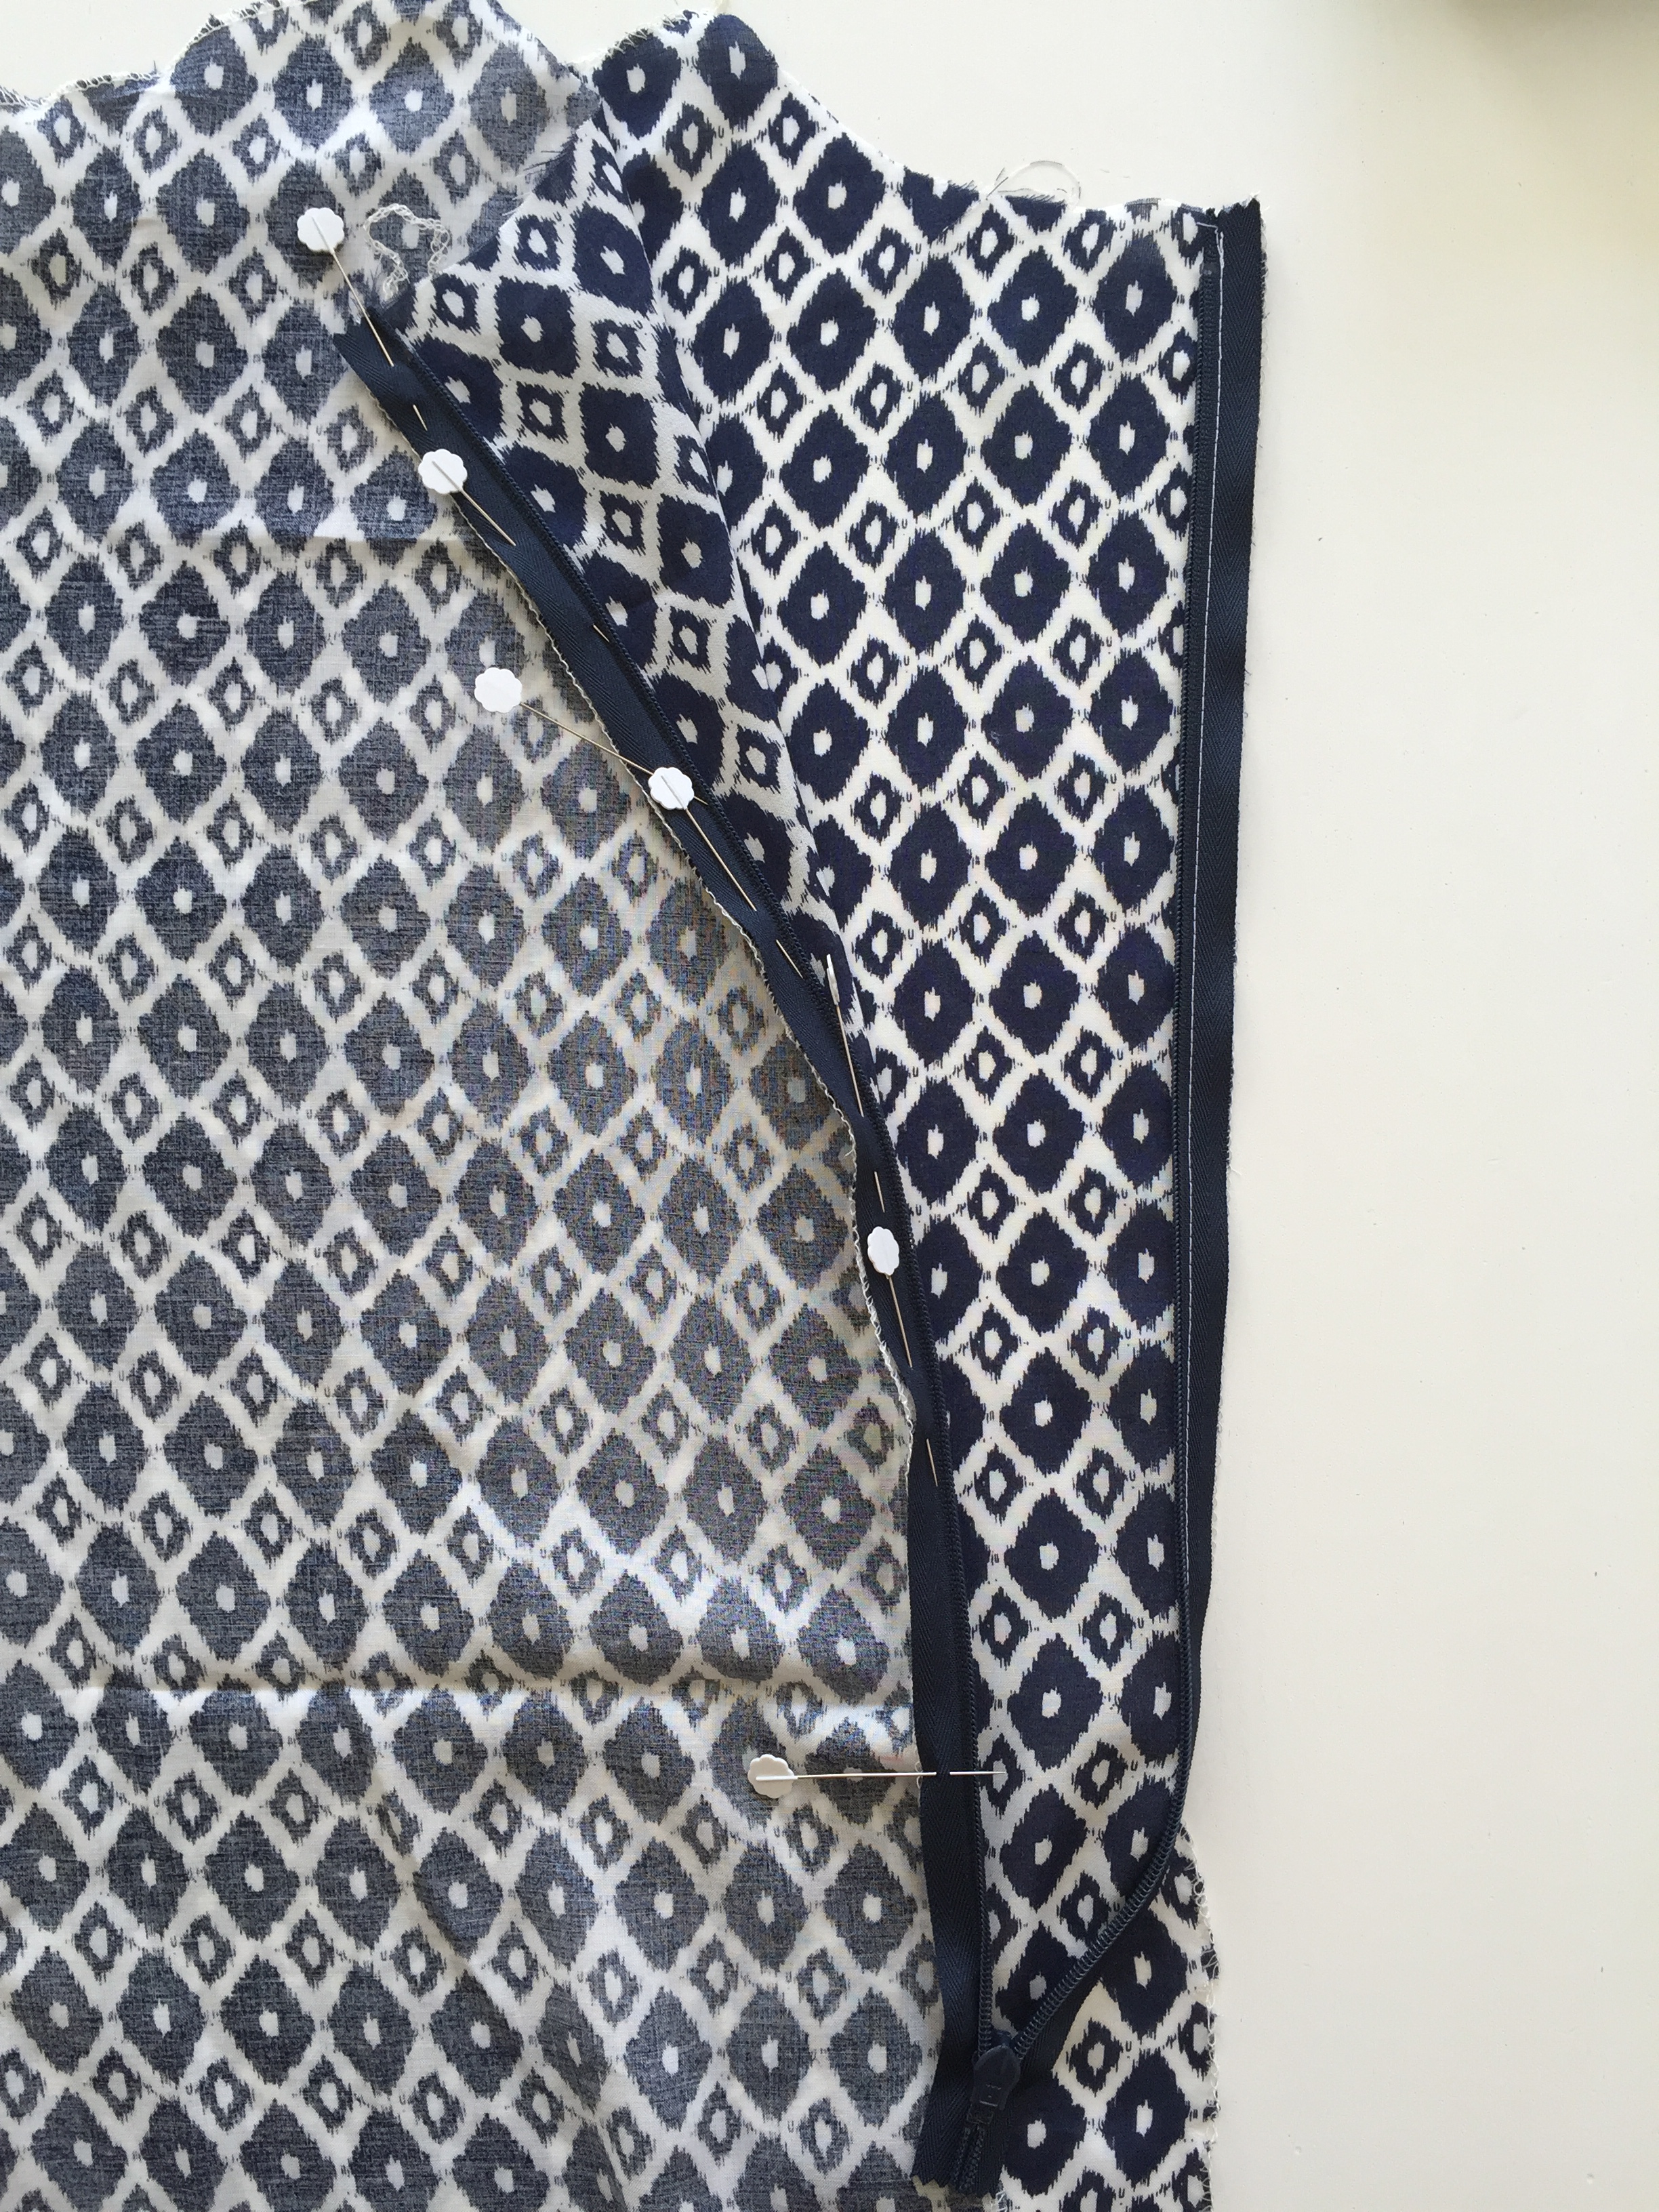
Take the loose zip and pin it to the left side of B. Ensure that the top of the zip is flush with the top of the garment and starts at the same point as the sewn zipper side. Only pin zip and edge of fabric. Pin in place.
 Starting from the bottom of the zip, sew this side of the zip to the garment. Once complete, zip up your zip and check that the zip starts at the same point on both sides at the top.
 Keeping the two back pieces right sides together, pin the remainder of the bottom CB edge below the zipper – ensuring that the edges of the fabric are flush. Place a pin matching up the hem edges and then work your way between the zipper and the hem. If you used an invisible zipper foot to sew your zip to the garment, change the foot to a standard zipper foot.

Push the loose unsewn zip to the right hand side so that you can start your next row of stiches just above and to the left of the zip stitches. You want to manoeuvre the garment so that the stitches will start as close as possible next to the previously sewn zip stitches. Start sewing just above and to the left of where the zip stitches finished, not forgetting to reverse stitch. The seam allowance for the CB piece is 1.5cm – however, when you start this piece you
will notice you are much closer to the edge than 1.5cm. Once you are past the tricky zip area, slowly guide the fabric so that you are sewing on a 1.5cm seam allowance for the remainder of the piece. Once complete, iron open your seam allowance.
TIP: Place a pin lining up the bottom edges first and then work you way upwards. This will ensure that you don’t stretch the fabric down as you are pinning, leaving you with an uneven bottom edge!
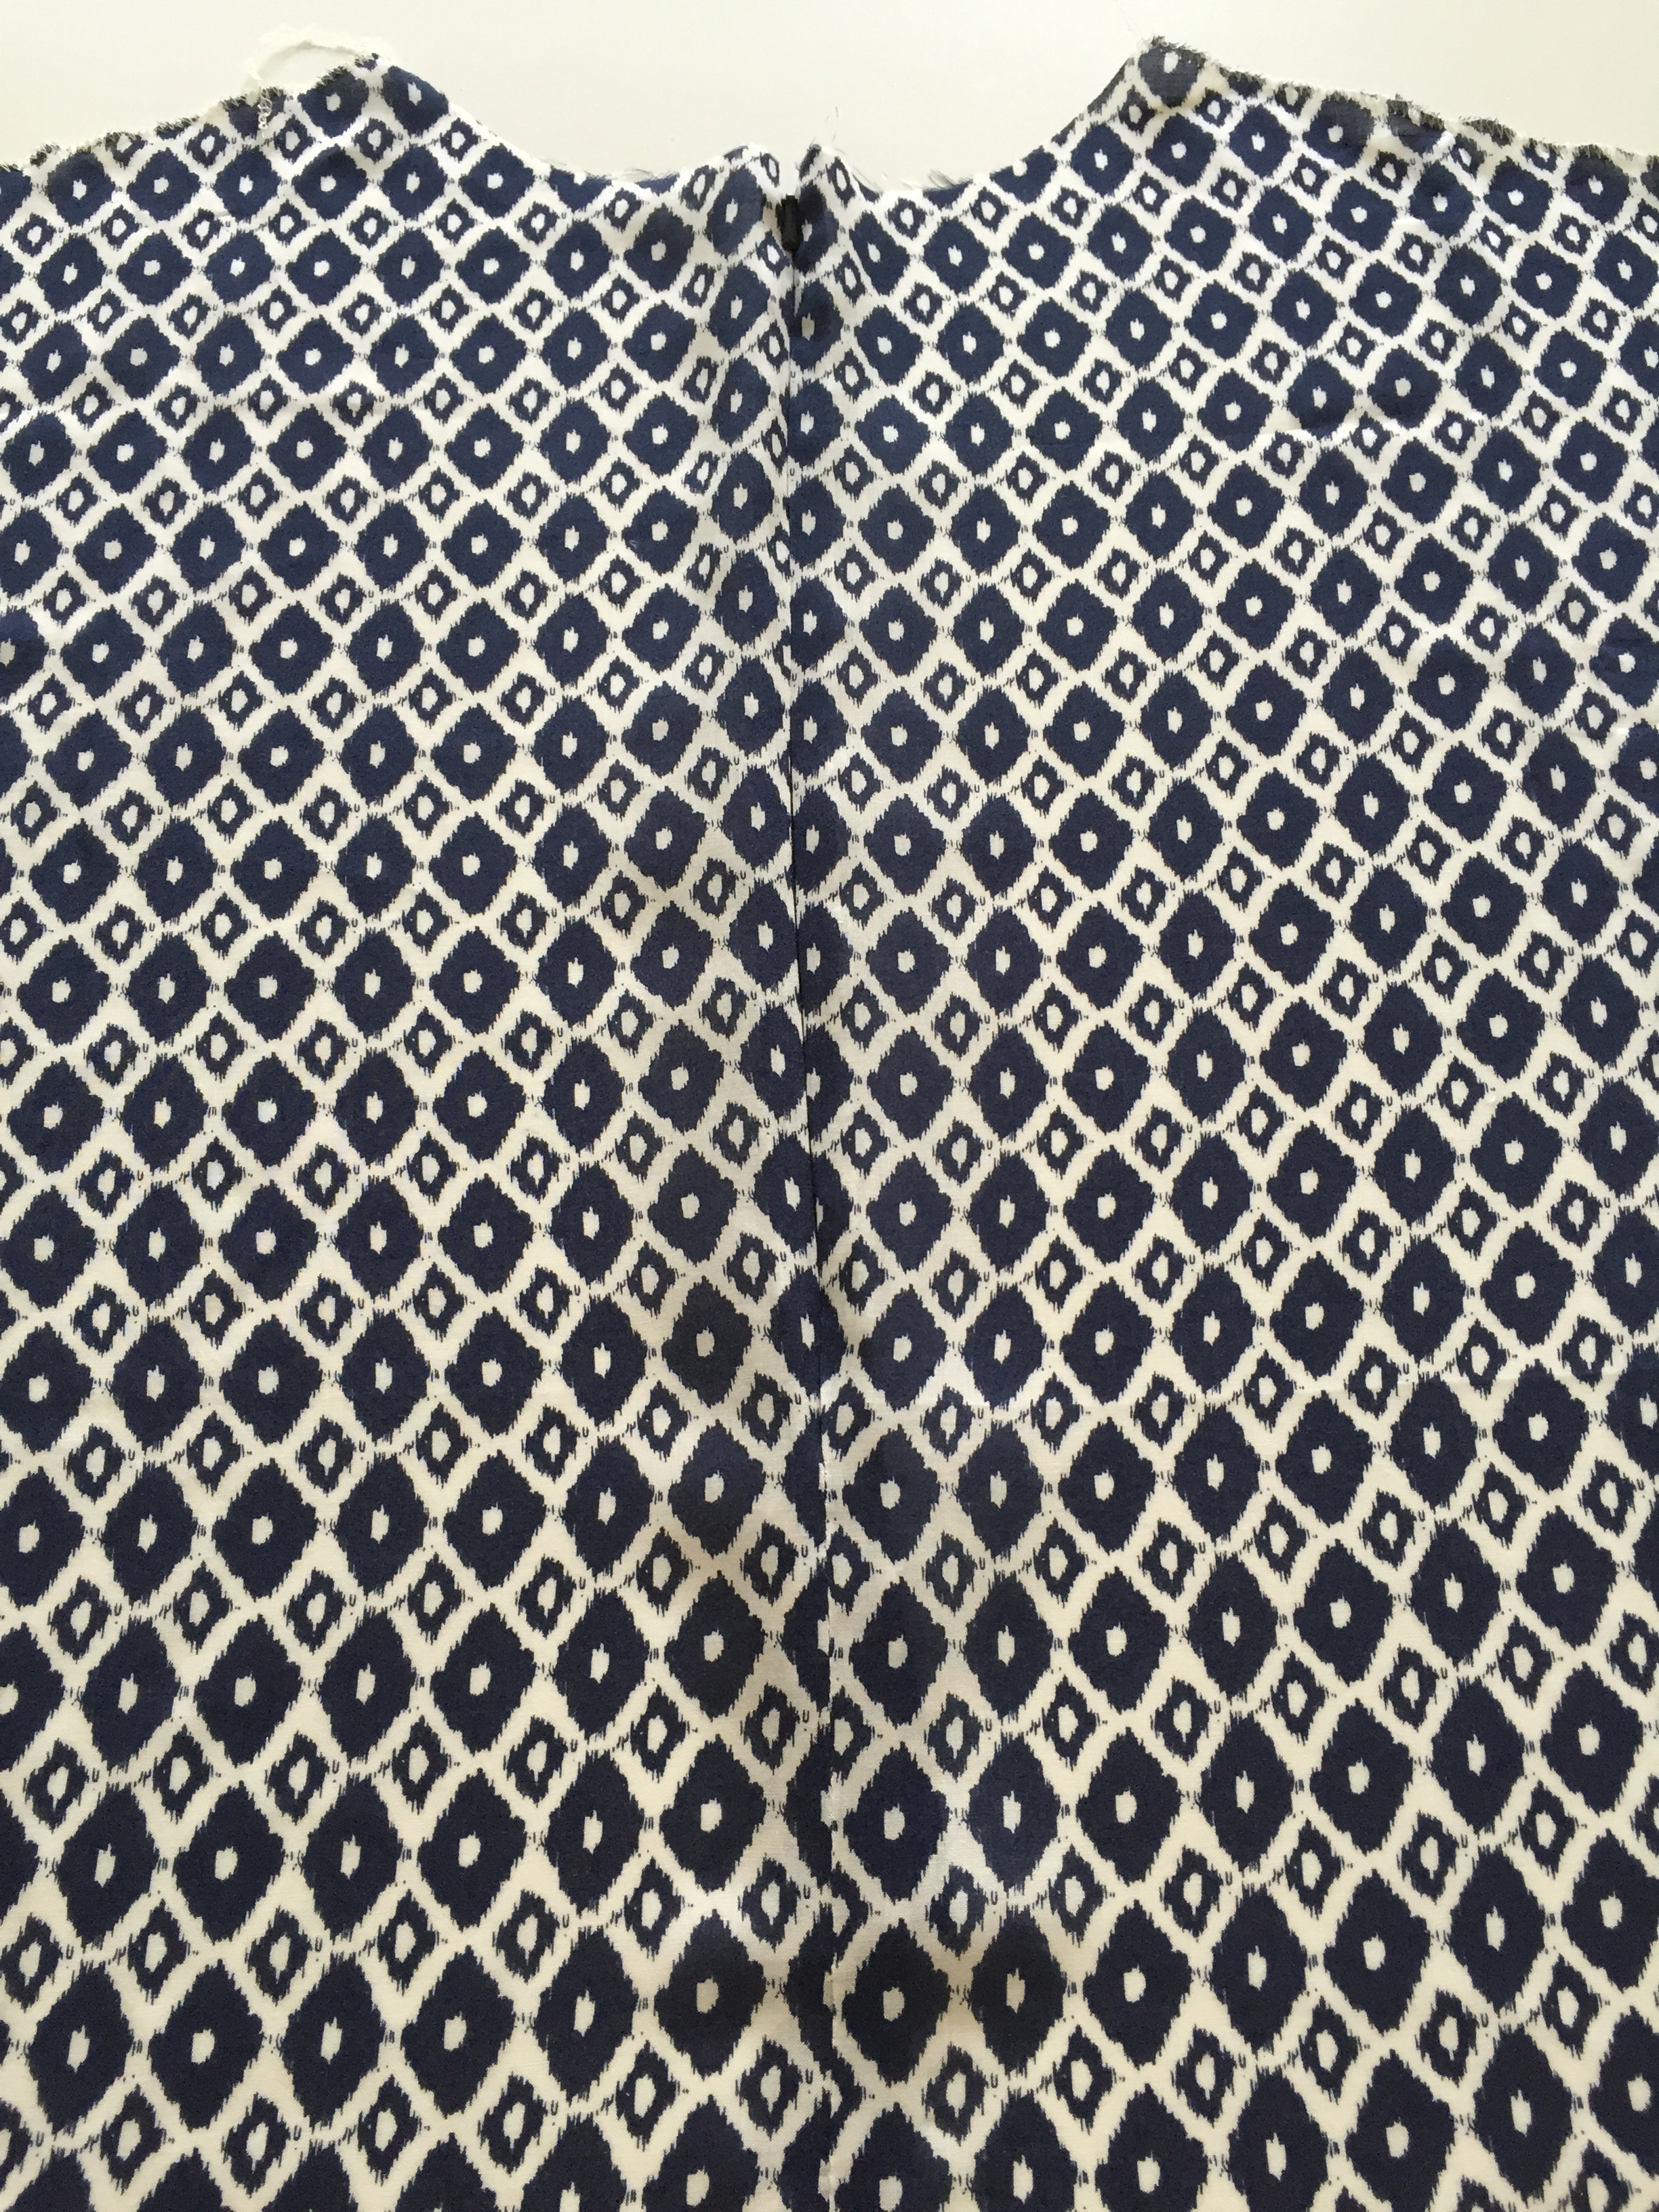
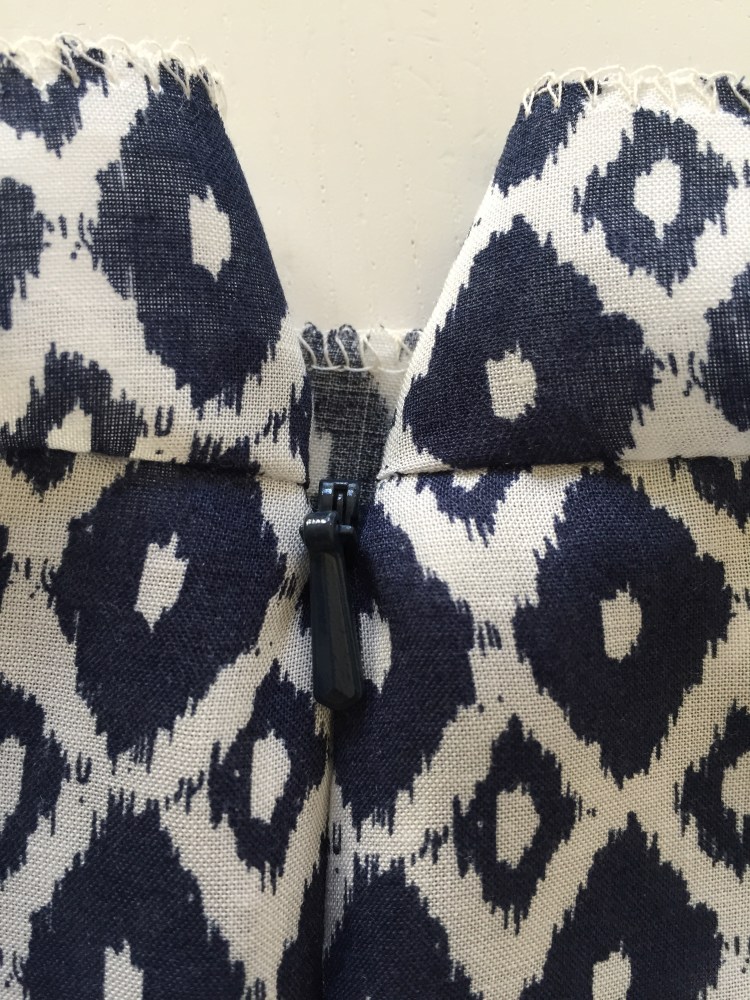
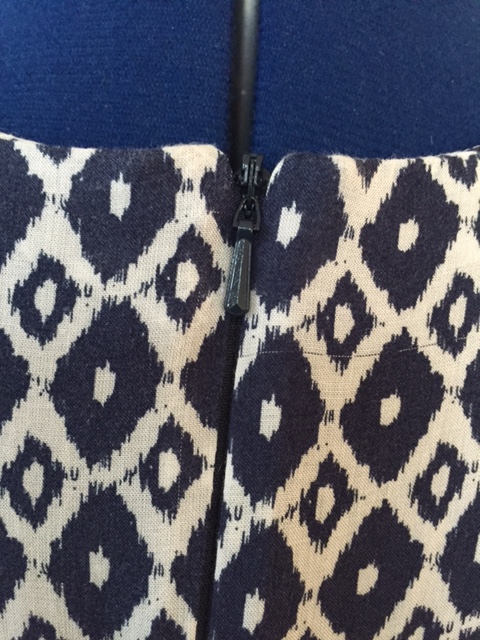
This is how the right side of the dress will look. If your stitches in step 10 were close enough to the zipper stitches you shouldn’t be able to see where the zipper ends on the right side. If the stitches weren’t close enough you will notice a bulge on the right side. Practice makes
perfect so if it isn’t perfect this time, just practice before attempting your next invisible zip. Change your presser foot back to your standard foot to continue to the next step.
INNER POCKETS
Skip this section if you are not putting in inner pockets and move to SIDE SEAM
instructions.
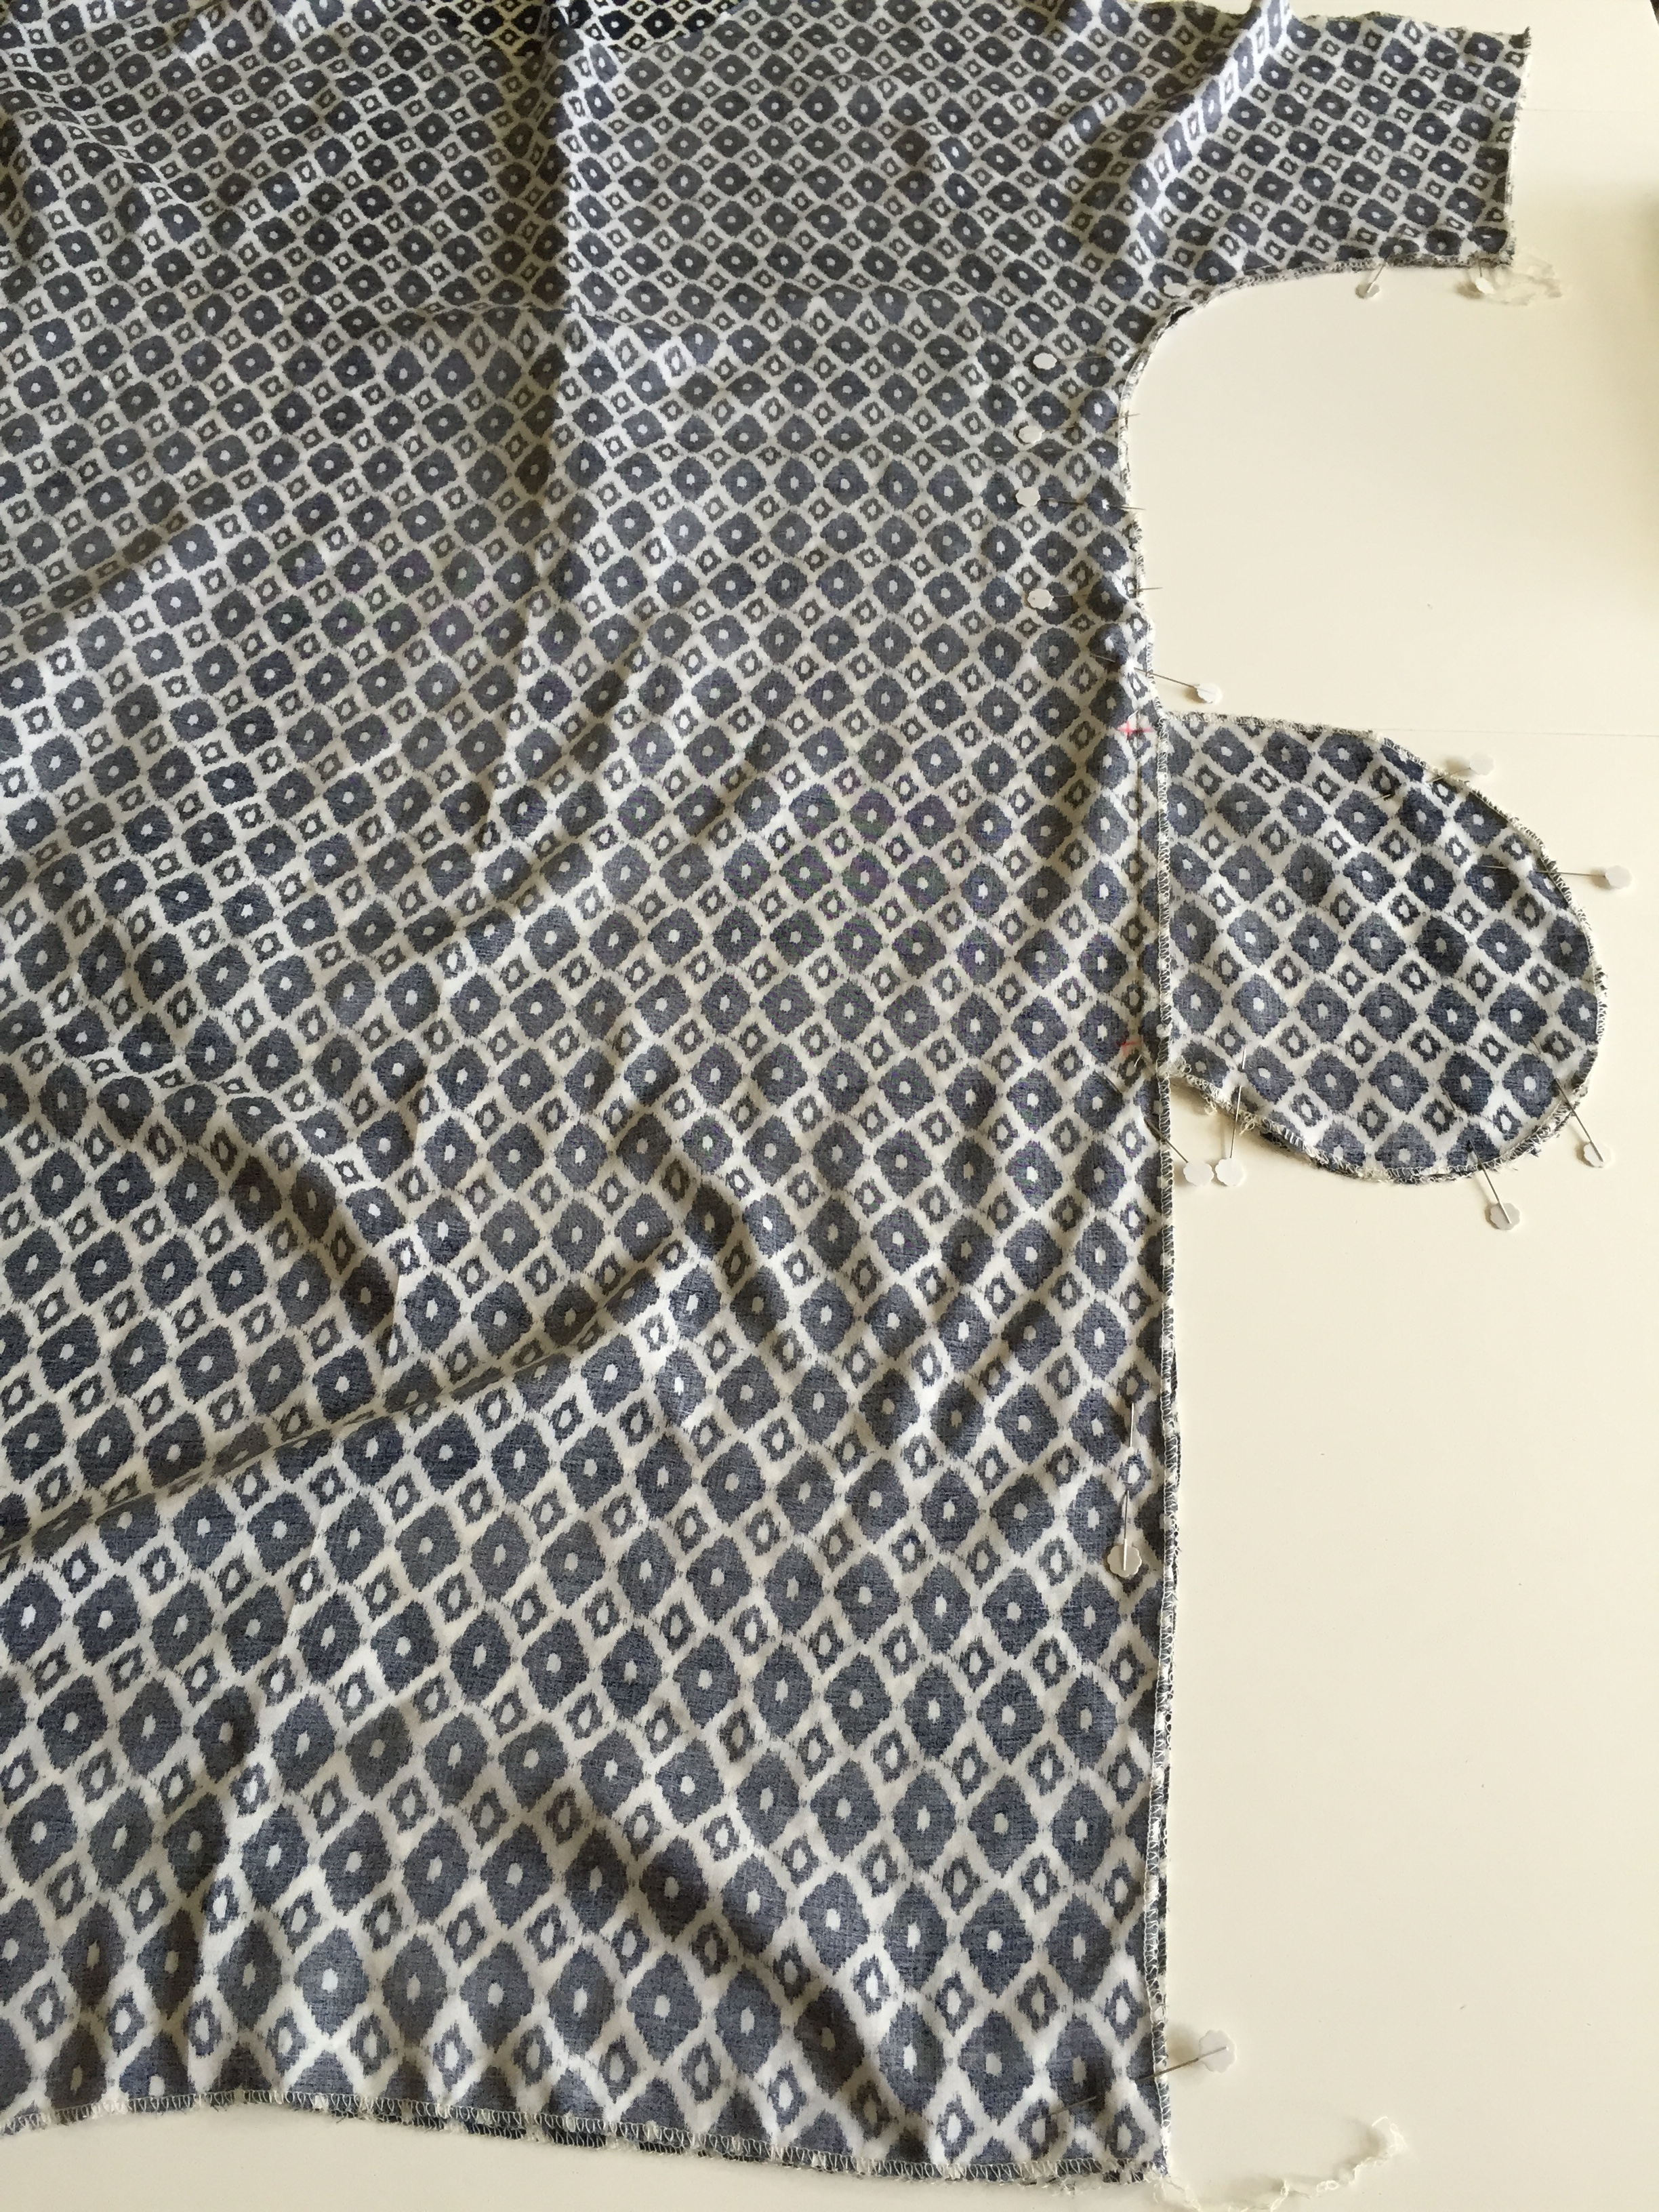
Place B right side facing you. Place your inner pocket F pieces RST matching up the pocket notches. Sew the pocket to the dress –using a 1cm seam allowance. Repeat on the front A.
Once sewn, iron the pocket pieces open to the side.

SIDE SEAM
Place A and B right sides together. Only pin the right hand side of the dress, as we need to open it out after sewing to add the elastic casing. Pin the side seam of your dress starting from the sleeve, matching up the waistband notches, the pockets and the hem. At the pocket, mark the side seam and pocket seam allowance which is 1.5cm. Where the seam allowance marks cross each other is where we will pivot when we sew this section.
Sew this piece using a 1.5cm seam allowance. Then, create another row of stitches around the curve of the sleeve – this will reinforce this area. Snip into the seam allowance of the underarm curve and iron open the seam allowance. If you are not putting in the inner
pockets, sew as above, ignoring the pocket opening notches

ELASTIC CASING
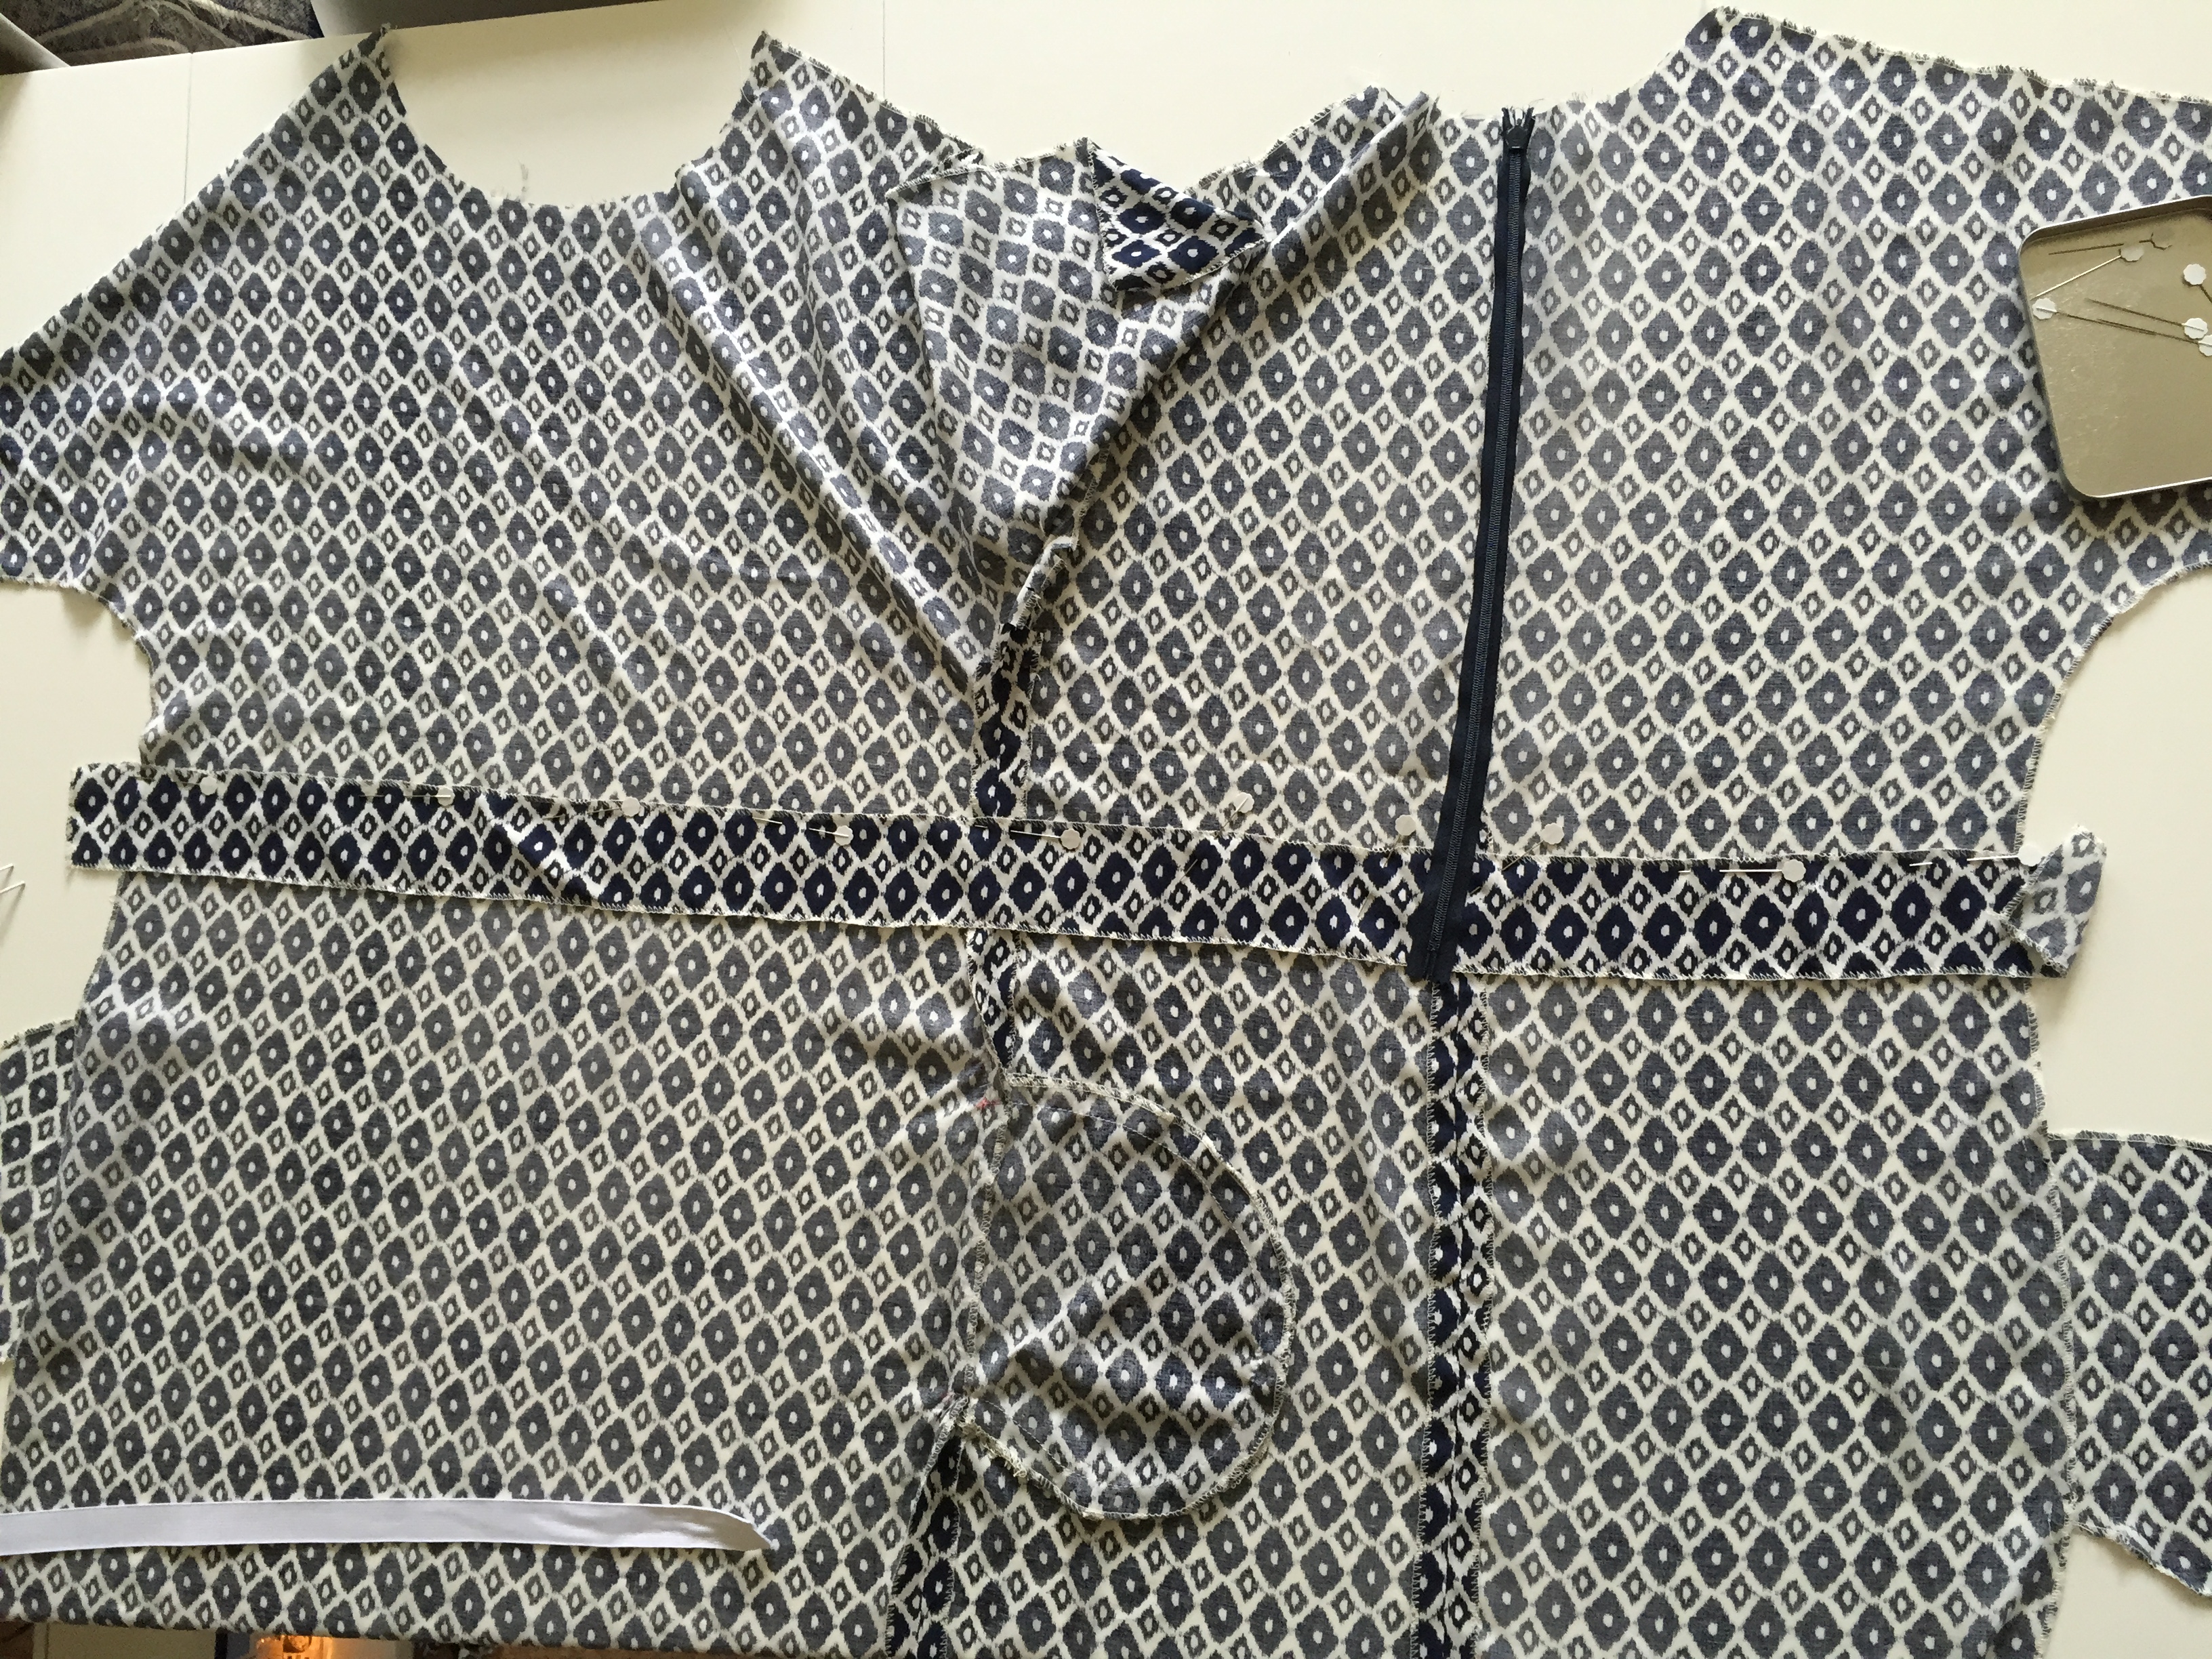
Open out your dress with the wrong side facing you. Place your elastic casing piece E across the width of the dress. Starting from the left hand side and using the elastic casing notches as your guide, line up the elastic casing across the width of the dress. Let some of the elastic casing piece E hang over each side of the dress.
Starting from the top left hand side of the elastic casing, stitch your elastic casing to the dress (if you are going to use wide elastic in your dress use a 1cm seam allowance, if you are going to use thin elastic use a 1.5cm seam allowance). Then, starting again from the bottom left hand side of the elastic casing, create a row of stitches along the bottom edge.
Using a safety pin connected to the end of the elastic, feed the elastic from the right hand side through the casing until it comes out the left side, ensuring that the elastic is still visible on both ends.
Don’t try to adjust the elastic yet – we will fit the dress later and then adjust the elastic to fit your waist perfectly. On the left hand side, sew the elastic onto the side seam – you will need to backstitch over the elastic to ensure that it is firmly stitched in place. Keep the right hand
side loose and unsewn.

Move to the other side and attach the safety pin to the garment to stop the elastic from slipping inside. Fold your dress, right sides together, and match up the notches & elastic casing of the unsewn side seam. Sew this side together but don’t sew across the elastic casing.
Reverse stitch just before you get to it and then start your sewing again past the elastic casing (also reverse stitching). We will complete this section later.
If you are not putting in the inner pockets, sew as above, ignoring the pocket opening notches. Don’t forget to create the reinforcement stitches in the curve of the sleeve.
SLEEVES
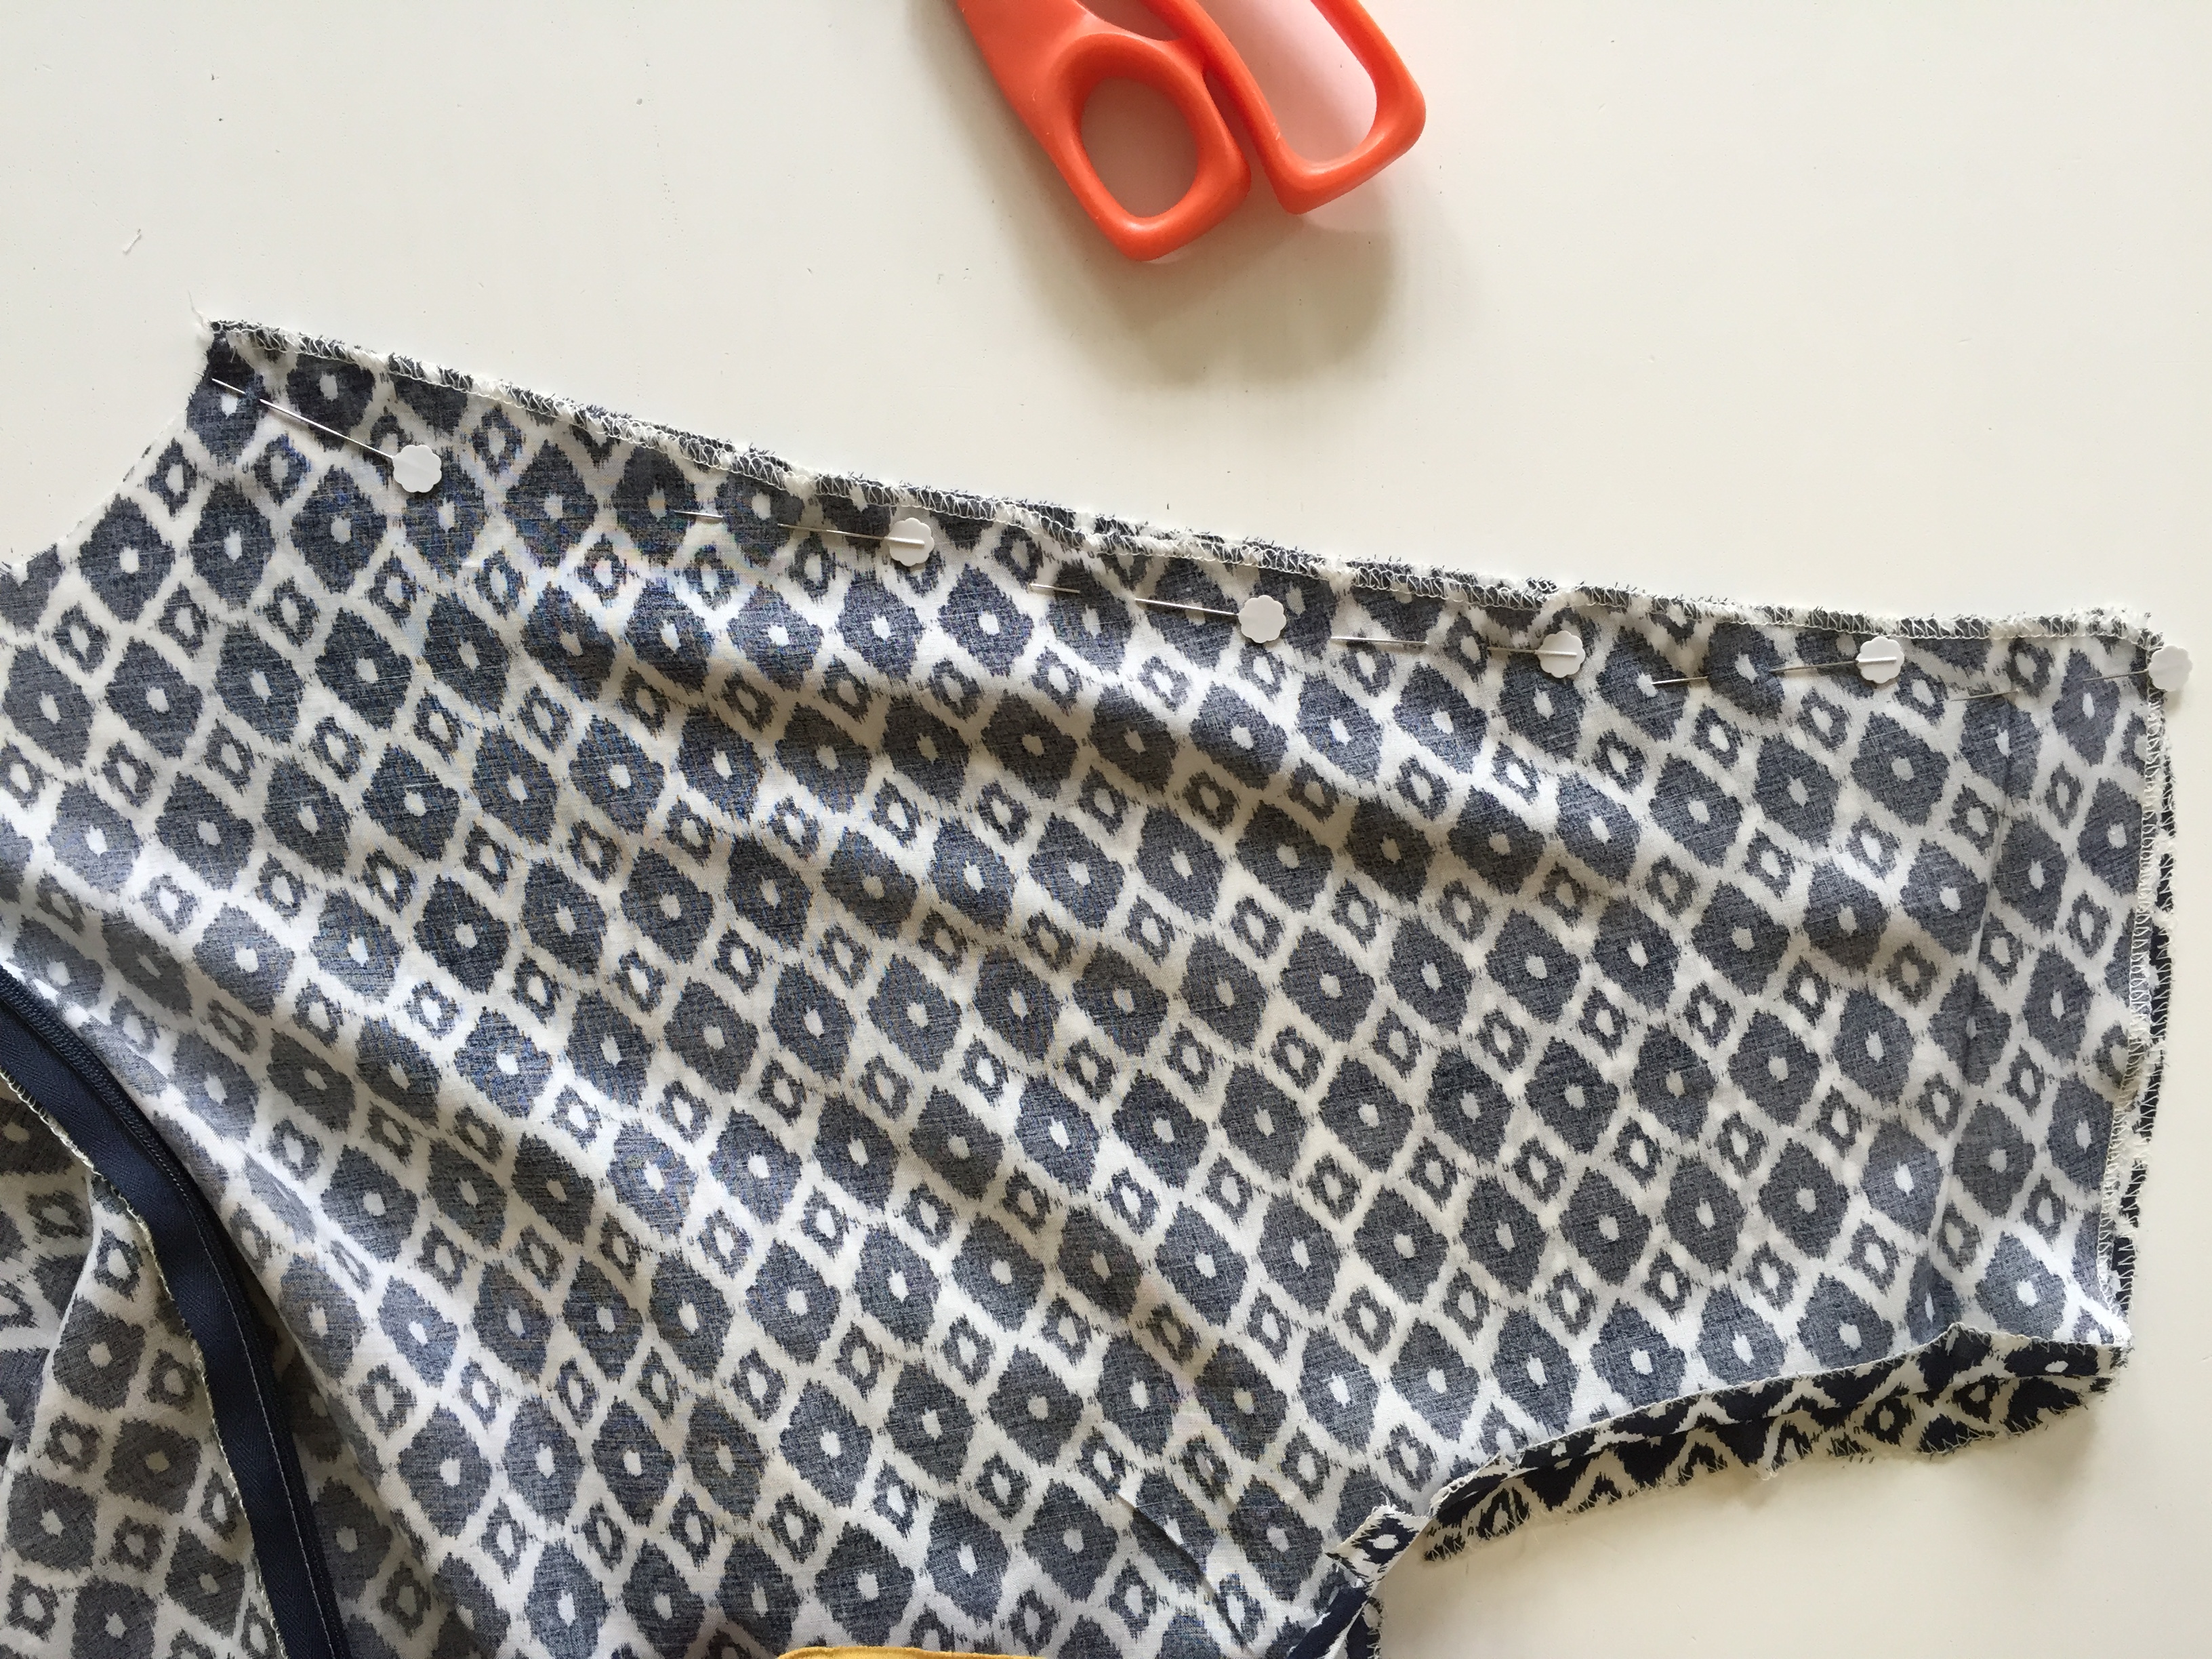
Pin your sleeve pieces together. At the neck point the two pieces don’t match up perfectly – align them as shown in our image so that when you start sewing they are aligned to sew a
1.5cm seam allowance. Sew both sides using a 1.5cm seam allowance. When you open out this piece, you will see that the neckline has a lovely curve.
NECK FACING
Take your facing pieces and place the front facing piece right side facing you. Place the two back facing pieces onto this piece, lining up the shoulder pieces. Can you see how these pieces also don’t match up perfectly – this is because of the shape of the neckline.
Sew together using a 1.5cm seam allowance.
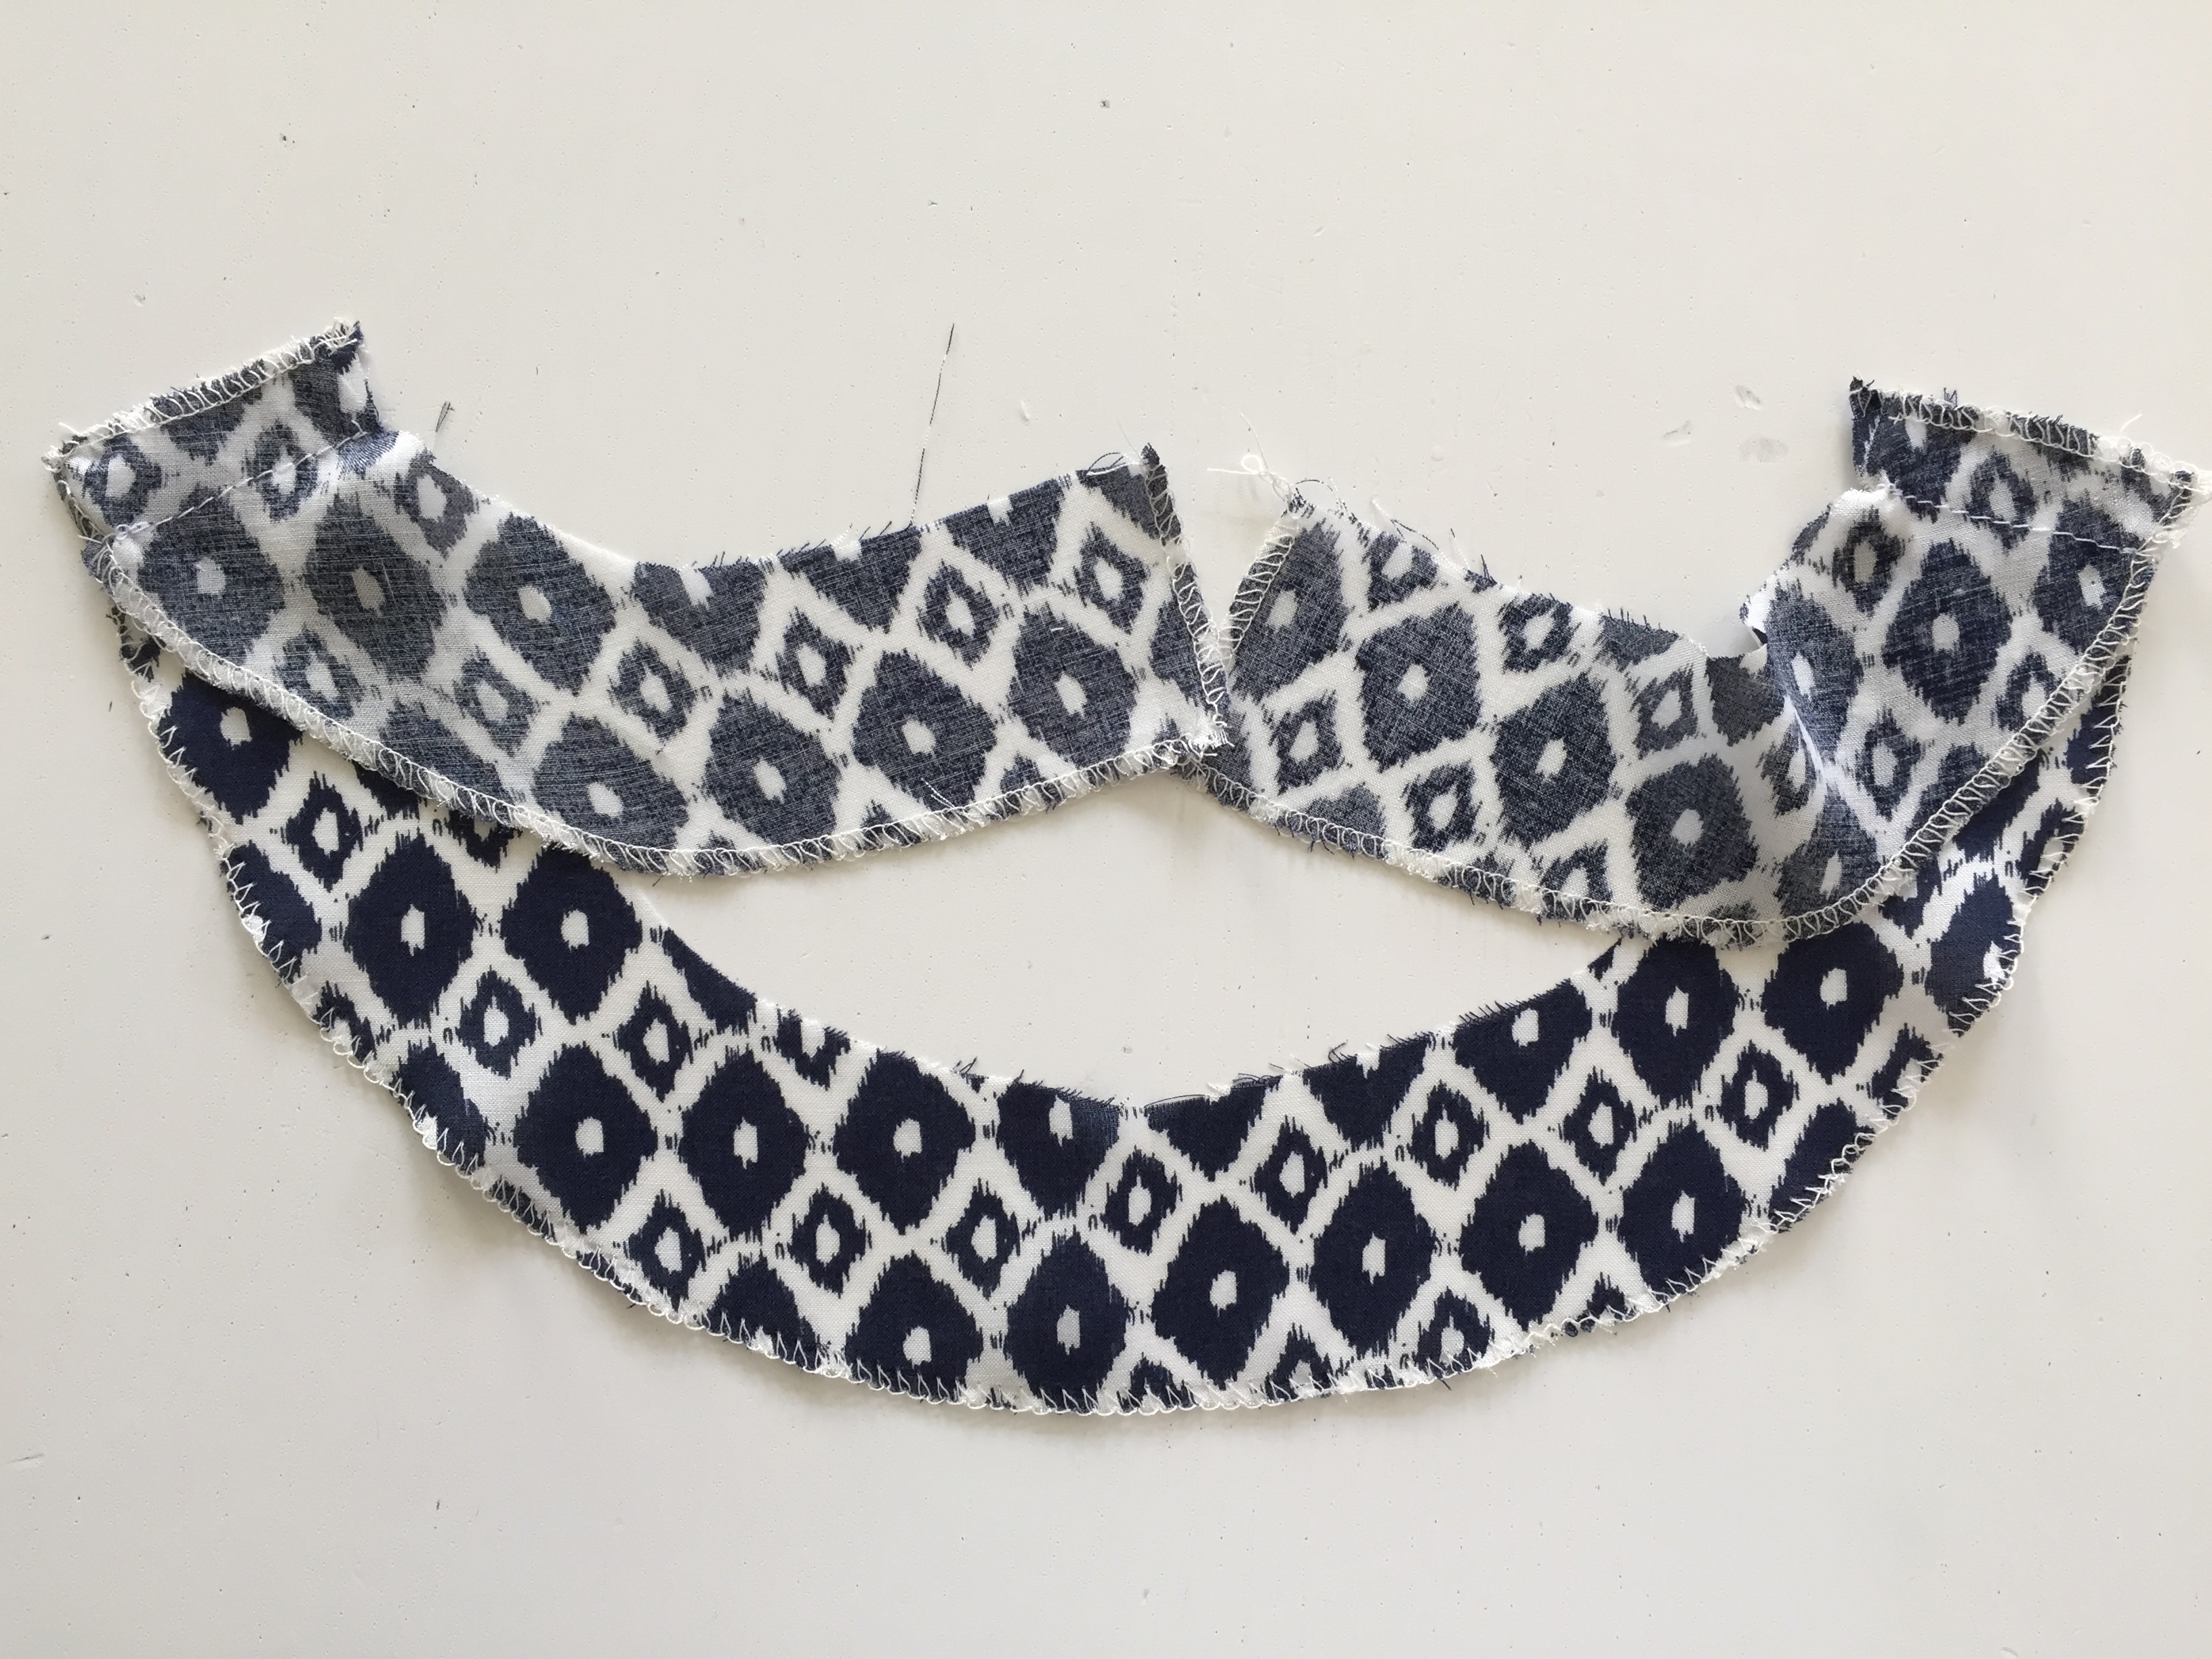
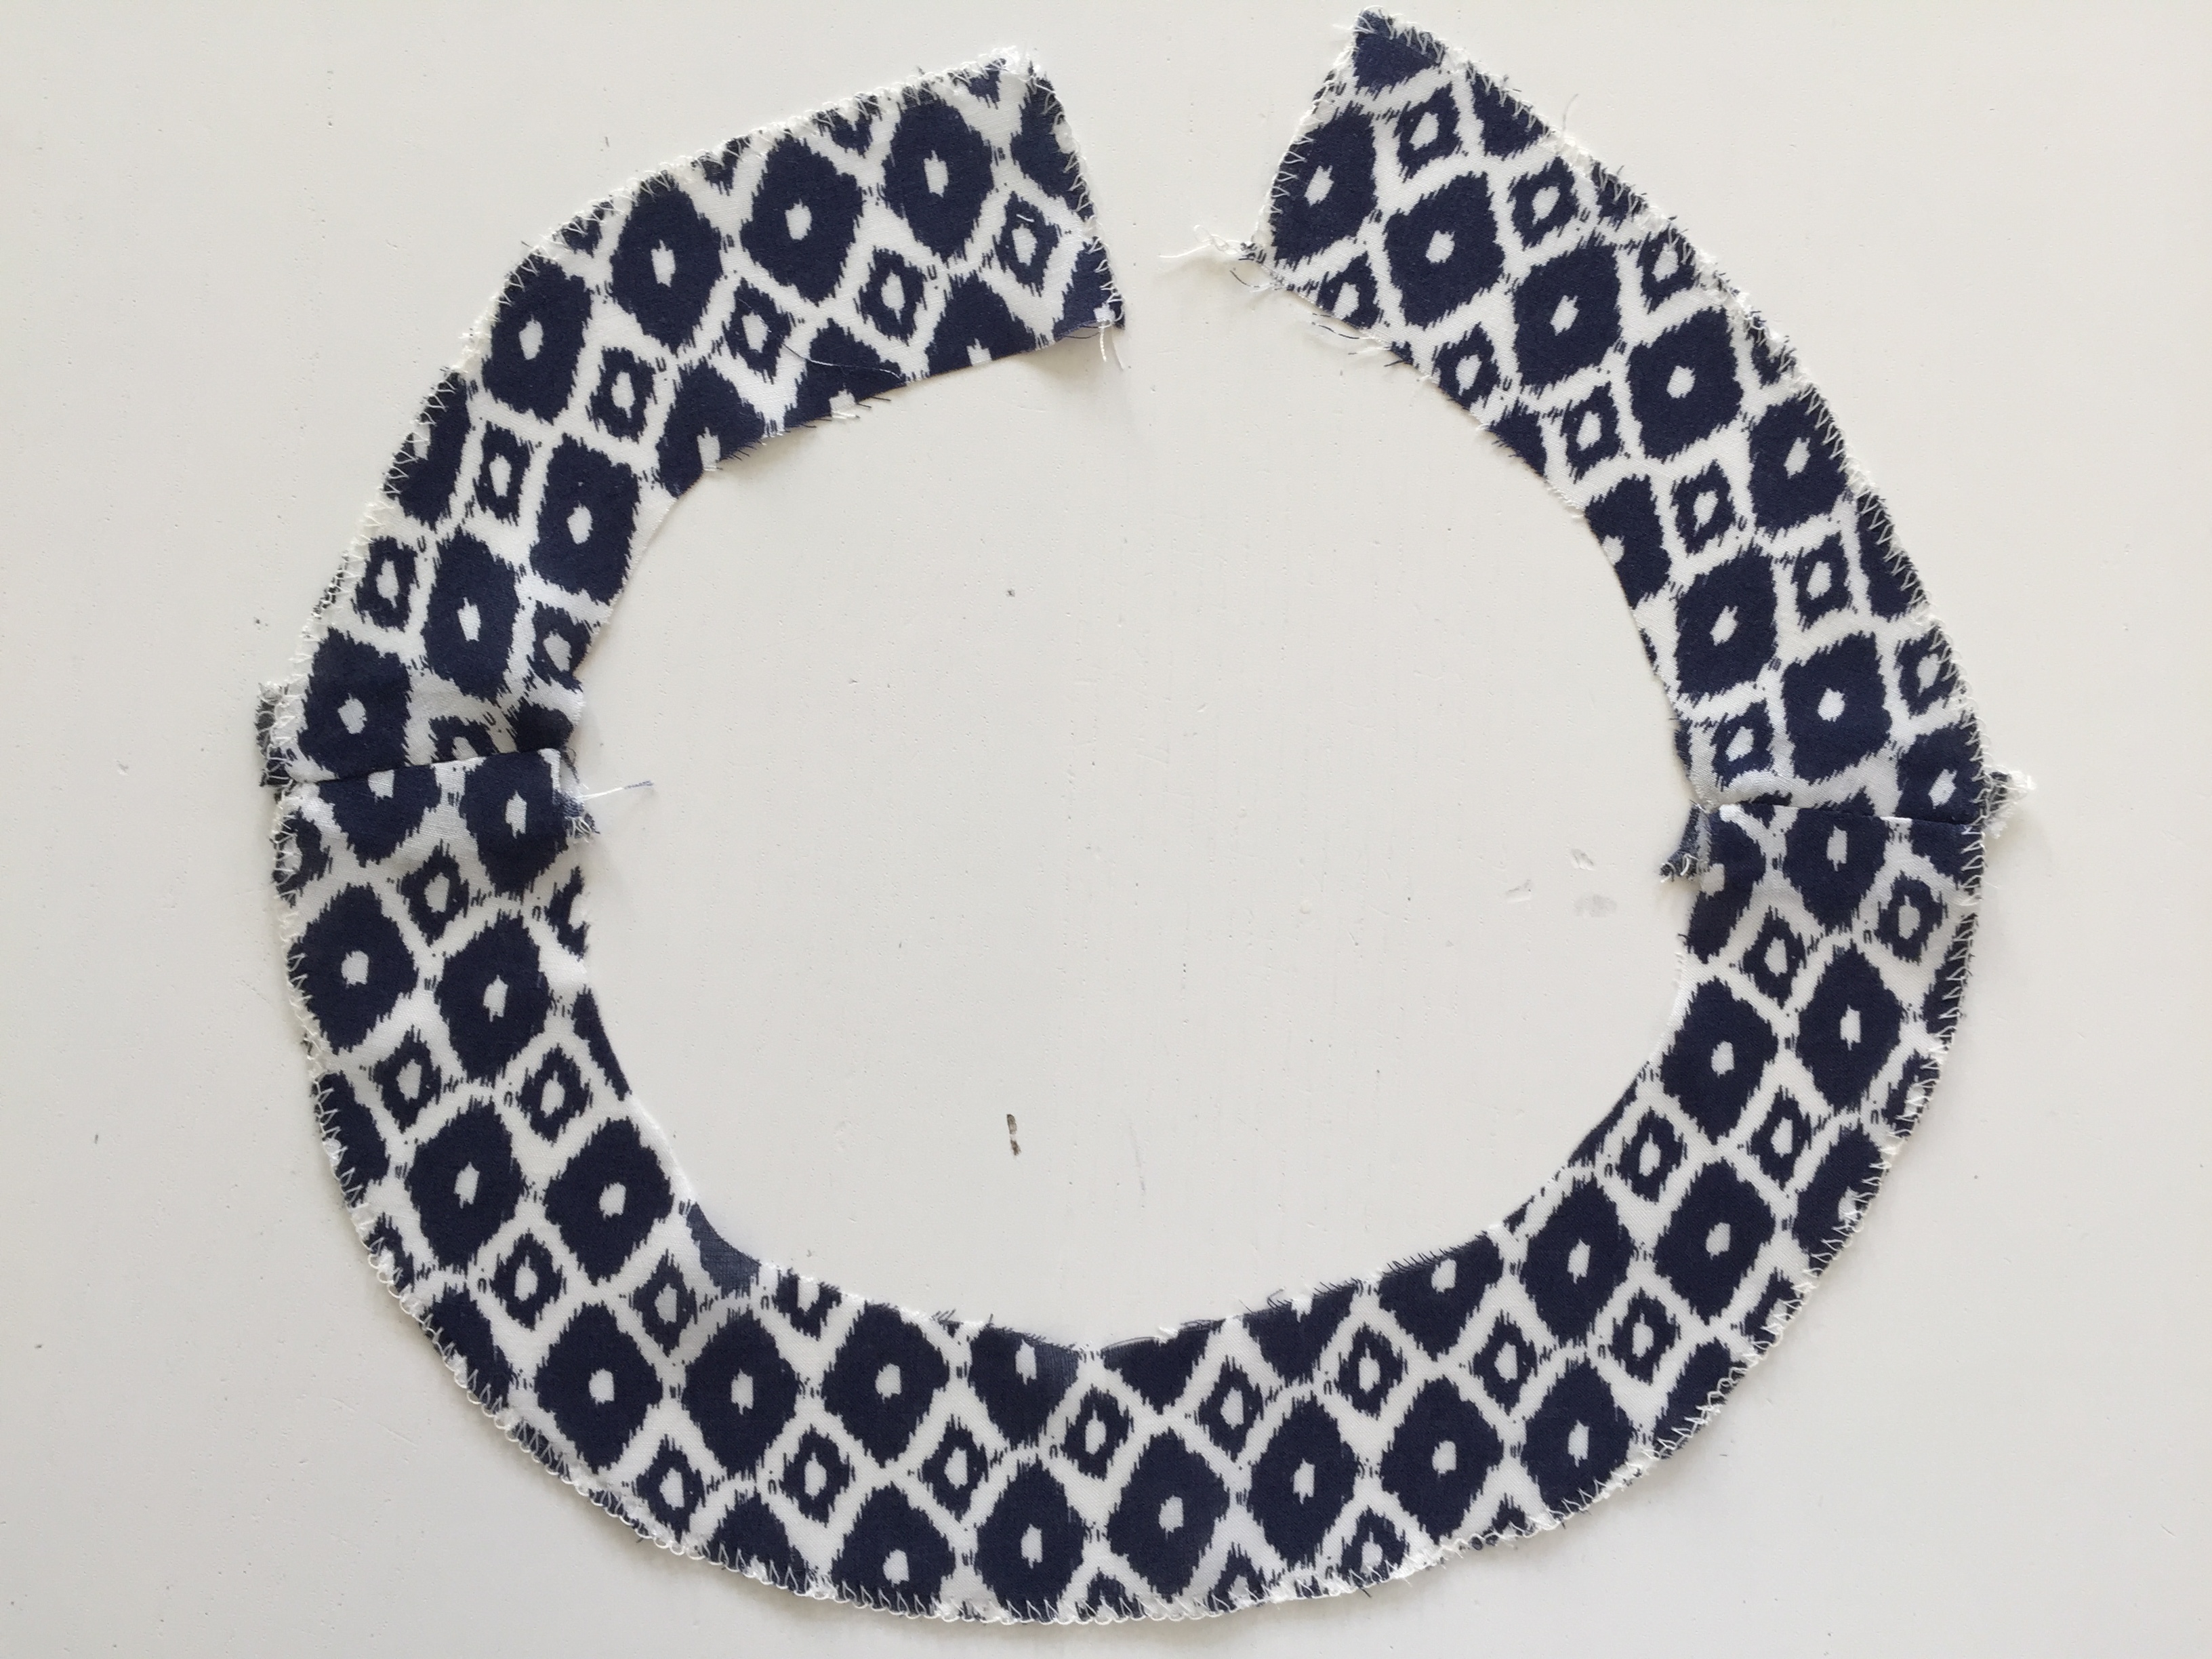
When you open out the facing piece the neckline should have a lovely curved shape!
Iron open your seam allowance.
Turn your dress to the right side and place the front of the dress facing you. Place the facing right sides together onto the dress neckline. Work your way around the neckline matching up the sleeve seams and the CB. This piece fits perfectly, so take your time here.
Place your pins pointing down instead of across to help you shape the neckline
Sew the facing to the neckline using a 1cmseam allowance. Check that when you do the zip up both sides are the same. Now is the time to fix it if one side is higher than the other.
Once you are happy with this piece then snip into the curve of the neckline.

UNDERSTITCHING THE NECKLINE
Under stitching helps a facing or lining stay inside a garment. A line of stitching is made on the facing or lining and the seam allowance but not the main piece of fabric. The stitching is seen just inside the garment, for example on the facing, but not on the right side of the garment.
Turn the garment to the right side. Starting at the CB edge, ensure that the zipper lies flat and is not turning to the inside. The stitching needs to be 3mm on the edge of facing and must catch all of the seam allowance underneath – this is what gives it the weight it needs to stay
inside the garment once sewn.
Sew around this piece, 3mm from the edge, working on a section at a time and sewing slowly. It may help you to reduce your stitch length. Keep checking that no fabric has mistakenly caught underneath and that you are always sewing through all the layers of the seam allowance underneath the facing. When you get to the next CB edge, make sure the zipper is lying flat.
 At the CB, turn in the seam allowance of the facing and fold over to the wrong side. Hand stitch the facing to the garment so that it lies flat, making sure no stitches are visible from the right side. Check that both sides are the same. Don’t sew too close to the zipper teeth otherwise, the zip won’t close easily.

Here is your completed neckline piece. On the inside, you can stitch your facing piece by hand to the shoulder seam so that it stays flat.
Slip your gorgeous dress on inside out and pull on the elastic until your dress fits your waistline. You can decide how tight / loose you would like it. Once you are happy with the fit, use the safety pin to keep the elastic in place on the side.
Take off the dress, sew the side seam closed and neaten up the edge.
SLEEVES
Turn over the sleeve hem – 3.5cm and stitch in place. You can reduce the sleeve hem allowance if it makes it easier for you to work on this piece.
HEM
Turn up your hem and iron in place, ensuring that the seam allowances stay open. Stitch in place.
Congratulations! Your dress is now complete!
OUTER POCKETS
If you have made the dress without the inner pockets and wish to sew outer pockets, follow these instructions.
a. Mark the notches on the pocket. Fold on the first notch and iron.
b. Create a row of top stitches on the right side between the second notches.
d. On the wrong side of the pocket, turn in 1.5cm (or 1cm if you want a bigger pocket) and iron in place. You could baste the pocket to keep it in place before sewing it to A.
e. Decide where you would like your side pockets. Pin your pocket to your dress and topstitch in place.


Do you have finished garment measurements for bust, hip and waist for the Sheath dress?
Many thanks
Ann Forster
We certainly do – head to this link and scroll to the right – you’ll see the finished garment measurements :)
https://www.theavidseamstress.co.uk/products/the-sheath-dress