STAYSTITCHING THE NECKLINE
Before you start– Overlock / zigzag the raw edges. Overlocking is not required for the neckline edge of A, B, neckline edge of the facing, or the pocket.
** Please note for the purpose of the tutorial we haven’t overlocked any of the edges as it’s easier to show you the construction of the garment without overlocked edges..
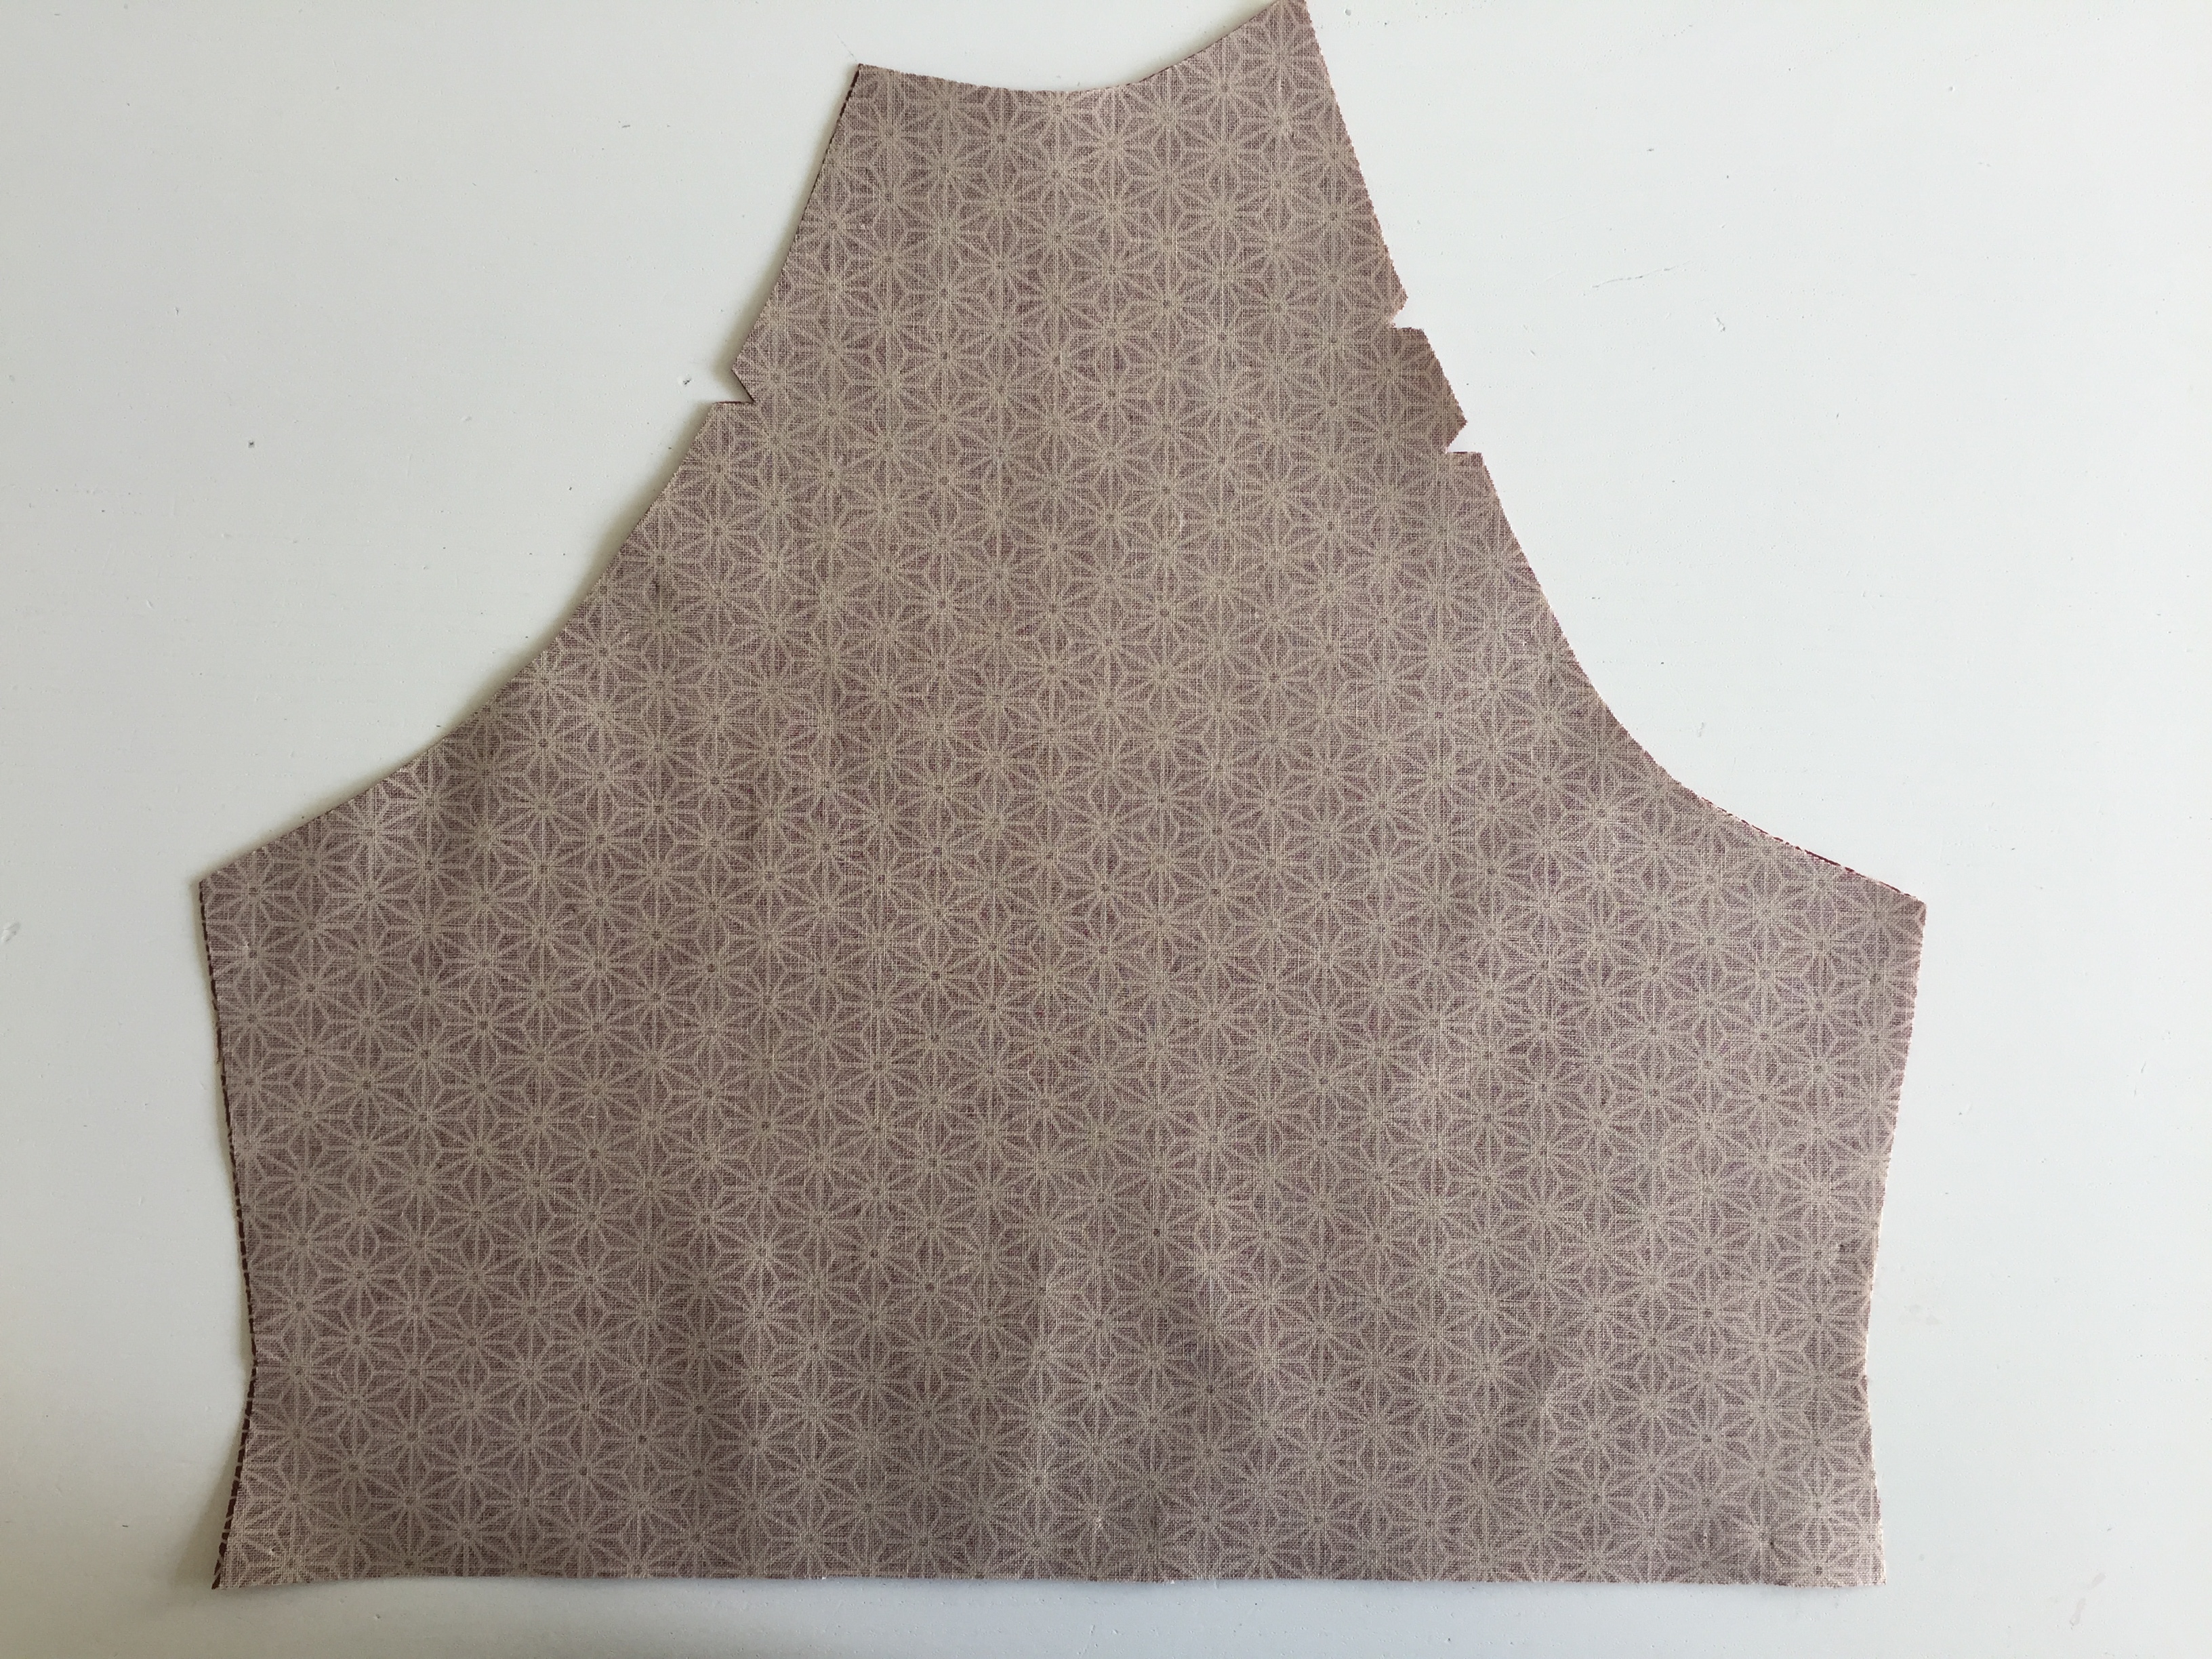
Open out B so that you have each piece separately. Stay stitch the neckline on the two pieces of B and the front neckline of A.
“Stay stitching” is a row of stitches that prevent the piece from becoming stretched. The stitches are created within the seam allowance so that you don’t see these stitches once the garment is sewn. The guideline is 5mm from the edge of the fabric.
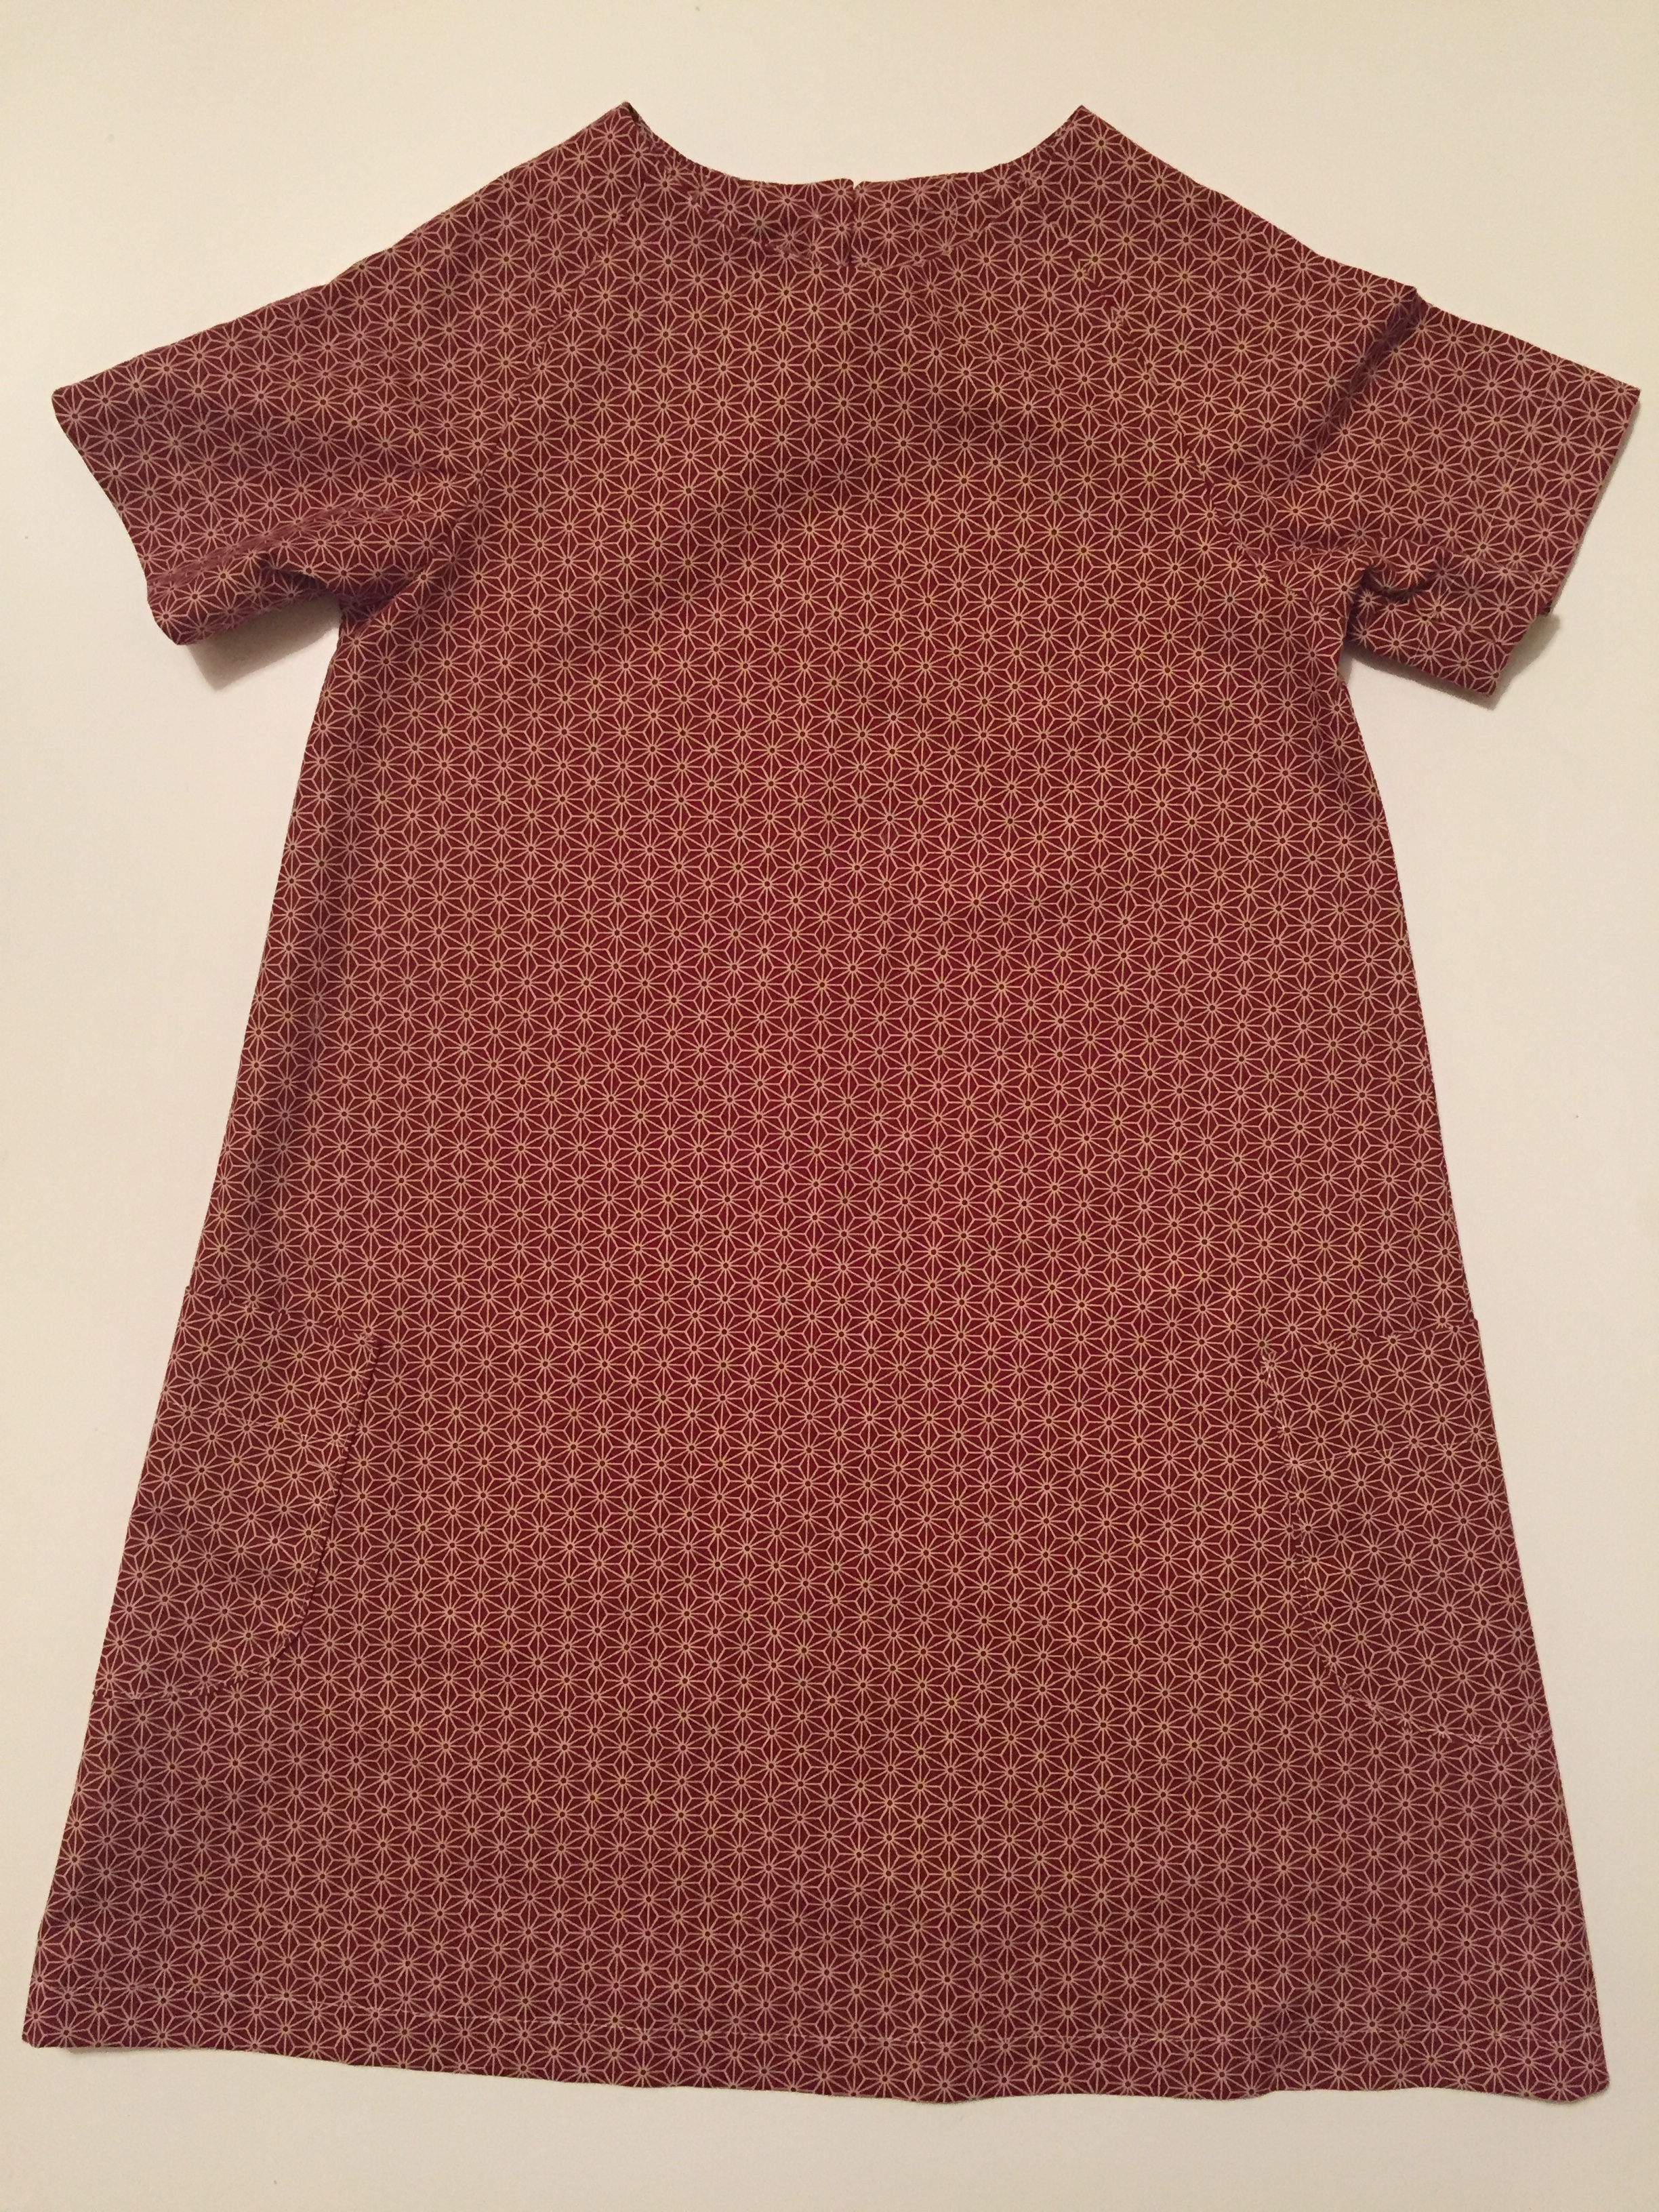
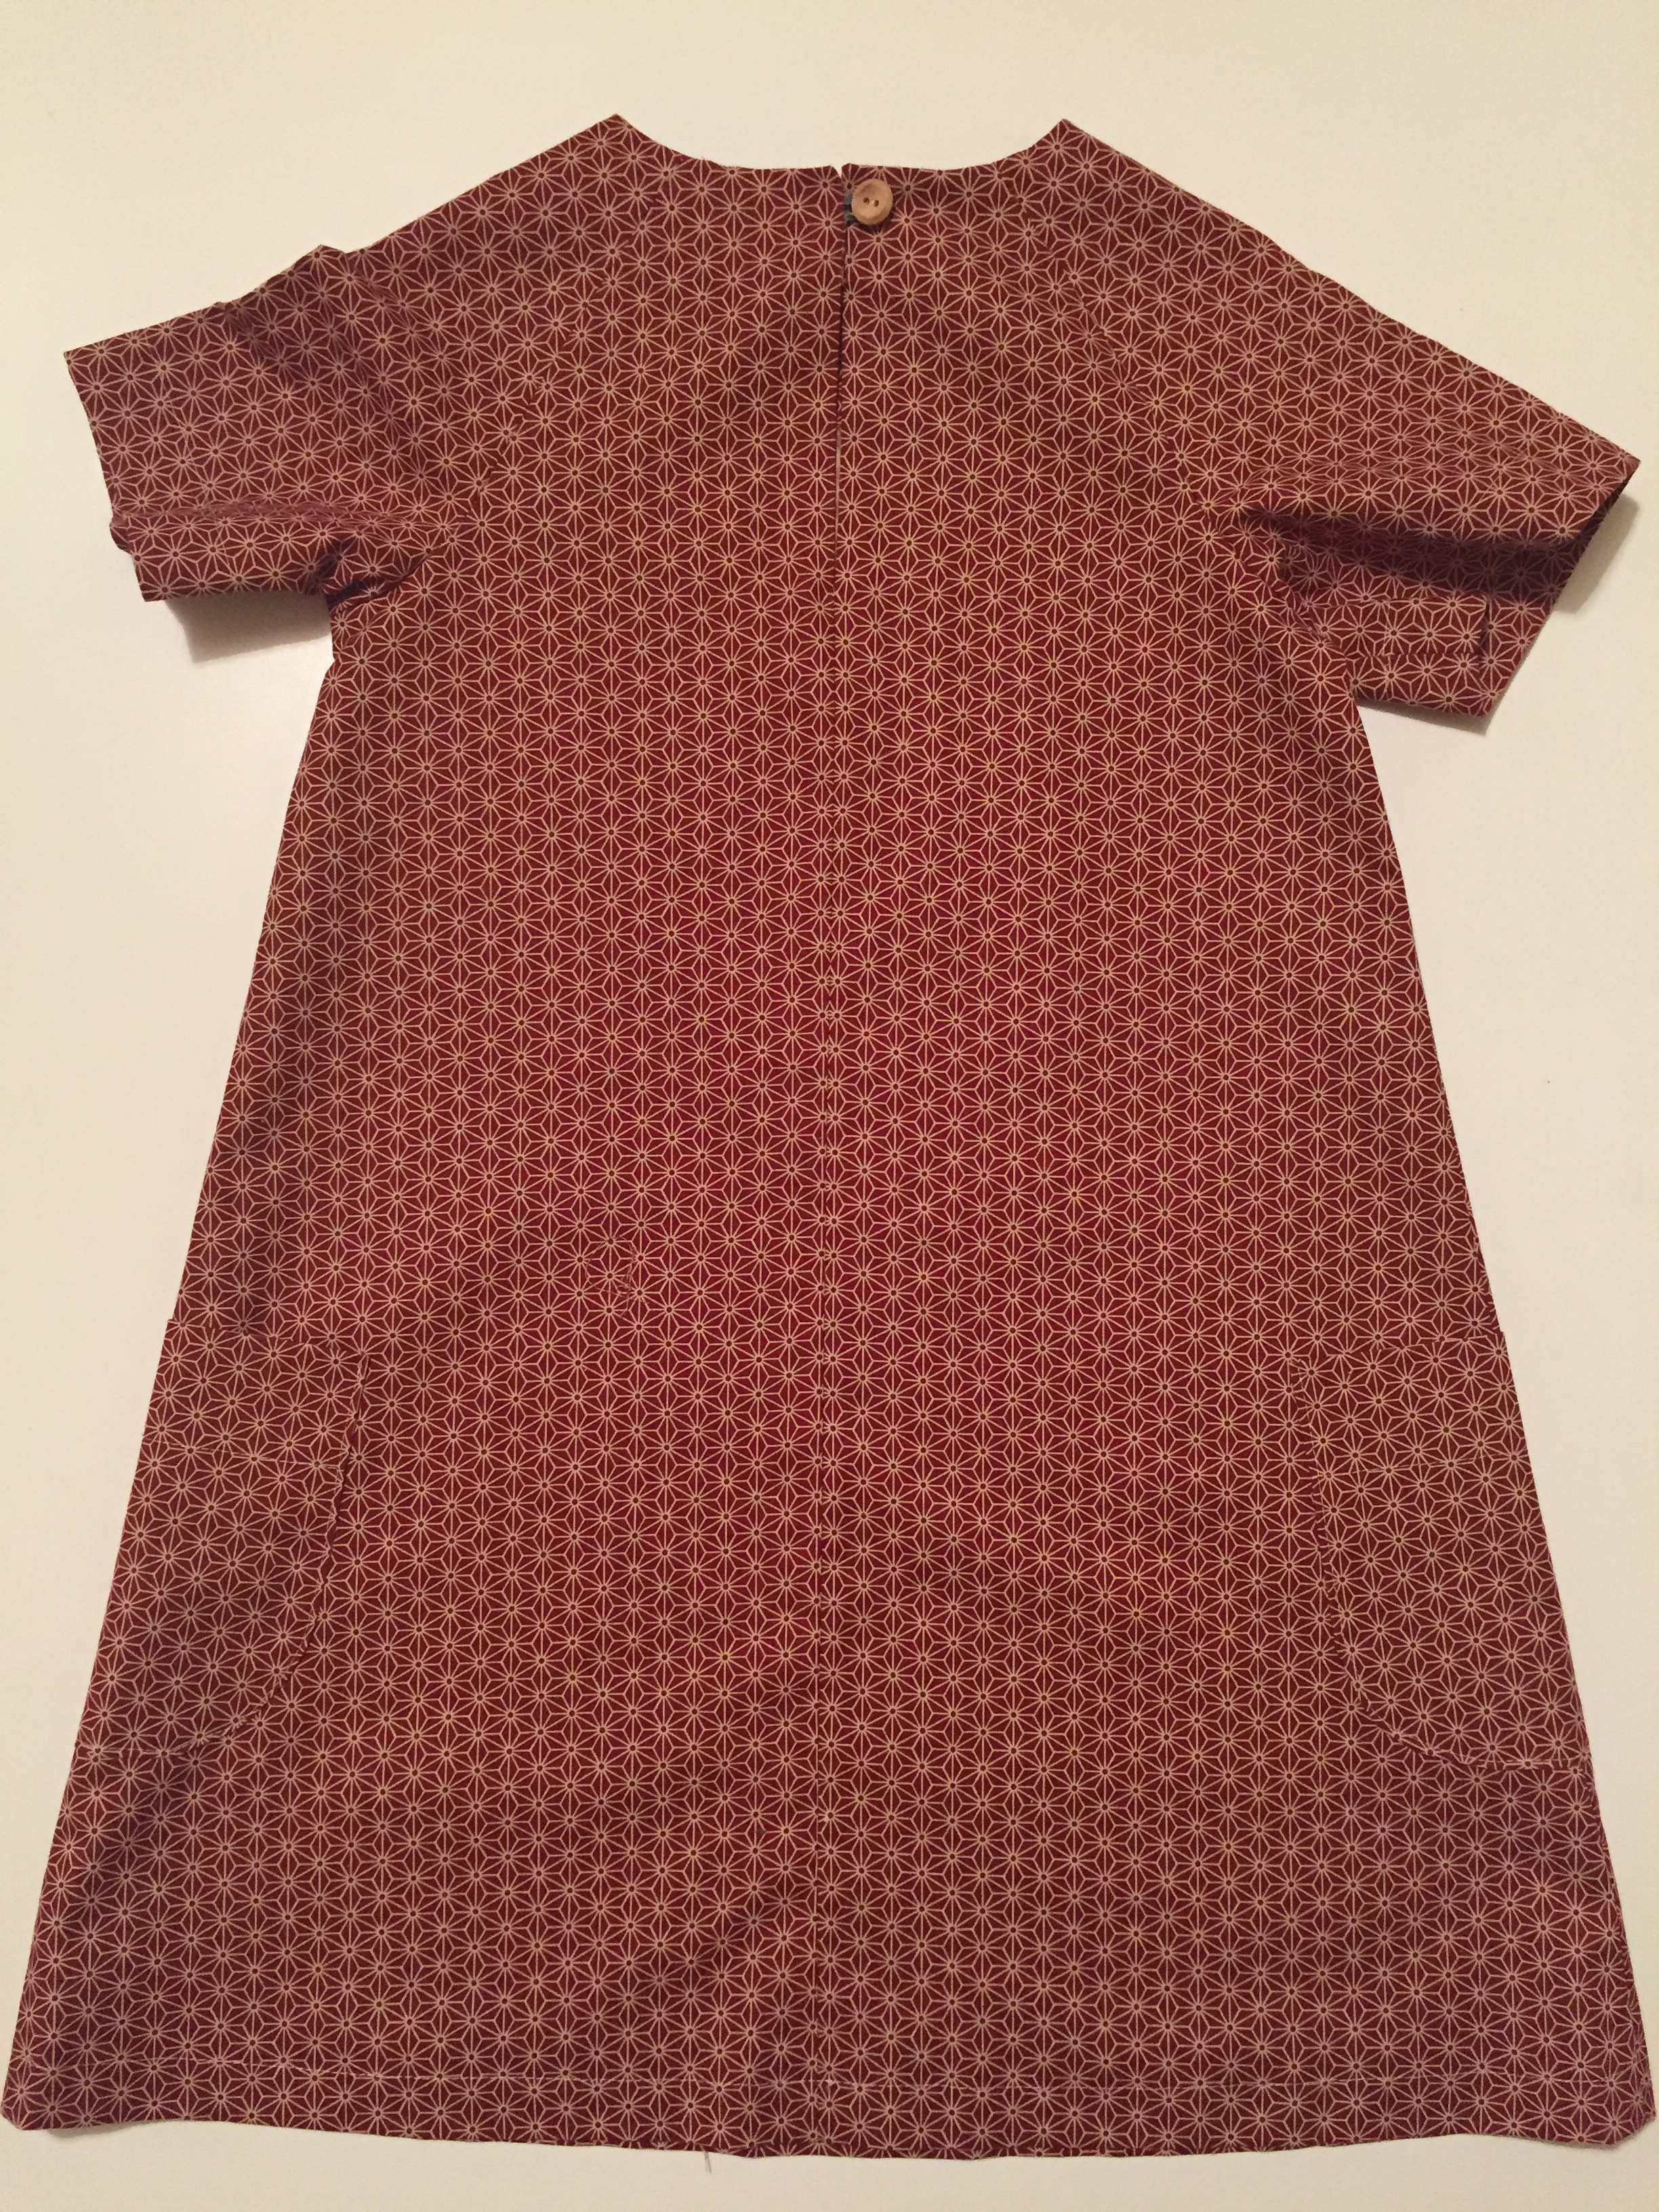
DRESS BACK – VIEW A
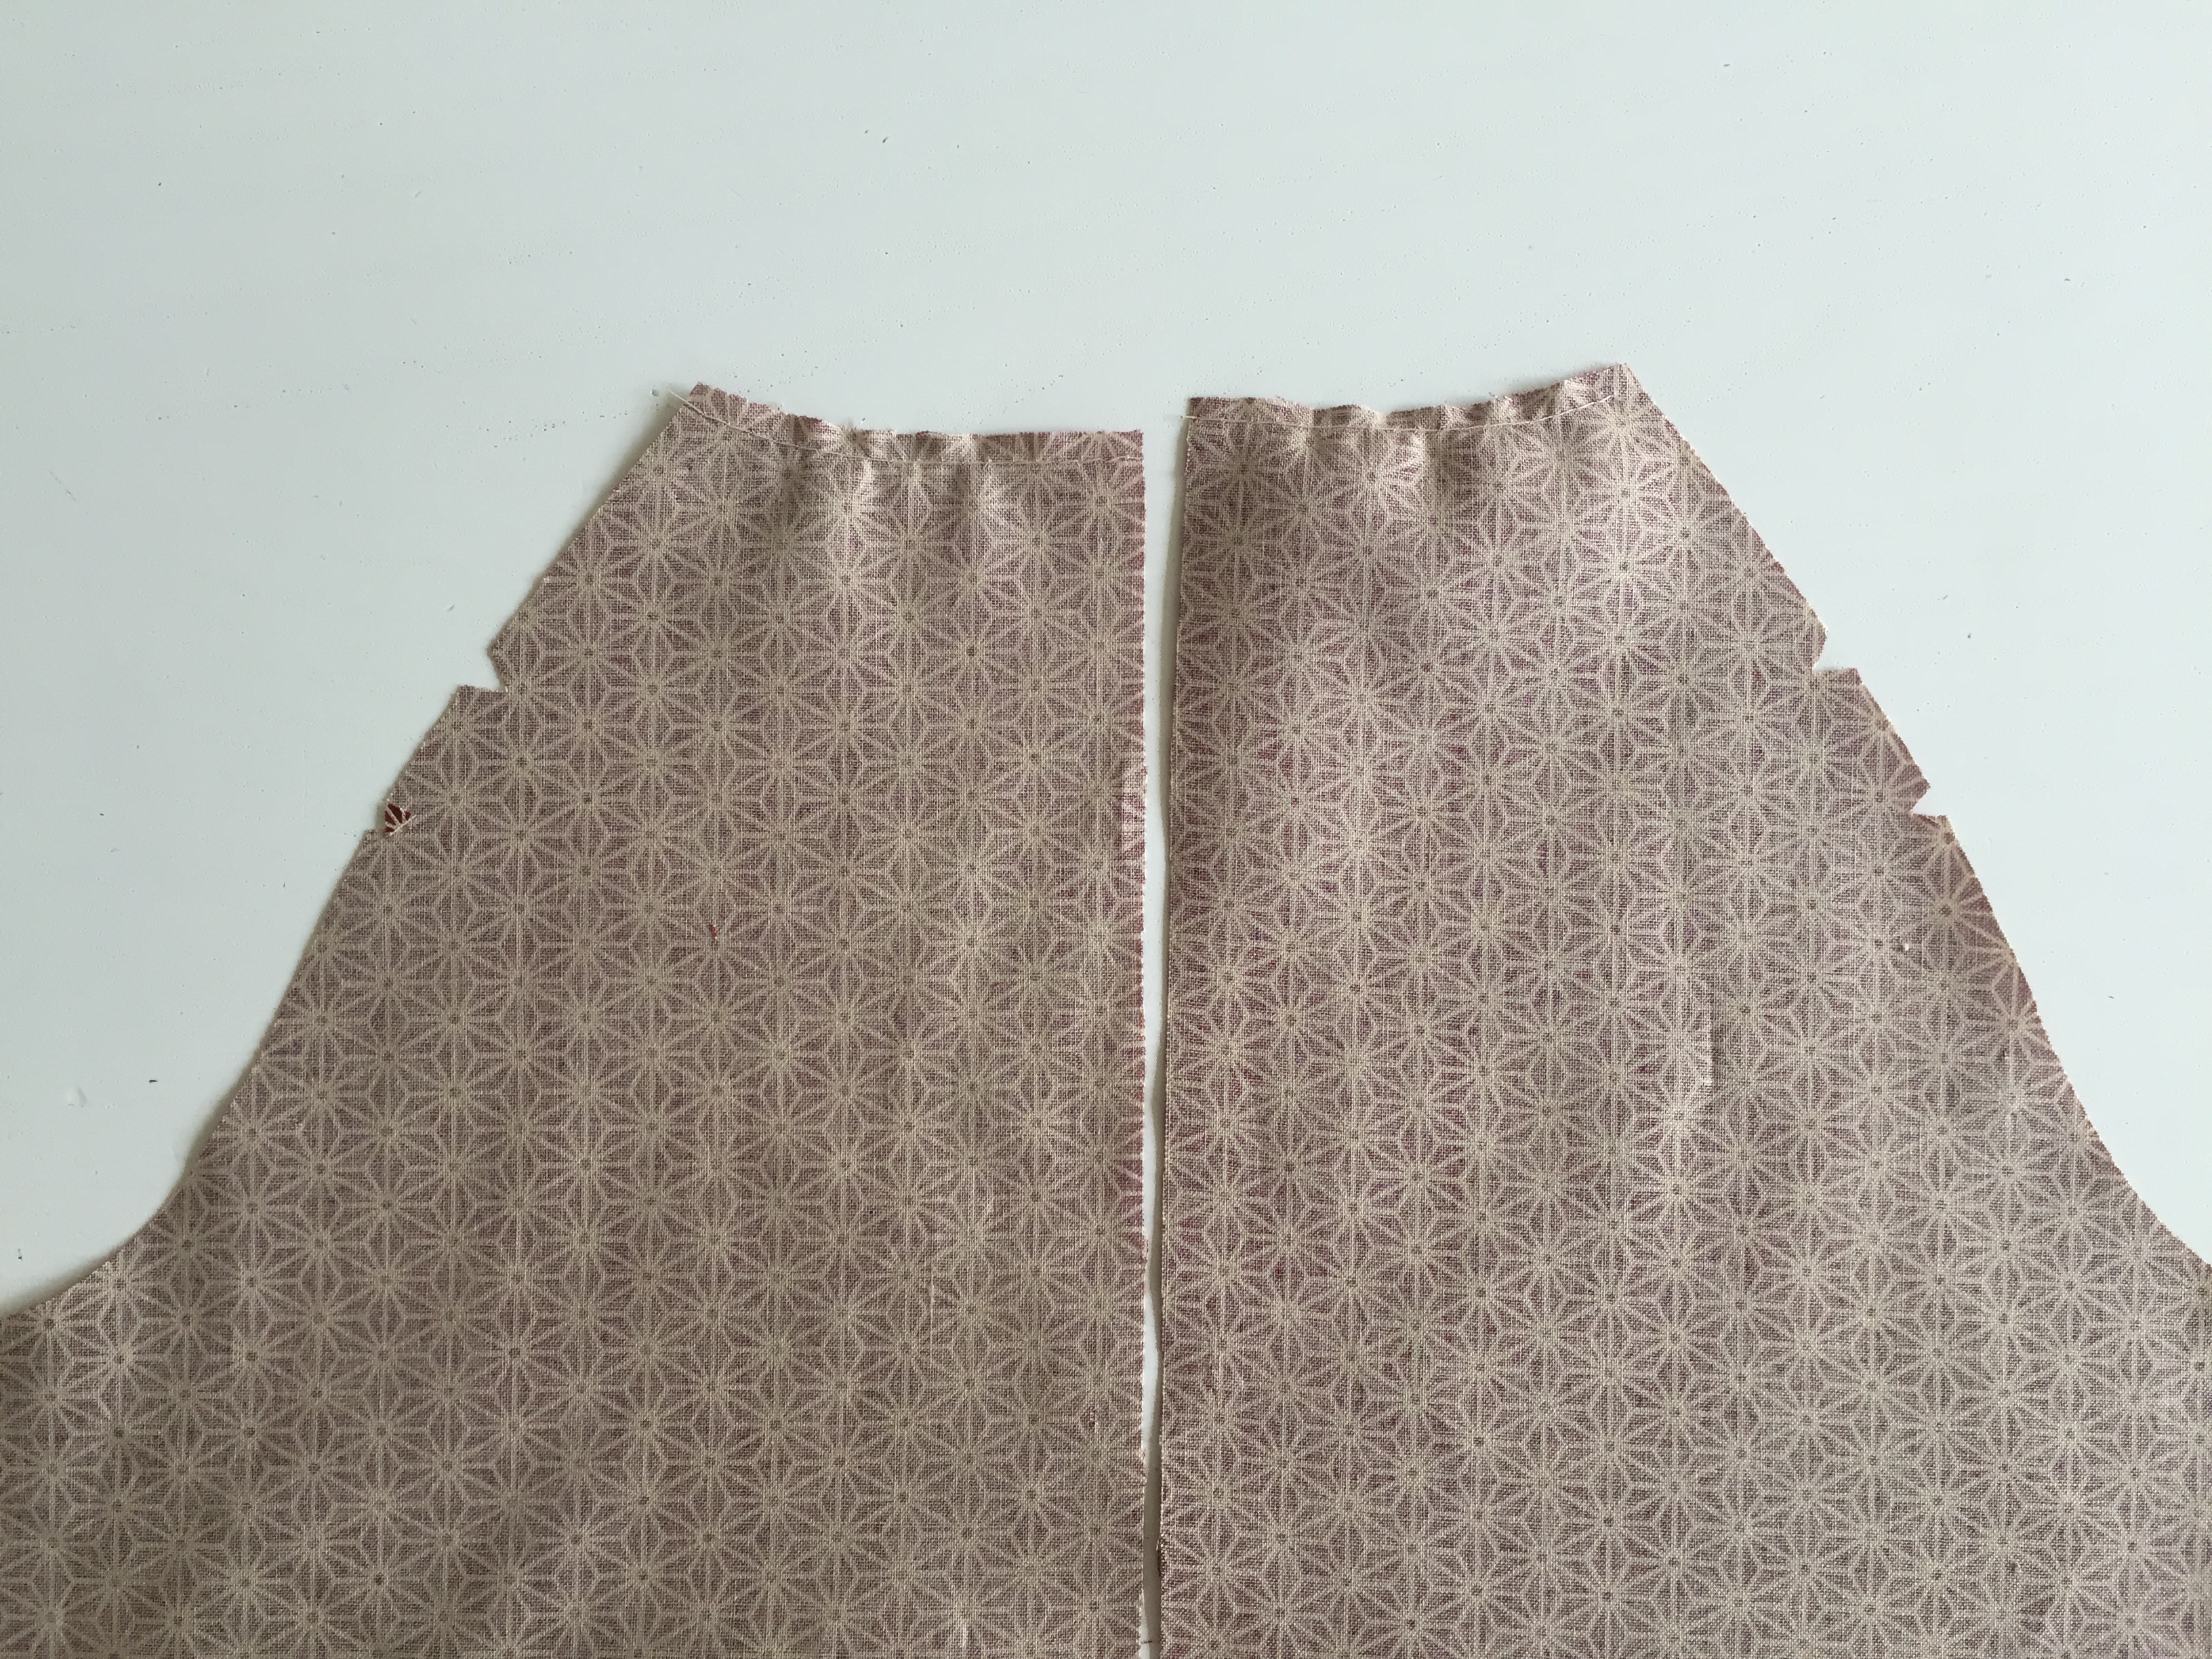
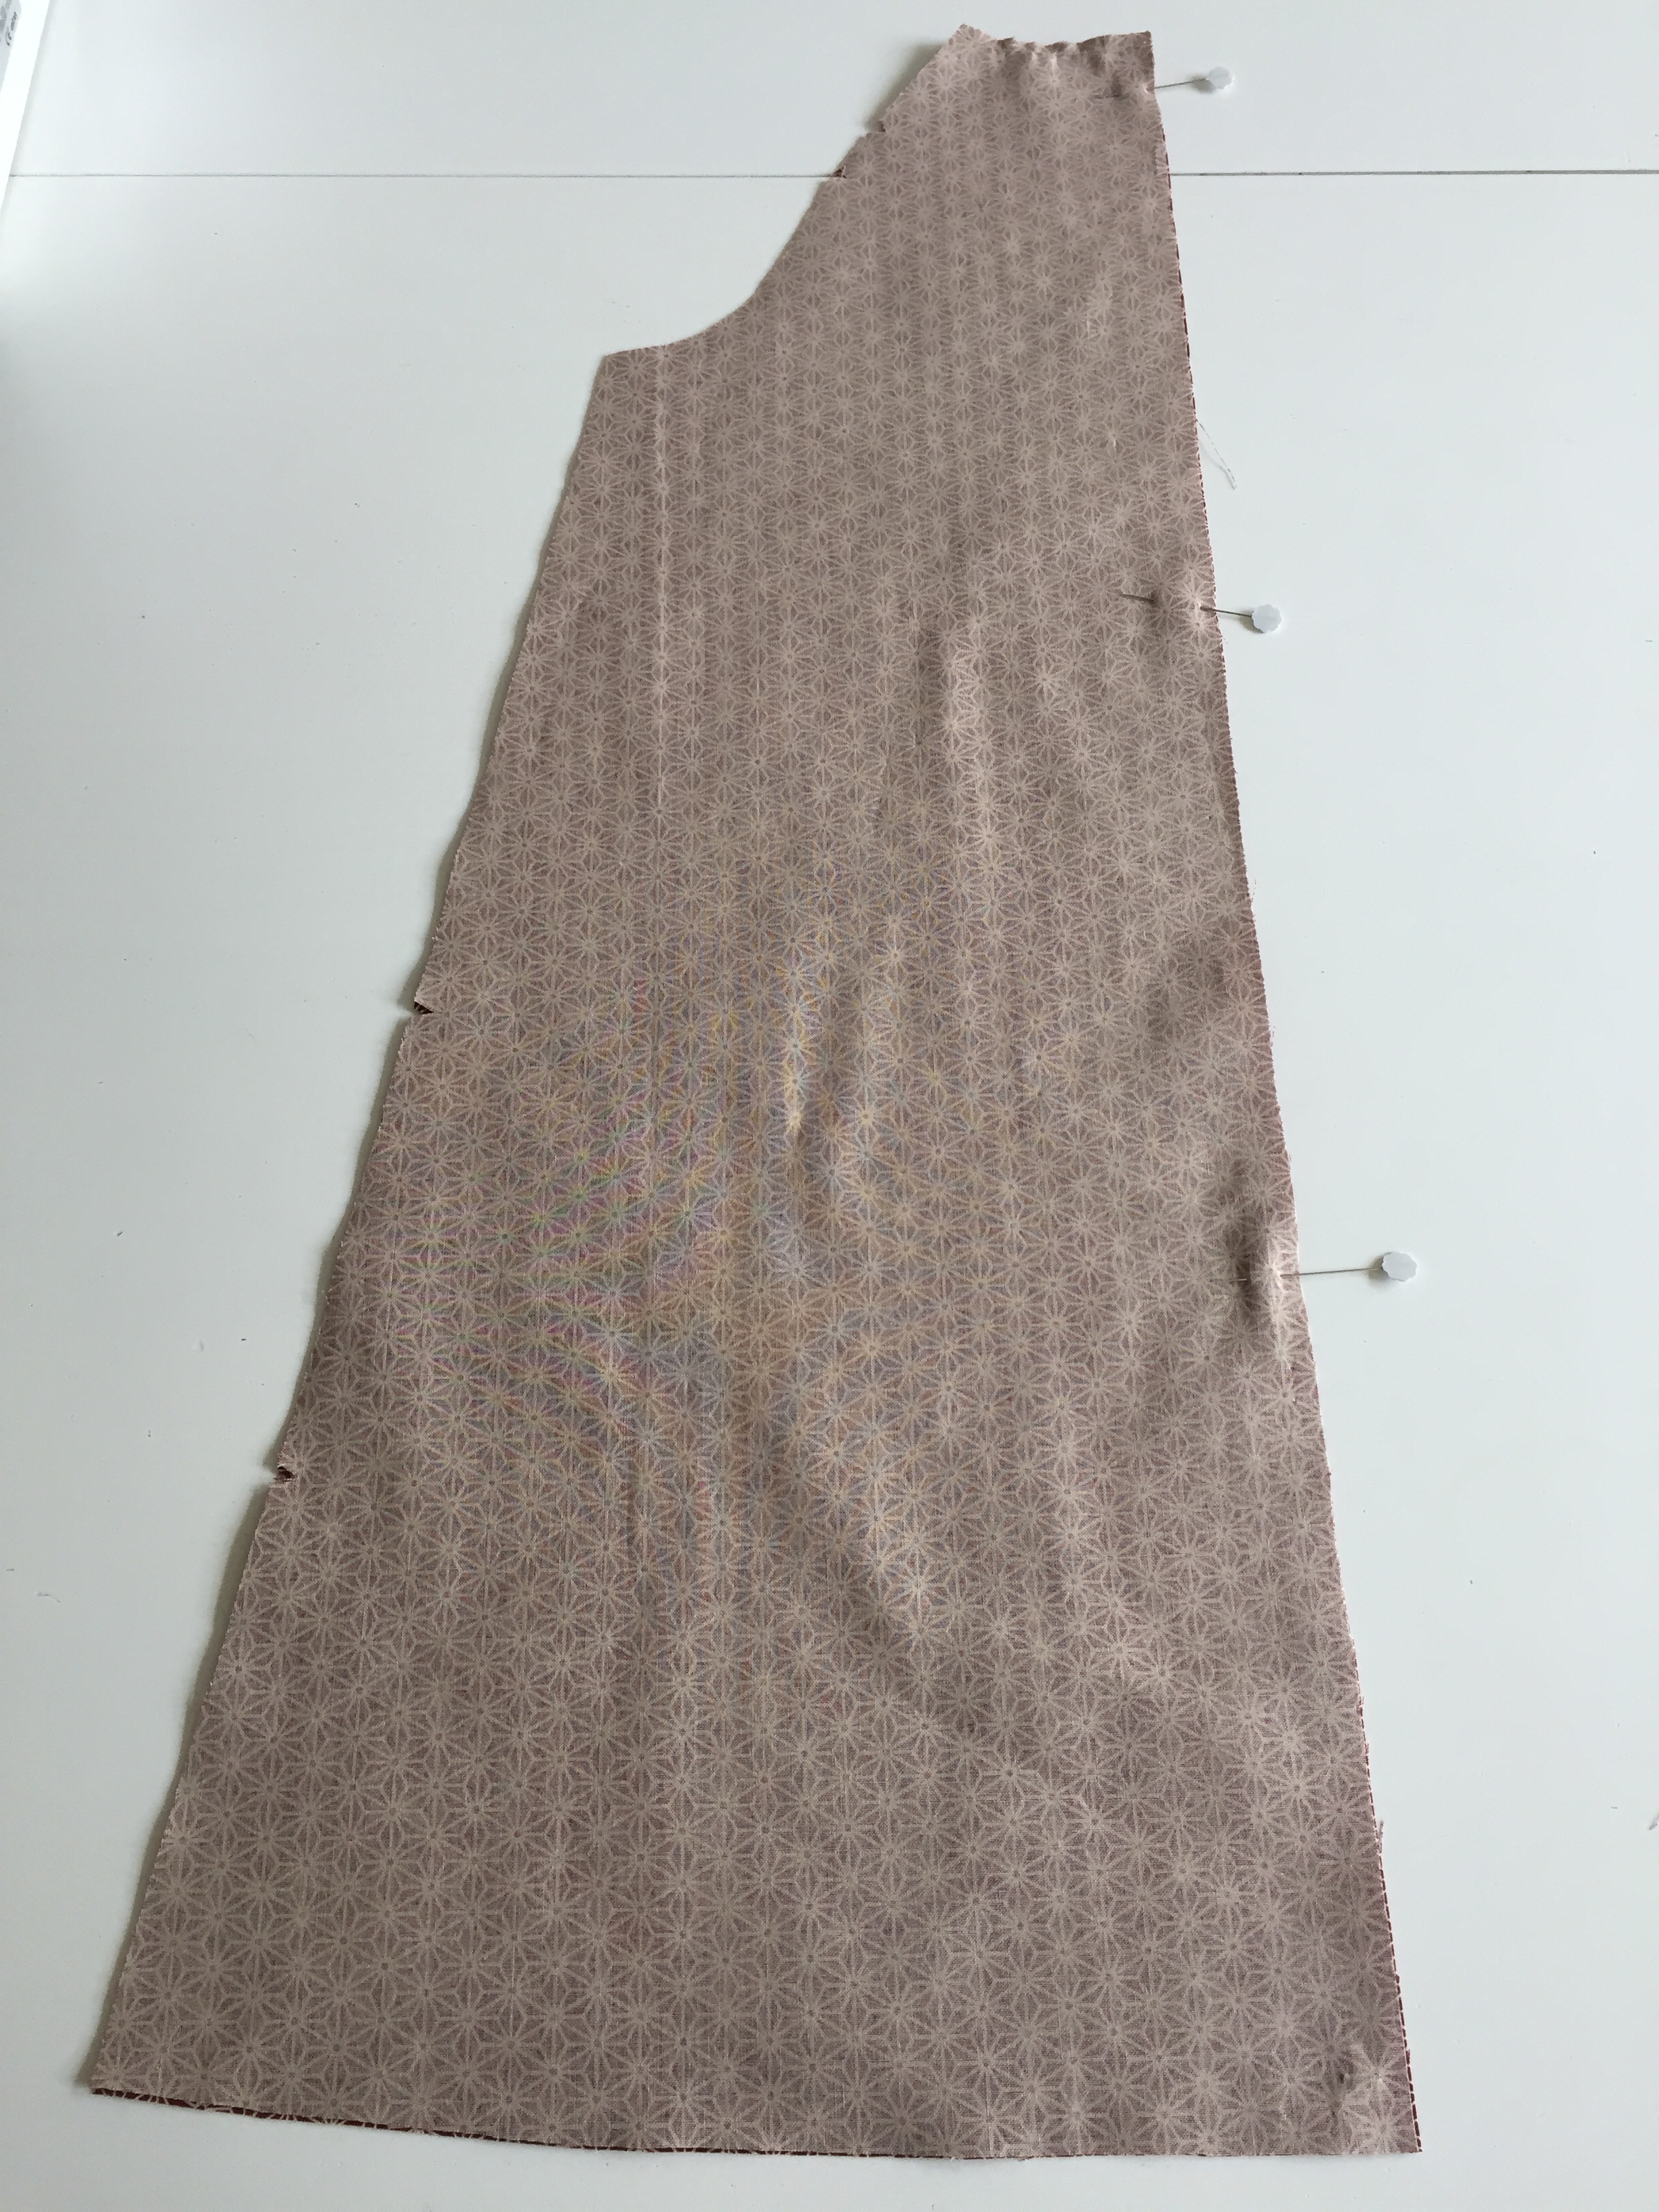
Place the two pieces of B right sides together. Pin in place down the CB.
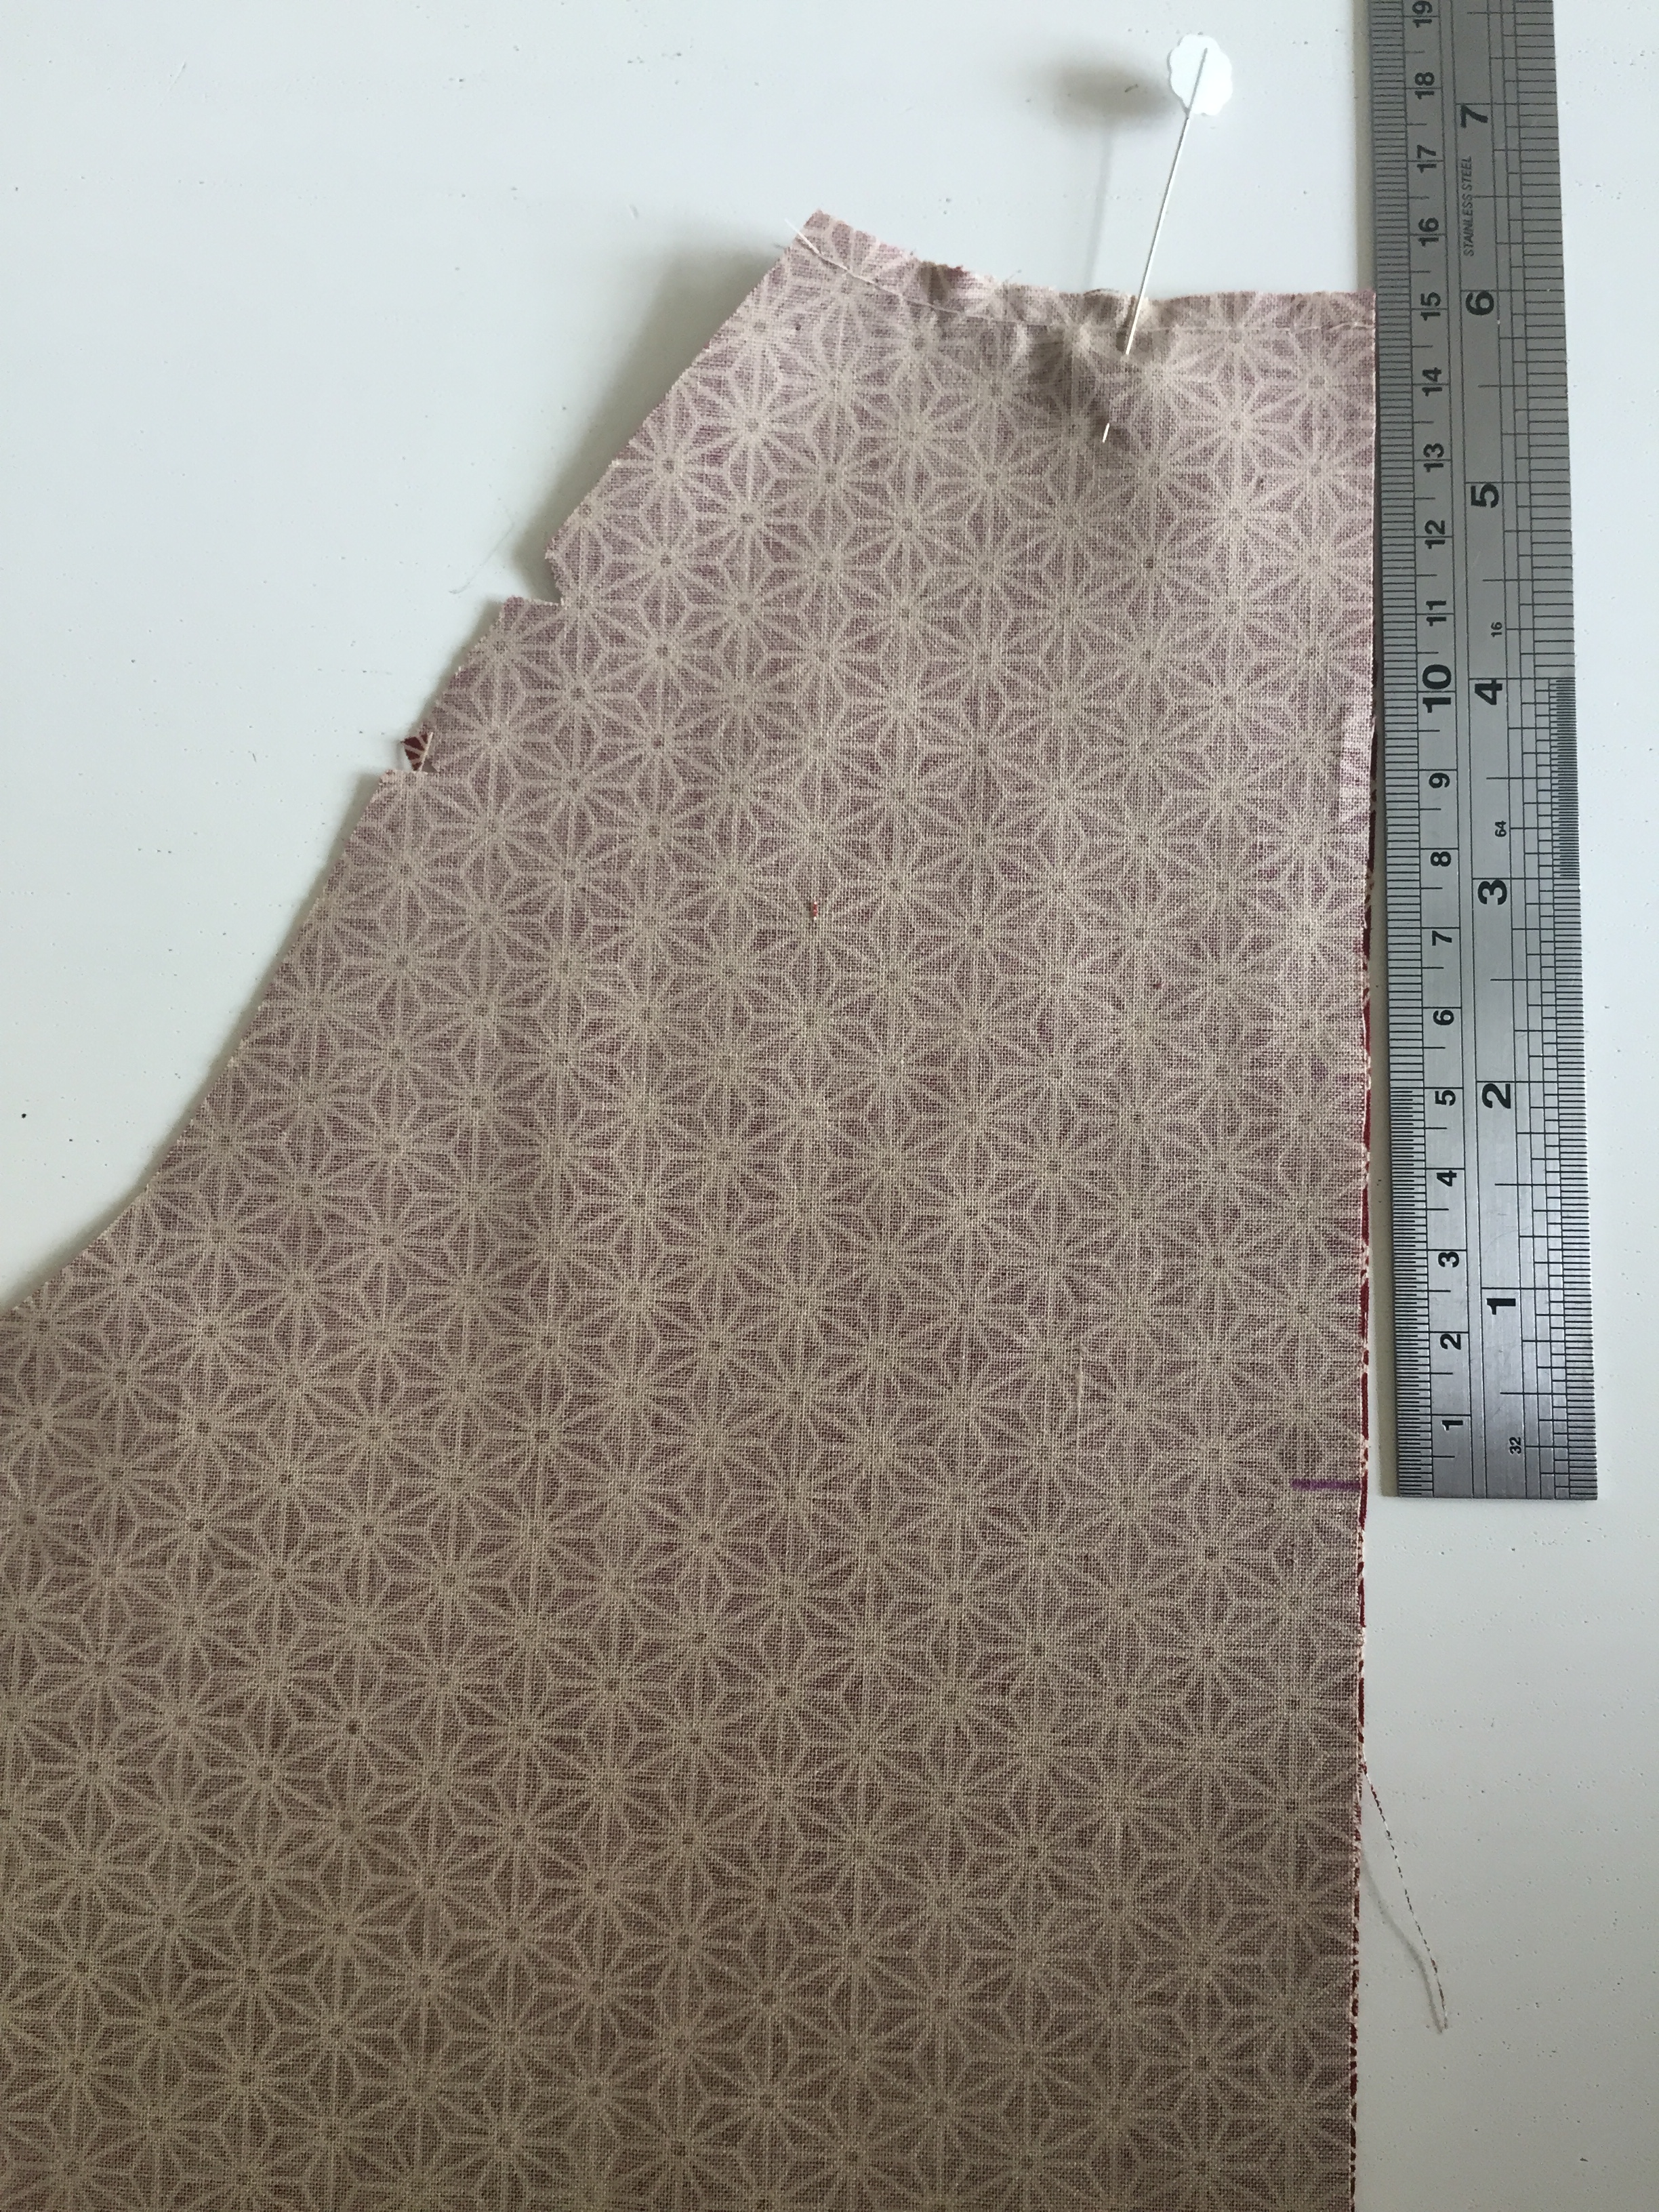
Make a mark 20cm from the top of B. Create a row of stitches from the mark to the bottom of B not forgetting to reverse stitch. There will be a section unsewn from the top to the mark – this is where we will put the ribbon in at a later stage.
*** If you would prefer a wider neck opening or a more decorative effect, why not add a line of buttons / ribbon down the back opening?
DRESS BACK – VIEW A
Open out this piece on the wrong side and iron the seam flat. When you reach the top section that has not been sewn continue to iron each side down 1.5cm.
SLEEVES – VIEW A & B
It is very important that your sleeve notches are marked on your fabric as it is easy to confuse the front and back sides of the sleeve. The back of the sleeve has two notches and the front of the sleeve has one notch.
FRONT SLEEVE – VIEW A & B
Tip. Take your time with these next steps! These pieces don’t look like they fit each other but they do.
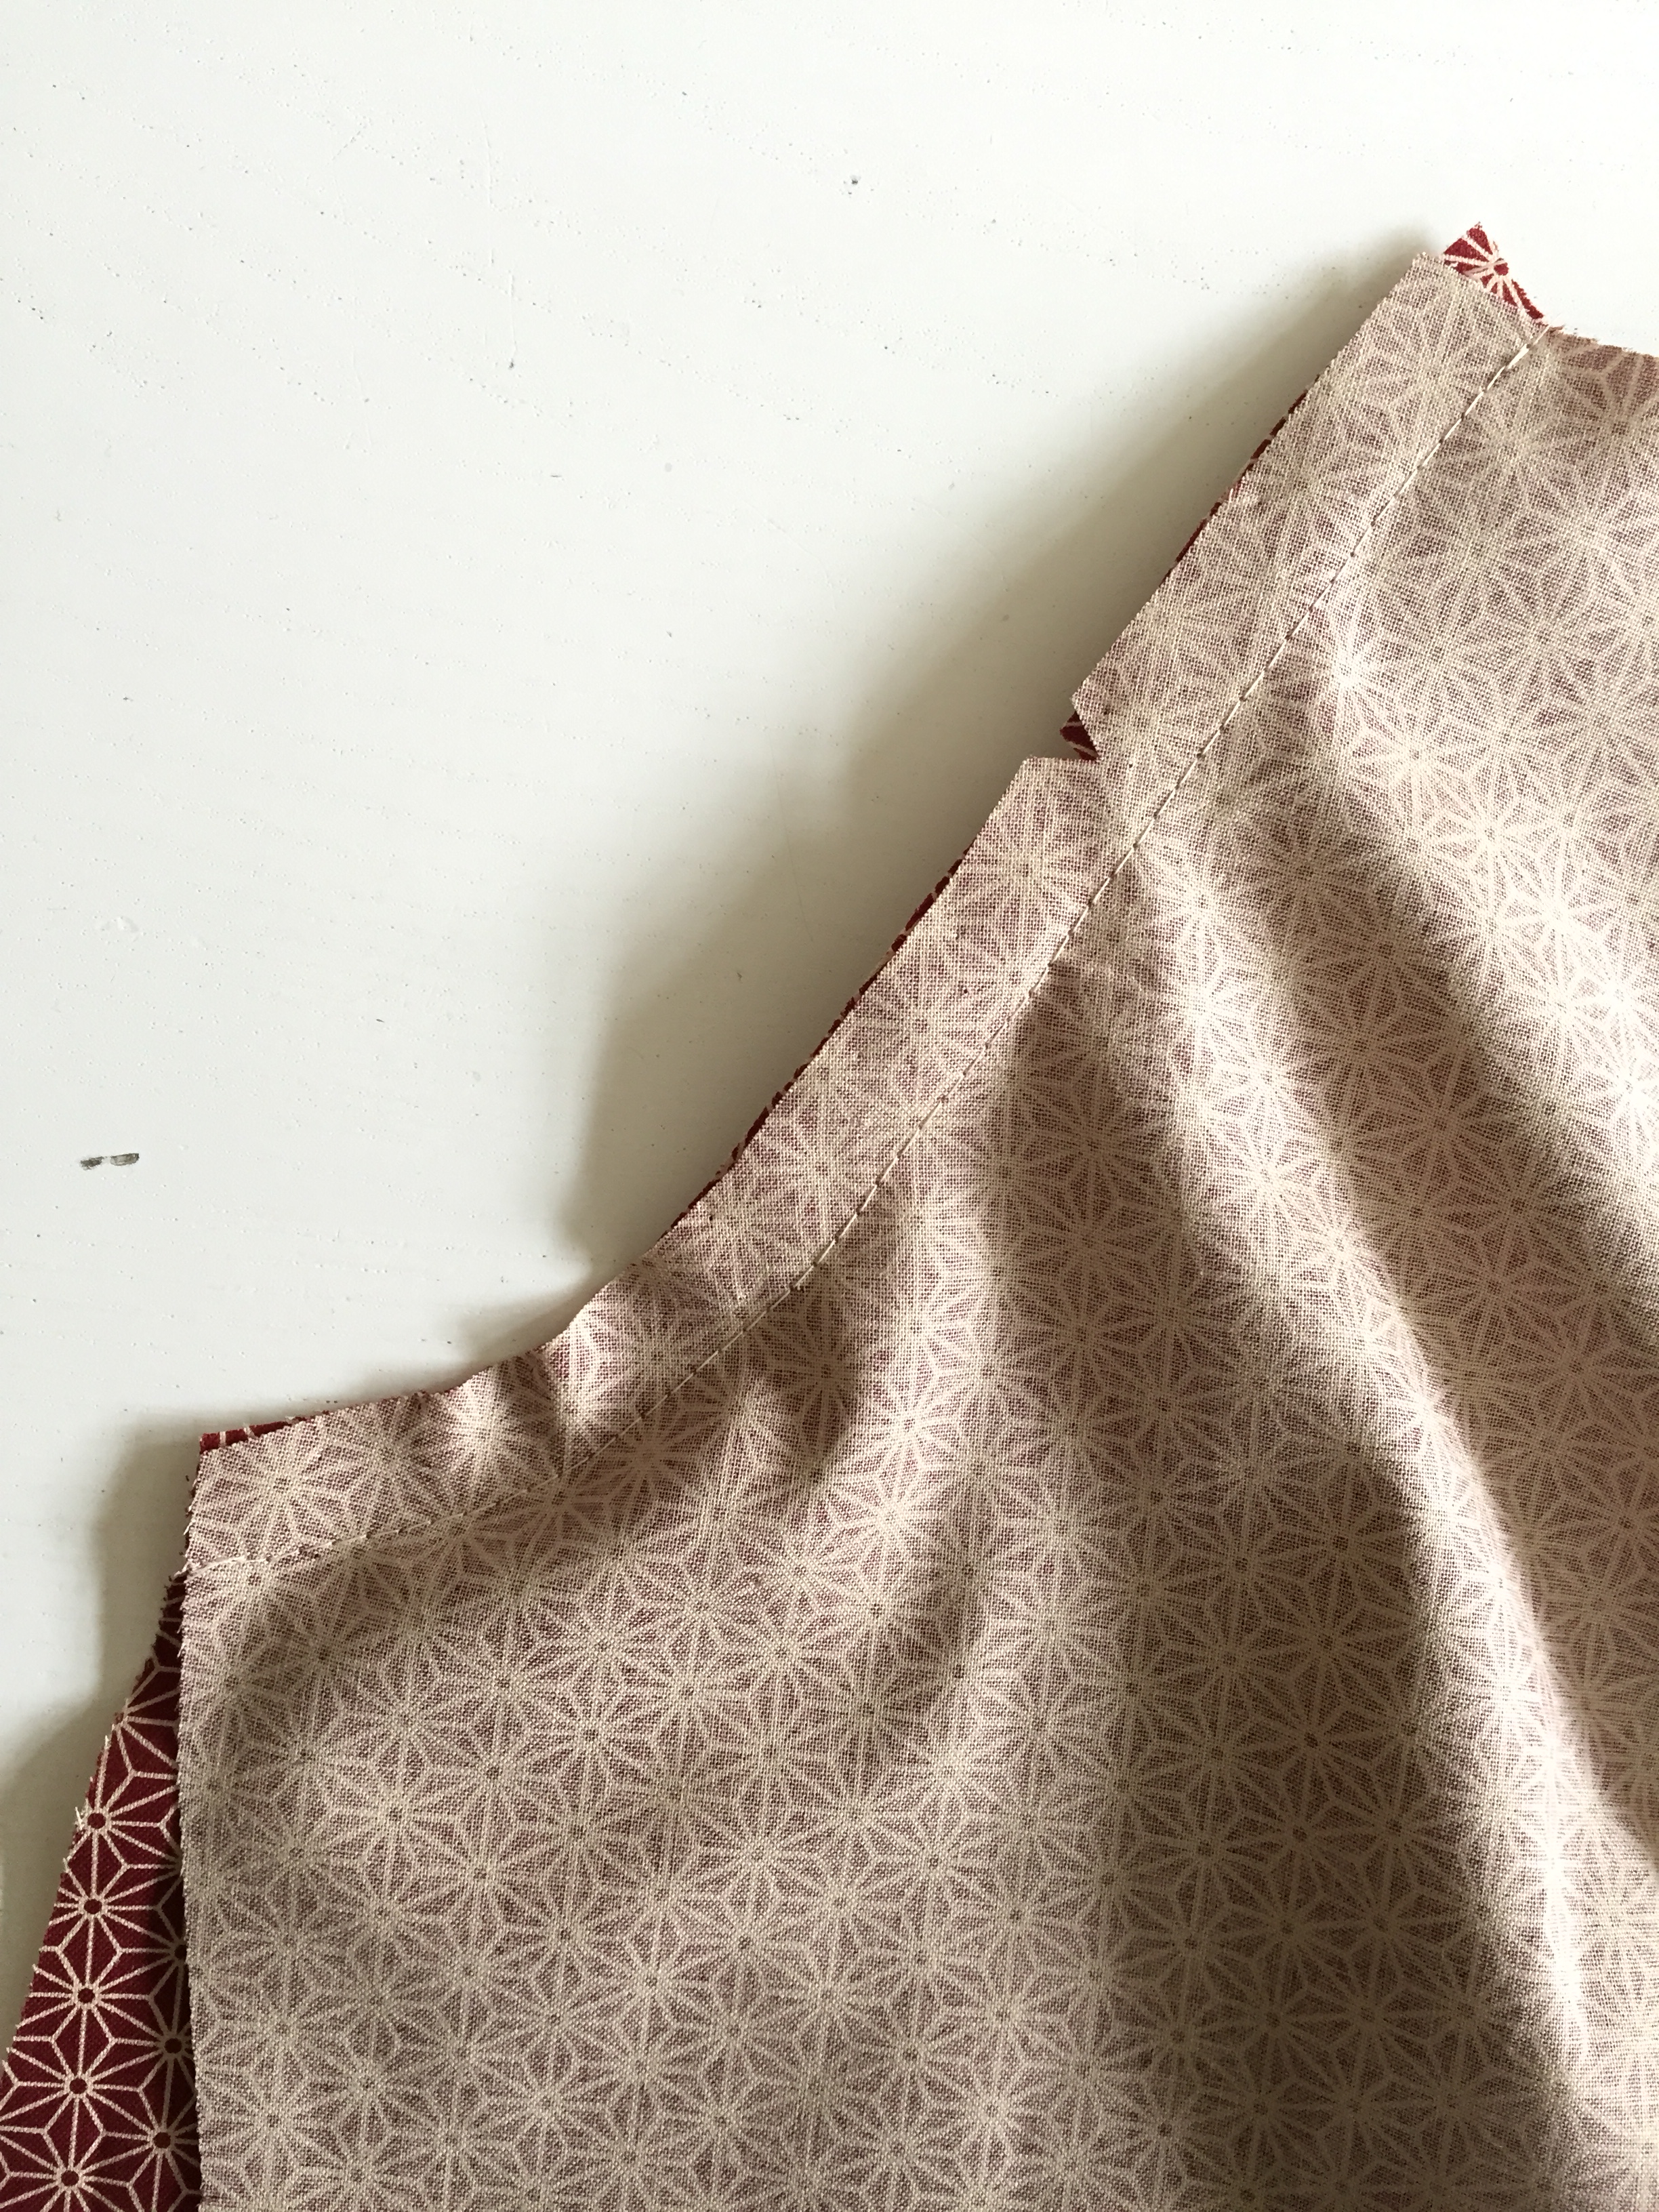
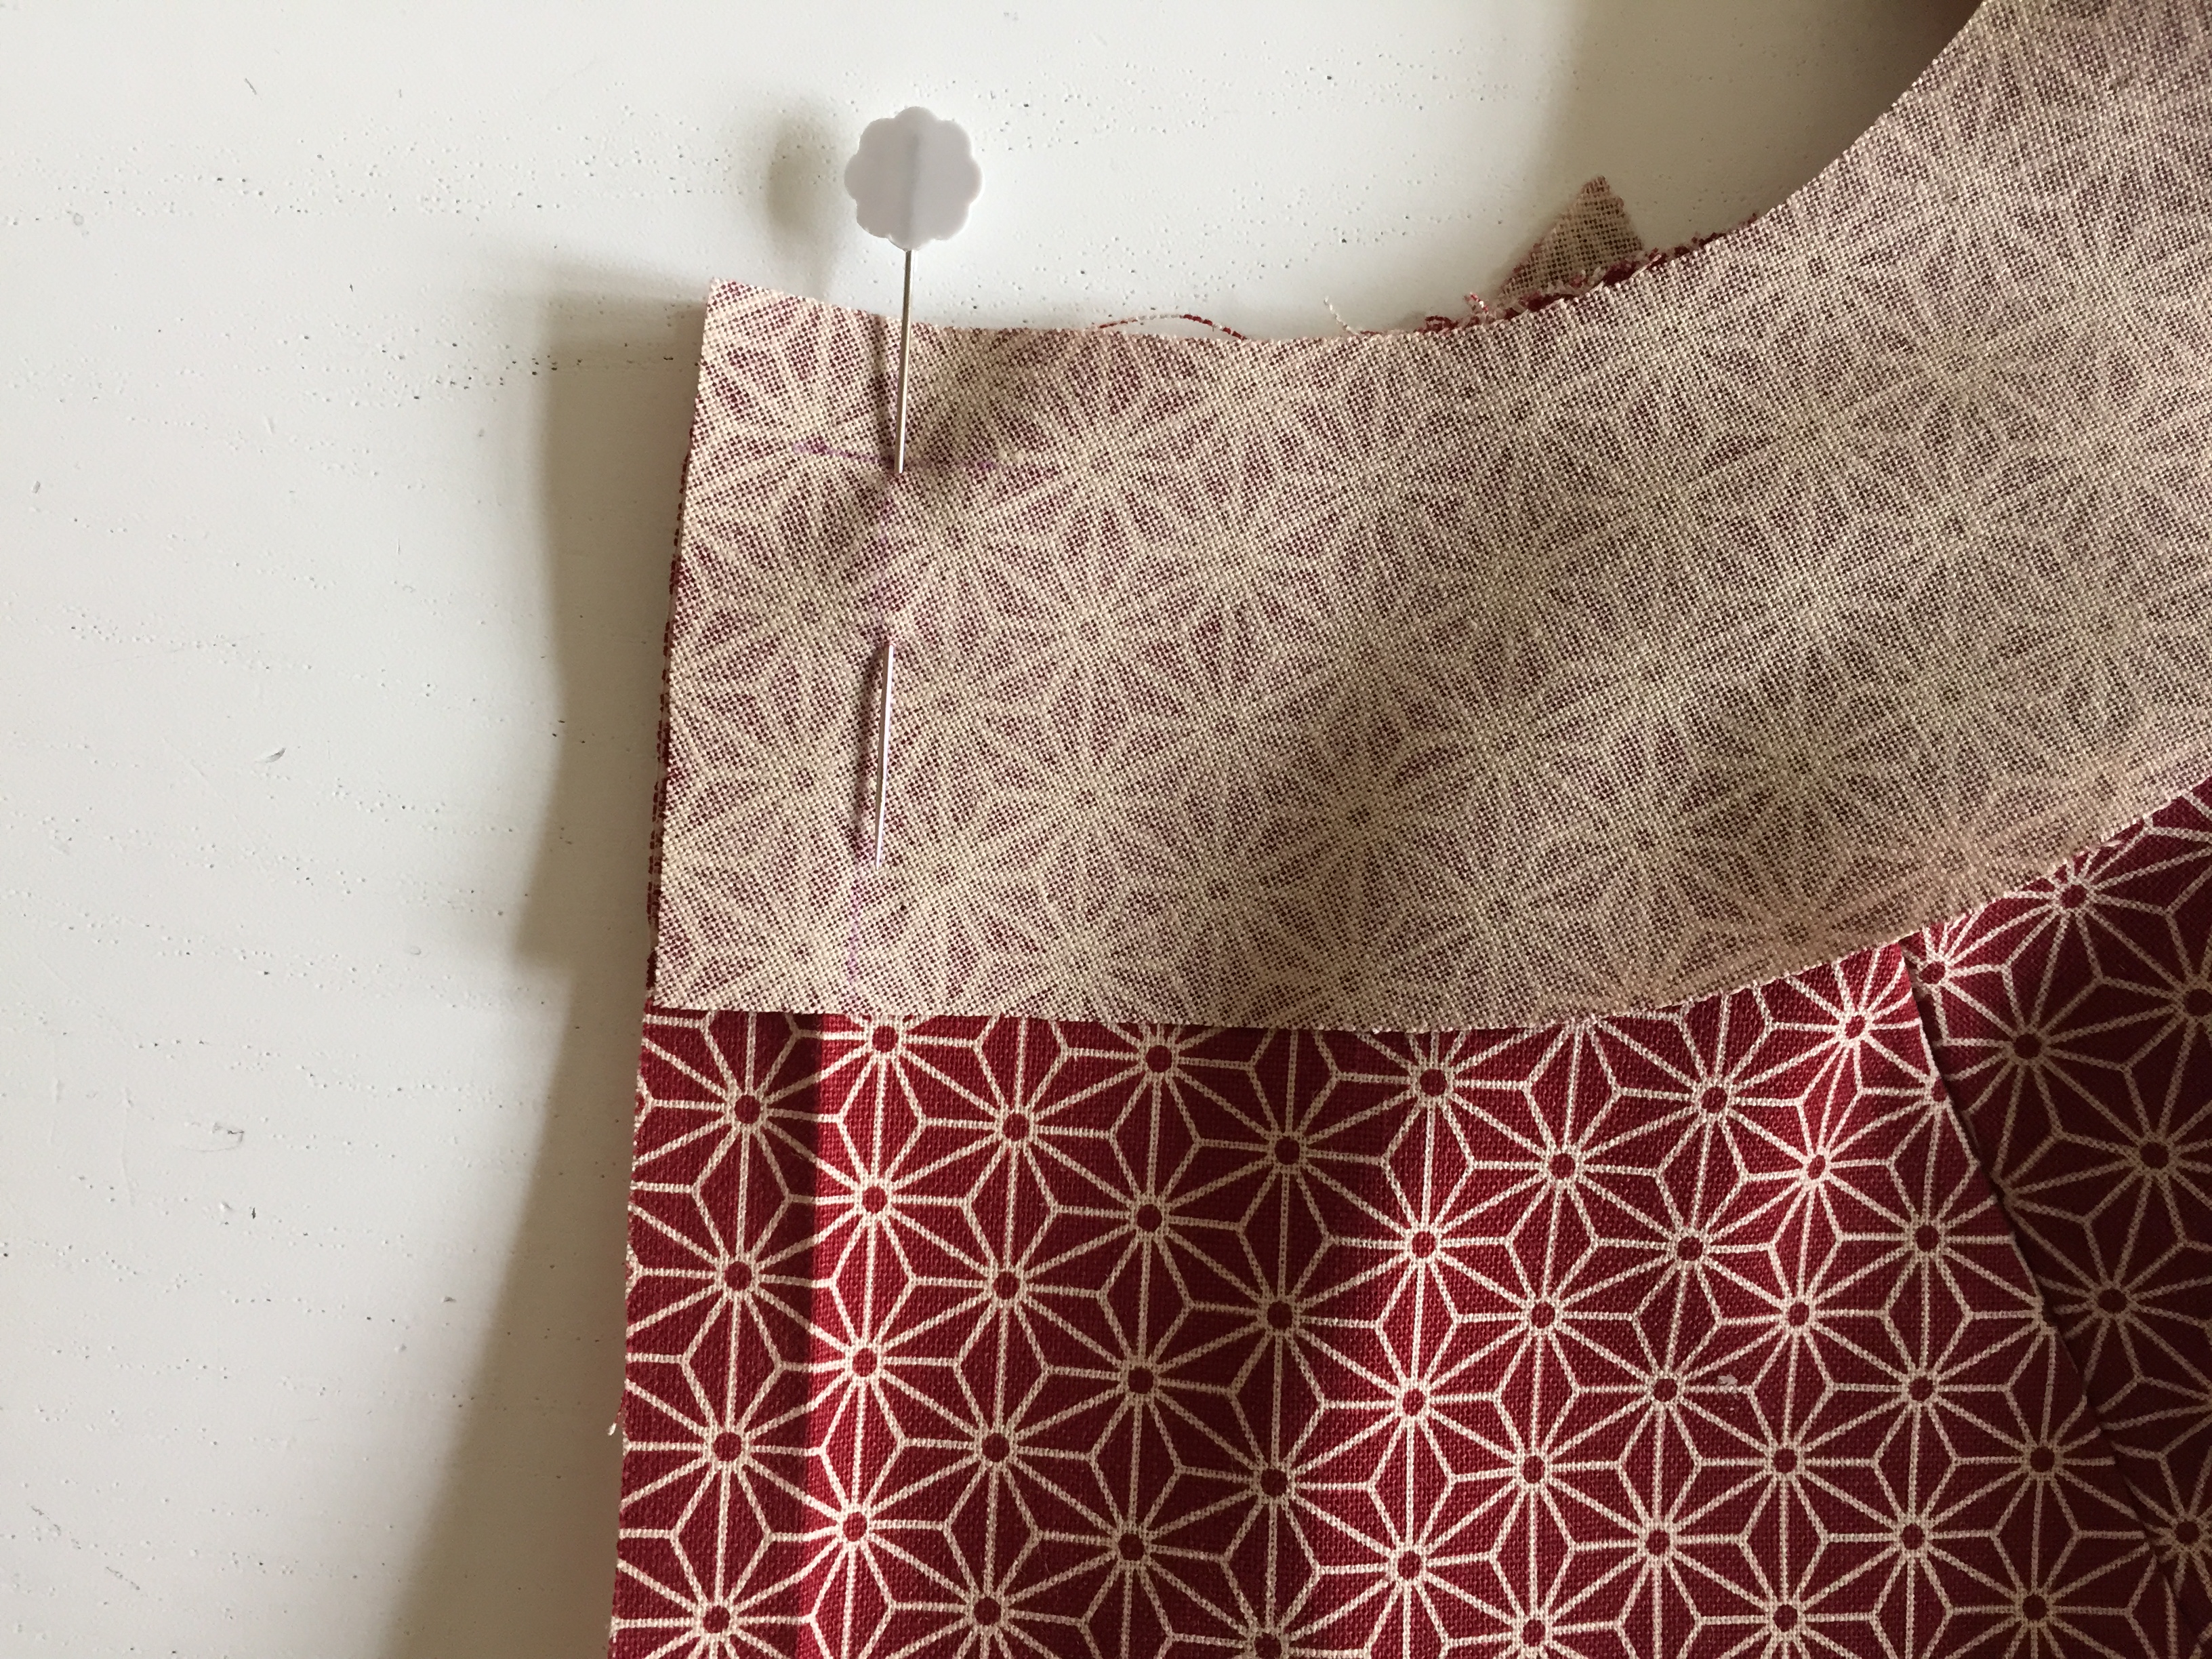
Place A right side facing you. Find the sleeve piece that, when you place it RST onto A, has the one notch matching up to the one notch on A. We are only working on the front of the dress now so need the sleeve FRONTS to correspond to the dress FRONT.
Pin the side seam edges.
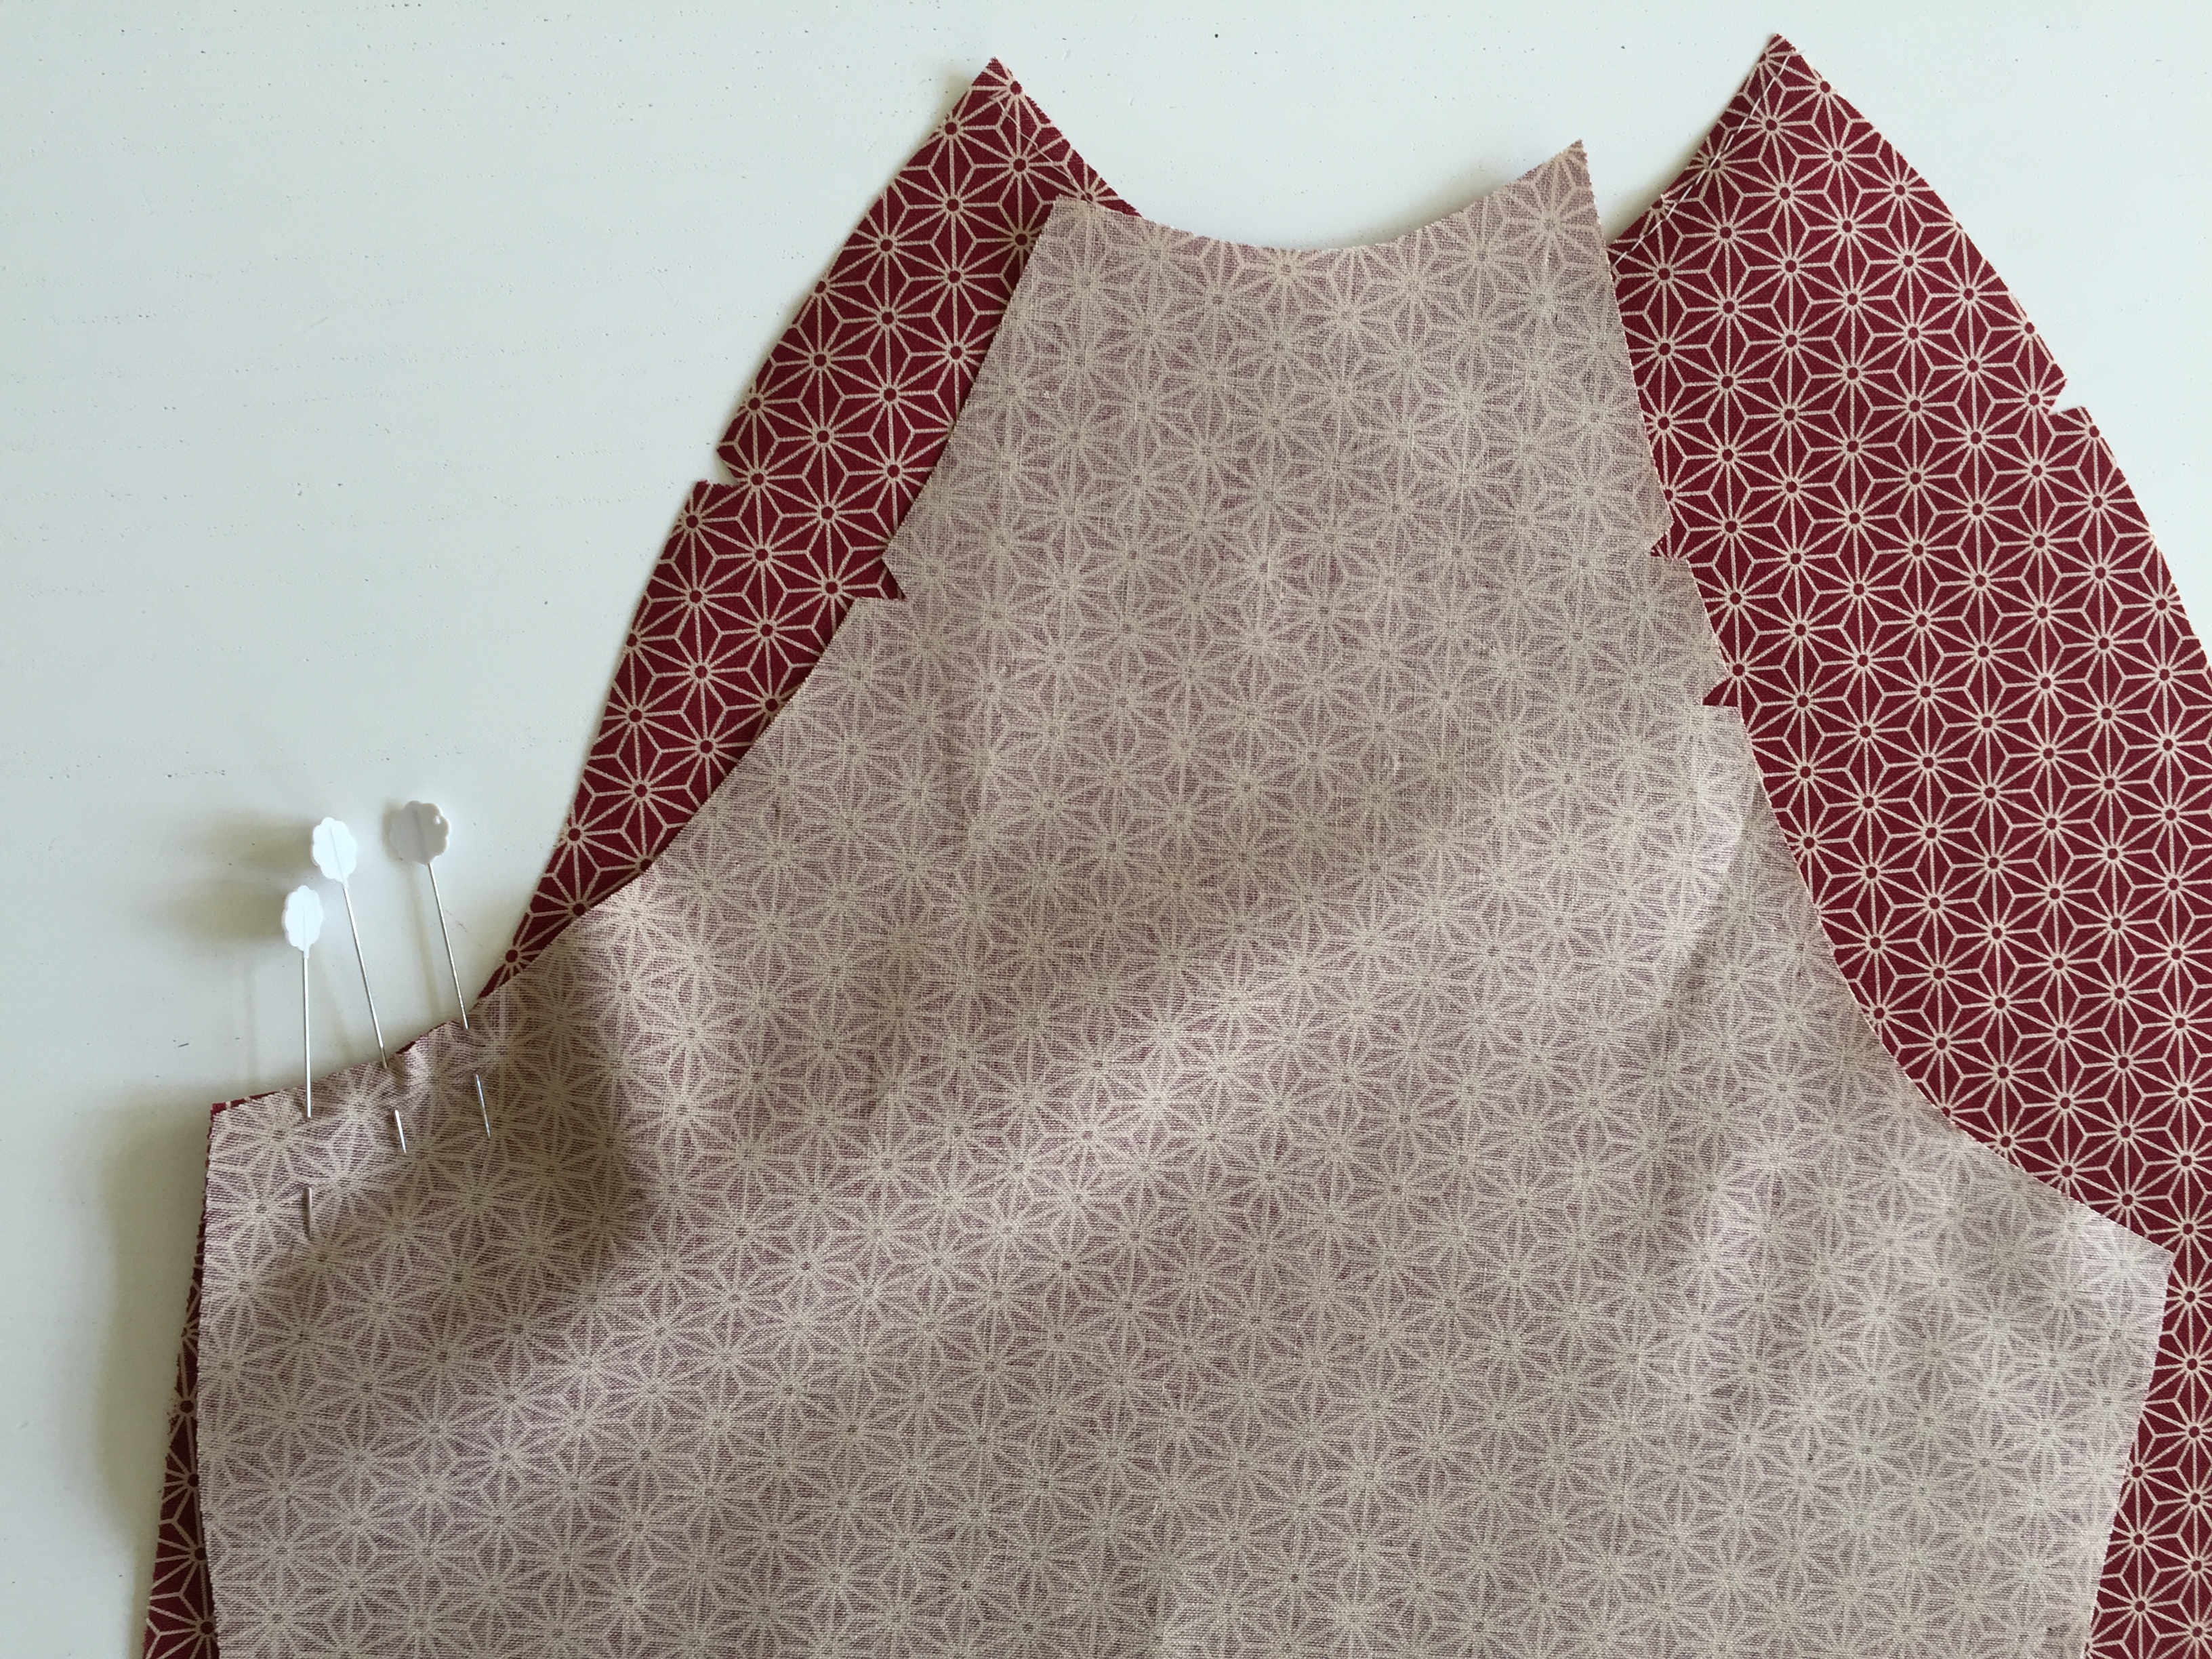
Move up and pin the notches together. At the top of the sleeve, align your pieces together as shown.
Tip. Can you see how the sleeve is placed on top of A? The pieces aren’t flush at the top – this is because of the shape of the neckline
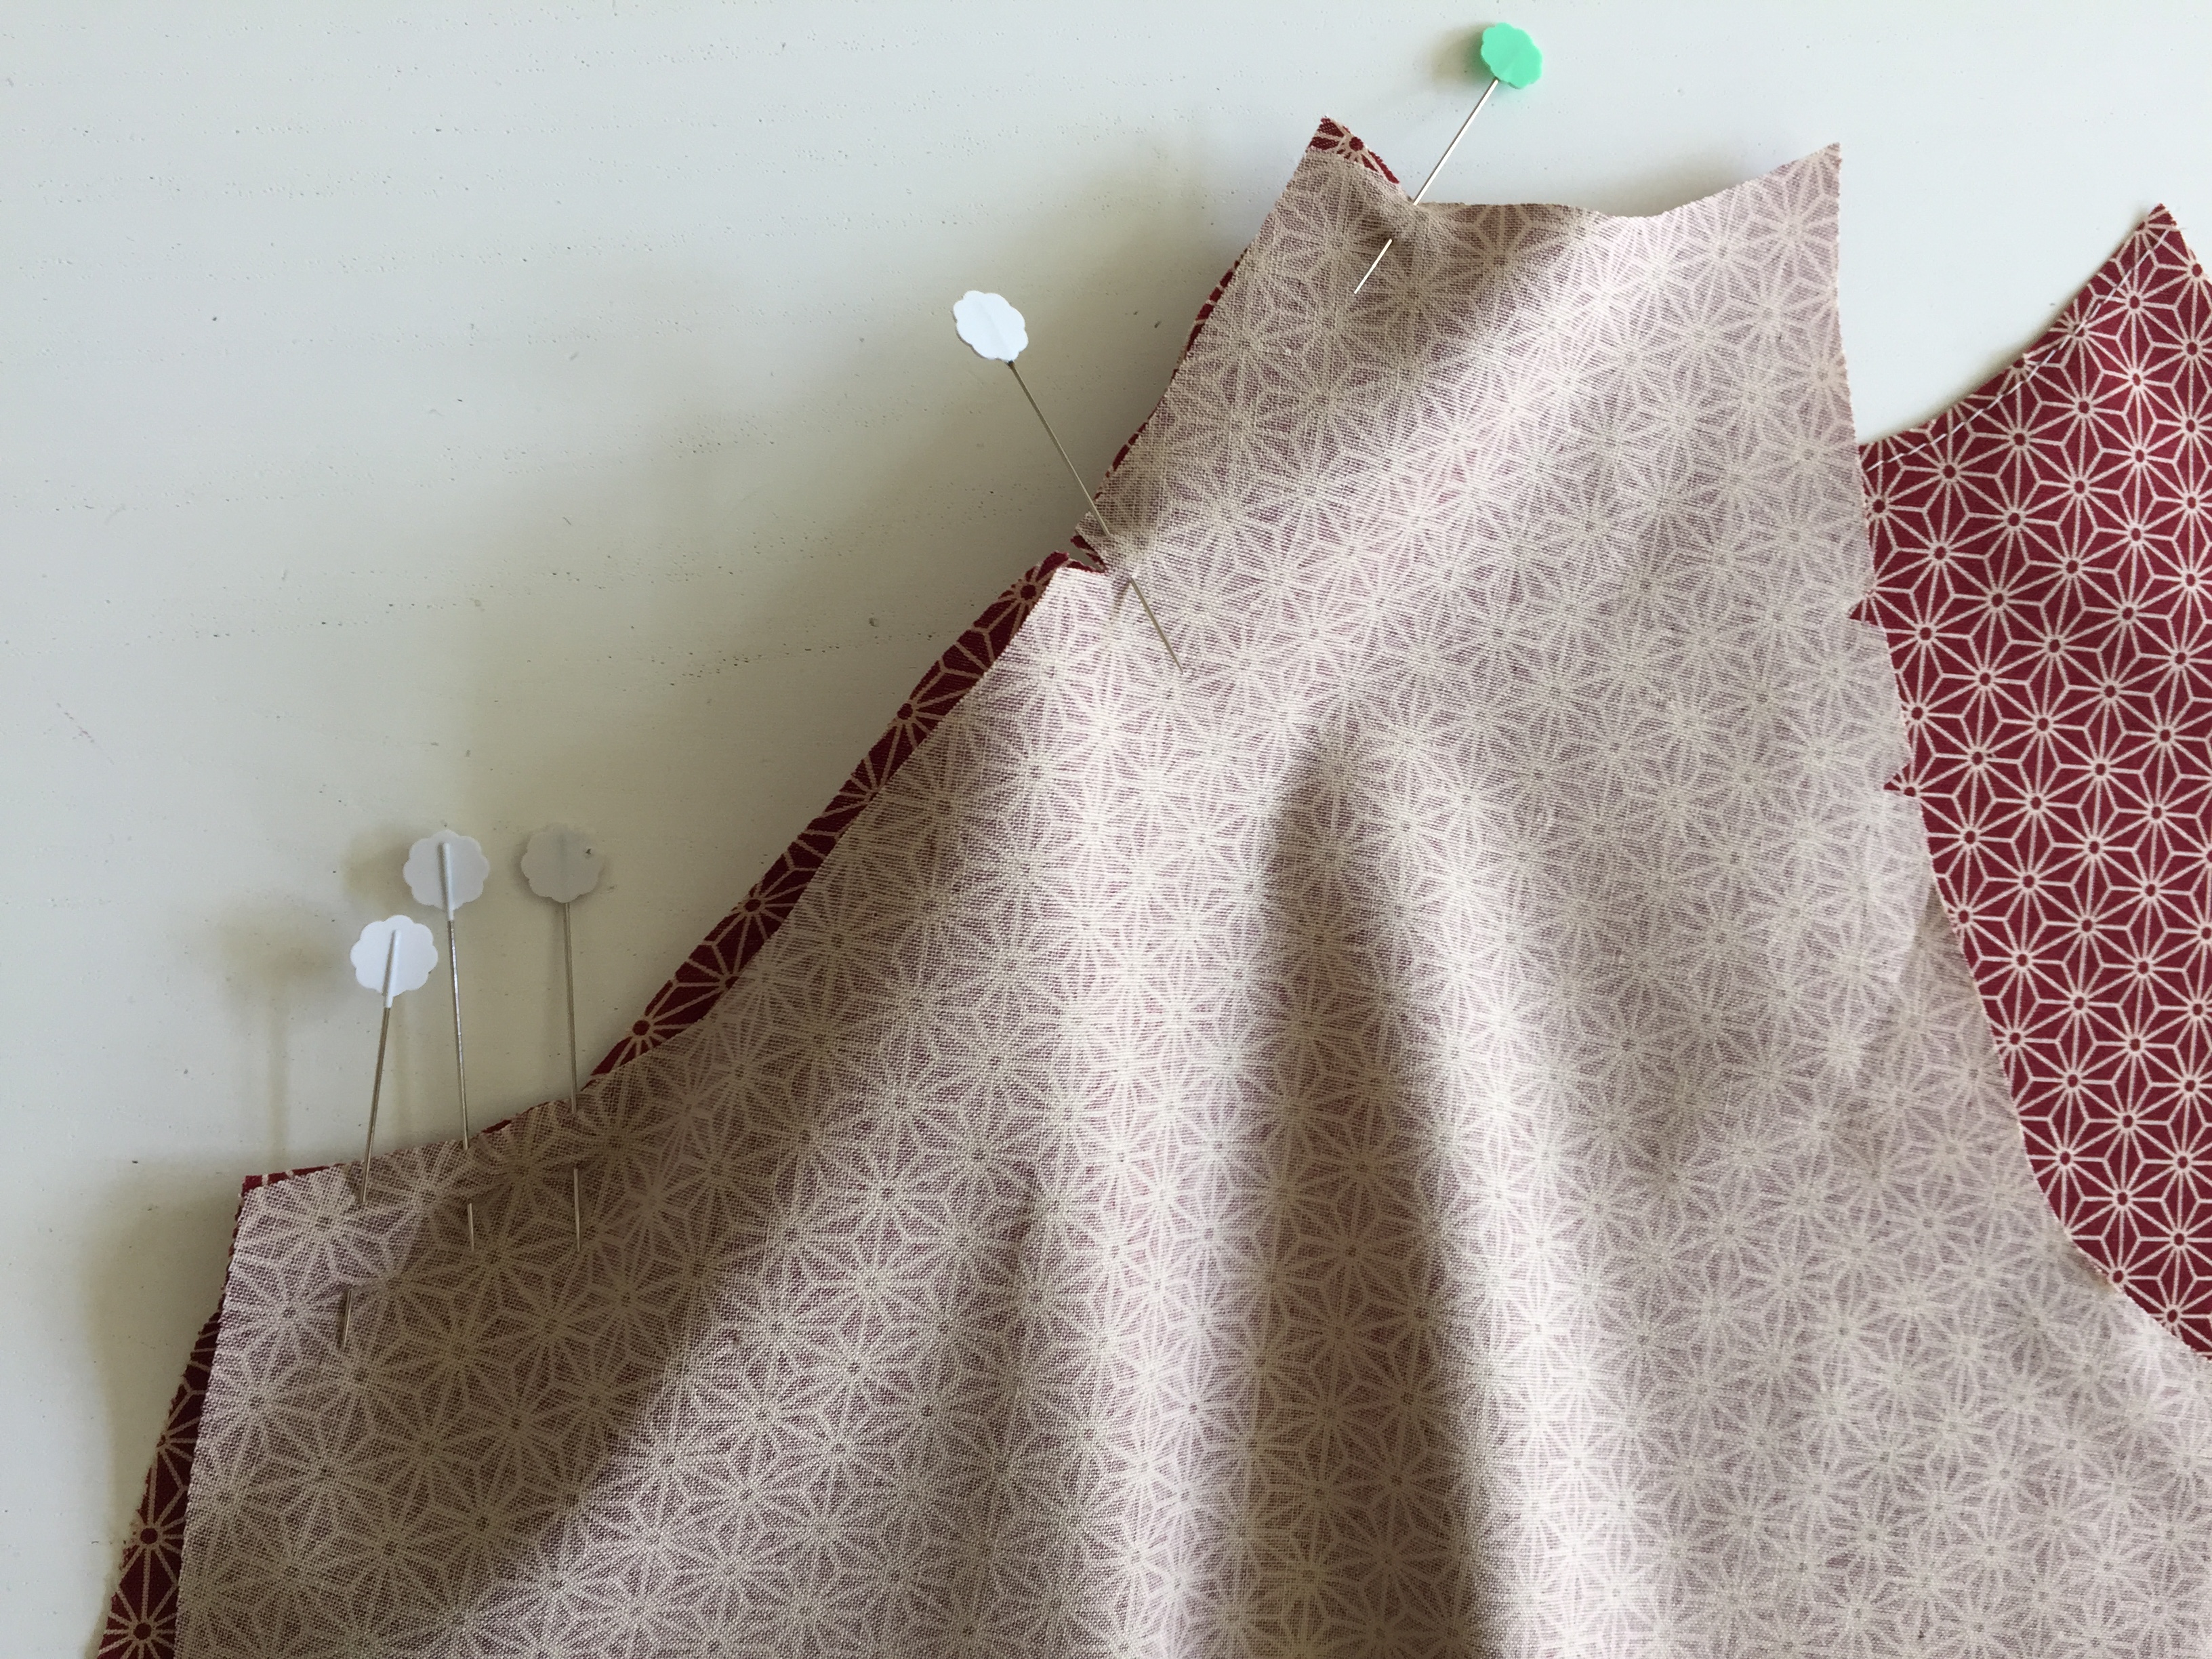
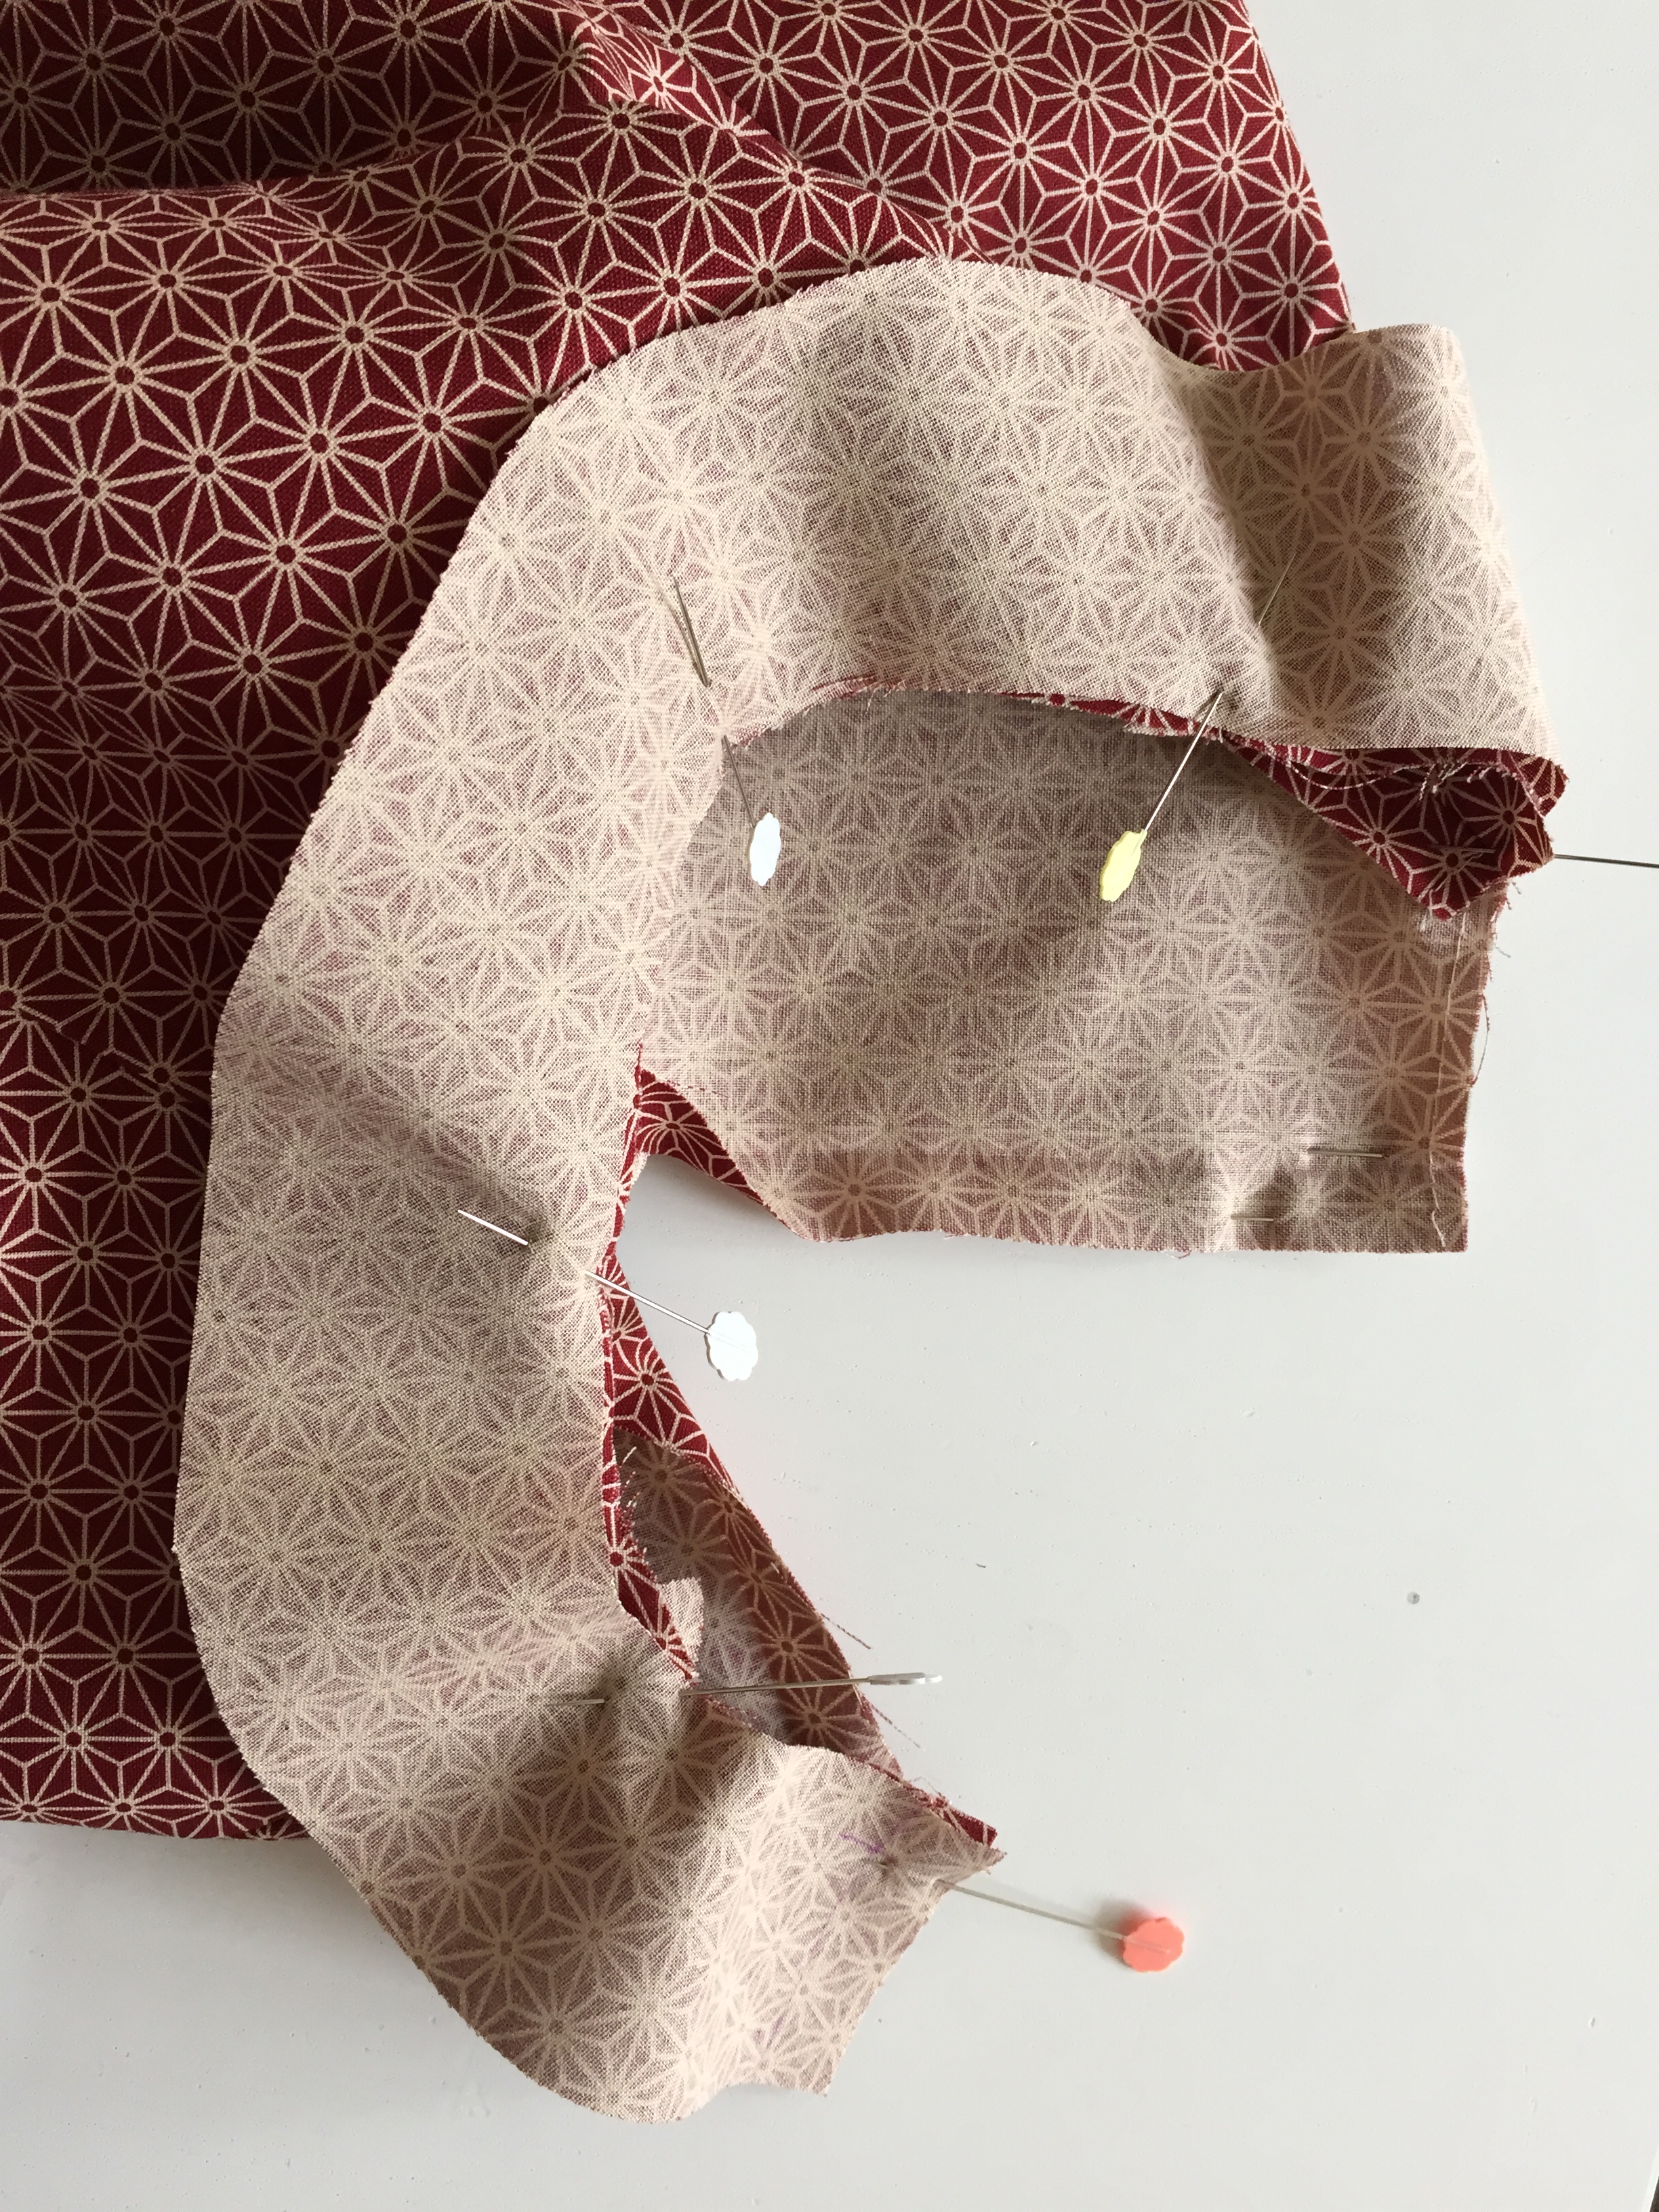
Pin the rest of the sleeve, making sure the pieces stay flush against each other along the edge. Once pinned, turn over to the other side and check that no fabric has got mistakenly caught.
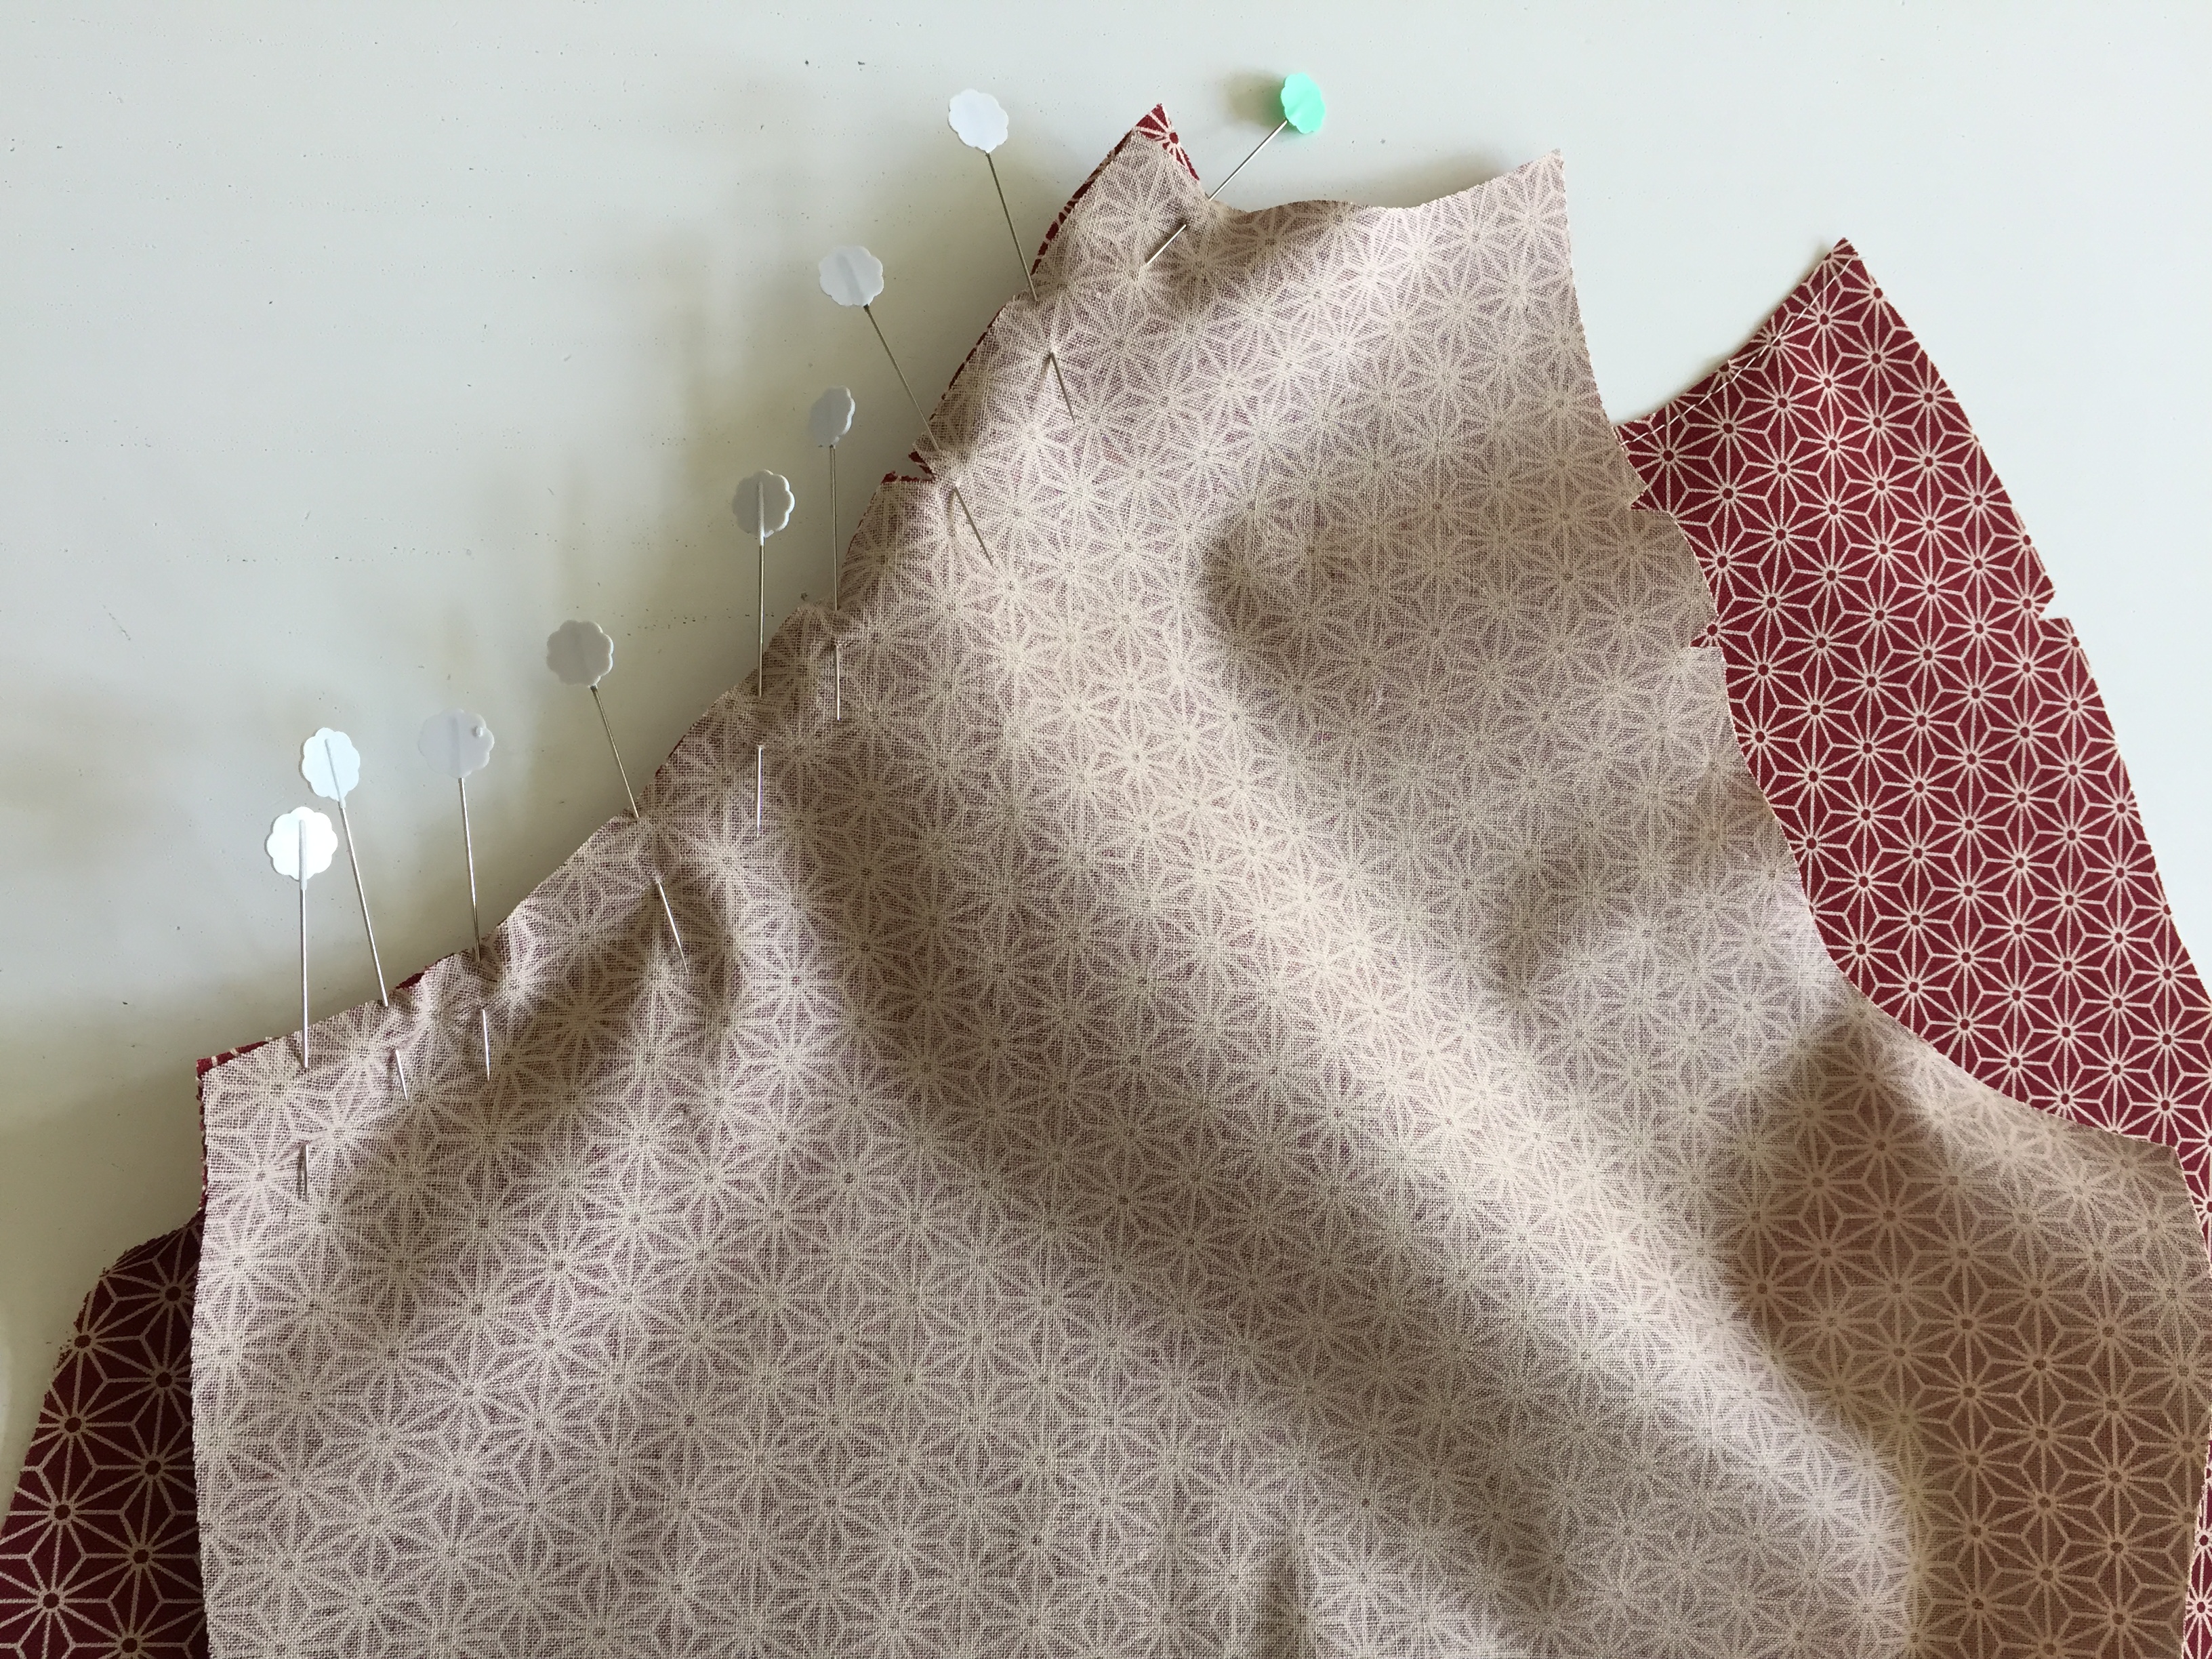
Sew these two pieces together, slowly and carefully. Remove the pins as you reach them.
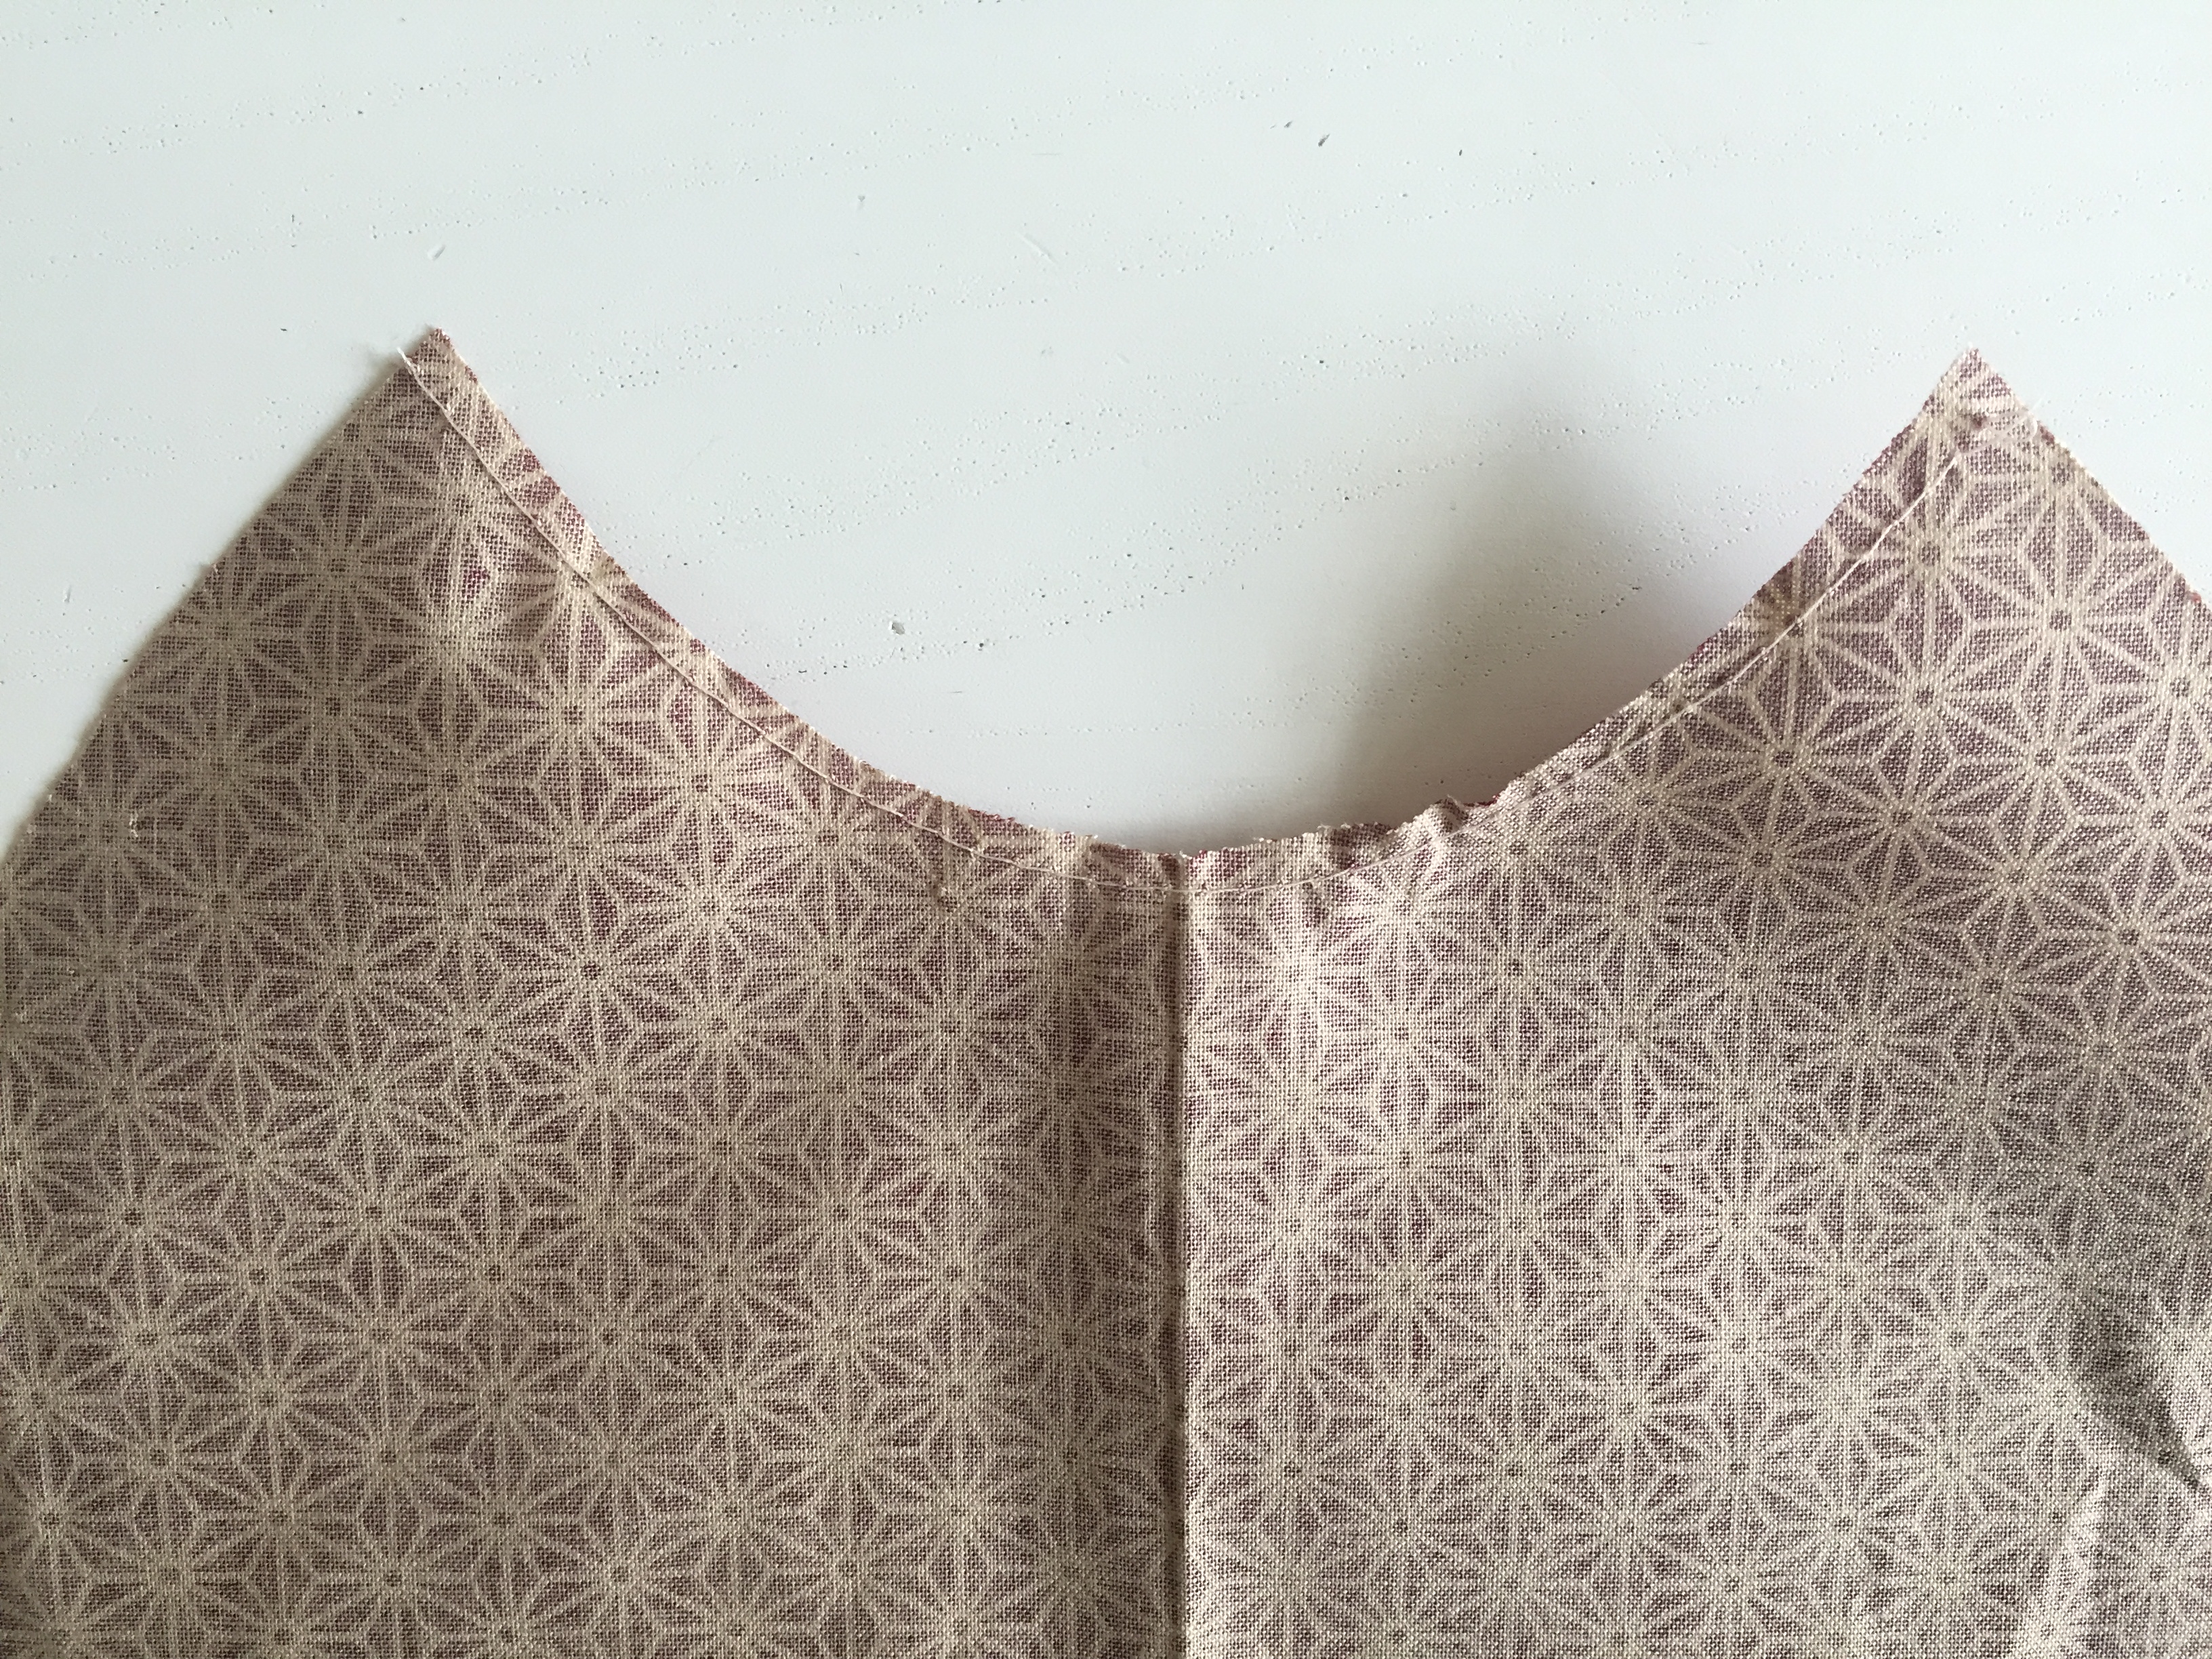
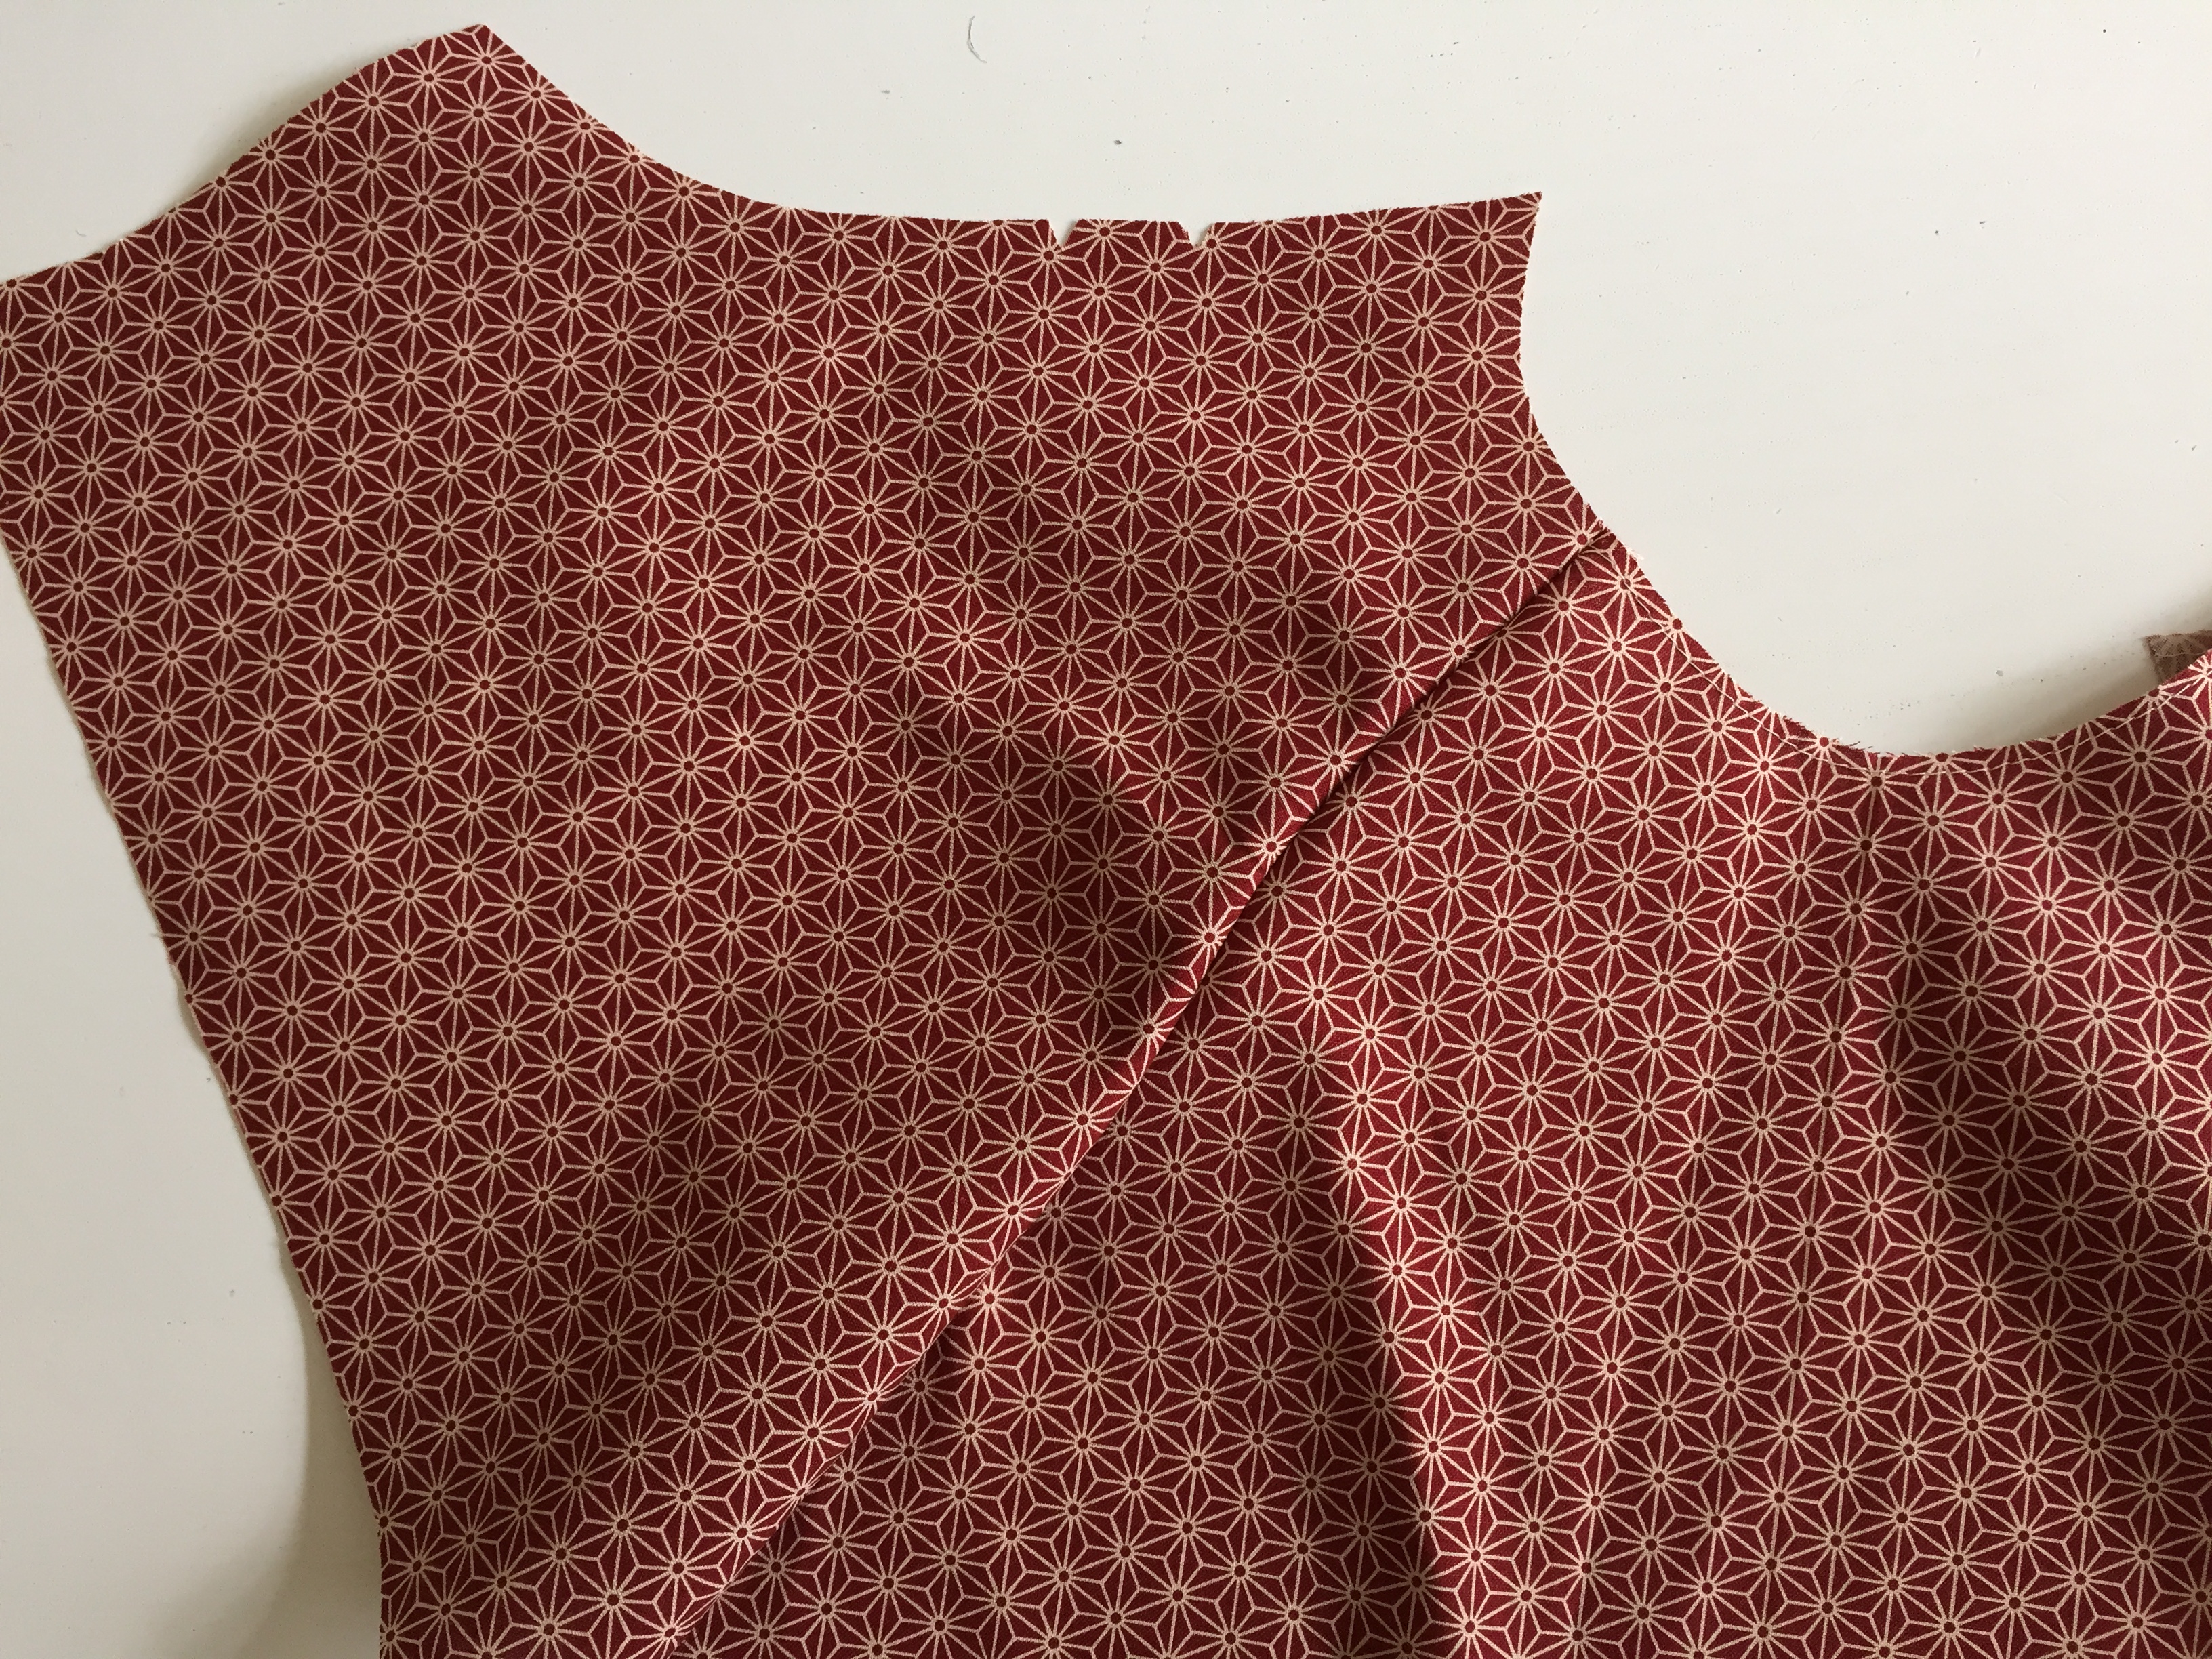
Open out the piece and have a look at the neckline. Can you see how beautiful the two pieces match at the top? REPEAT on the other front sleeve.
BACK SLEEVE – VIEW A & B
Lay your pieces as shown – right sides facing you. Take B and place onto A right sides together.
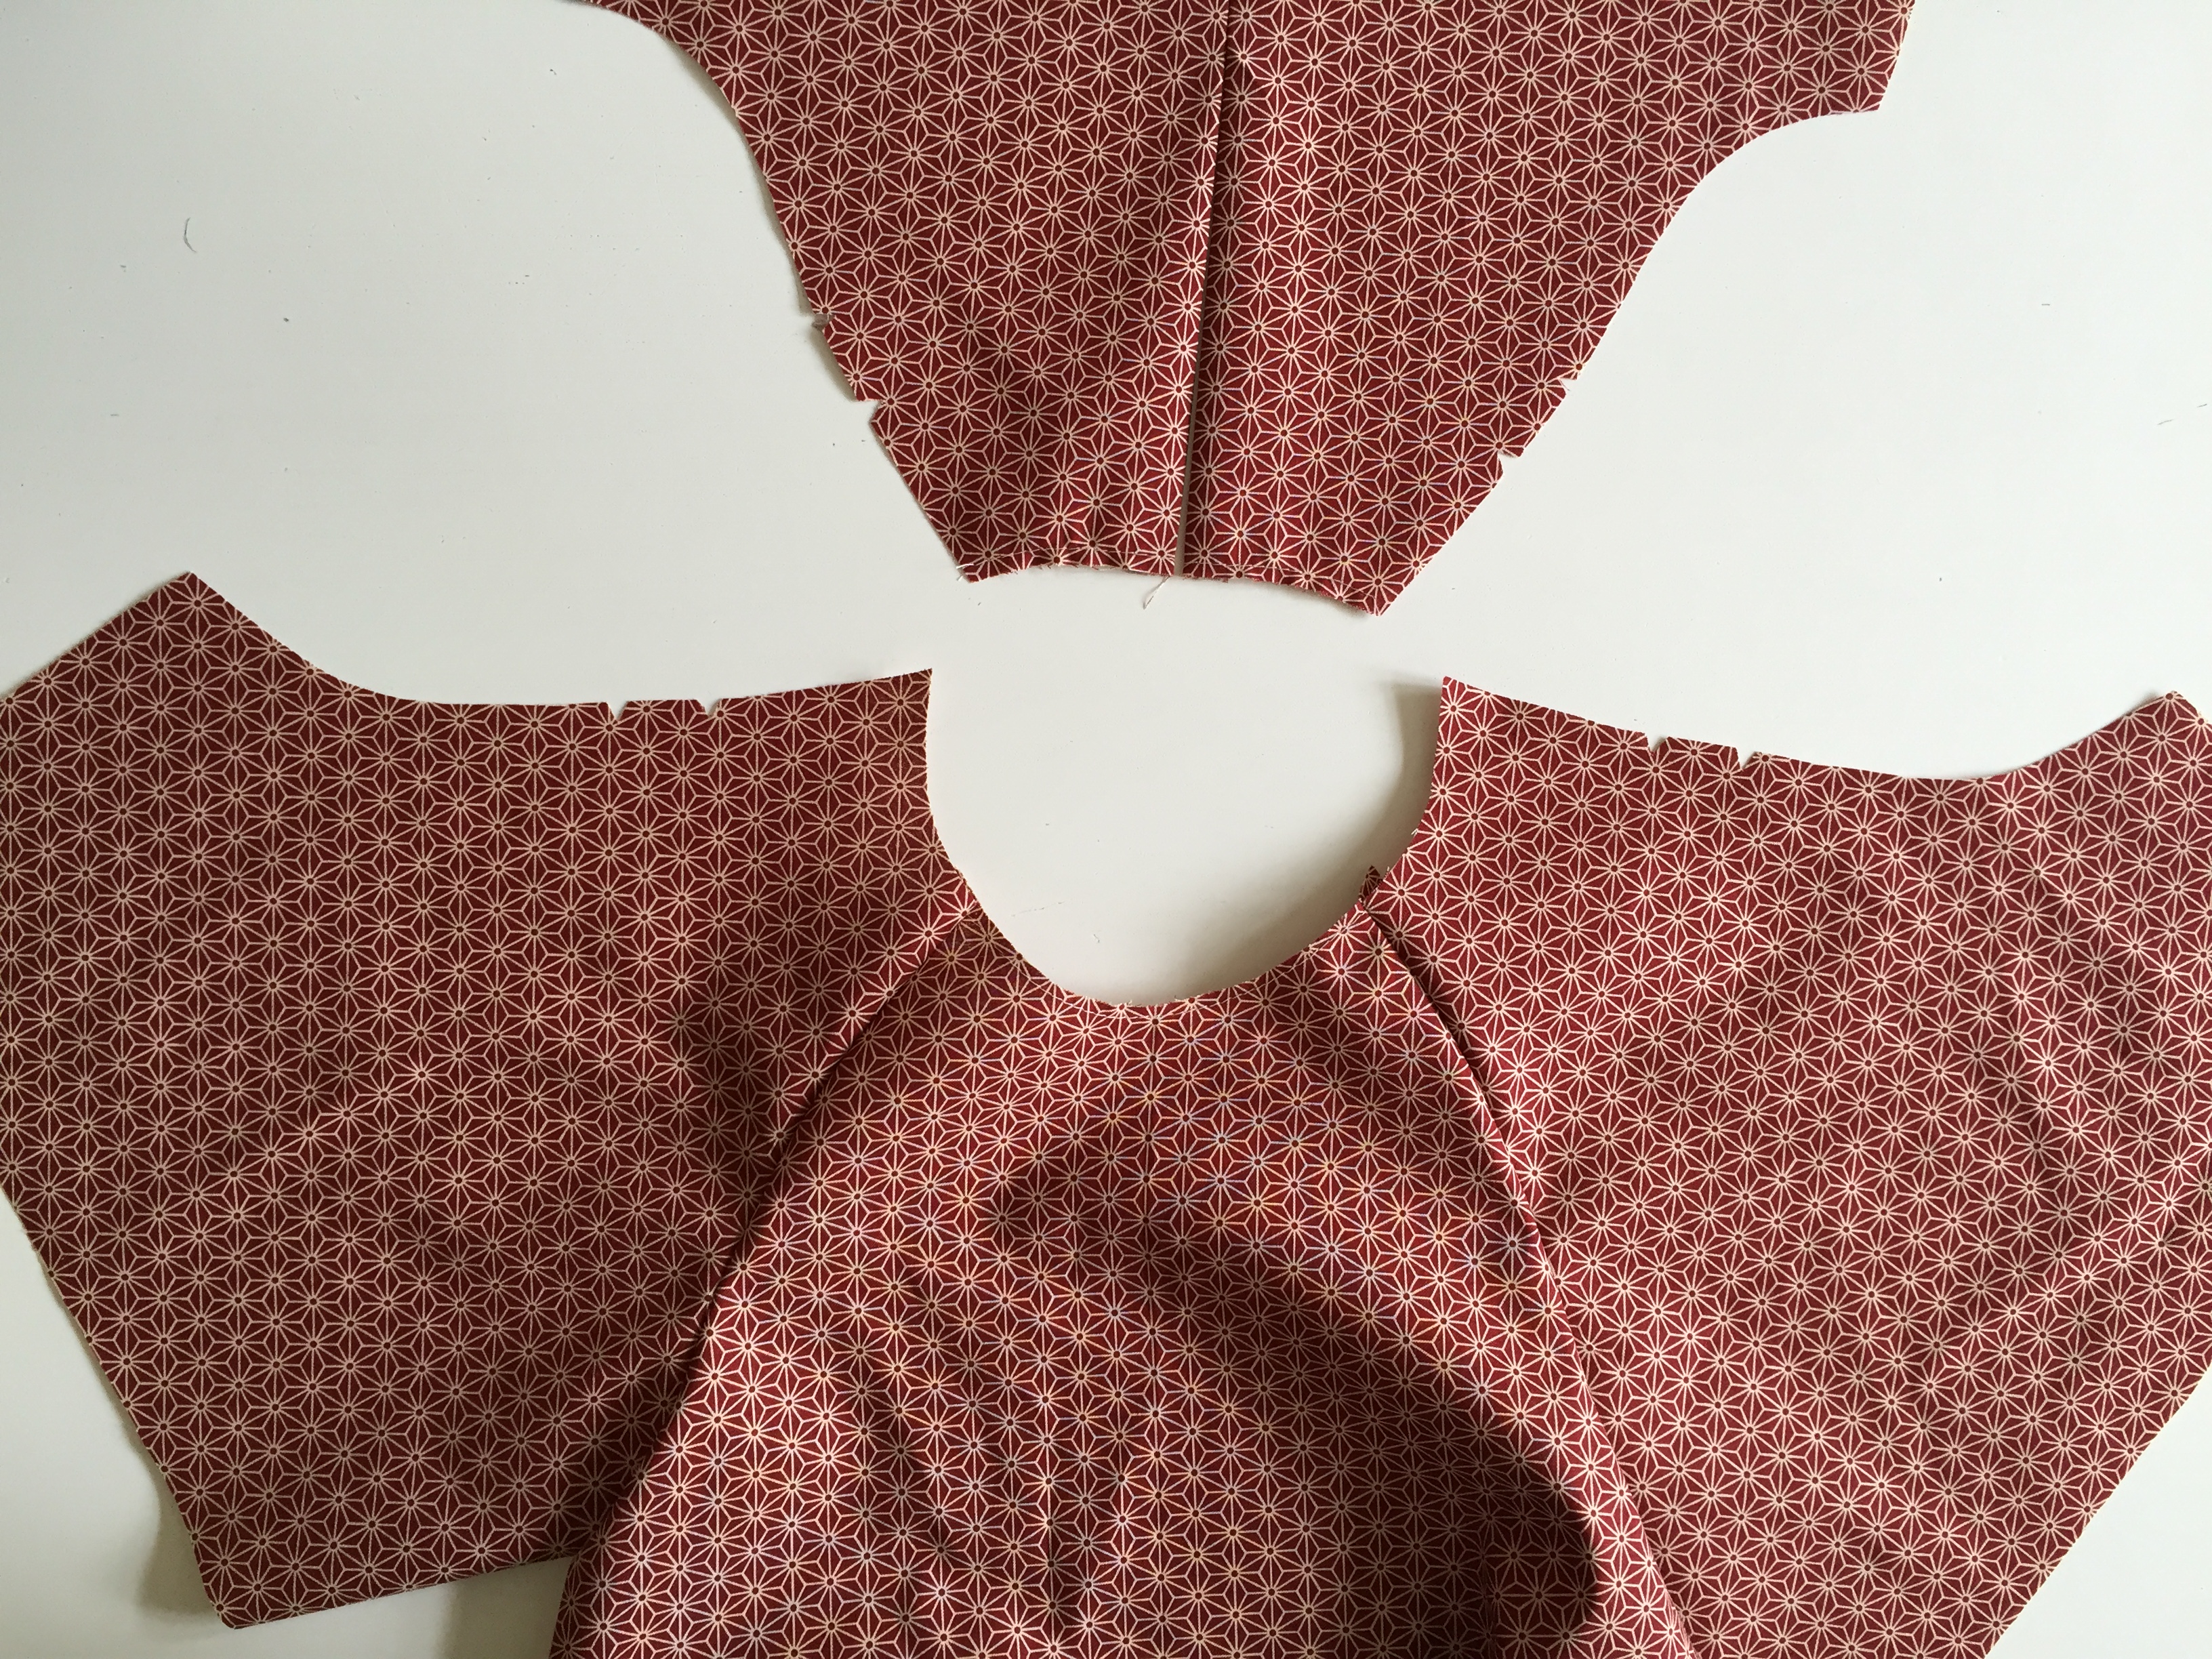
Pull the sleeve sections of B across to meet the back sleeve sections of C or D and start matching up the sleeve pieces on each side, following the same method as you did with the front sleeve. Sew in place.
Once your sleeves are sewn you can snip into the curves of the sleeve.
ADDING THE RIBBON – VIEW A ONLY
We are now working on the section of B that was unsewn at the beginning.
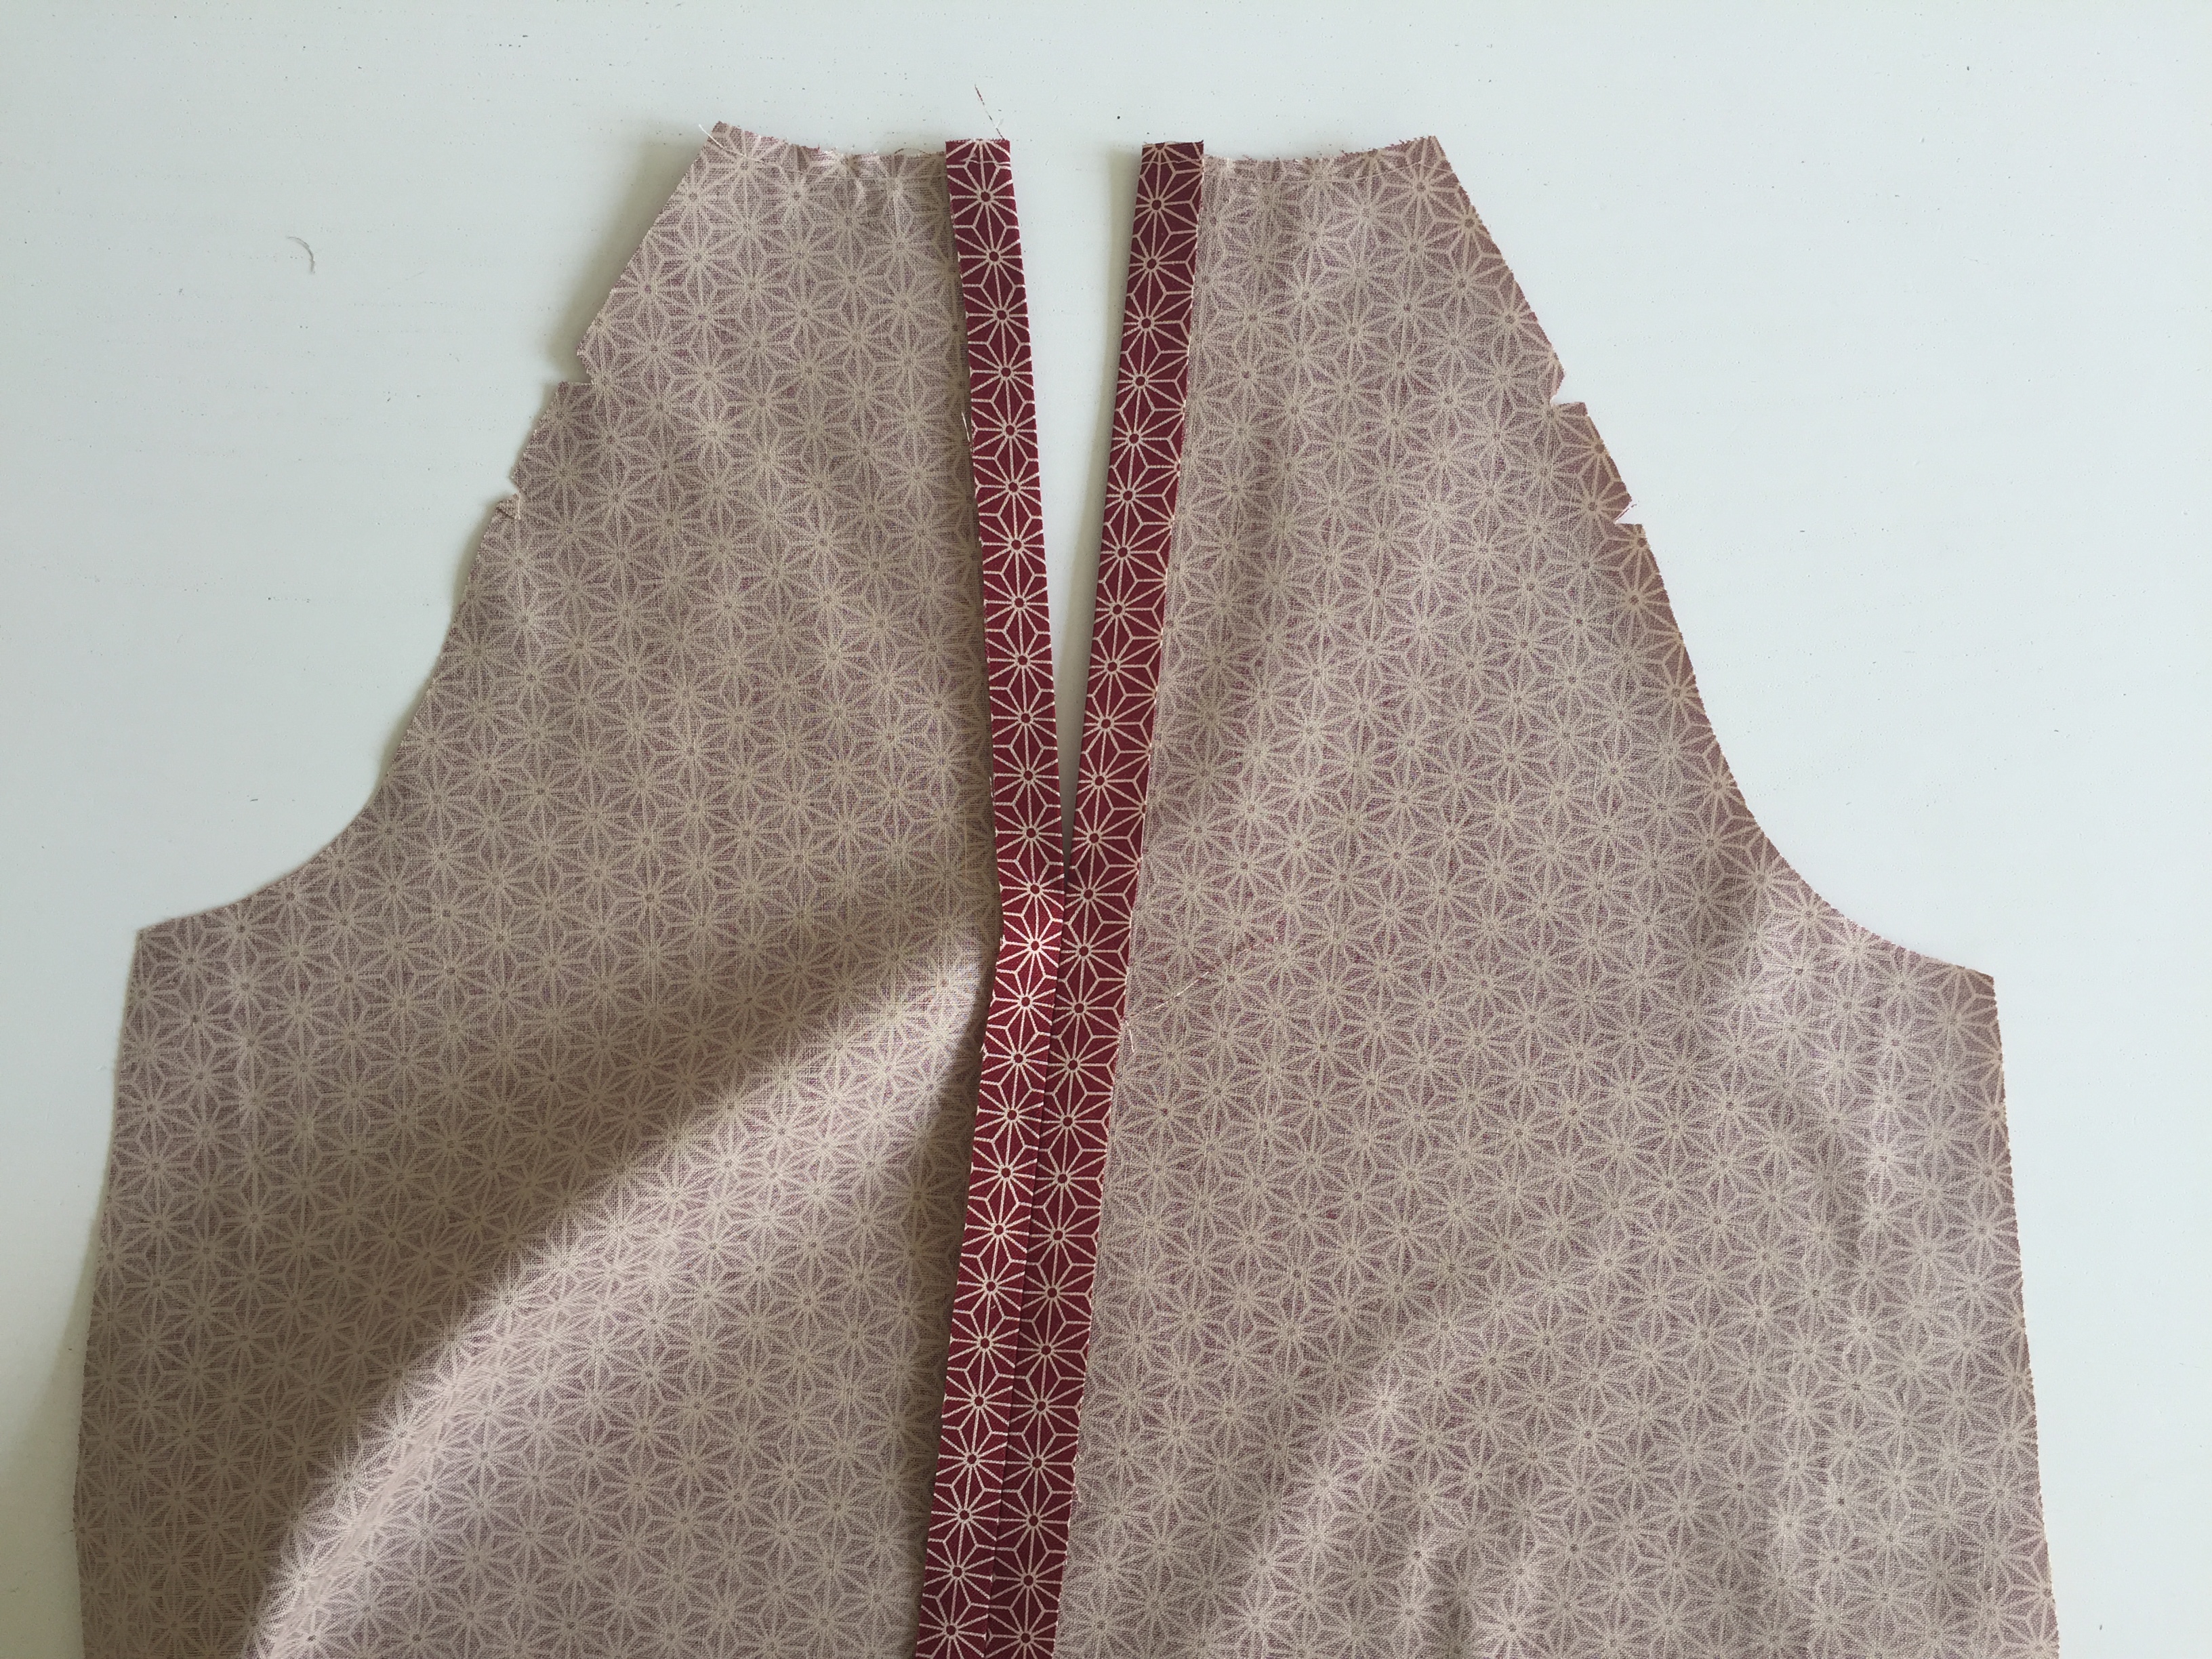
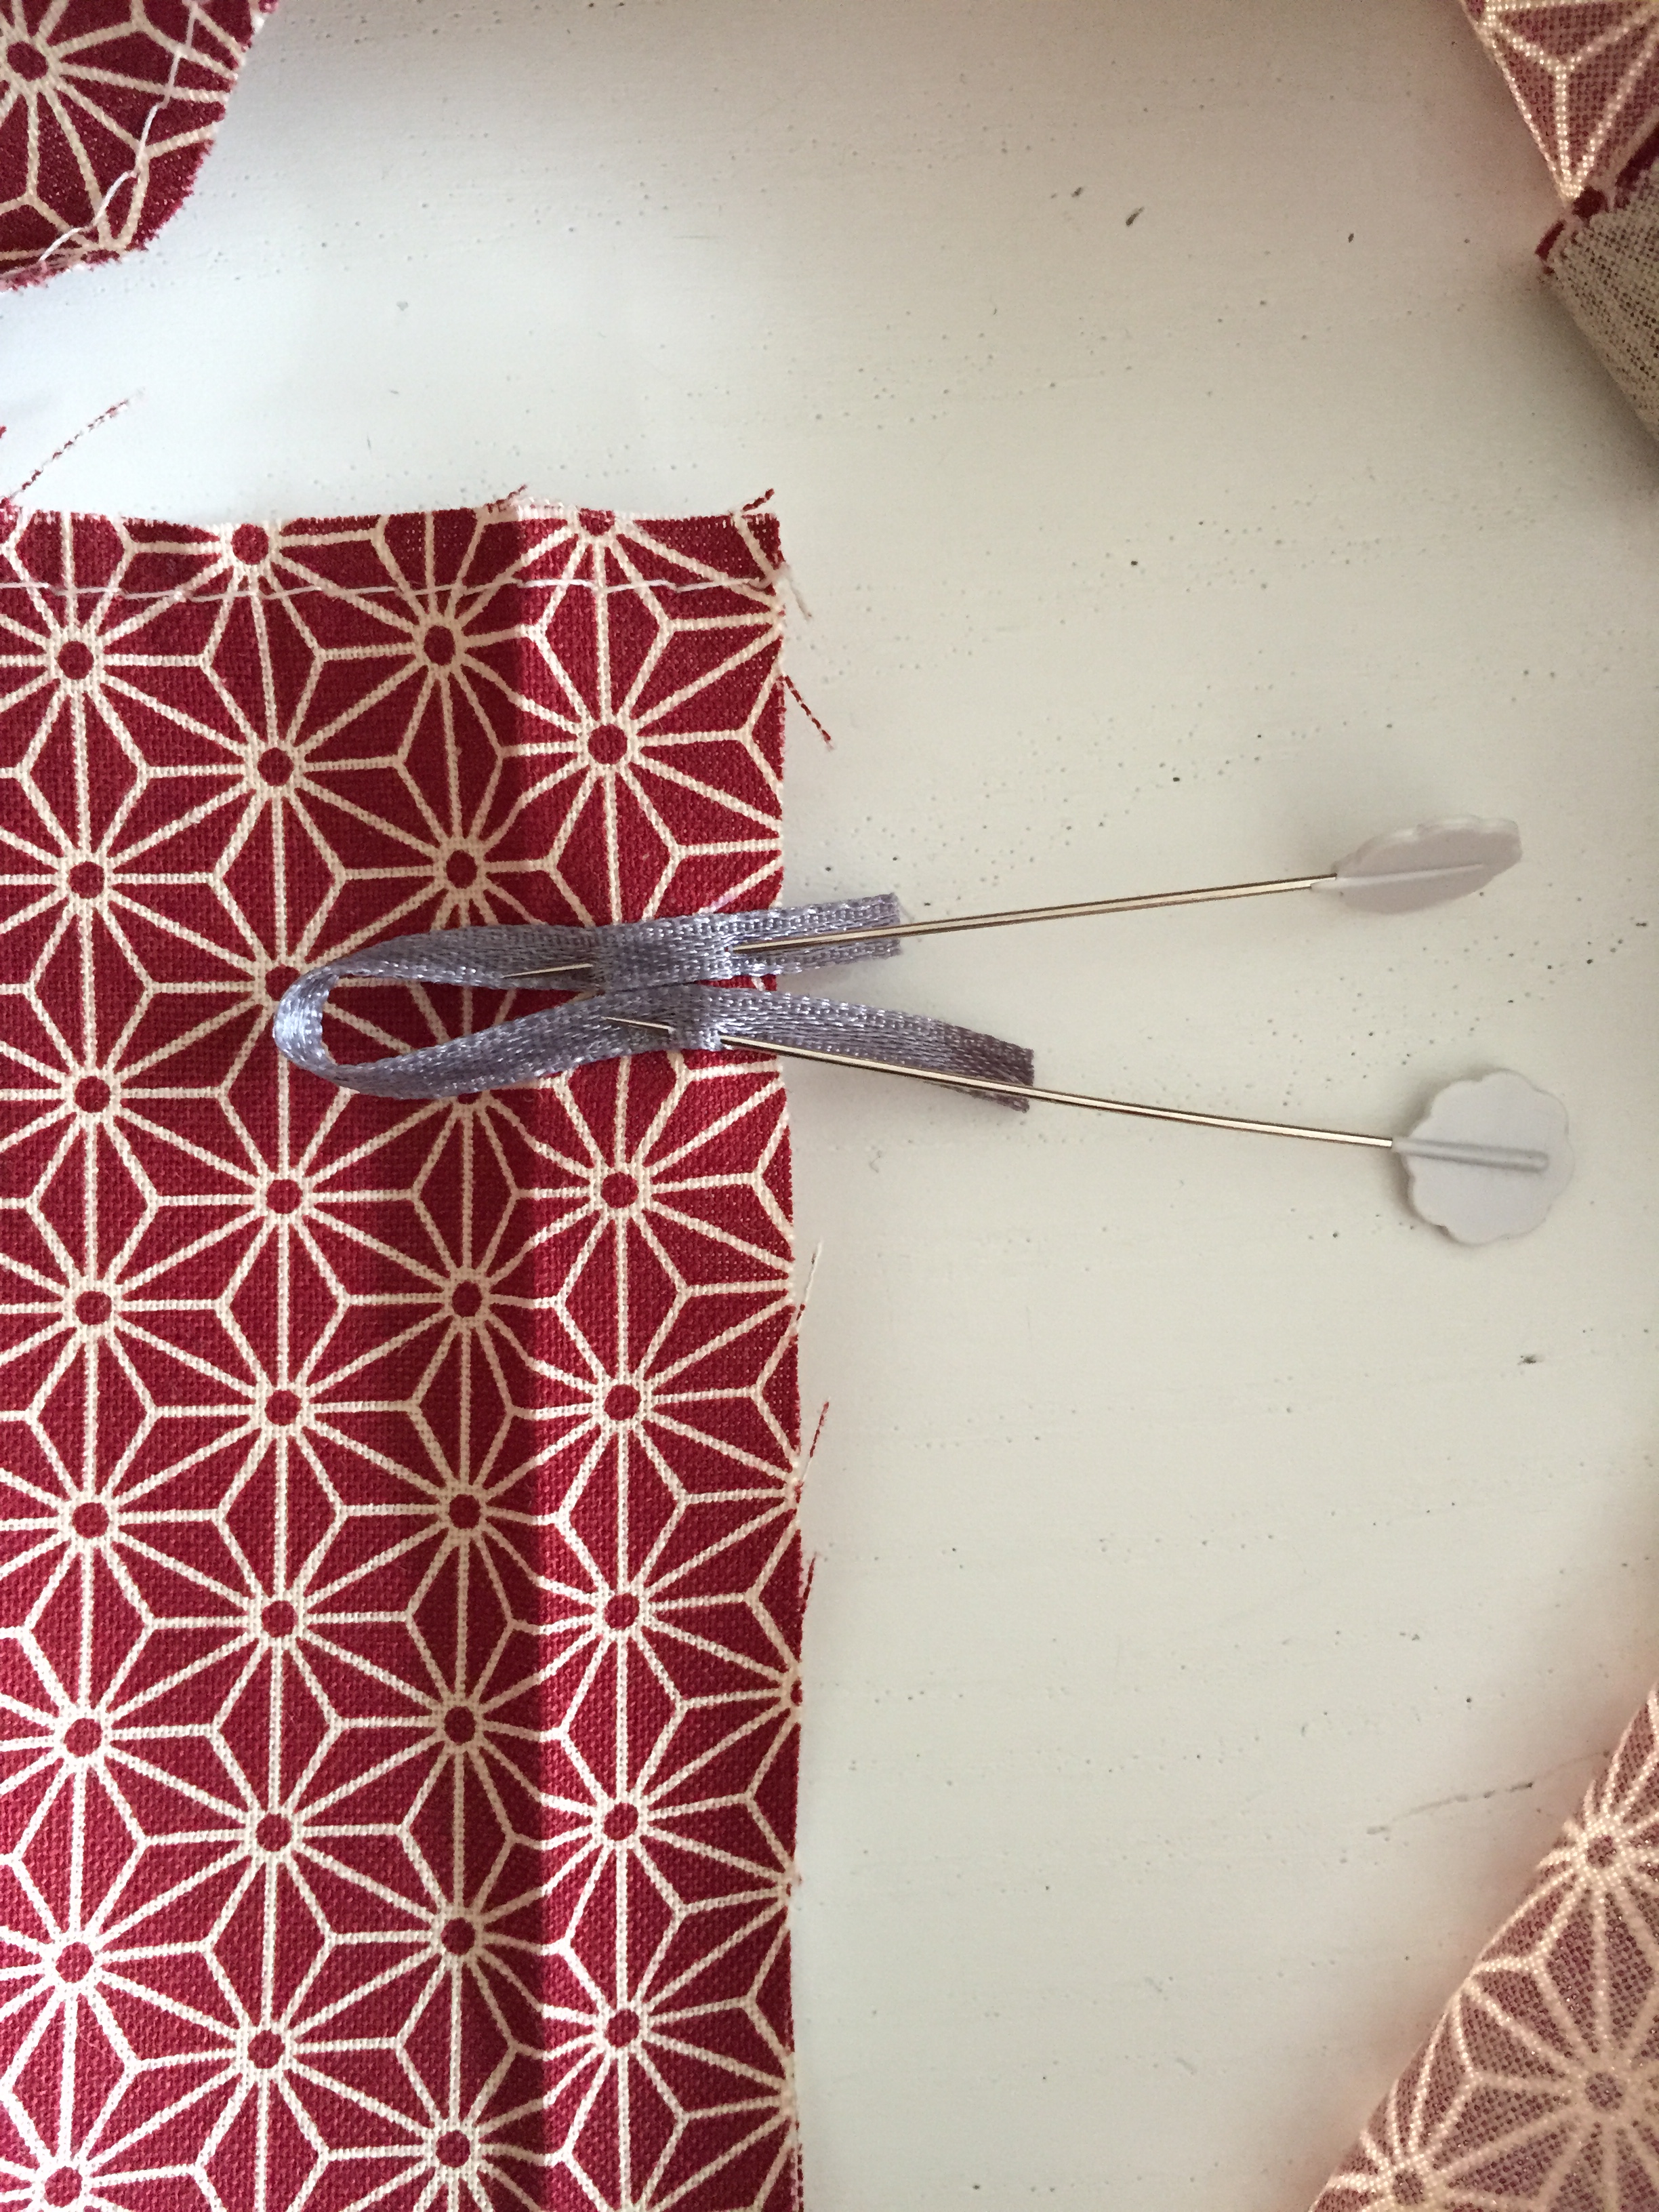
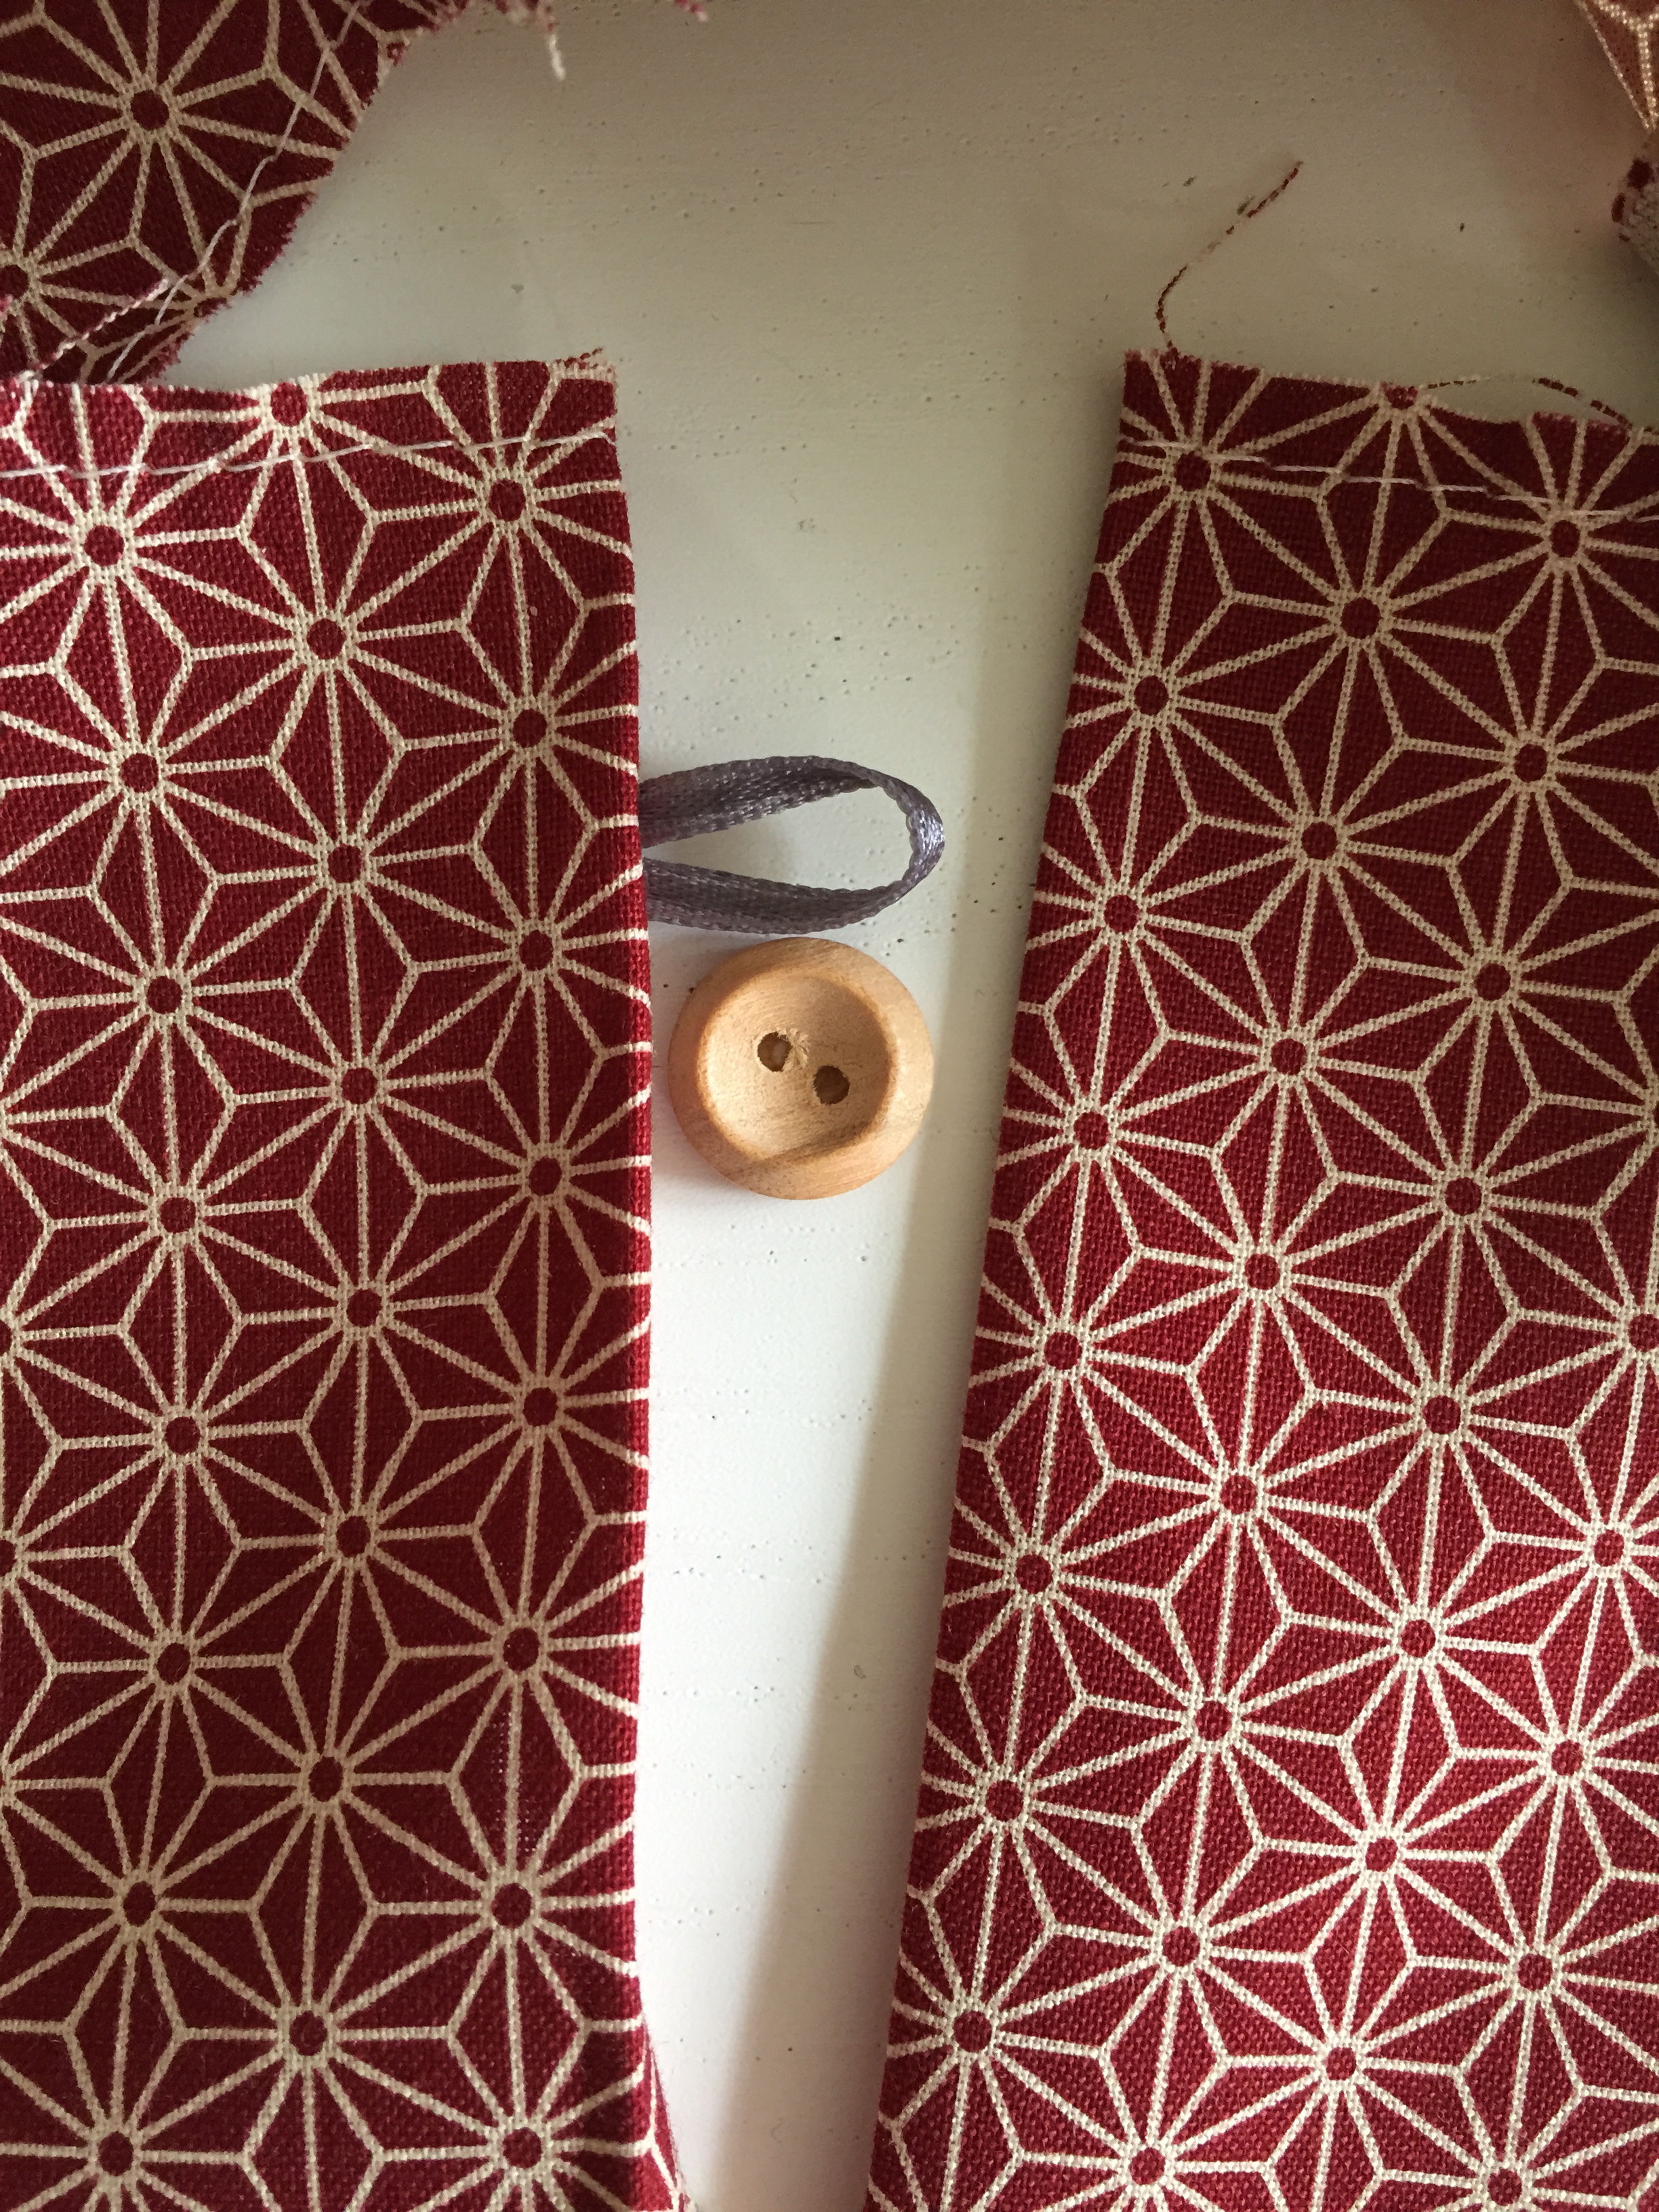
Open out your back piece B – right side of the fabric facing you. On the left side, open out the seam allowance so that it is flat. Measure 2cm from the top and mark with a fabric marker. Fold your piece of ribbon and place it just under the 2cm mark. The ribbon should like flat.
Tip. Make sure that your folded piece of ribbon is big enough to go around your button. Don’t include the seam allowance when checking the ribbon fits the button.
Create a row of stitches, using a 1cm seam allowance, to hold the ribbon in place.
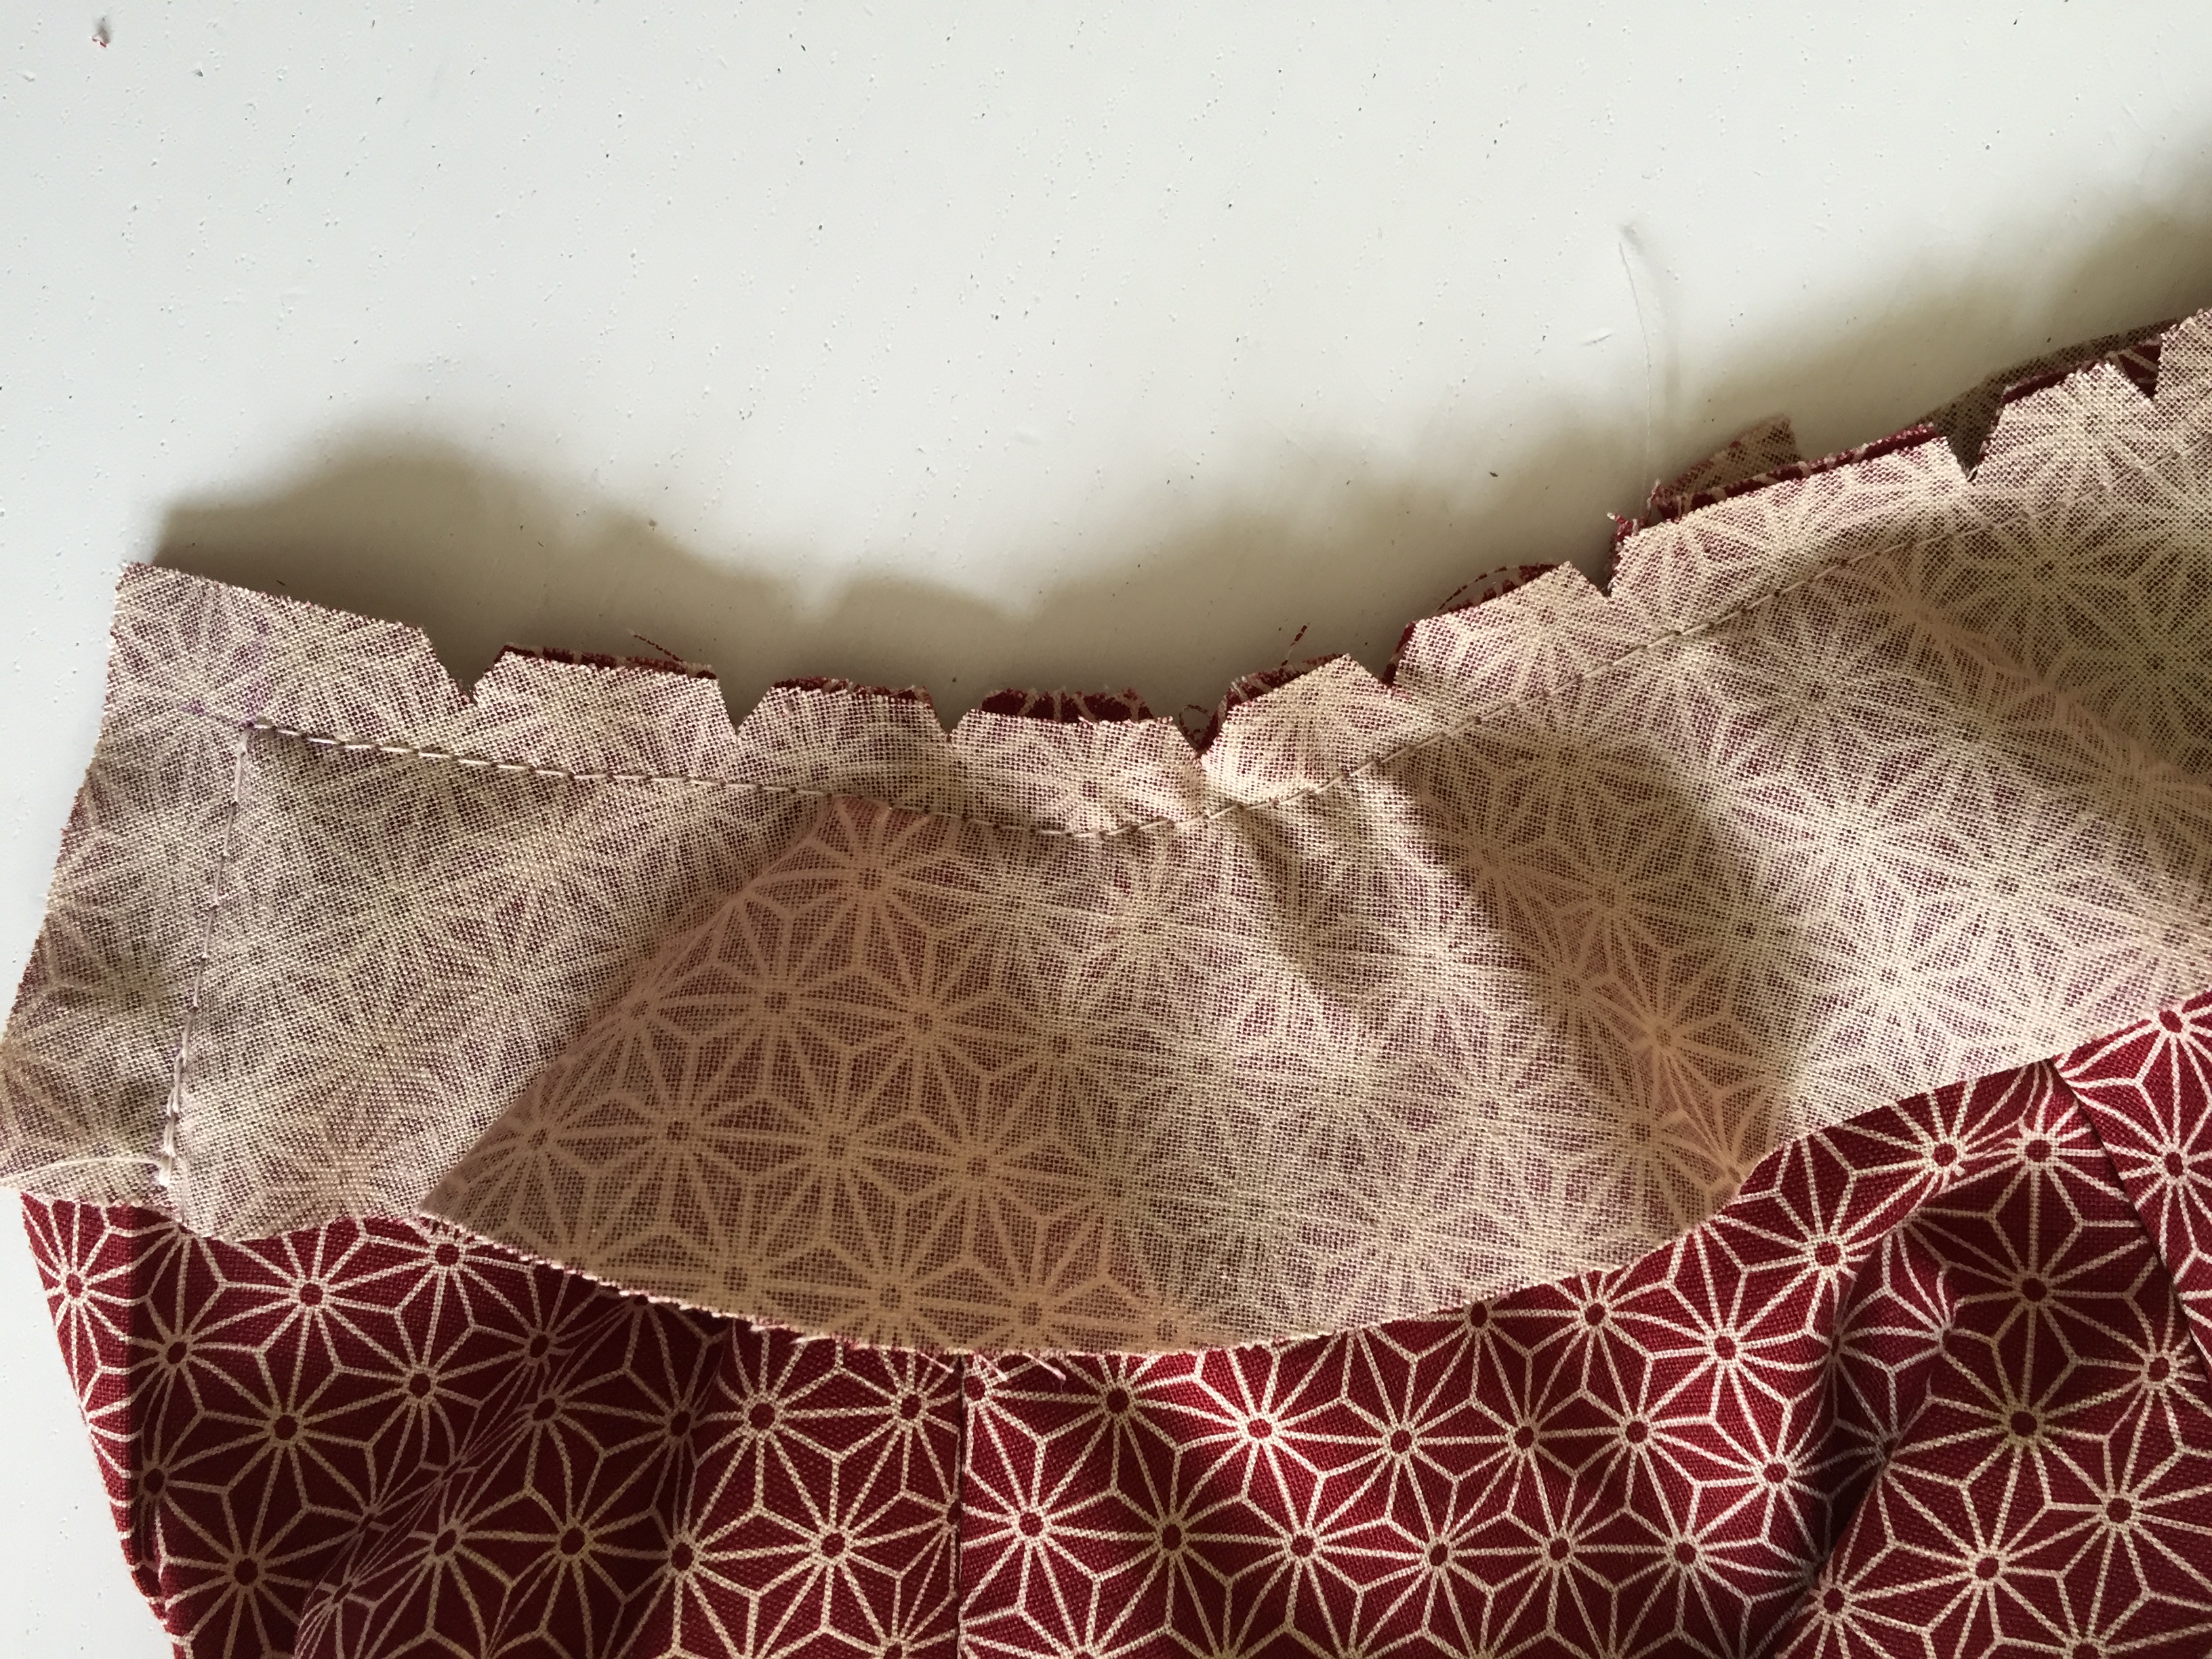
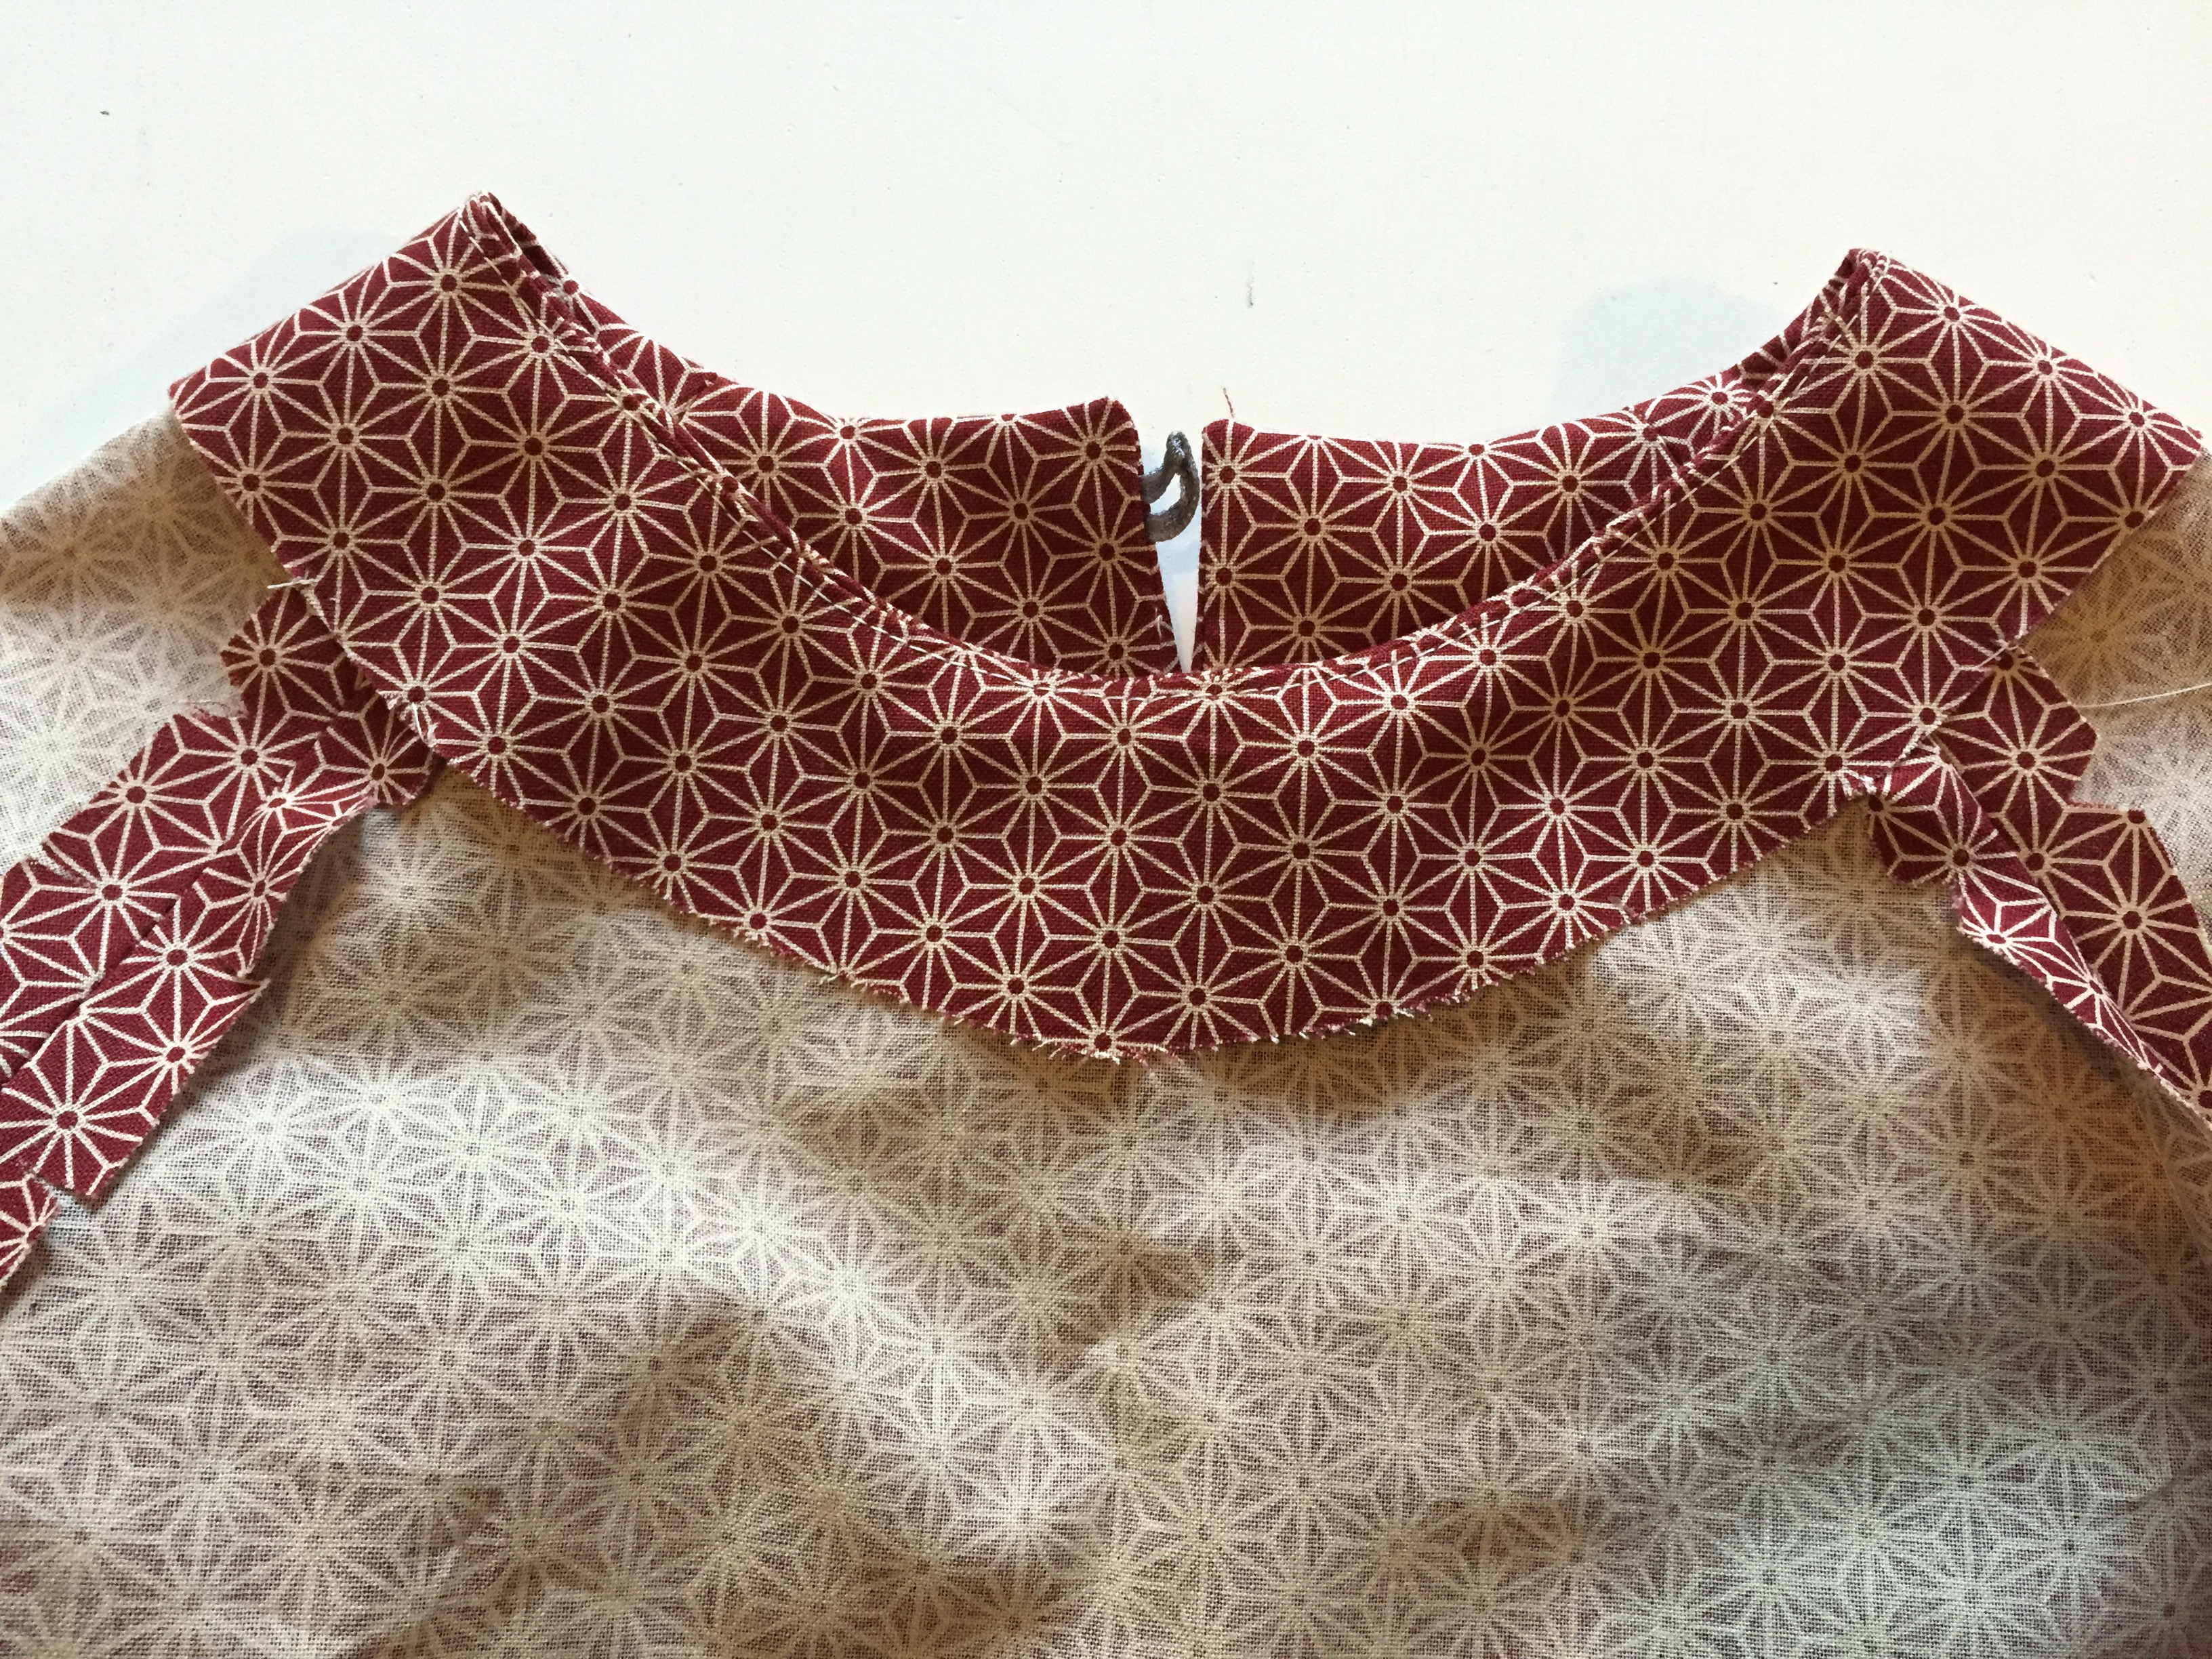
NECK FACING – VIEW A ONLY
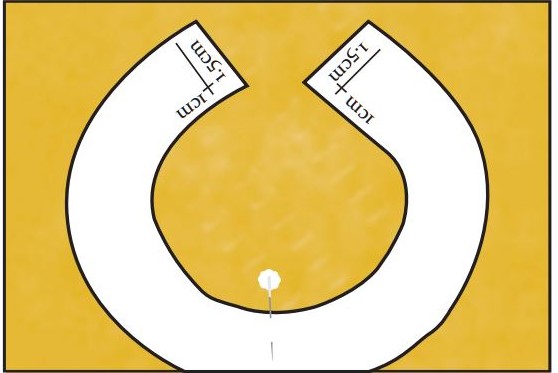
Open out the facing on the wrong side and on the CB edges draw a 1.5cm line. Then on the neckline edges mark 1cm from the neckline edge. Where the 1.5cm and the 1cm marks cross each other is where we will pivot when we sew this piece to the dress.

ADDING THE RIBBON
Place the front of the dress with the right side facing you. Place a pin where the fabric was folded when you cut it out – this is the CF. Place your facing piece down onto the dress. Right sides together, lining up the pins – CF on the facing and CF of the front of the dress.
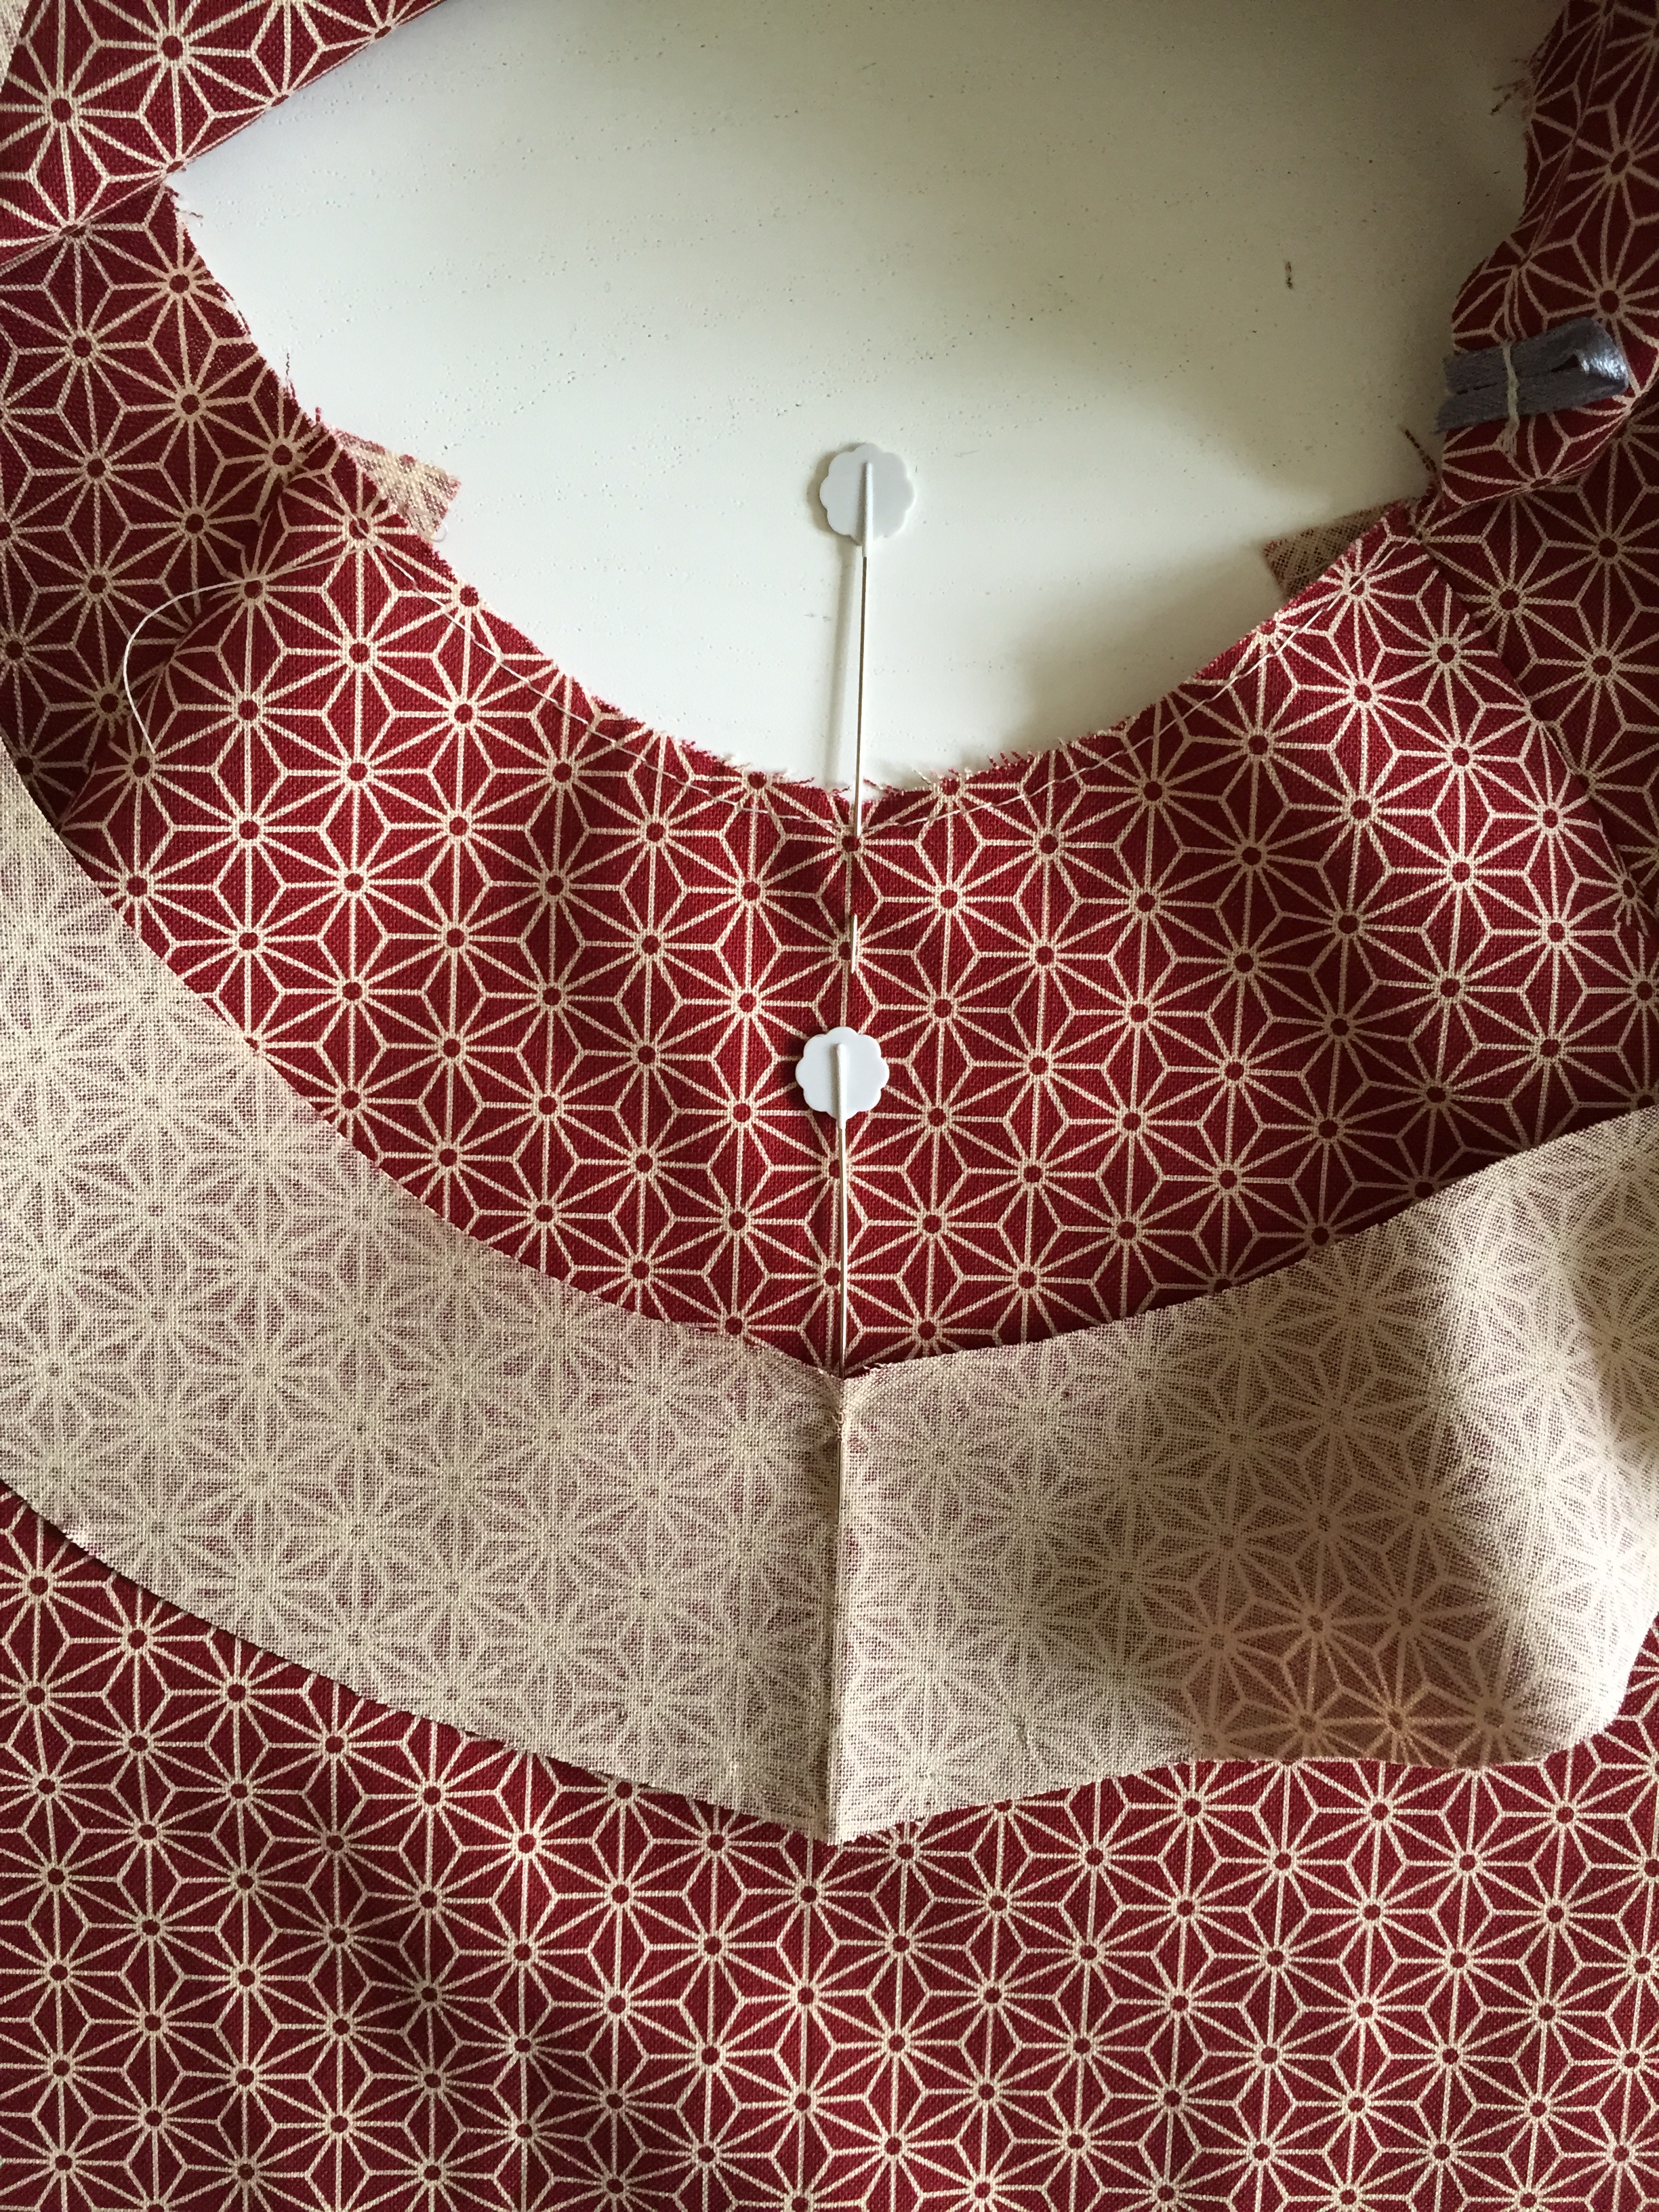
Move to the centre back piece and pin your facing – ensuring the side and top edge are flush.
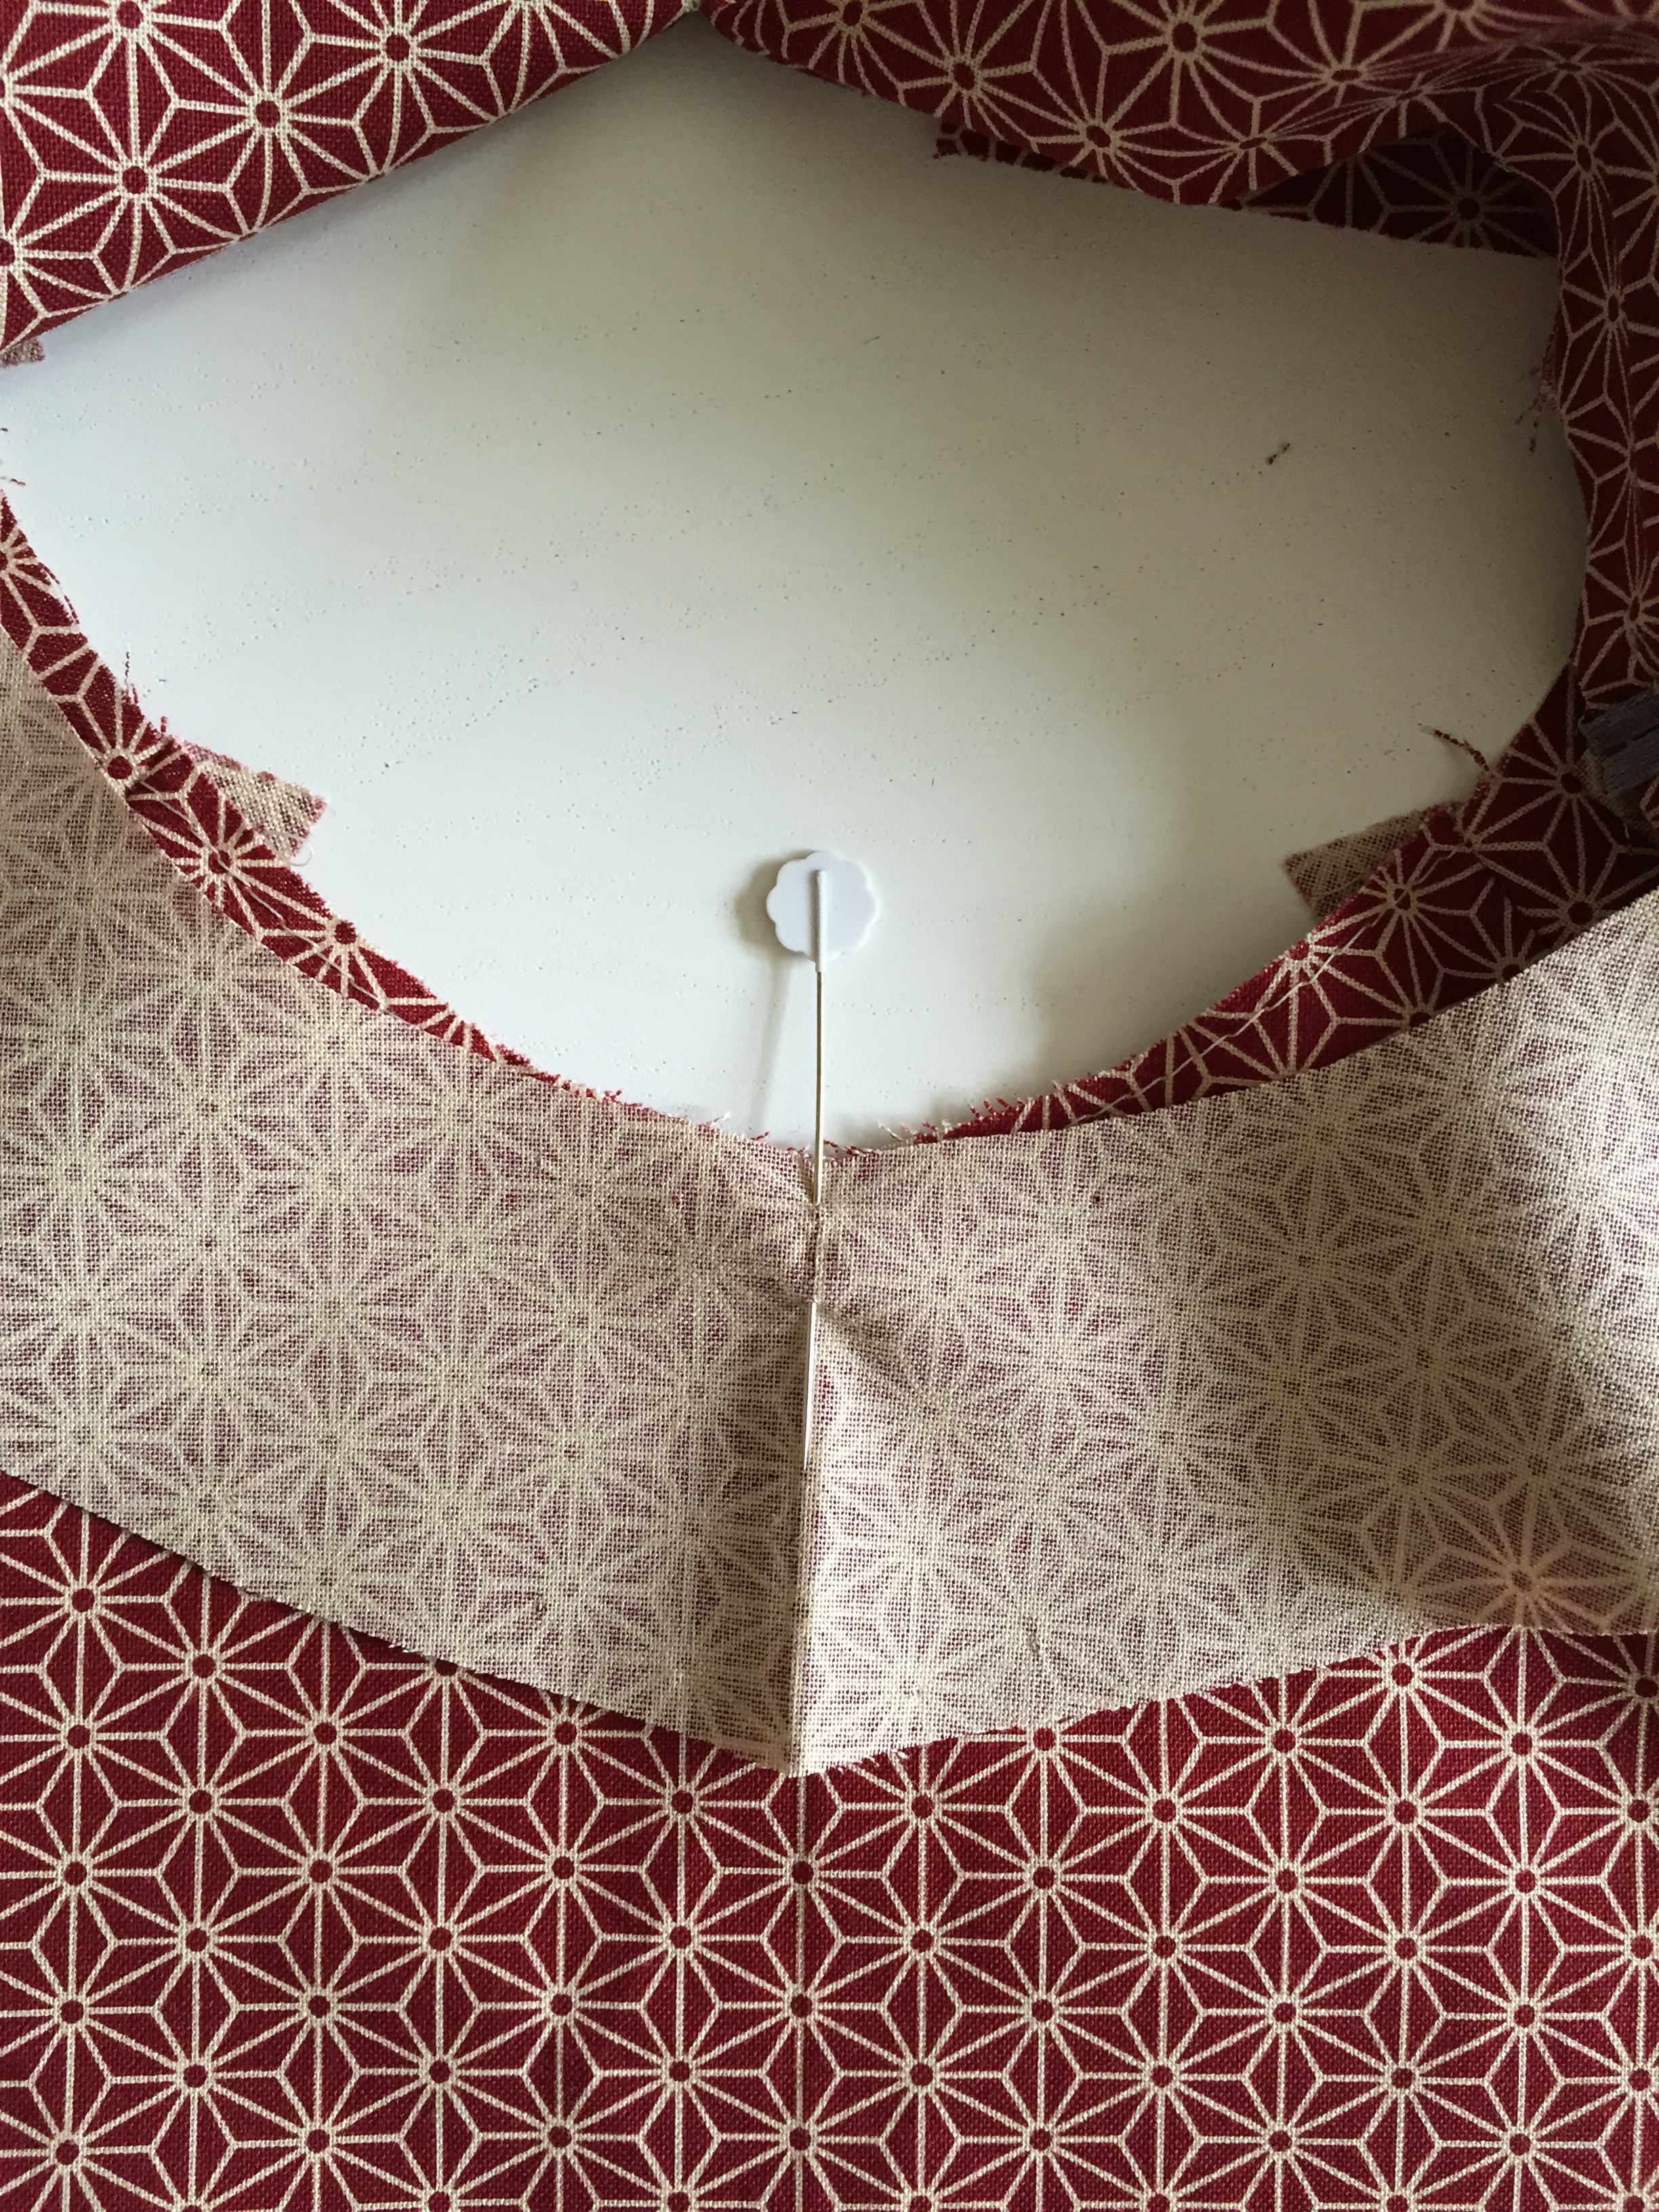
Pin the facing to the neckline, ensuring that the edges are flush and seam allowances are open.
Start sewing at the CB using a 1.5cm seam allowance until you get to the pivot mark.
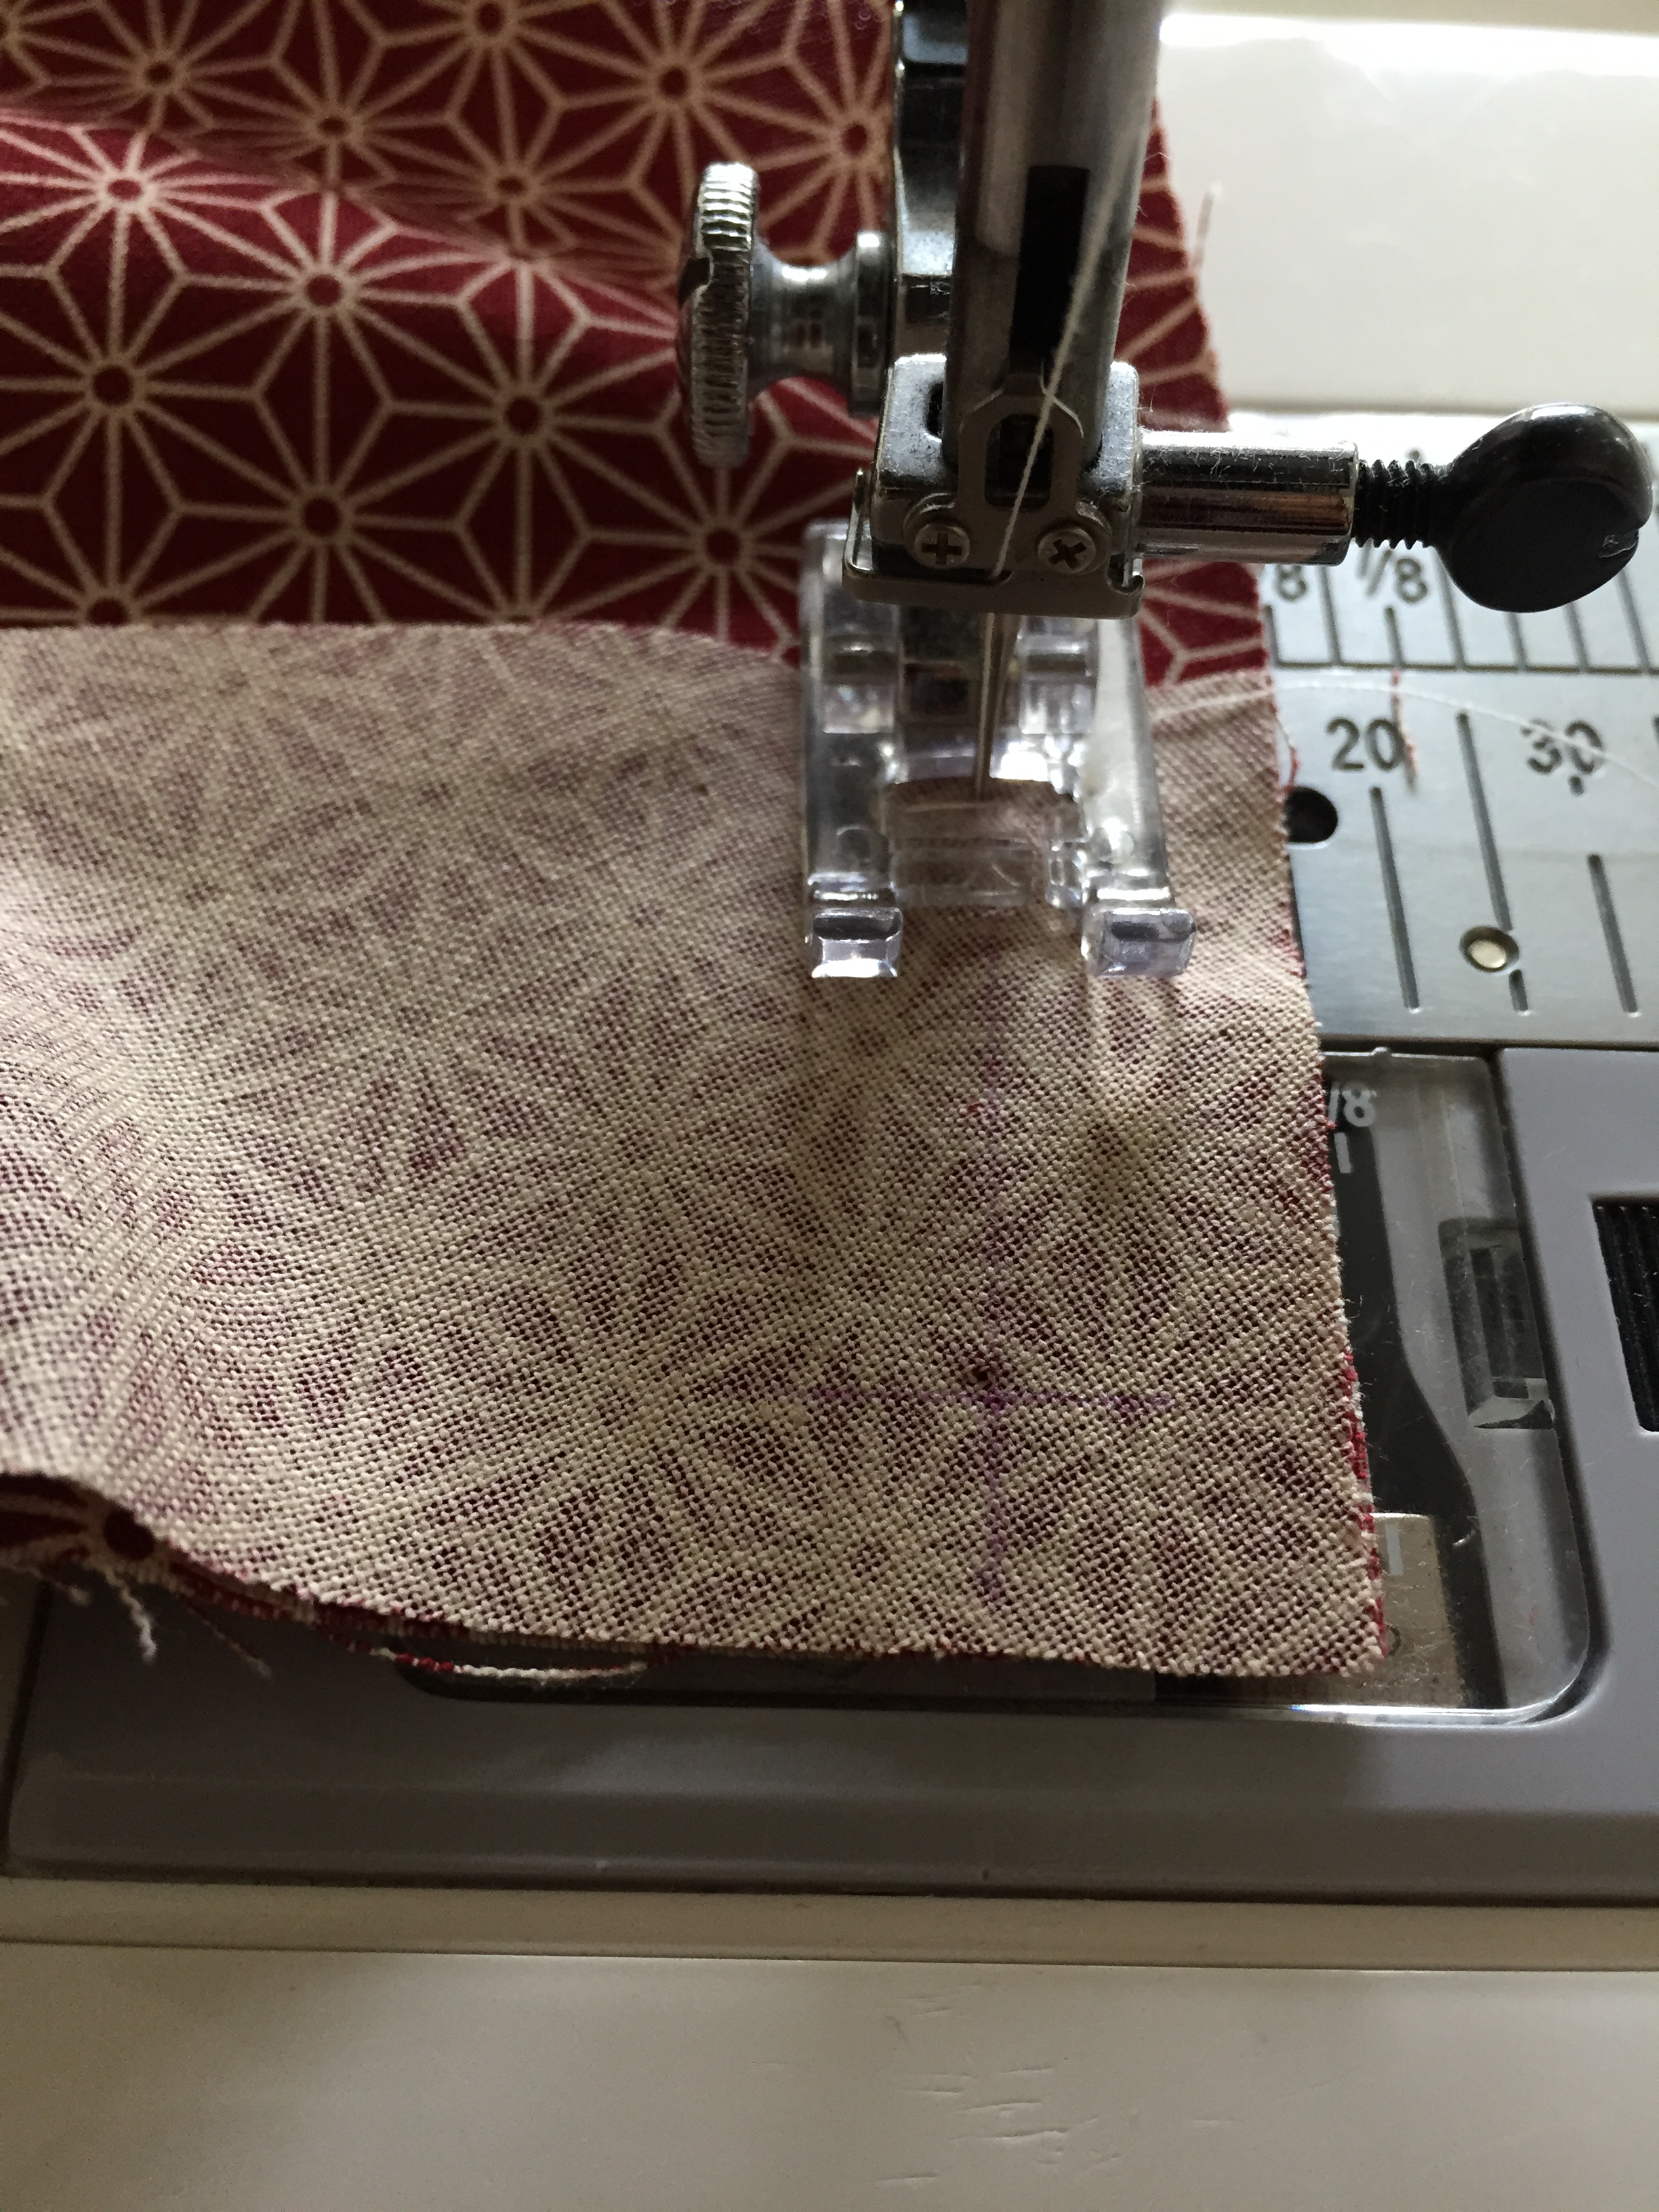
Then, sew the rest of the neckline facing using a 1cm seam allowance. As this is a curved piece you will need to keep straightening out the edge so that it is flush against the 1cm guide on your sewing machine. Sew slowly and carefully working on a small piece at a time. Don’t rush this section.
When you get to the next pivot mark you need to pivot and sew down the CB using a 1.5cm seam allowance.
Pivoting – a method of changing the direction of sewing without taking the fabric out of the machine – for example when you turn a corner. You can pivot at any point as long as you keep your needle in the fabric, lift your presser foot, turn to the desired direction, lower your presser foot and then continue sewing.
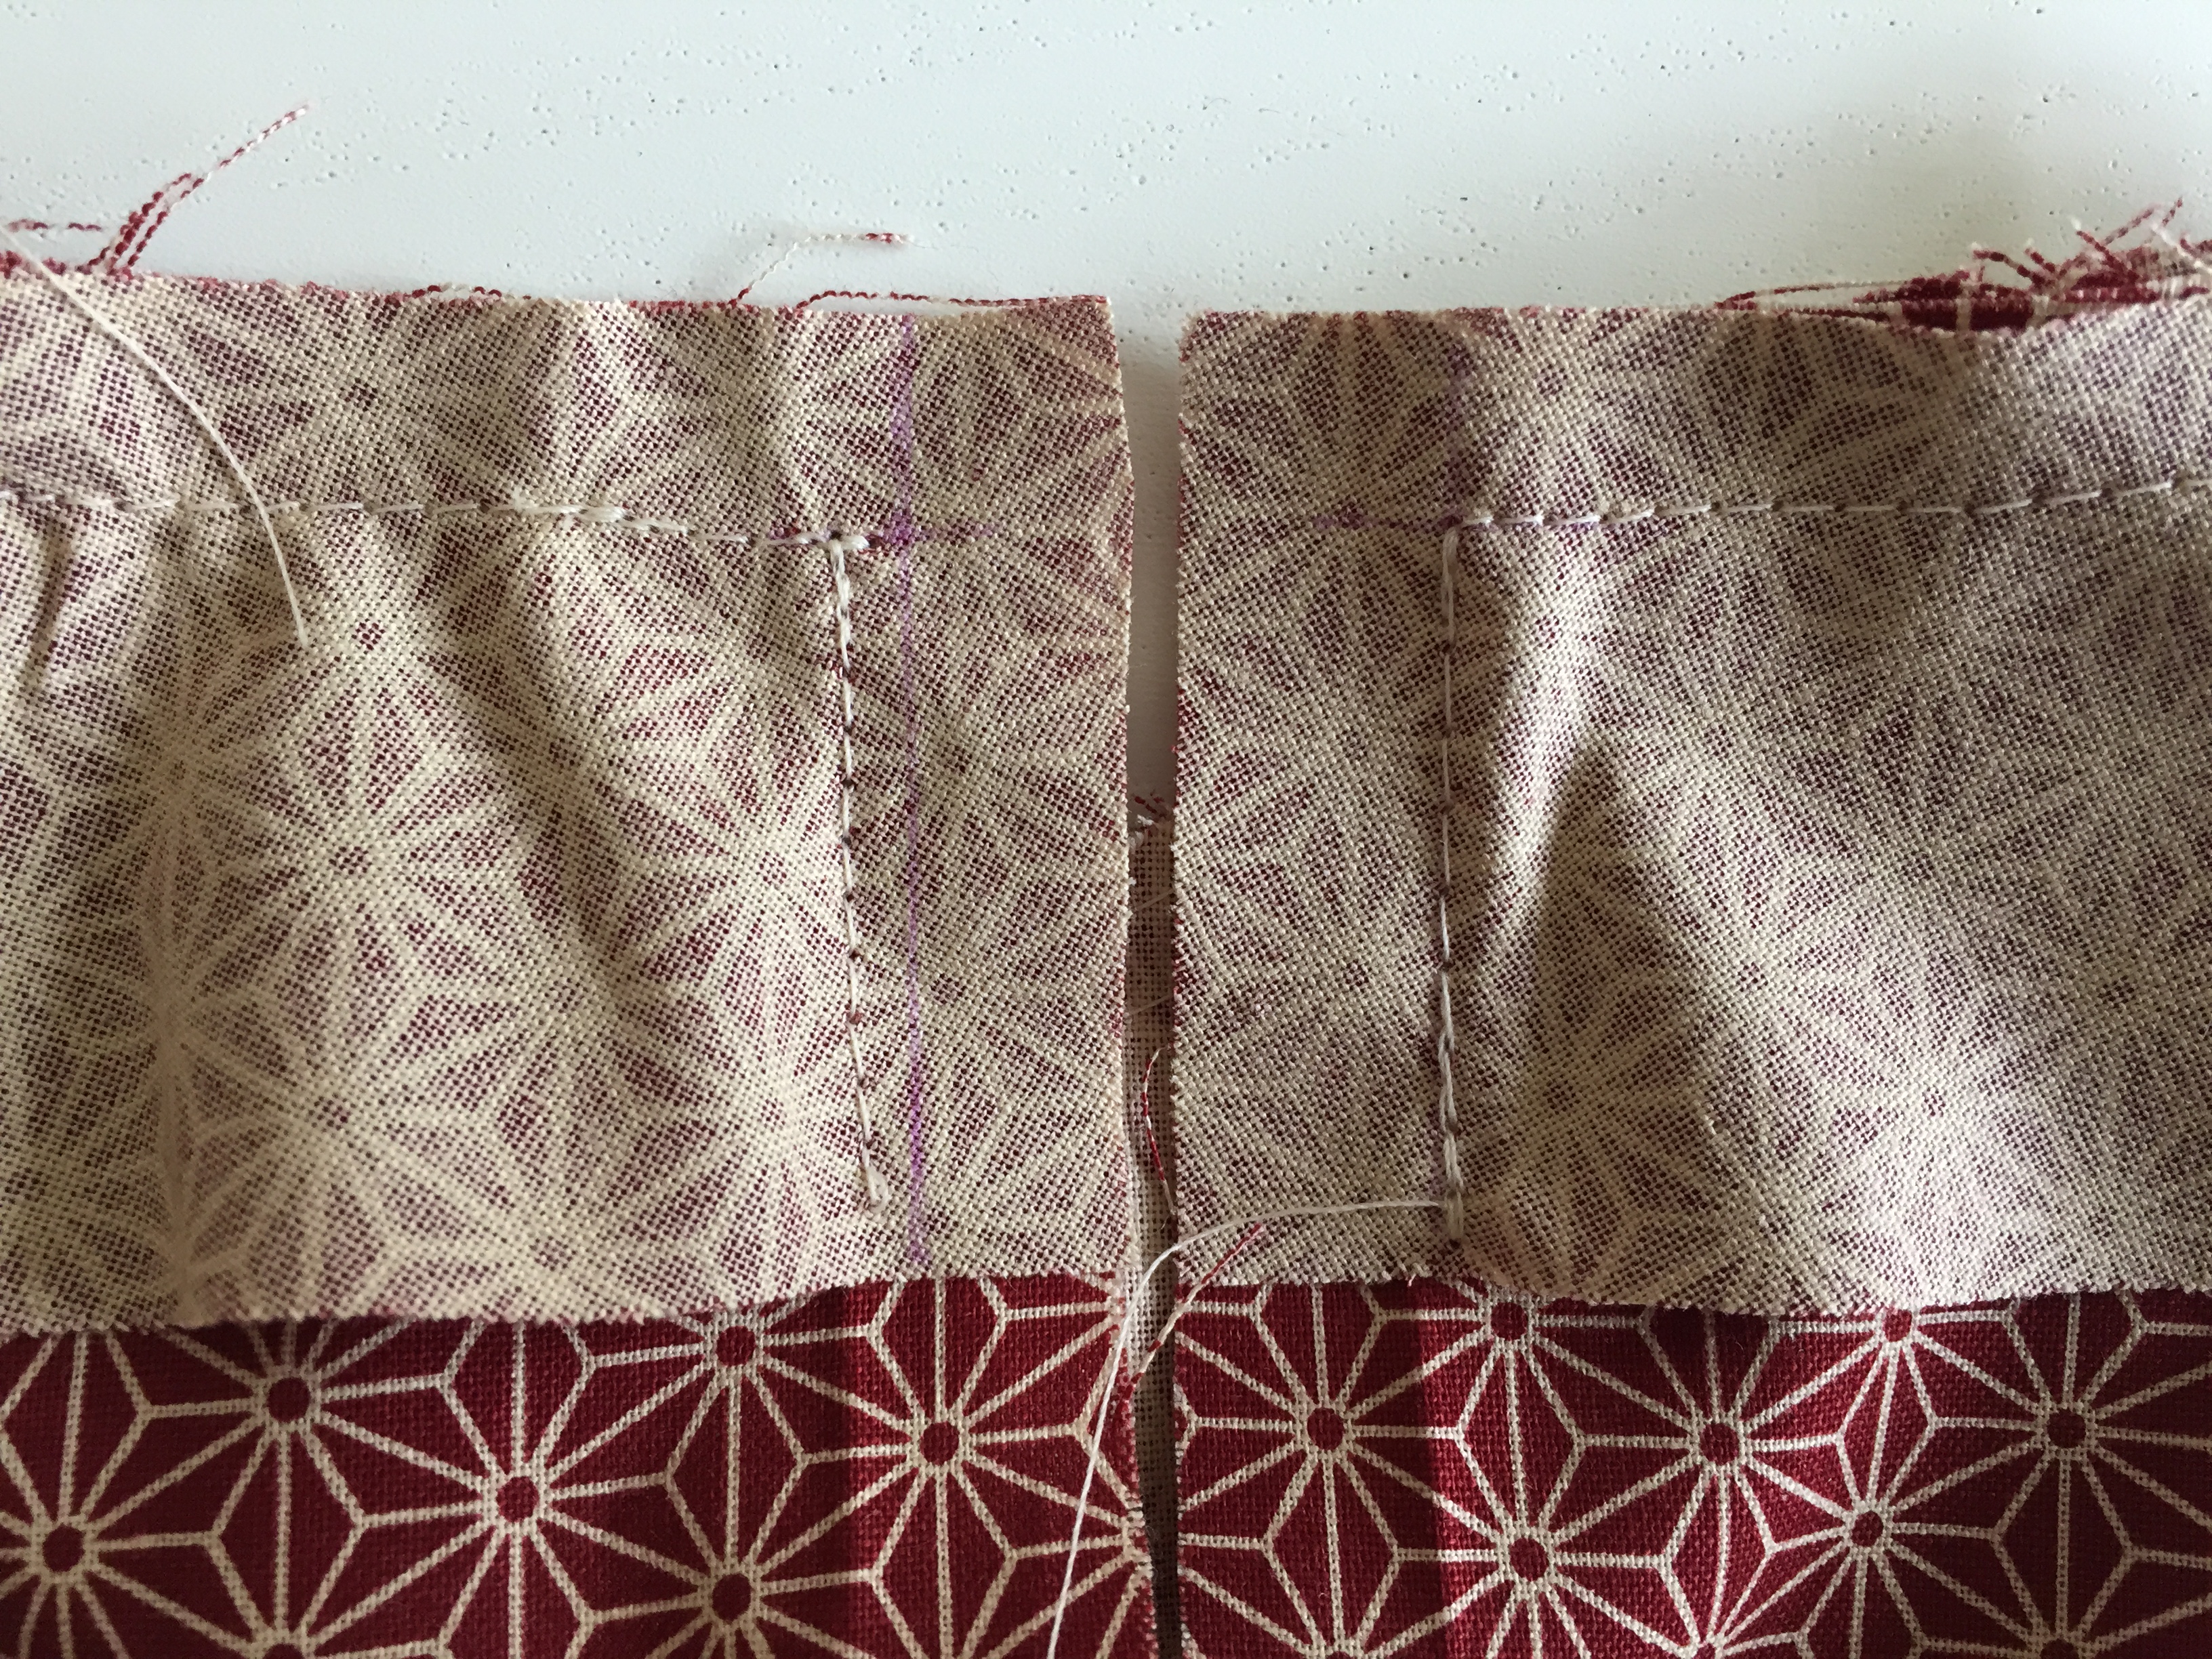
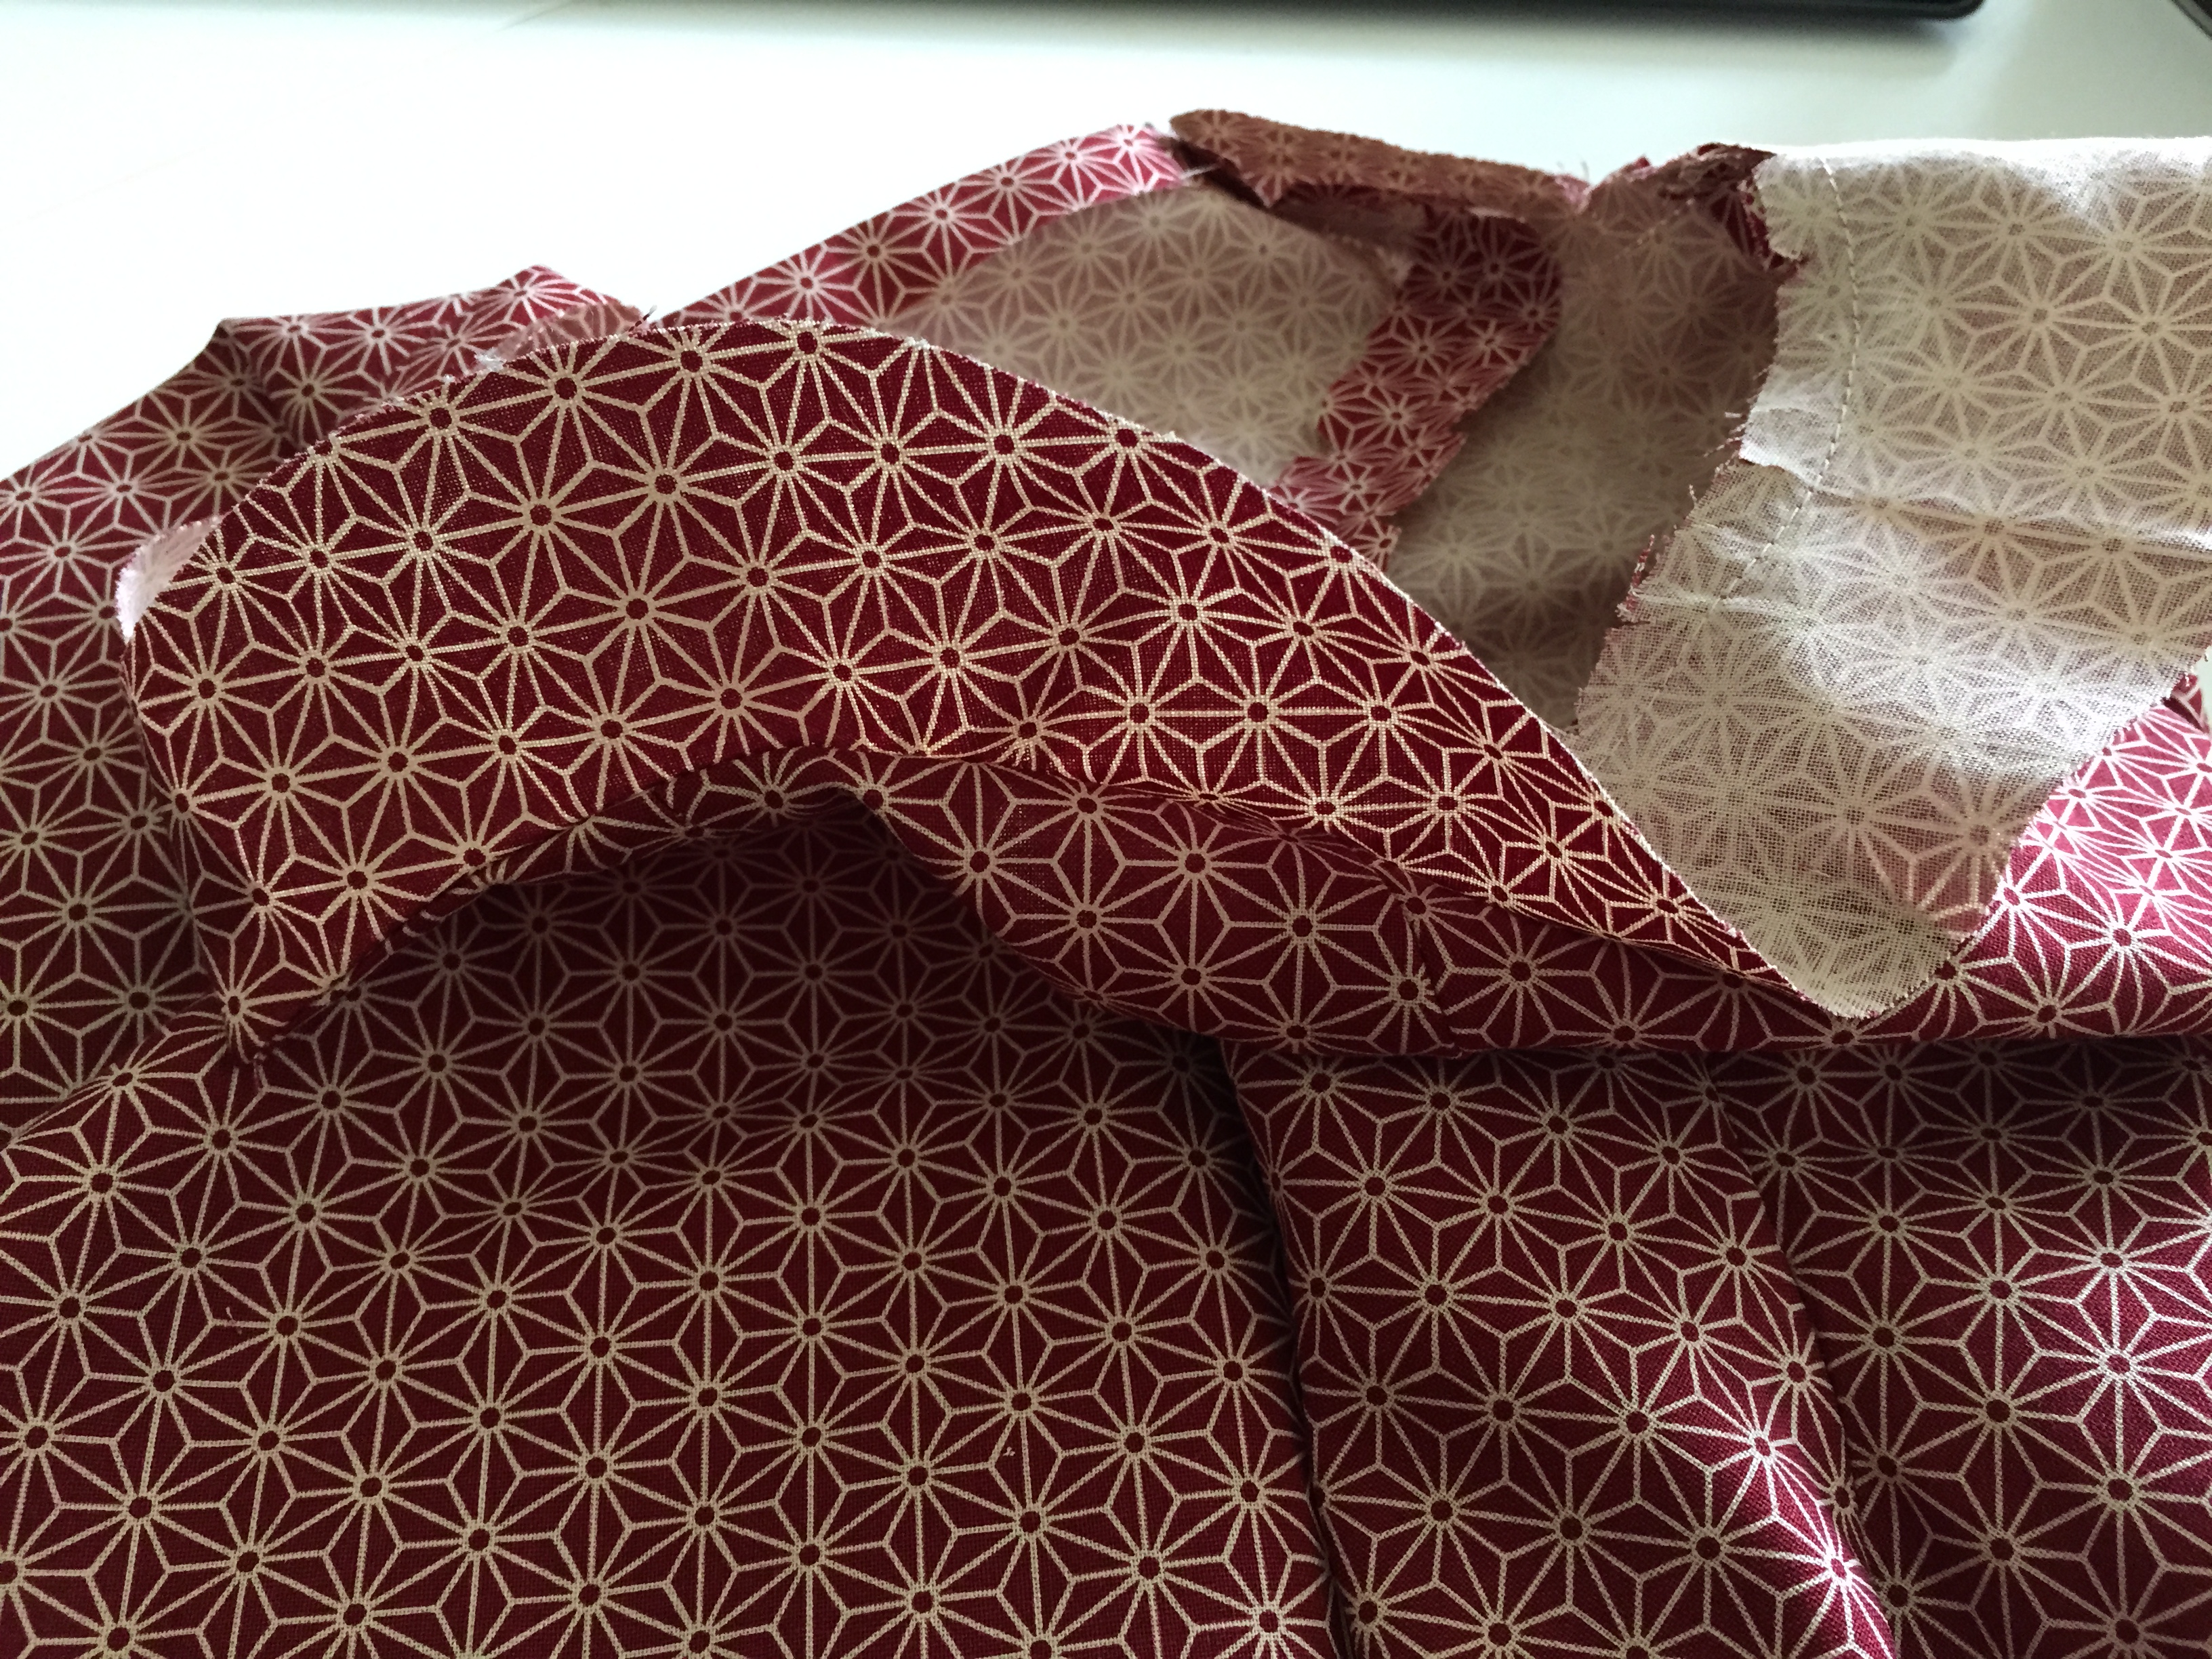
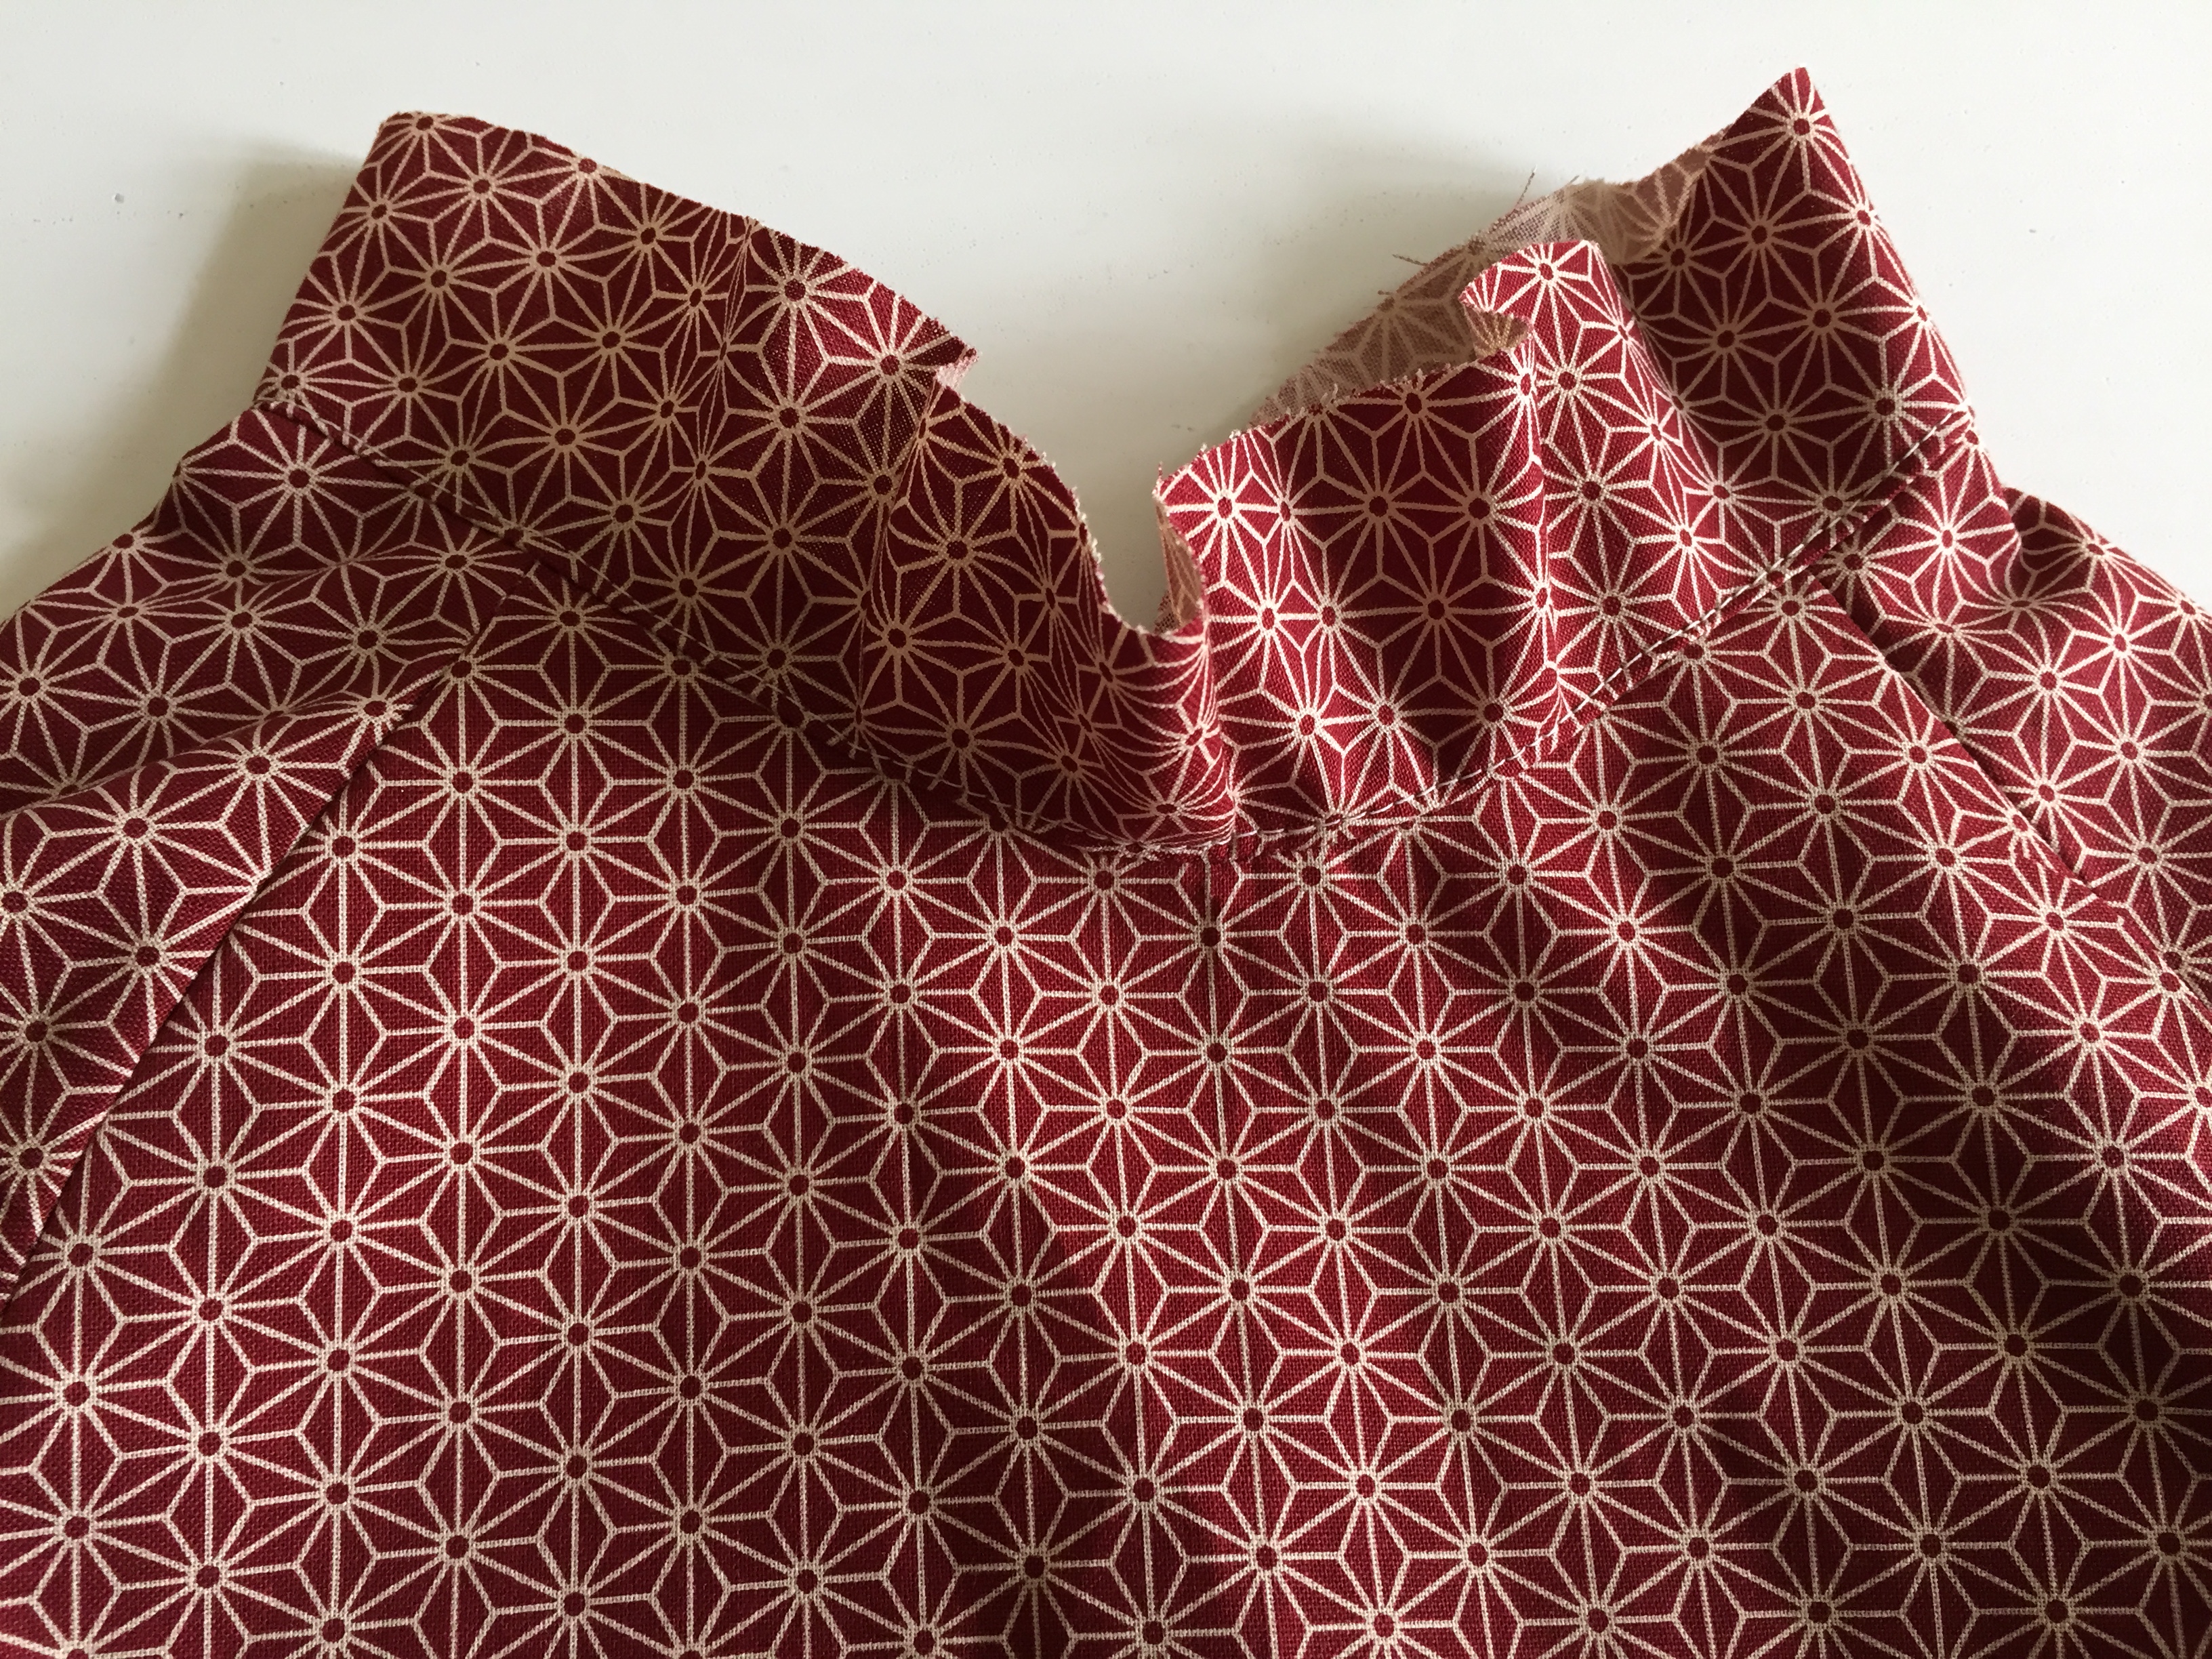
When you are finished this piece check the two CB pieces against each other. They should be identical.
Snip into the seam allowance around the curved neck. Snip into the corners of the back pieces and turn the corners to the right side.
Clip / Snip – To help a curved seam lie better once turned to the right side, snipping into the inner curve gives the fabric more give so that it is able to create its shape.
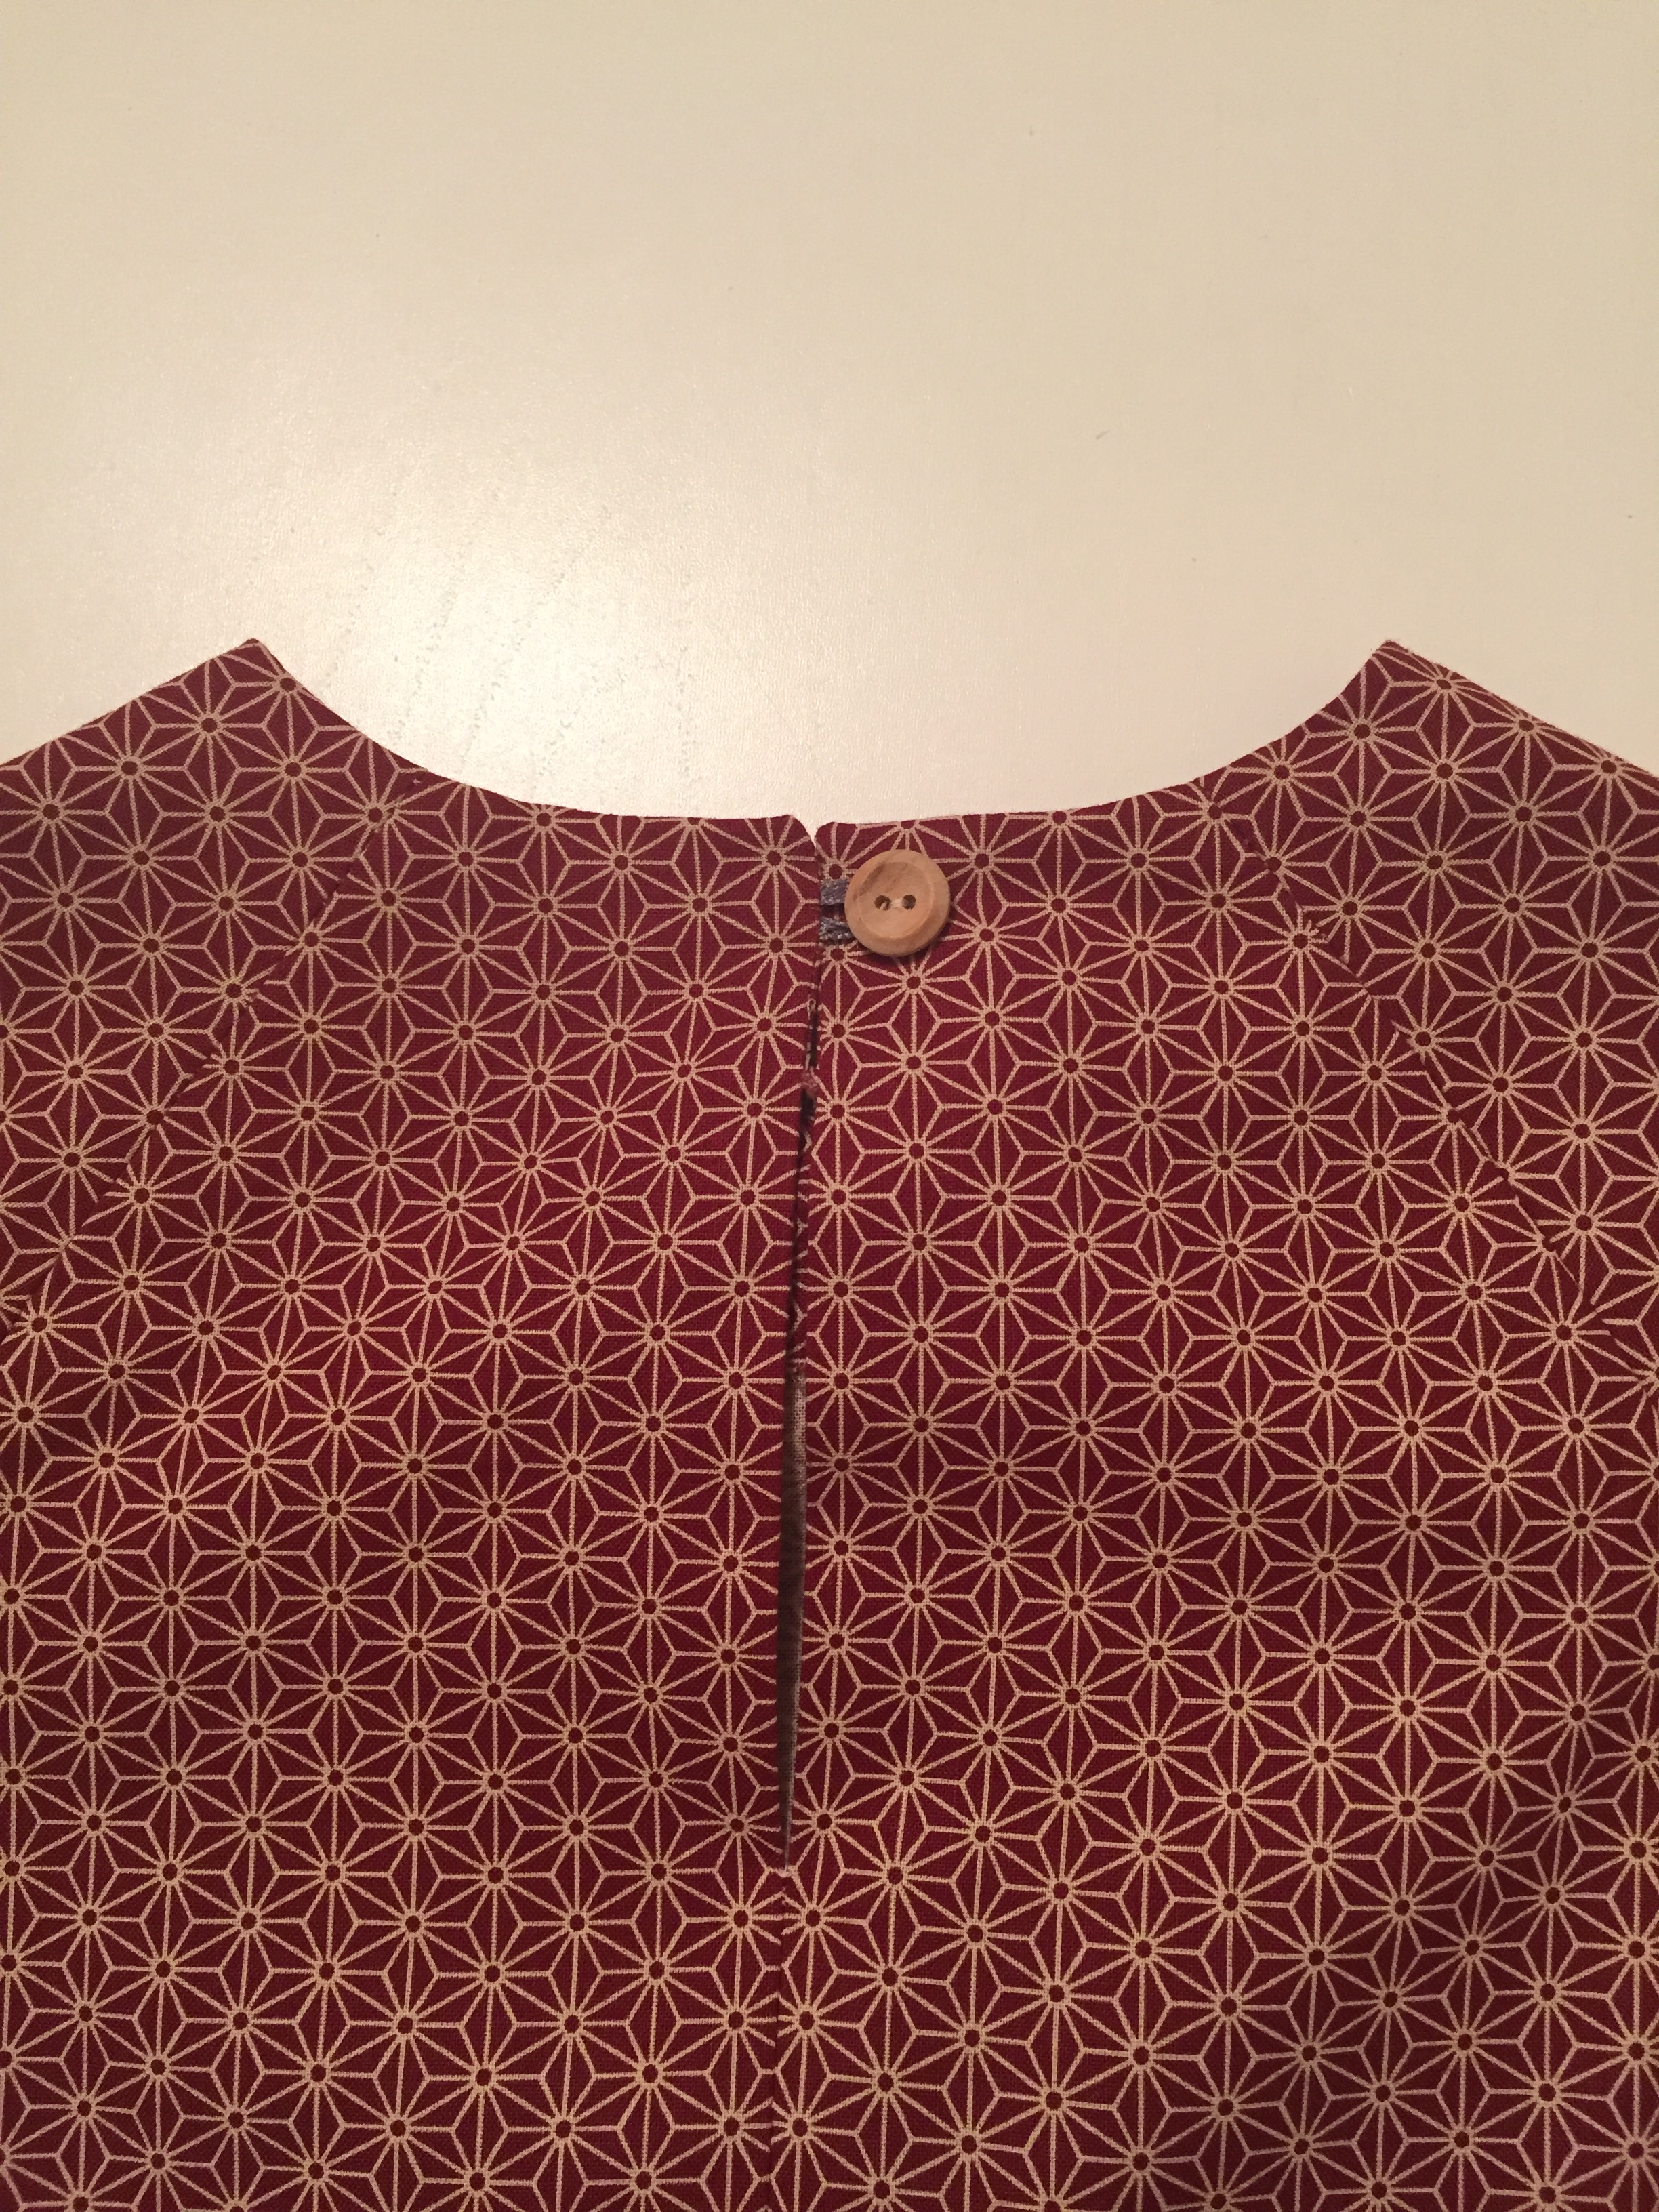
Push the corners at the CB and spend your time making sure the points are nice and neat. Again, check now that when you lie your two back pieces against each other they fit perfectly. You can now hand sew your button into place.

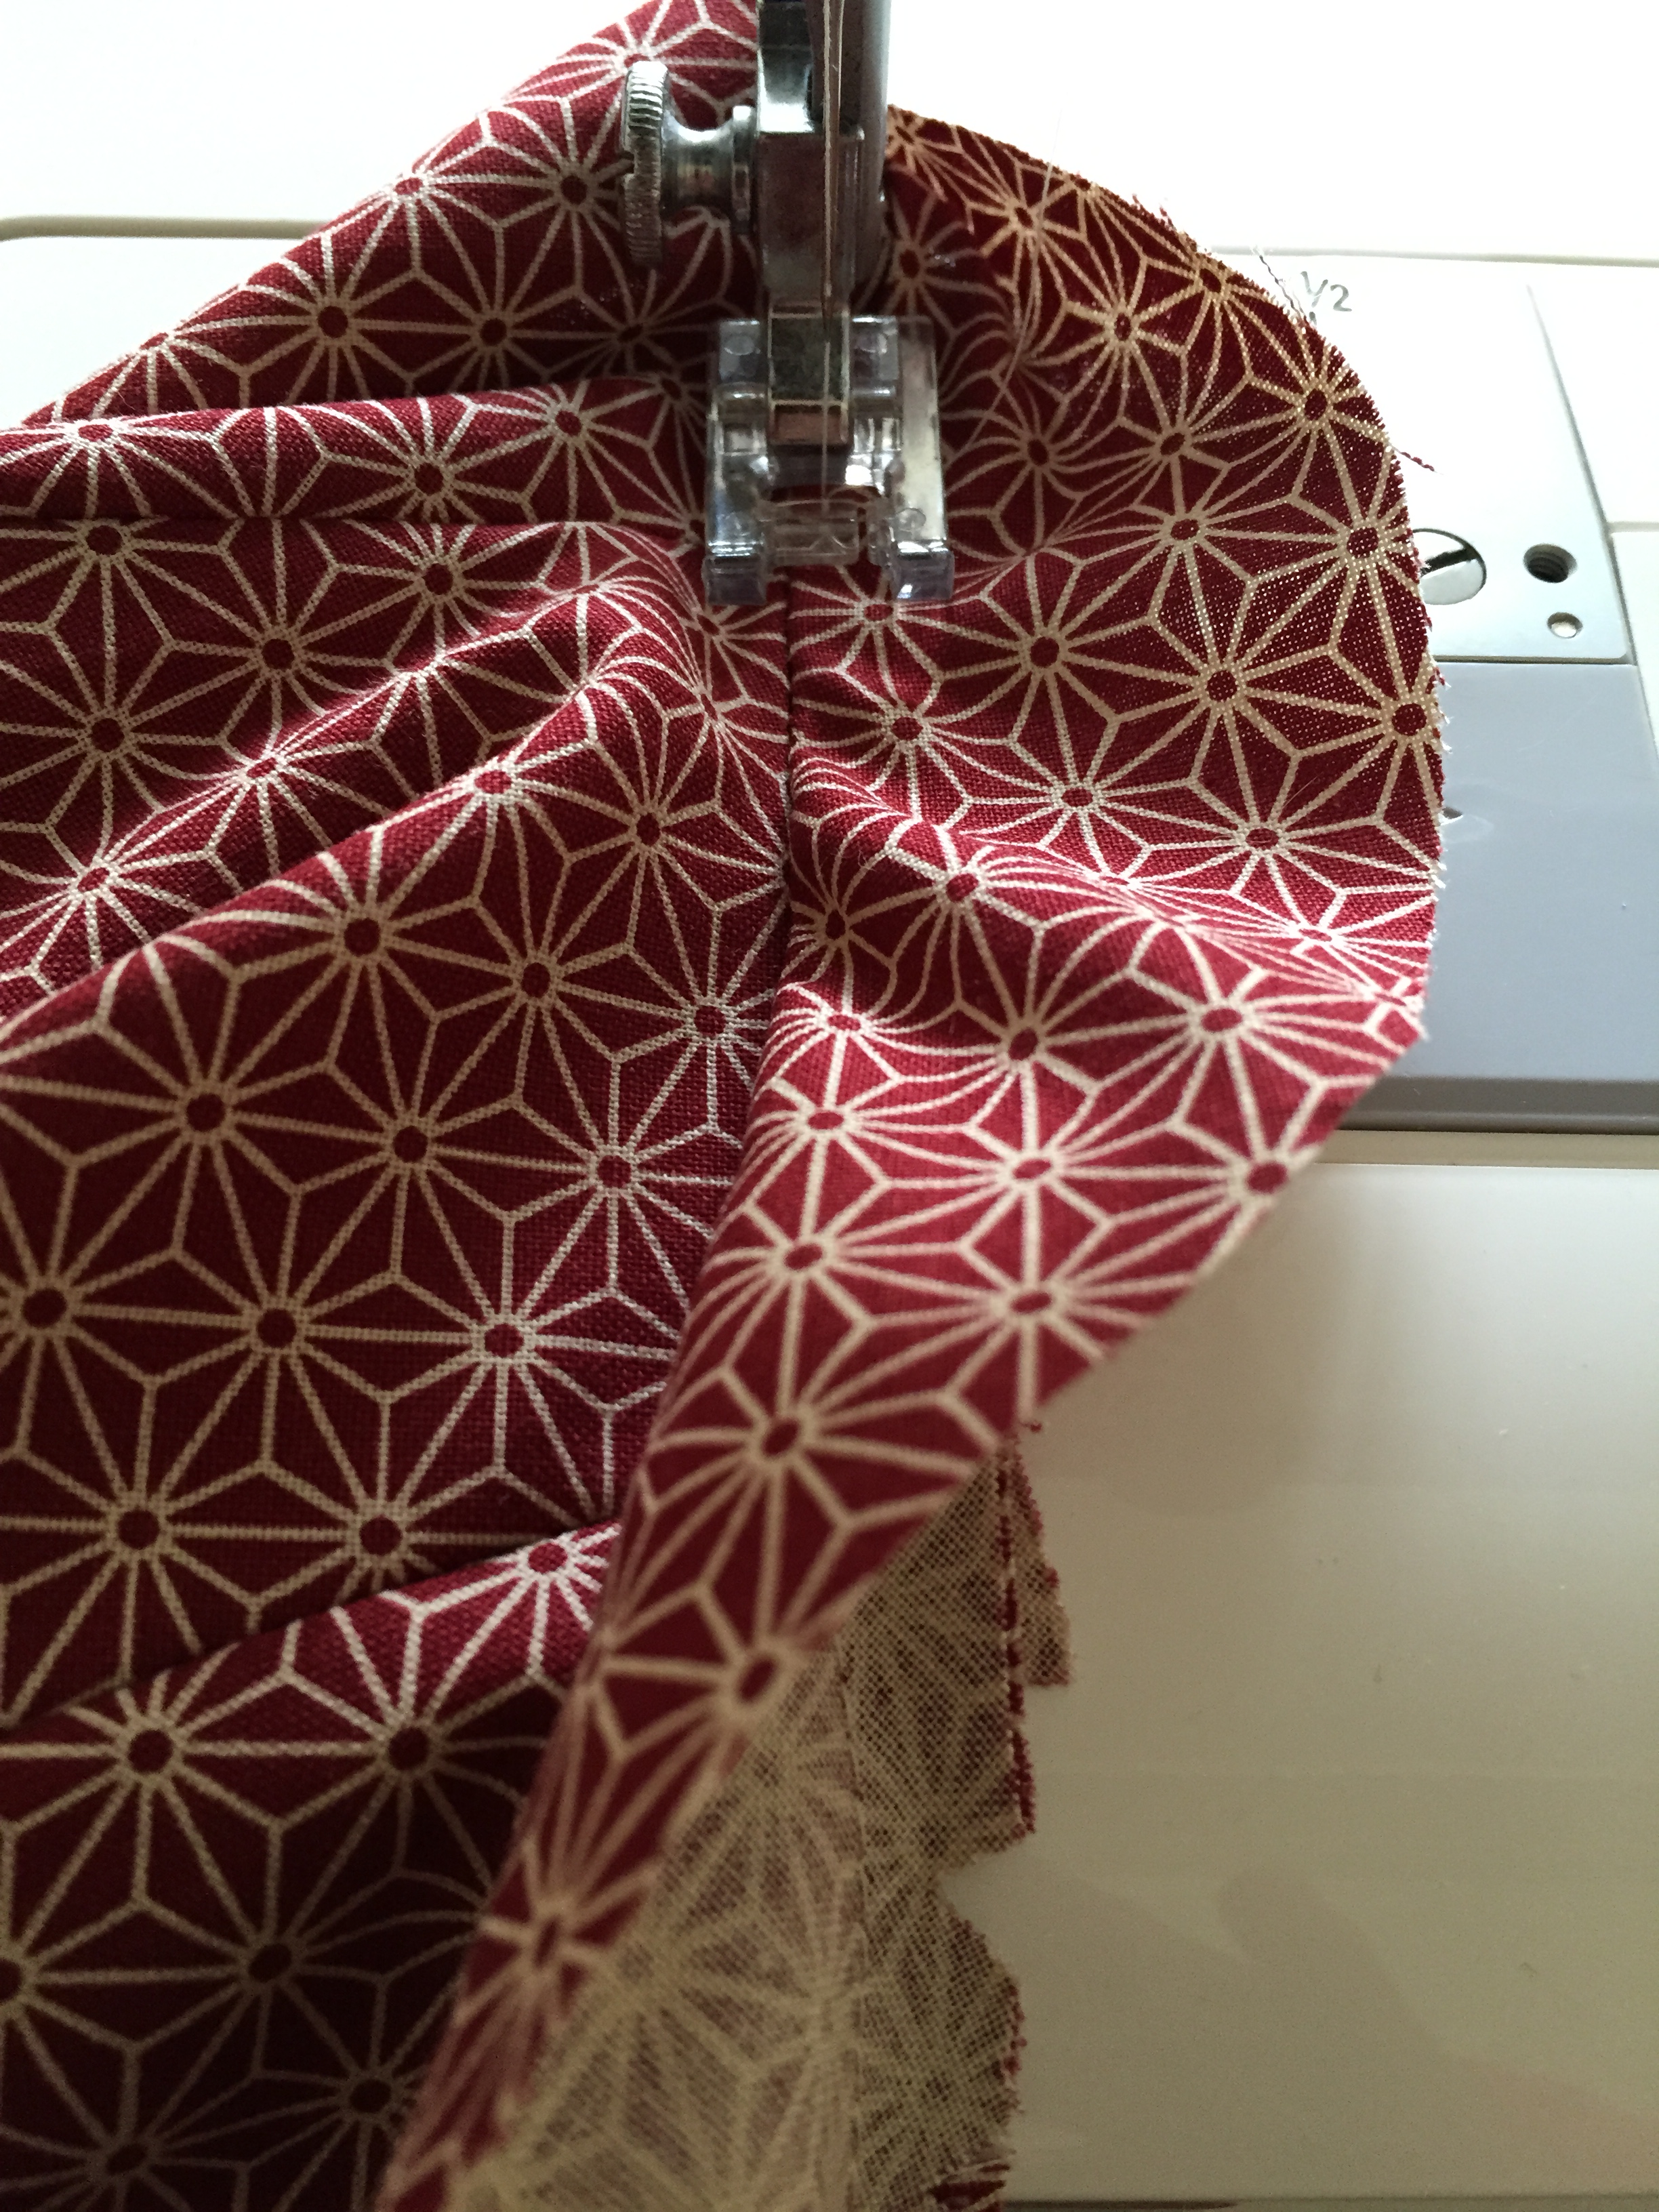
UNDERSTITCHING THE NECK FACING – VIEW A ONLY
Under stitching helps a facing or lining stay inside a garment. A line of stitching is made on the facing or lining and the seam allowance but not the main piece of fabric. The stitching is seen just inside the garment, for example on the facing, but not on the right side of the garment.
Push the facing and seam allowance away from A. We are only going to sew on E and the seam of E and A.
Starting approximately 4-5cm from the edge of the CB, and manipulating the neckline so that you are only catching the right side of the facing and the seam allowance underneath, start to sew on the facing piece 3mm from the edge.
Tip. Push the seam and the facing flat to the right and A to the left to keep the fabric flat. Then, create the row of stitches on E, catching the seam allowance underneath.
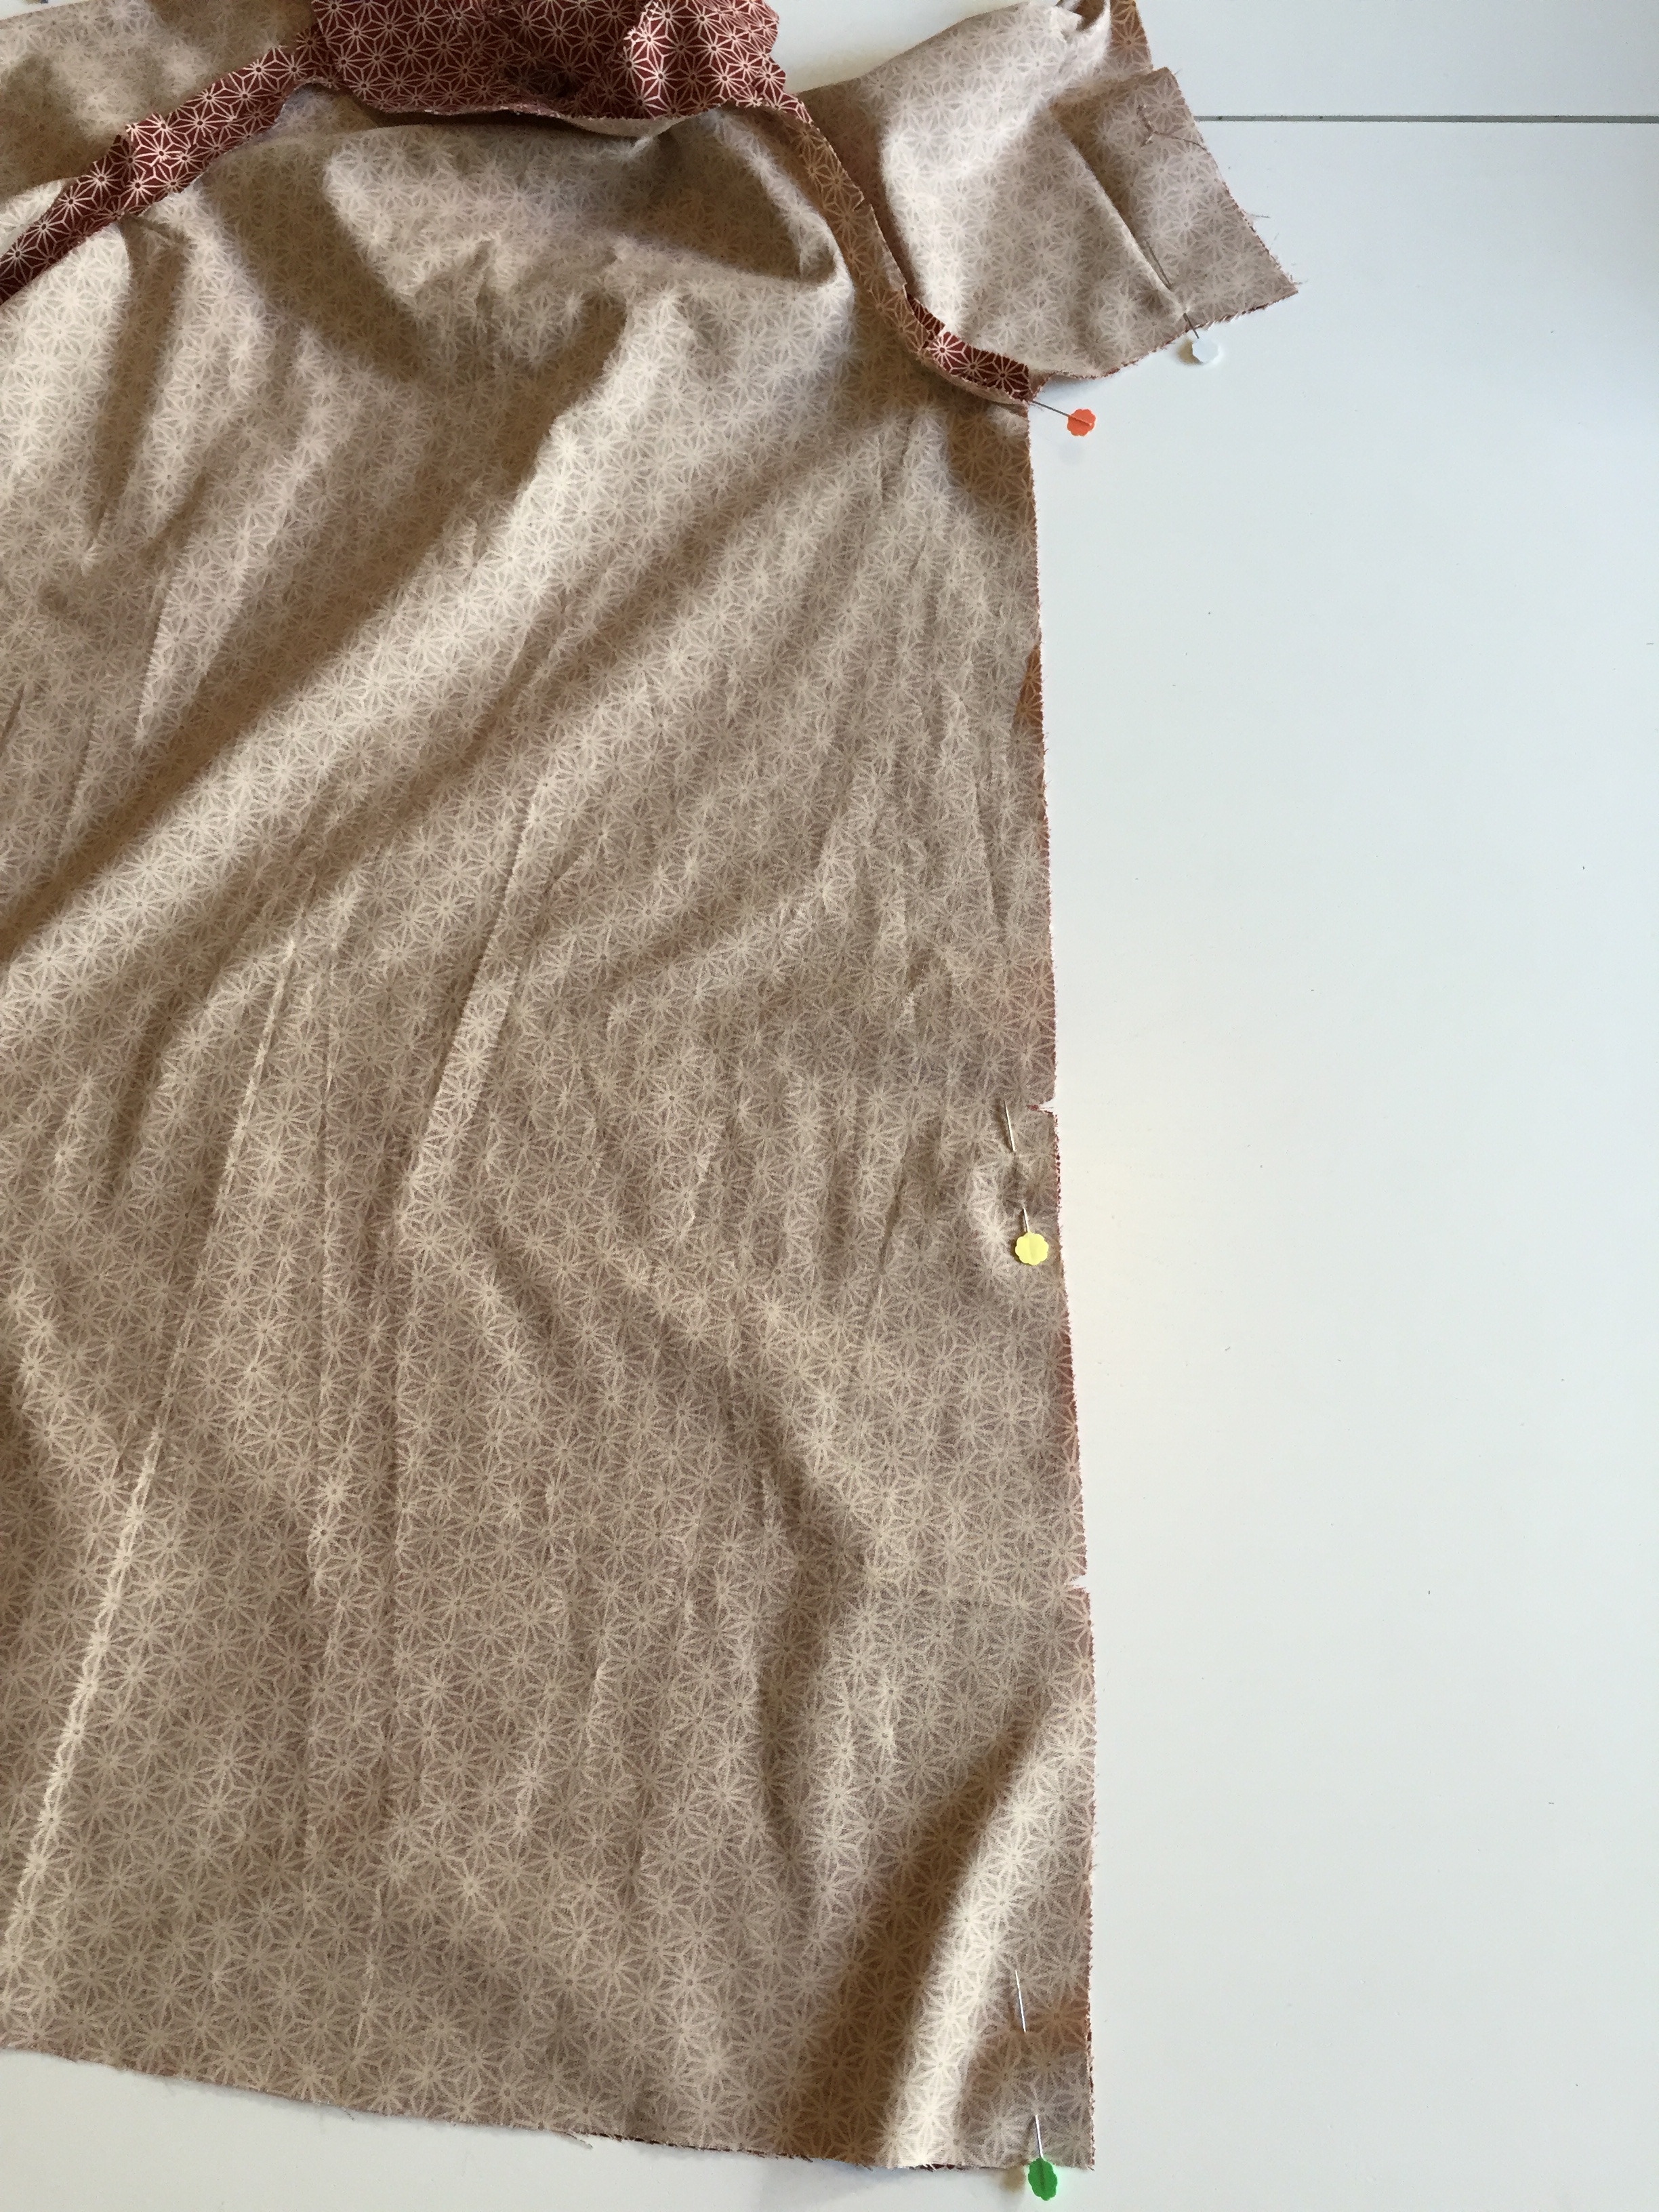
COMPLETING THE SLEEVES AND SIDE SEAMS VIEW A & B
Your sleeve and side seam will be sewn in one continuous piece. Fold your dress right sides together so that your back and front meet. Then, working on one side, match up the start of the sleeve, then the underarm points (keep seam allowances open) and then the bottom of the dress at the hemline. Pin the rest of the side seams in place.
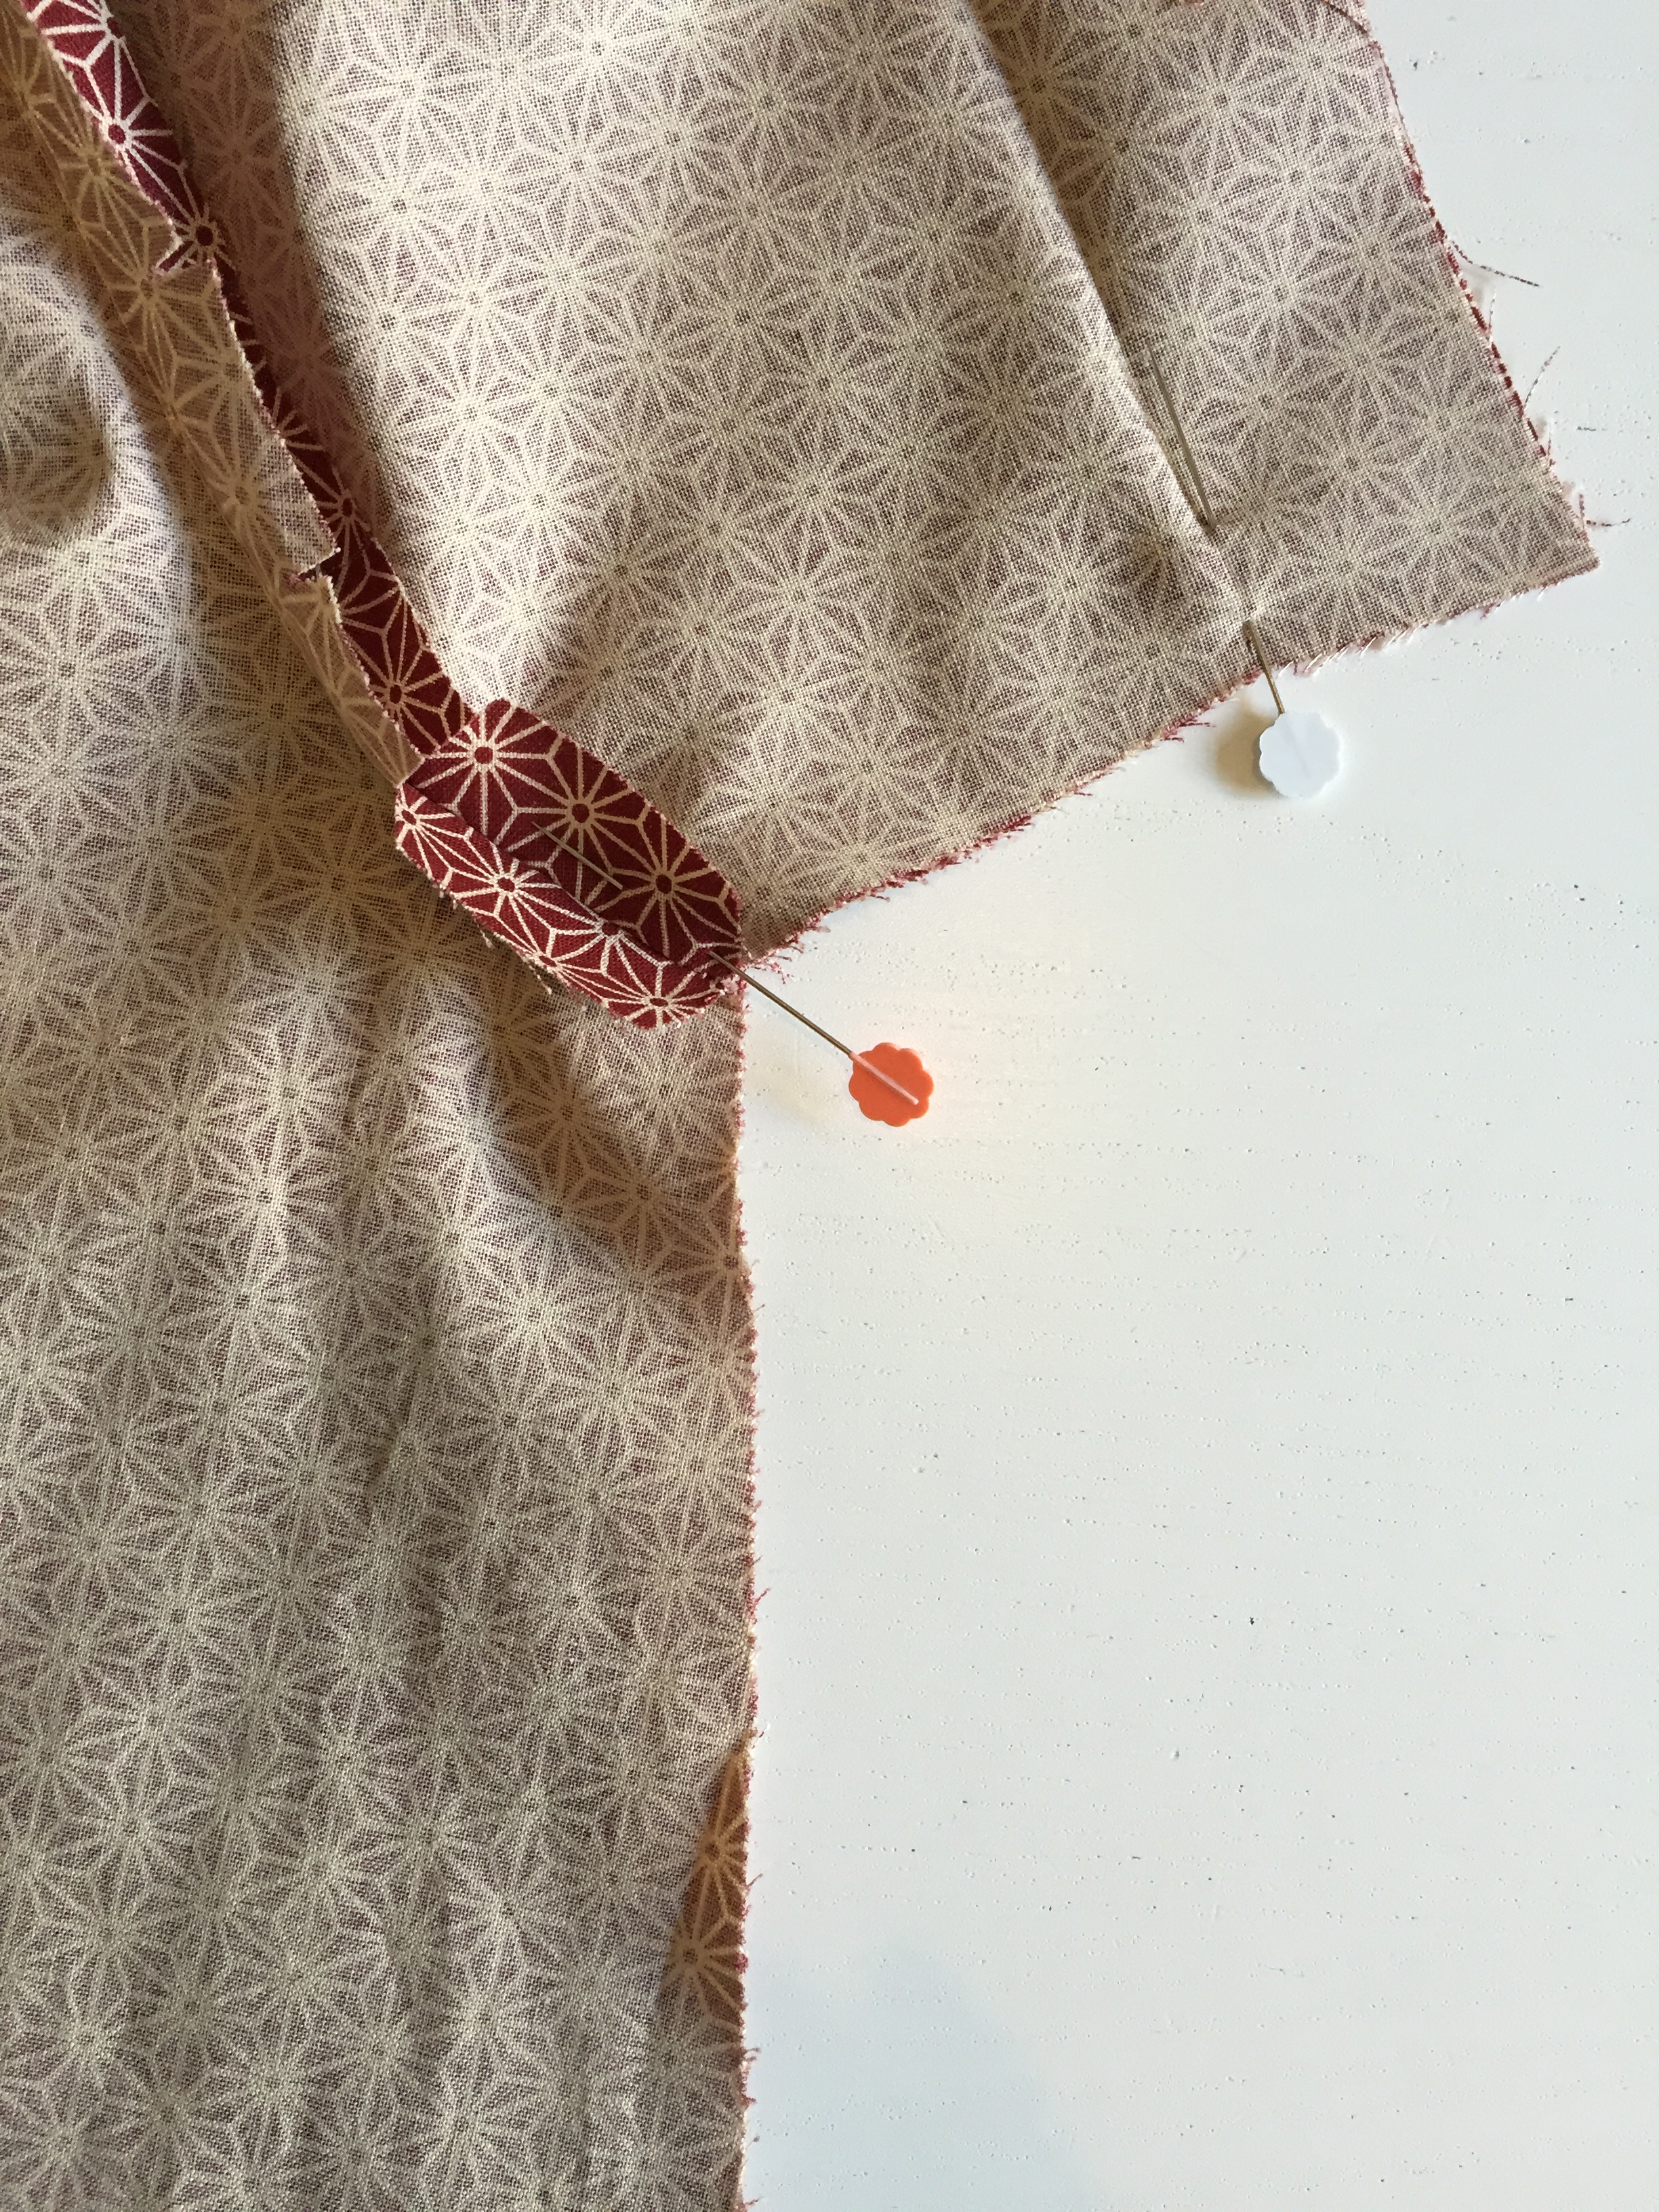
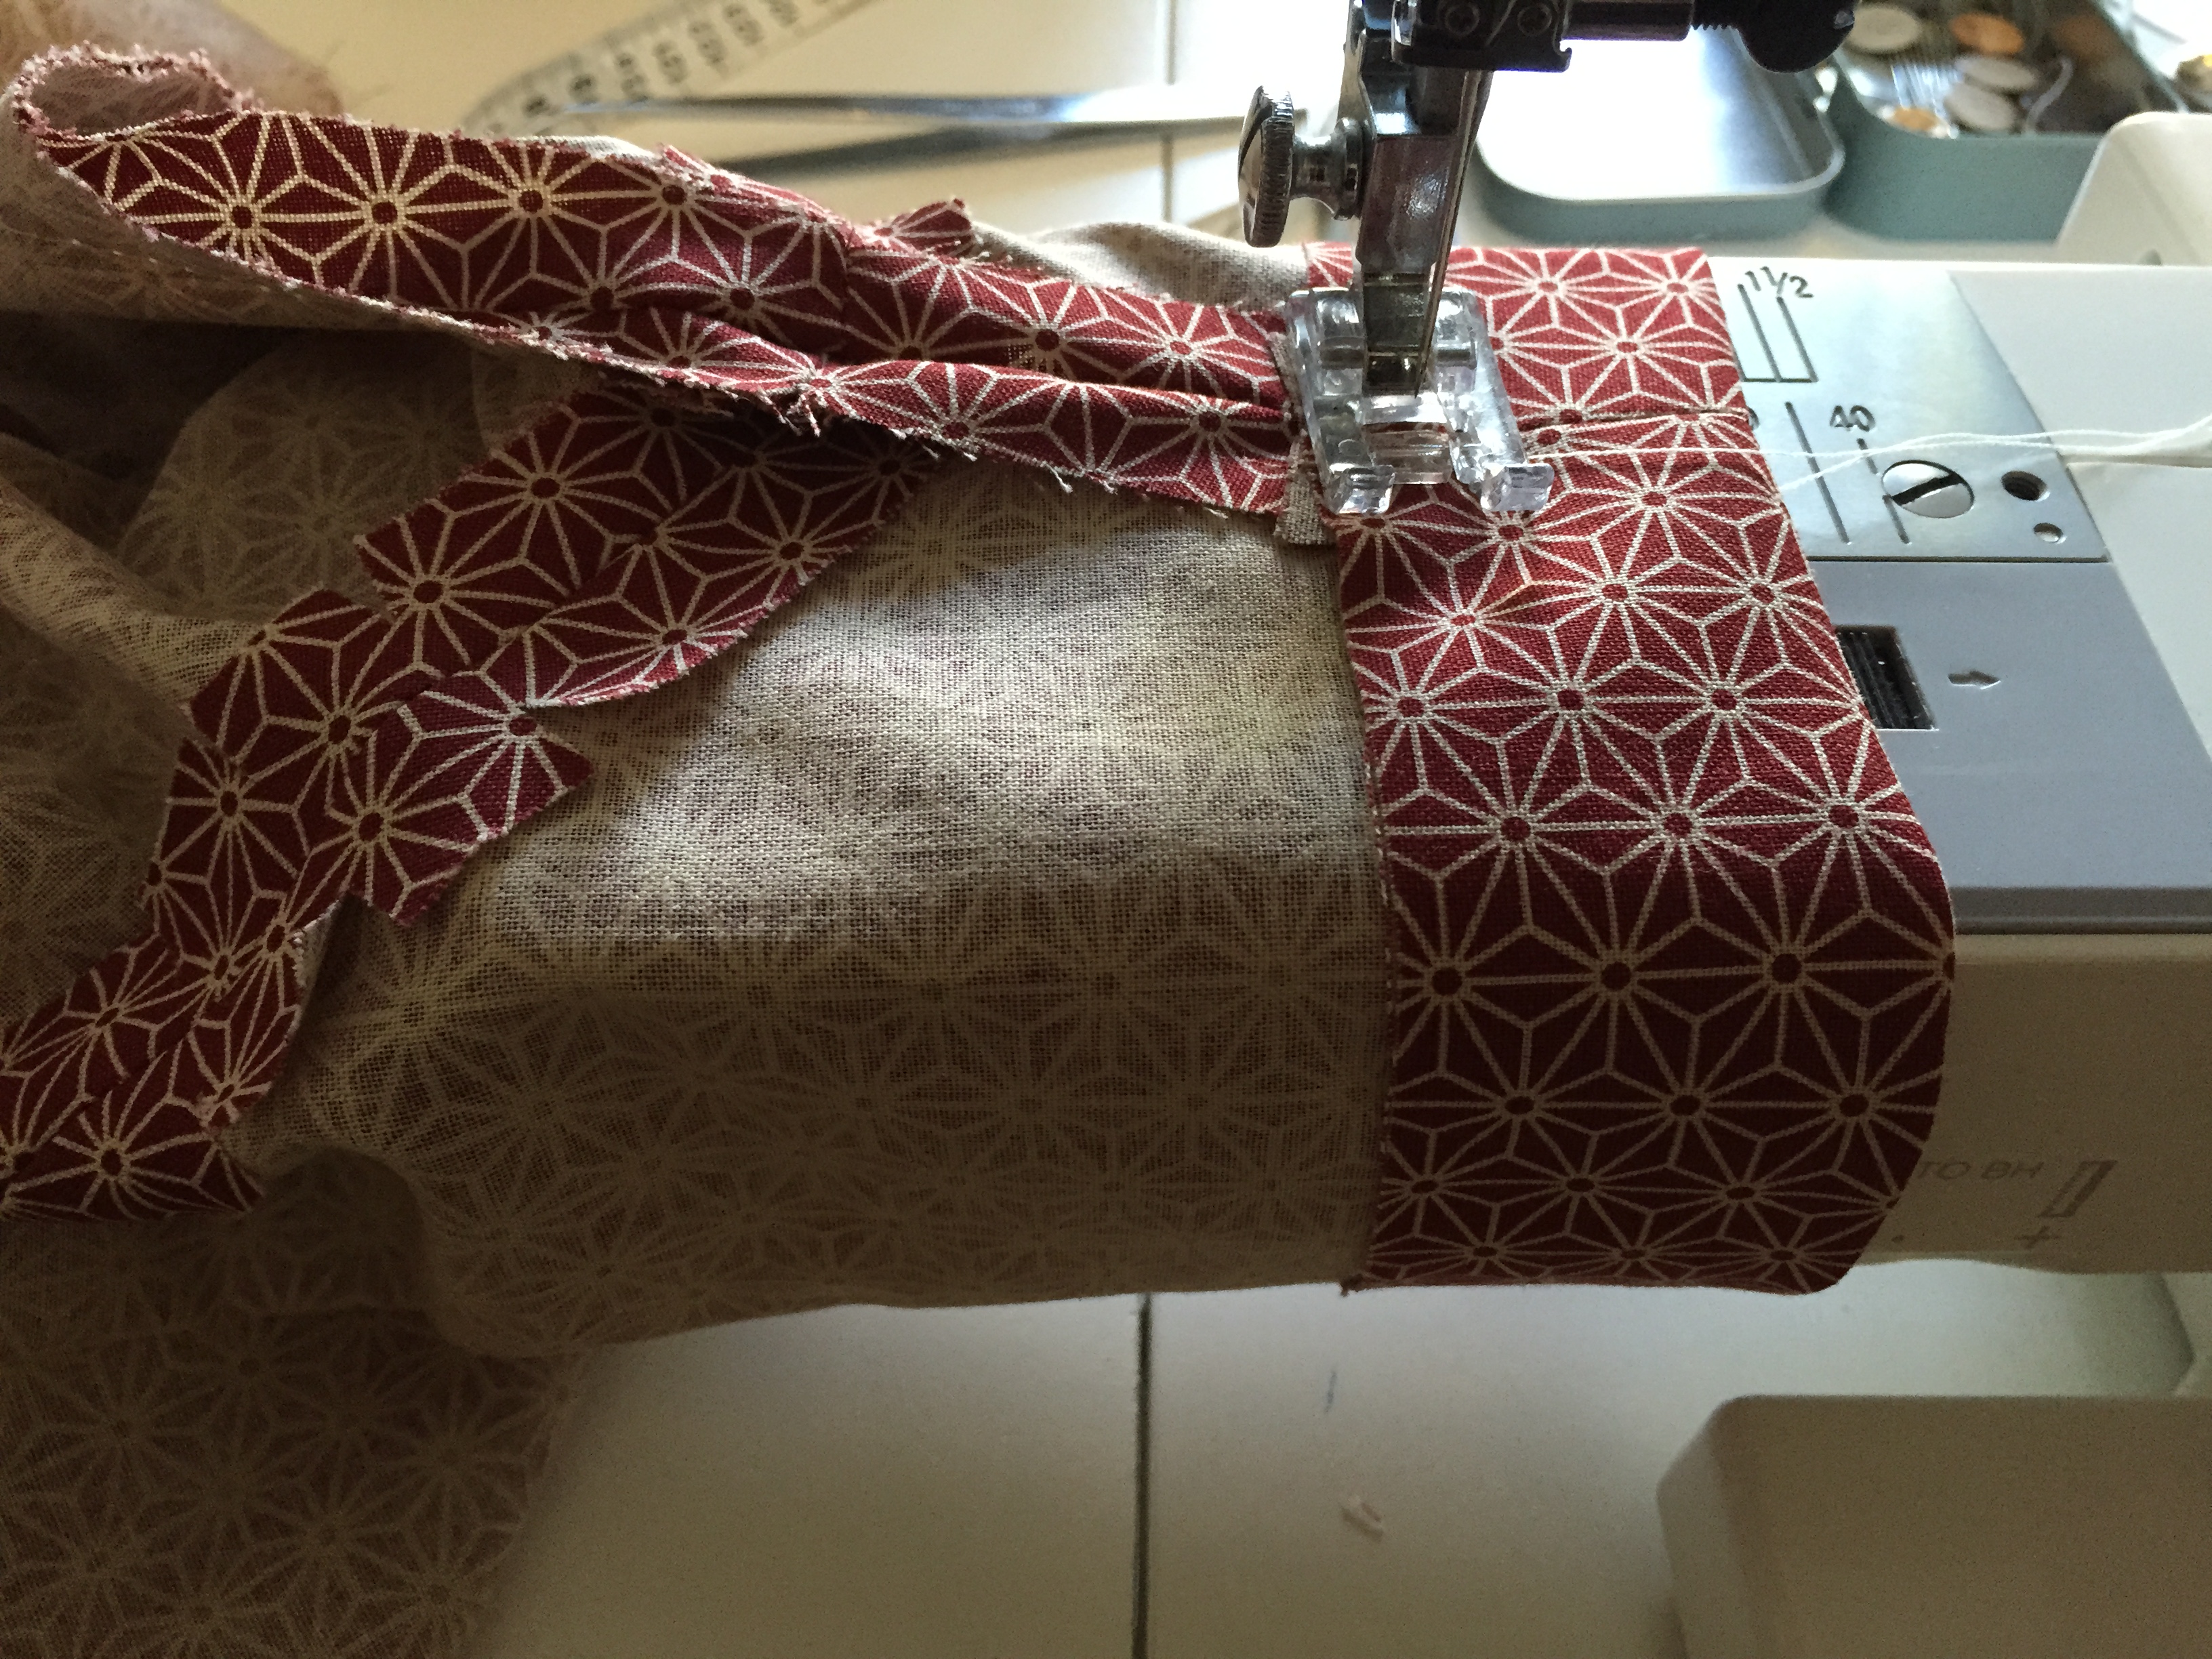
Start sewing at the sleeve hemline, pivoting when you get to the underarm point so that you can sew down the side seam. Repeat on the other side and then iron the seam allowances open.
Fold the sleeve hemline and sew in place. You could hand stitch the hem if you prefer or use a contrasting thread colour!
Now you can turn your dress to the right side. Just the pocket and hem and it’s made!
THE POCKET VIEW A & B
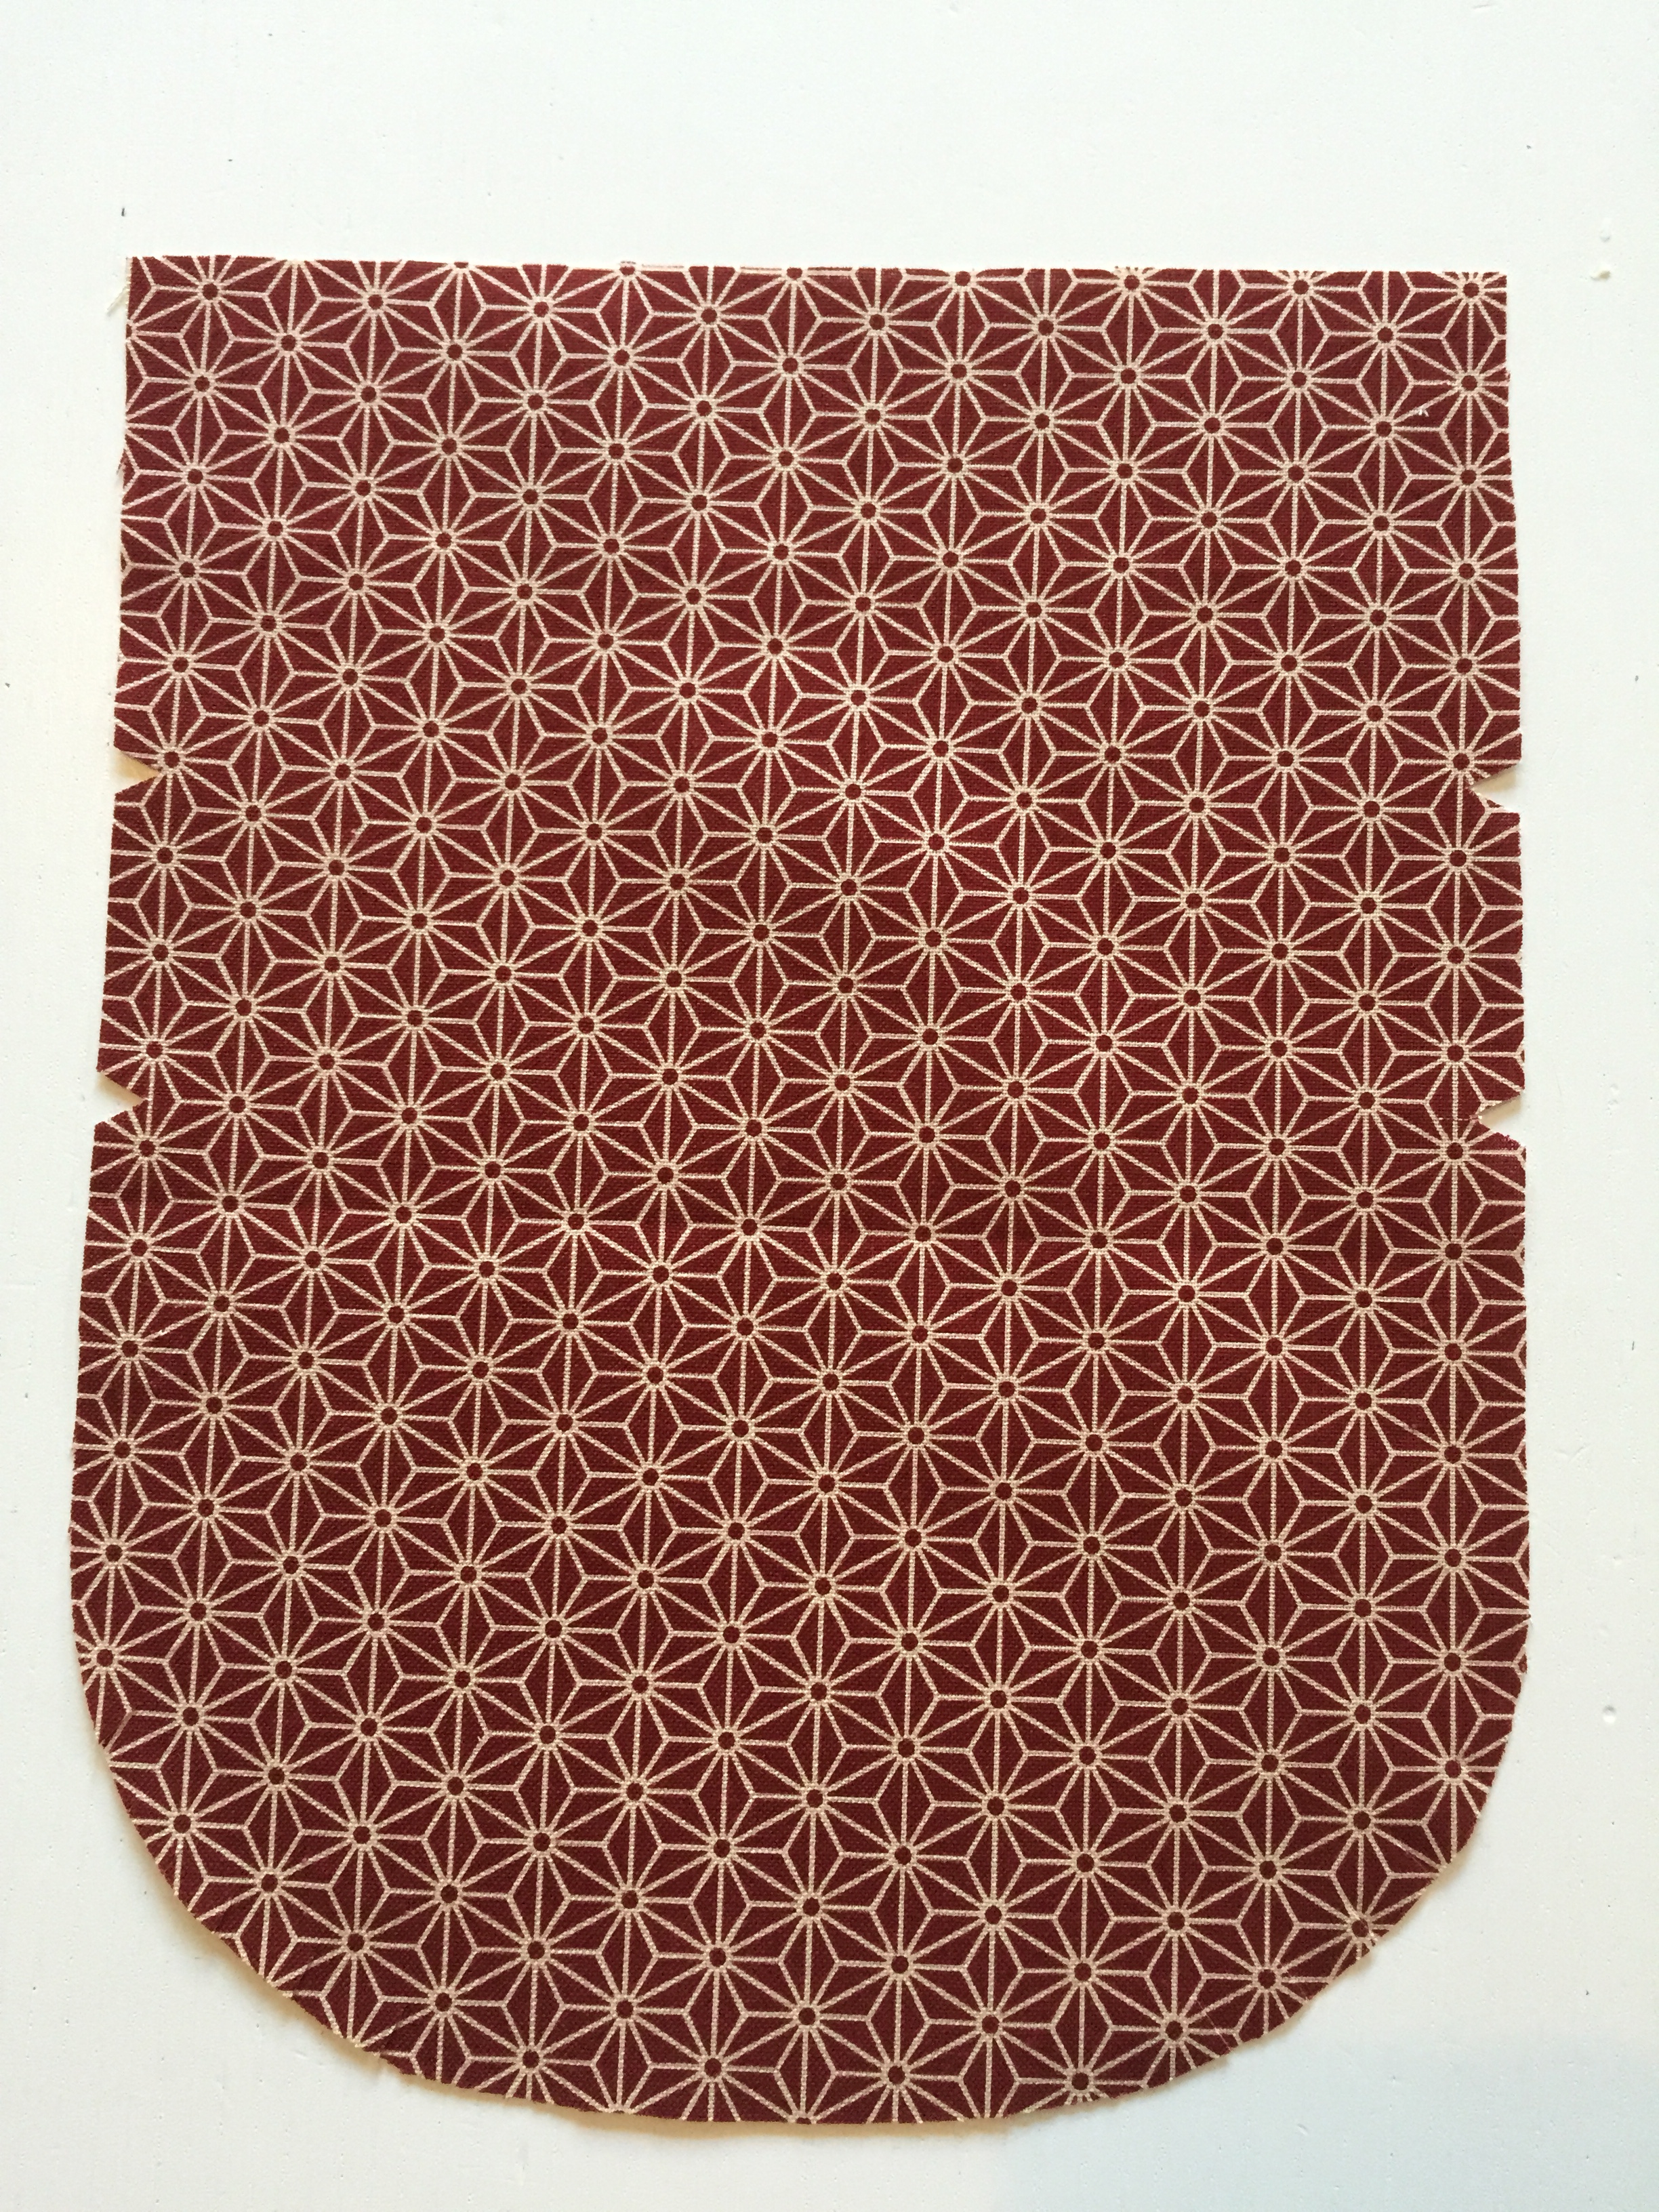
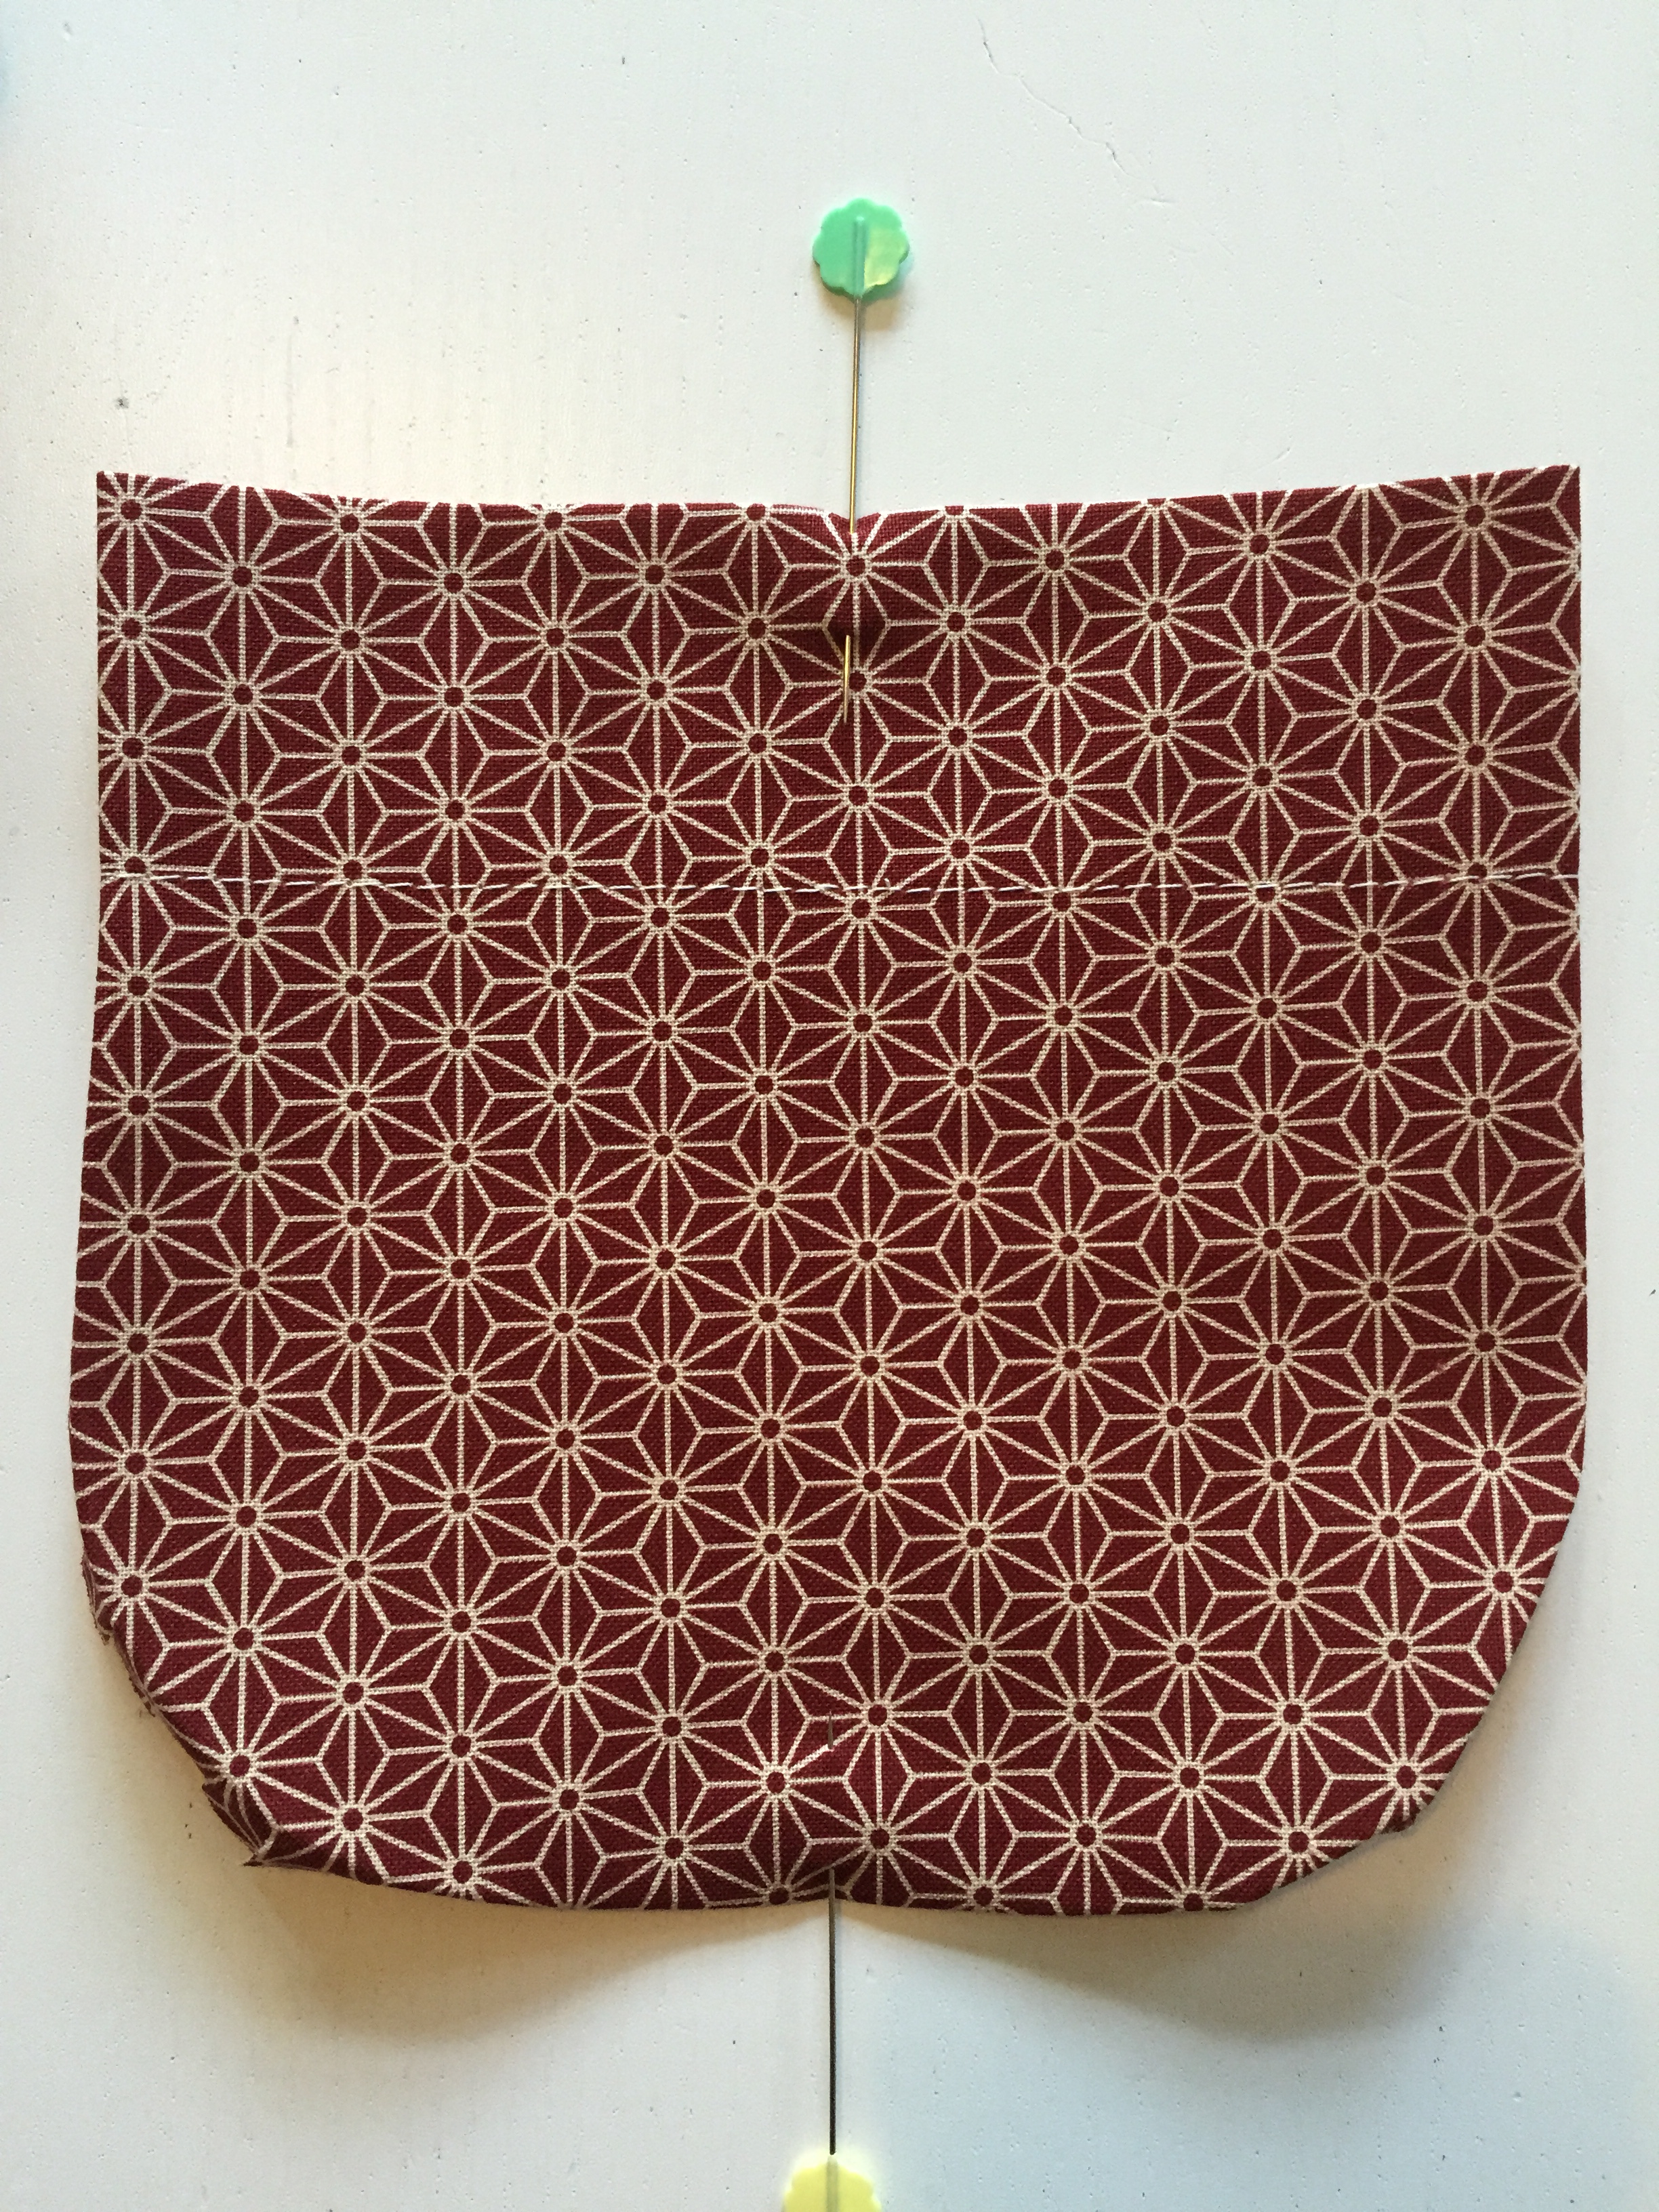
Ensure you have marked your pocket notches. Then, make tiny snips into the curve of the pocket – only 5mm. This will help you shape your pocket.
Tip. You don’t need to overlock/zigzag stitch the pocket – it will be easier to work with it as it is.
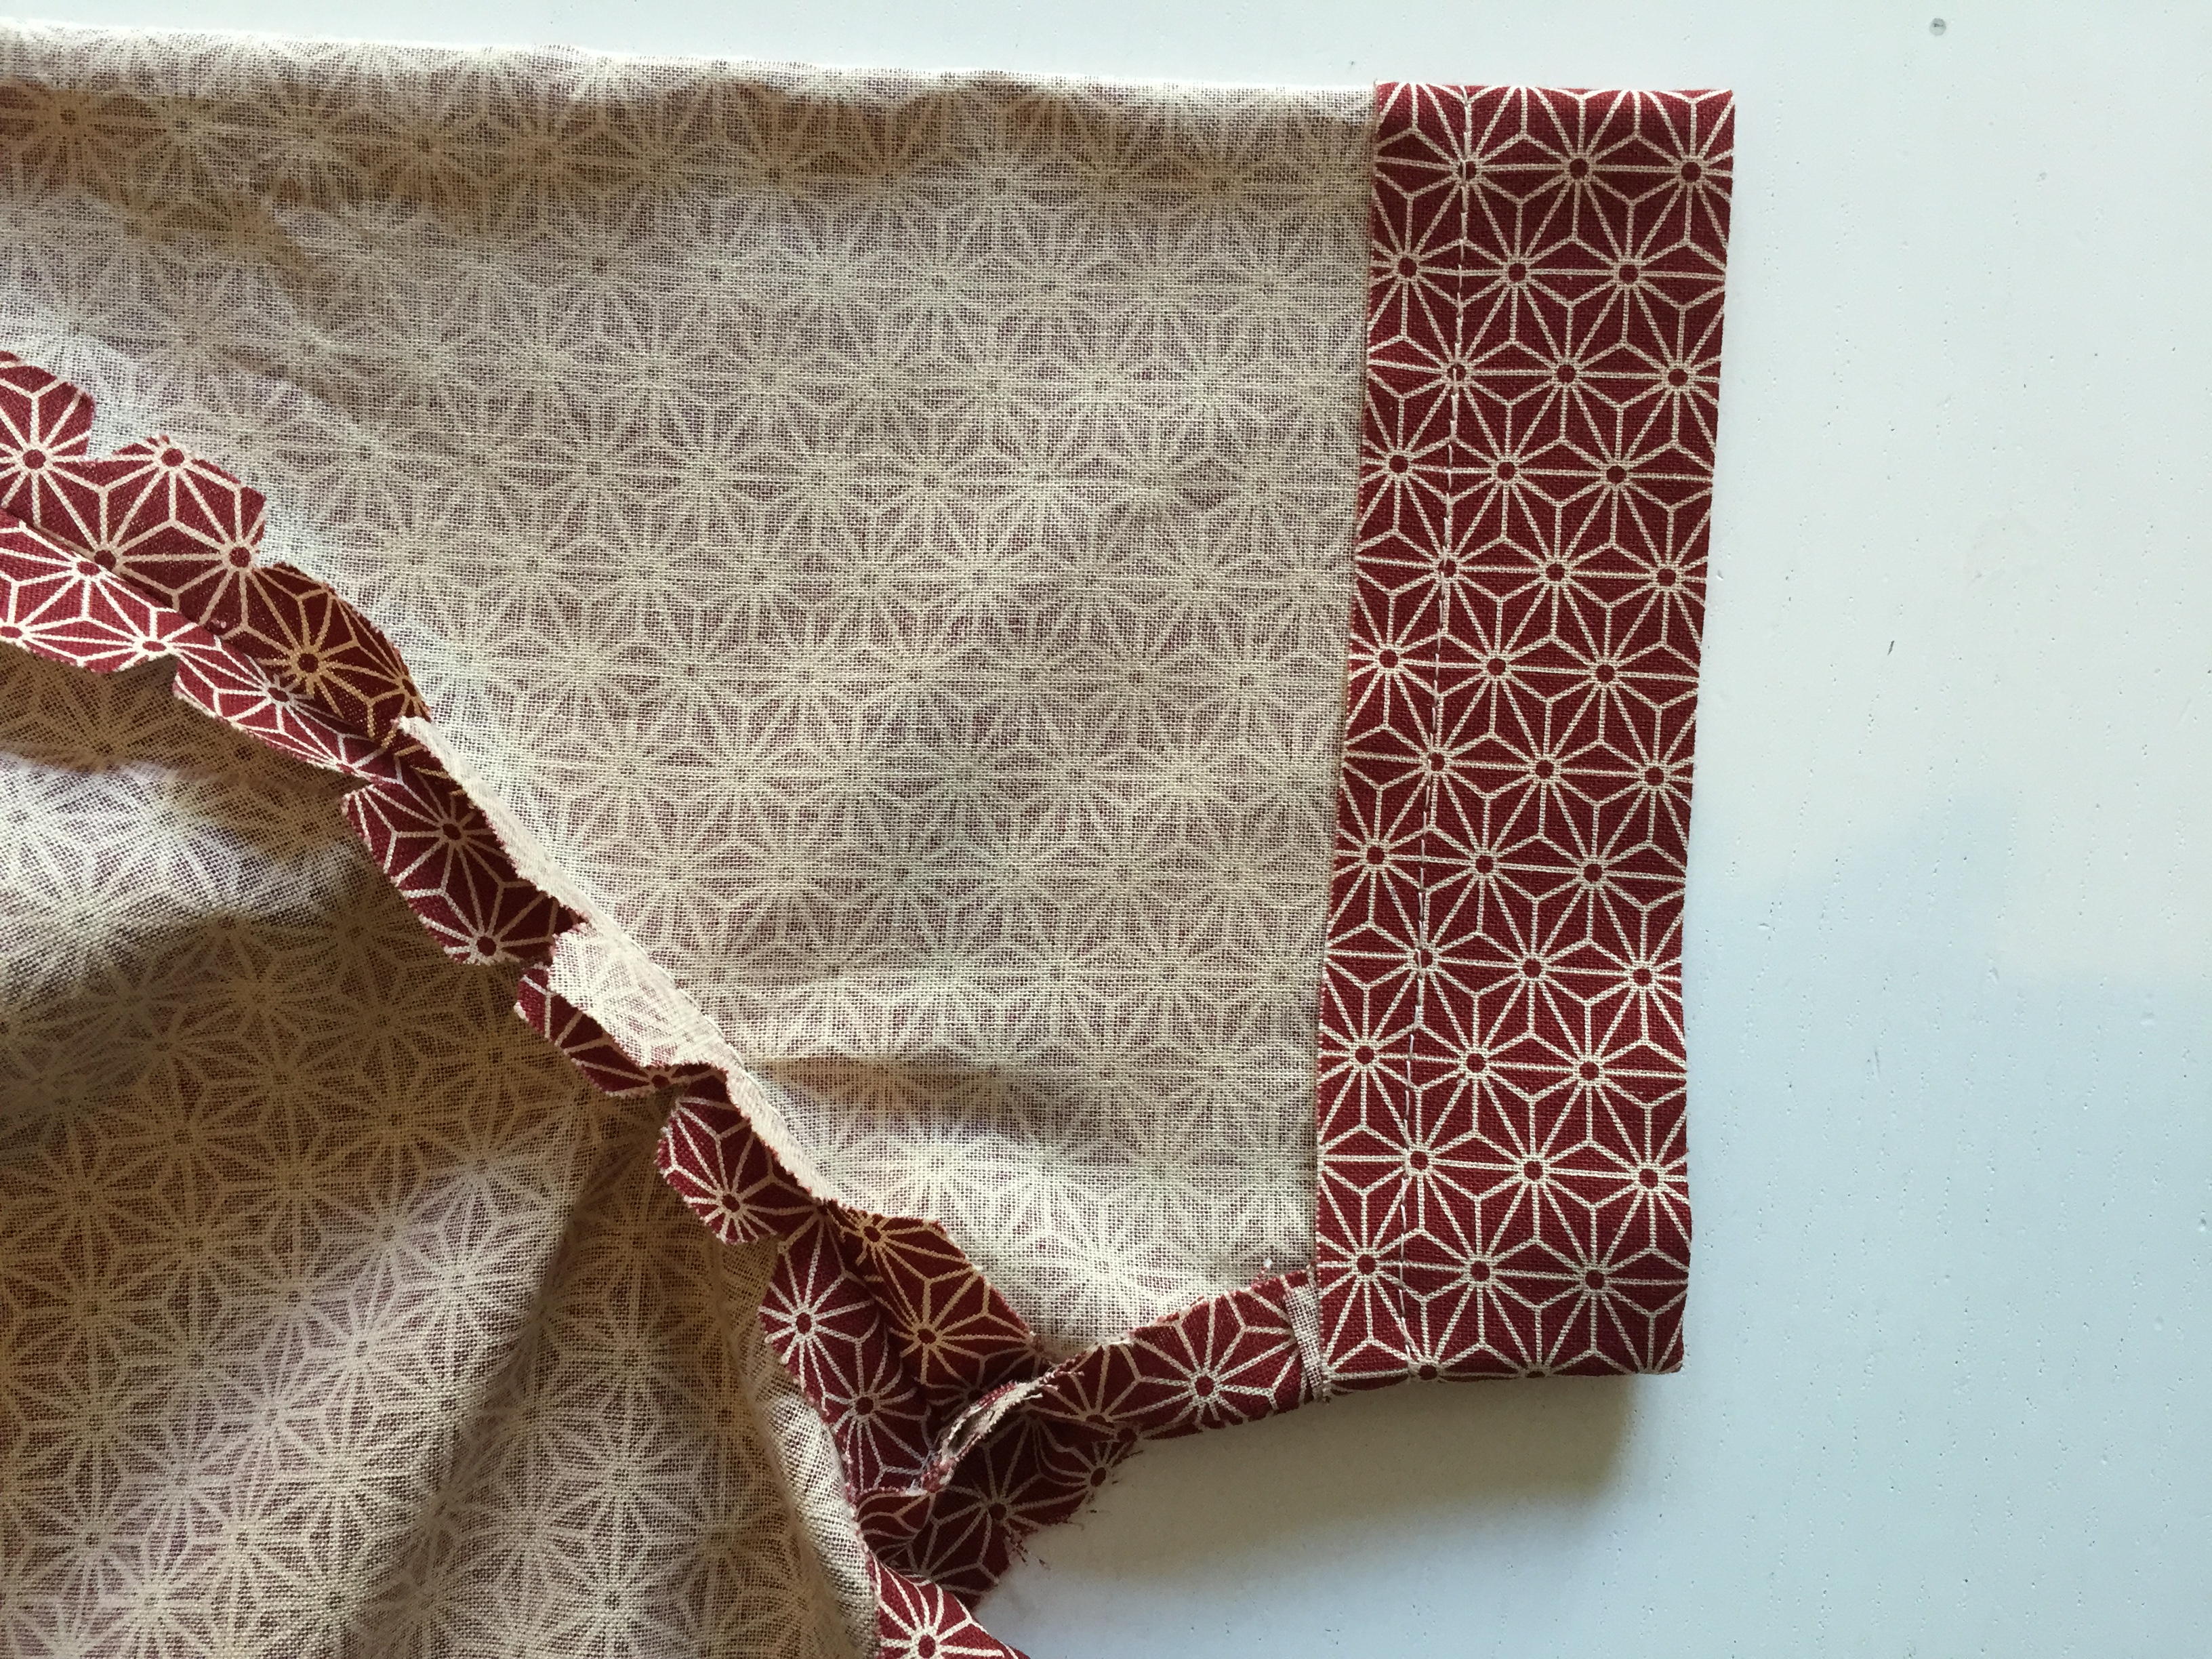
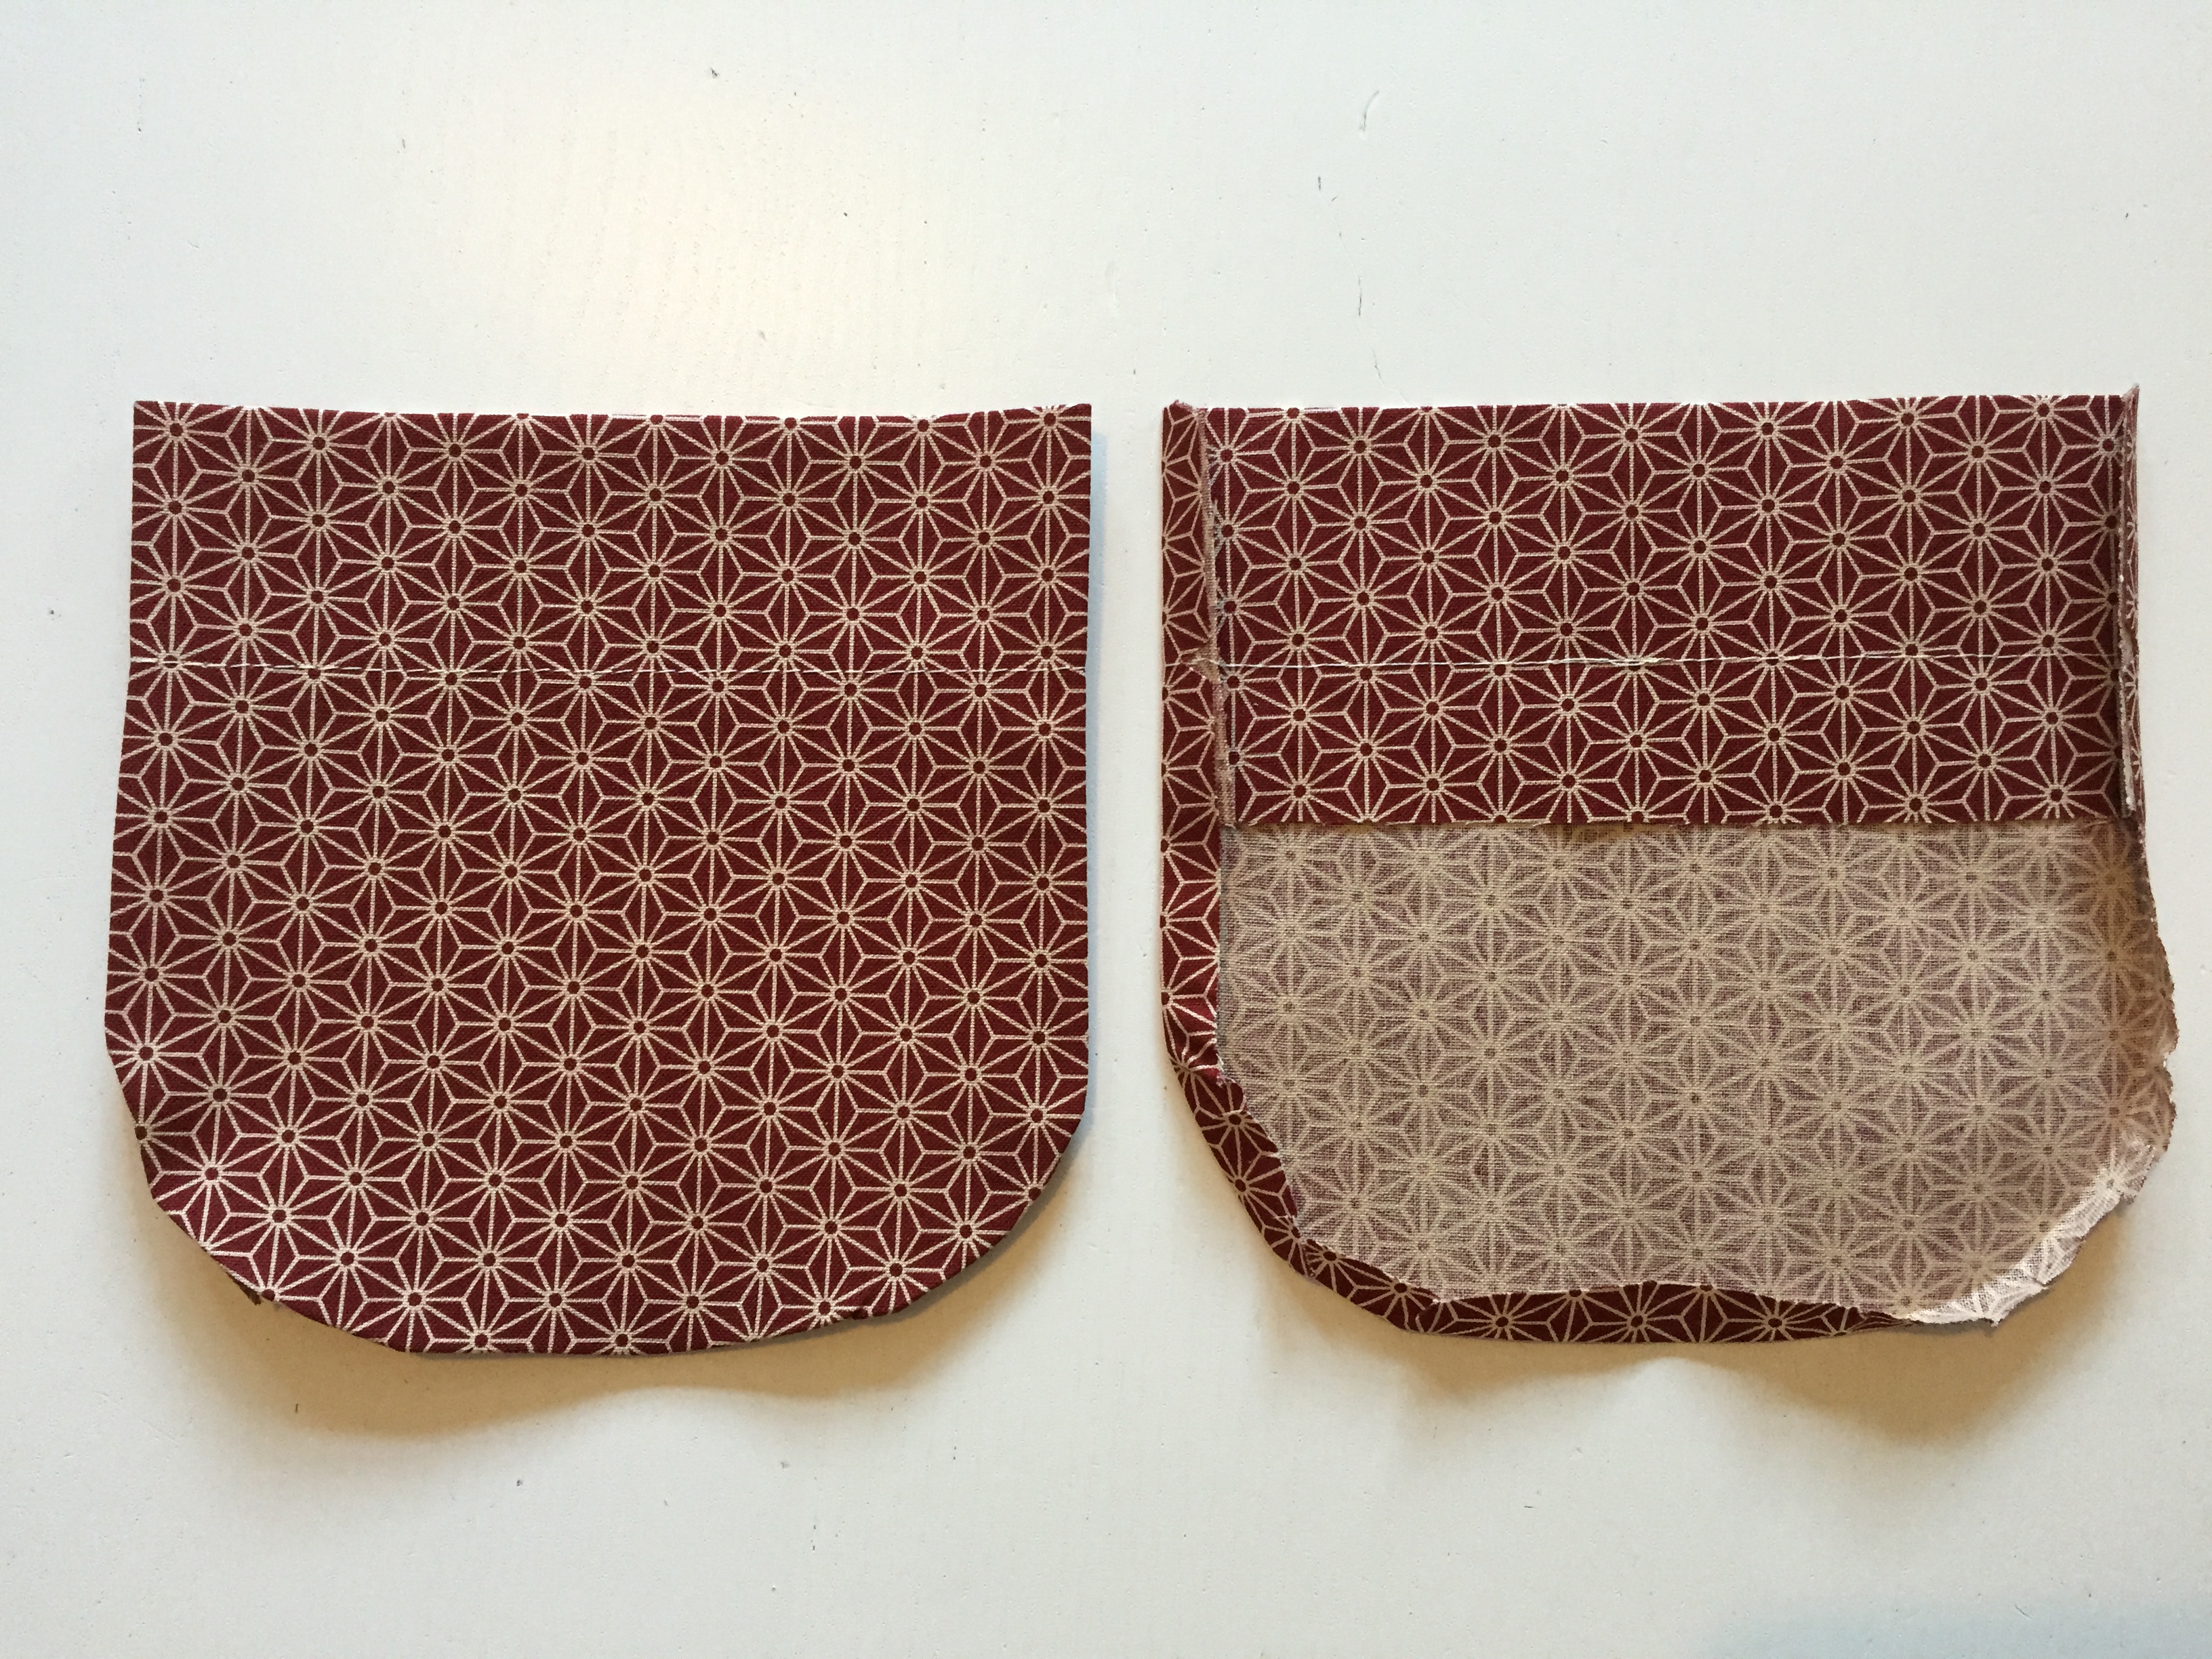
On the wrong side, fold over your pocket on the first notch. Then, on the right side, create a row of top stitches across the pocket from second notch to second notch.
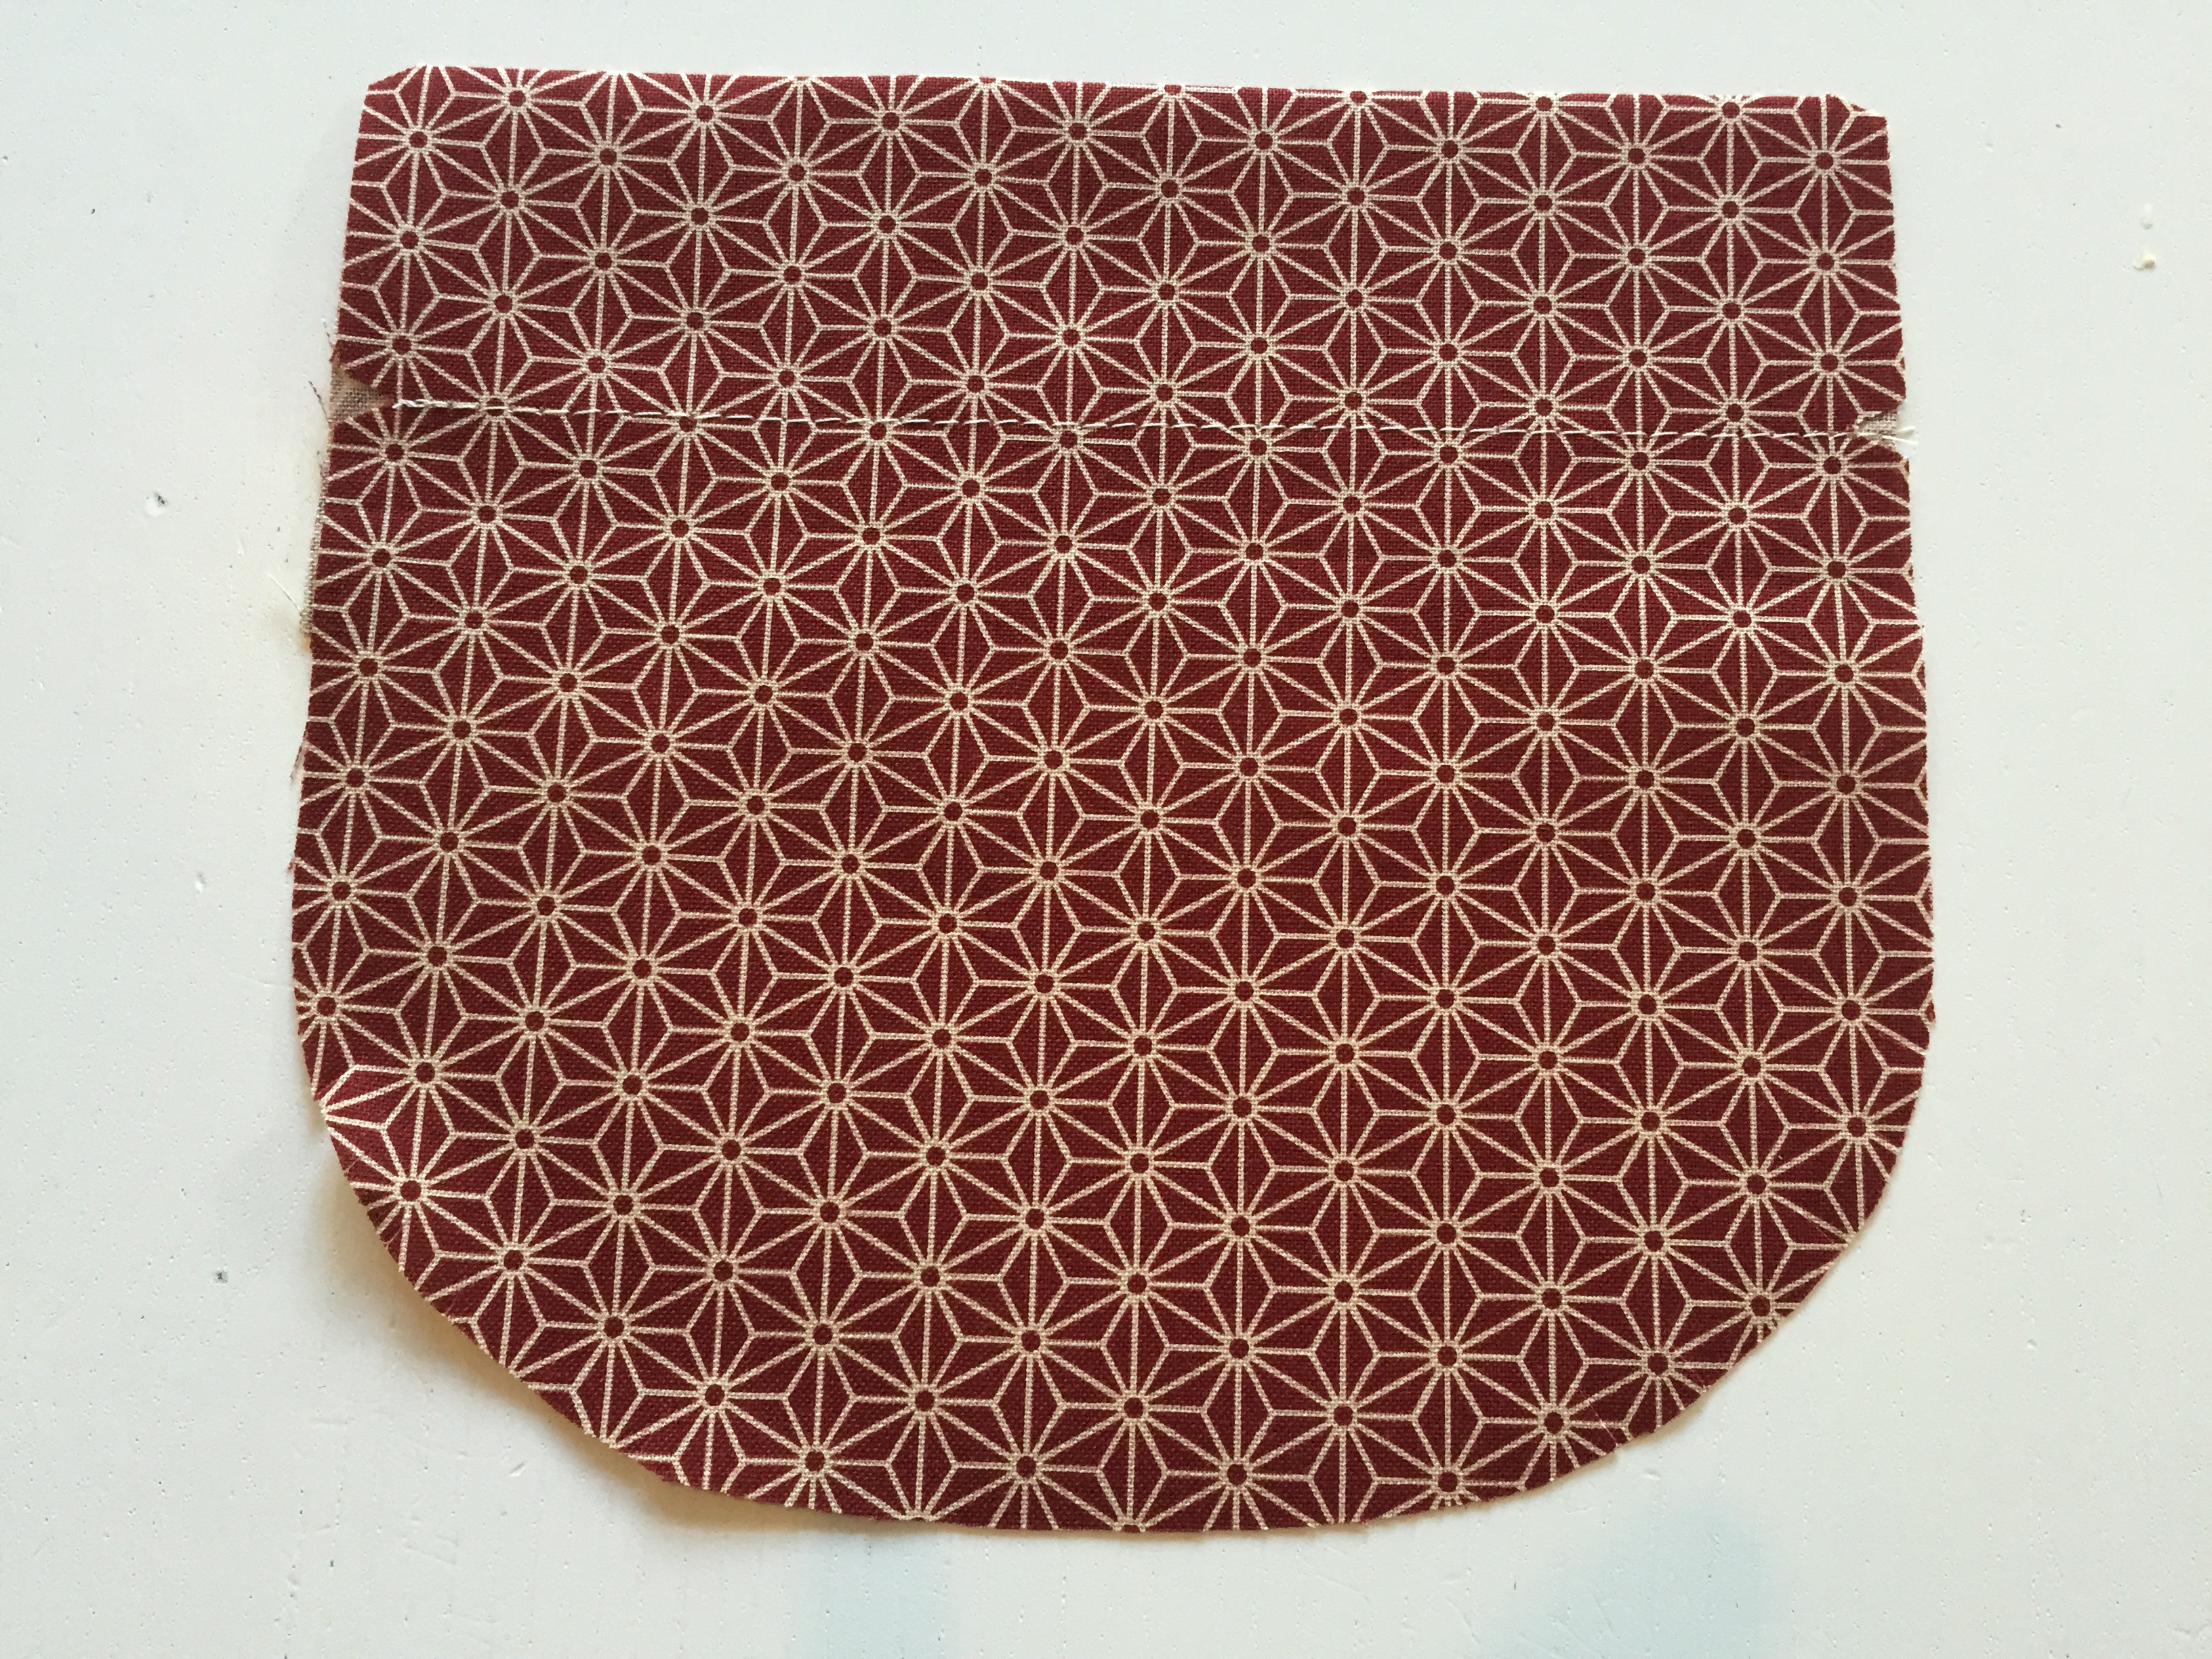
Iron in the seam allowance 1.5cm, shaping the curve as you iron.
Fold the pocket in half and place a pin at the top and bottom marking the middle. This will help us line it up evenly across the side of the dress.
Take your dress to an ironing board and pull the dress on (right sides up) so that the side seam of the dress is flat on the ironing board.
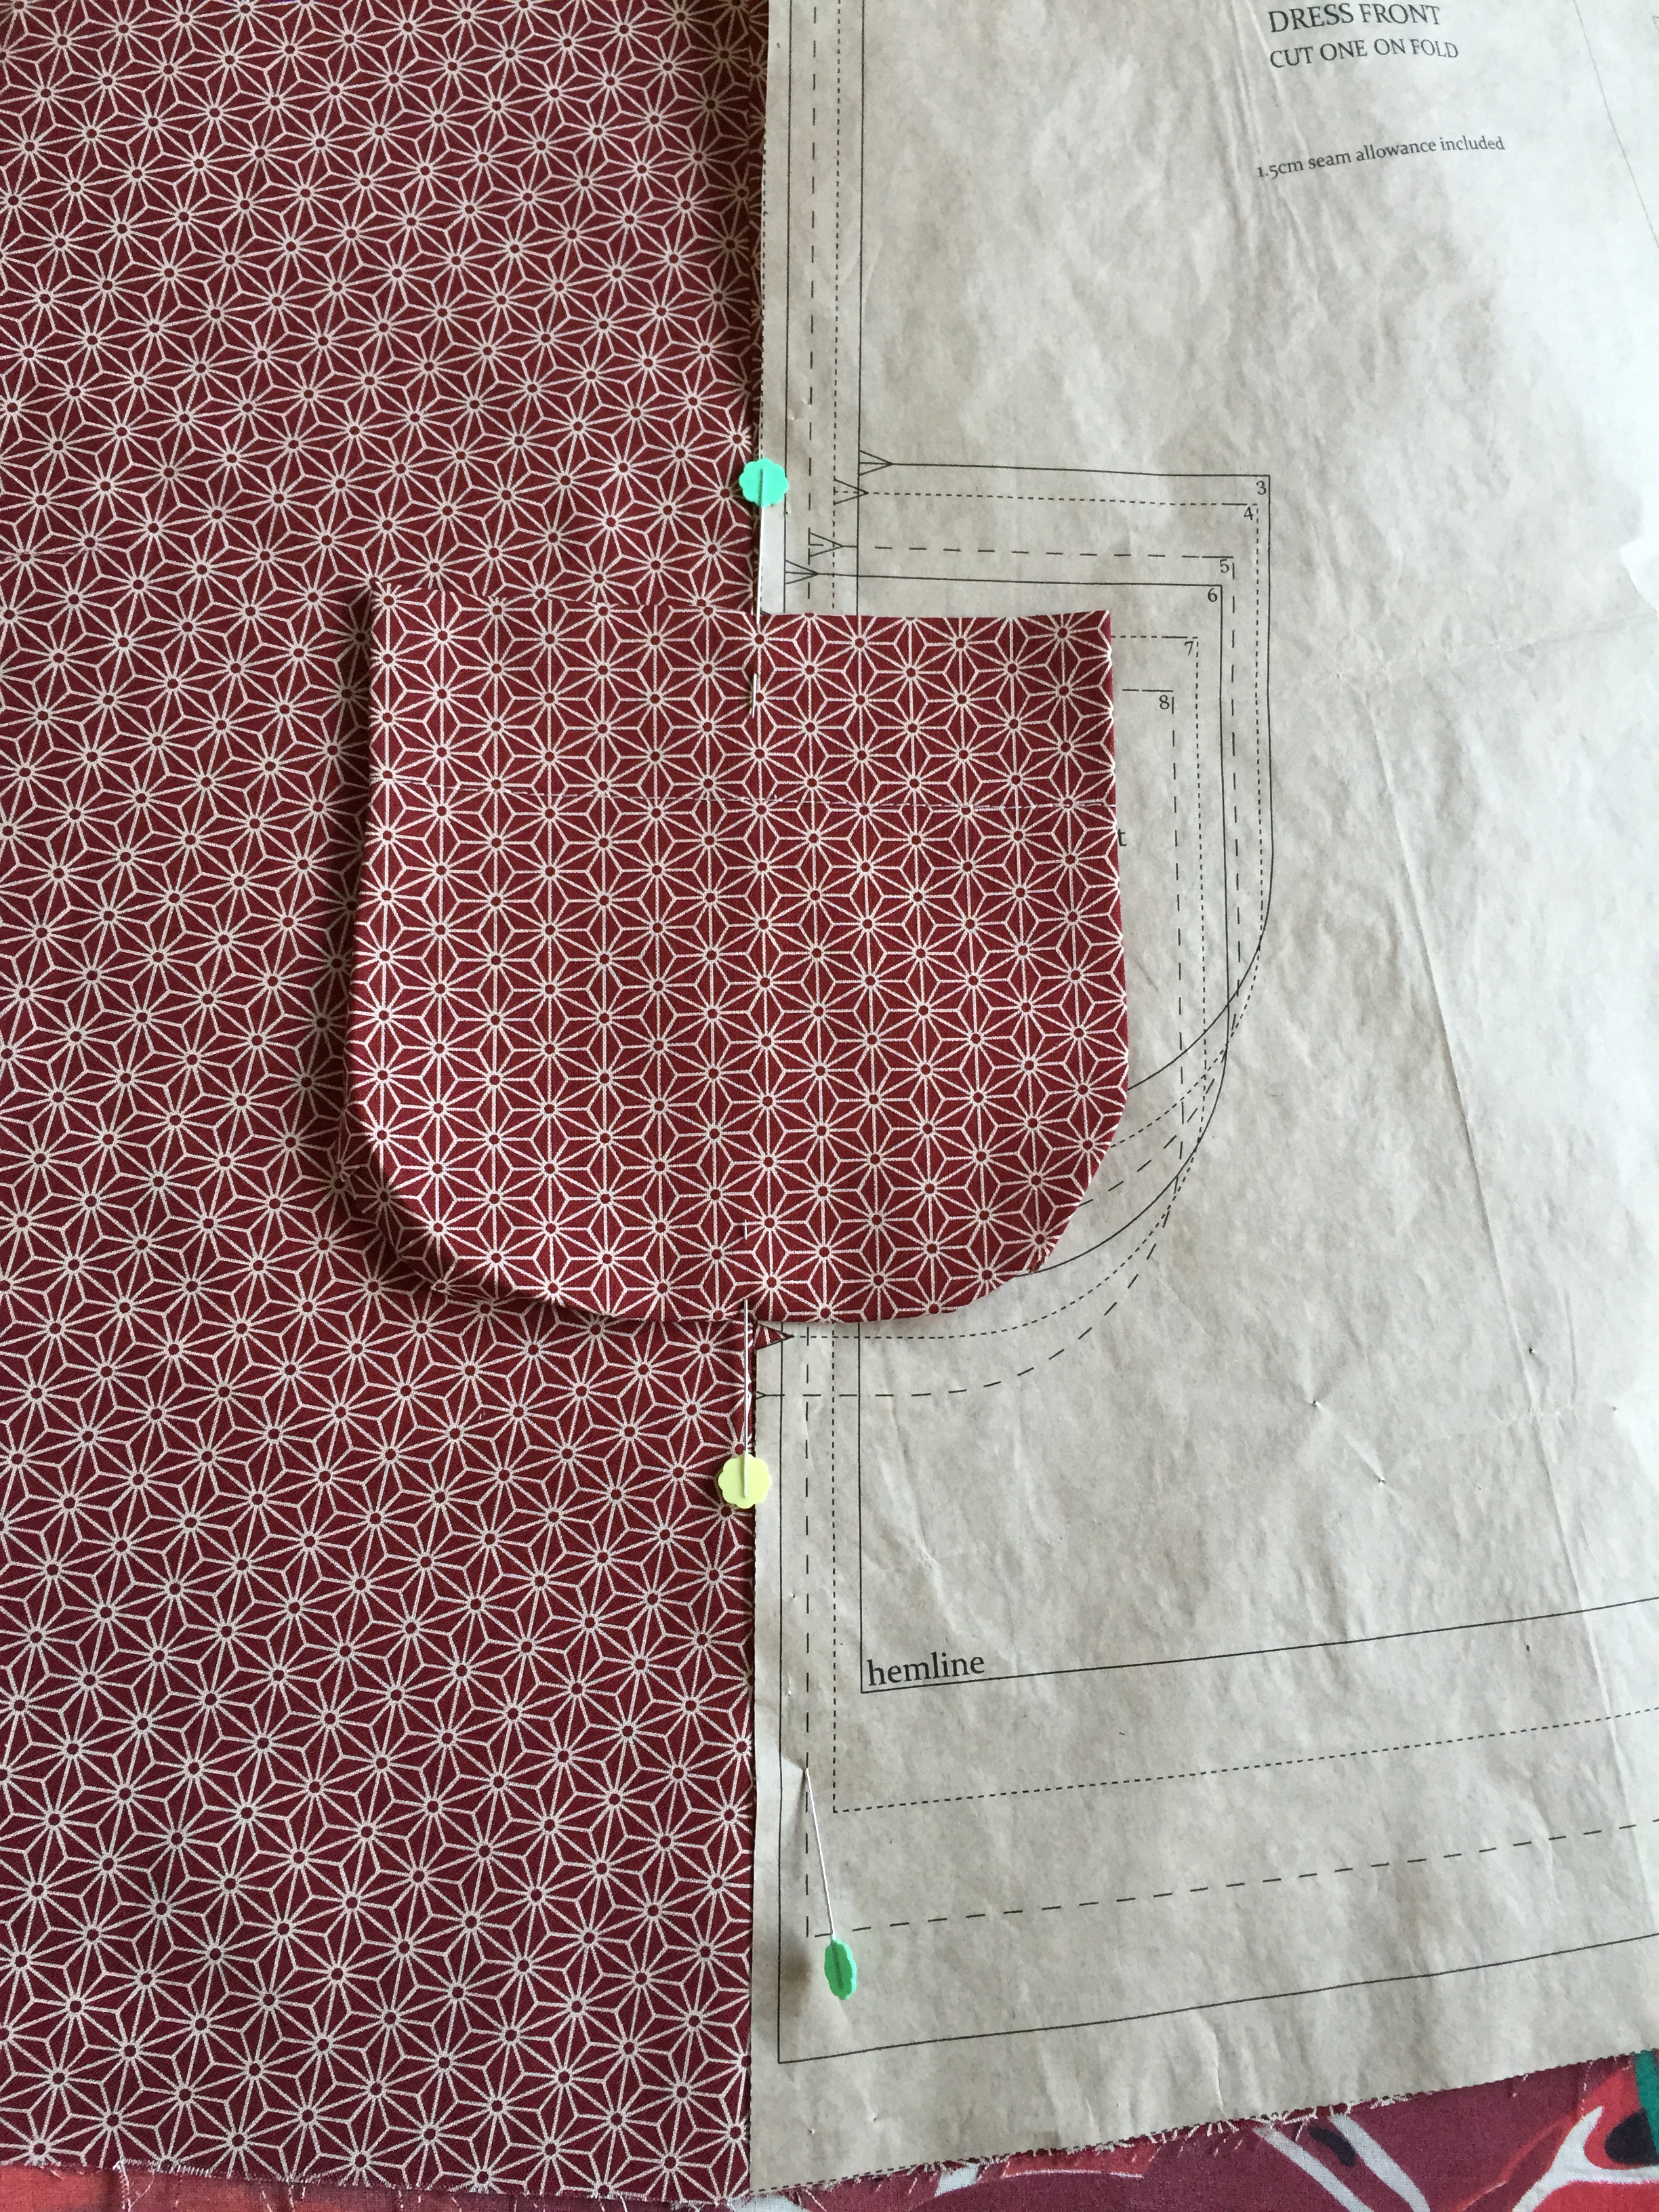
Using the front pattern piece as a guide locate the notches that show you were to place your pocket. Place the pocket onto your dress, matching up the pins on the side seam. Don’t spend too much time trying to match it up to the actual pocket drawing on the pattern piece – this is visual only. The notches are the guide!
Place pins every 2cm around the pocket to keep it firmly in place for when you sew the pocket.
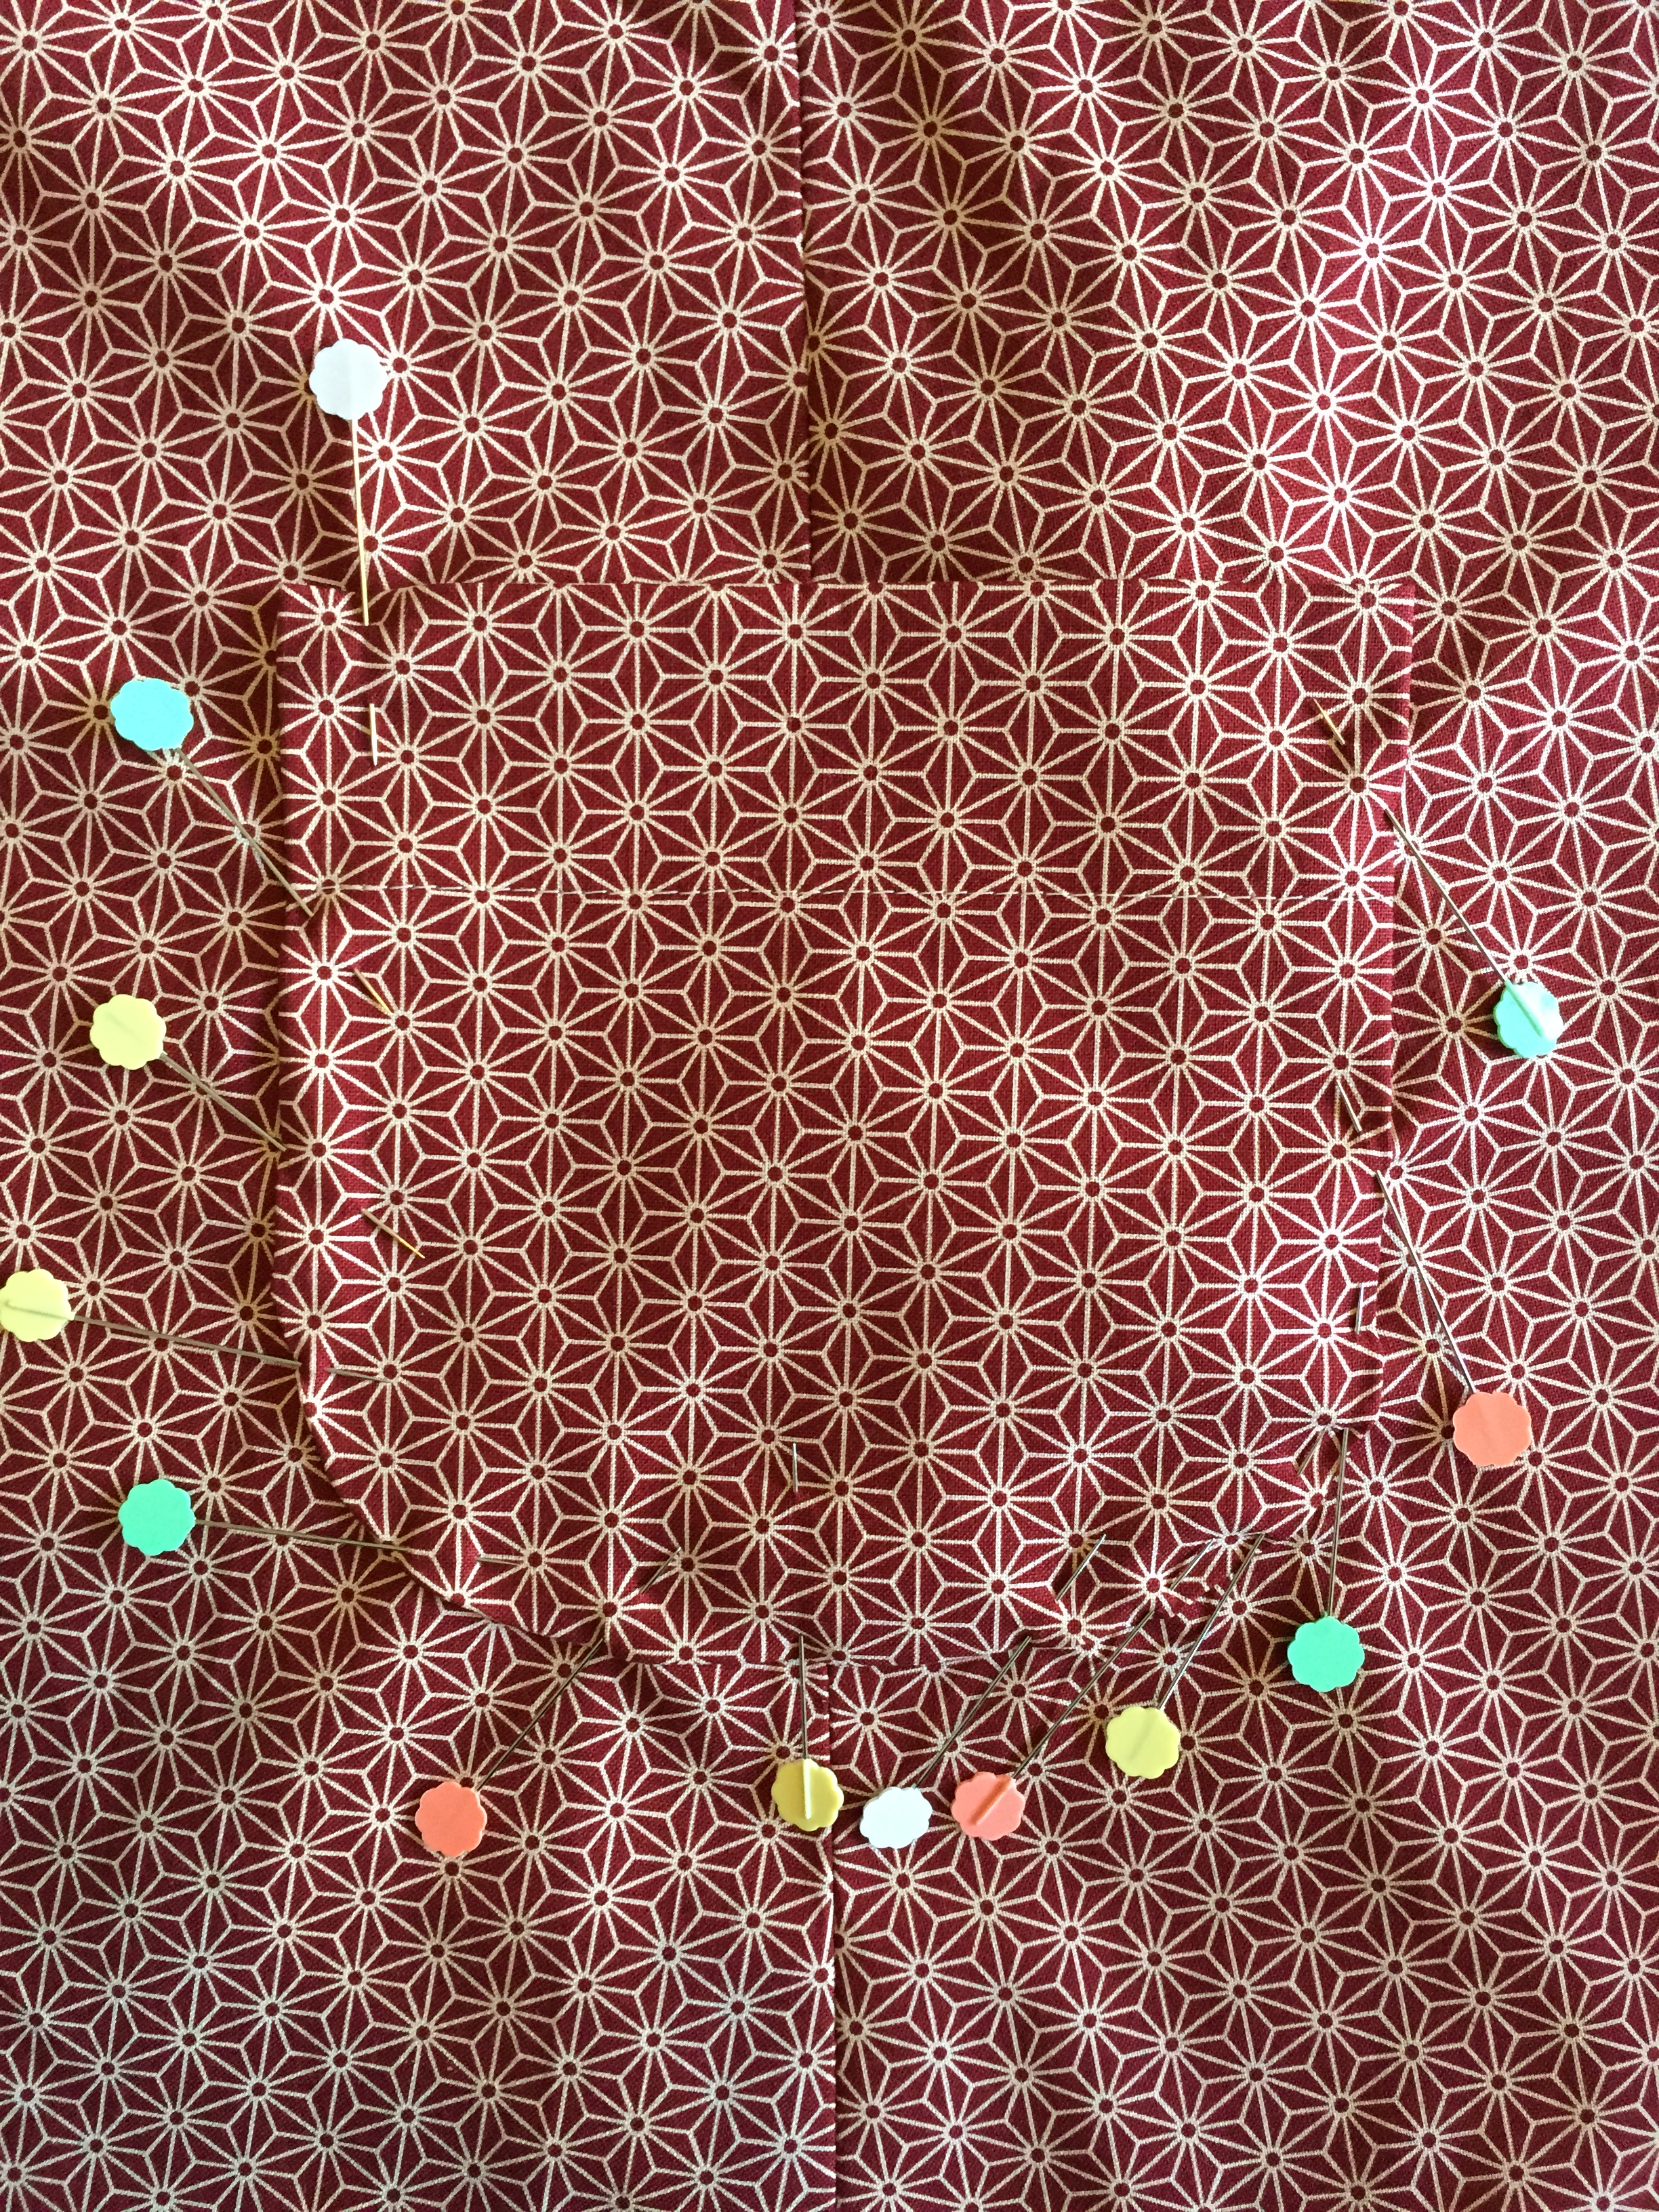
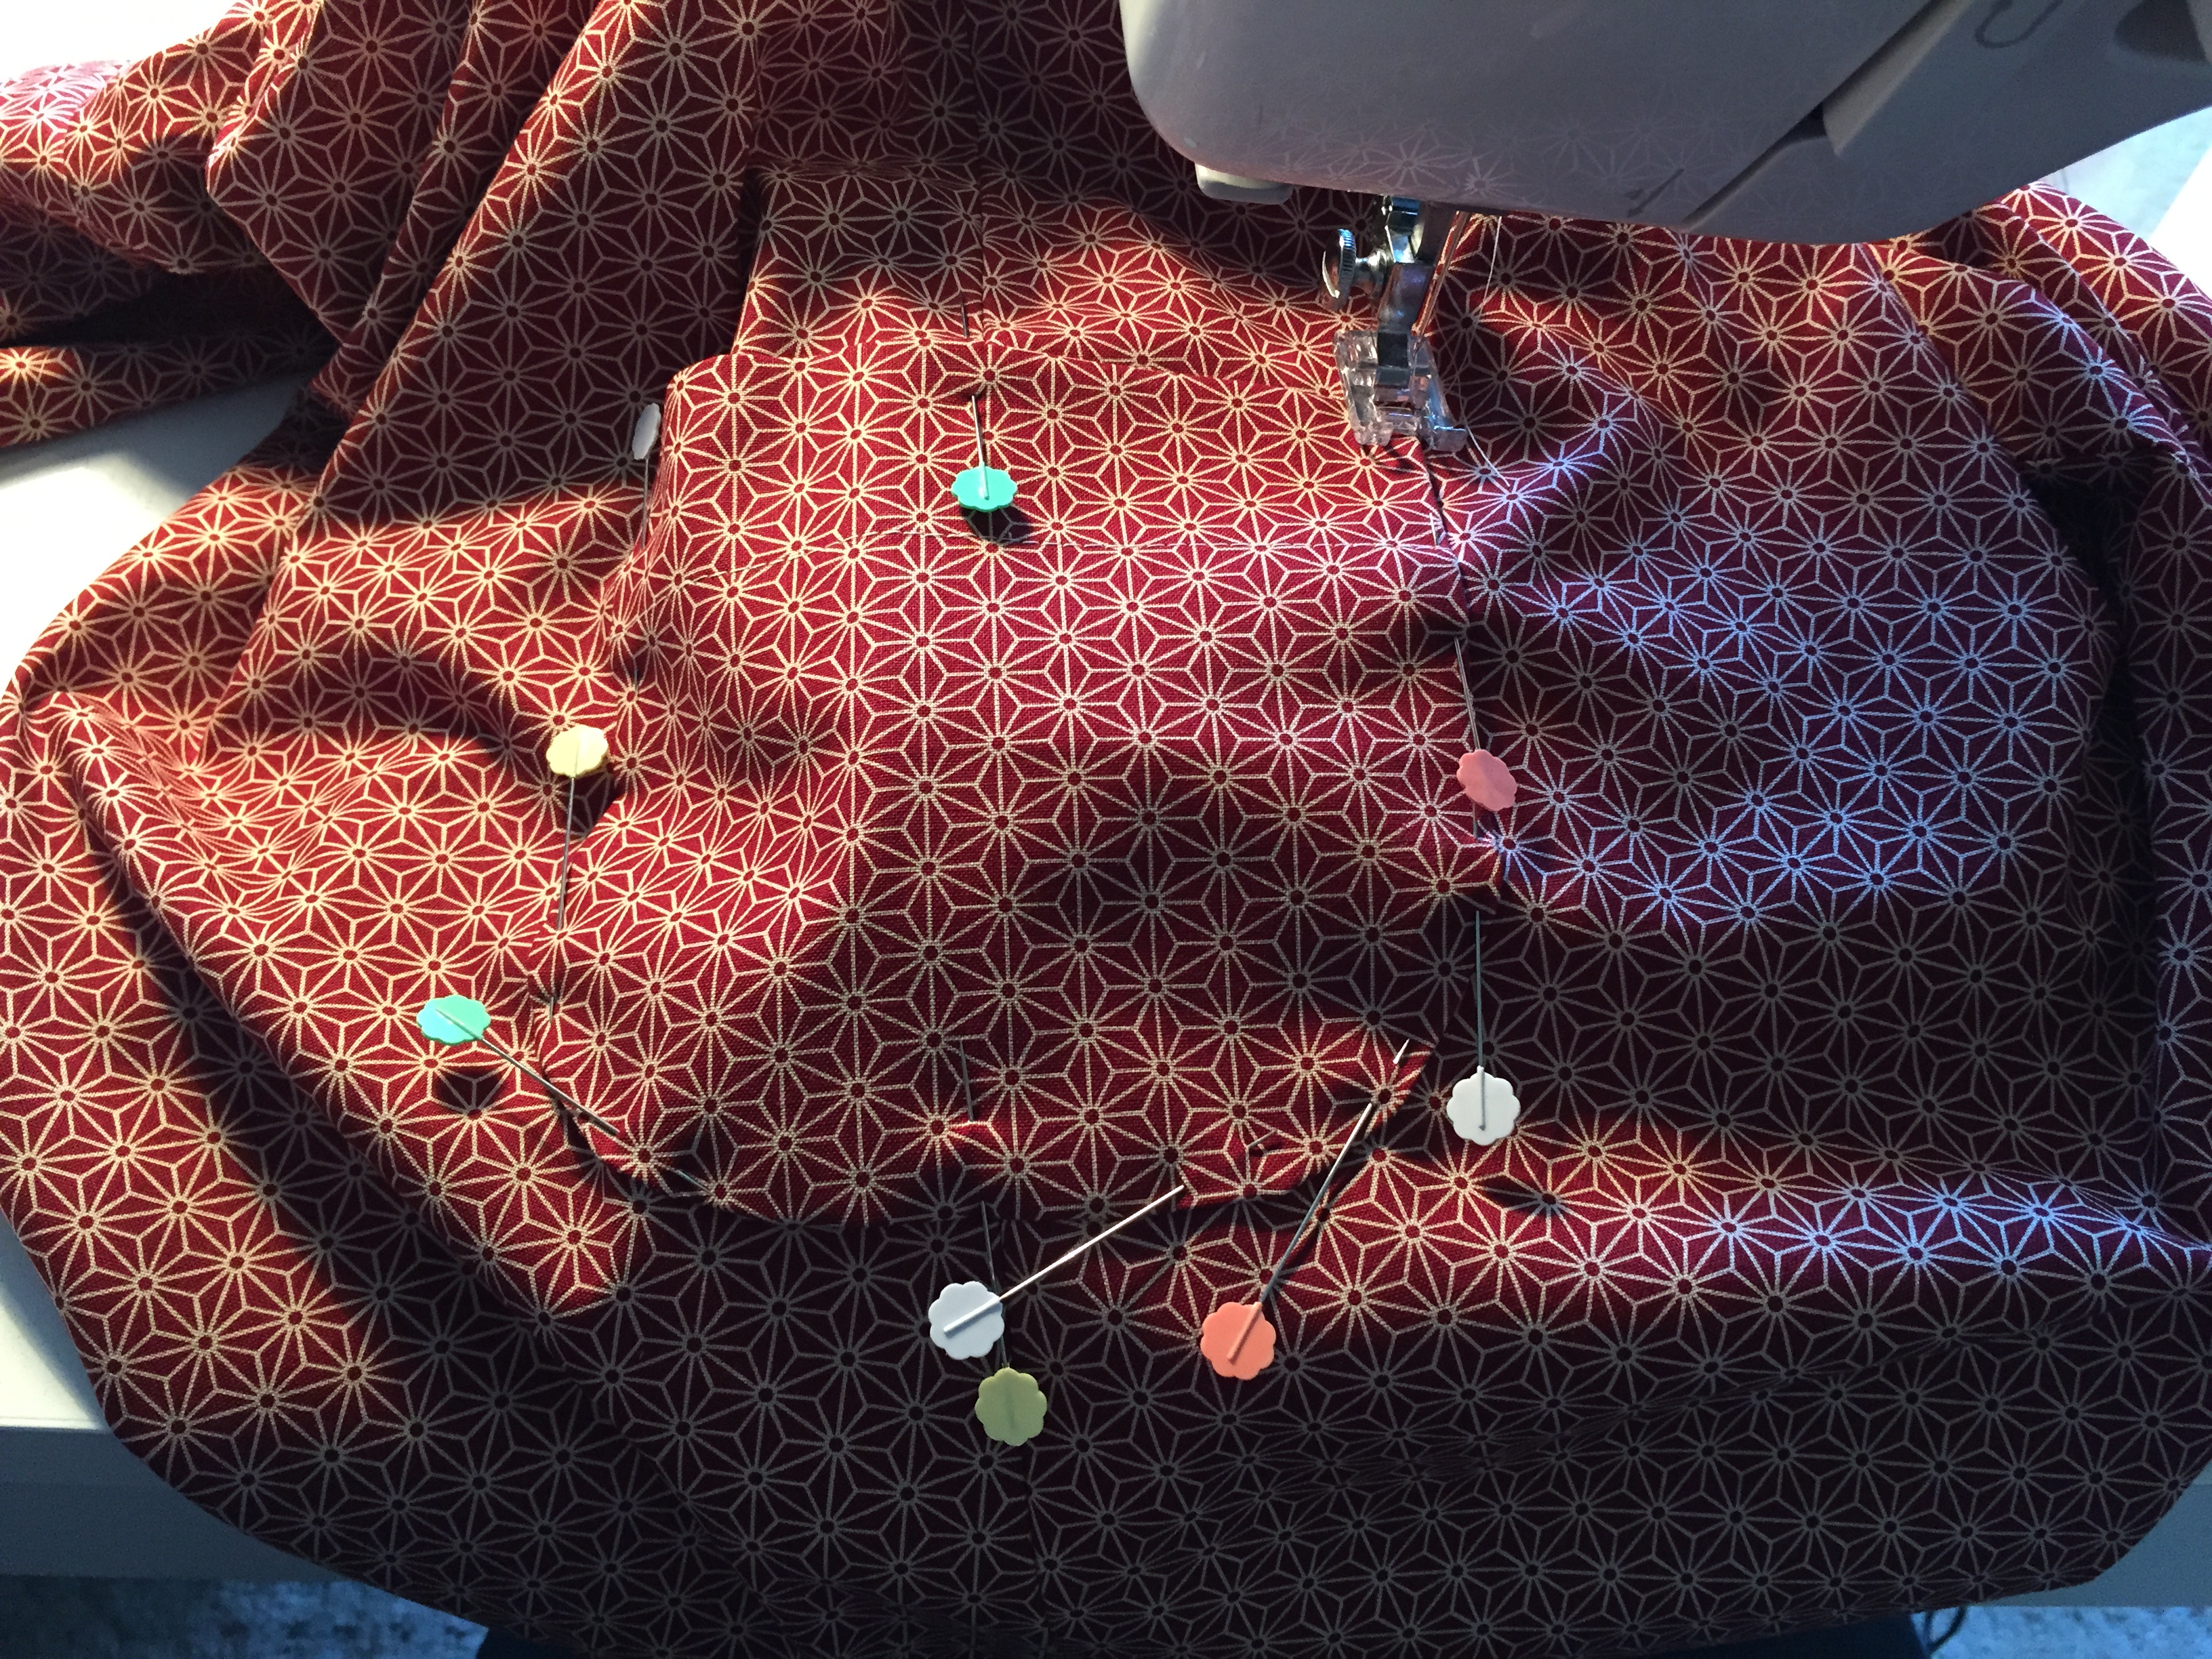
Starting at the left side of the pocket topstitch your pocket on. Stitch closely to the edge of the pocket. Sew slowly and carefully. Can you see how I have placed the pins?? They can easily be slid out as you are getting to them with your stitches but at the same time the rest of the pins are holding it all nicely in place!
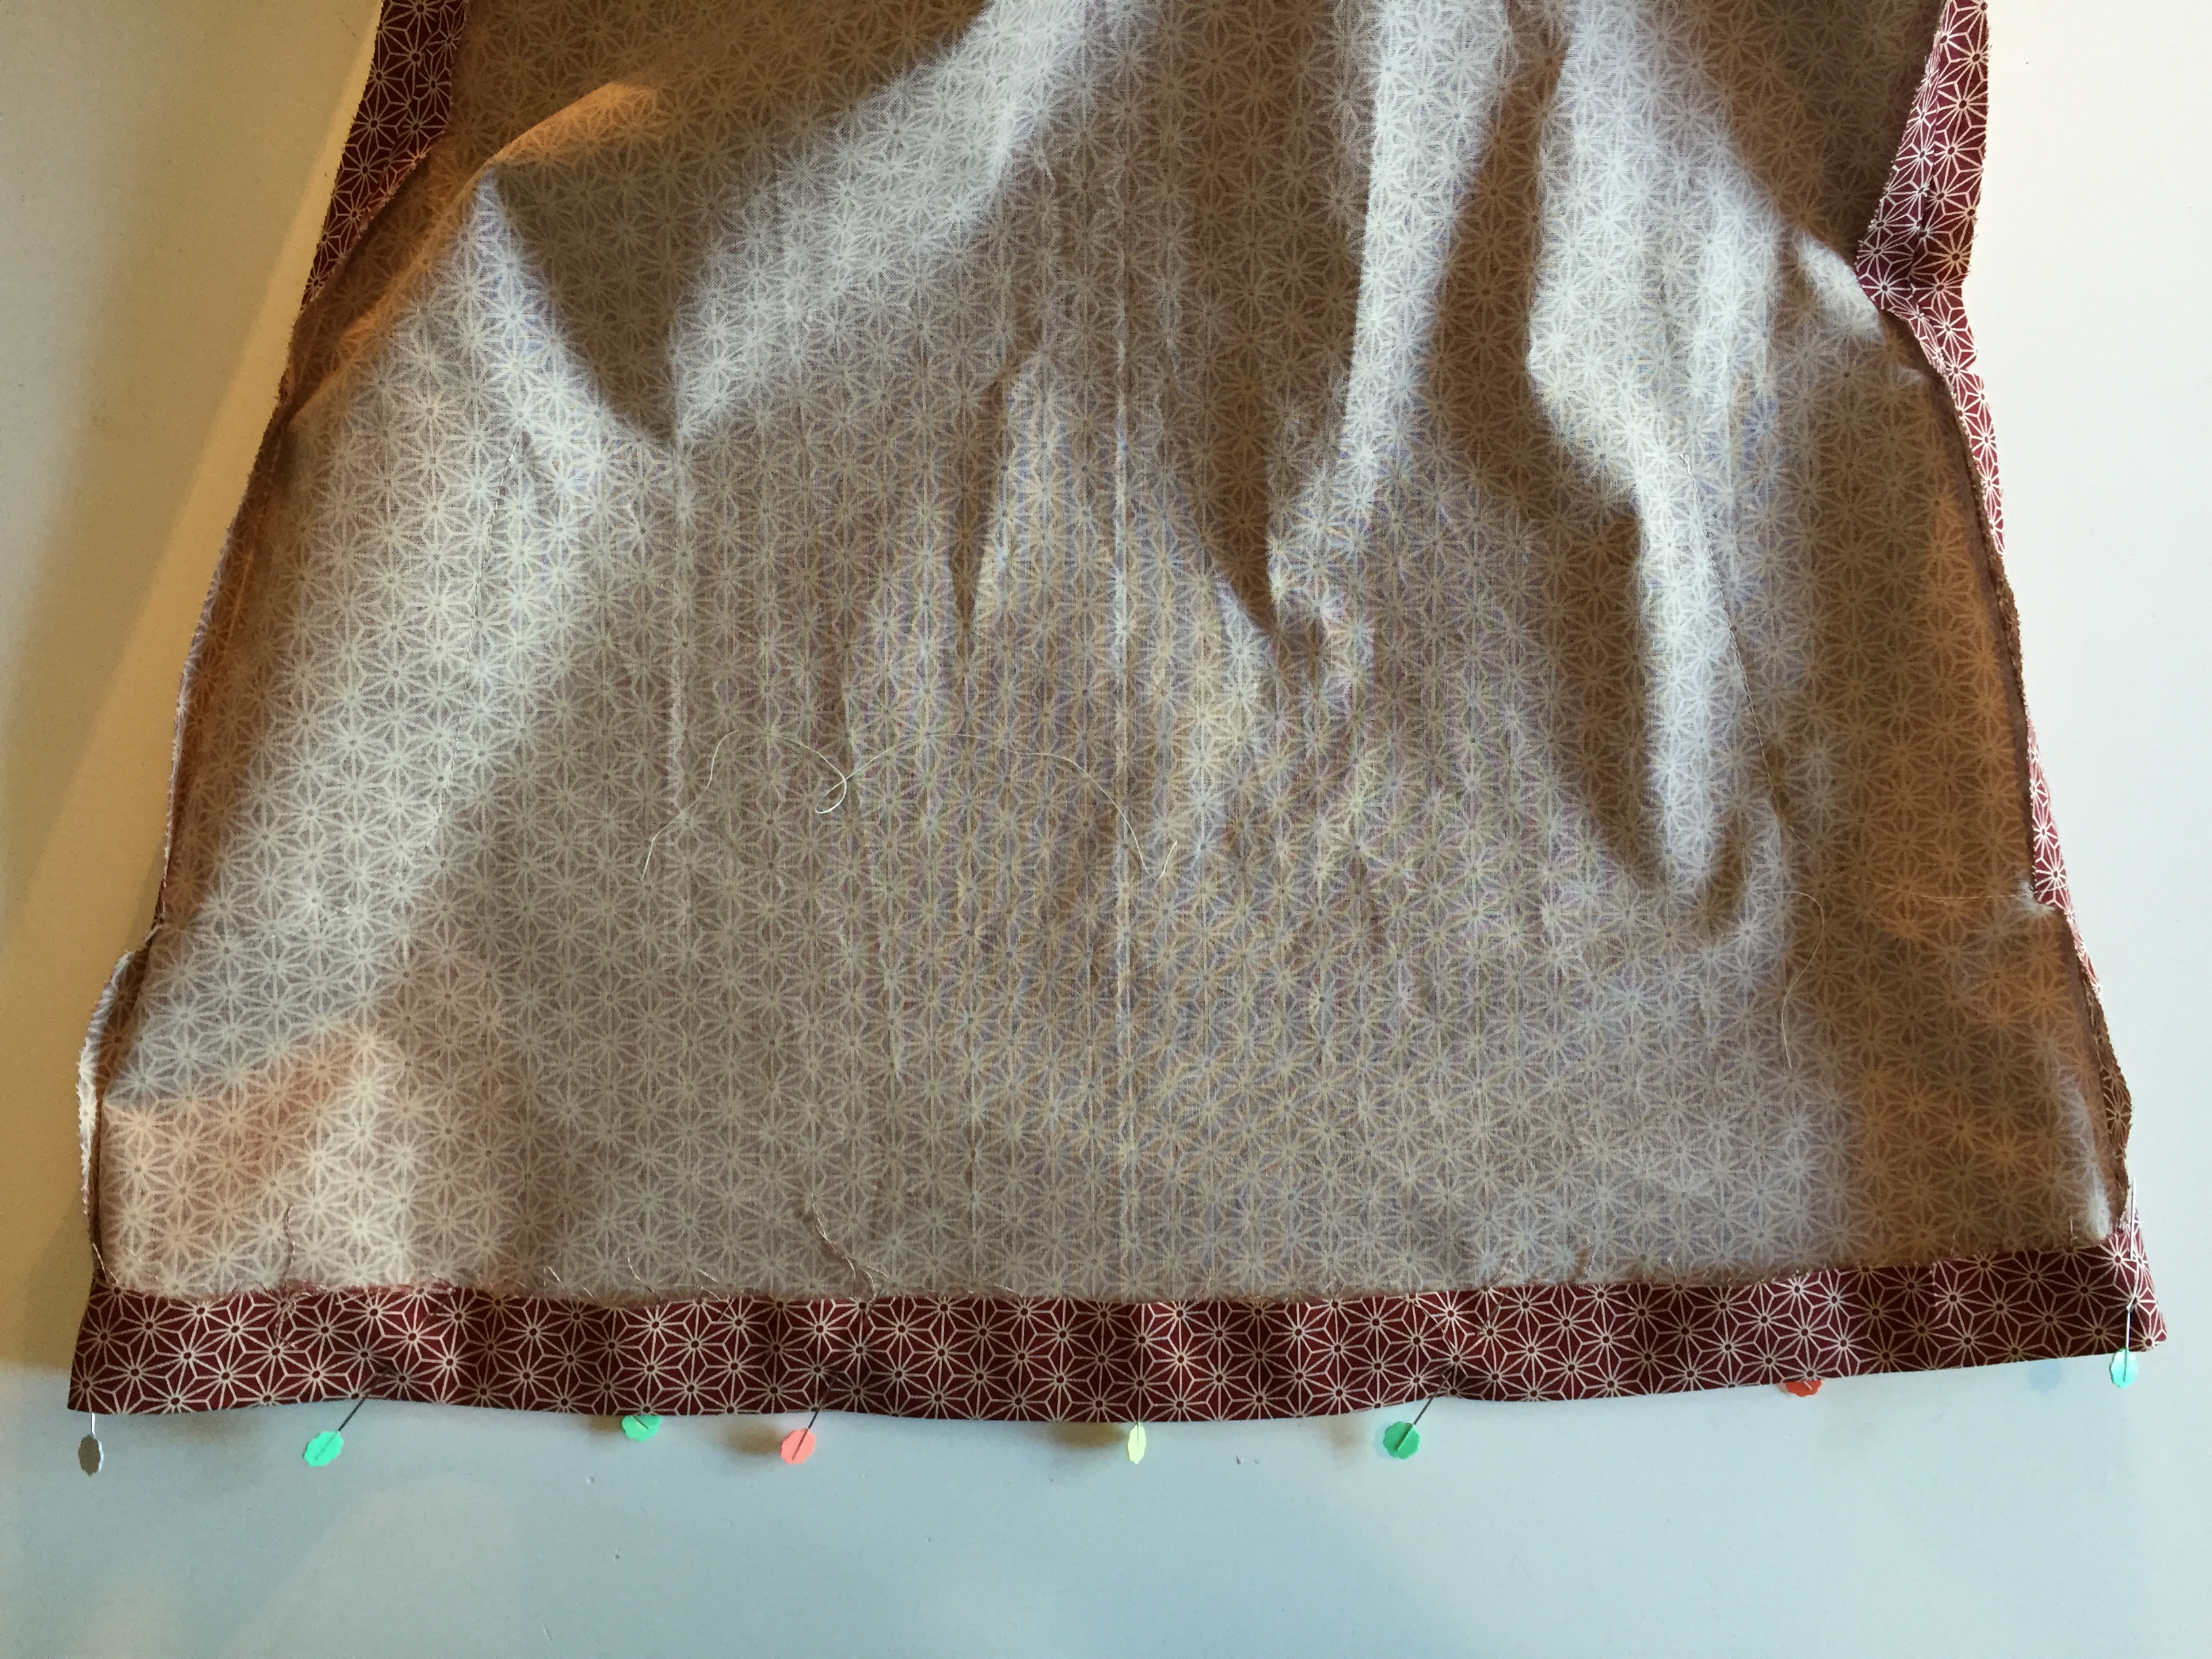
THE HEM – VIEW A & B
On the bottom edge of the dress turn up the hem – 3cm – and pin in place, ensuring seam allowances are open at side seams.
Tip. Put the dress over your ironing board and use your measuring tape to ensure hem is consistent. Iron the seam flat as you work your way around the dress.
Tip. If your fabric is thick it may be difficult to turn up 3cm. In this case just use a 1.5 or 2cm hem allowance.
FINISHING TOUCHES
If you find that your facing is sticking up a bit why not hand stitch it on the inside and catch it to the sleeve seam allowance?
Now you can give your lovely dress an iron, find that little girl in your life and pop it on. We’d love to see your pics of your gorgeous creation so please share!