


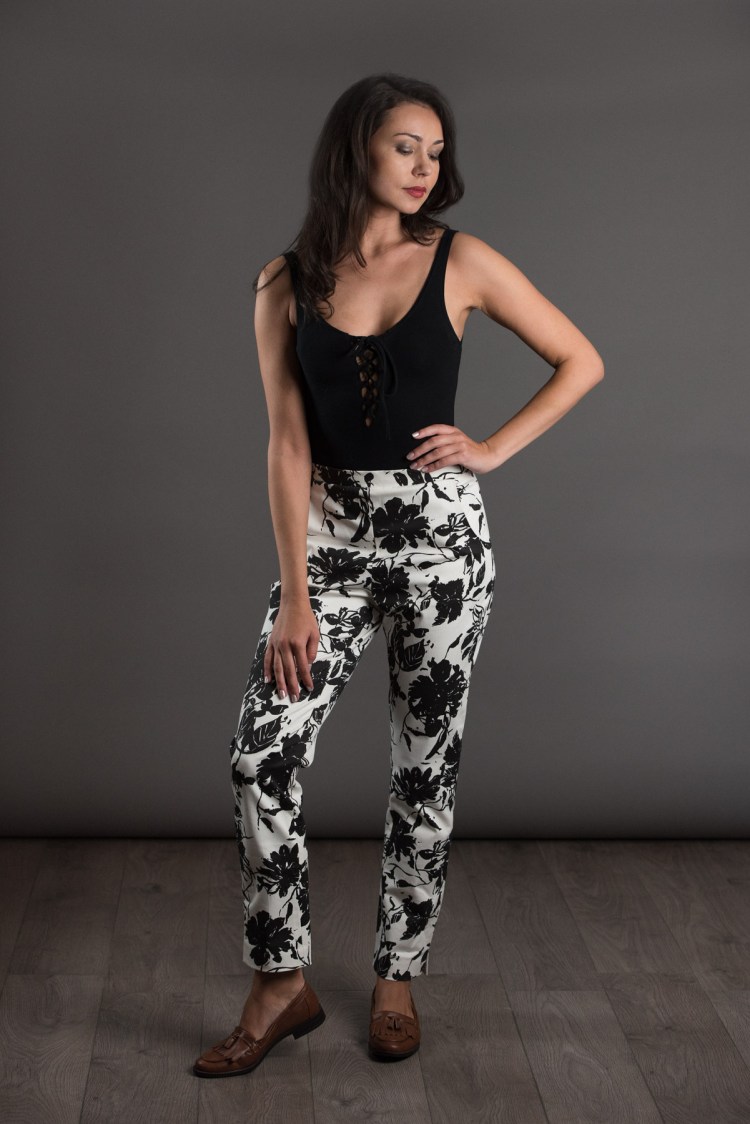
 These trousers are a slim fit, so please ensure you have selected the right size. To ensure the perfect fit, we advise making them in a cheaper fabric that is similar to the fabric you are using. You can then see where you need to alter the pattern to obtain the perfect fit.
Before you start – do you need to shorten or lengthen the trouser length? Have a look here on how to do this!
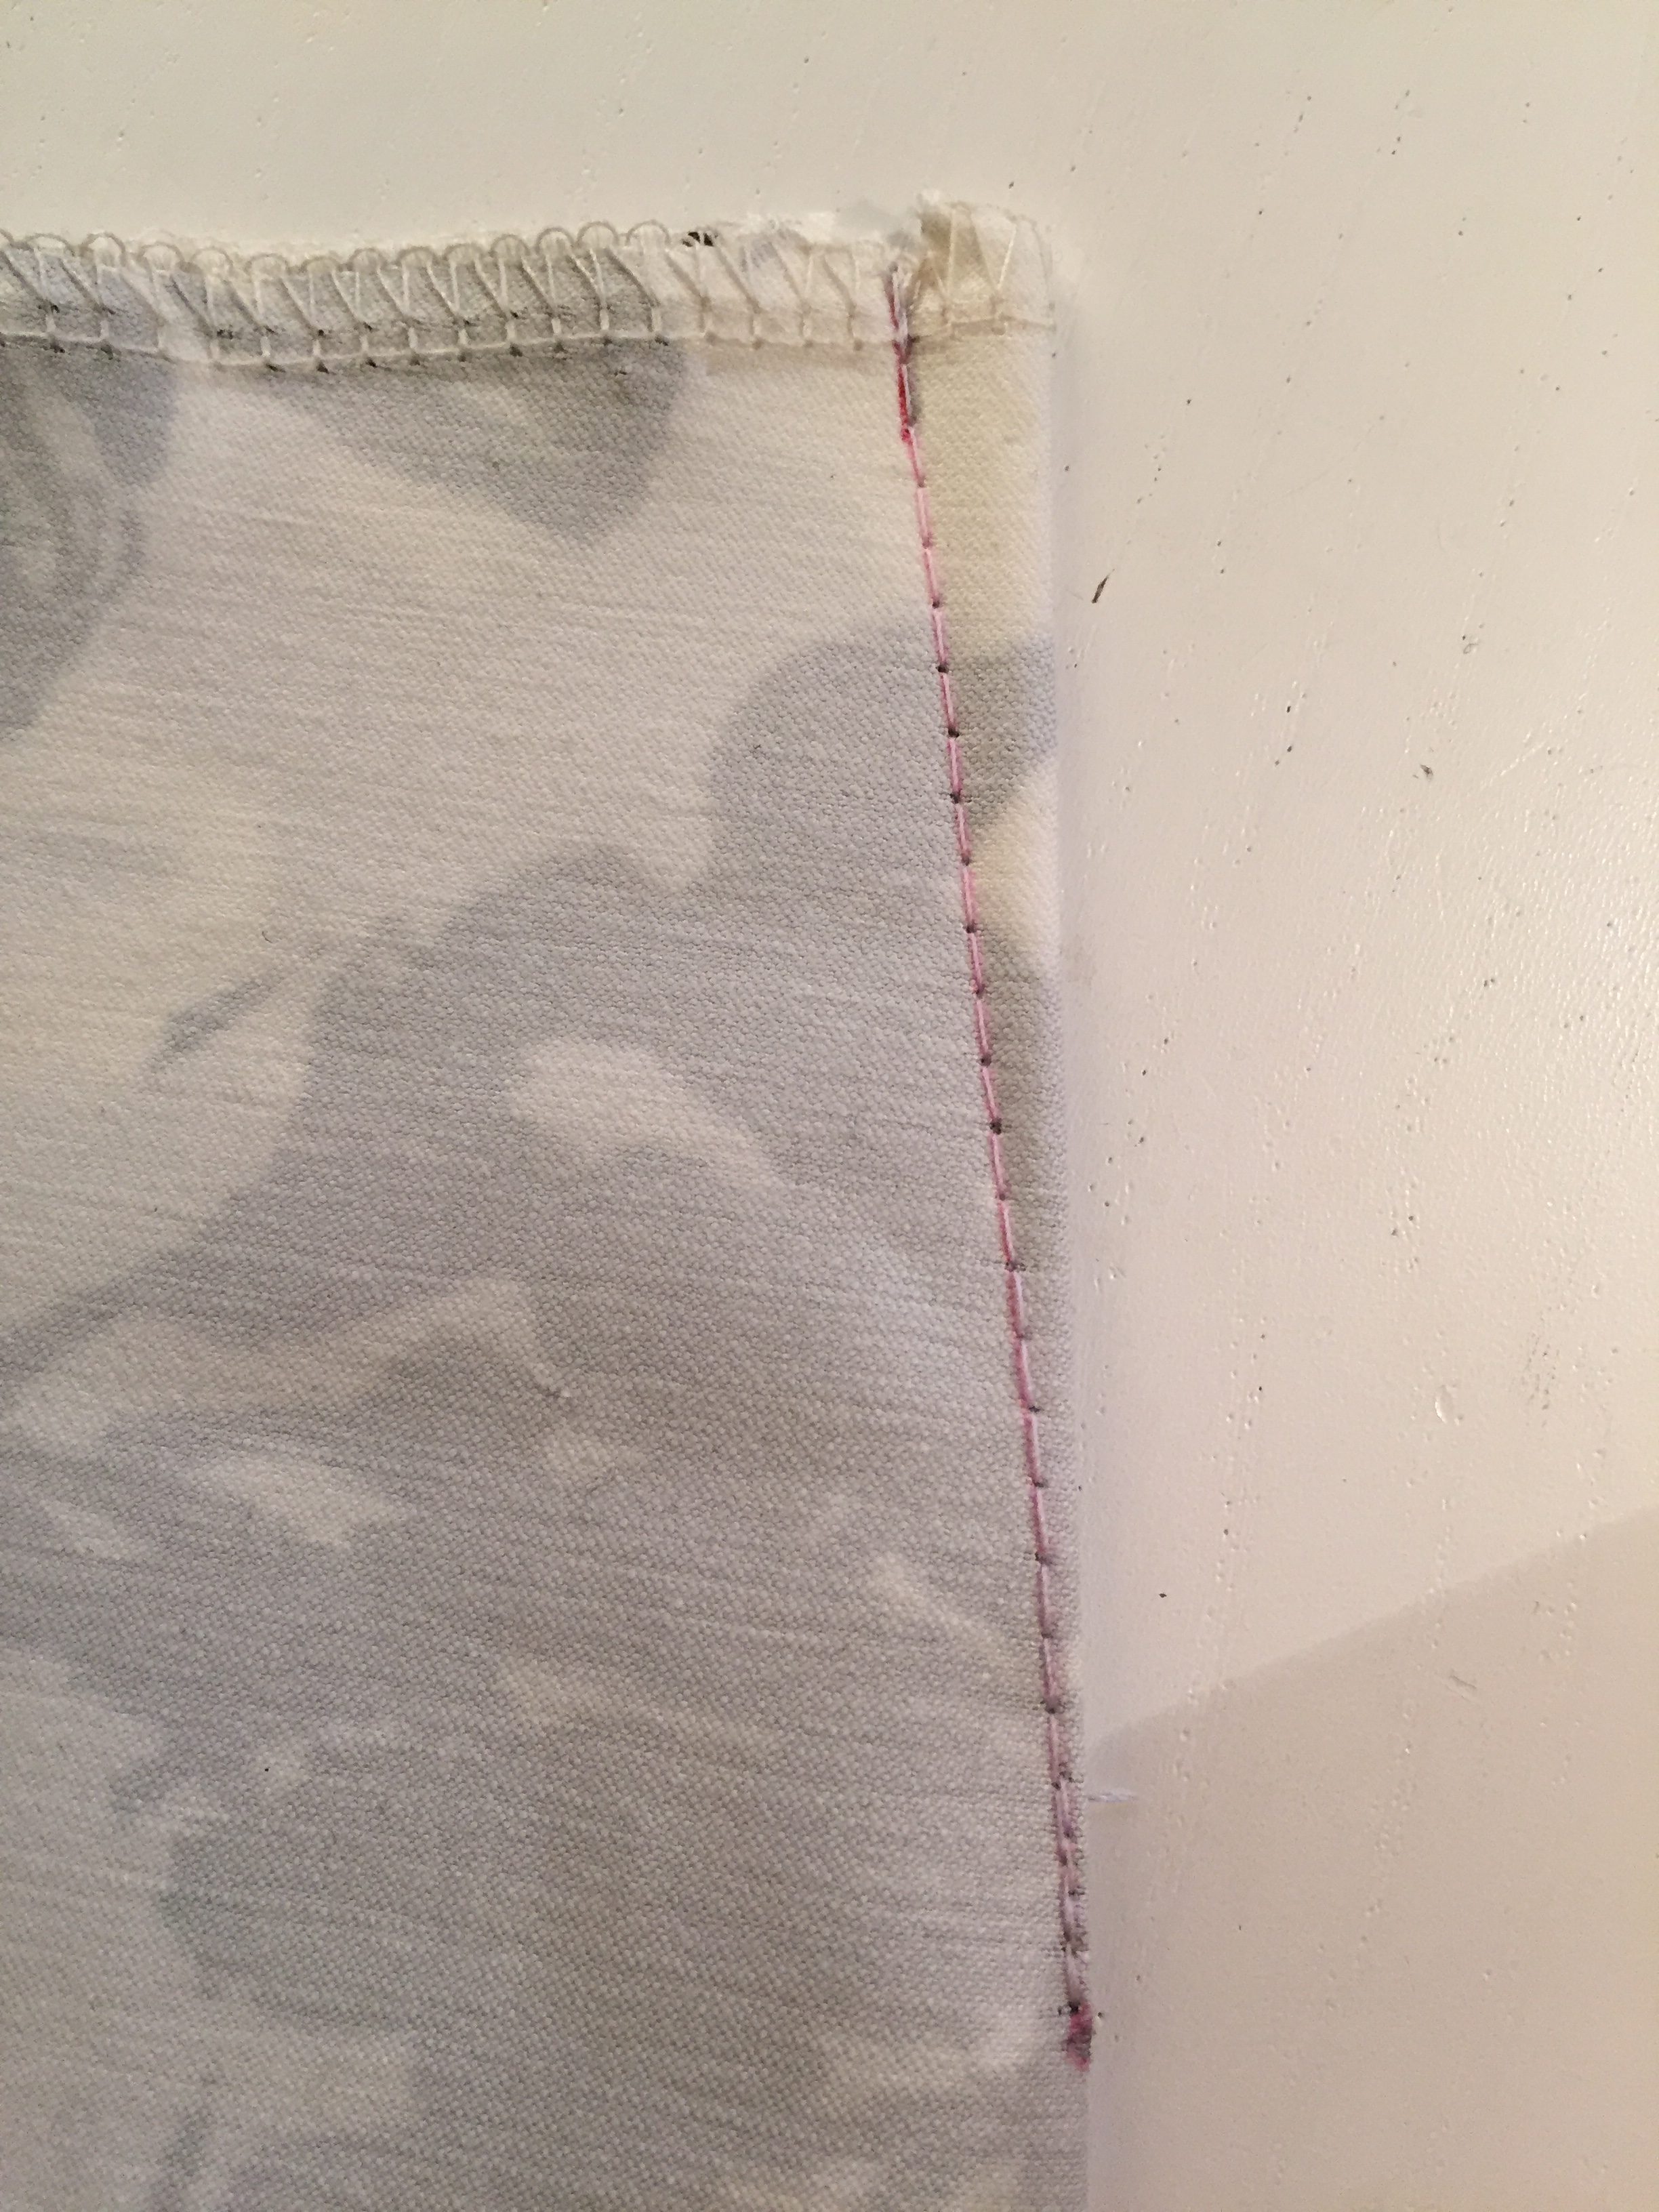
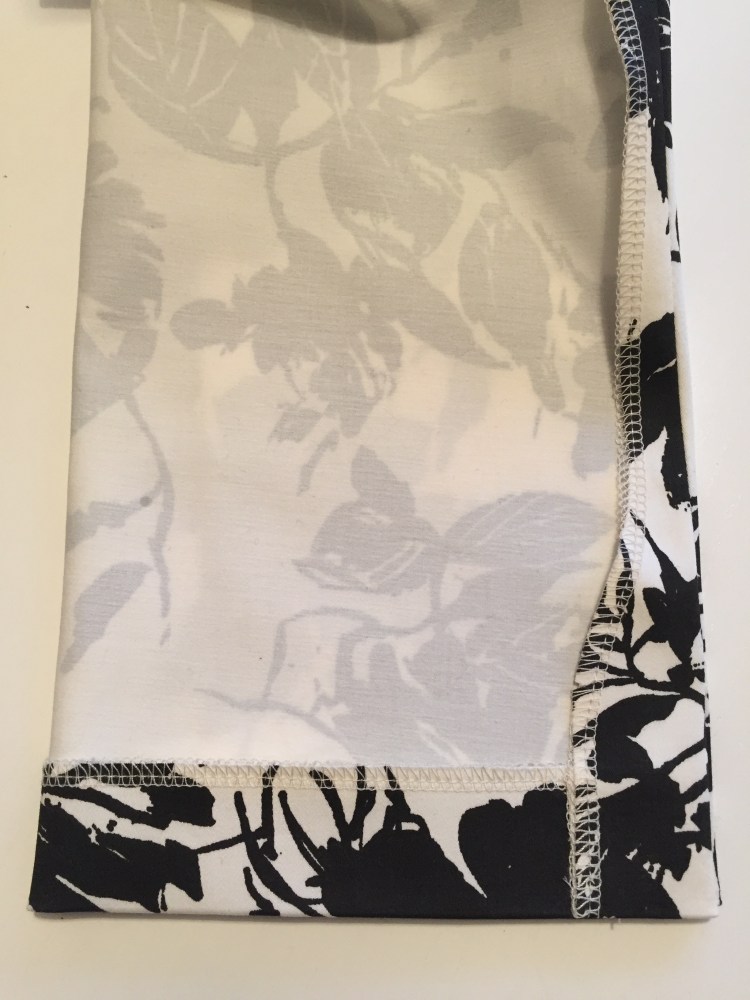
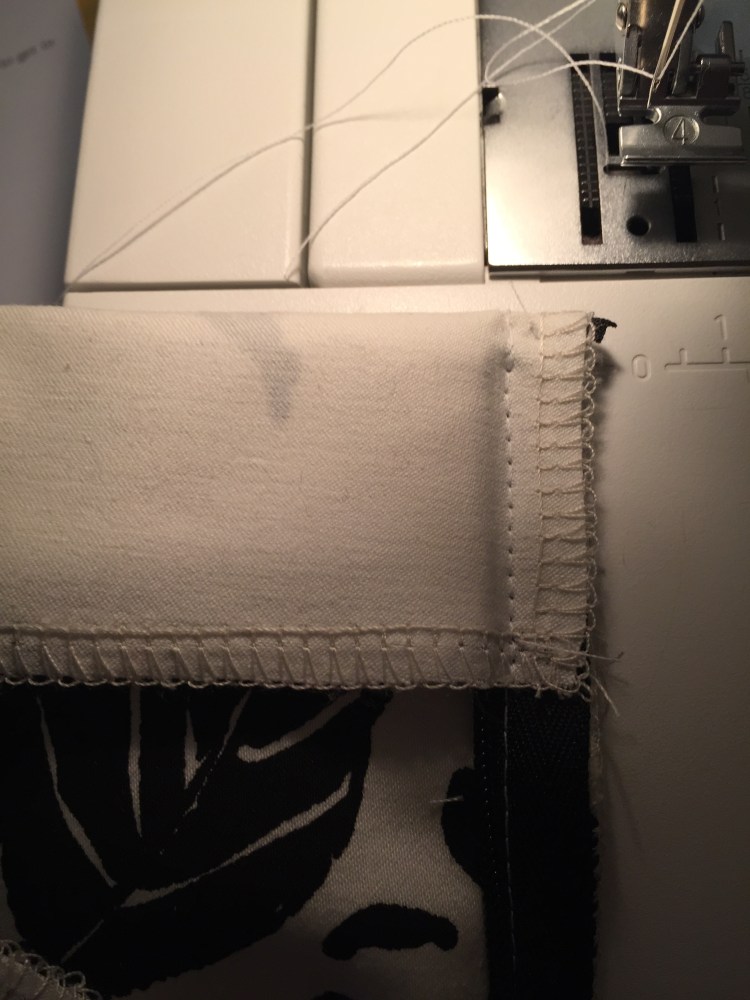
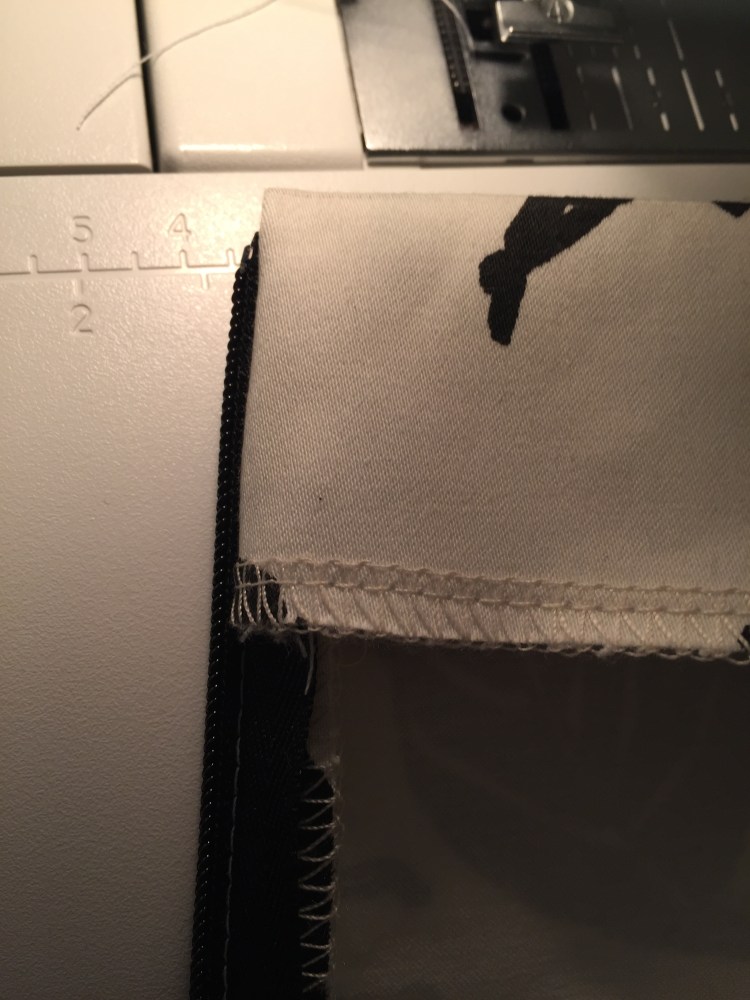
Overlock / zigzag the raw edges.
BACK TROUSER DARTS
What are darts?
A “dart” is used to shape fabric, often where there is a small amount of excess fabric or when a more tailored look is required. A dart is usually created to shape the bust, waist, hip or elbow curve.
There are two types of darts;
“triangle shape” which is wide at the top and pointed at the end “shaped” dart which starts with a point, widening in the middle and ending with a point (often found on dress patterns). A badly sewn dart will result in the fabric puckering on the right side. A perfect dart will be straight and smooth and will be barely visible from the right side.
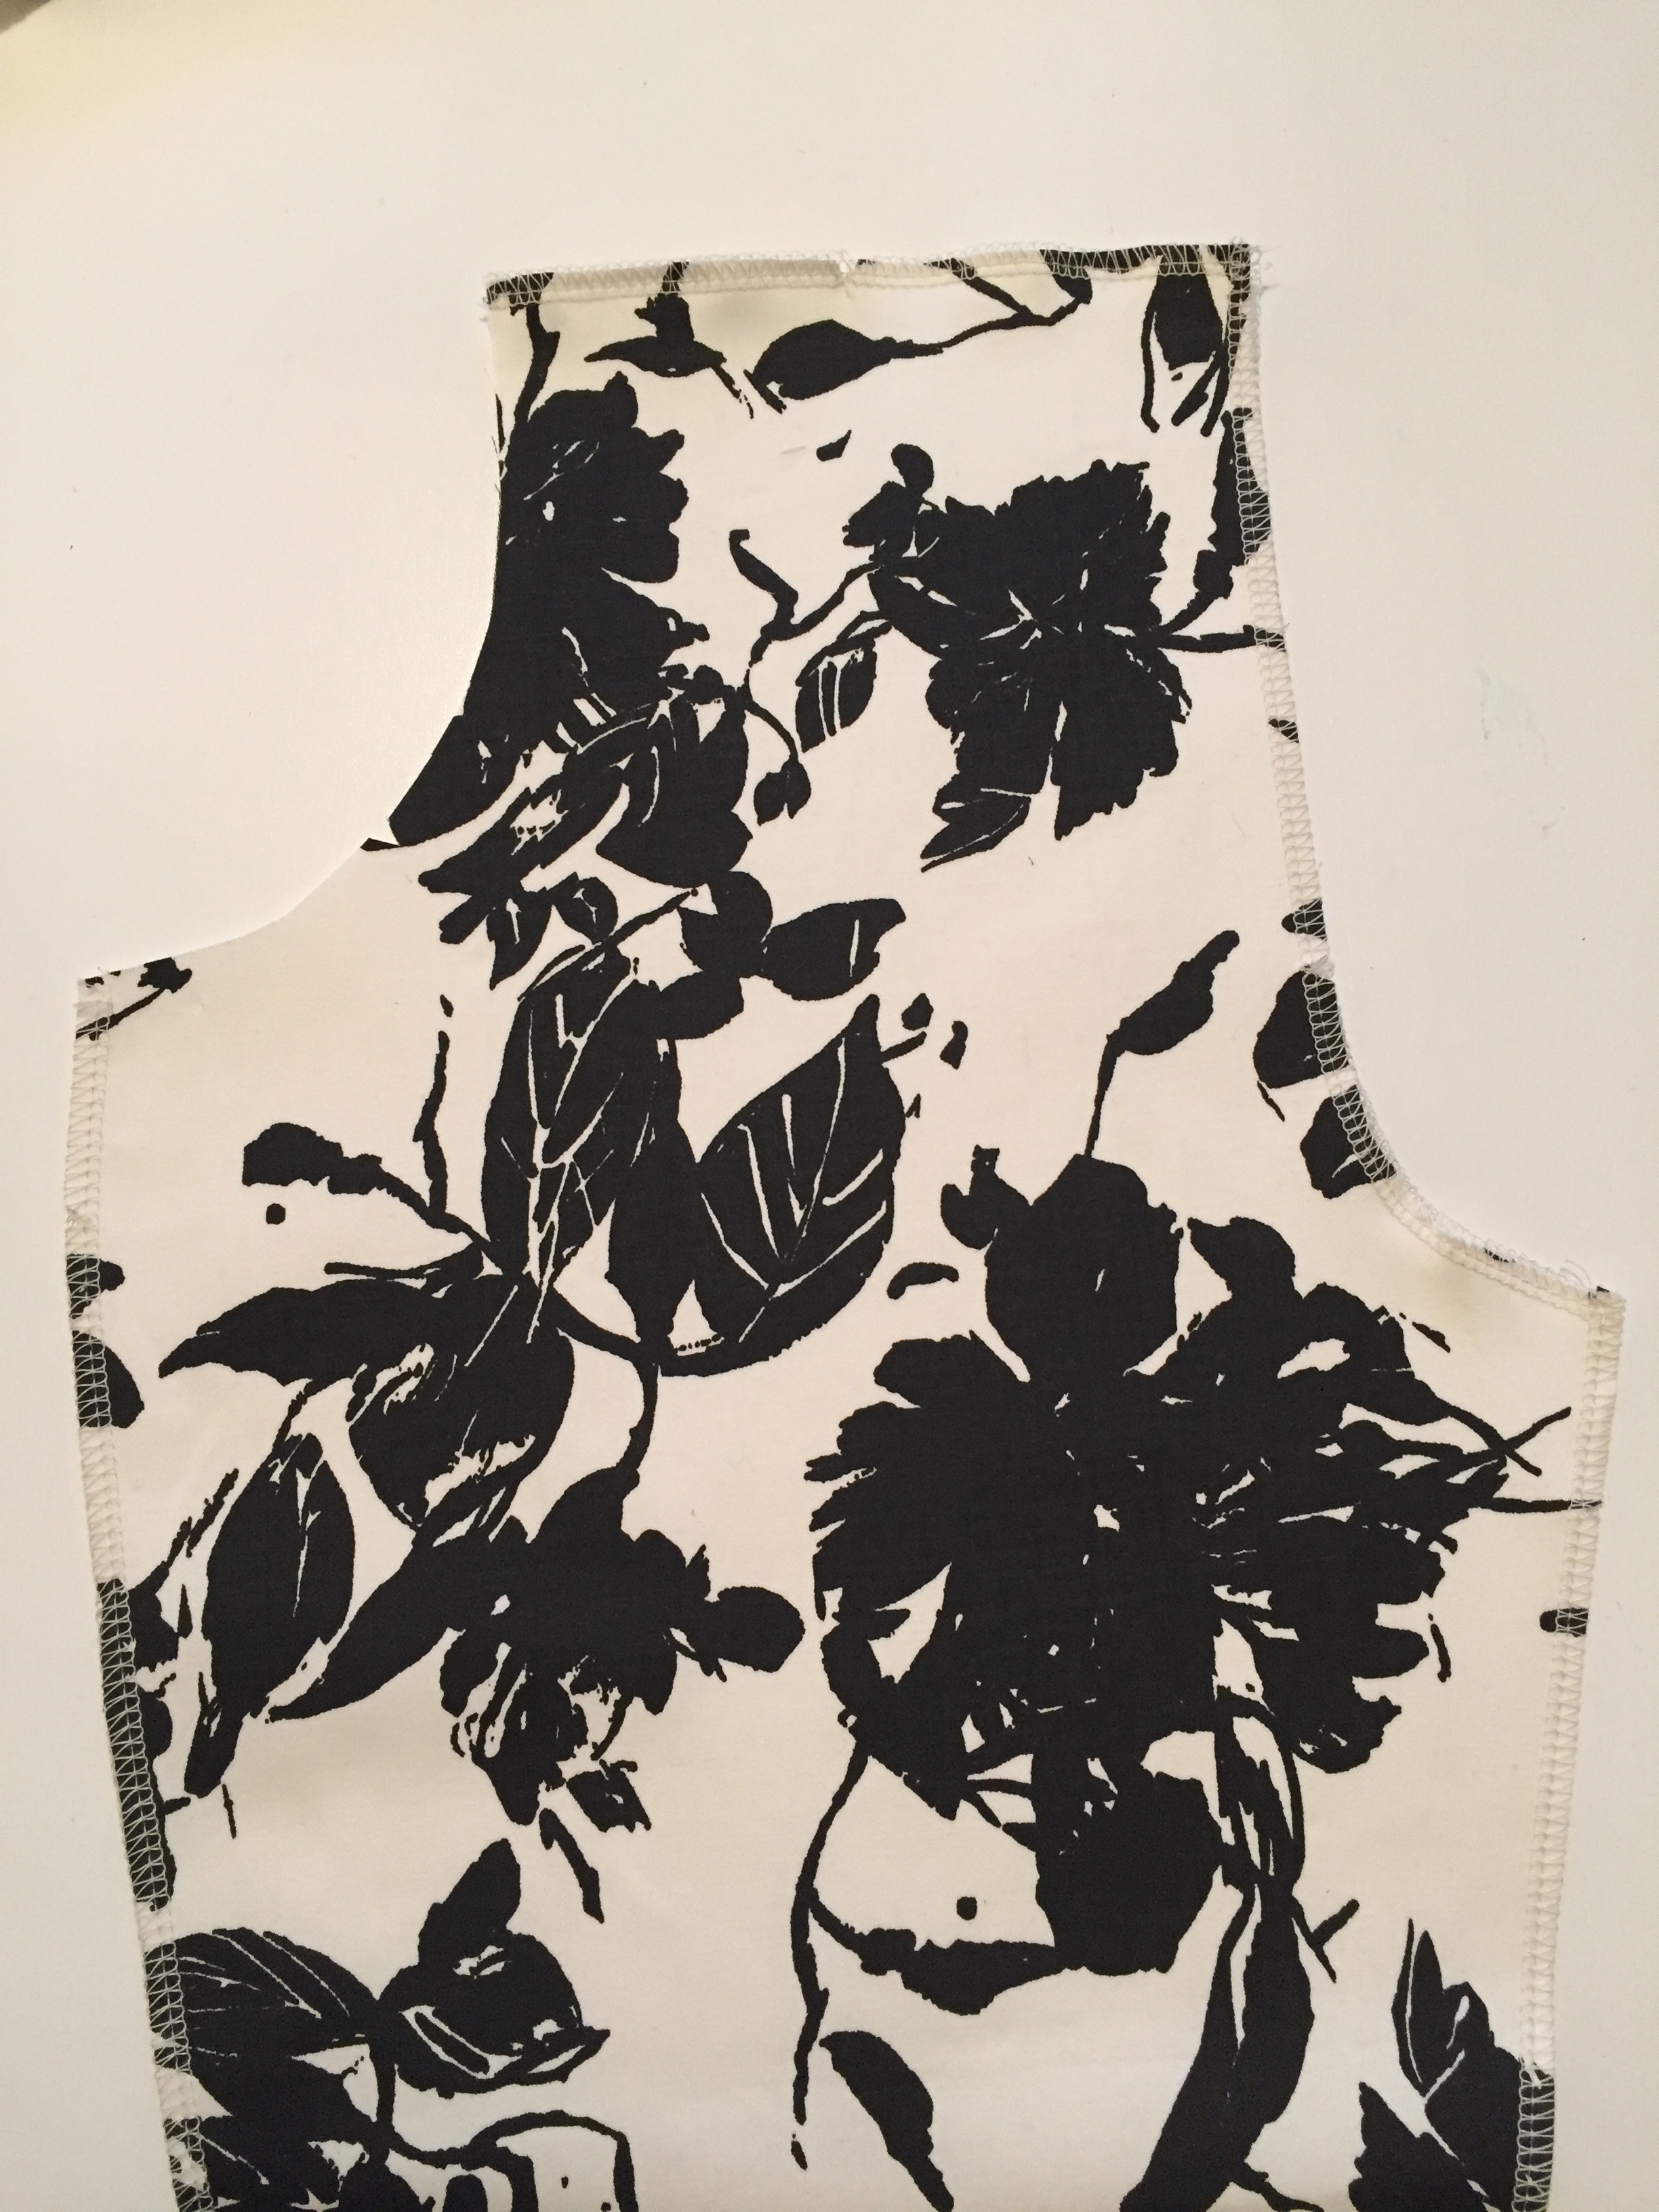
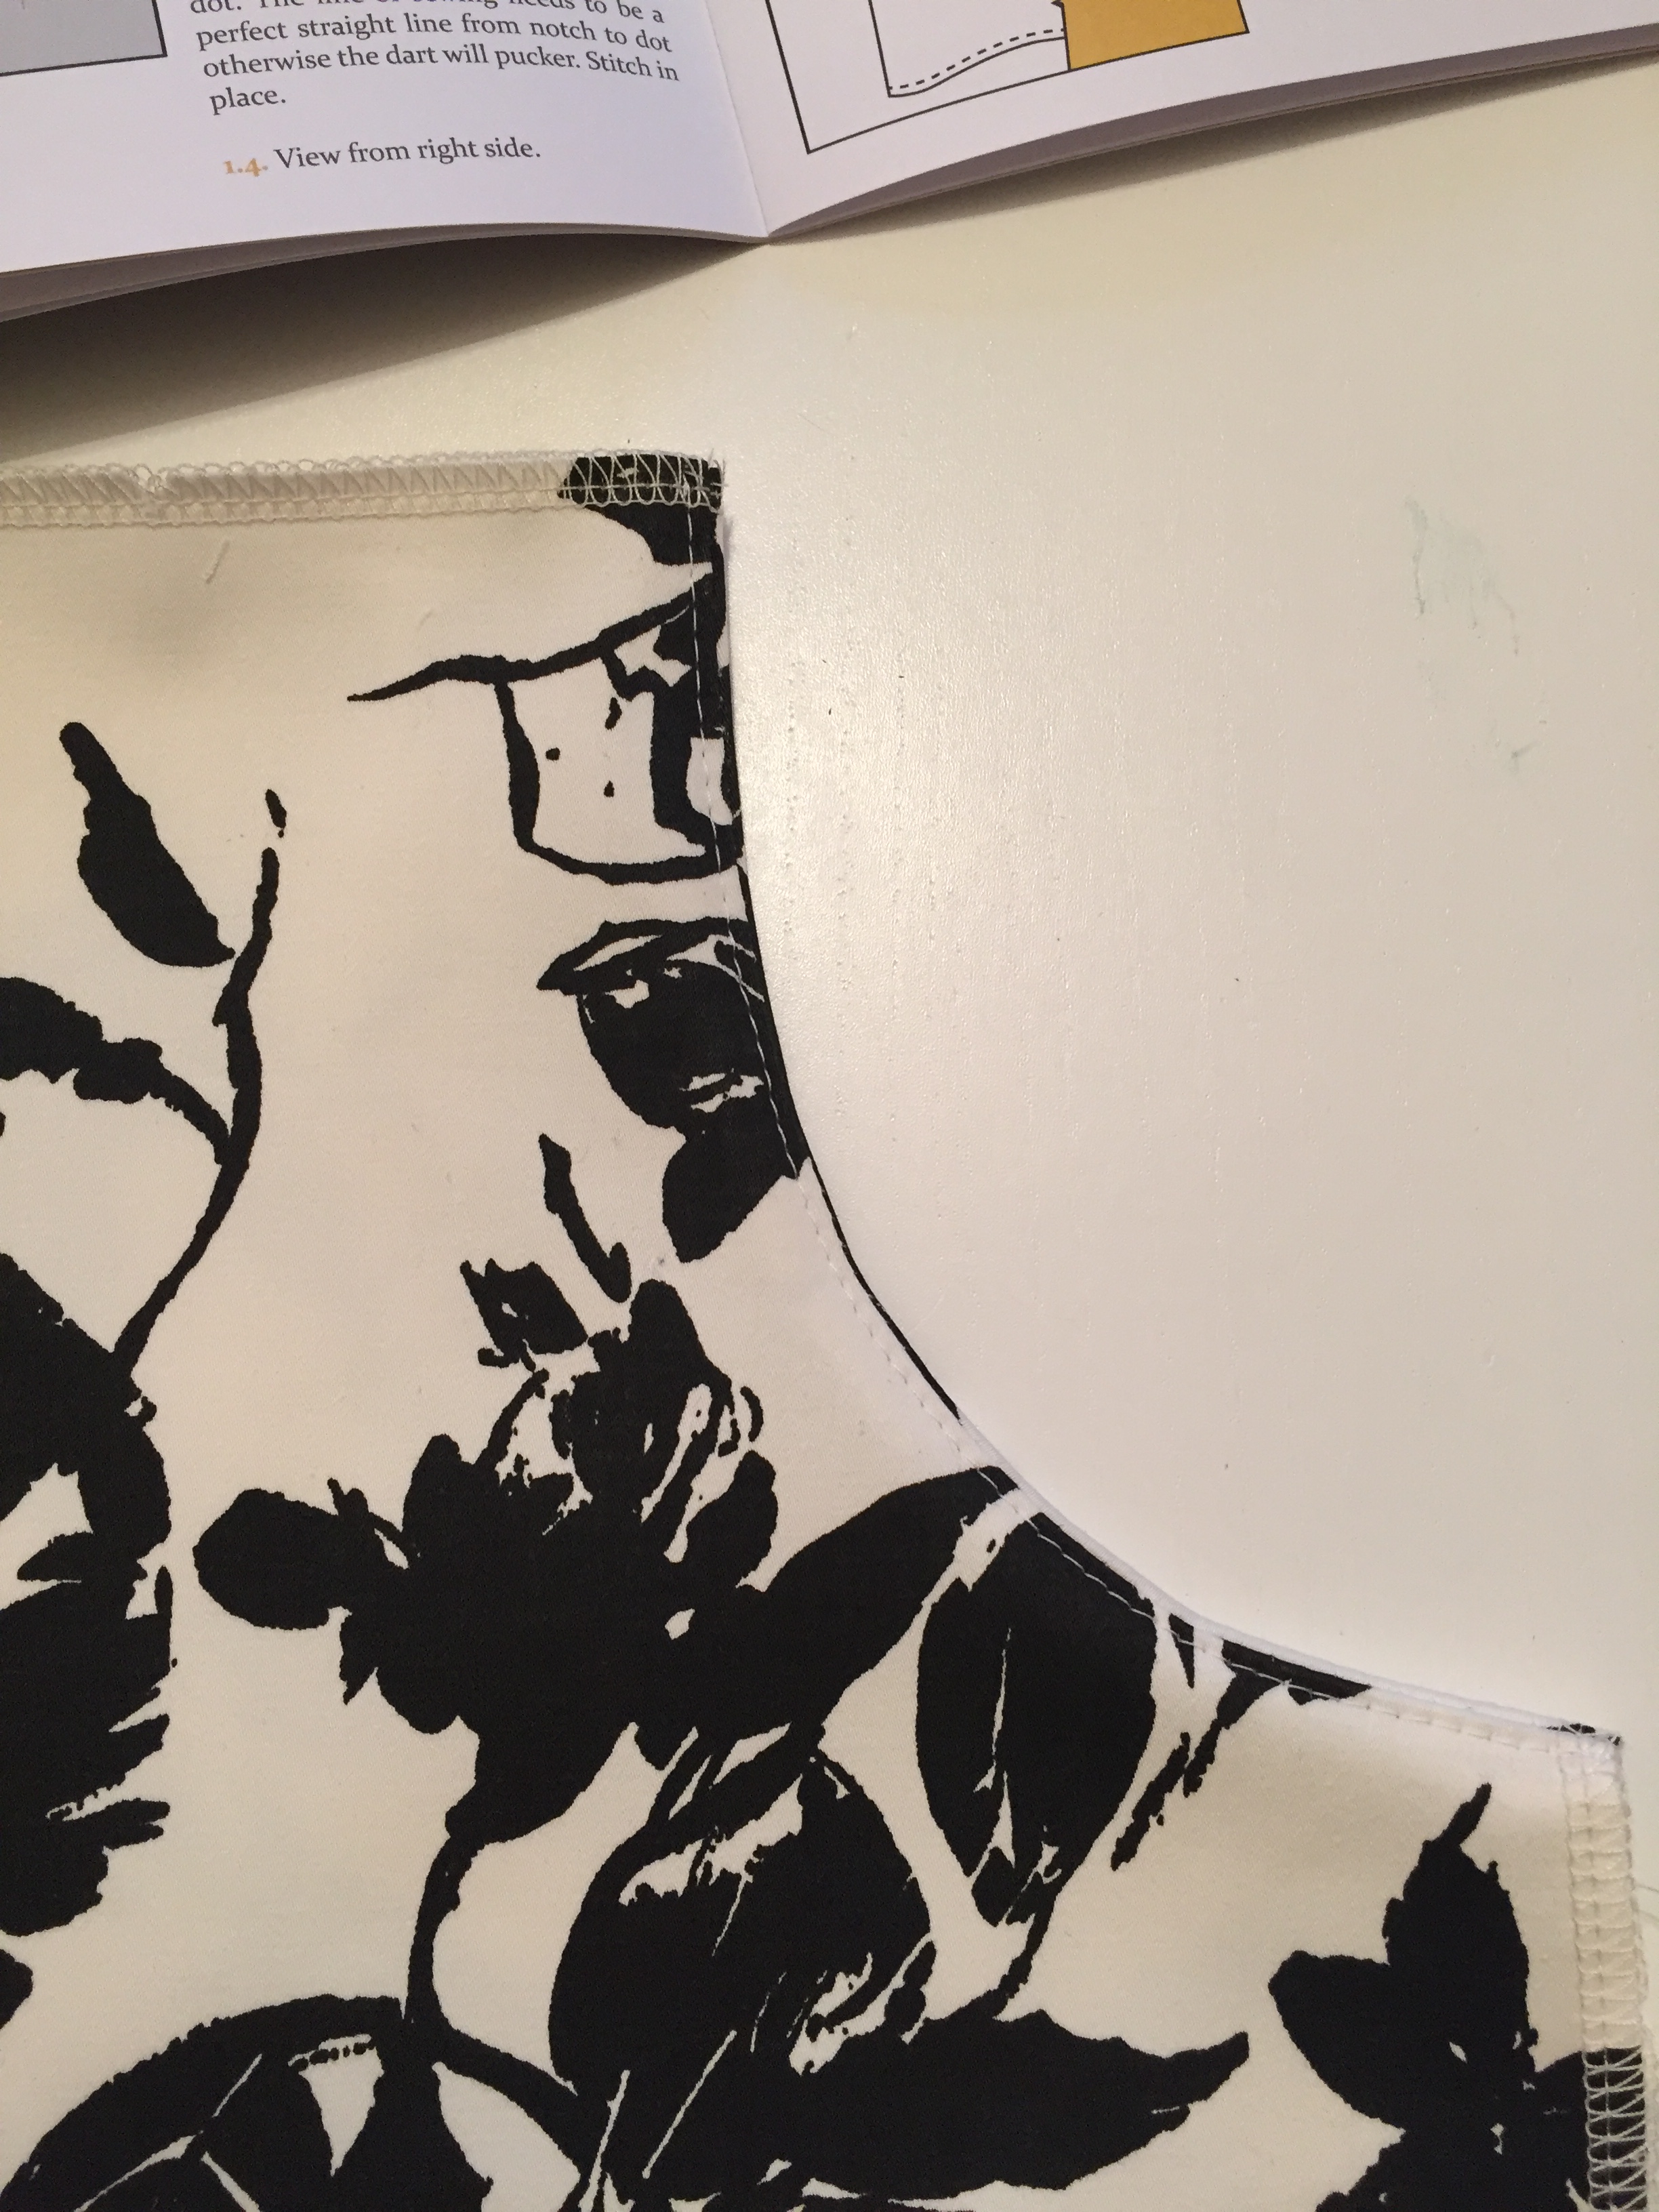
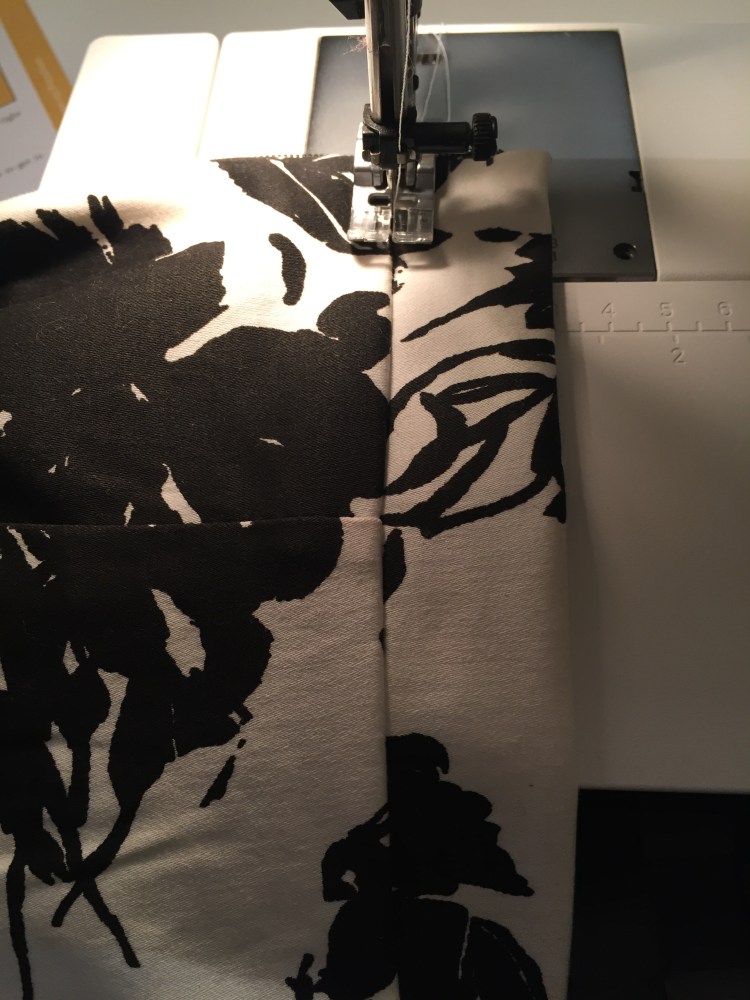
1. On your two back pieces and on the wrong side, ensure that you have marked your dart notches and dot.
1.1. The dart we are creating is the triangle shape.

1.2 On the wrong side of the fabric, pinch the top two notches so that they meet and pin in place. Then, place a pin on the dot and
you will see that the fabric forms a straight line from the dot up to the fold between the top notches.

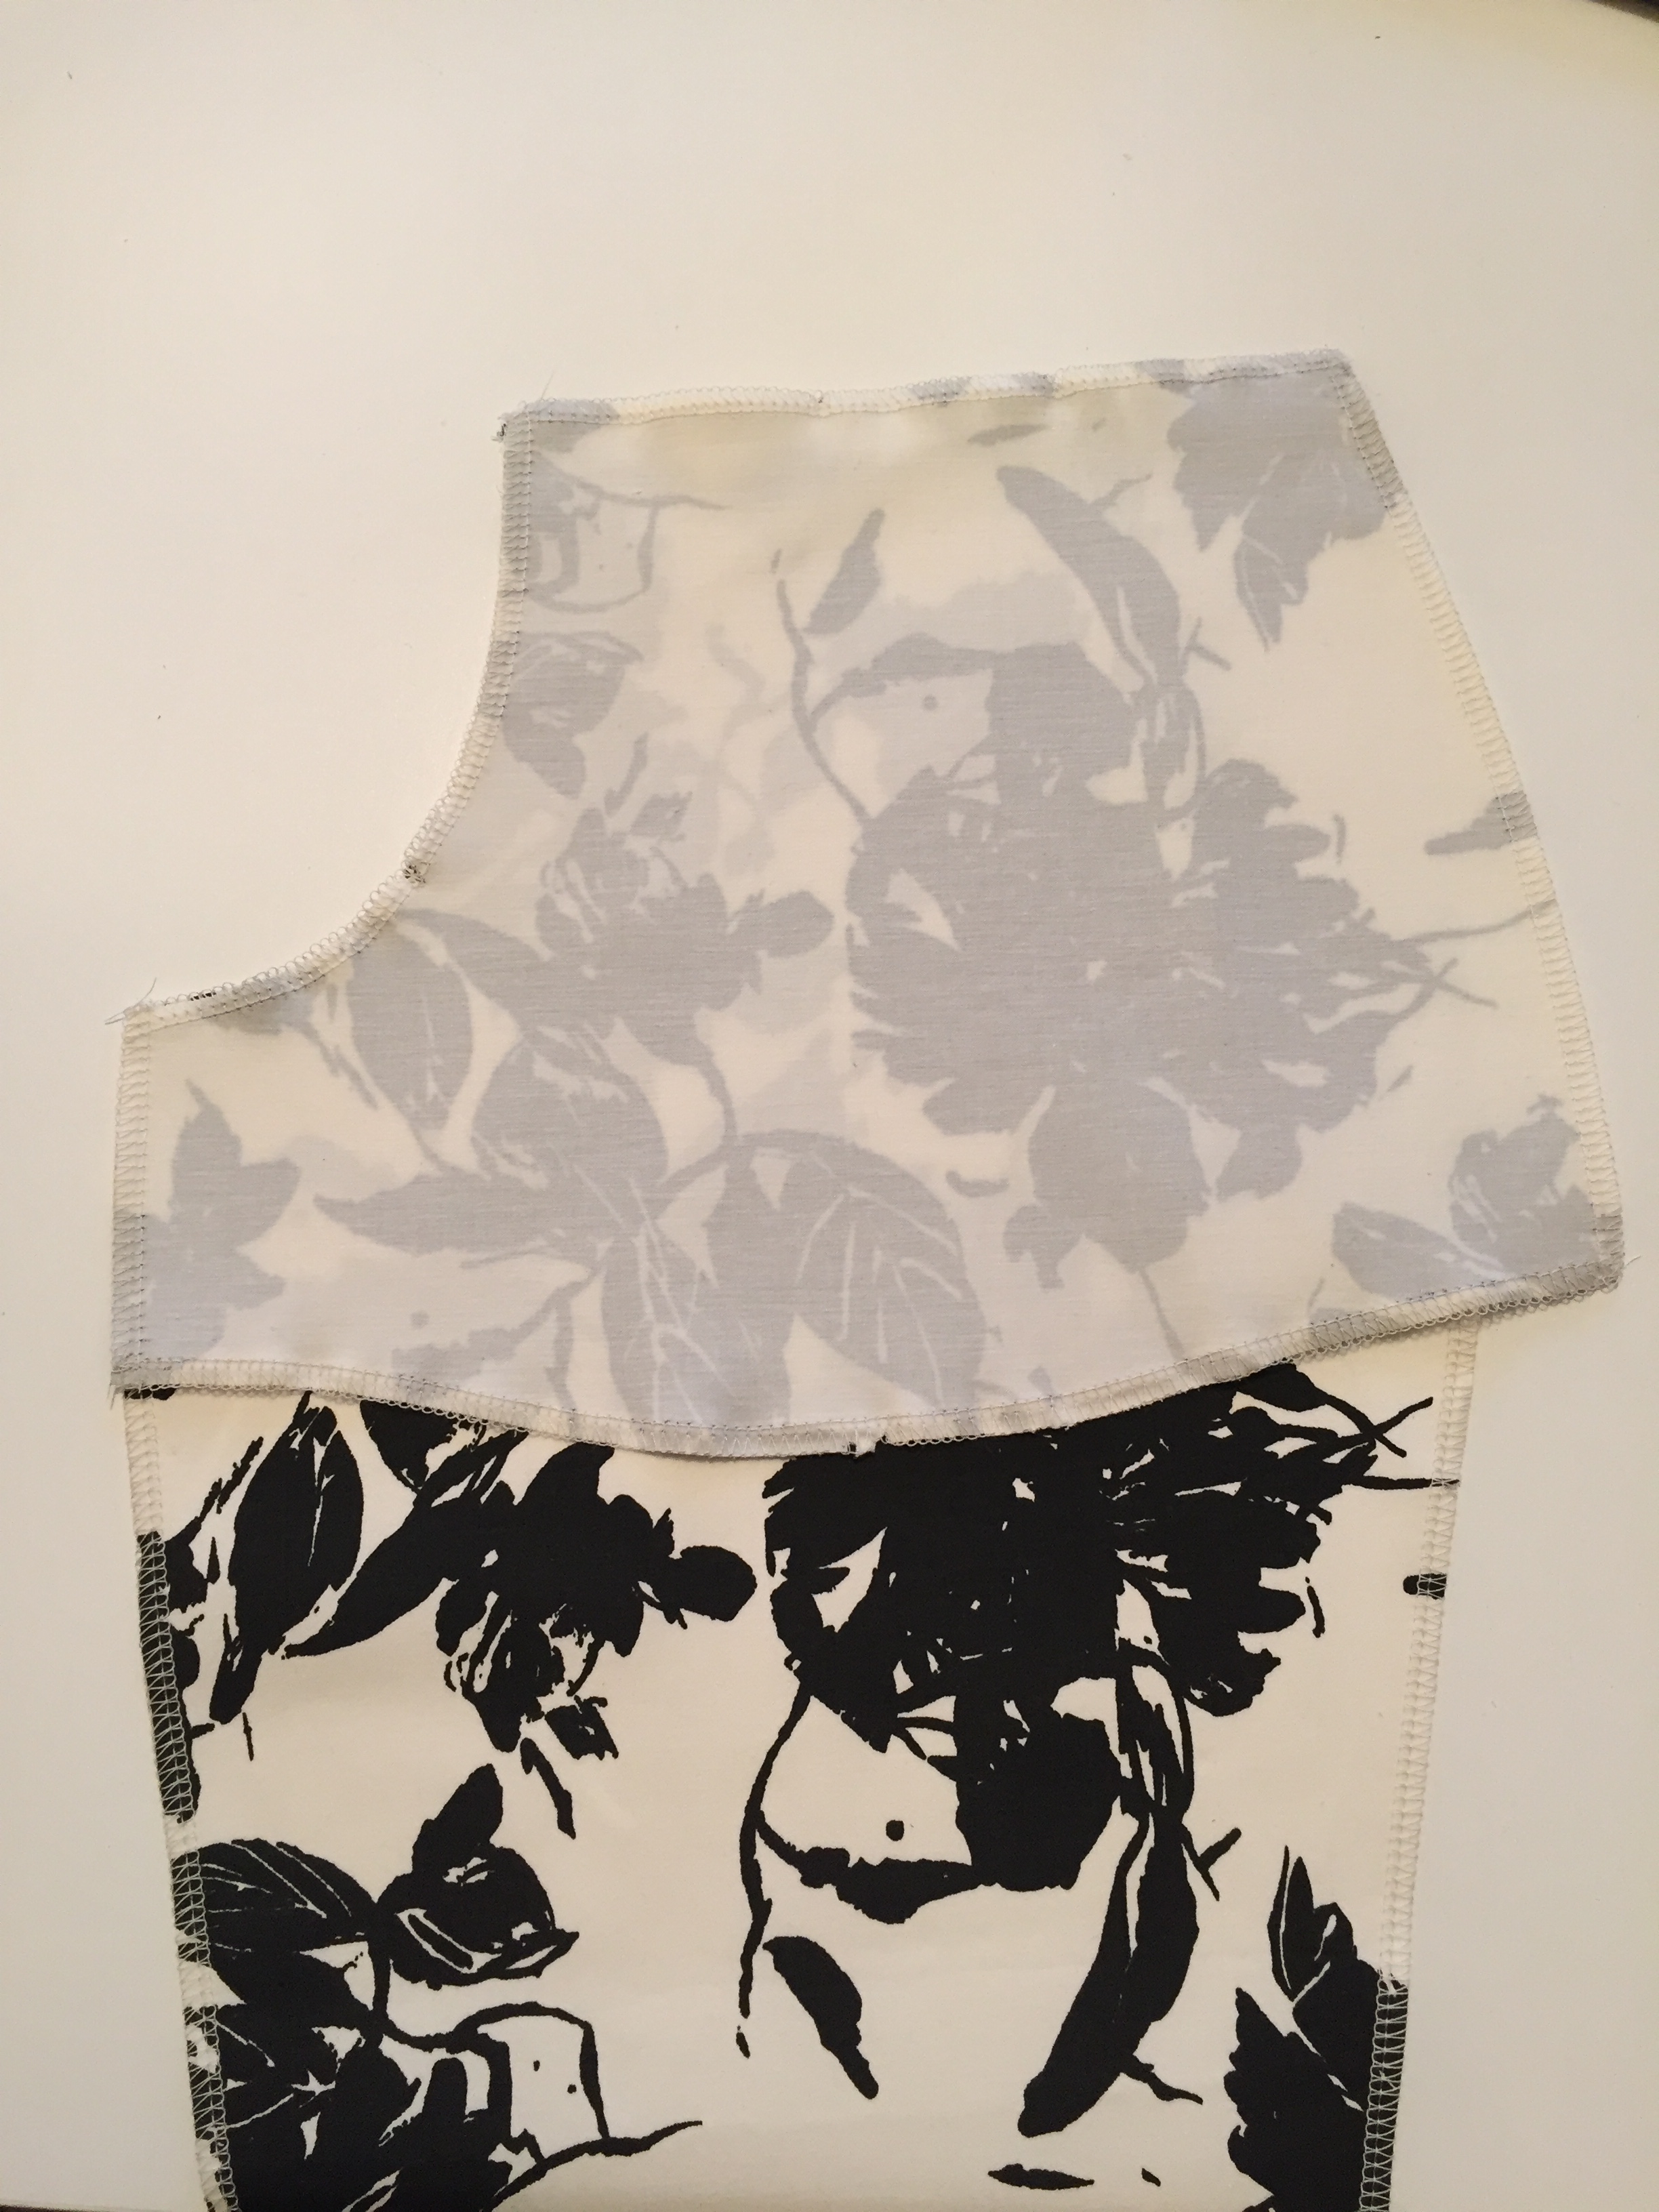
1.3 It may help to draw the line from the top notch to the dot. The line should extend off the fabric at the dot. The line of sewing needs to be perfectly straight from notch to dot as otherwise, the dart will pucker. Stitch in place starting from the top notches not forgetting to reverse stitch. Sew off the fabric at the fold and cut your threads long enough to knot and secure the end of the dart. If you are confident, you can reverse stitch at the end of the dart.

1.4. View from the right side (sorry almost impossible to see with this print!).

POCKETS
Tip. It’s important to focus on using precise seam allowances throughout these instructions, otherwise, the waistband won’t fit. Use the sewing machine seam allowance guide.
2. Place the two front pieces down, right sides facing you.
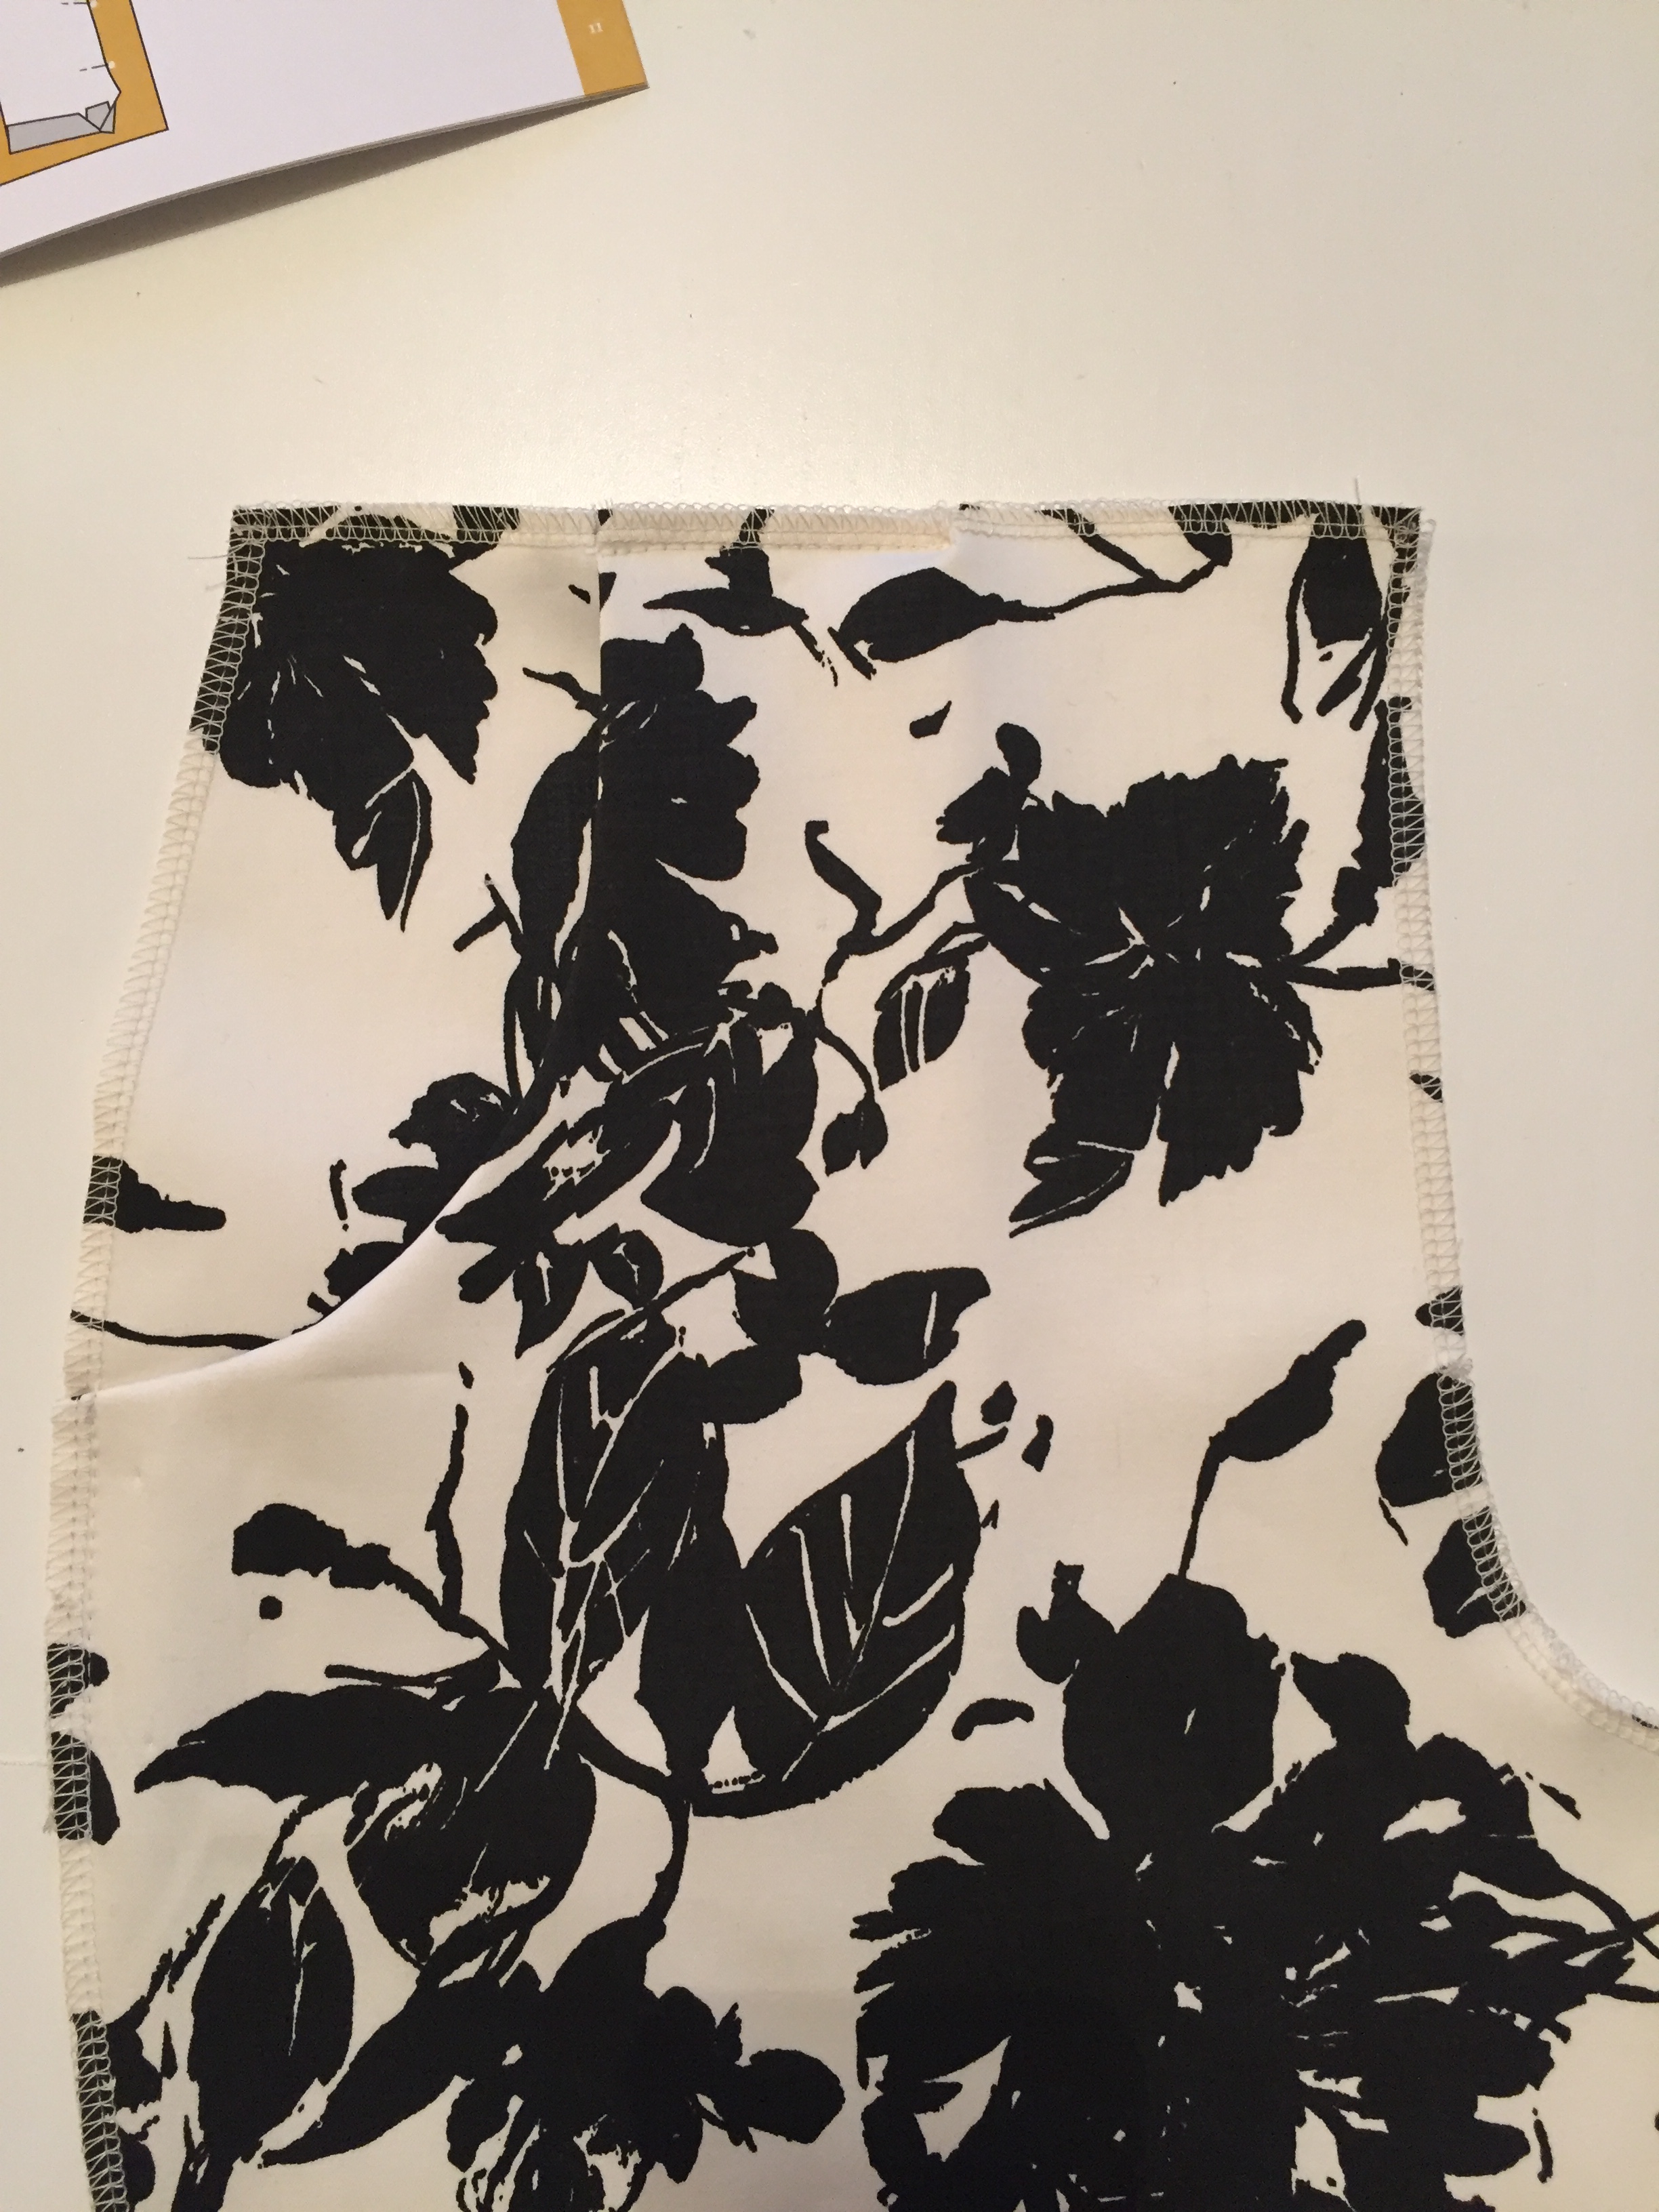
3. Place the pocket bag right side onto the front trousers, matching up the pocket curve notch. Sew the curved pocket edge using a 1cm seam allowance. Snip into the curved edge – within the seam allowance – to help shape the curve. Turn to the right side.
4. Press/iron the curve flat. Repeat on the other pocket.
Optional
* understitch the pocket edge to keep it flat.
* topstitch the pocket edge if you wish to create a decorative effect.
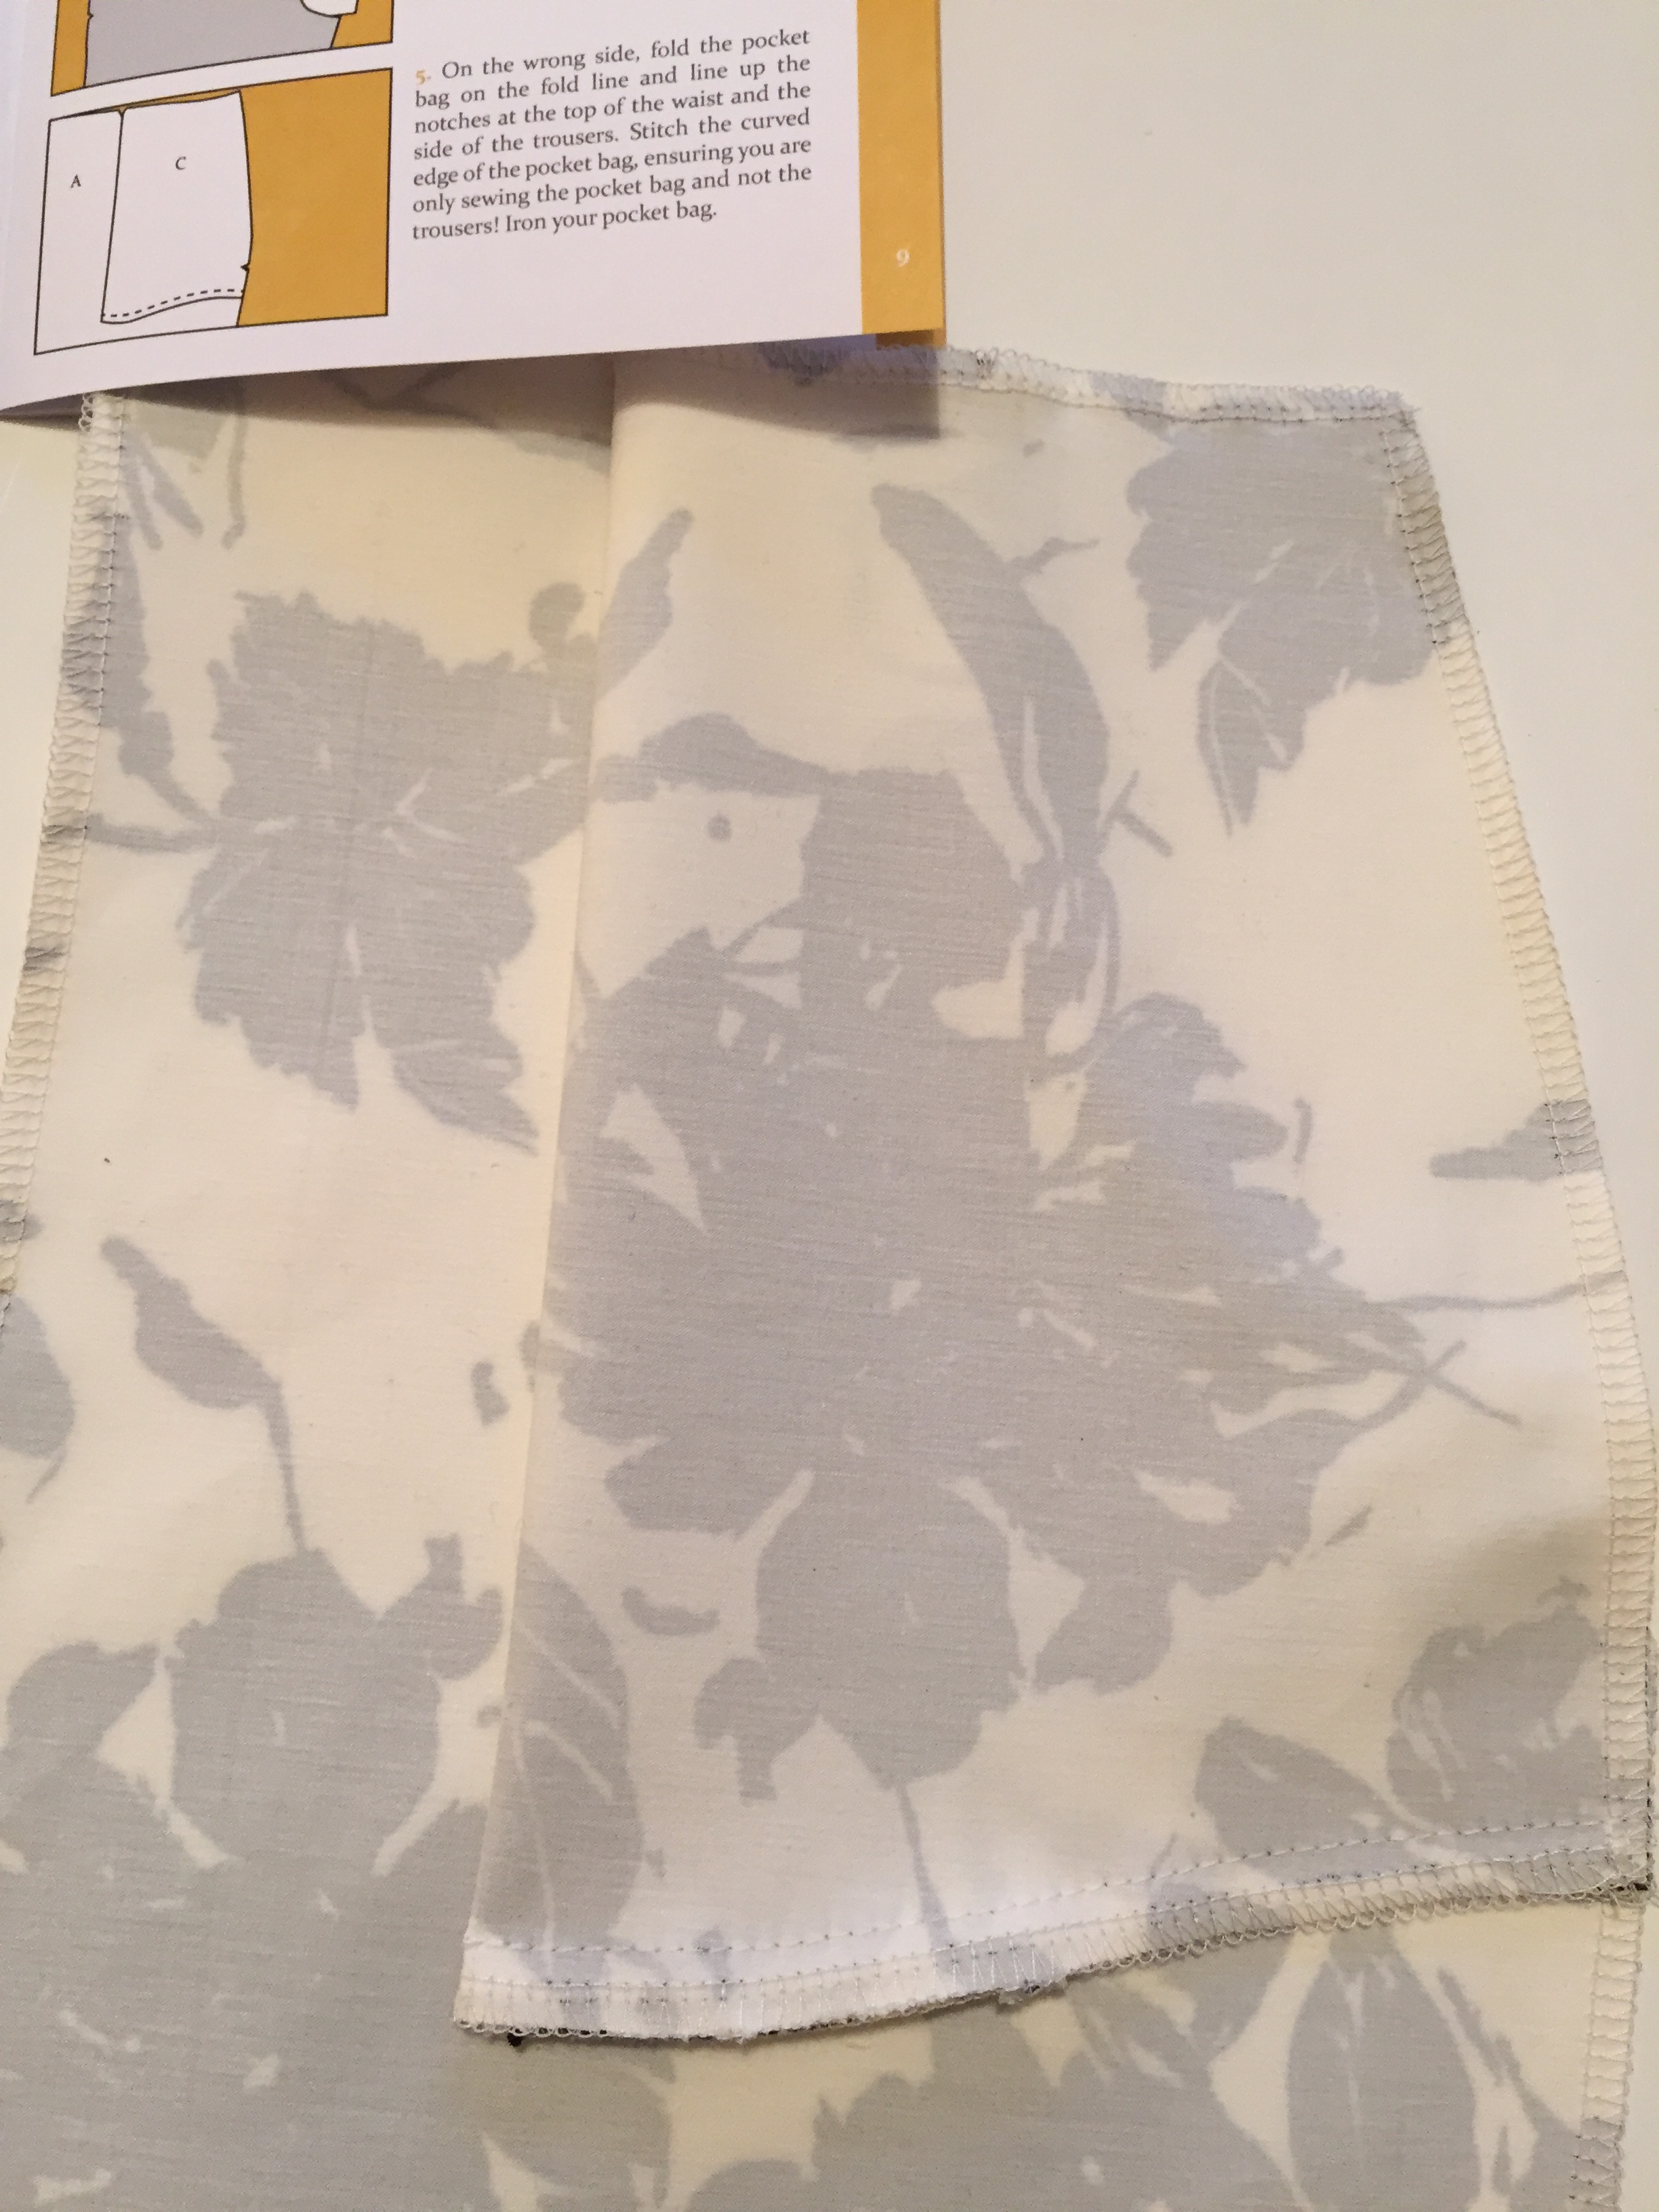
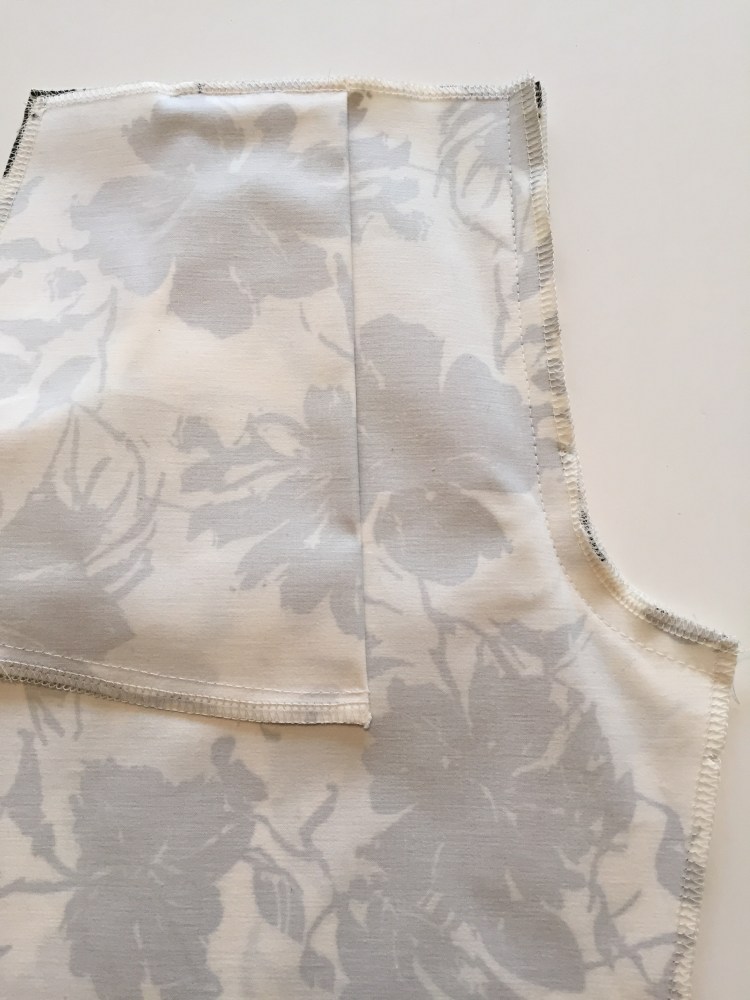
5. On the wrong side, fold the pocket bag on the fold line and line up the notches at the top of the waist and the side of the trousers. Iron flat to create a neat fold line. Stitch the lower curved edge of the pocket bag, using a 1cm seam allowance, ensuring that only the pocket bag is sewn and not the trousers. Press/iron the pocket.
6. To ensure the pocket bag stays in place – create a row of stitches, using a 5mm seam allowance, along the edge of the waistline and the side seam – through all of the layers. You only need to sew where the pocket bag meets the waistline and side seam.
7. Place the two front pieces right sides together and line up the crotch curve and notch. Stitch in place using a 1.5cm seam allowance. Clip into the curve and press/iron open the seam. This seam at the waistline is the Centre Front (we will refer to this as the “CF” when putting in the waistband).
8. On the back crotch, pin the edges together matching up the notches. Start sewing 3cm below the notch to the leg seam, using a 1.5cm seam allowance. Leave the top section unsewn as this is where the zip will be sewn in at a later stage.
TIP. Do a few extra reverse/back stitches when you start sewing to secure this section.
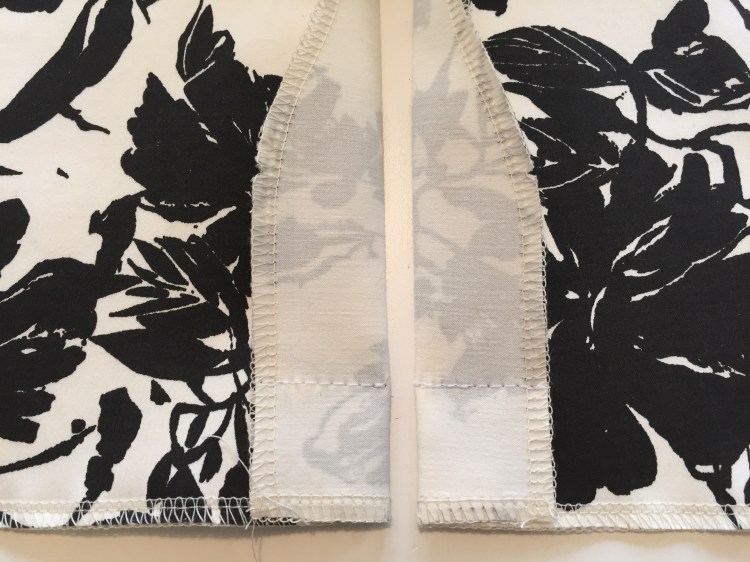
SIDE SEAMS / SIDE SLIT
Ensure that the dot has been marked on each side of the bottom of the trousers (on the wrong side of the fabric). If you do not wish to have the side slit then ignore step 9 and, in step 10, continue to sew to the hem, ensuring you are sewing in a straight line from the dot to the bottom hem.
9. Place the back and front trouser legs RIGHT SIDE facing you with the side slits next to each other. At the bottom edge and using the bottom hem notches as the guide fold over the side slits so that they are right sides together on the trousers.
Measure 3.5cm from the lower edge and draw a straight horizontal line across the folded edge. Sew in place on each trouser leg. This creates the corner piece of the
trouser side slit which will be turned to the right side at a later step.
10. Place the trouser front and back right sides together and pin the side seams,
ensuring that the top and bottom edges are flush.
TIP. It may seem a bit tricky while pinning near the side slit. Focus on matching up the notches. Sew the side seam, using a 1.5cm seam allowance, from the top of the trousers to the dot at the side slit, on both trouser legs.
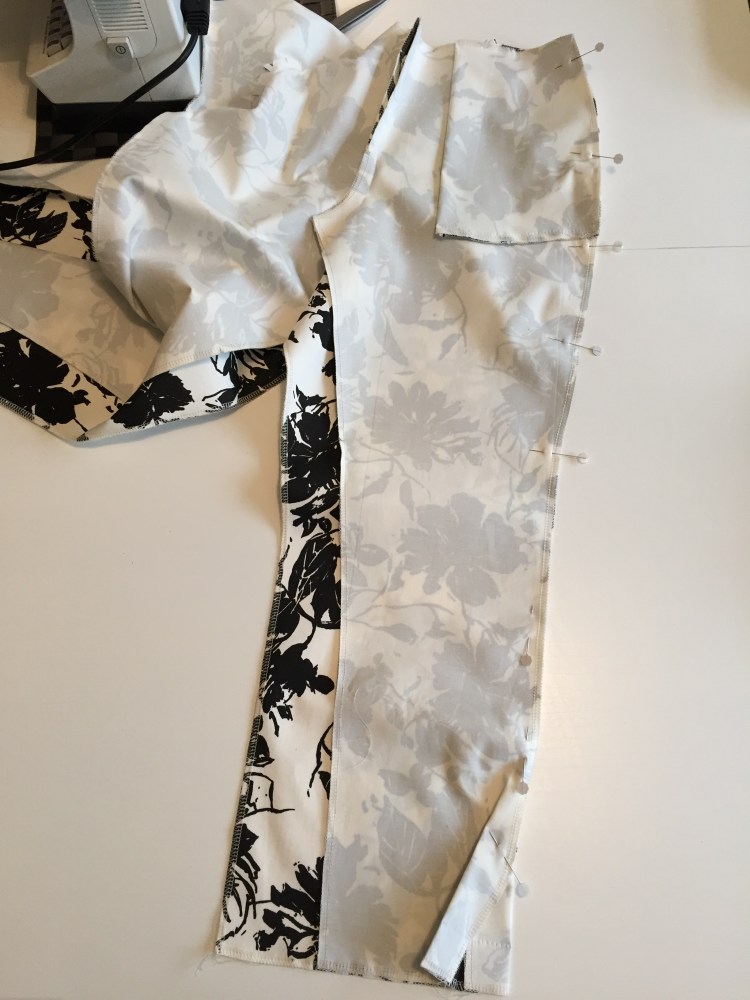
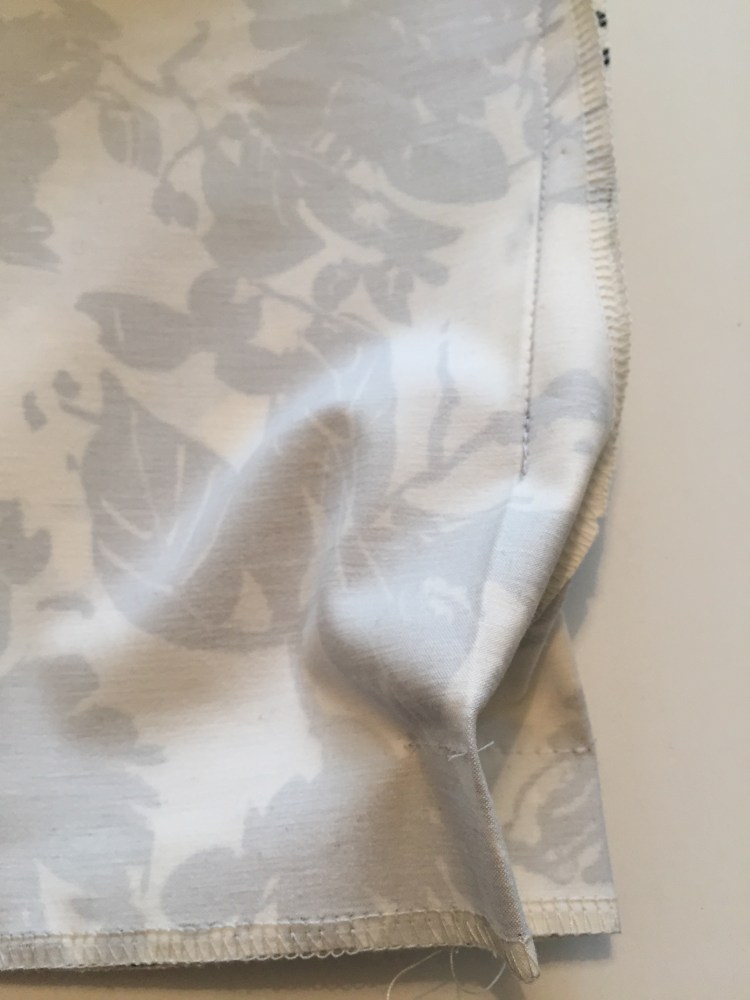
11. Turn the trousers to the wrong side and push the sewn side slit edges to the right side to create the side slits. Check that both sides match up when placed side by side and if so, press/iron the slits, side seams and hems of the trousers. With heavier fabric, it may help to trim away excess fabric from inside the folded corners to reduce bulk.

INNER LEG
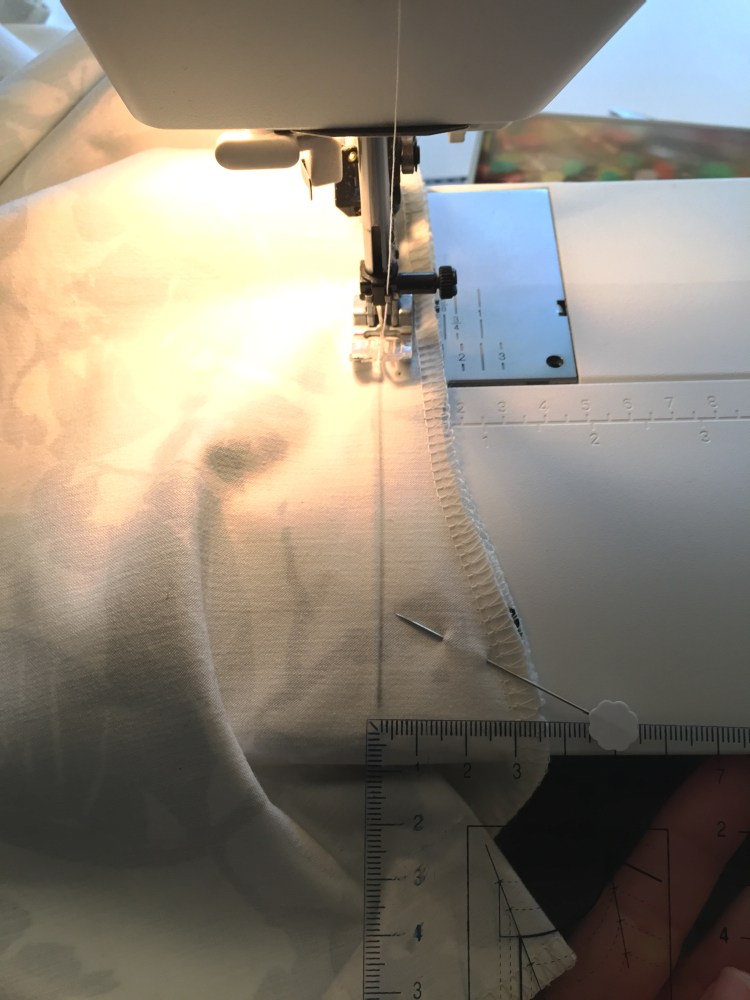
12. At the inner leg, match up the crotch seams and pin, keeping seam allowances open. Pin the notches and lower edge hem on each side and then pin the remainder of the trousers, keeping the edges flush. Sew from the crotch to the lower edge on each side (instead of sewing it as one complete piece) ensuring all the edges are flush. If you are putting in the side slits, keep the hem folded open when sewing at the lower edge.

13. Turn up the hem and iron in place, using a tape measure or hem gauge to ensure an accurate hem. Stitch in place by machine or hand.
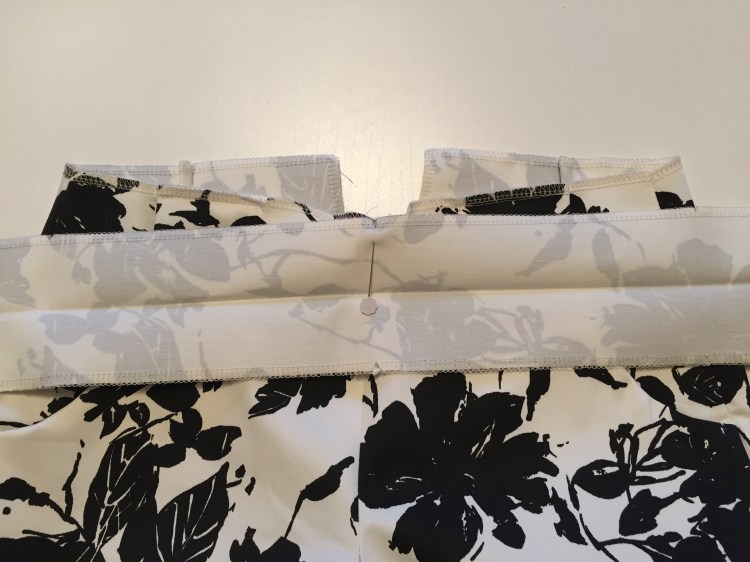
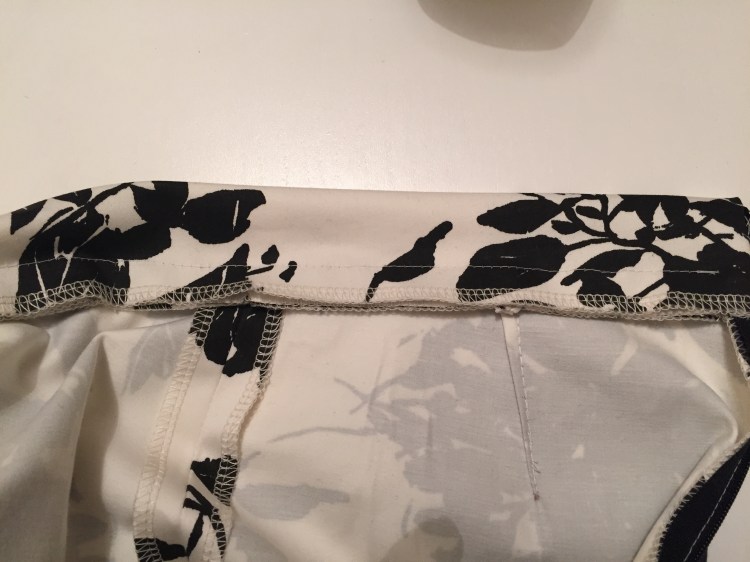
WAISTBAND
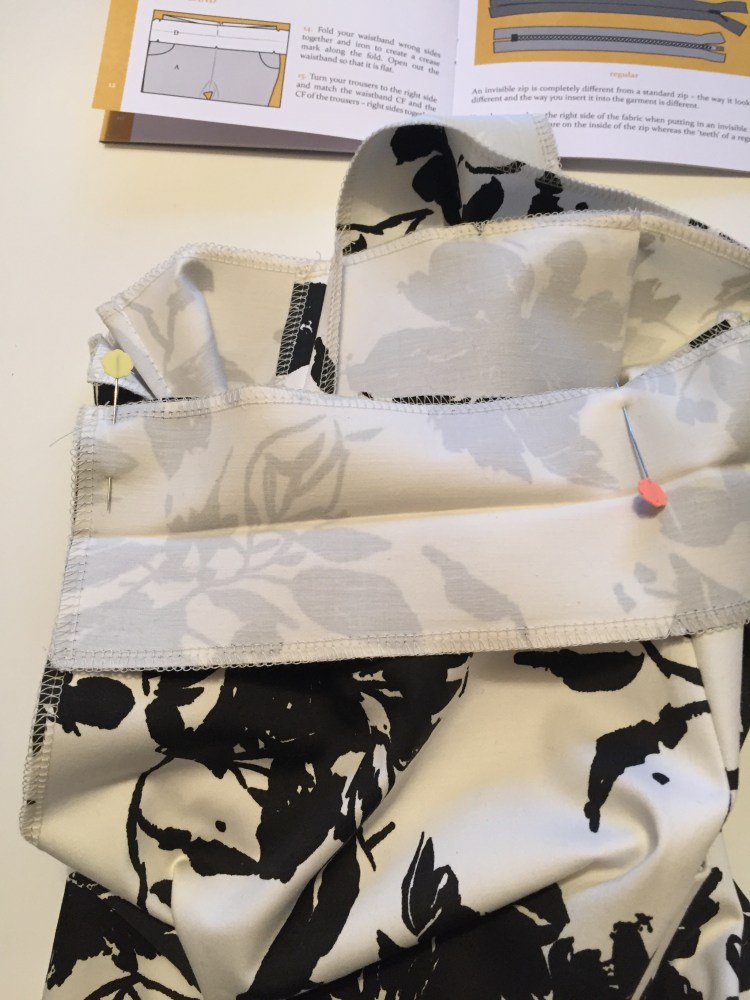
14. Fold the waistband wrong sides together and iron to create a crease mark along the fold. Open out the waistband so that it is flat before moving to the next step.
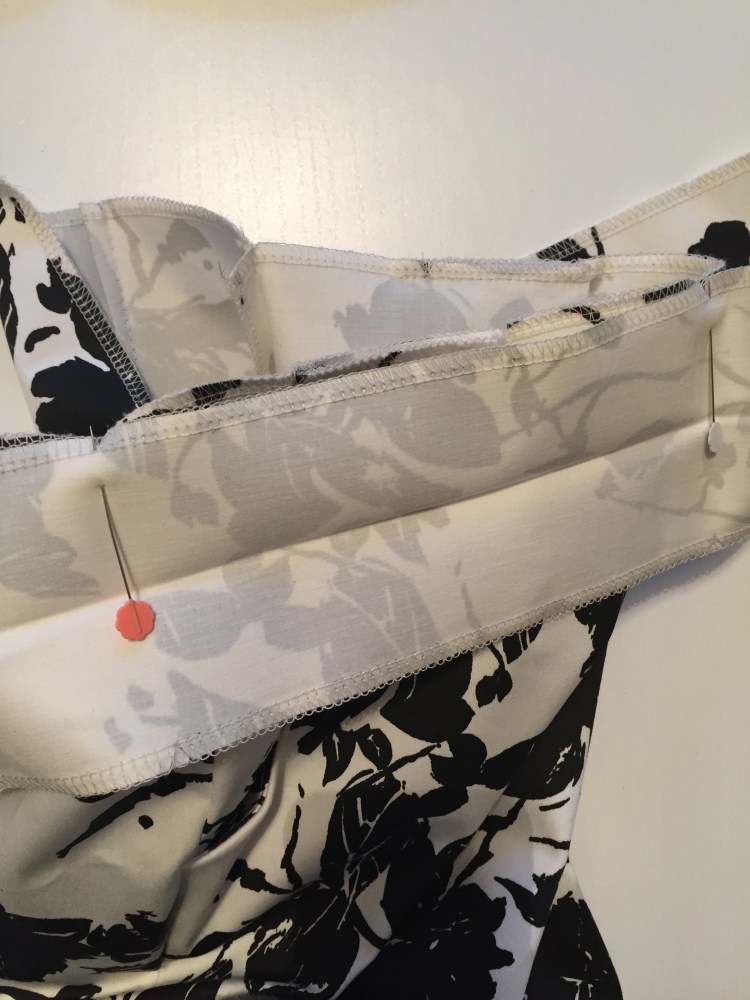
15. Turn the trousers to the right side and match the waistband CF to the CF of the trousers (right sides together) and pin to keep in place.
16. Match up and pin the waistband side seam notches to the trouser side seams and the CB edges of the waistband to the CB edges of the trousers. Once pinned, work on the remainder of the piece, matching up the edges of the fabric and pinning in place.
TIP. It is very important to keep to the 1.5cm seam allowances when sewing the waistband to the trousers, especially at the CB edges.
17. Sew the waistband to the trousers. Before you reach the side seams, double-check that the seam allowances of the trousers and the waistband are open and flat. Take your time with this piece. Once complete, check that your CB pieces are the same. If one side is higher, now is the time to fix it.
18. Iron the seam allowances towards the trousers and away from the waistband.
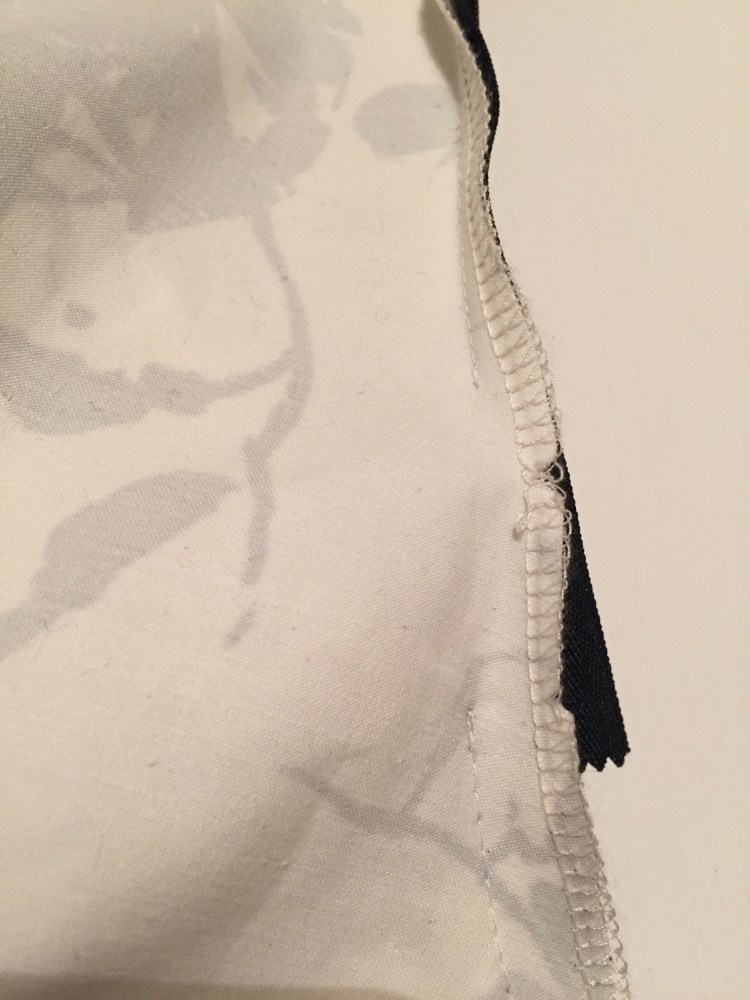
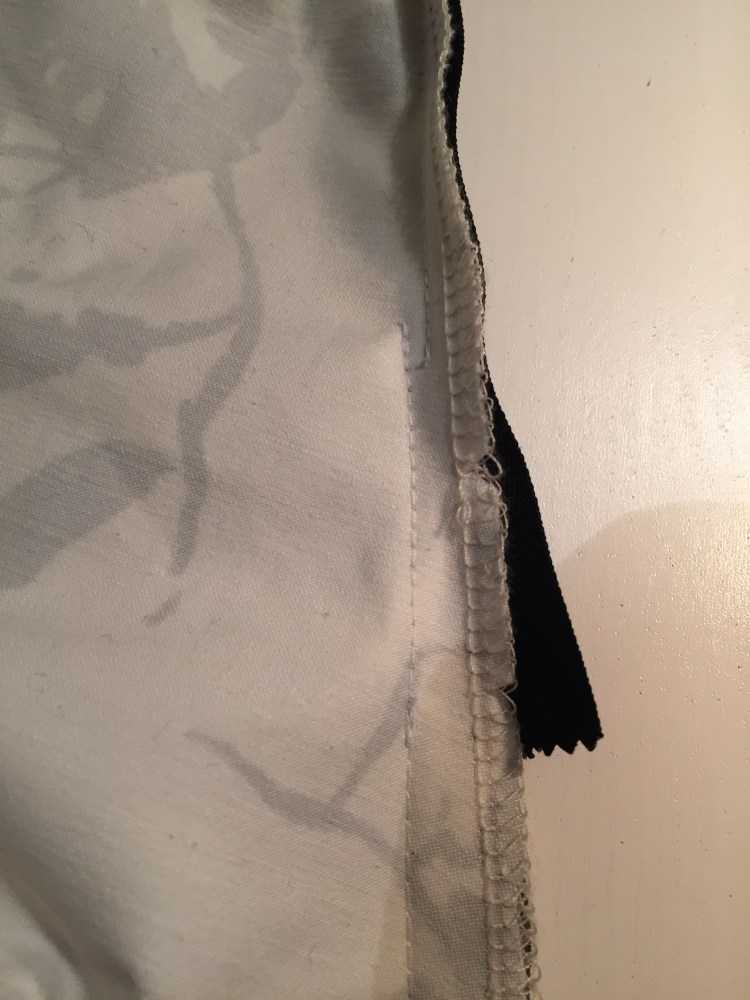
INVISIBLE ZIP
An invisible zip is completely different from a standard zip. Both the way it looks and the way you insert it into the garment is different. You always work on the right side of the fabric when putting in an invisible zip. The ‘teeth’ of the zip are on the inside of the zip whereas the ‘teeth’ of a regular zip are on the outside.
You can sew this zip using either foot. The difference between them is that, with an invisible zip foot, the teeth of the zip will fit underneath the presser foot, determining where the stitches are. With a standard zip foot you will guide the foot so that the stitches will be next to the zip teeth but not too close, otherwise, the zip won’t close smoothly.
Note: When inserting an invisible zip with a standard zip foot the finish of the zip won’t be as “tight” as when using an invisible zip foot. It is worth investing in an invisible zip foot if you don’t have one.
19. Prepare the zip. Open the zip and you will notice that the zip ‘rolls’ to the side. On a warm but not hot setting, iron the zip so that each rolled side lies very flat.
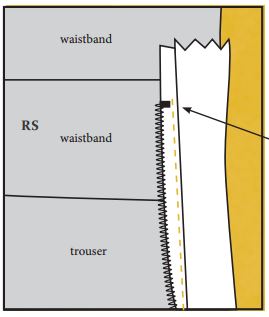
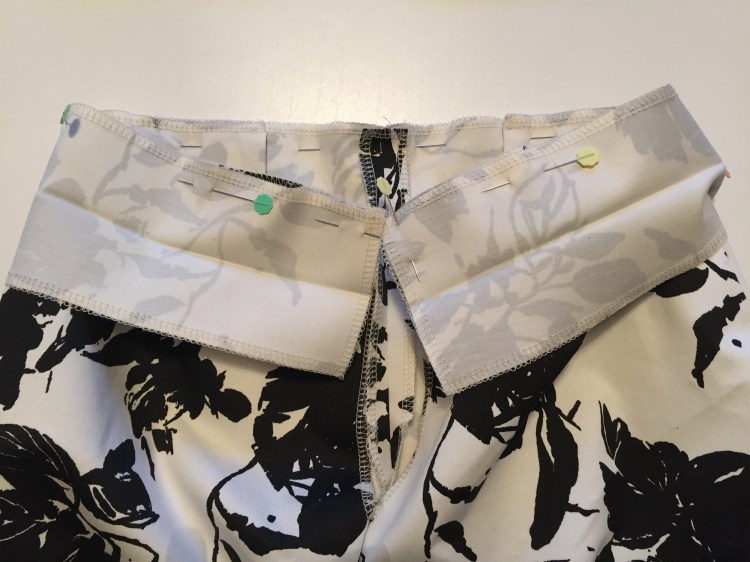
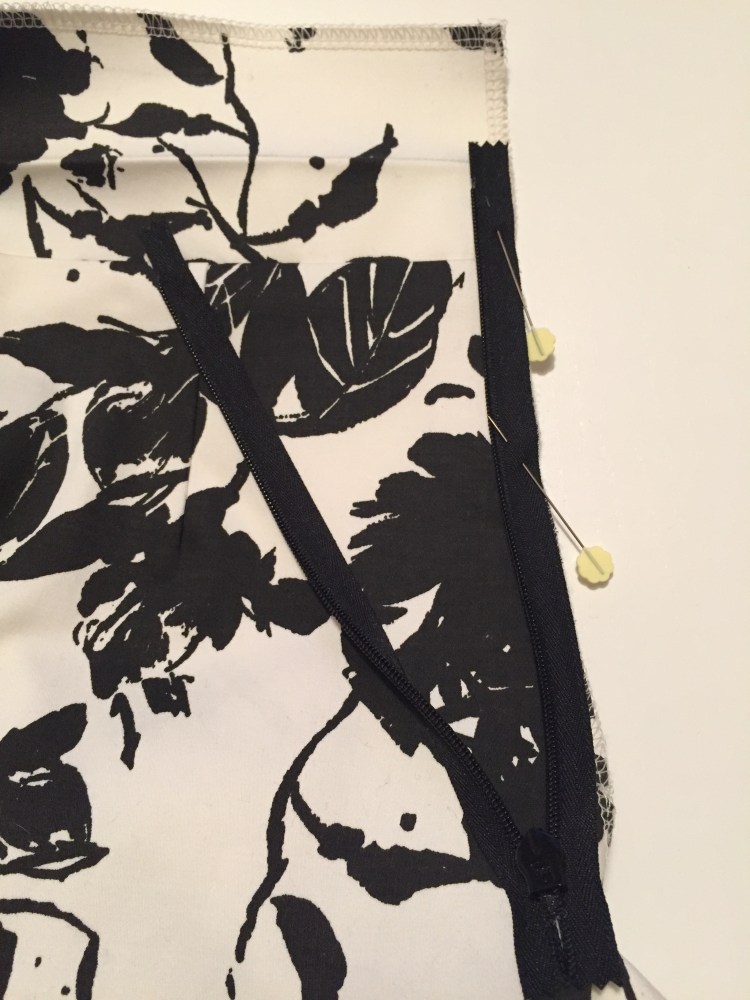
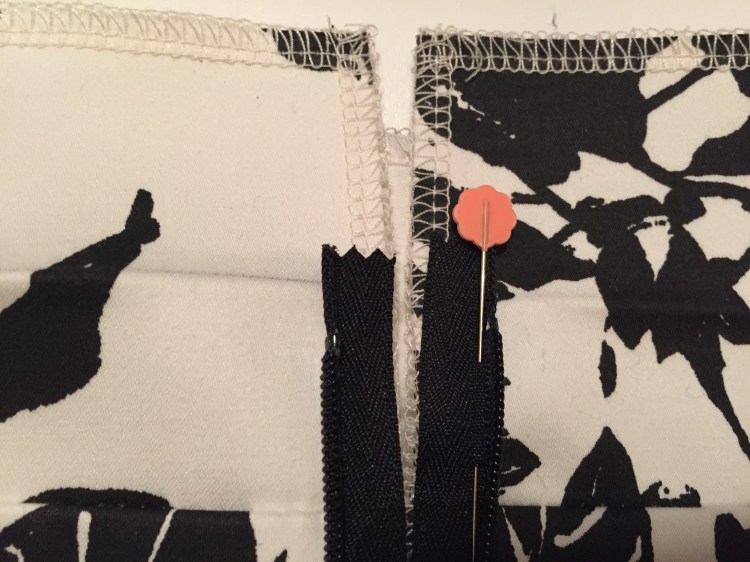
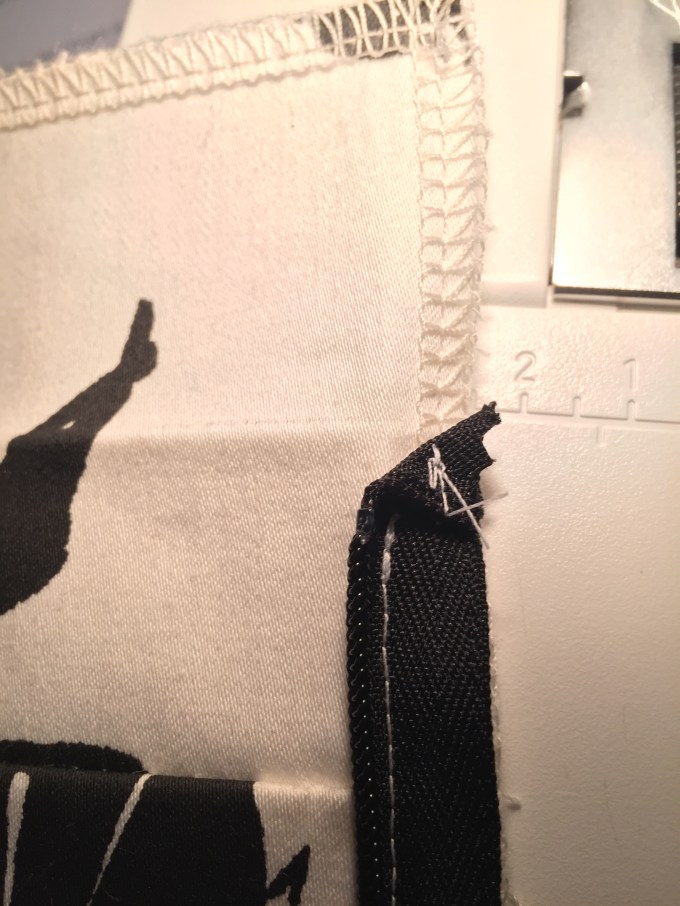
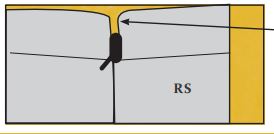
20. This image is to illustrate how the zip is going to be placed:
a) The zip extends into the upper half of the waistband but isn’t sewn here.
b) The ‘top stop’ of the zip starts approx. 3mm from the fold of the waistband.
c) The yellow stitching line on this diagram is to illustrate where to start sewing – next to the ‘top stop’.
* When you place the trousers right sides facing you, we will be working on the left side first.
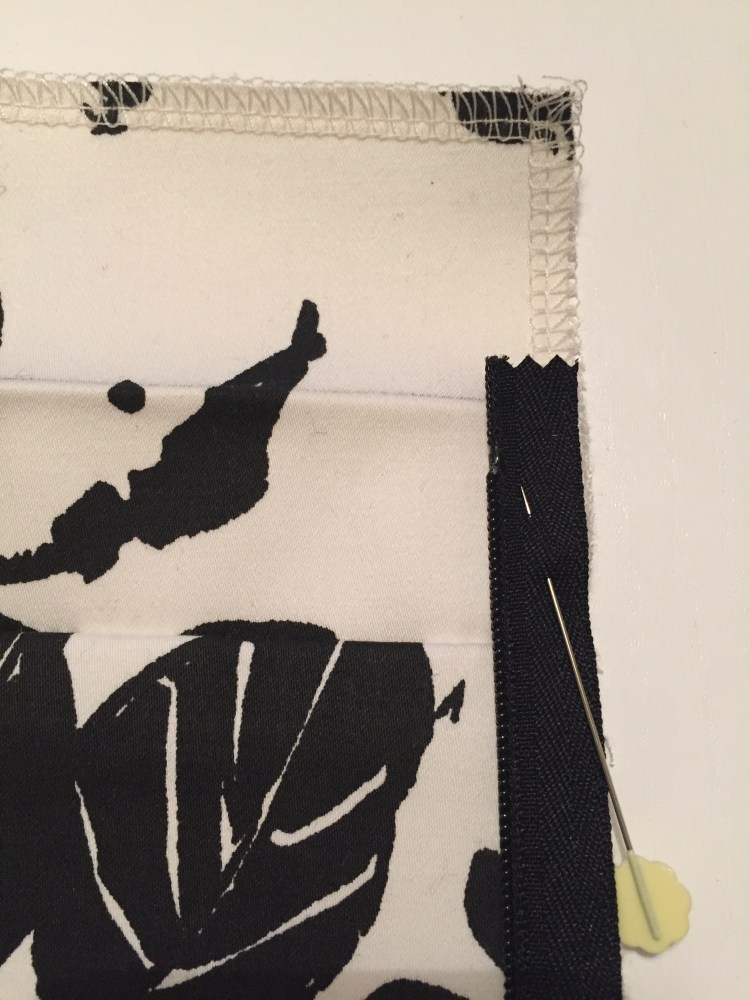
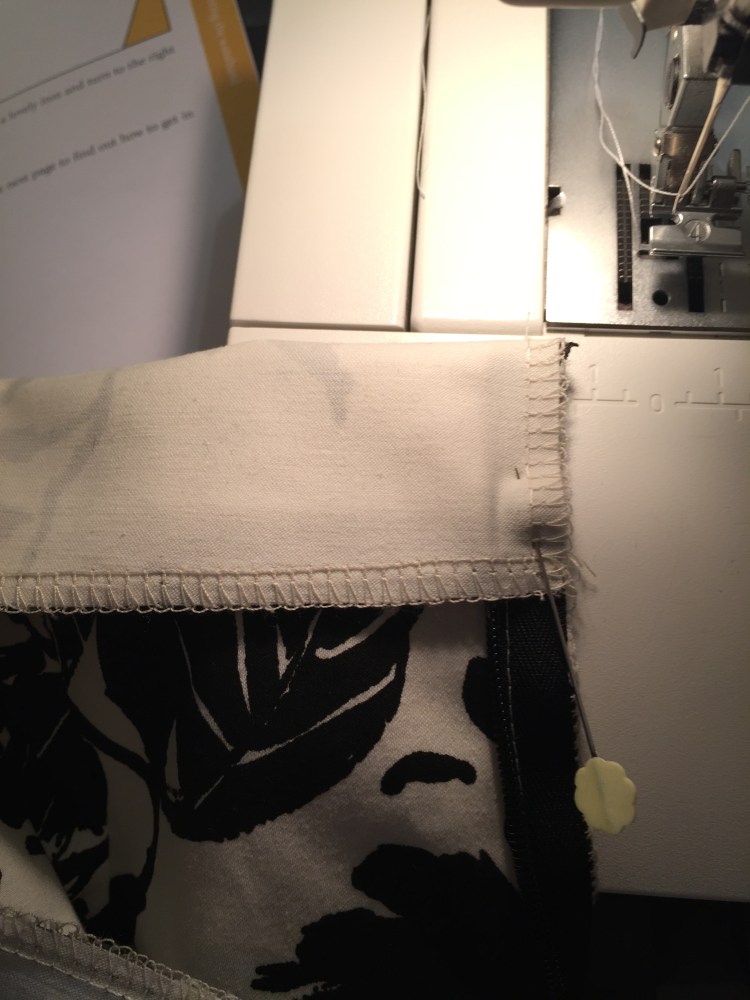
21. Place the zip right side onto the trousers, lining it up as per image 20. The edge of the zip should lie 5mmaway from the edge of the fabric so that your sewing line will be 1.5cm from the edge of the fabric.
Pin in place. Using the zip presser foot and starting next to the ‘top stop’, sew the zip to the trousers until you reach the notch or the zip end.
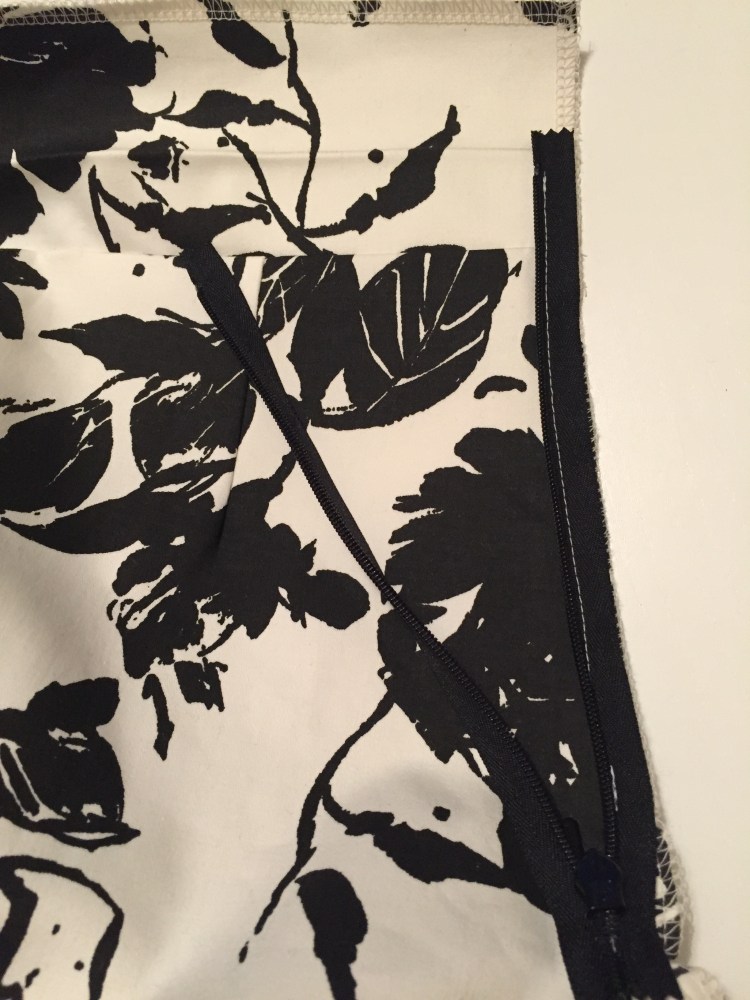
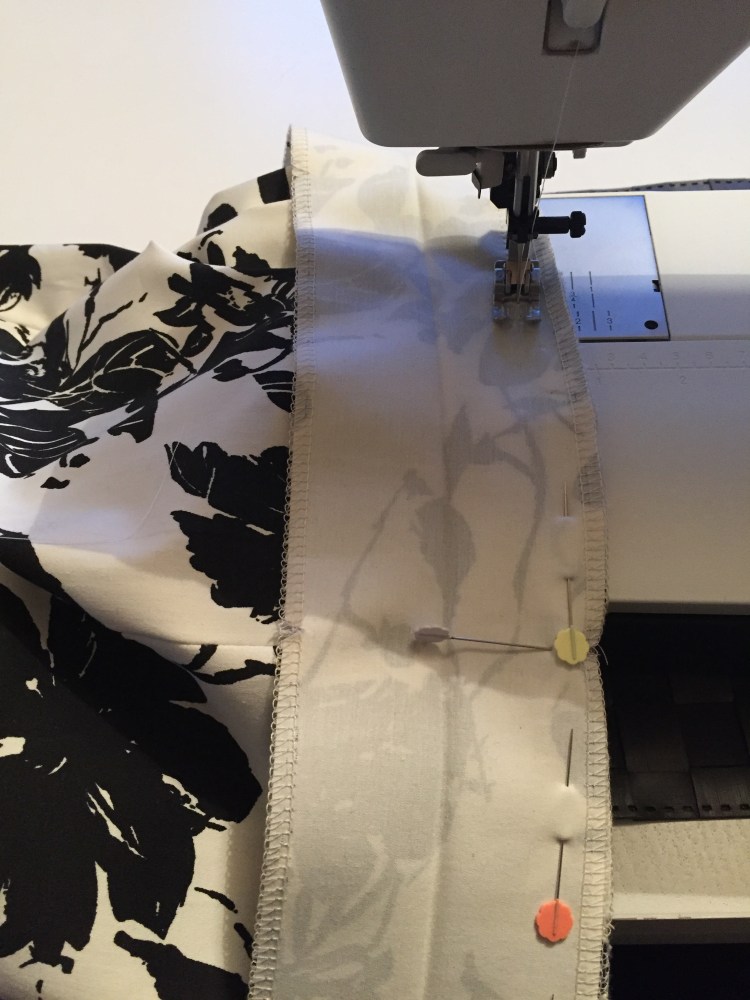
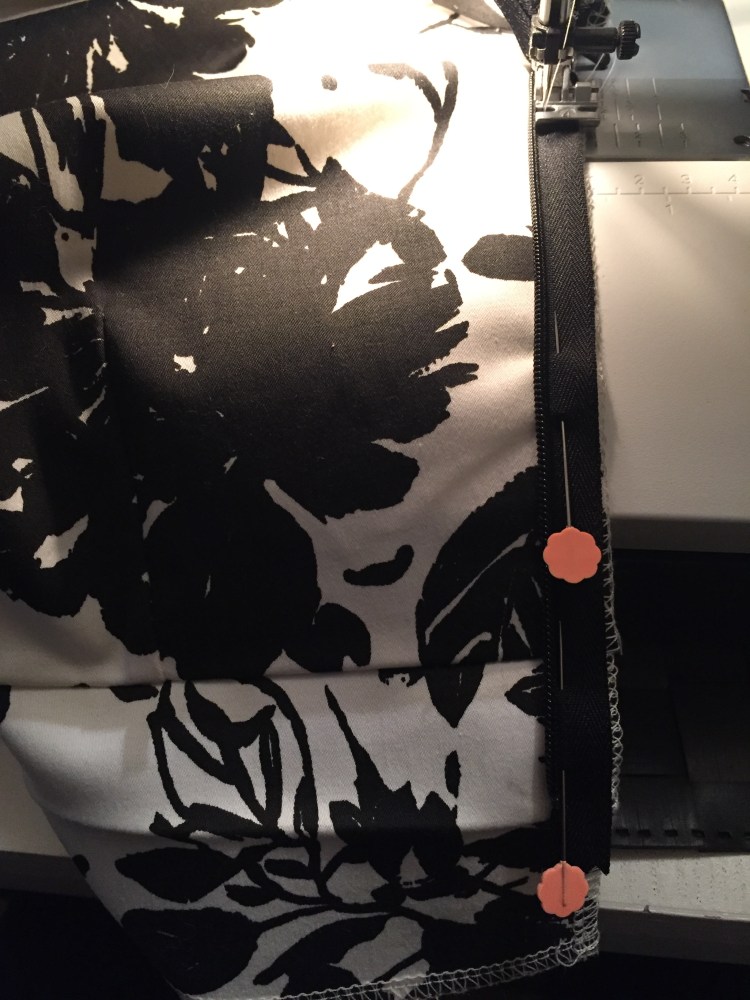
22. Once sewn flip the sewn zip side over so that the unsewn zip is now on the right.
Can you see how we have turned the top of the zip so that it sits with the edge of the zip against the edge of the fabric? It should mirror the other side. Make sure that the zip starts in exactly same place as the other side and then pin down the edge, twisting the zip to sit correctly. When the zip is done up it shouldn’t be twisted. The edge of the zip should lie 5mm away from the edge of the fabric. Pin in place.
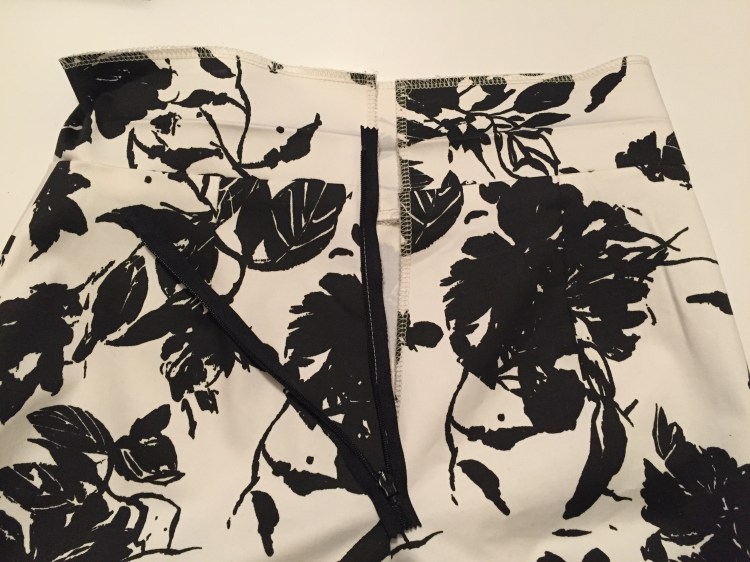
23. Sew in place, this time working from the bottom of the zip towards the ‘top stop’.
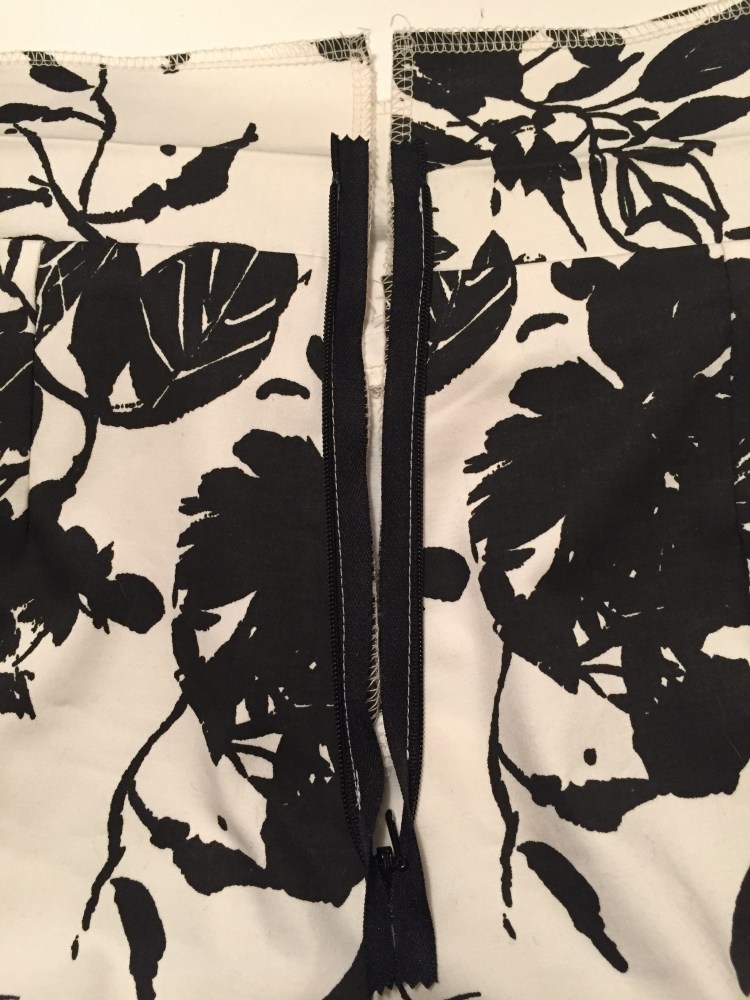
24. Zip up the trousers and double check that the zip starts at the same point on each side.
* If you used an invisible zip foot to insert the zip, change it to a standard zip foot to enable to you to complete the next step.
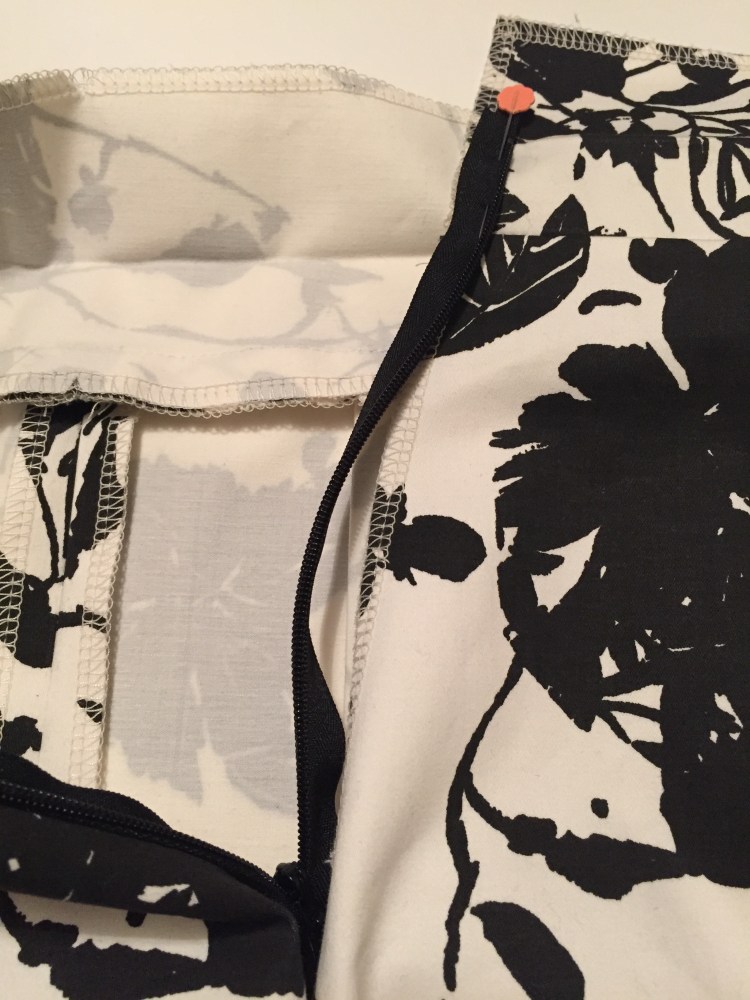
25. Turn the trousers to the wrong side and move to the area that is unsewn between the zip and the crotch stitches.
Fold the back trouser pieces right sides together so that you can sew between the zip and crotch stitches and starting just above and to the left of the zip stitches, sew down to the crotch stitches, completing this section. Hold the zip to the right so that it isn’t caught in the stitching.
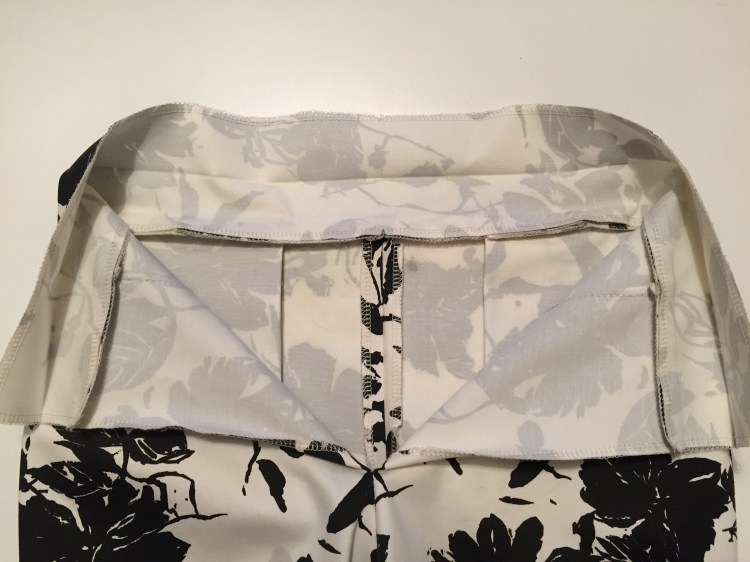
COMPLETING THE WAISTBAND
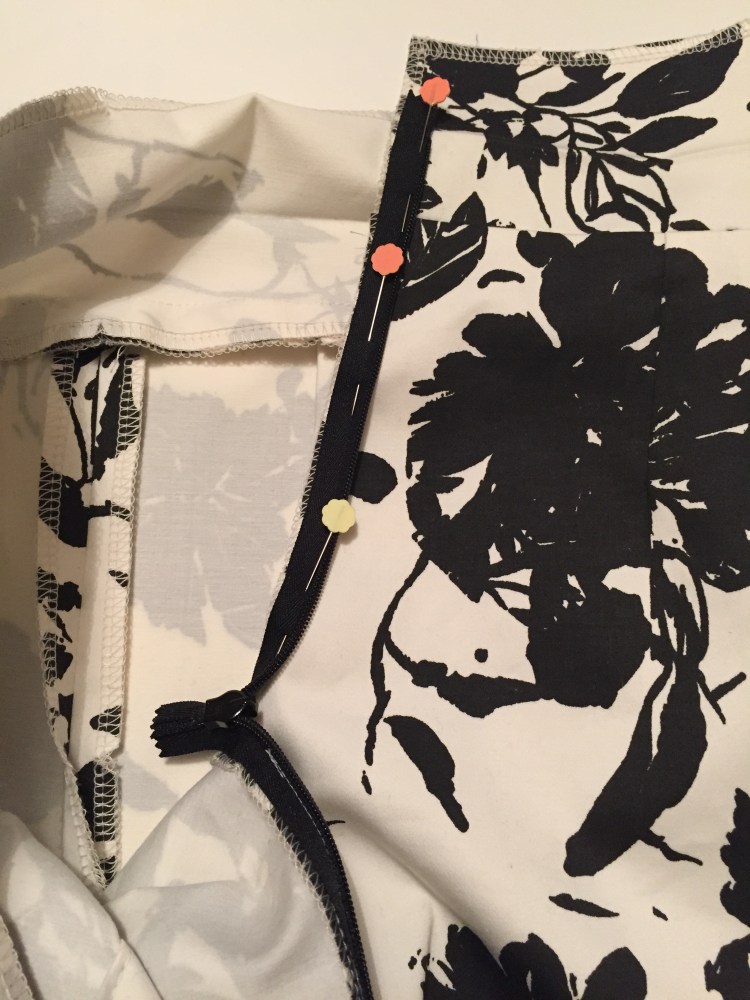
26.1. The top part of the zip that was not sewn now needs to be moved out of the way. Turn down the top of the zip and sew a couple of hand stitches to keep it out of the way.
* If you want to add binding to the inner waistband edge, now is the time to do it,
otherwise, it can be overlocked, finished with a zig-zag stitch, or turned under and topstitched.
26.2. Fold the waistband over so that is it sitting right sides together with the zip tucked inside.
Using the standard zip foot, machine stitch through all the layers, to the right of the zip teeth and not to close to the zip teeth.
26.3. It may help to cut away the top part of the zip that wasn’t sewn as this will reduce the bulk. Push this sewn piece to the right side which will reveal the teeth and a little section of the zip on the right side.
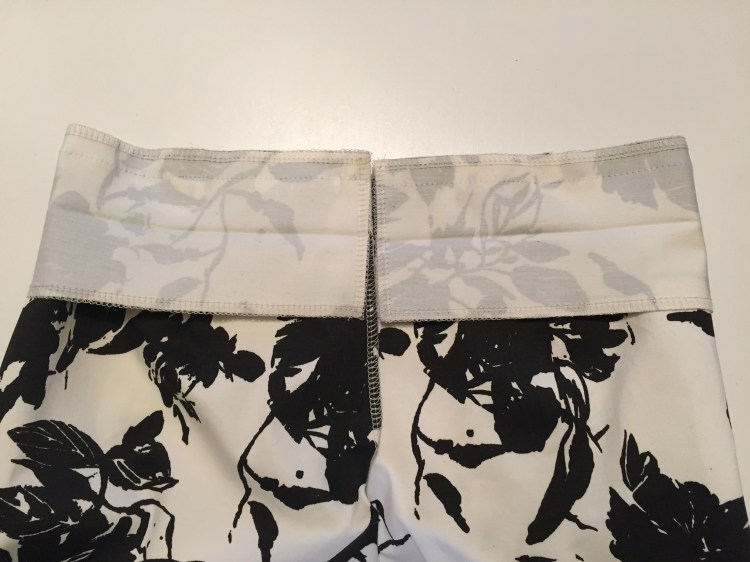
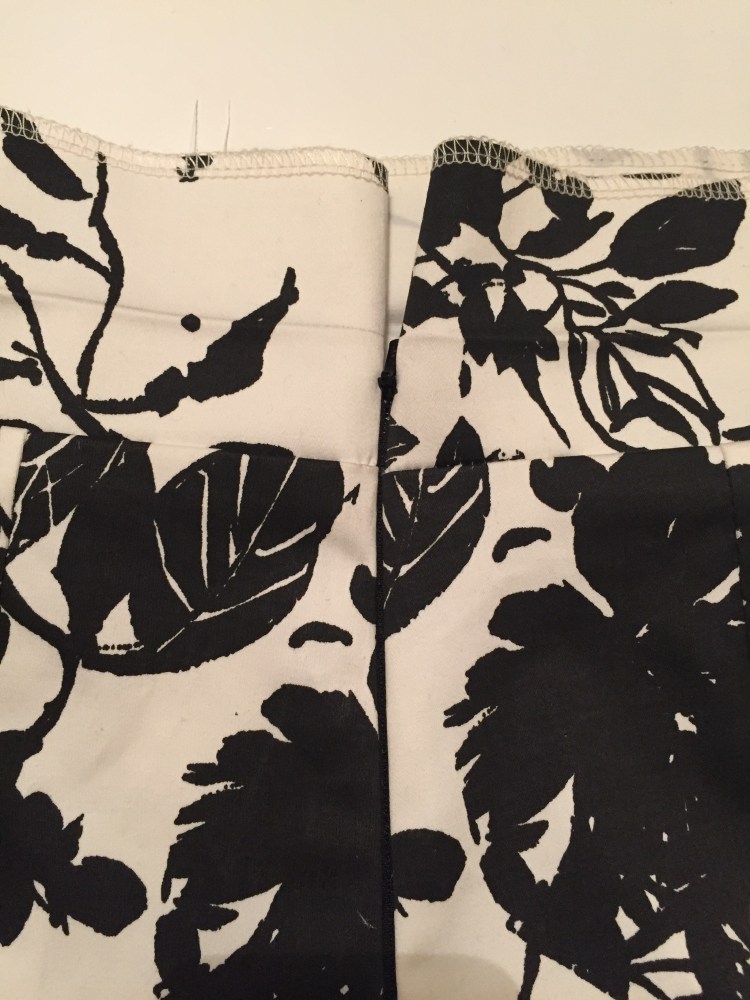
26.4. View from the wrong side of the trousers: the zip should sit beautifully inside the sewn waistband. Repeat on the other side, ensuring that when you turn over the waistband it will be the same height as the piece just completed.
TIP. Take your time to ensure that both sides are going to match up the same.
27. On the right side, fold the waistband along the crease so that the unsewn
waistband edge is inside the trousers. Press/iron the waistband along the top crease.
On the right side and starting from the CB we are going to sew the waistband in place using a method called “stitching in the ditch” – creating a row of stitches in the seamline where the waistband meets the trousers. The stitches will be hidden here.
TIP. Sew slowly and carefully, checking underneath to make sure that the waistband is flat and the seam allowances are facing towards the trousers. Keep the side and CF
seam allowances open. Alternatively, fold the seam allowance under and slip stitch in place on the inside.
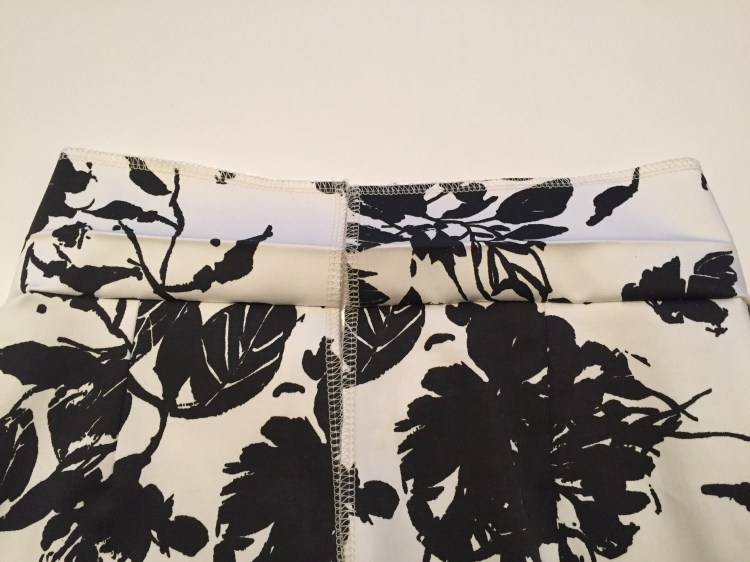
The stitches will be visible on the inside of the trousers along the waistband edge:

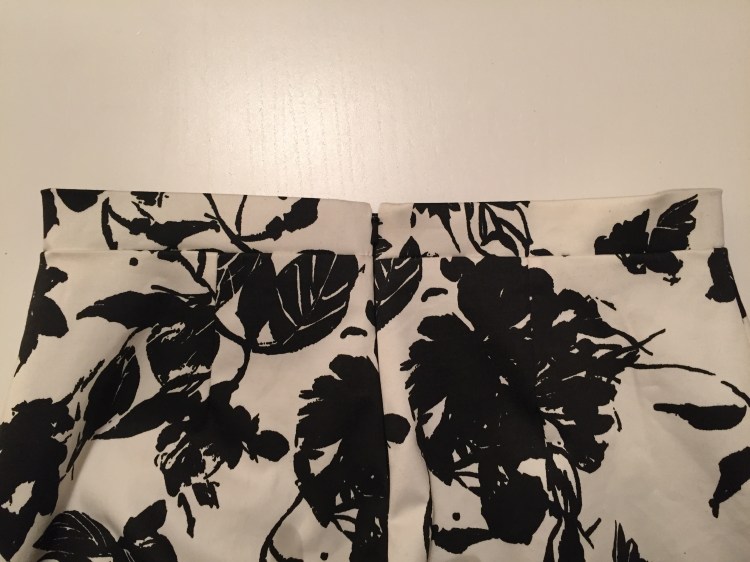
28. To complete your trousers just give them a final press/iron and turn to the right side.
We’d love to see your trousers -share with us on social media using hashtags #citytrousers #thecitytrousers #trousers #trouserpattern #avidseamstress #theavidseamstress
