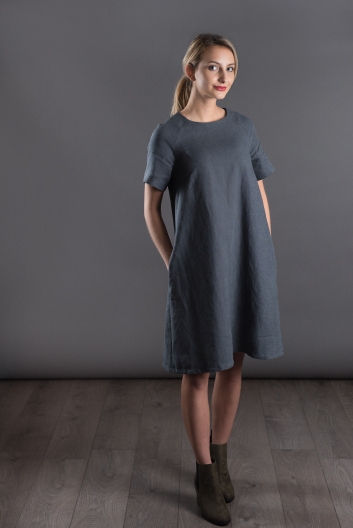
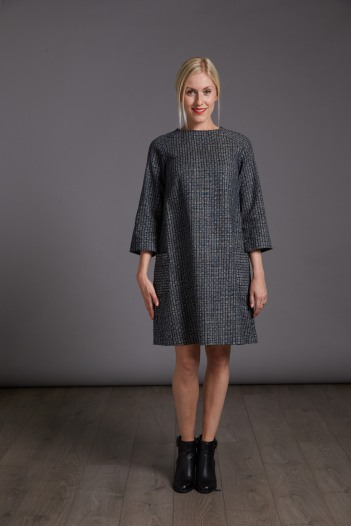
THE RAGLAN ADULT DRESS / TOP
TUTORIAL
Before you start – Overlock / zigzag the raw edges of your fabric pieces.
STAYSTITCHING THE NECKLINE
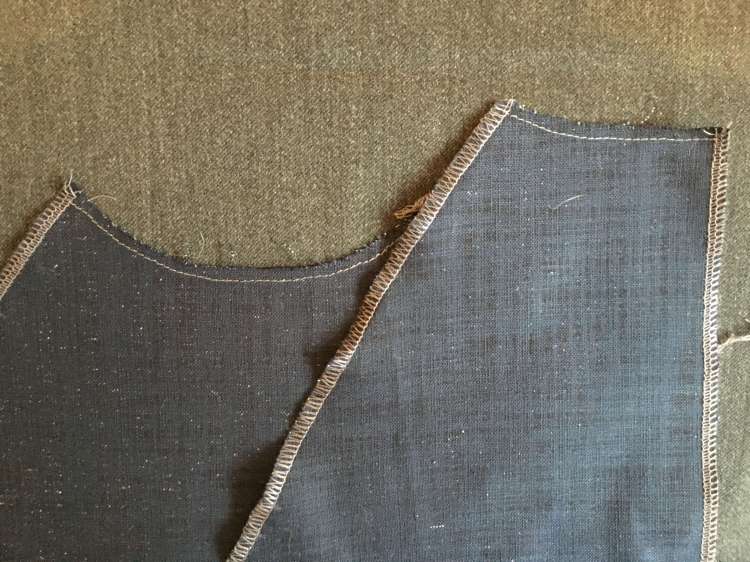
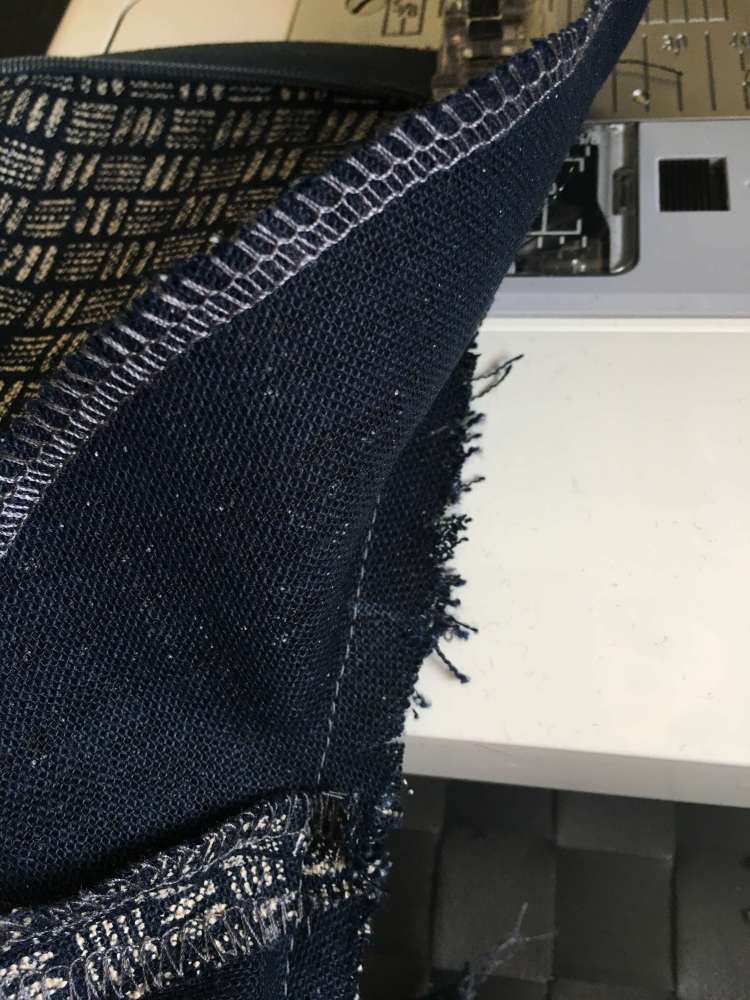
1. Open out B so that you have each piece separately. Staystitch the neckline on the two pieces of B and the front neckline of A (the image below is showing you the front and one side of the back piece done).
BUST DARTS
2. Create your bust darts:
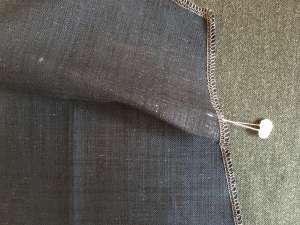
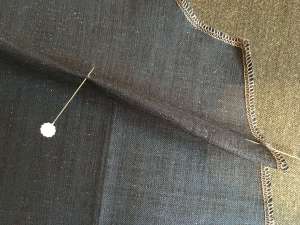
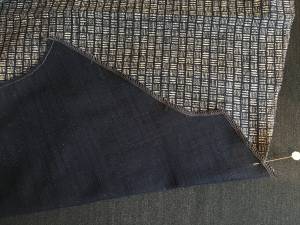
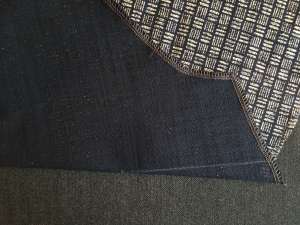
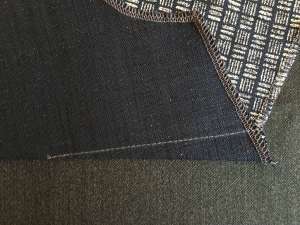
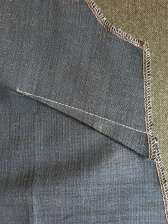
How to create a beautiful dart:
– Mark the ends of your dart with pins and the tip of the dart with a marker
– Fold the fabric so that the two pins meet each other and repin
– Using a pin or your fingers find the tip of the dart and your fabric should create a straight folded line.
– Flip the fabric so that the bodice is now right sides together
– Draw a line from the pins to the dot – the line should extend off the fabric at the dot. The line of sewing needs to be a perfect straight line from notch to dot
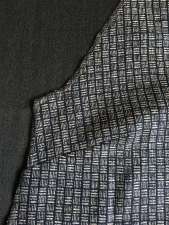
– Sew from the edge of the fabric to the dot and then press your dart downwards towards the hem

INNER POCKETS
* Ignore step 3 & 4 if you are not putting in inner pockets or if you are making the TOP version
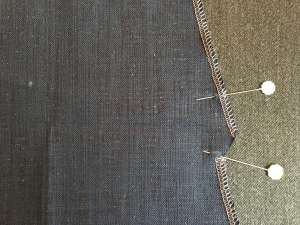
3. Place the front dress A right side facing you. Place your inner pocket pieces F right sides together onto A at each side seam, matching up the pocket notches. Sew the pocket to the dress, using a 1cm seam allowance. Use a 1.5cm seam allowance for the rest of this pattern, unless otherwise indicated.
4. On the right side of the fabric, iron the pocket piece and seam allowance flat to the side. Repeat step 3 & 4 on the back dress pieces.
INVISIBLE ZIP
the fabric when putting in an invisible zip. The “teeth” of the zip are on the inside of the zip, whereas the “teeth” of a regular zip are on the outside.
Note. You can use your standard zipper foot to insert an invisible zip. If you have an invisible zipper foot there are only some slight variations which will be noted in the next steps.
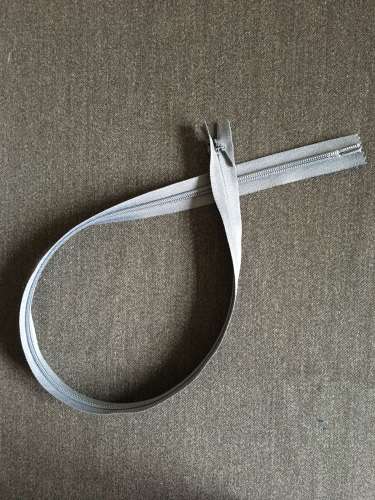
VIEW B – Top zip length 35cm
Prepare the zipper – Unzip the zipper and you will notice that the zip “rolls” to the side. Take your iron and, on a warm but not hot setting, iron the zip so that each side lies very flat.
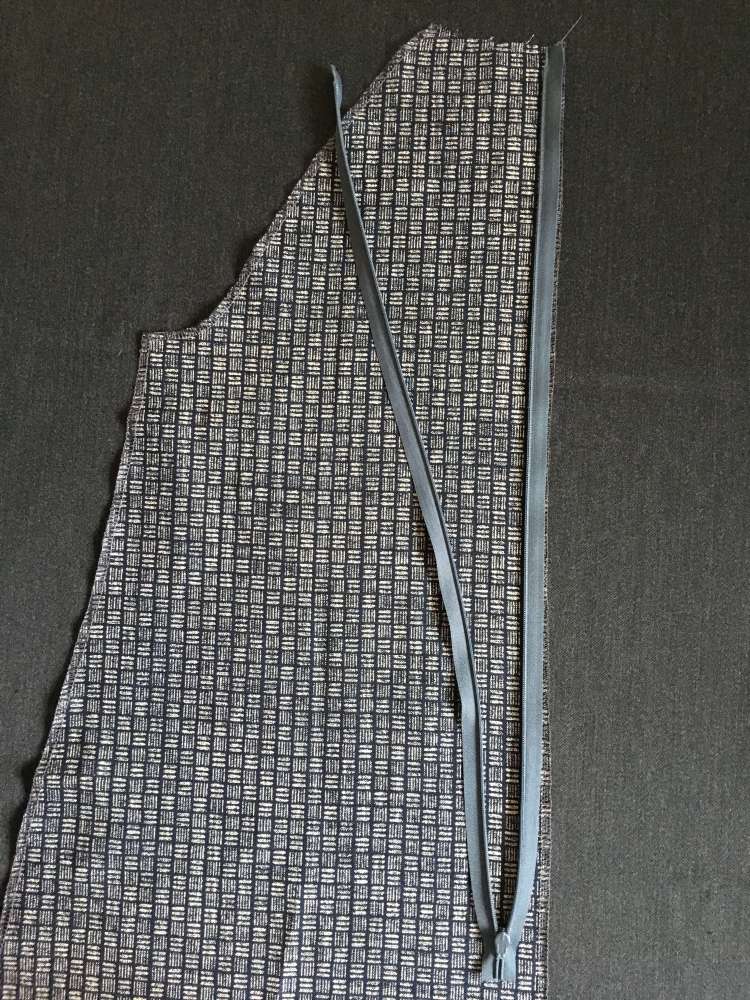
5. Place the left side of B right side facing you. Place the zip right side facing down onto B and pin. The unpinned side of the zip will be on the left. Ensure that the top of the zip is flush with the top of the CB. The edge of the zip should lie against the edge of the fabric.
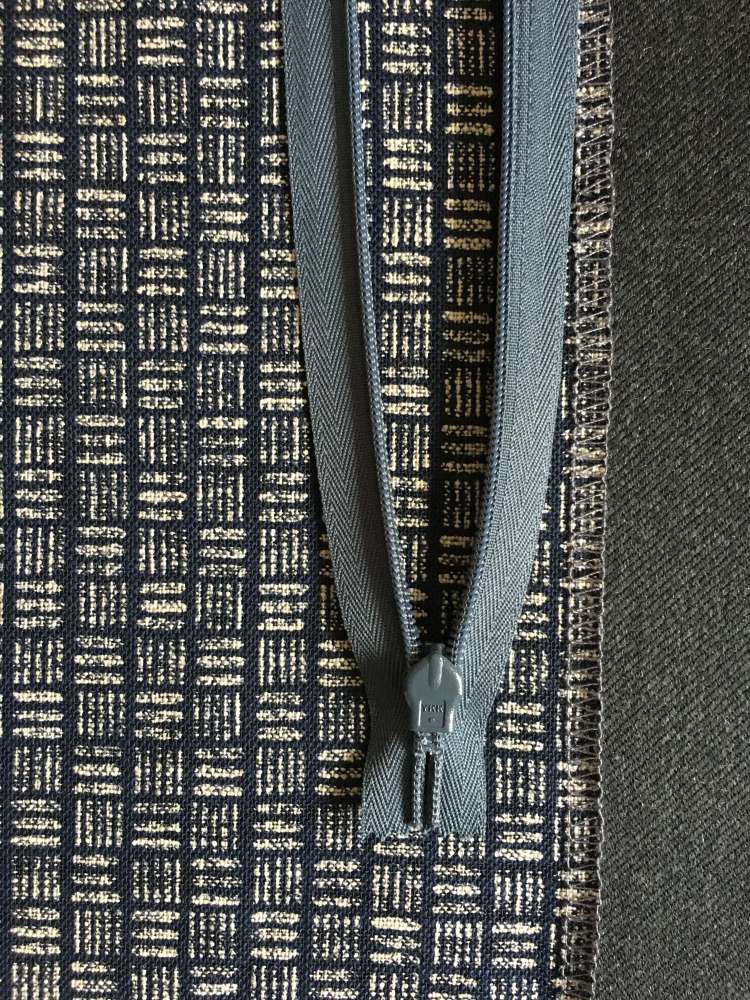
If you are using an invisible zipper pressure foot the pressure foot will determine where the stitches are as the zipper teeth run through the zipper foot.

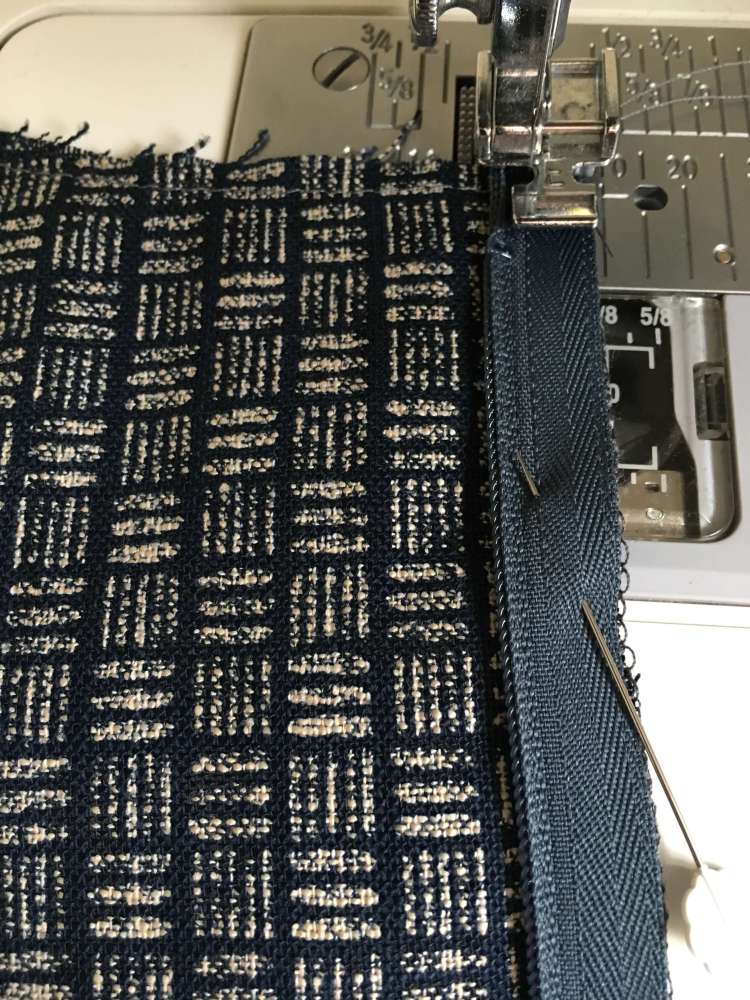
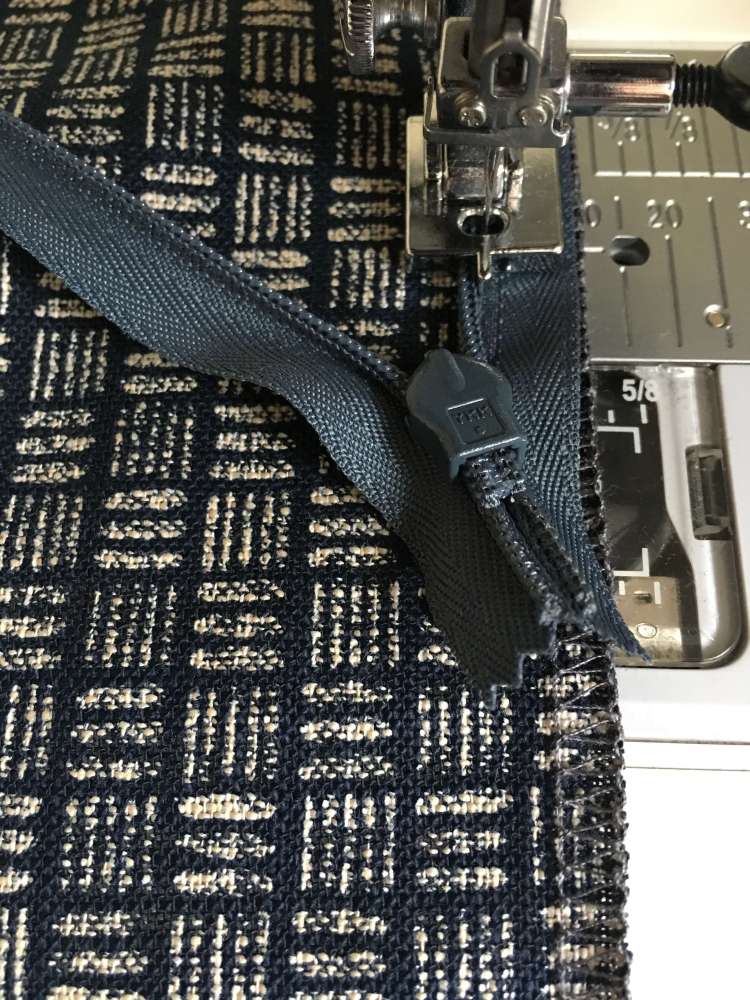
This is how you would start sewing with a standard zipper foot:
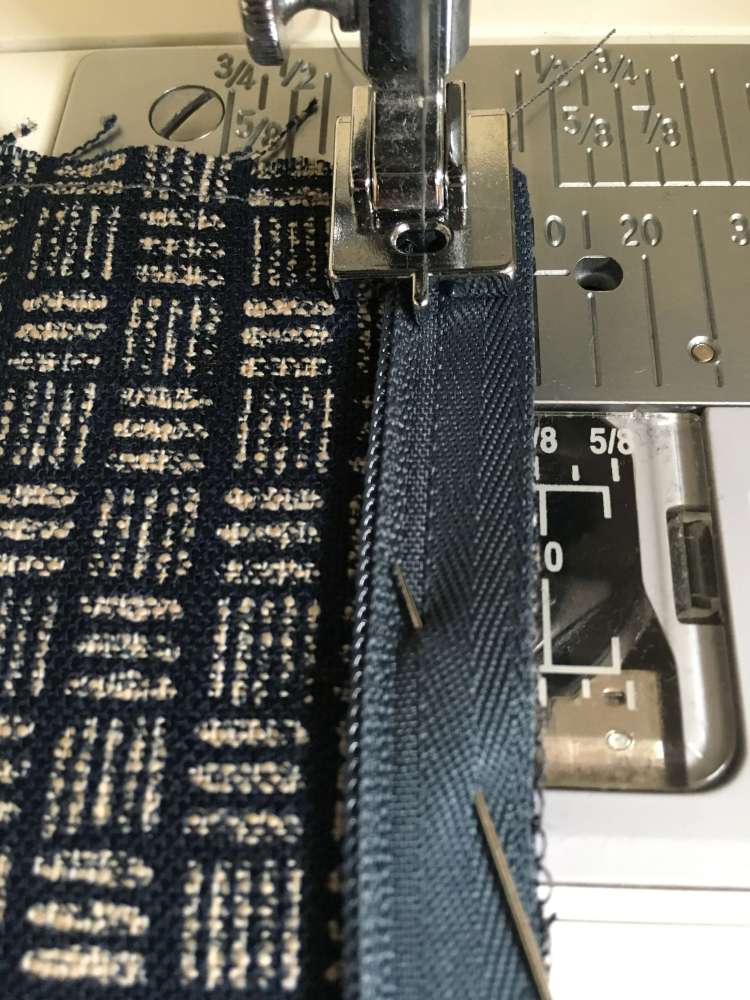
This is how you would start sewing with an invisible zipper foot (the teeth will slide into the gap in the foot)
When you reach the bottom of the zipper with an invisible zipper foot, it will look like this:
7. Place the other back piece B right sides together onto the piece you have just sewn. Pick up the unsewn zip side and place along the edge of the unsewn B piece – right side of the zip to right side of the fabric. Pin in place, ensuring you are only pinning the zip and the edge of B. Ensure that the top of the zip is flush with the top of the dress and the bottom of the zip ends at the same place as the other sewn side.
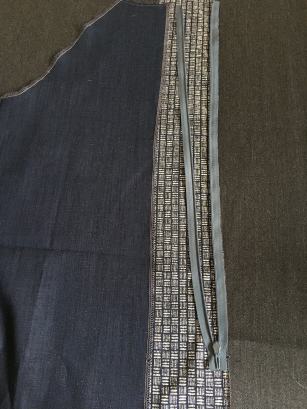
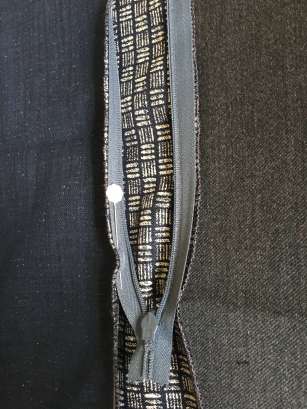
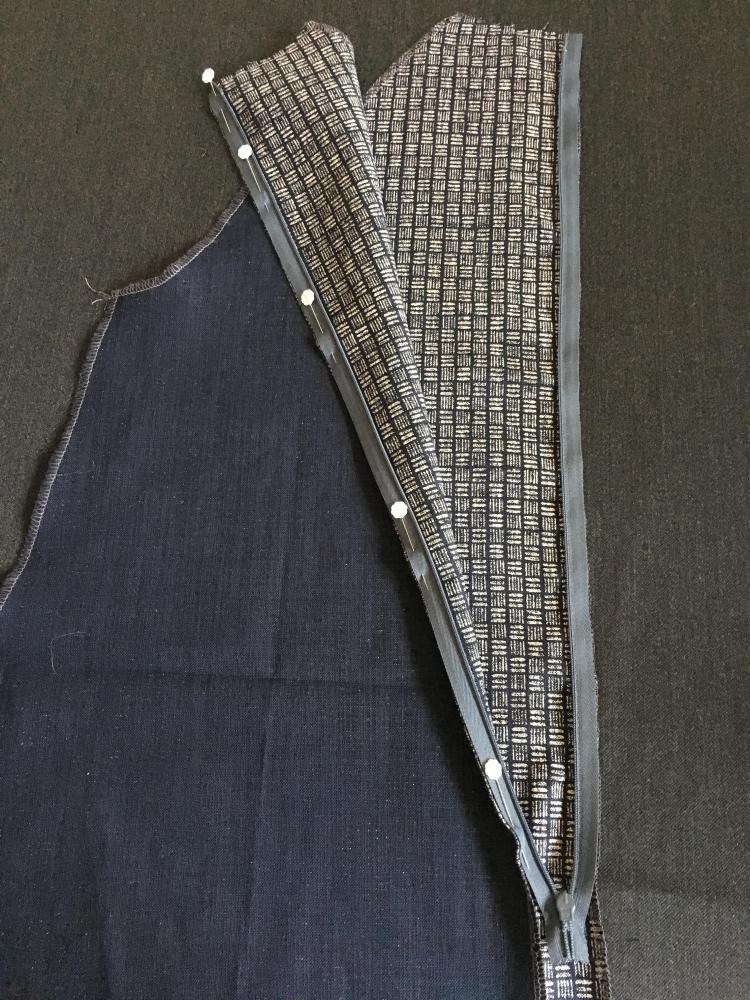
8. Starting from the bottom of the zip, sew this side of the zip.
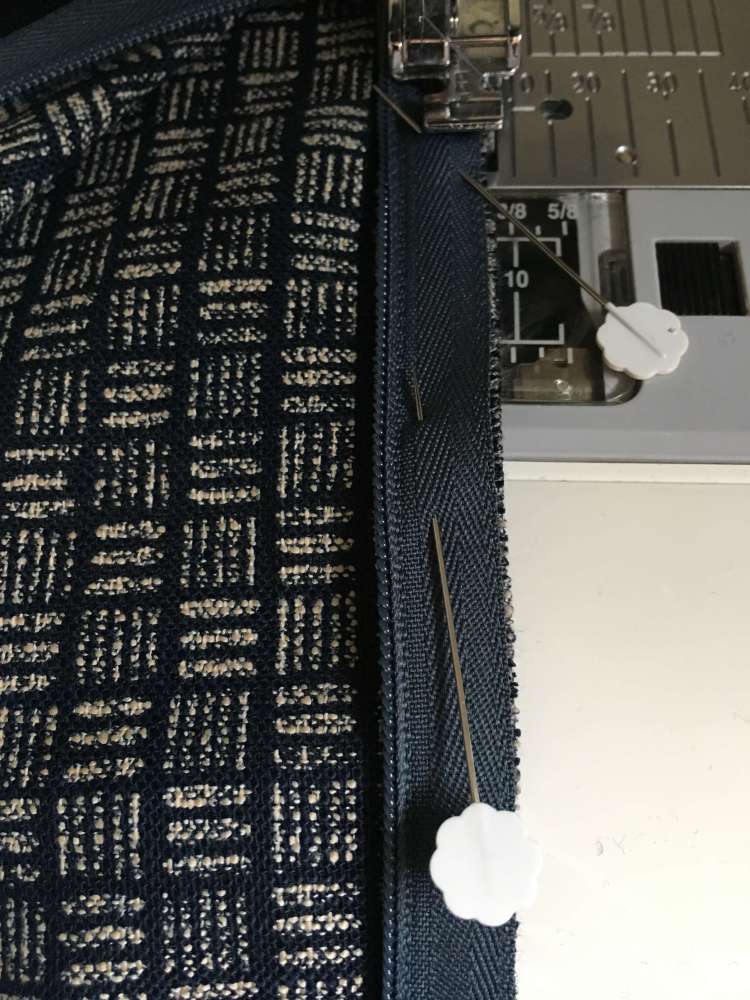
9. Once complete, zip up your zip and check that the zip starts at the same point at the top neck.
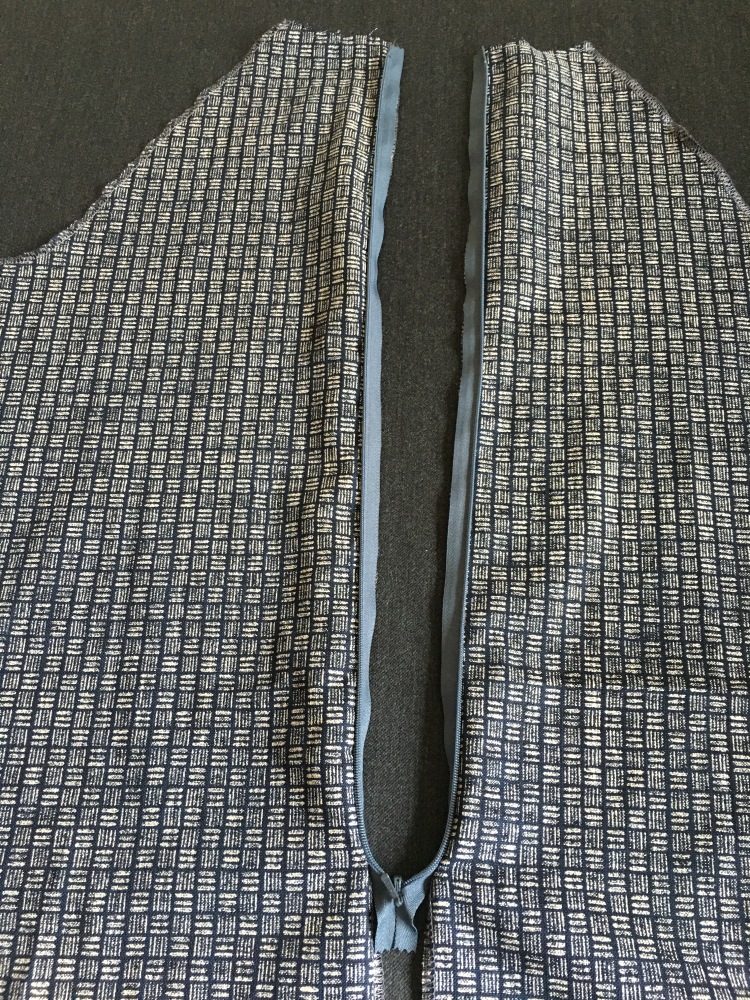
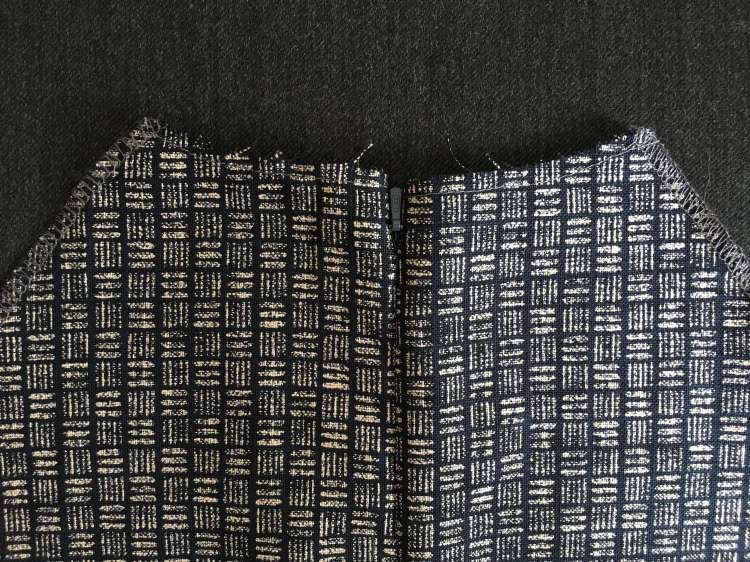
10. On the wrong side of the fabric, pin the remainder of the CB sides of B – matching up the bottom hem. If using an invisible zipper pressure foot change this foot to your standard zipper foot for the next step.
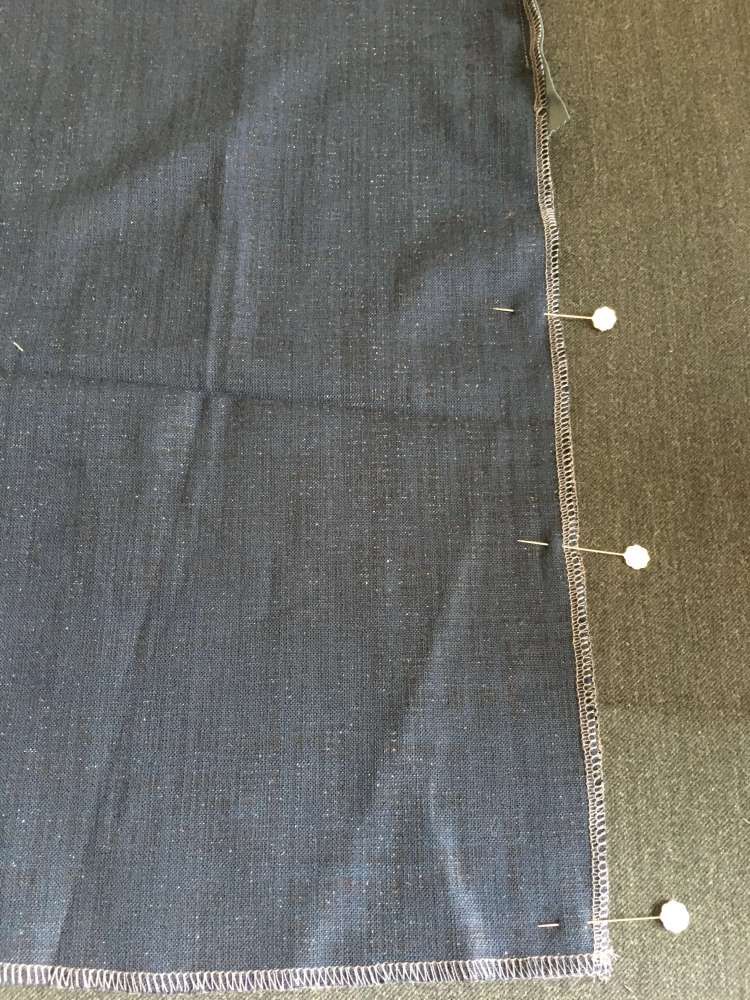
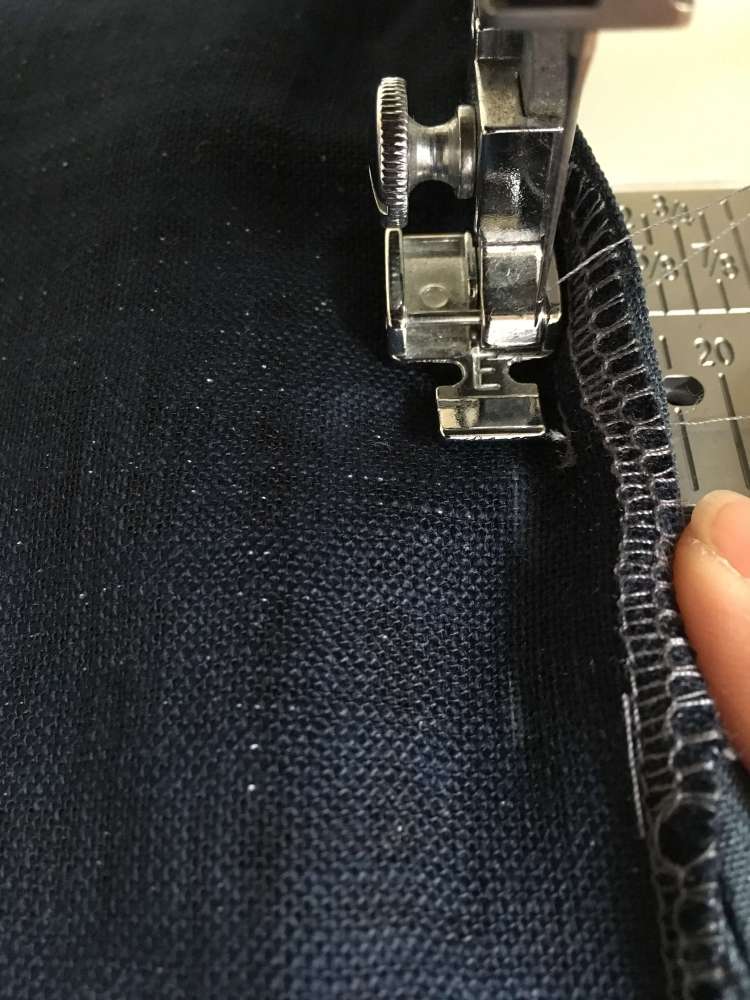
11. Push the loose unsewn zip to the right hand side and guide your fabric so that you can sew a row of stitches just above and to the left of the sewn zipper stitches. Don’t forget to reverse stitch.
Tip. The trick is to start as close as possible to the zip stitches you created in the previous step. Just after the first few stitches, guide the edge of the fabric so that you are then sewing on a 1.5cm seam allowance.
These are the stitches you have just sewn:
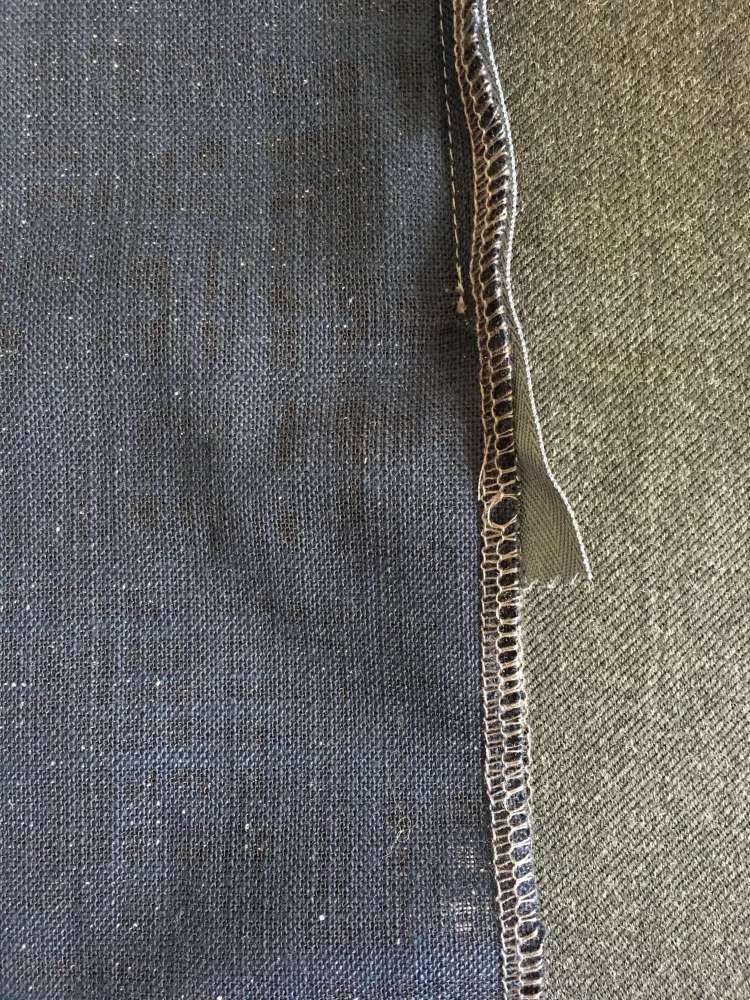
Once you slide the garment underneath, you can see from this image you are starting just above the previously sewn stitches in the above image and this next stitching will be to the left – as close as possible.
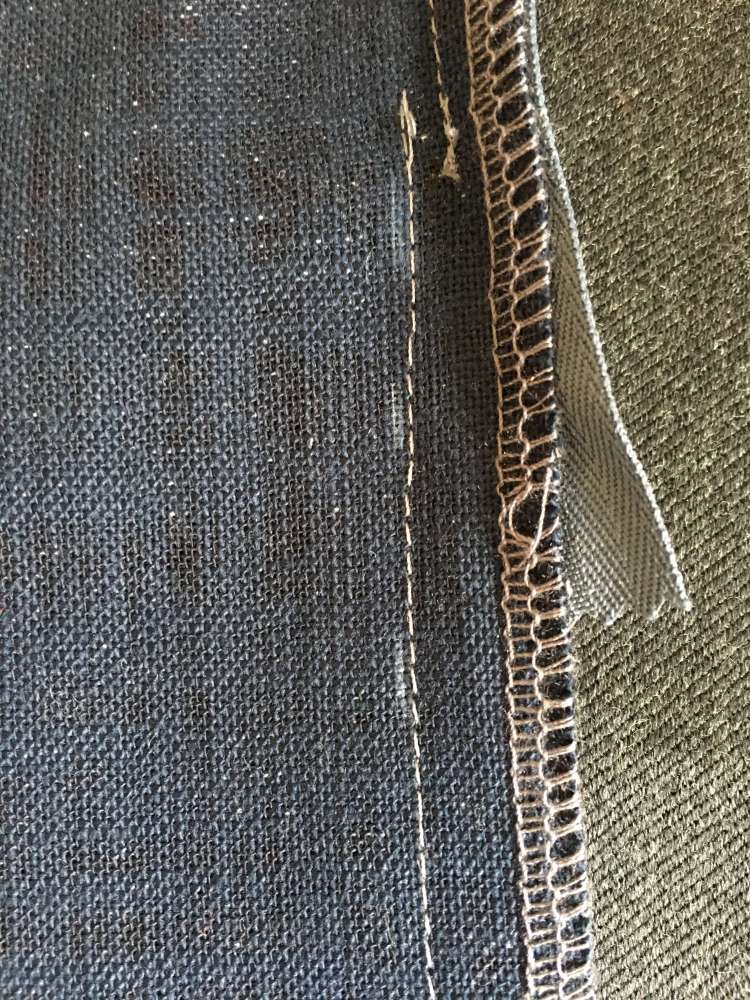
12. Check this piece has been sewn accurately and then iron open your seam allowance.
13. Place your sleeve piece C wrong sides facing you. Ensure that you have marked the dot from the pattern piece onto the sleeve (on the wrong side of the fabric).
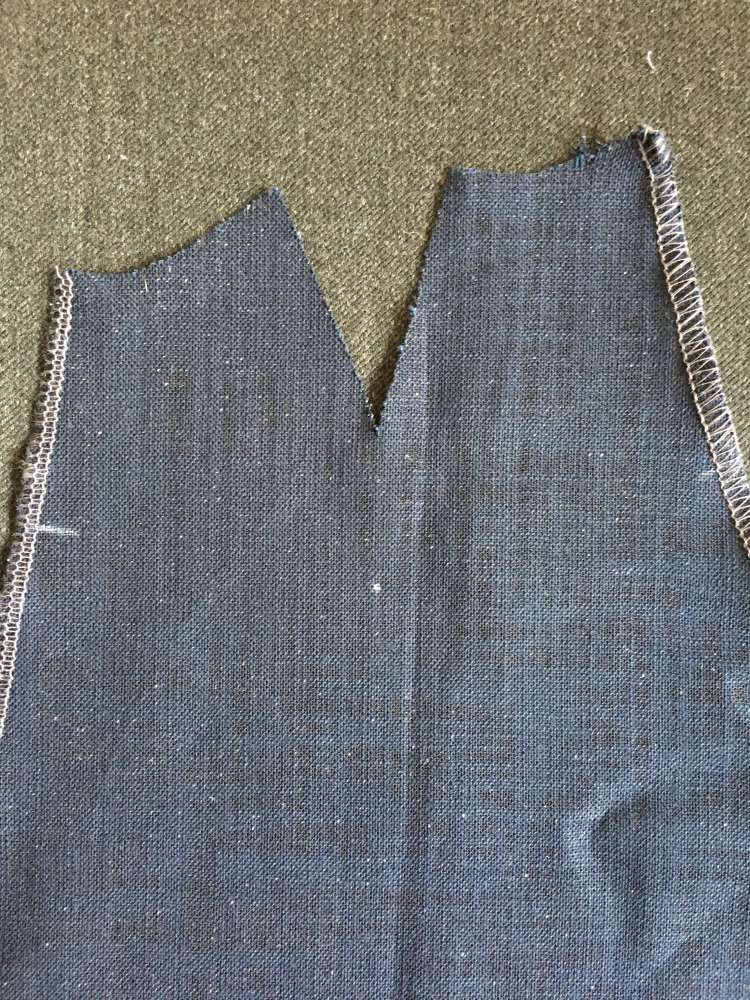
14. Fold the sleeve right sides together, lining up the dot on the fold and the top at the neckline.
15. Draw a line (1cm seam allowance) from the top of the dart to the dot. This will help you to sew it beautifully. Once sewn, you can snip down the fold of the fabric on the inside of the dart. Ensure you don’t snip too far down!
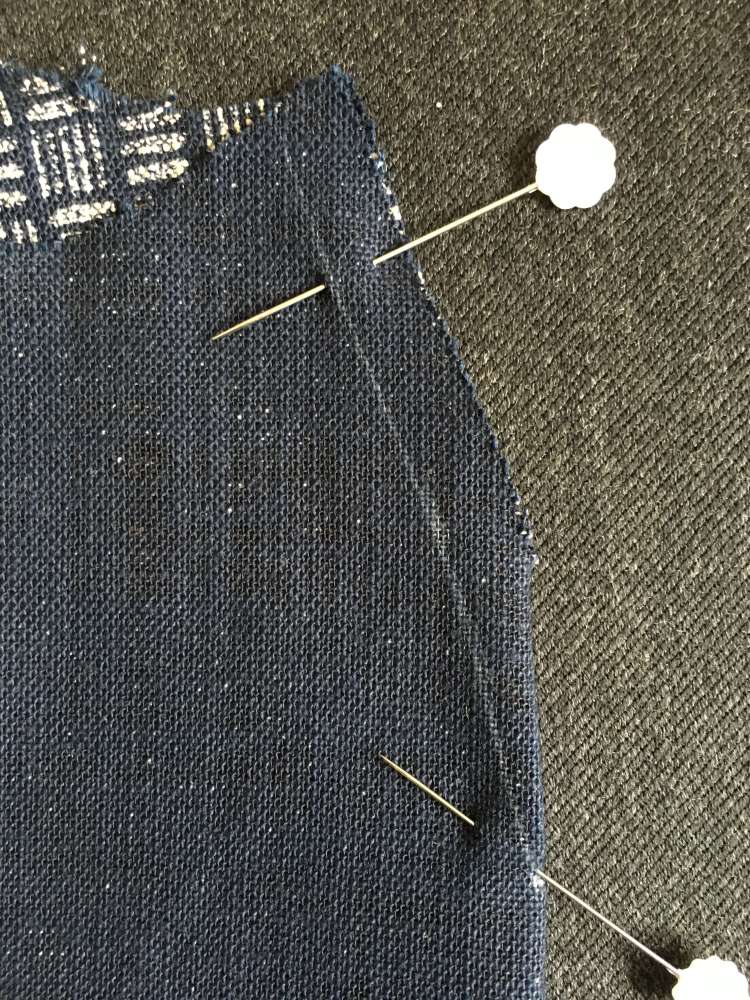
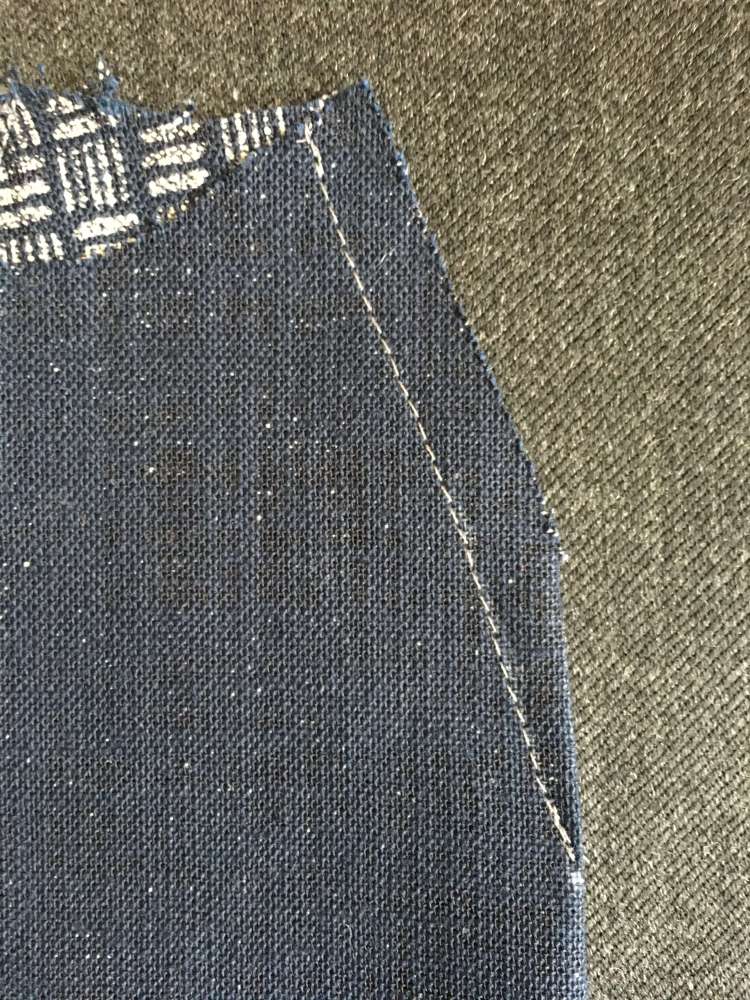
16. When you open out the sleeve on the right side the top of the arm curve should be neat.
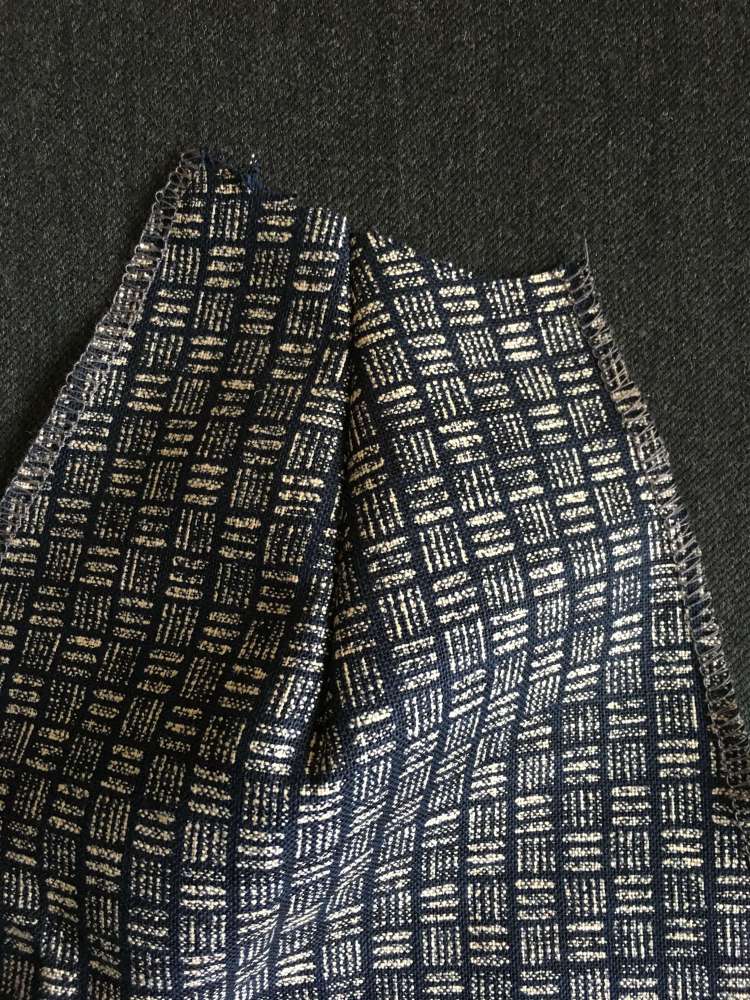
Important – the sleeve has a 1cm seam allowance
17. It is very important that your sleeve notches are marked on your fabric as it is easy to confuse the front and back sides of the sleeve. The back of the sleeve has two notches and one notch that match up to the dress back piece.
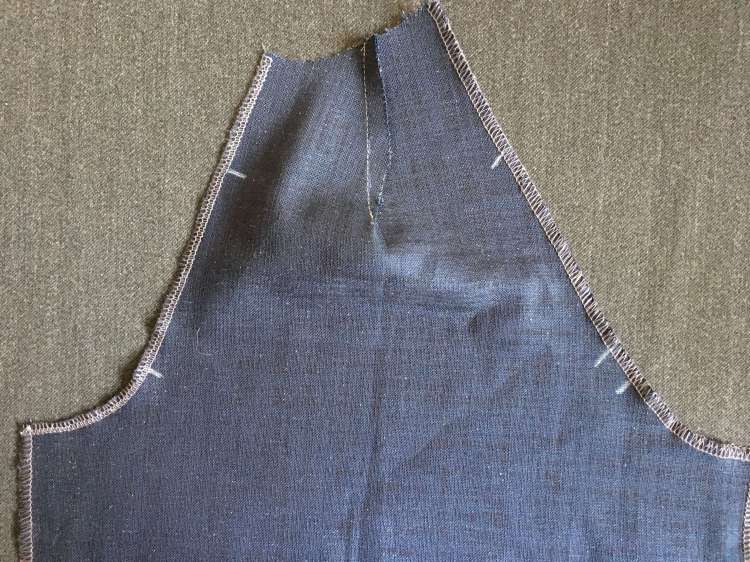
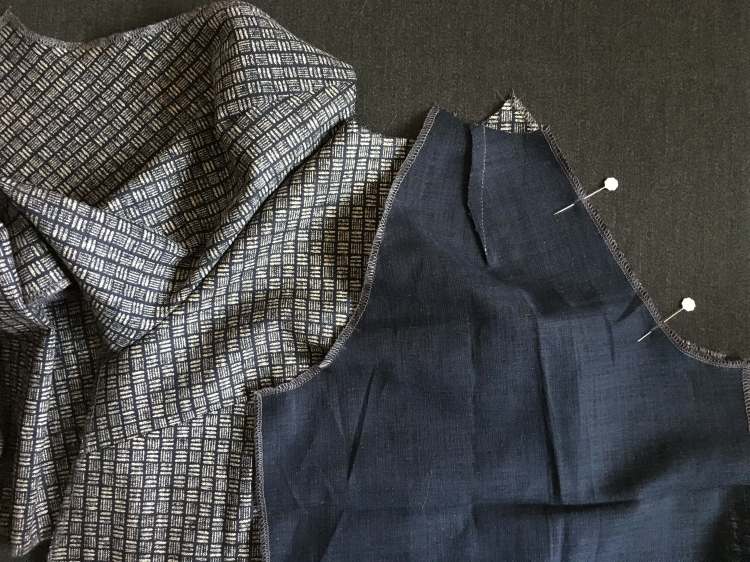
18. Place A right side facing you. Find the sleeve piece that, when you place it right side onto A, has the one notch matching up to the one notch on A. We are only working on the front of the dress now so need the sleeve FRONT to correspond to the dress.
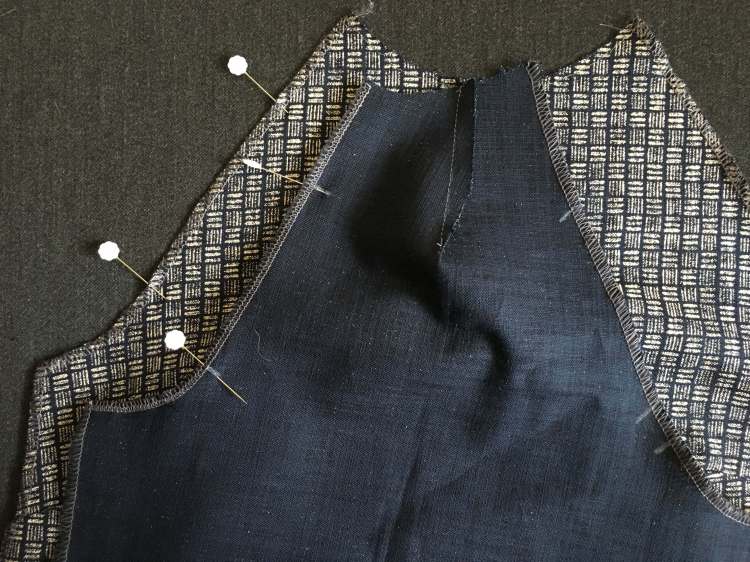
19. Pin the side seam edges.
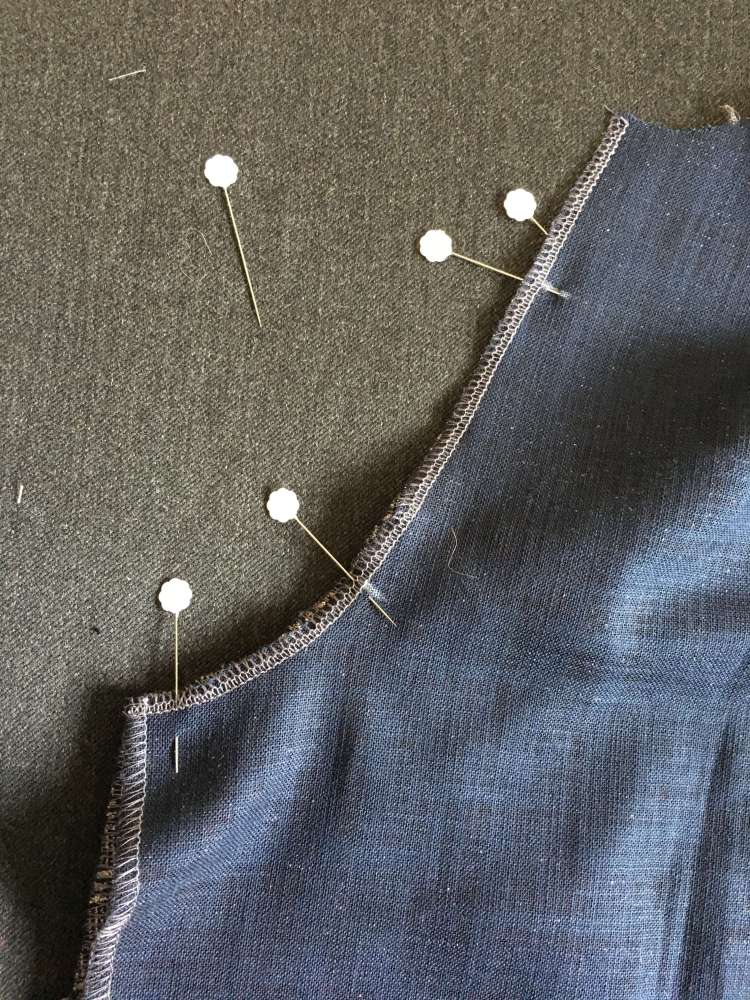
20. Move up and pin the notches together.

Tip. Take your time with these next steps. These pieces don’t look like they fit but they do.
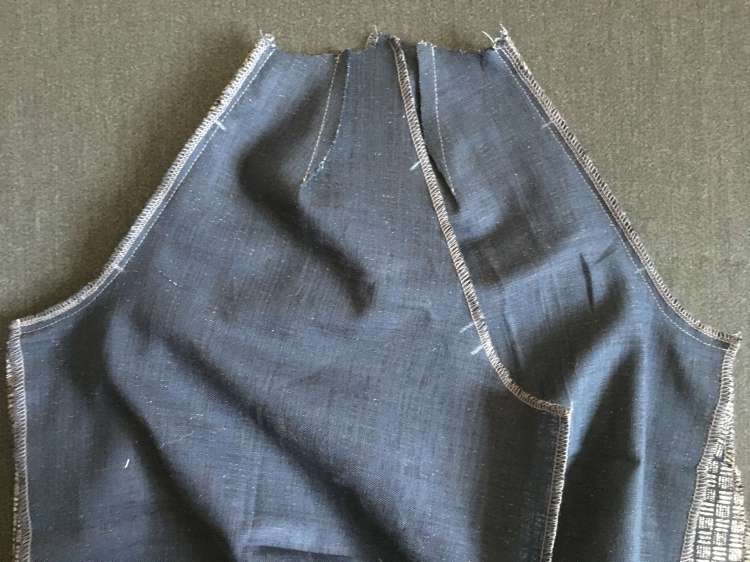
21. At the top of the sleeve, align your pieces as shown.
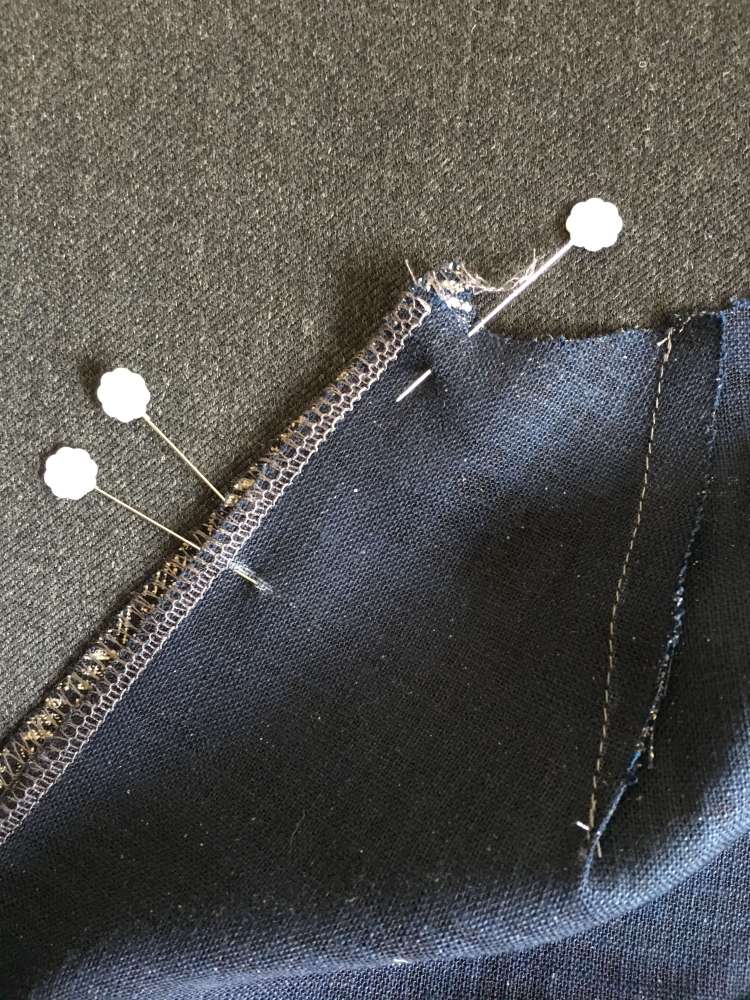
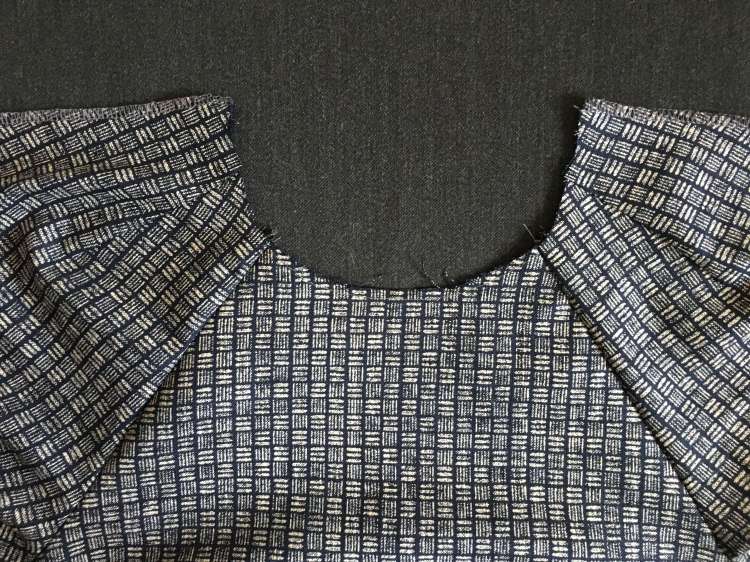
22. Pin the rest of the sleeve, making sure the pieces stay flush against each other along the edge. Once pinned, turn over to the other side and check that no fabric has got mistakenly caught.

24. Still working with the front dress piece, place your other FRONT sleeve right sides together onto the dress front and repeat the steps to sew this FRONT sleeve to the dress FRONT.
BACK SLEEVE
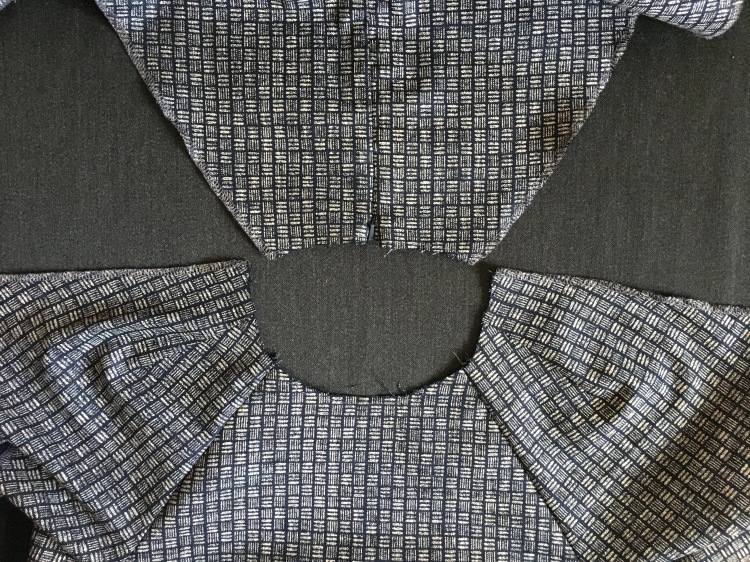
25. Lay your pieces as shown – right sides facing you. Take B and place onto A – right sides together. Pull the sleeve sections of B across to meet the back sleeve sections of C. Match up the sleeve pieces on each side – following the same method as you did with the front sleeve. Sew in place.
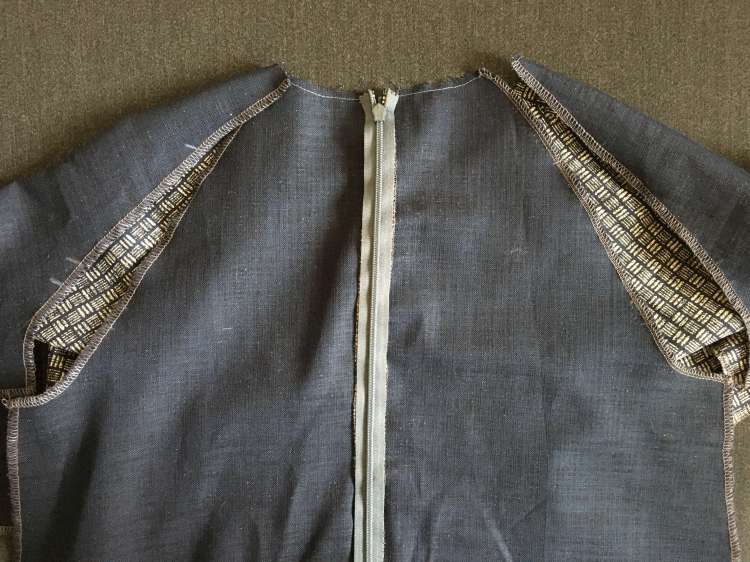
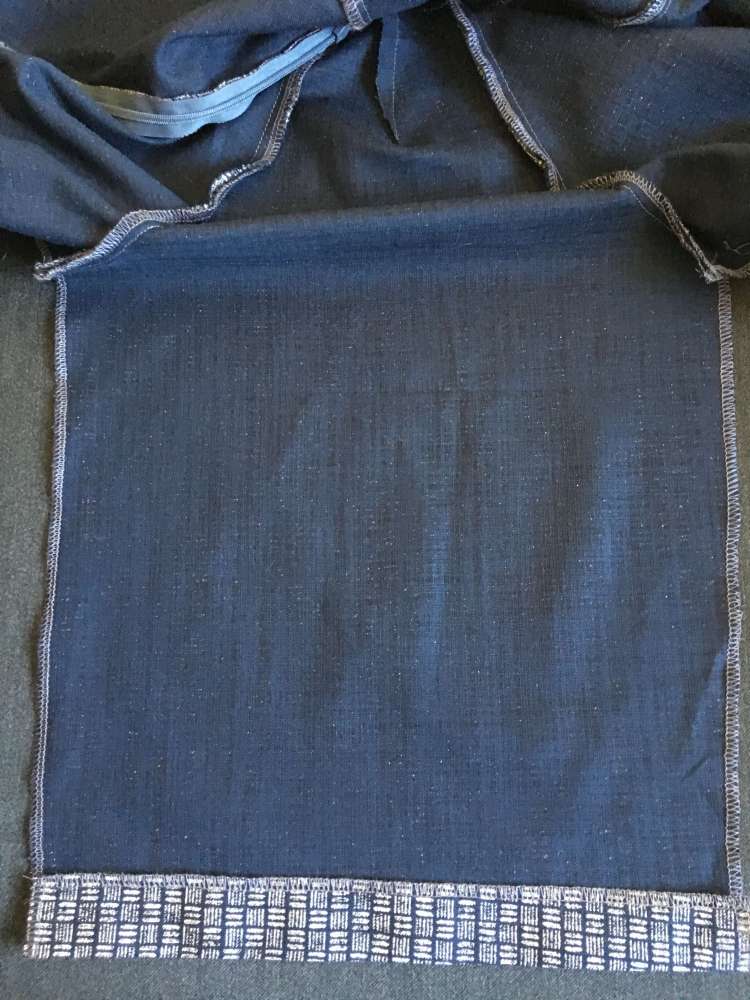
SIDE SEAMS
the start of the sleeve, the underarm points (keep seam allowances open), the pocket and then bottom of the dress, ensuring that the hem is even. Pin in place.

27. At the pocket, draw the pivot line where you will turn to sew around the pocket, so that you are always using a 1.5 seam allowance.
NECK FACING
29. Right sides together and using a 1cm seam allowance, stitch your facing pieces together.
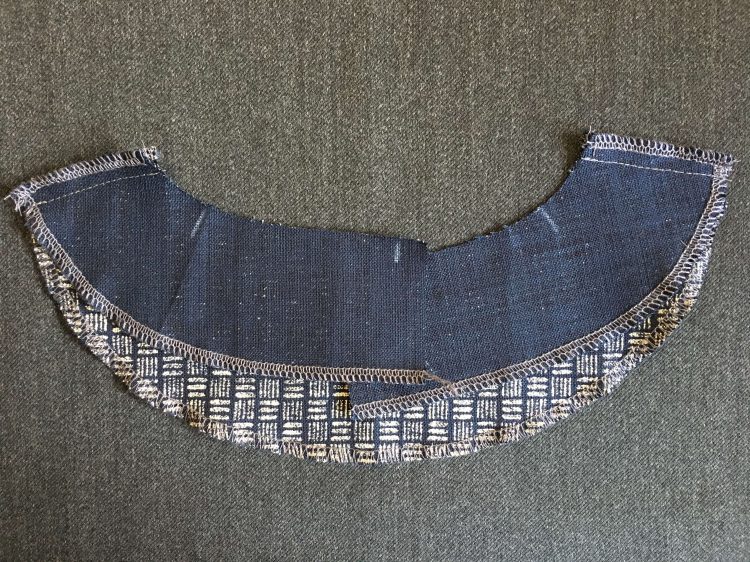
together.
Tip. Place your pins pointing downwards instead of across to help you shape the neckline.
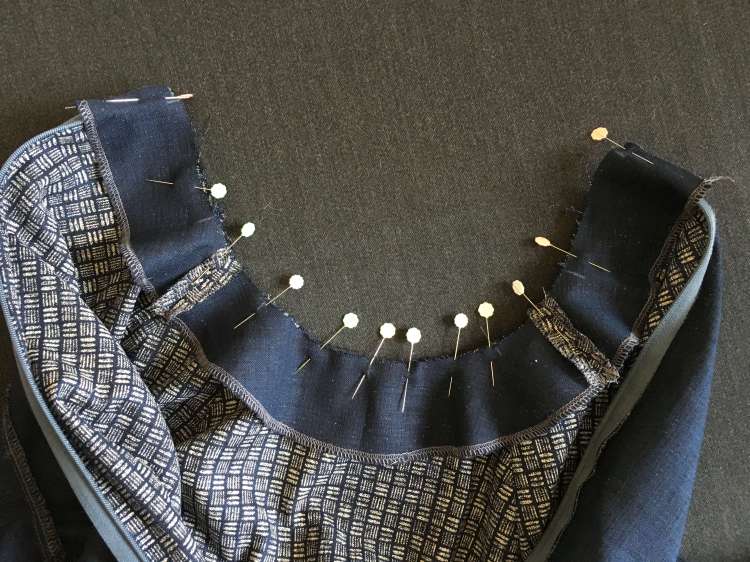
31. Starting at the back, sew the facing to the back piece using a 1cm seam allowance. As this is a curved piece you will need to keep straightening out the edge of the fabric so that it is flush against the 1cm guide on your sewing machine. Sew slowly and carefully and ensure that seam allowances stay open and no fabric is getting caught underneath mistakenly. When you get to the other side of the back piece, ensure that you stop sewing exactly on a 1cm seam allowance to ensure your two back pieces match up.
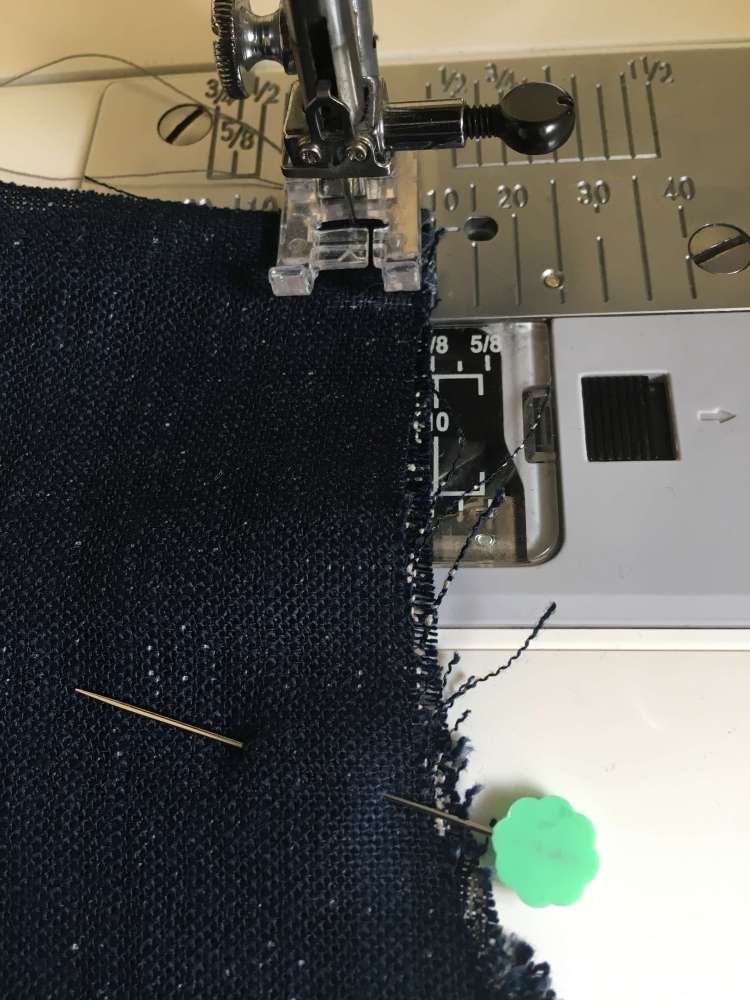
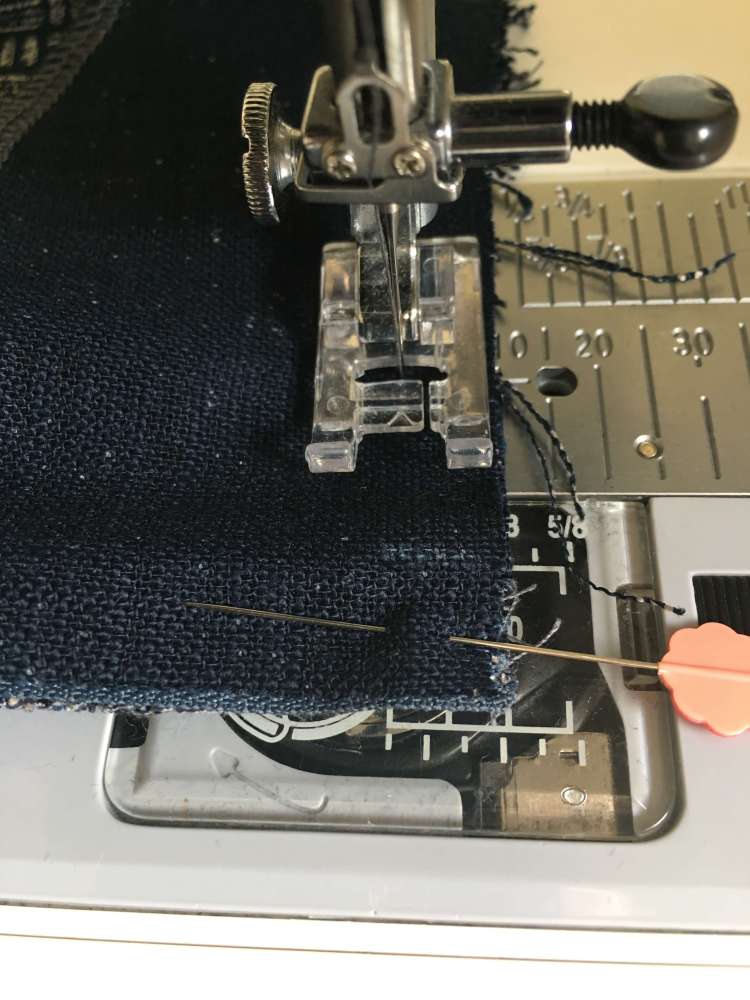
32. Once you’re happy with this piece, snip into the curve of the neckline seam allowance.
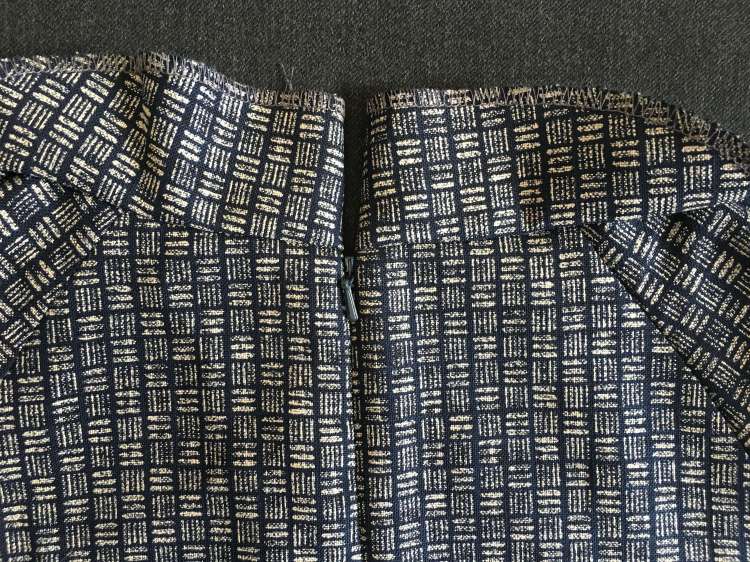
UNDERSTITCHING THE NECKLINE & COMPLETING THE FACING
then press gently with an iron.
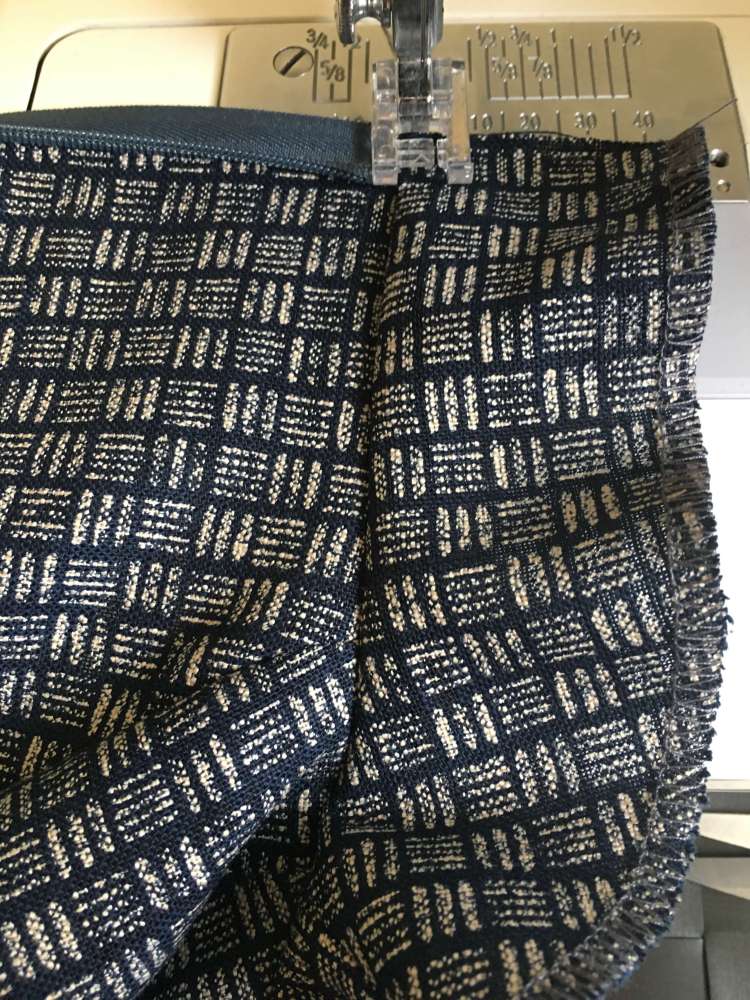
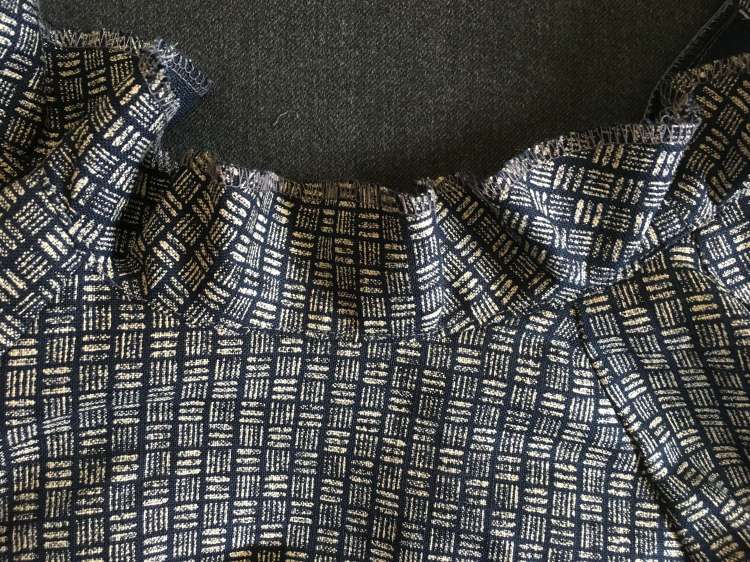
35. Your completed neckline piece. On the inside, using hand stitching, stitch your facing piece to the shoulder seam to help the facing piece stay inside the garment.
COMPLETING THE SLEEVES AND HEM
36. Fold the sleeve hemline at the notches (2.5cm) and sew in place or fold where you made the ironed hem mark earlier. You will need to use your free arm sewing on your sewing machine or hand stitch the hem.

37. On the bottom edge of the dress/top turn up the hem 2.5cm and pin in place, ensuring the seam allowances are open at the side seams. Sew in place.
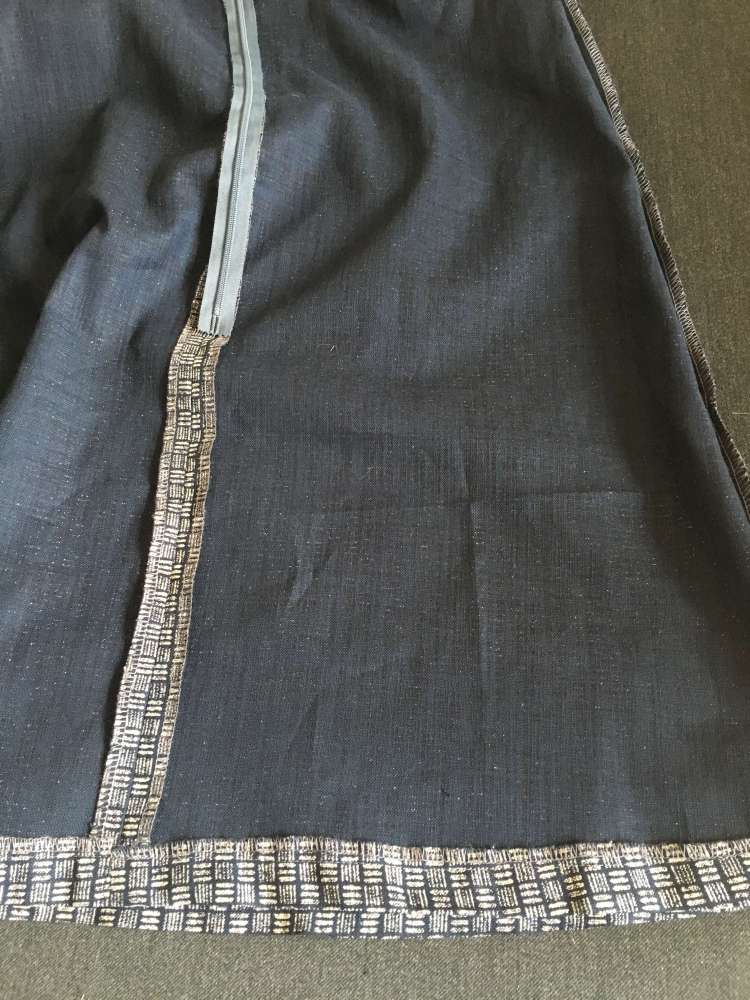
Tip. Put the dress over your ironing board and use your measuring tape to ensure the hem is consistent. Iron the seam flat as you work your way around the dress.
Tip. If your fabric is thick it may be difficult to turn up the hem 2.5cm. In this case, just use a smaller hem allowance.
OUTER POCKETS
41. Fold the pocket in half and place a pin at the top and bottom which is now marking the middle of the pocket. This will help us to line it up evenly across the side seam of the dress.
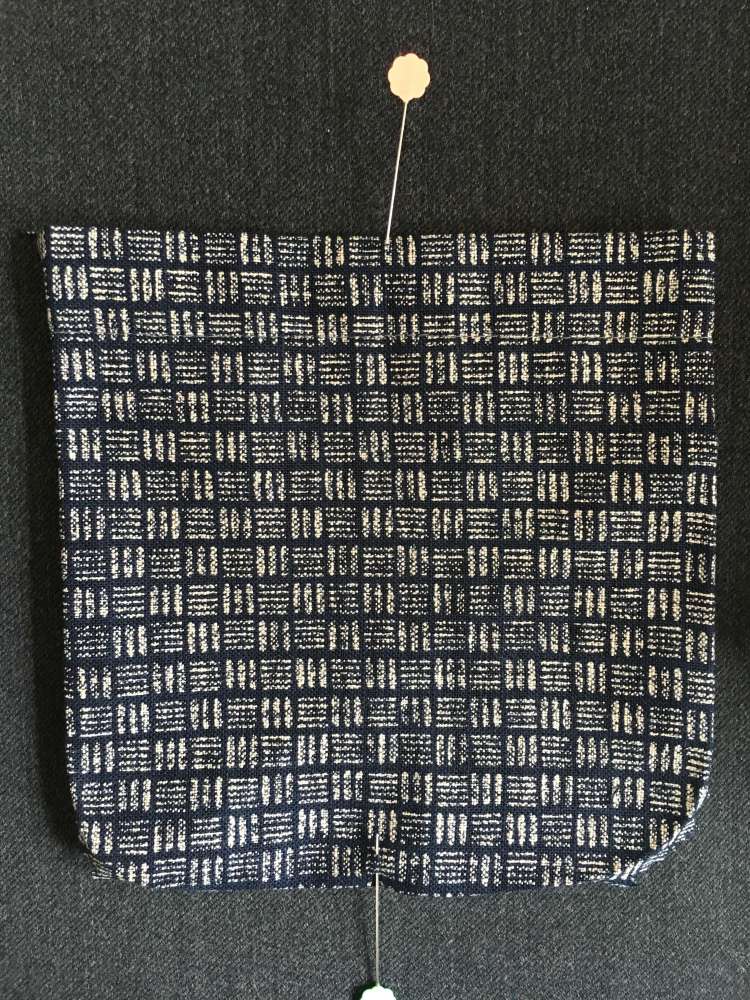
44. Using the pin from step 42 as a guide, place your pocket on to the dress. Line up the two pins that marked the centre of the pocket so that they line up with the side seam.
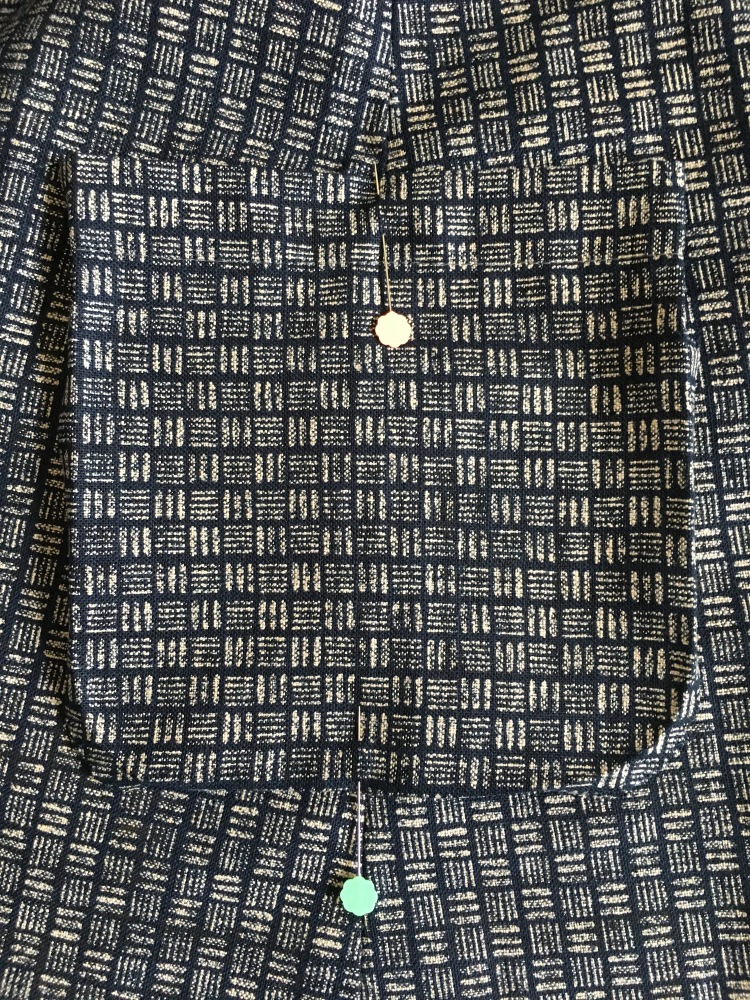
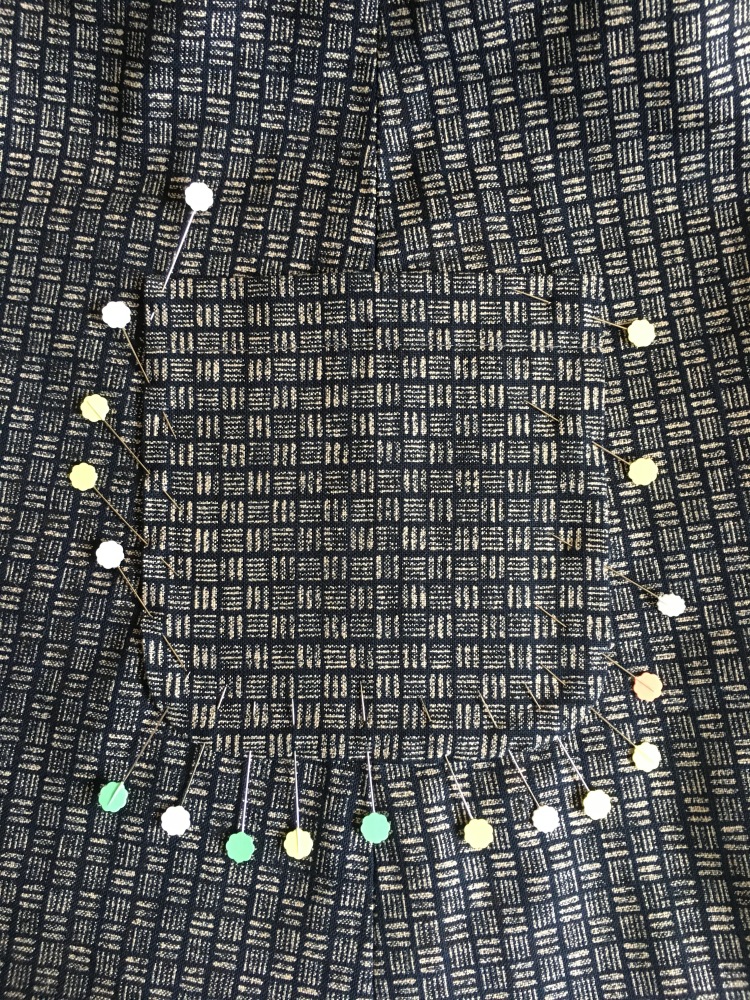
45. Place pins every 2cm around the pocket to keep it firmly in place for when you sew the pocket. Alternatively, baste your pocket on to your dress before sewing the pocket to the dress.
Love how your garment turned out? Share it with us! See the next page for all the ways you can share your look, tips and advice with our community of seamstresses.
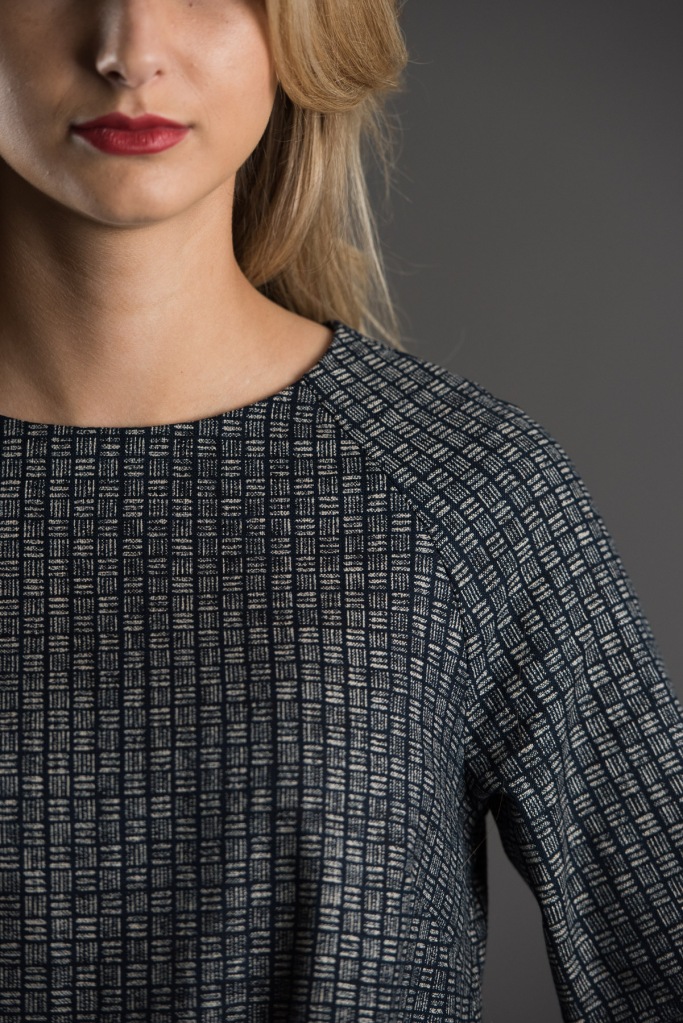

There’s an actual pattern??? I have the perfect fabric for this! It’s a beautiful dress.
There certainly is – https://www.theavidseamstress.co.uk/products/raglan-adult
Thank you! I think it will look lovely in the linen I ordered last year. It would be perfect for our sweltering summers.
Oh yes, perfect for the heat!
I have just been making this dress on fitting the neckline is slightly high. How do I make it a bit lower & do I need to make facing bigger then, is there a tutorial on making neckline lower please.
Hi Dawn – very happy to help. As it’s a raglan we’d suggest only making the Front A piece lower – this way you don’t need to make changes to the sleeve pieces. If you drop down the required measurement on the CF and then draw the shape to finish where the current piece finishes this would work perfectly. The facing would need to be adjusted to duplicate the new shape. If you need help, please email hello@theavidseamstress.co.uk and we can send you a drawing :)
Please – what is a CB and a CF???
Hi Jo
It’s the centre back or front of the garment.
:)
Have been looking at the sheath dress, does the pattern offer lengthening of the torso and the skirt as I’m relatively tall 184 cm.
Hello :)
It is super easy to adjust the length of the torso for the sheath dress. We can help too :)