JOINING THE FACING / LINING TO THE MAIN GARMENT
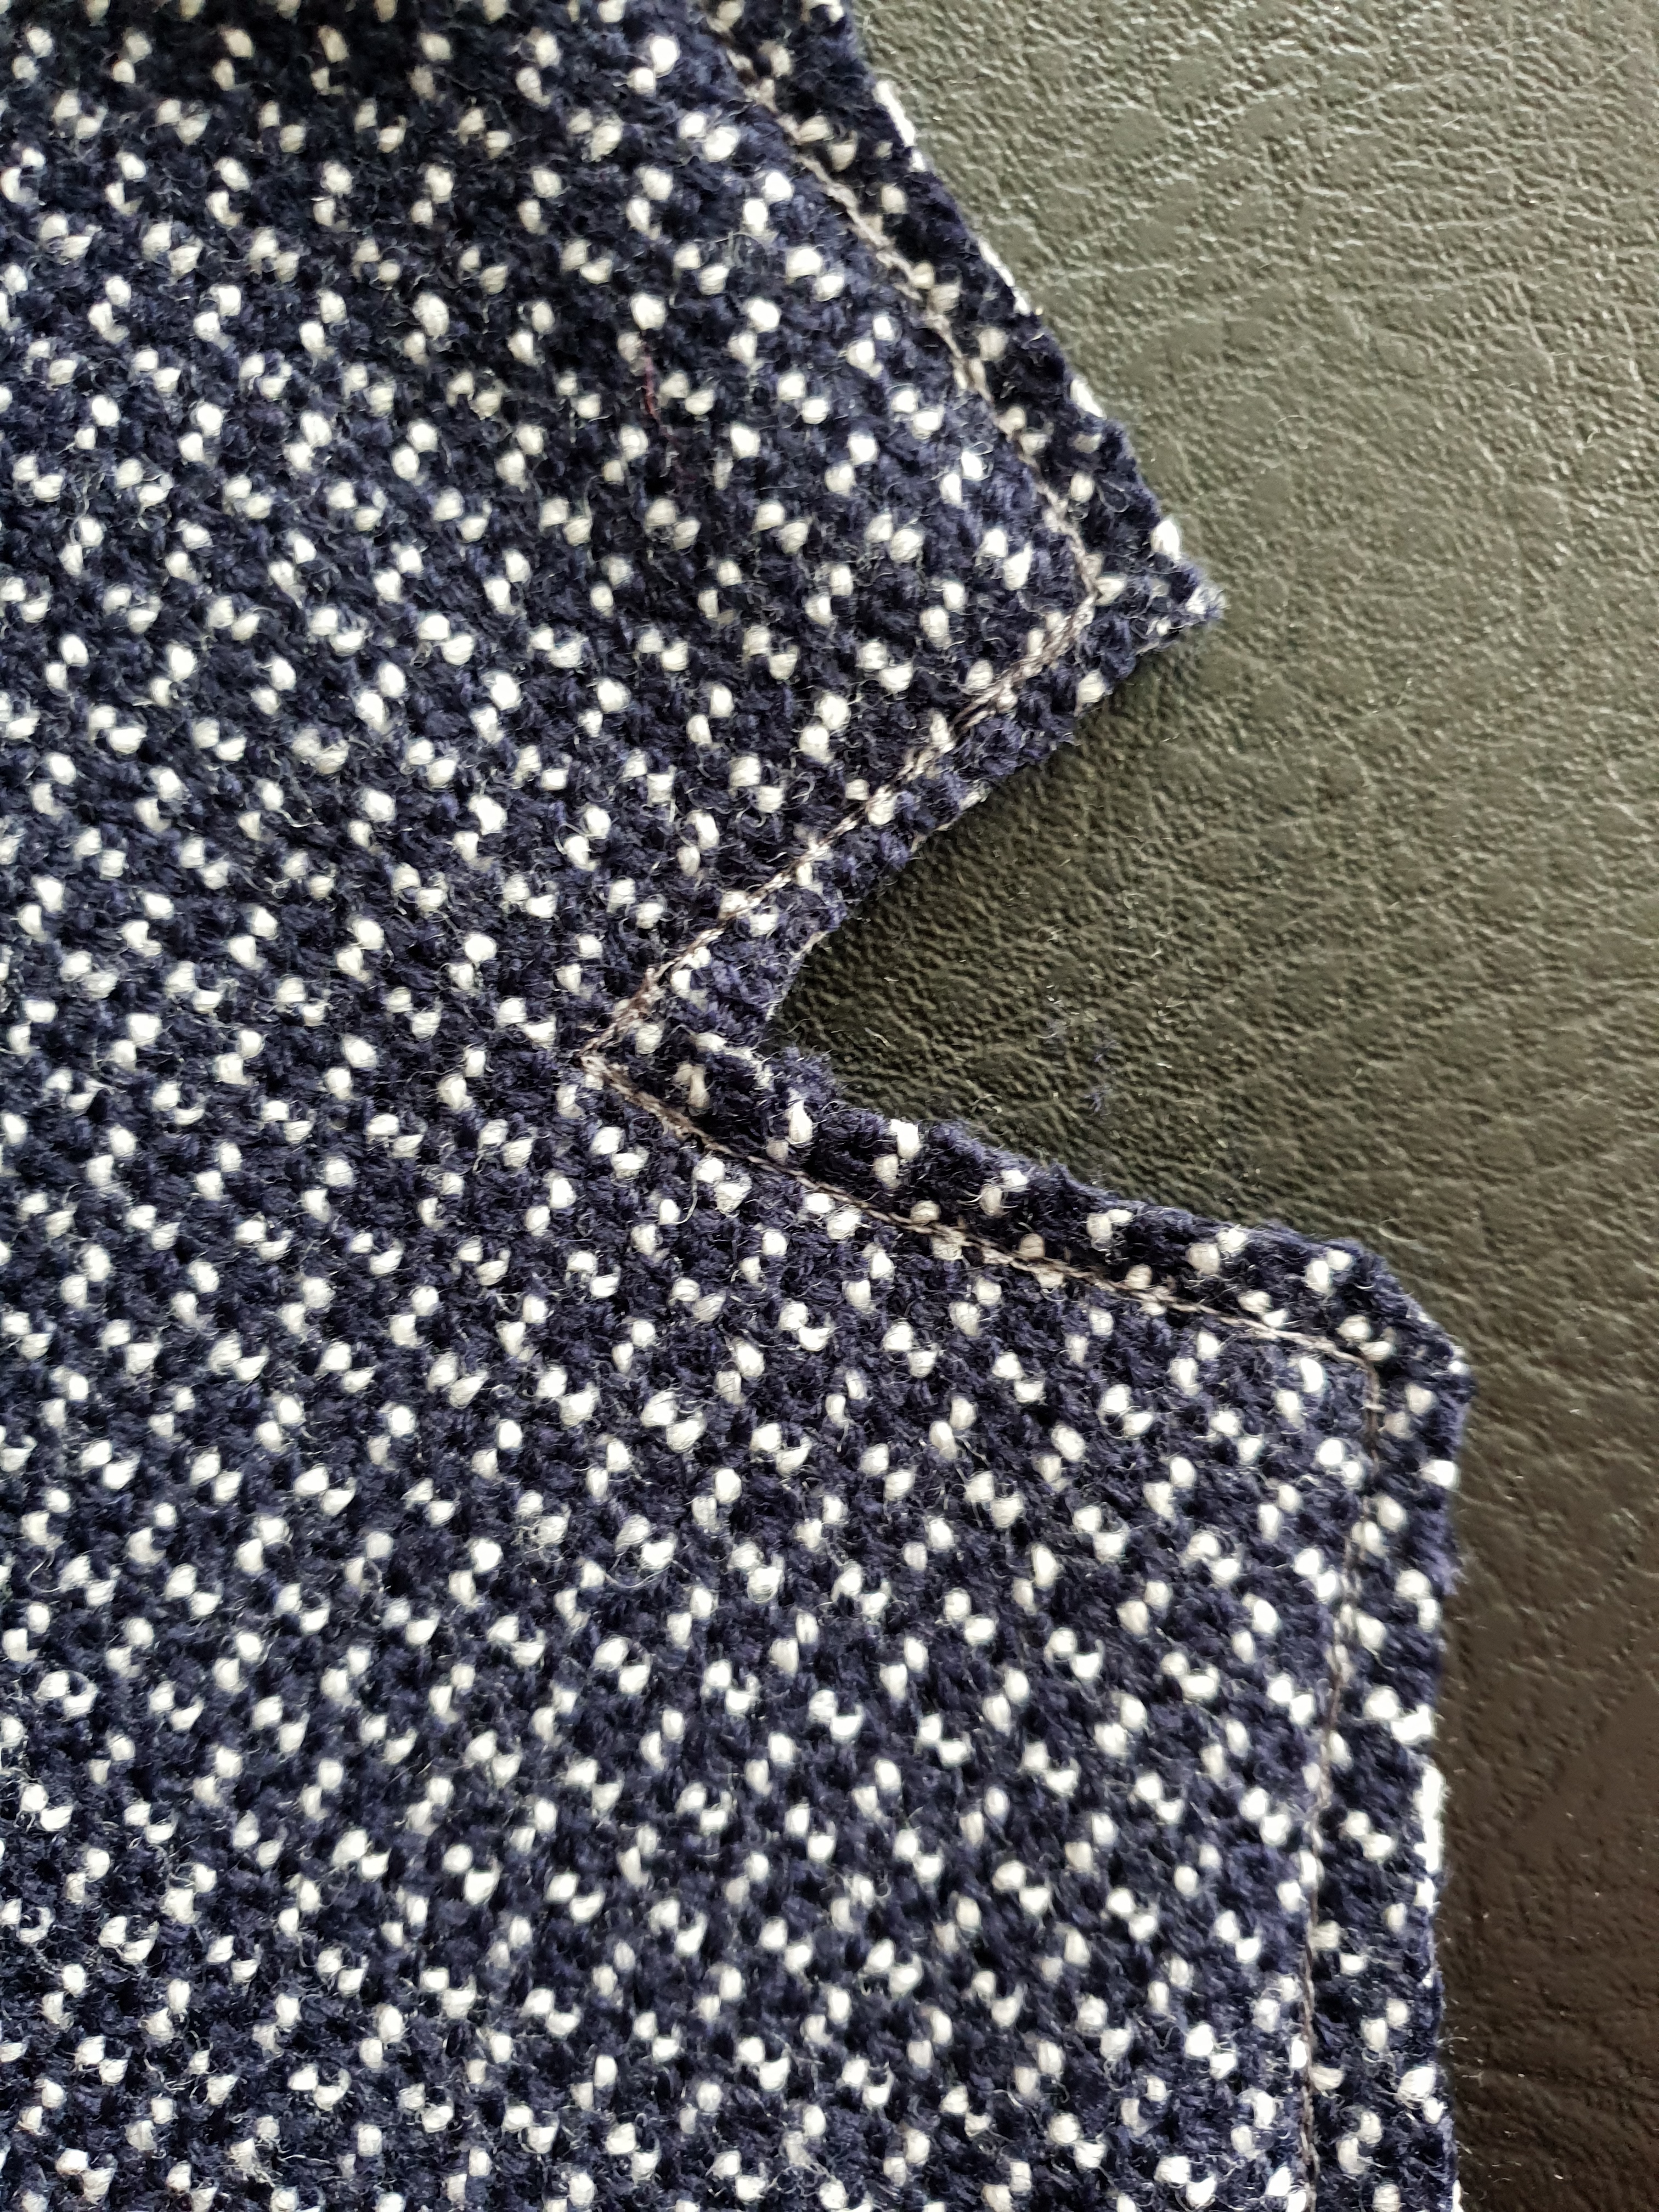
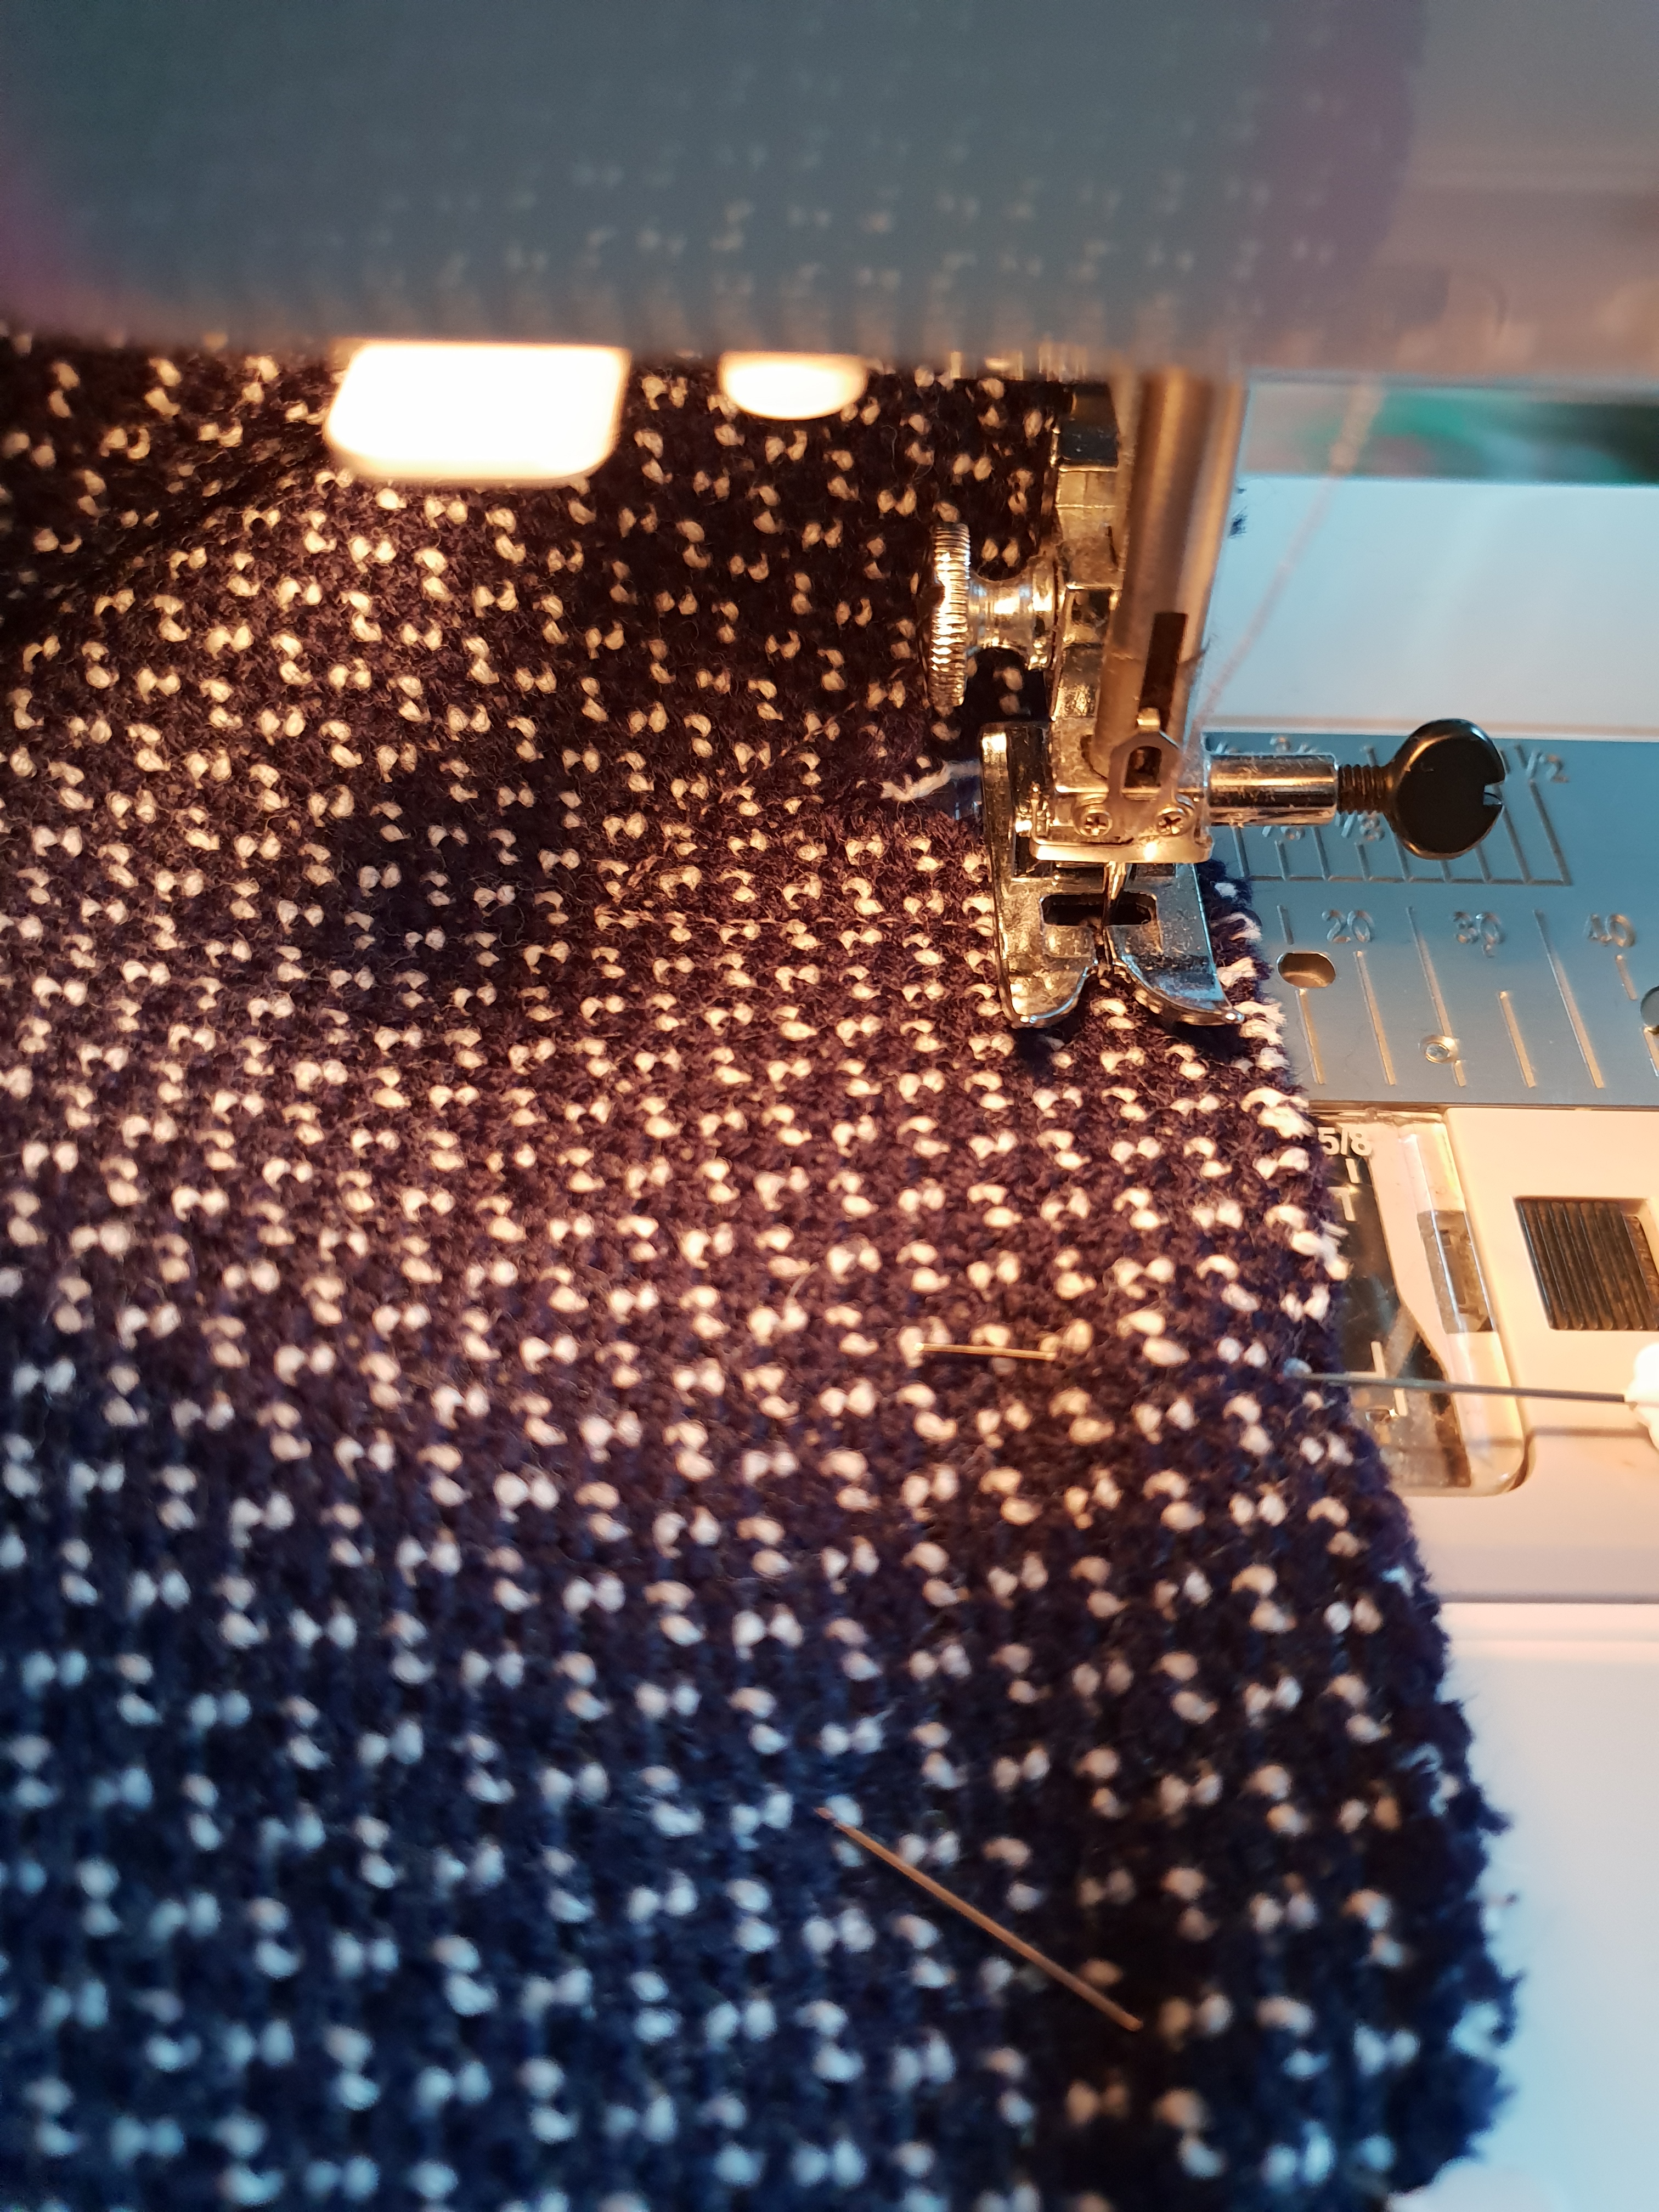
The purpose of the image below is to illustrate how the section looks once sewn. To ensure that the collar as a beautiful point when turned to the right side, very accurate sewing is crucial. There is a dot that should be traced from the pattern pieces onto the fabric. The seam allowance is 6mm until you pivot to sew to the dot. The dot is 2cm from the collar notch. When you pivot and sew to the dot and then back to the 6mm seam allowance a very straight line of stitching is required. It may help to draw the guides prior to sewing to increase accuracy and enable confidence when sewing this section.

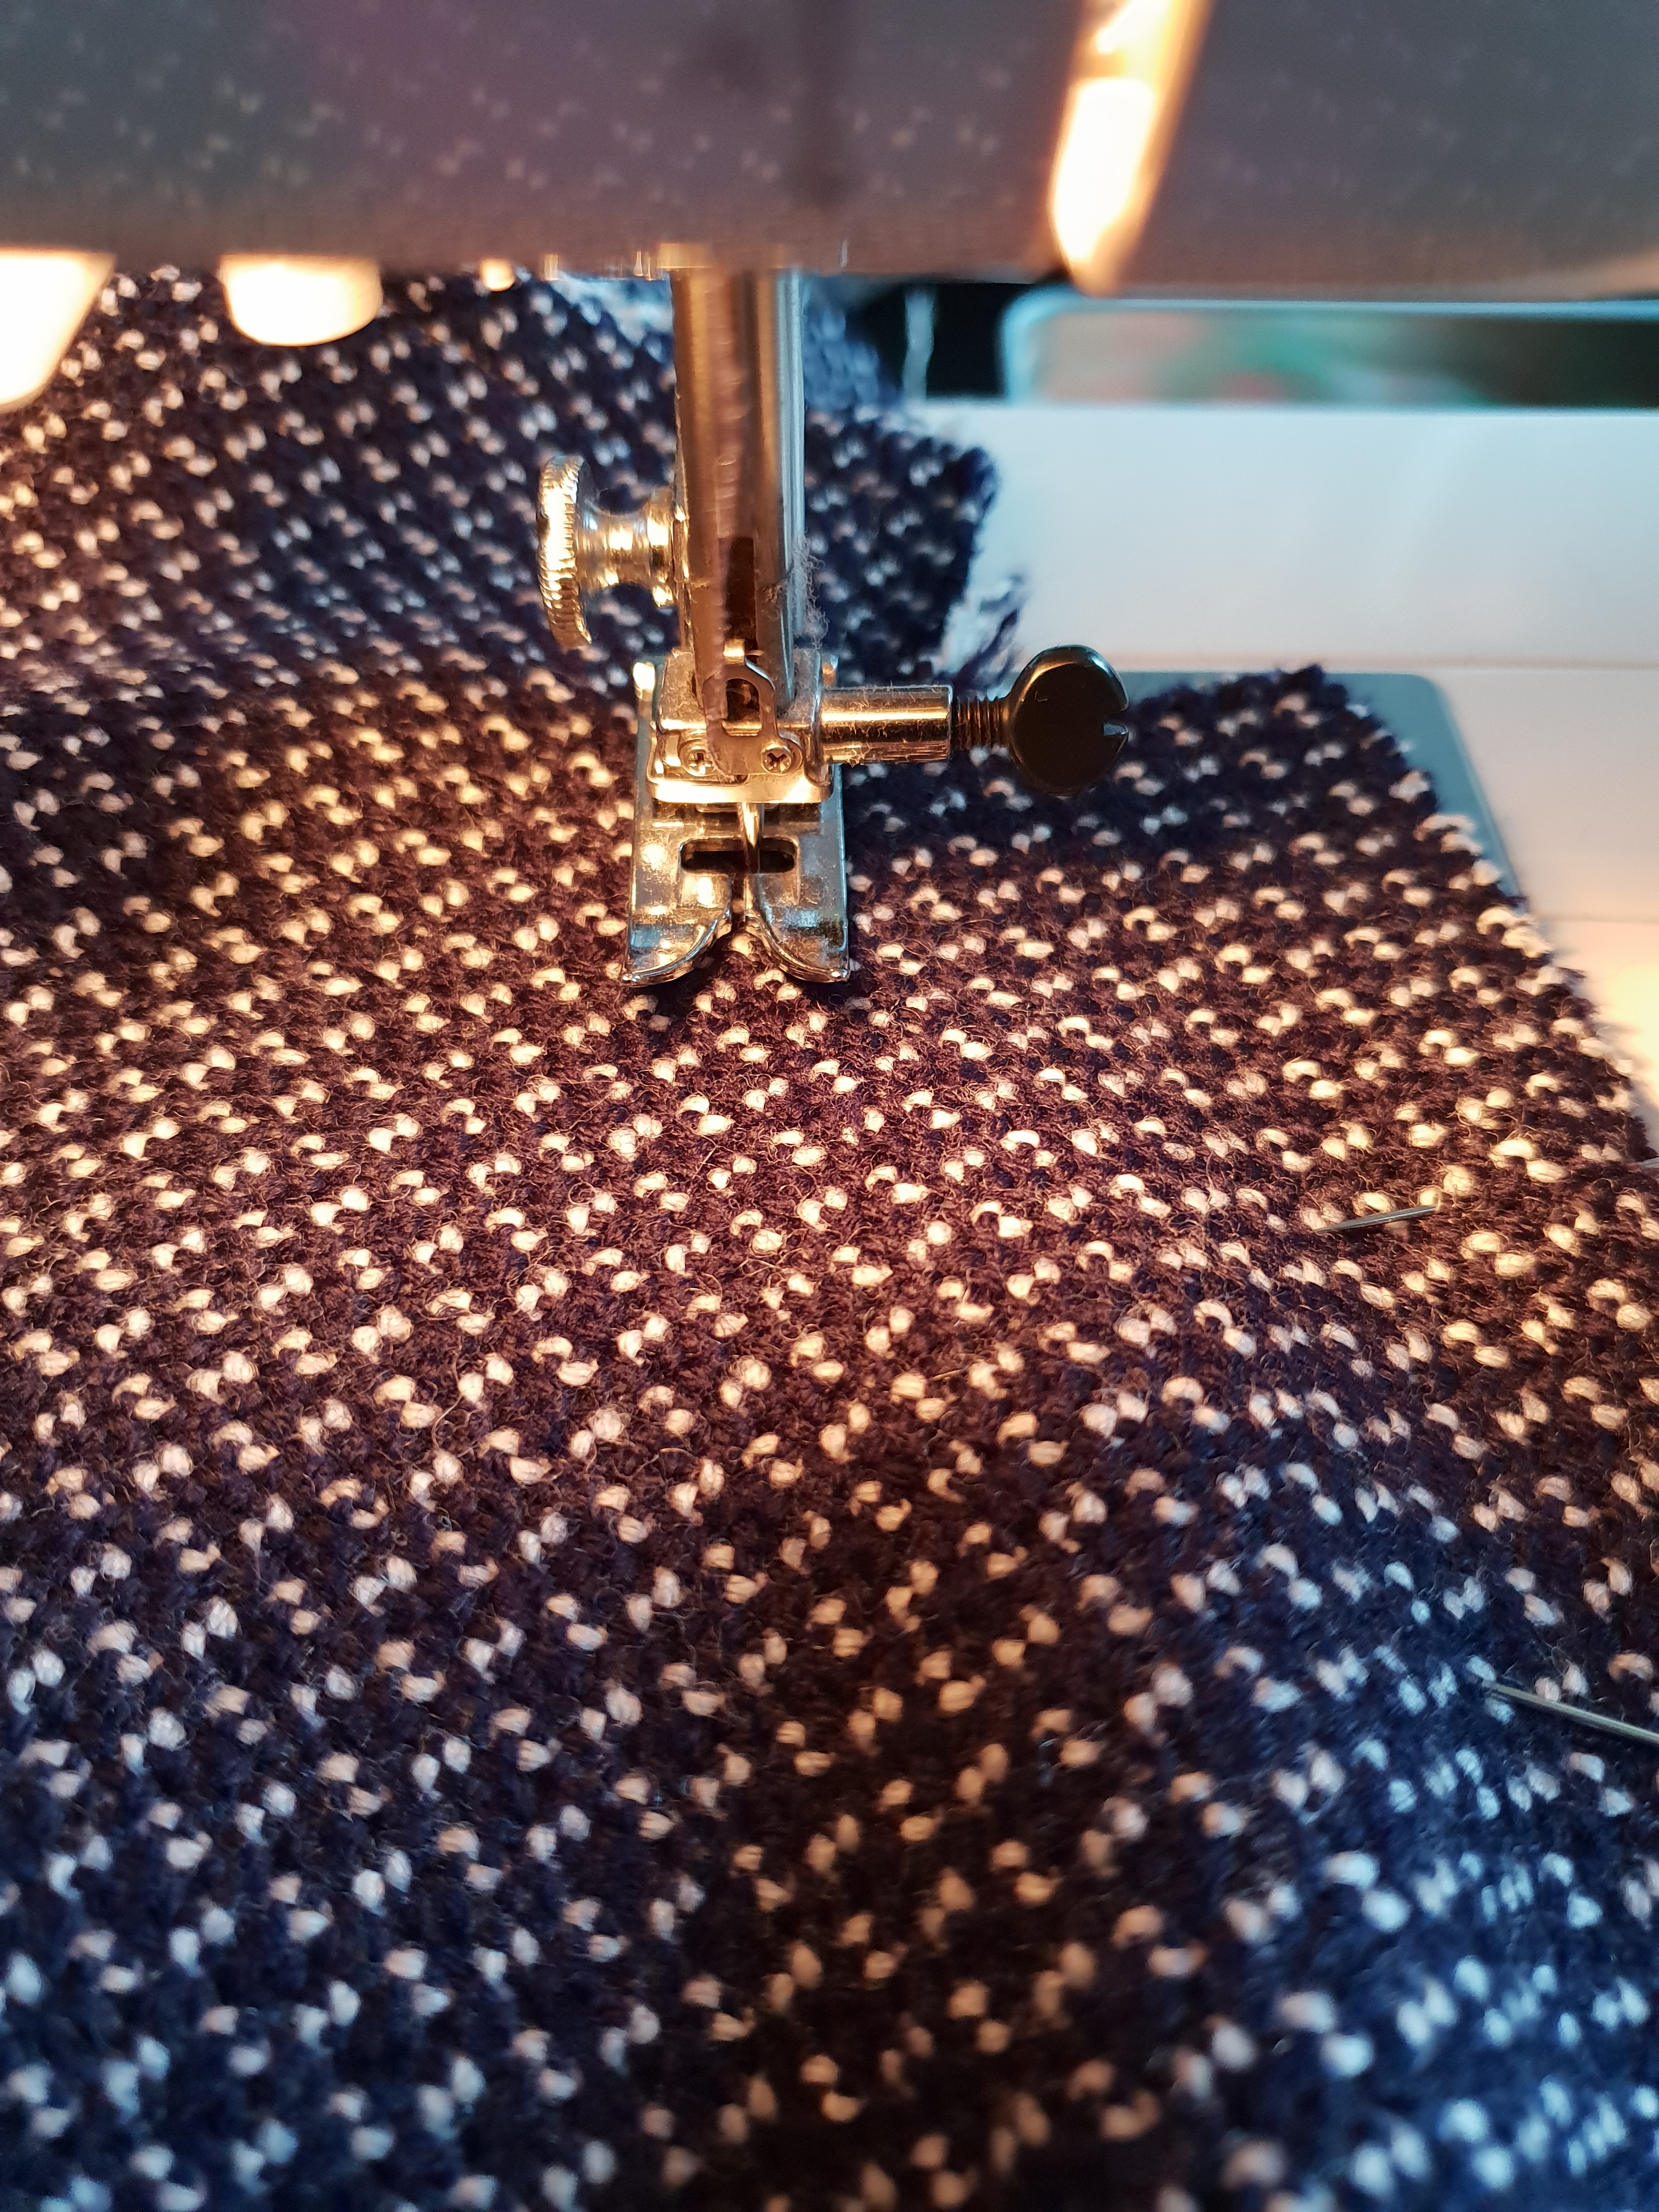
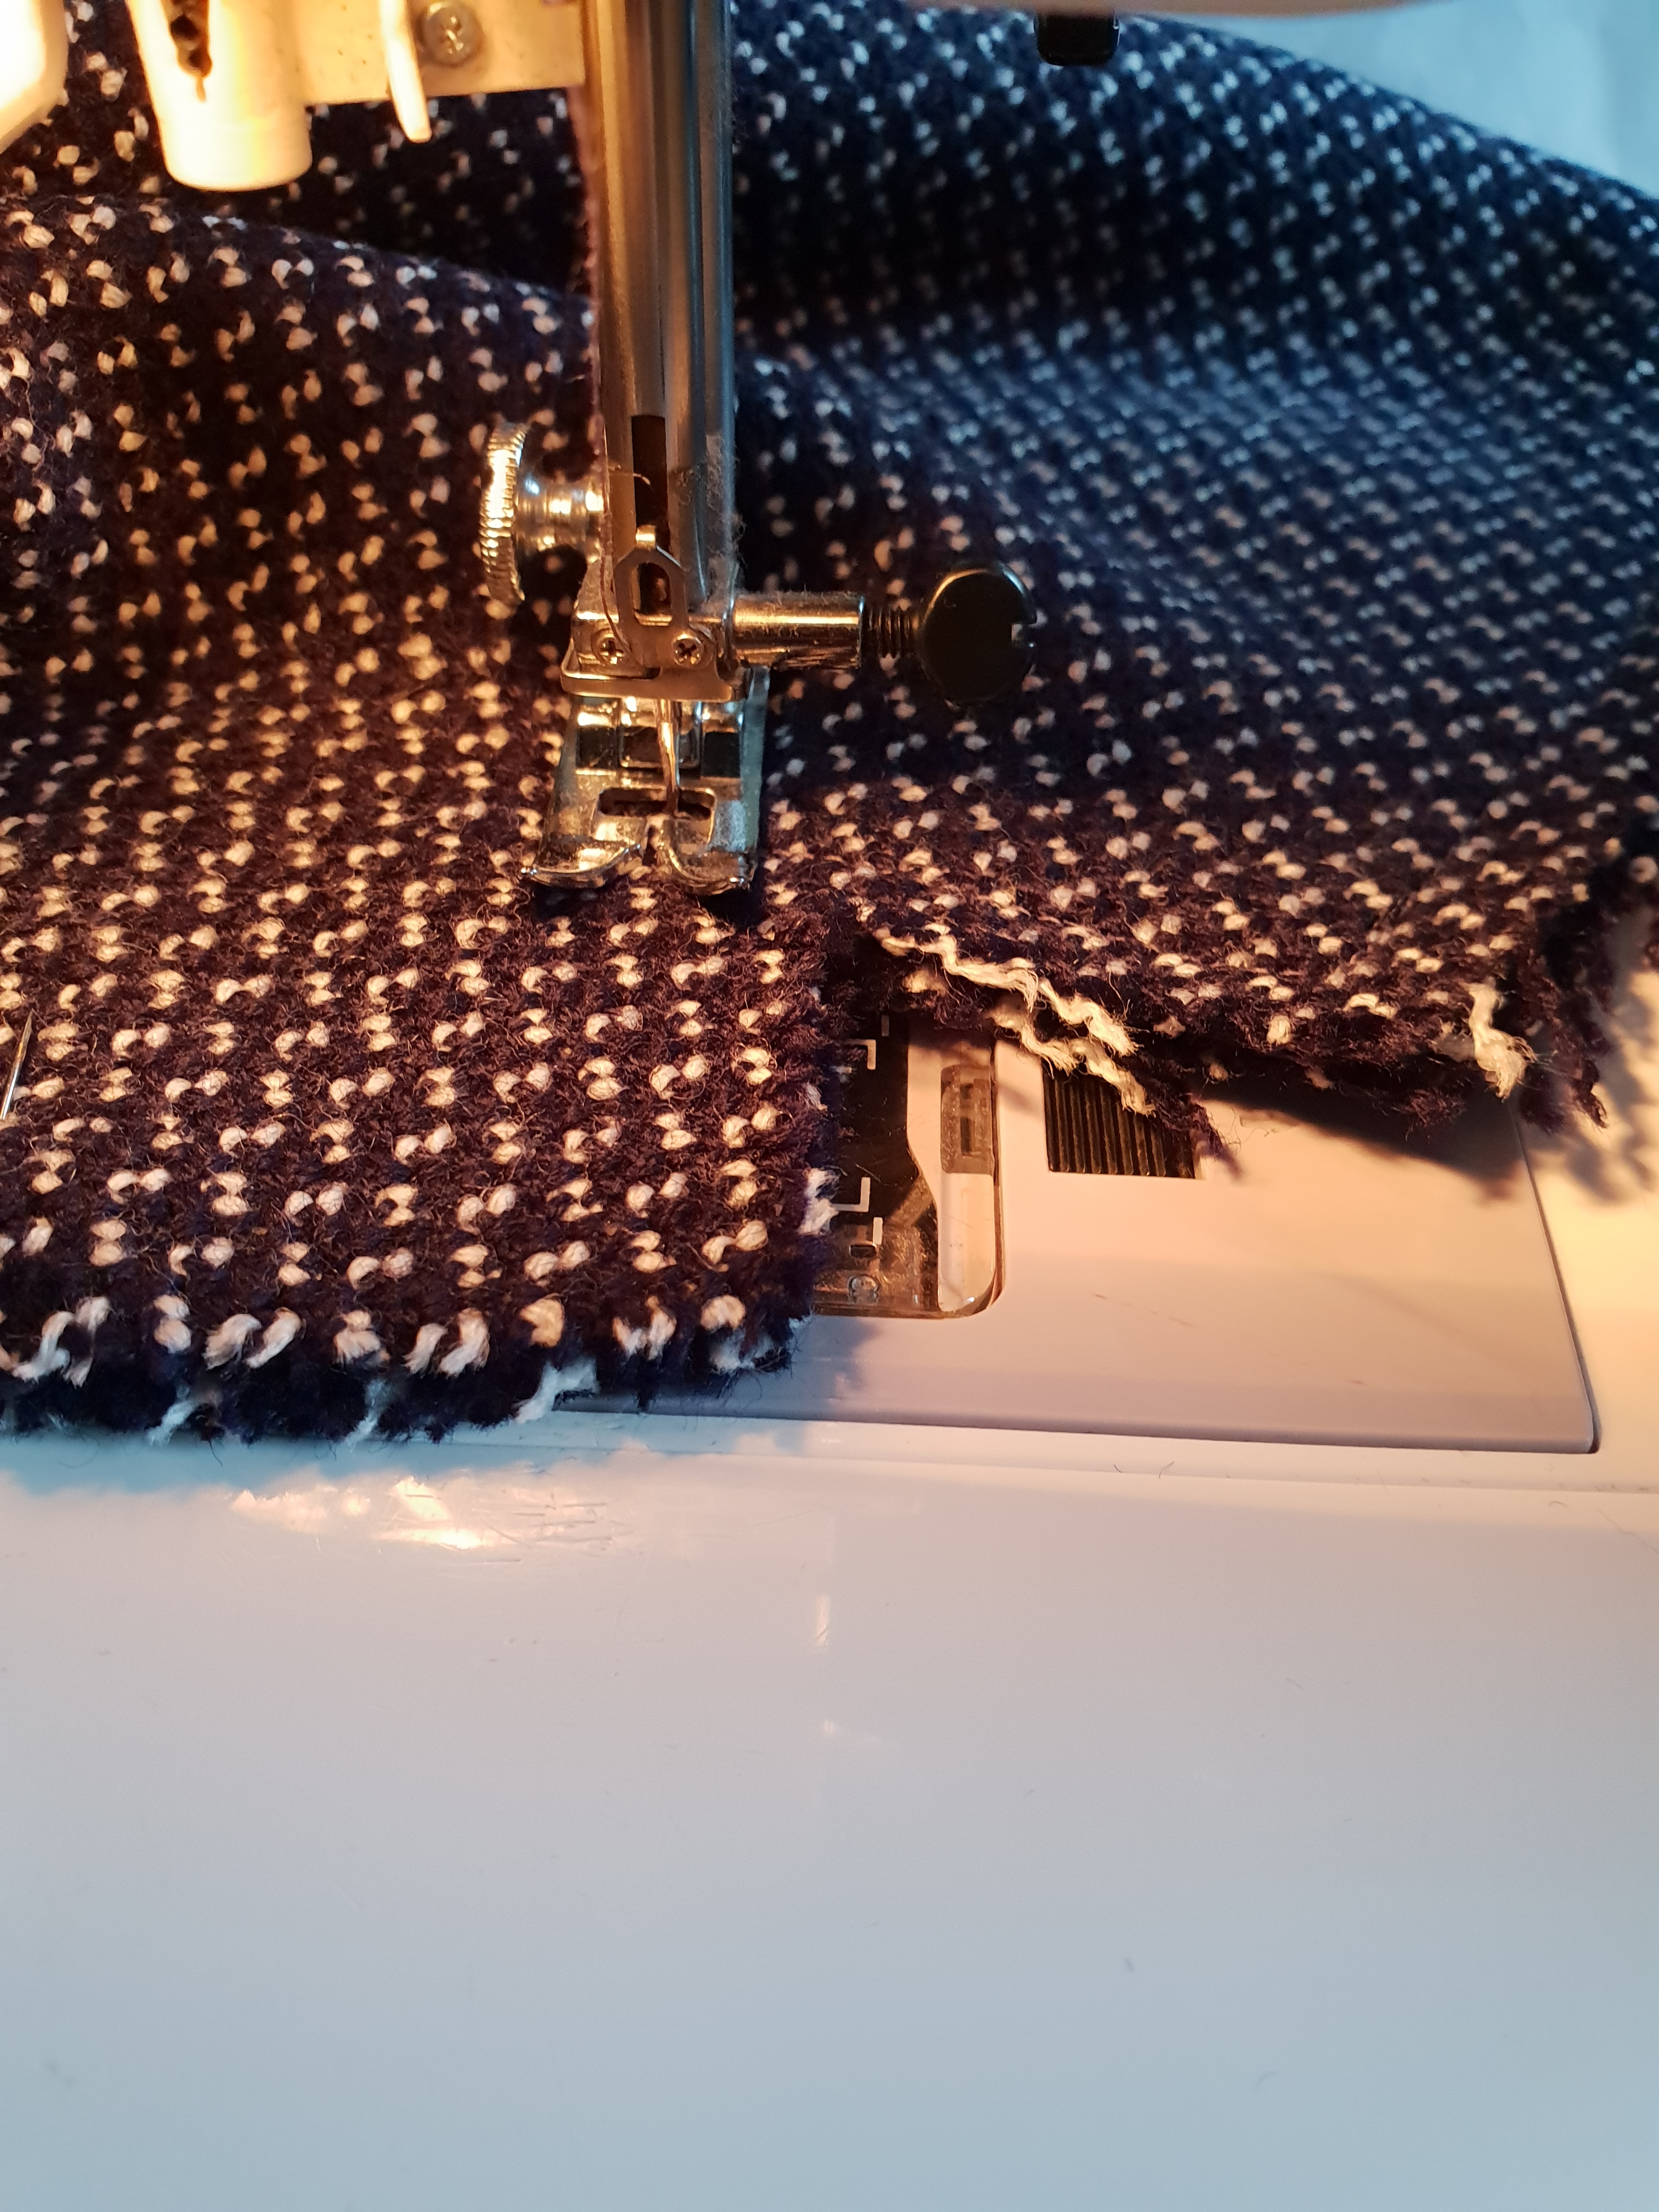
With the right sides together, join the lining and main garment, matching up edges and notches. Really take your time with this piece and focus on getting the edges of the fabric flush against each other.
Place the pins pointing into the garment (as we did in number 10). Sew this in two sections starting from the CB edge to the front hem on each side. When you reach the collar shape, take your time and focus on accuracy using the guide above.
NOTE – the seam allowance is 6mm

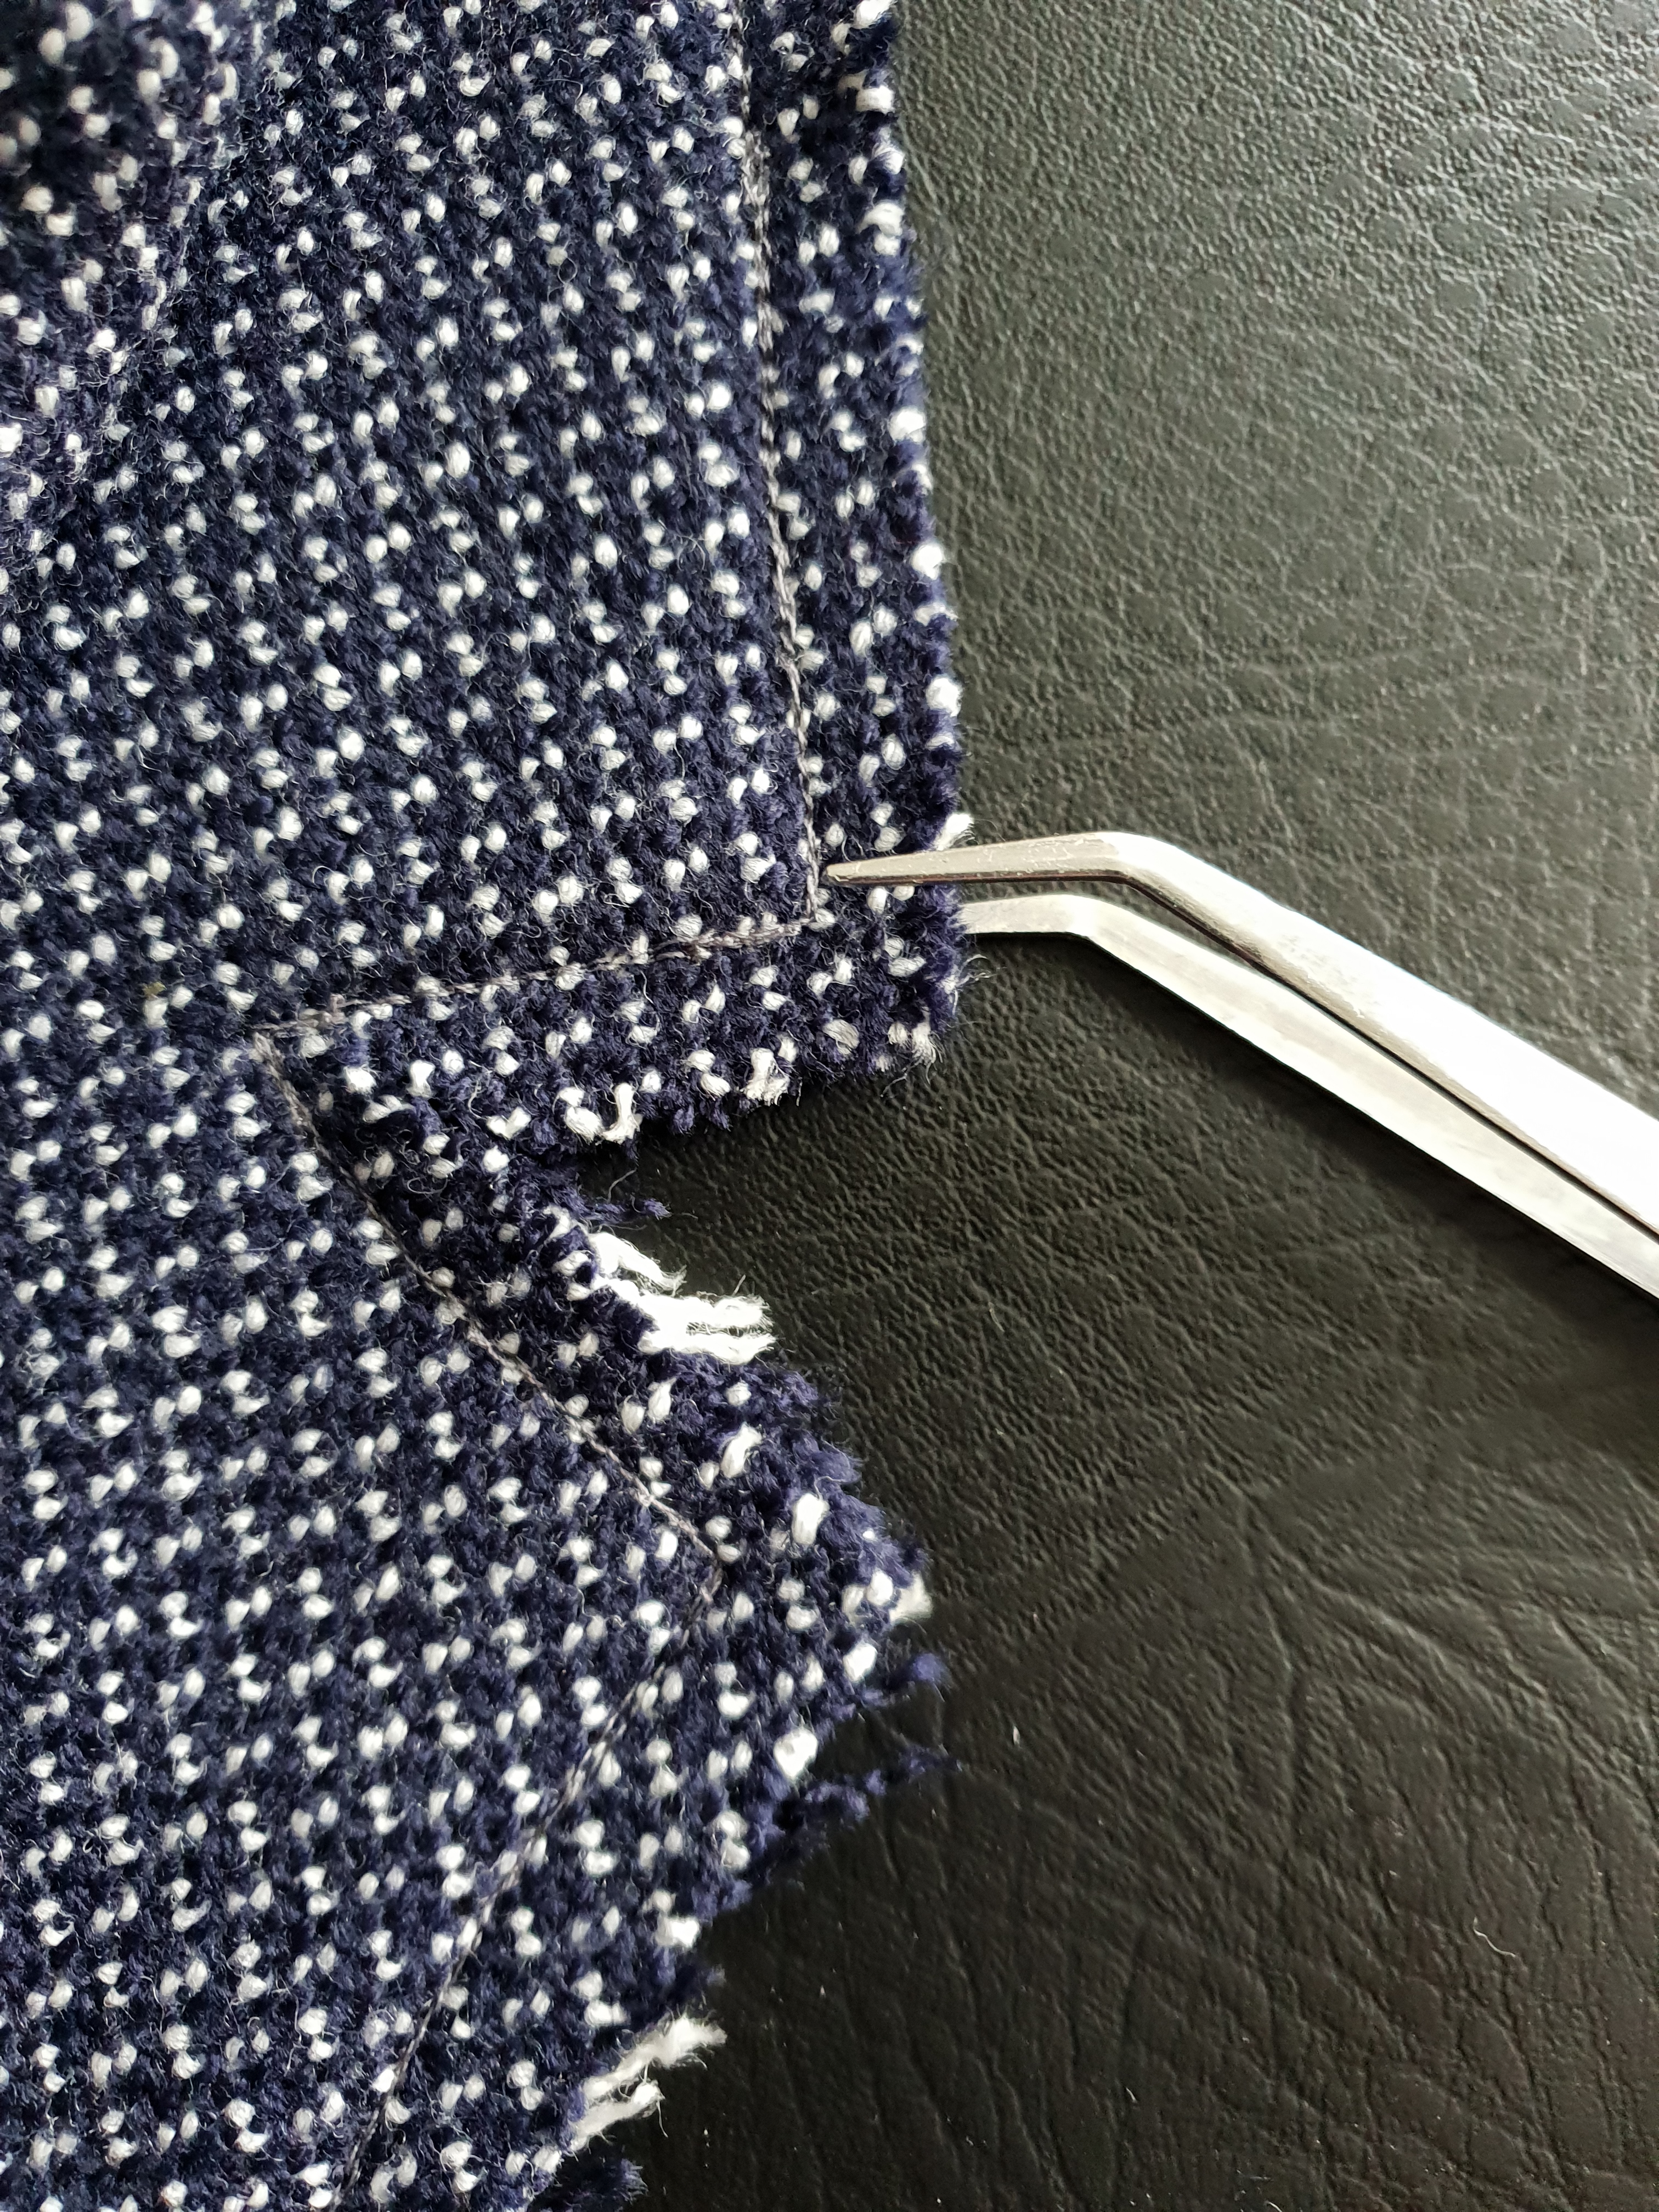
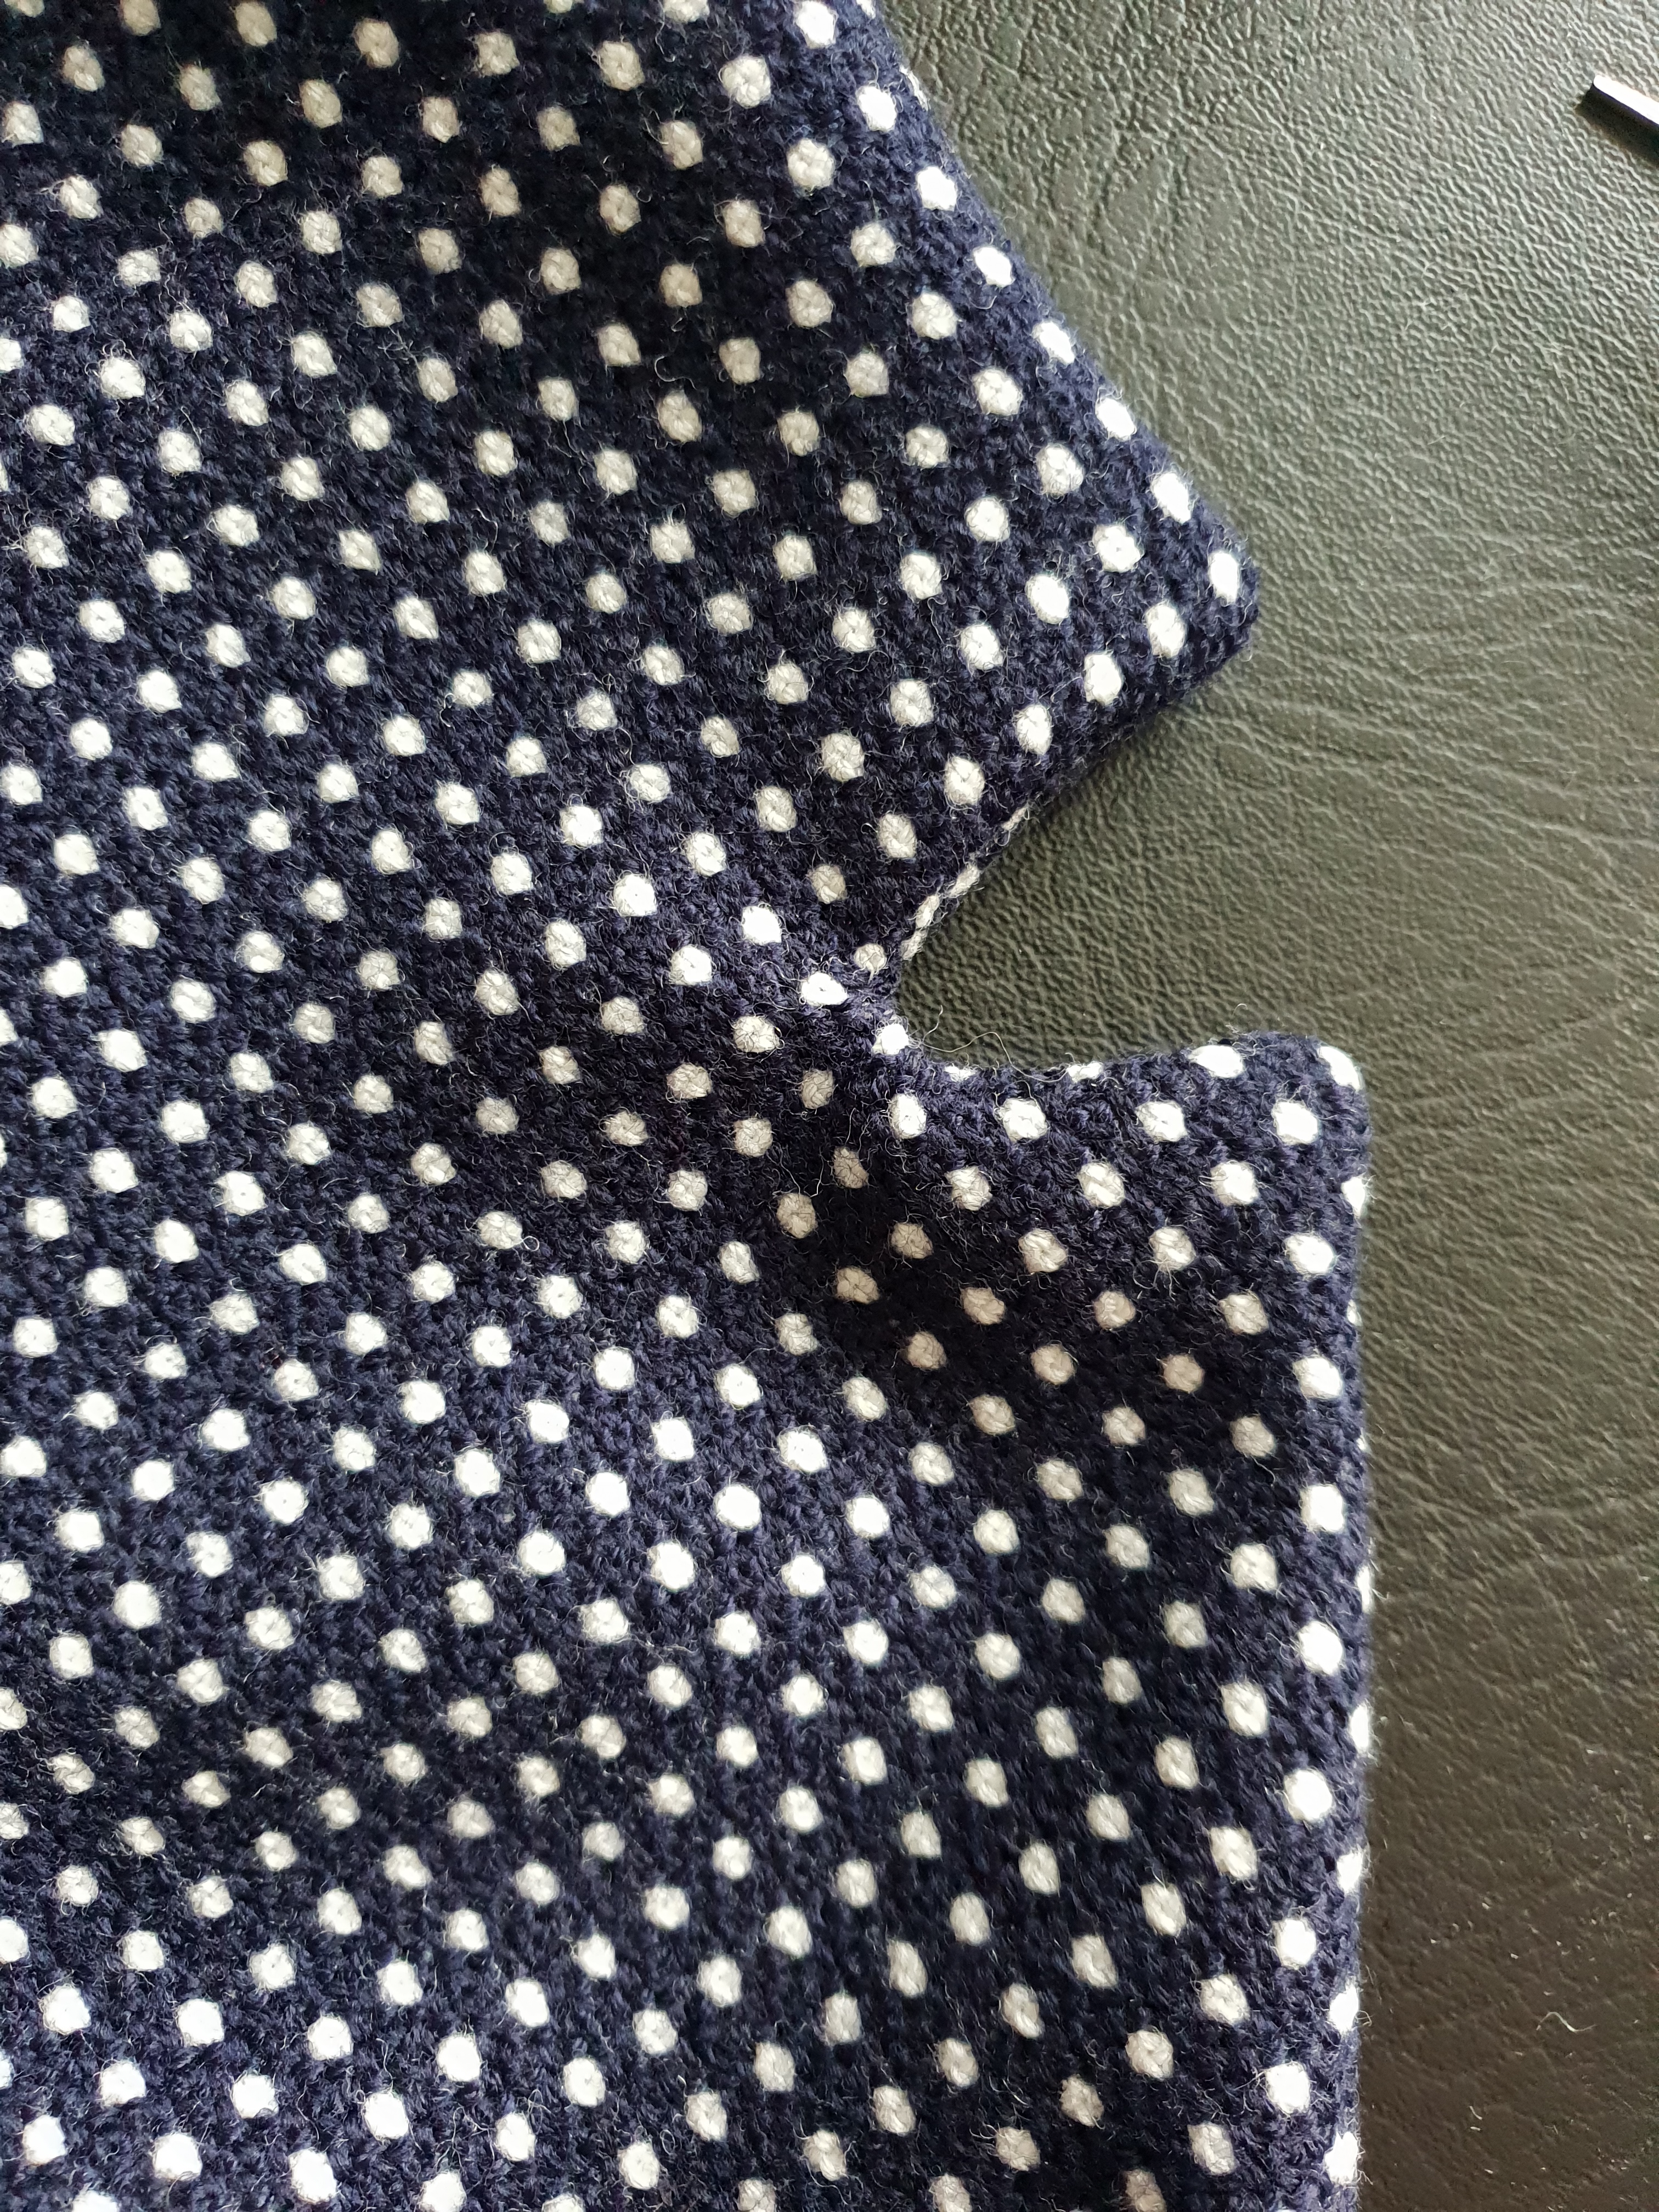
To reinforce this section, create another row of stitches around this section (the stitches need to be exactly on top of the previously sewn stitches). Once completed, snip into the notched collar and trim away excess fabric at the points. Turn to the right side.