
![IMG_3114[1]](https://theavidseamstress.com/wp-content/uploads/2014/05/img_31141.jpg) I’ve been promising all my lovely students that I would do a step by step guide on how to put a zip into a cushion.
I’ve been promising all my lovely students that I would do a step by step guide on how to put a zip into a cushion.
It will change the way you think about zips and using your zip foot and soon you will be whizzing up cushions for every room in your home!
This technique means that you are putting the zip into the bottom of the cushion. You can, therefore, have a different front and back fabric so that you can swop and change them around (essentially there is no difference between the back or front).
You will need:
1. Two pieces of fabric
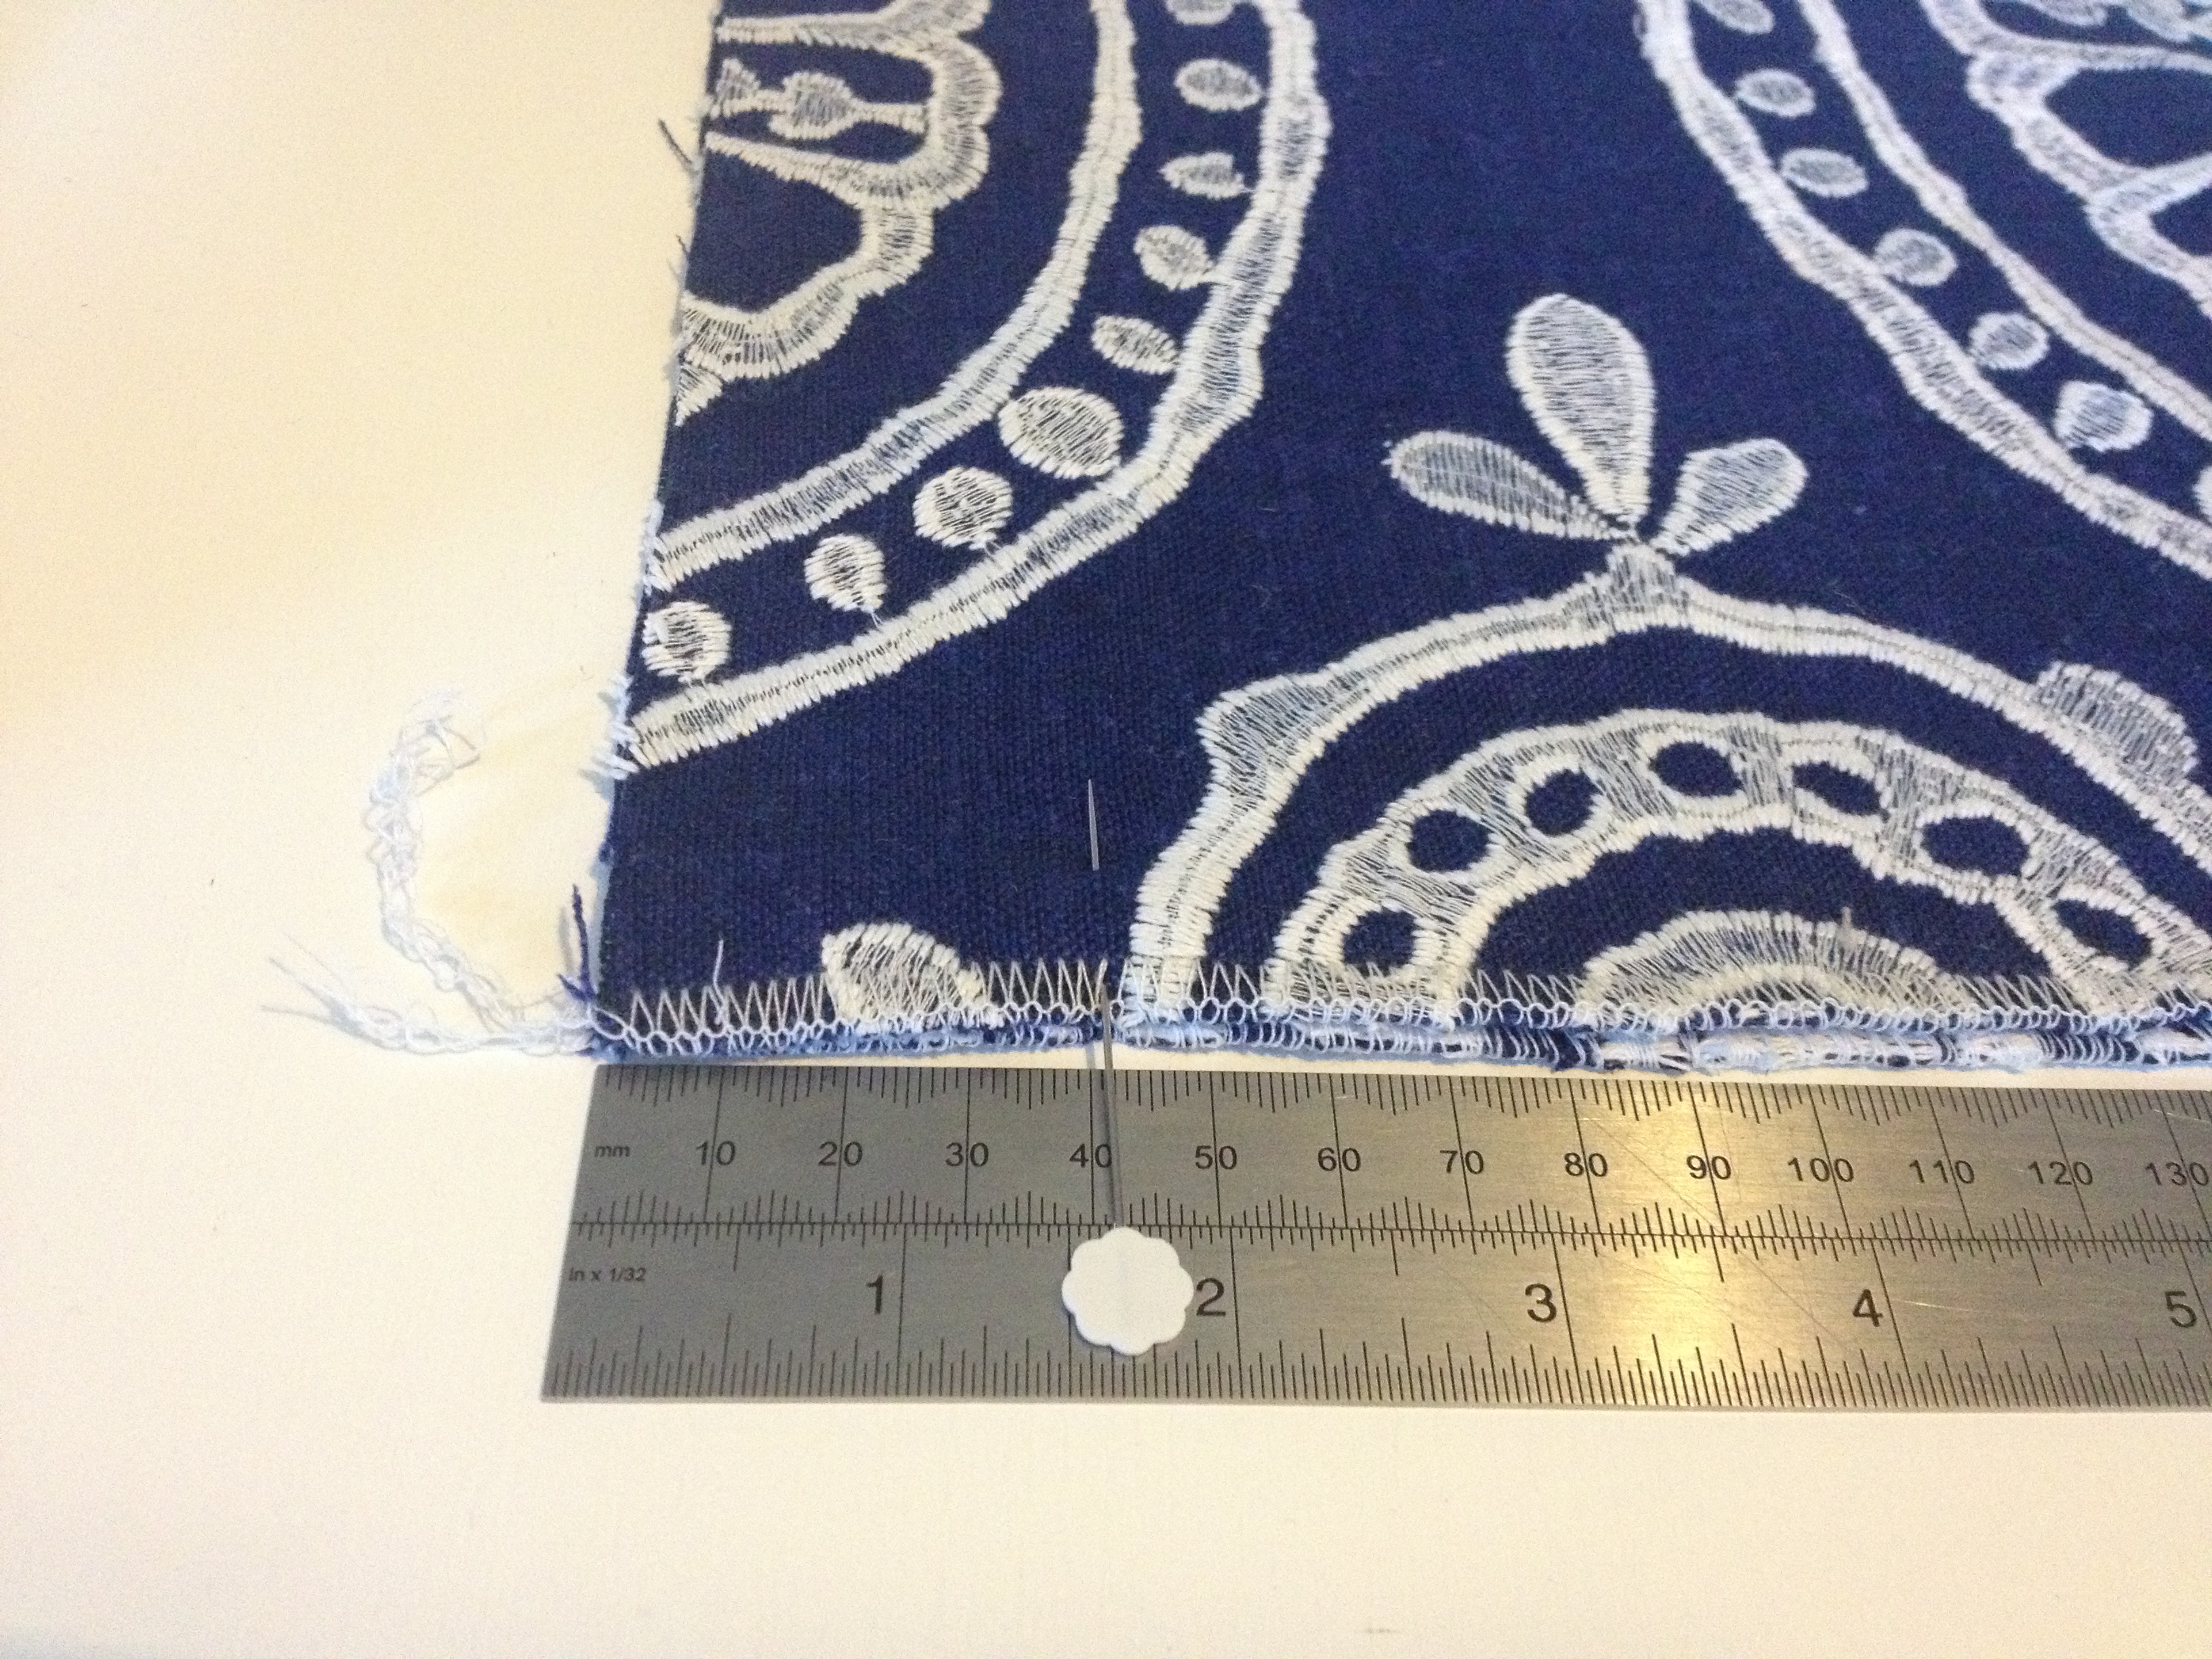
Measuring example for a 45x45cm cushion: If the cushion inner/pad is 45x45cm, the cover should be 2cm smaller (to make it fit really snug). You will need to add a 1.5cm seam allowance all the way around the cushion.
So 45x45cm minus 2cm = 43x43cm (finished size), add seam allowance 1.5cm = 44.5×44.5cm (this is the size that the fabric is cut).
2. Zip – the zip should be the same length as the bottom edge of the cushion (as the zip goes into the bottom of the cushion).
Example: If the “finished” cushion size is a square 45x45cm your zip should be 45cm. If your cushion was 45cm length x 35cm wide the zip would be 45cm.
3. Cotton, sewing machine and the sewing machine’s zip foot
Let’s get stuck in.. cut the fabric. The cushion we are making is a rectangle.
Place the two pieces of fabric right sides together, ensuring the bottom edges are neatly on top of each other.


Pin the two side edges at the bottom of the cushion so that the corners line up. Measure 4cm inwards from each end and mark with a pin:
Sew from each side edge to the pin using a 2cm seam allowance. Reverse stitch a few times where the 4cm pinned mark is to reinforce this section as this is where the zip will be sewn in:

Open up the sewn edges and press/iron along the entire bottom edge so that you are creating a 2cm fold on each side:

Open the zip and place it face down onto the bottom opening panel. The top end of the zip should be placed right side down onto the left side of the opening.
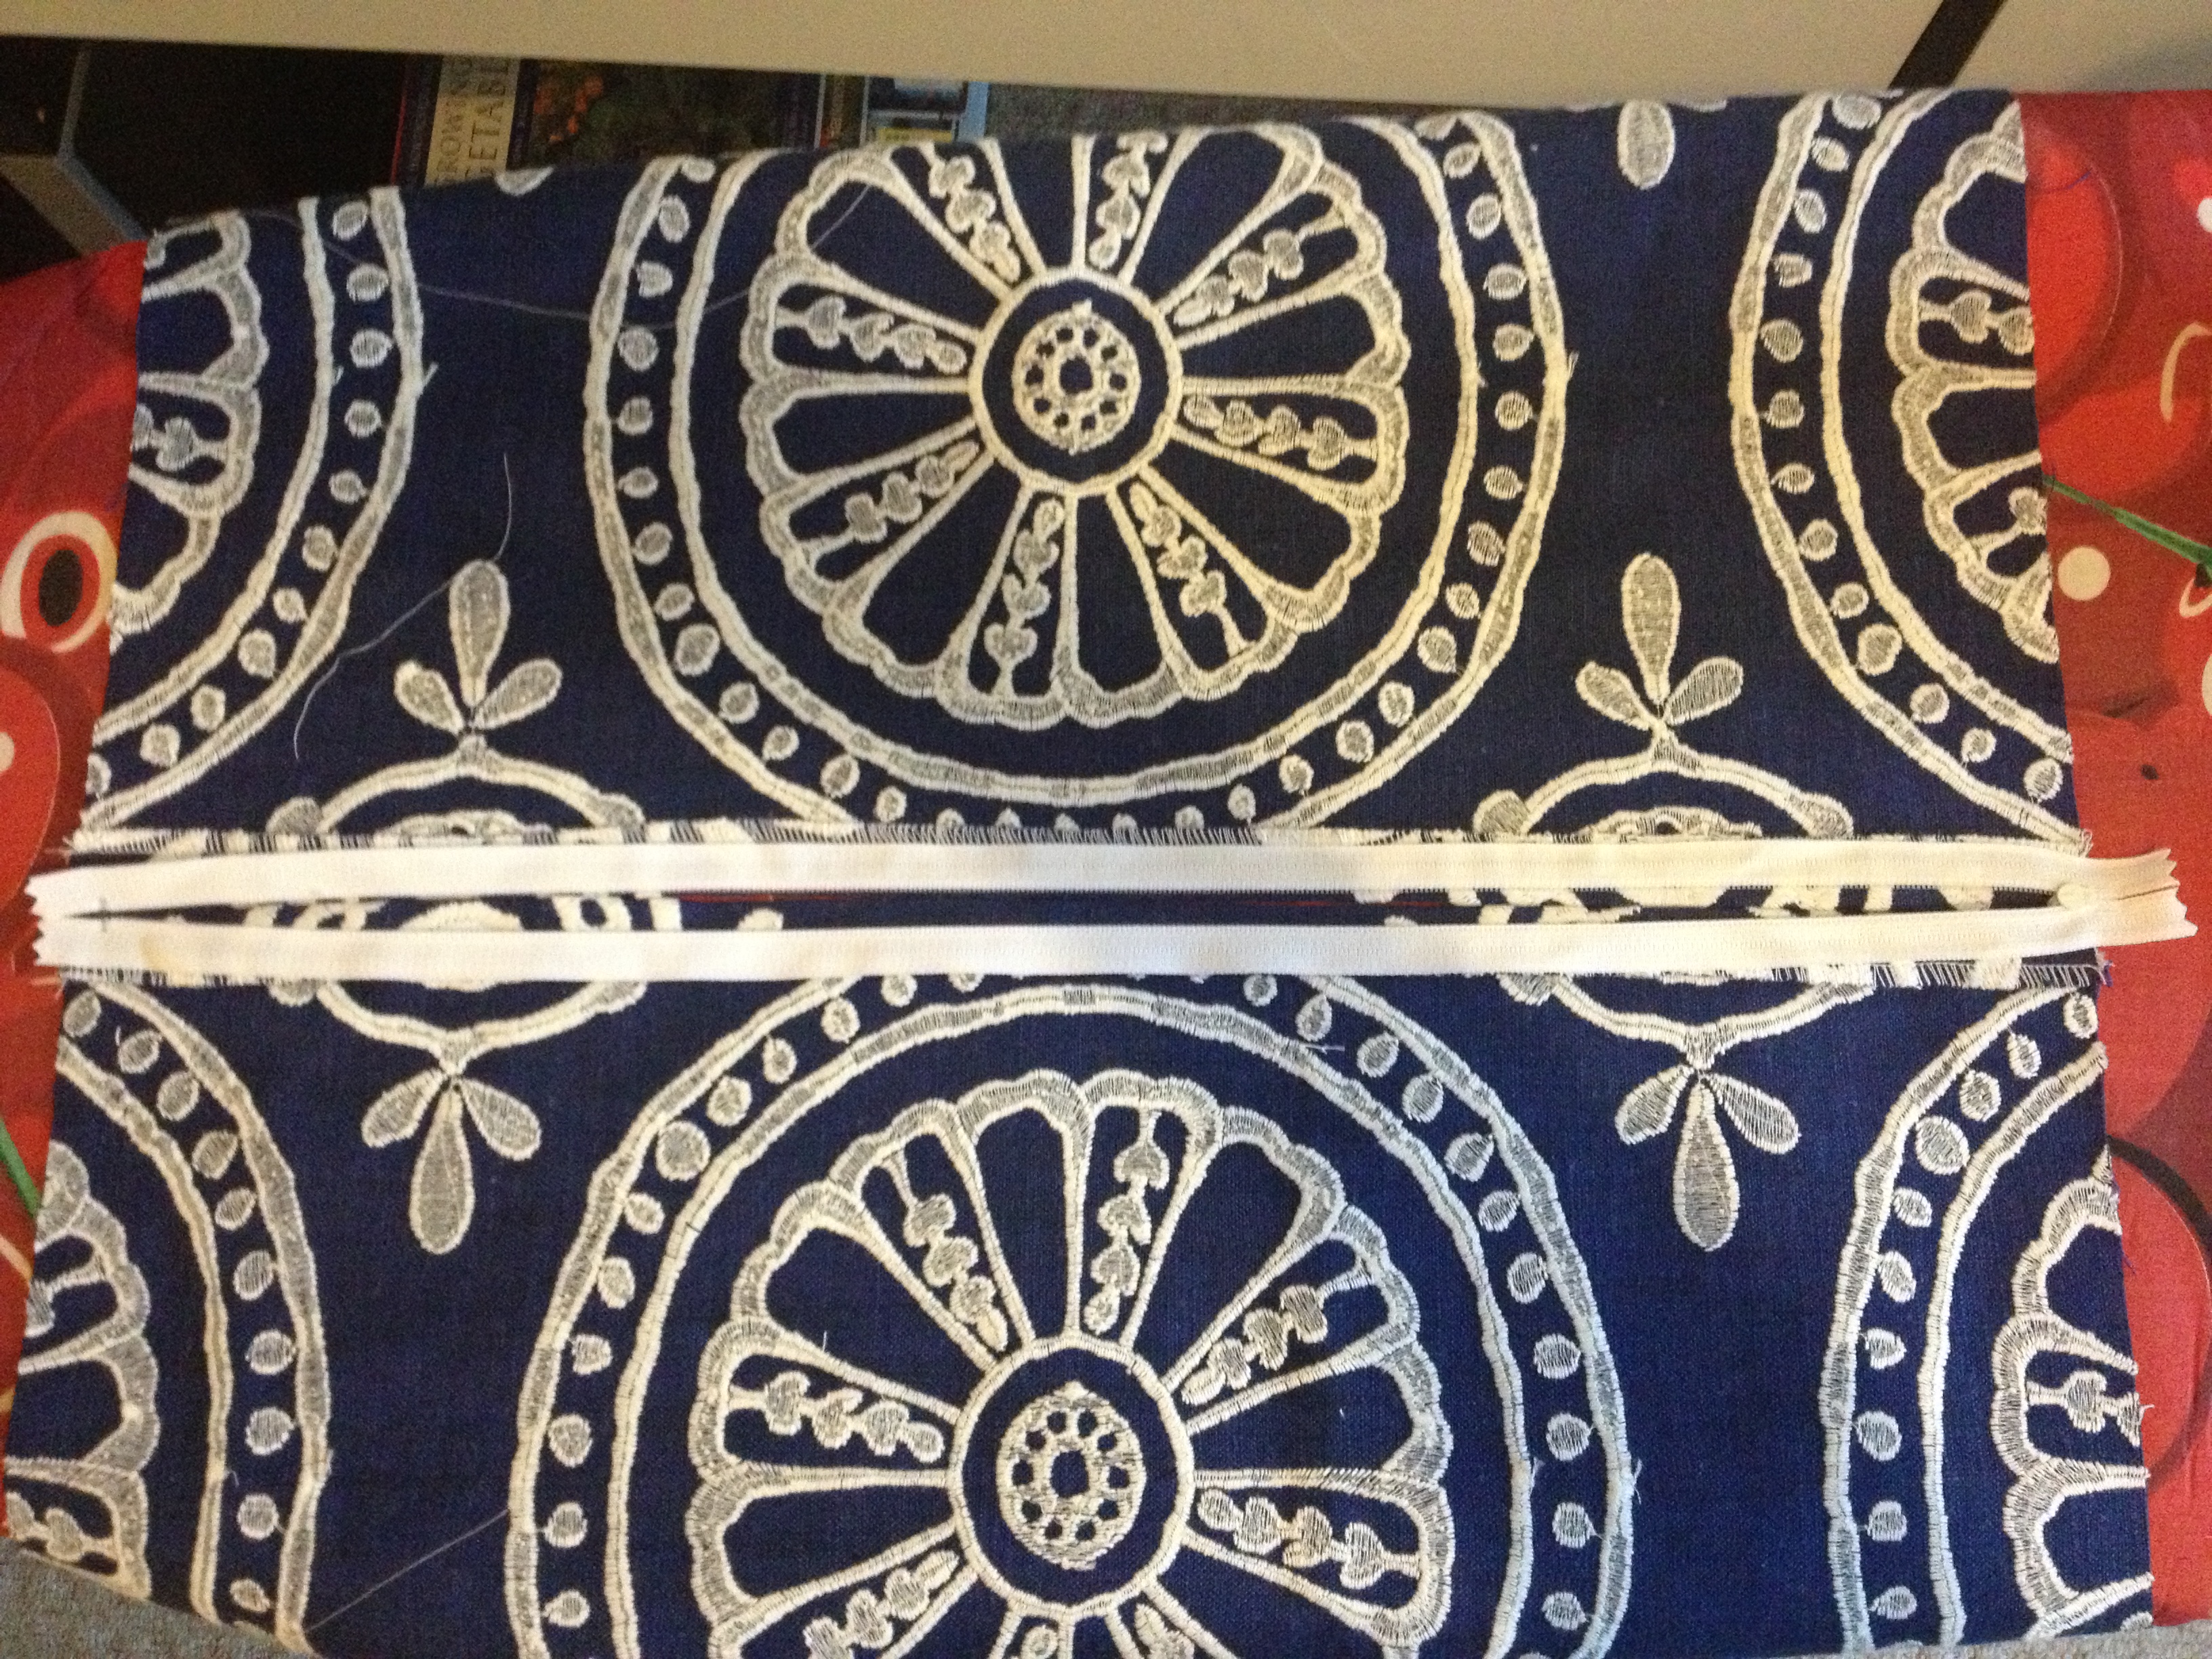
On the left side, pin the top of the zip to the seam allowance. This is to hold it in place so that we can pick up this section and take it to the sewing machine.
You are only pinning the zip to the seam allowance fabric, not the cushion underneath.
You don’t need to pin the entire zip, just the top section with one pin.

Looking at the image below, fold the two main pieces of fabric to the left so that you only have the seam allowance/zip free. Place the zip foot onto the sewing machine so that the stitches will be on the left side of the foot.
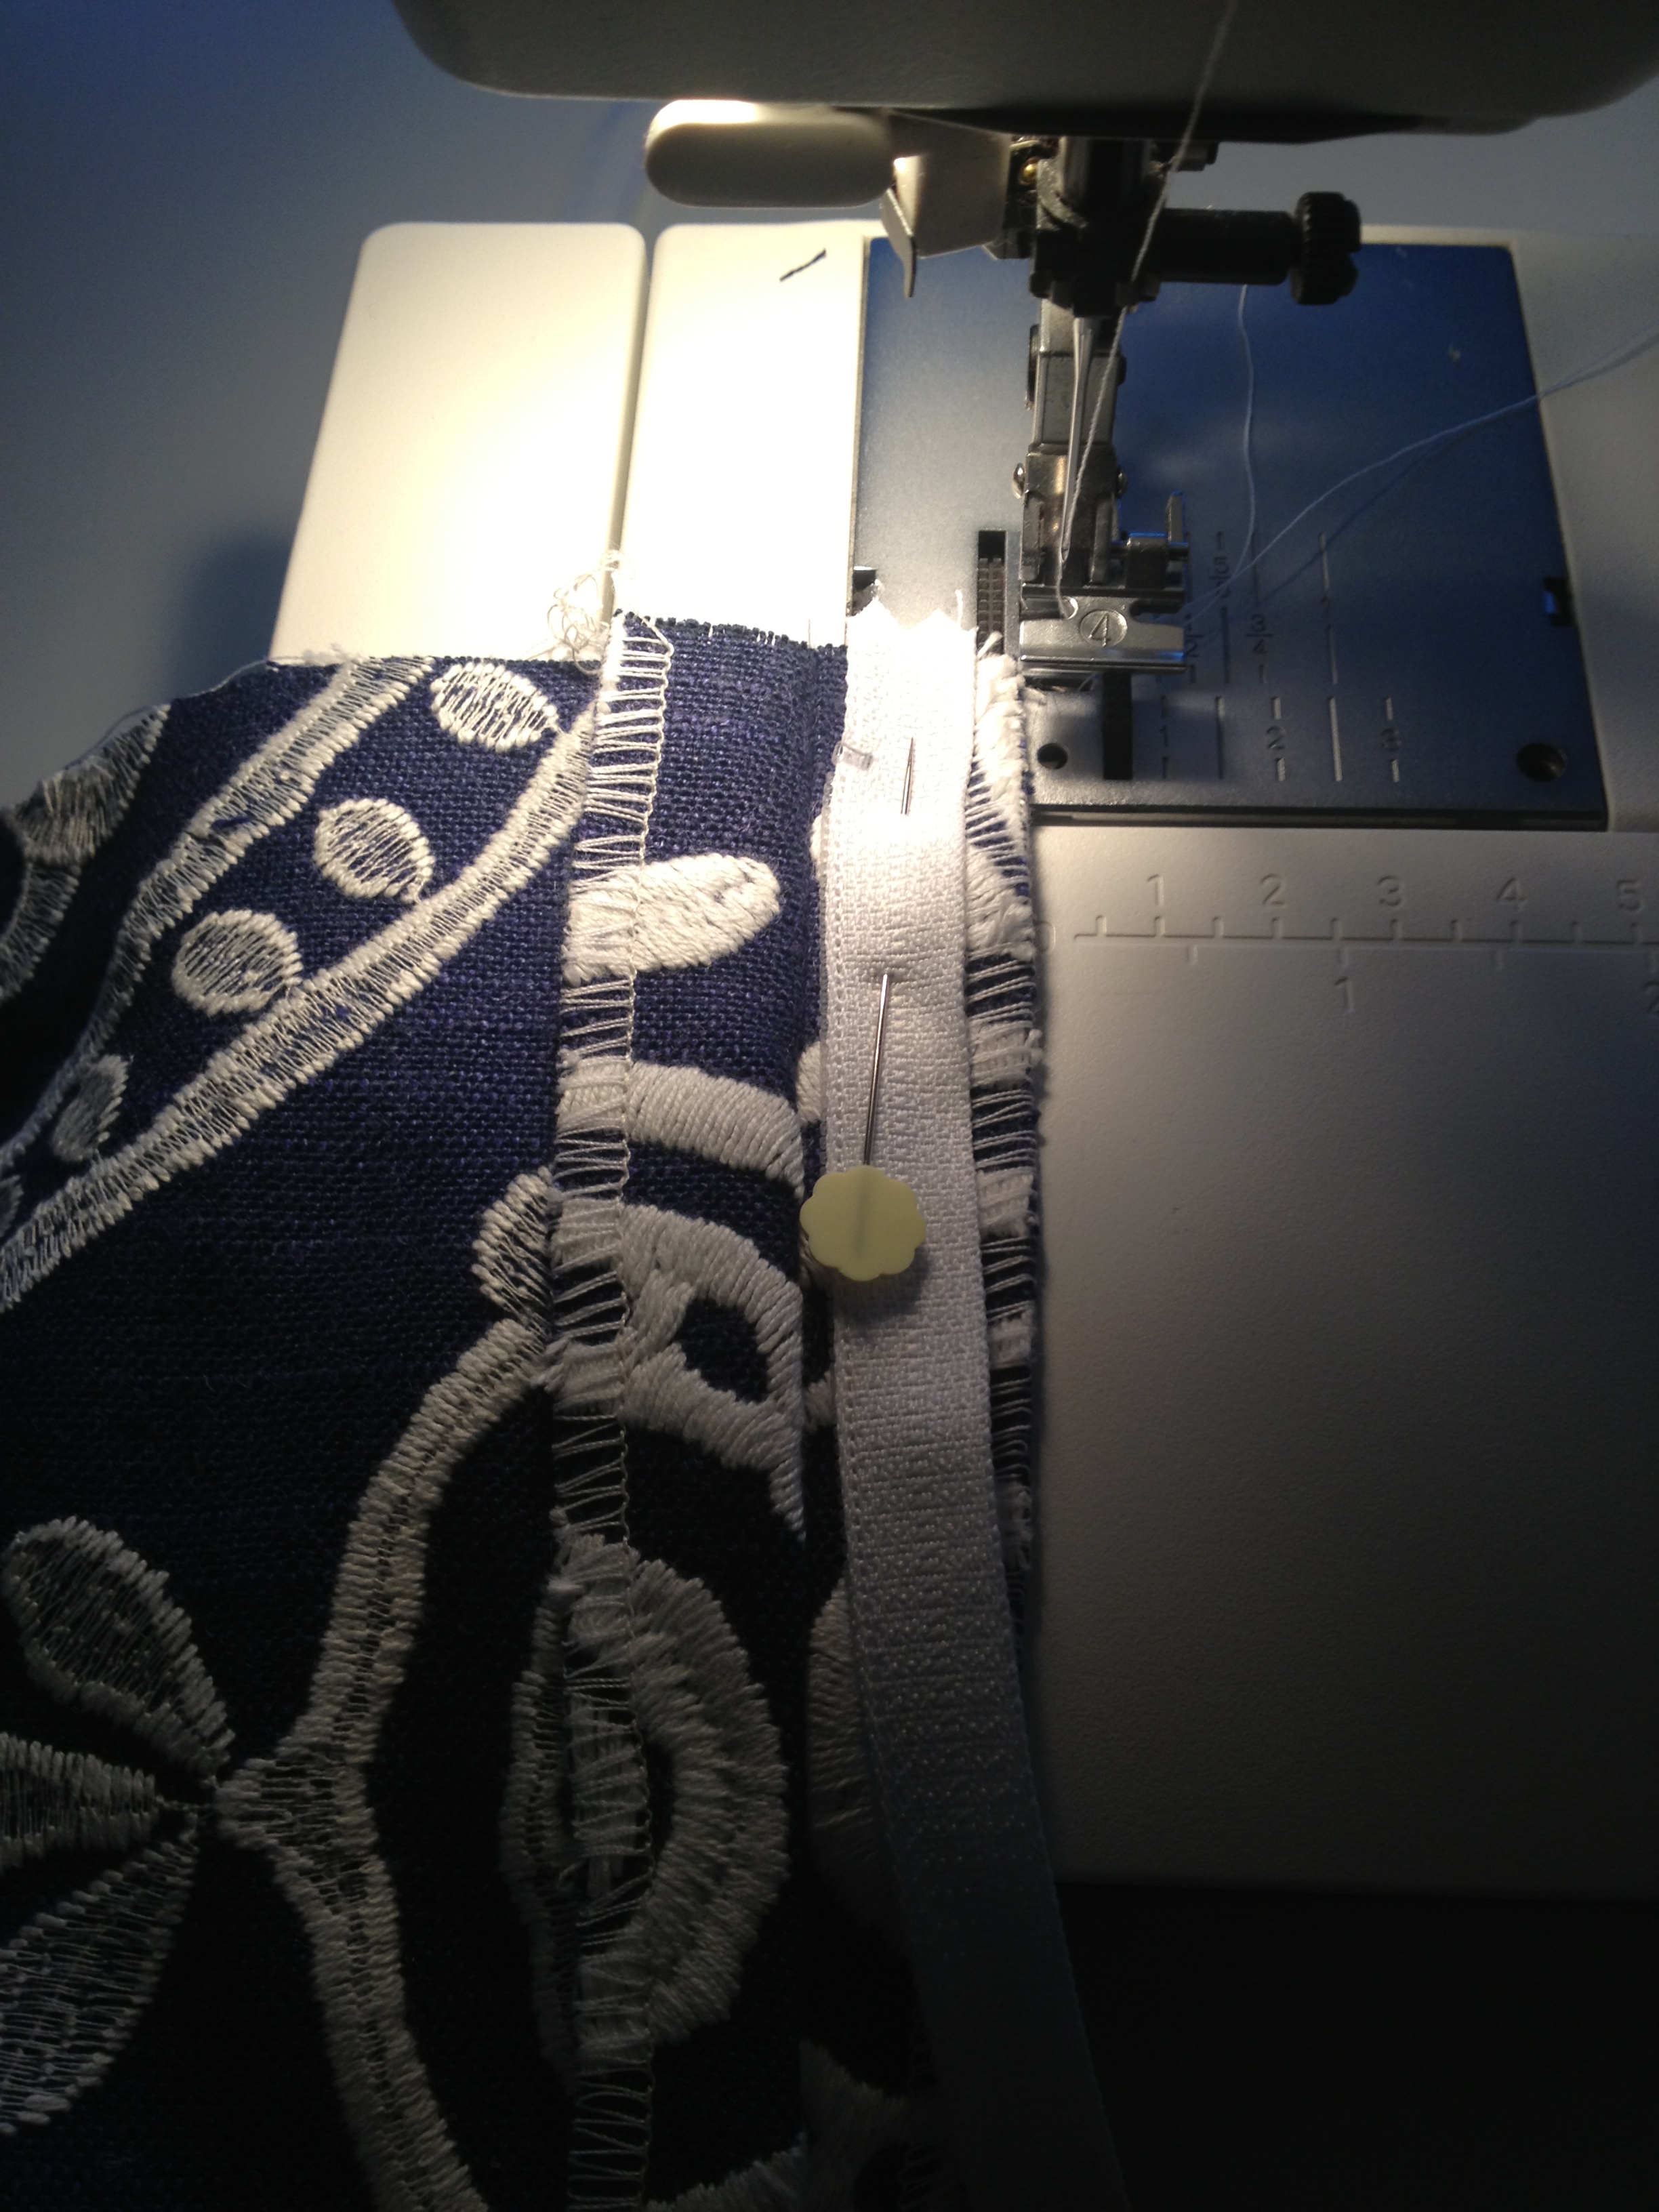

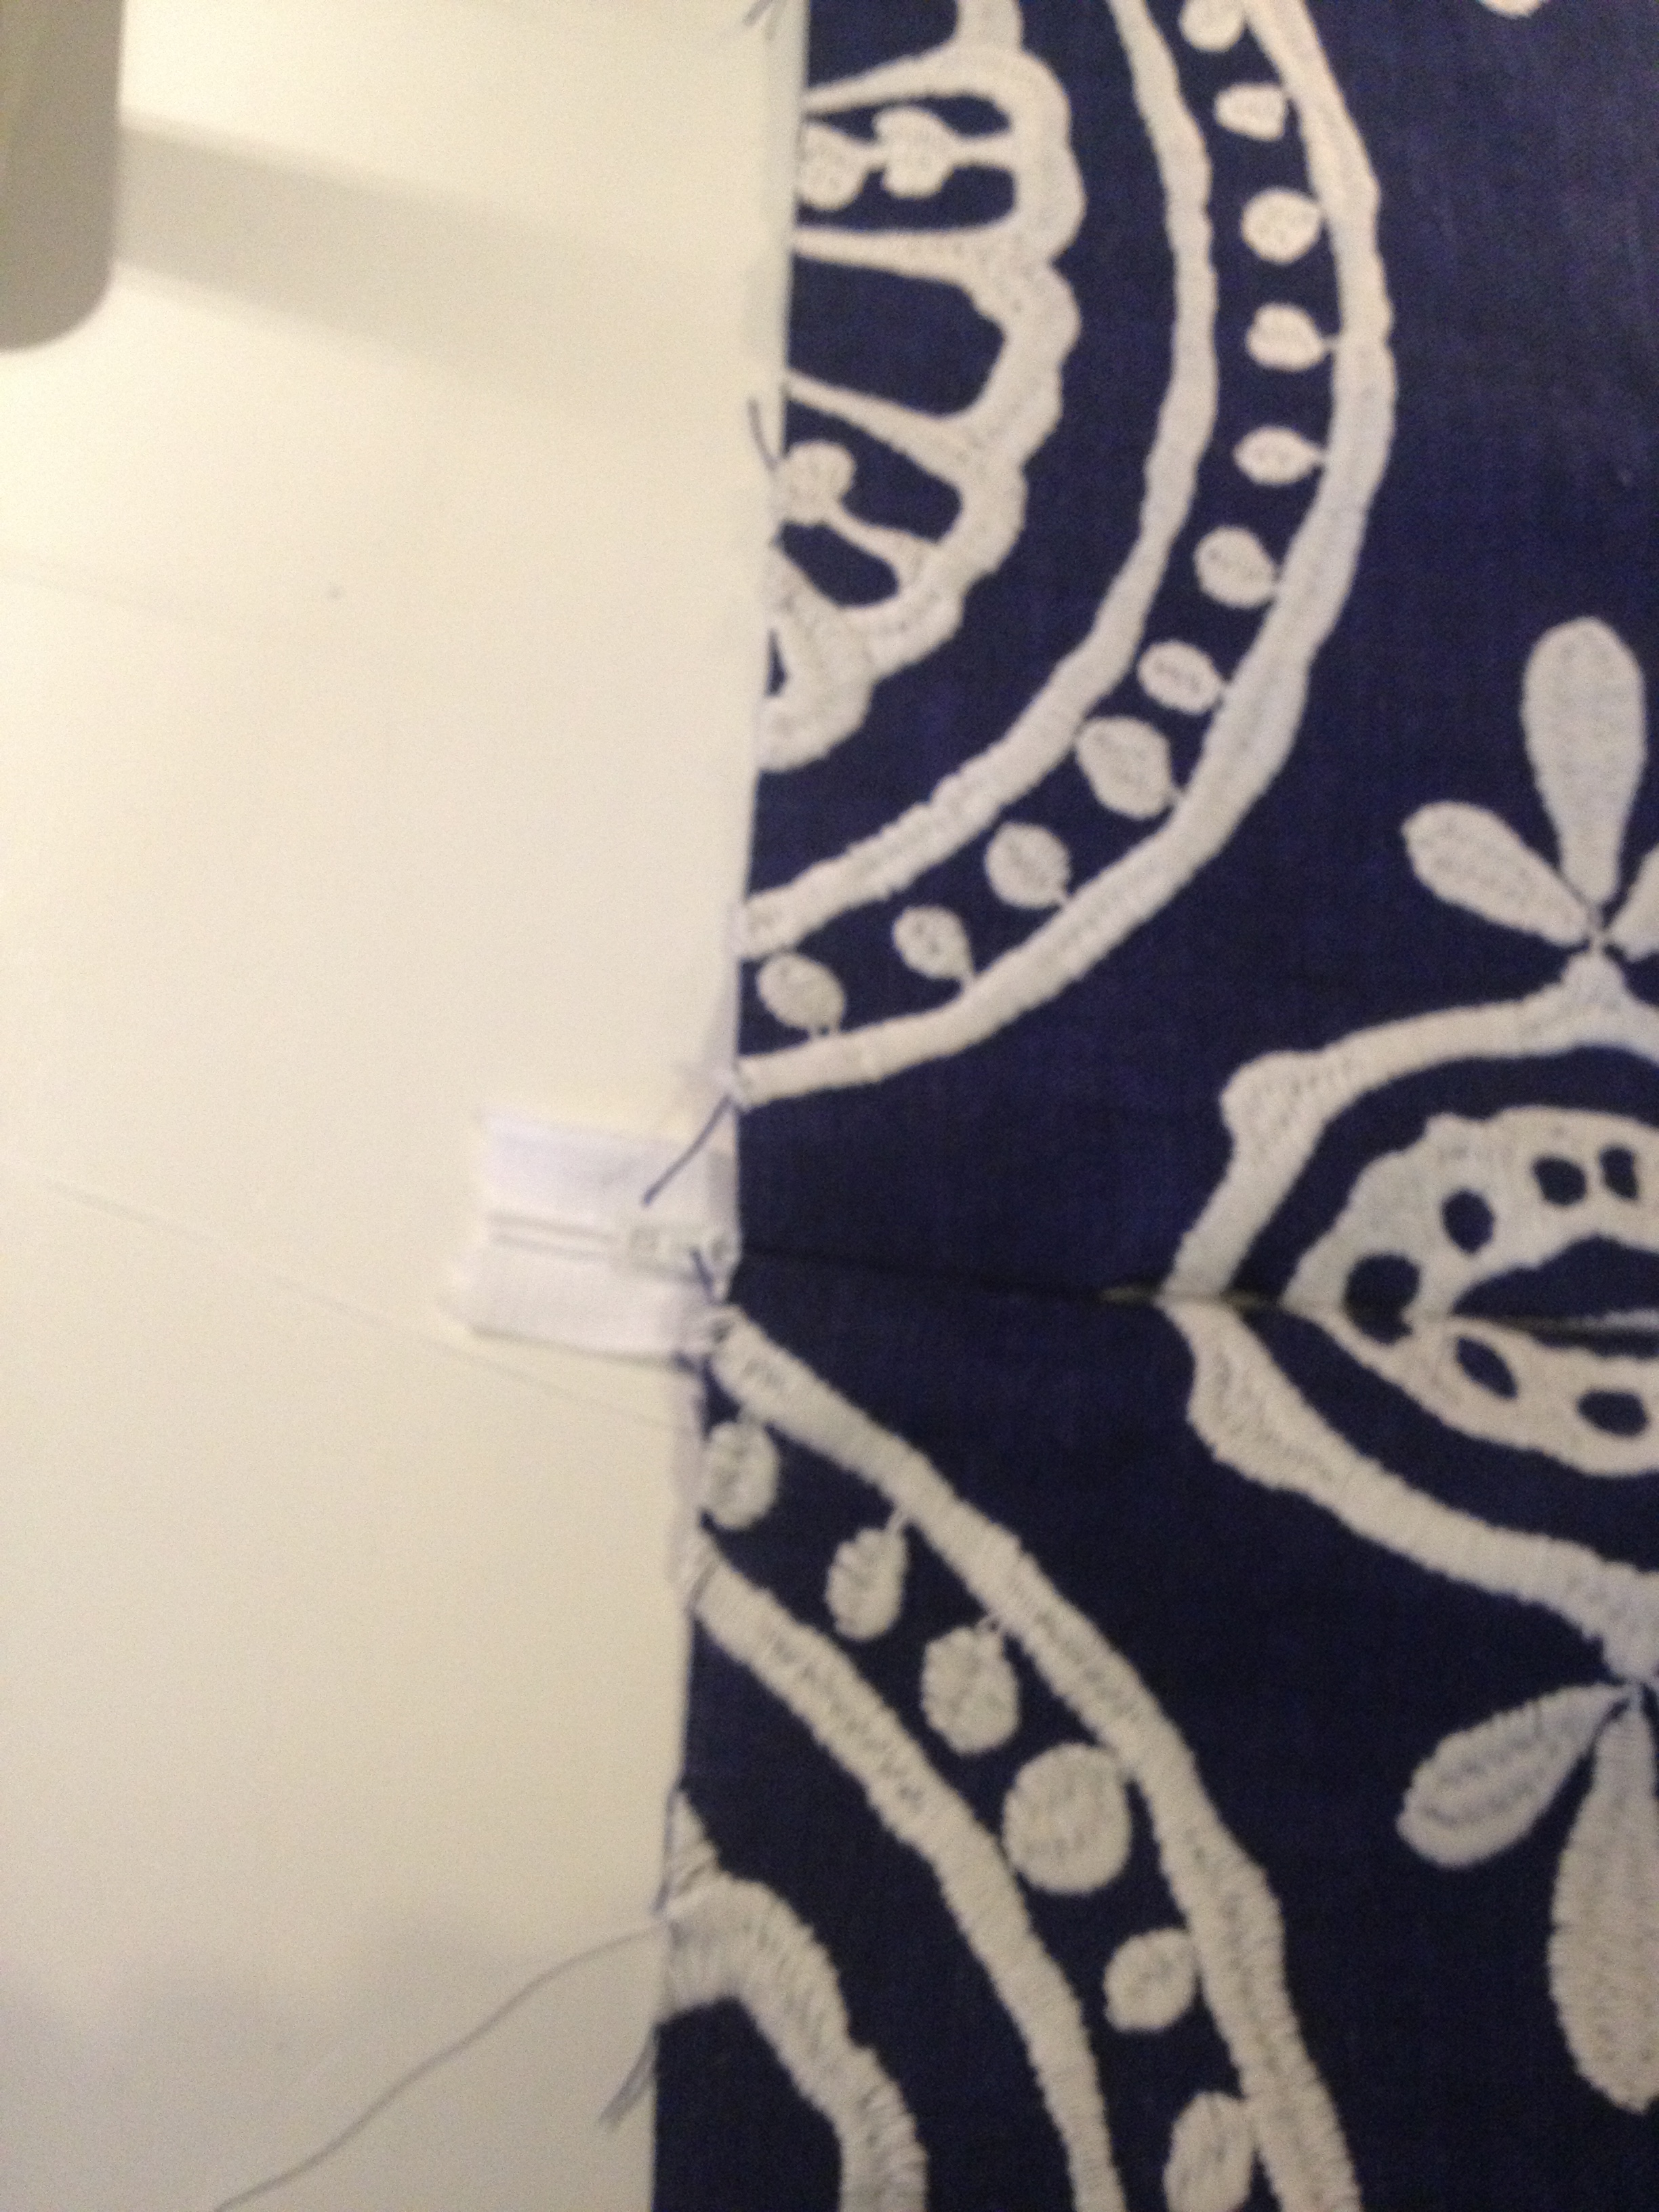
Start sewing at 3 cm from the top (very important! – don’t start all the way from the top of the zip. Even though the top of the zip will be flush with the top of the cushion you only want your stitching to start 3cm down – you will see why later). The zip foot is resting up against the teeth of the zip. Stop sewing 3cm from the bottom of cushion.
TIP – remember when you ironed it? Can you notice that it’s made a “line” mark on your fabric. You can rest the zip against this line to ensure that it is straight.
Ok, so now once you take your fabric out of the machine this is how it will look. One side of the zip is sewn in and the other is loose:

Now repeat the above steps on the other side of the zip. The most important part here is that the top of the zip and the bottom of the zip start and end in the exact same place as the side you have already sewn. You can pin this side all the way down remembering to only pin it to the seam allowance:
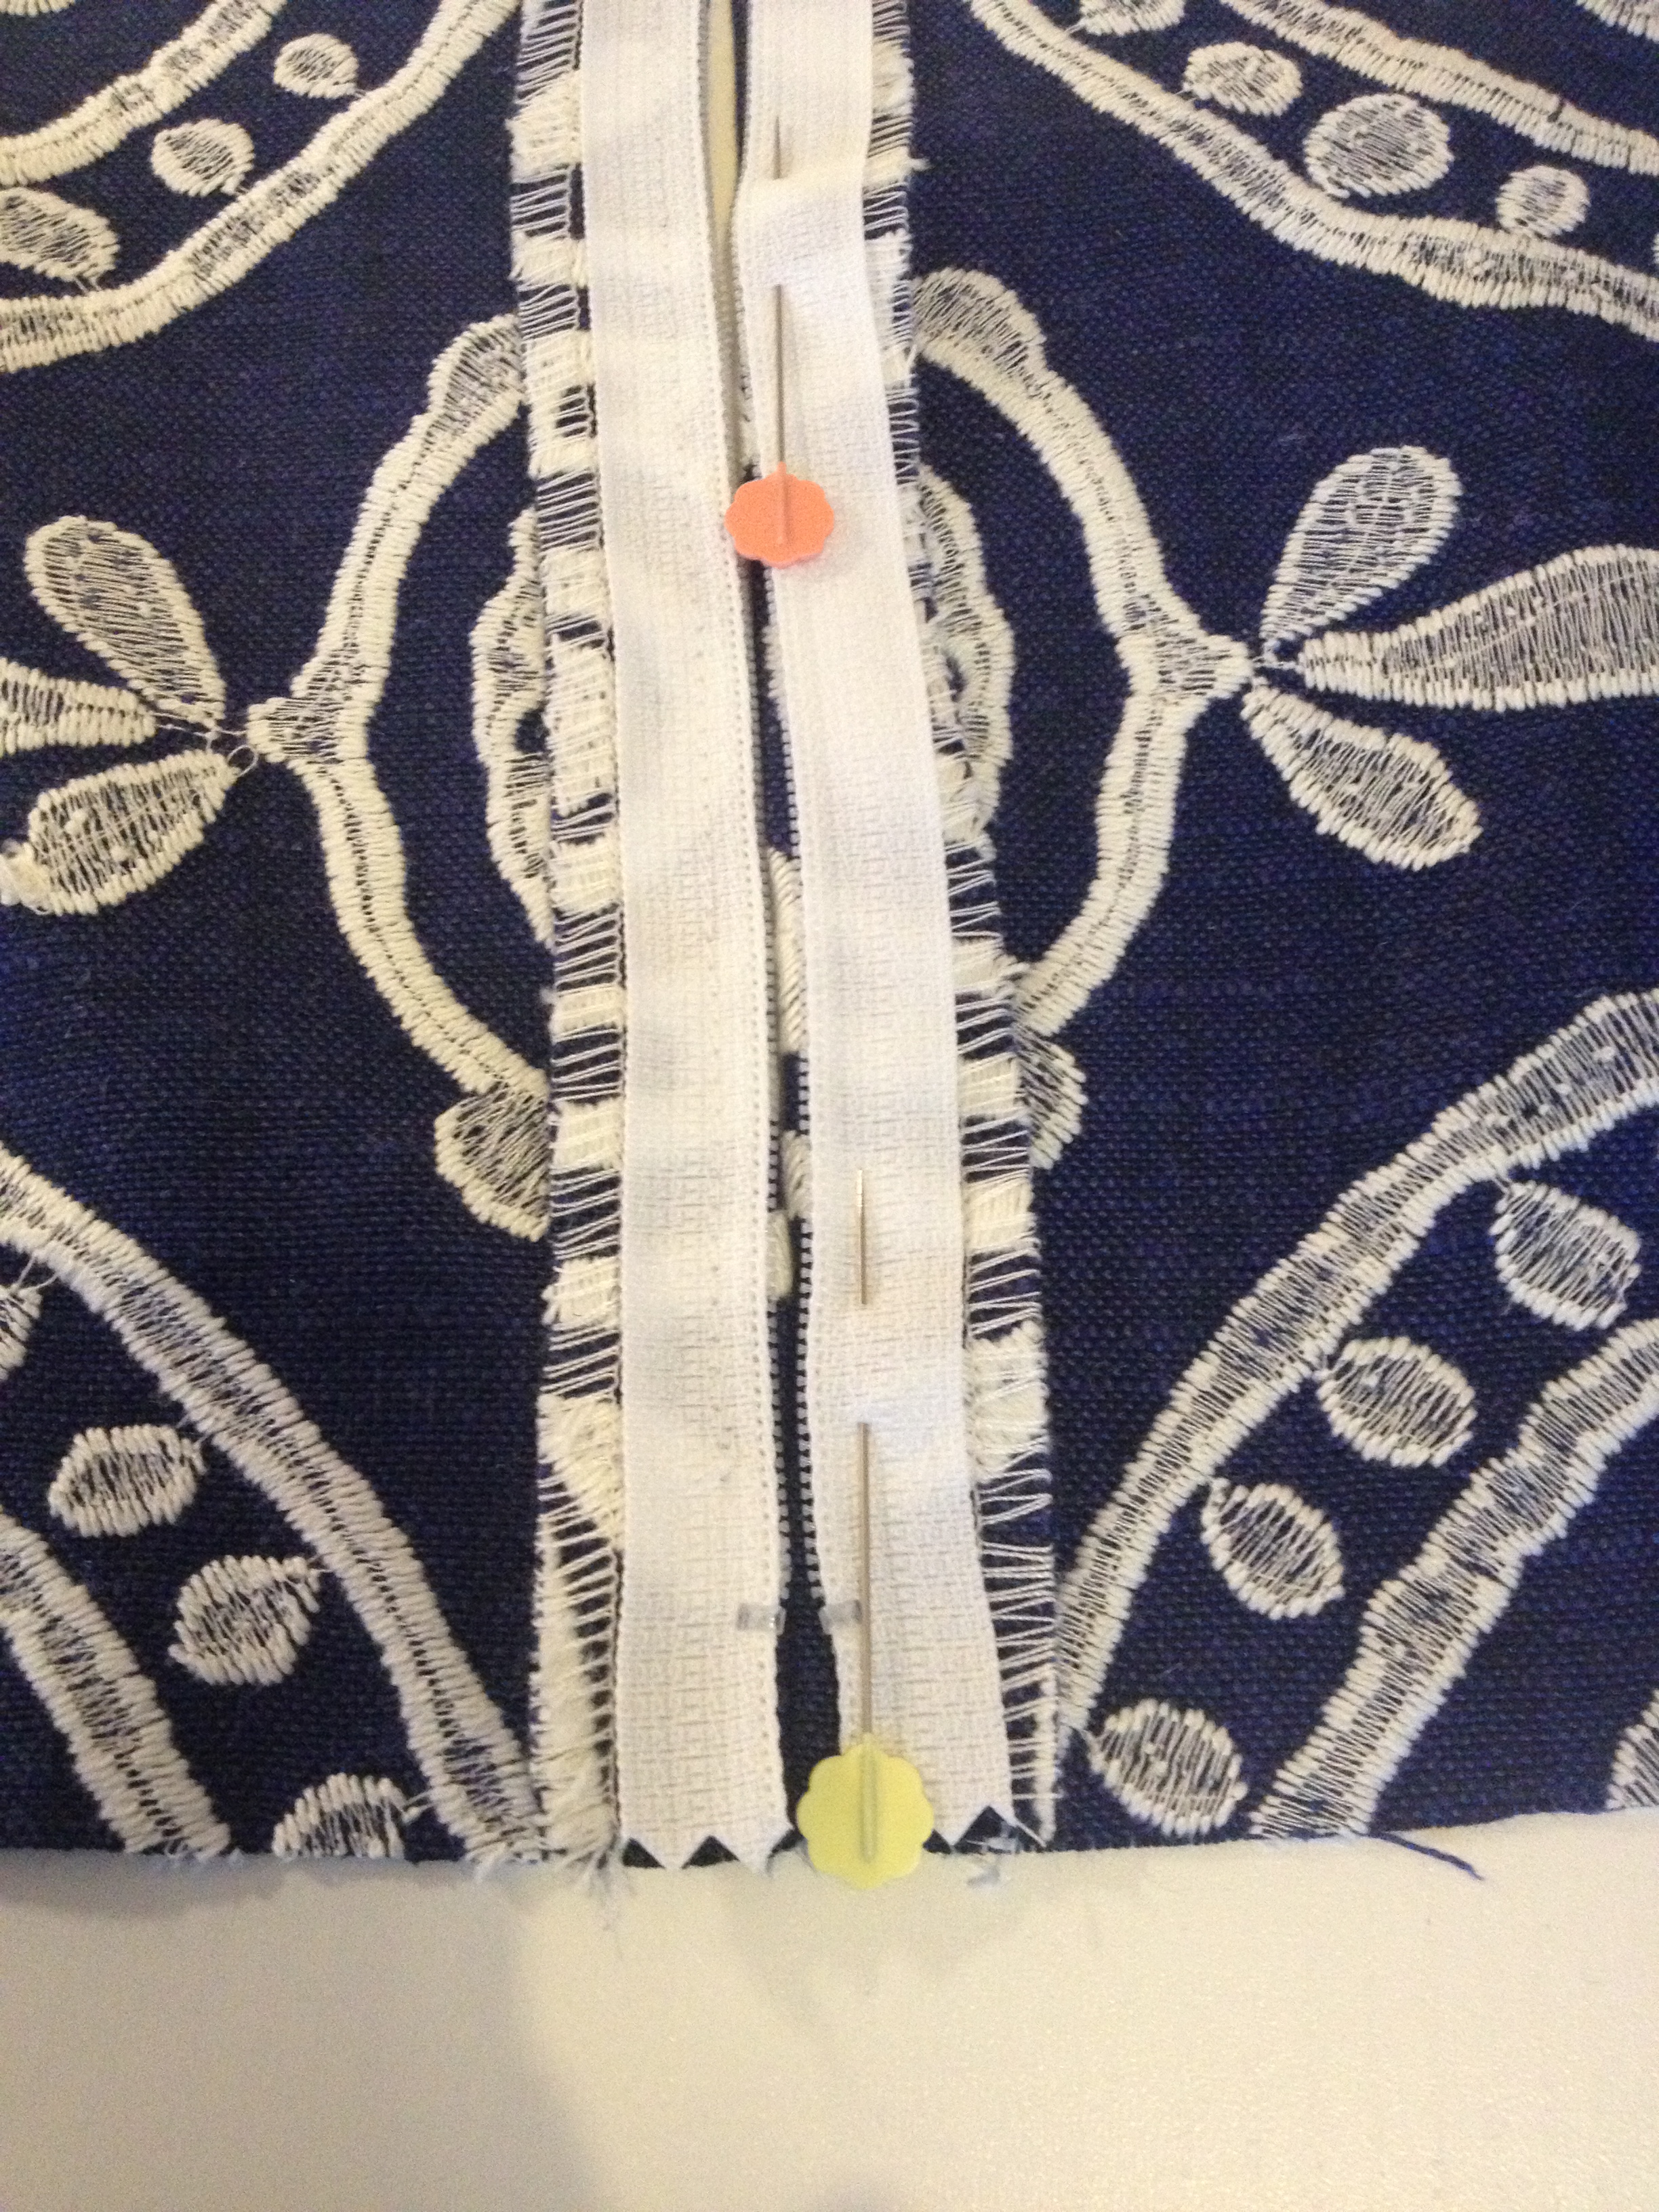
Now you can sew down the the other side. Remember to start 3cm from the top and stop 3cm from the bottom..

See how nicely the two ends meet? This is very important.

Guess what? You zip is in! How easy was that?!?!! Open out your beautiful cushion and marvel at the beauty and simplicity. The best part is that you don’t see any stitching – so pretty!!
My zip is sticking out below and the end as my zip was longer than the cushion width – that’s ok too. It will all be hidden inside the cushion cover anyway:
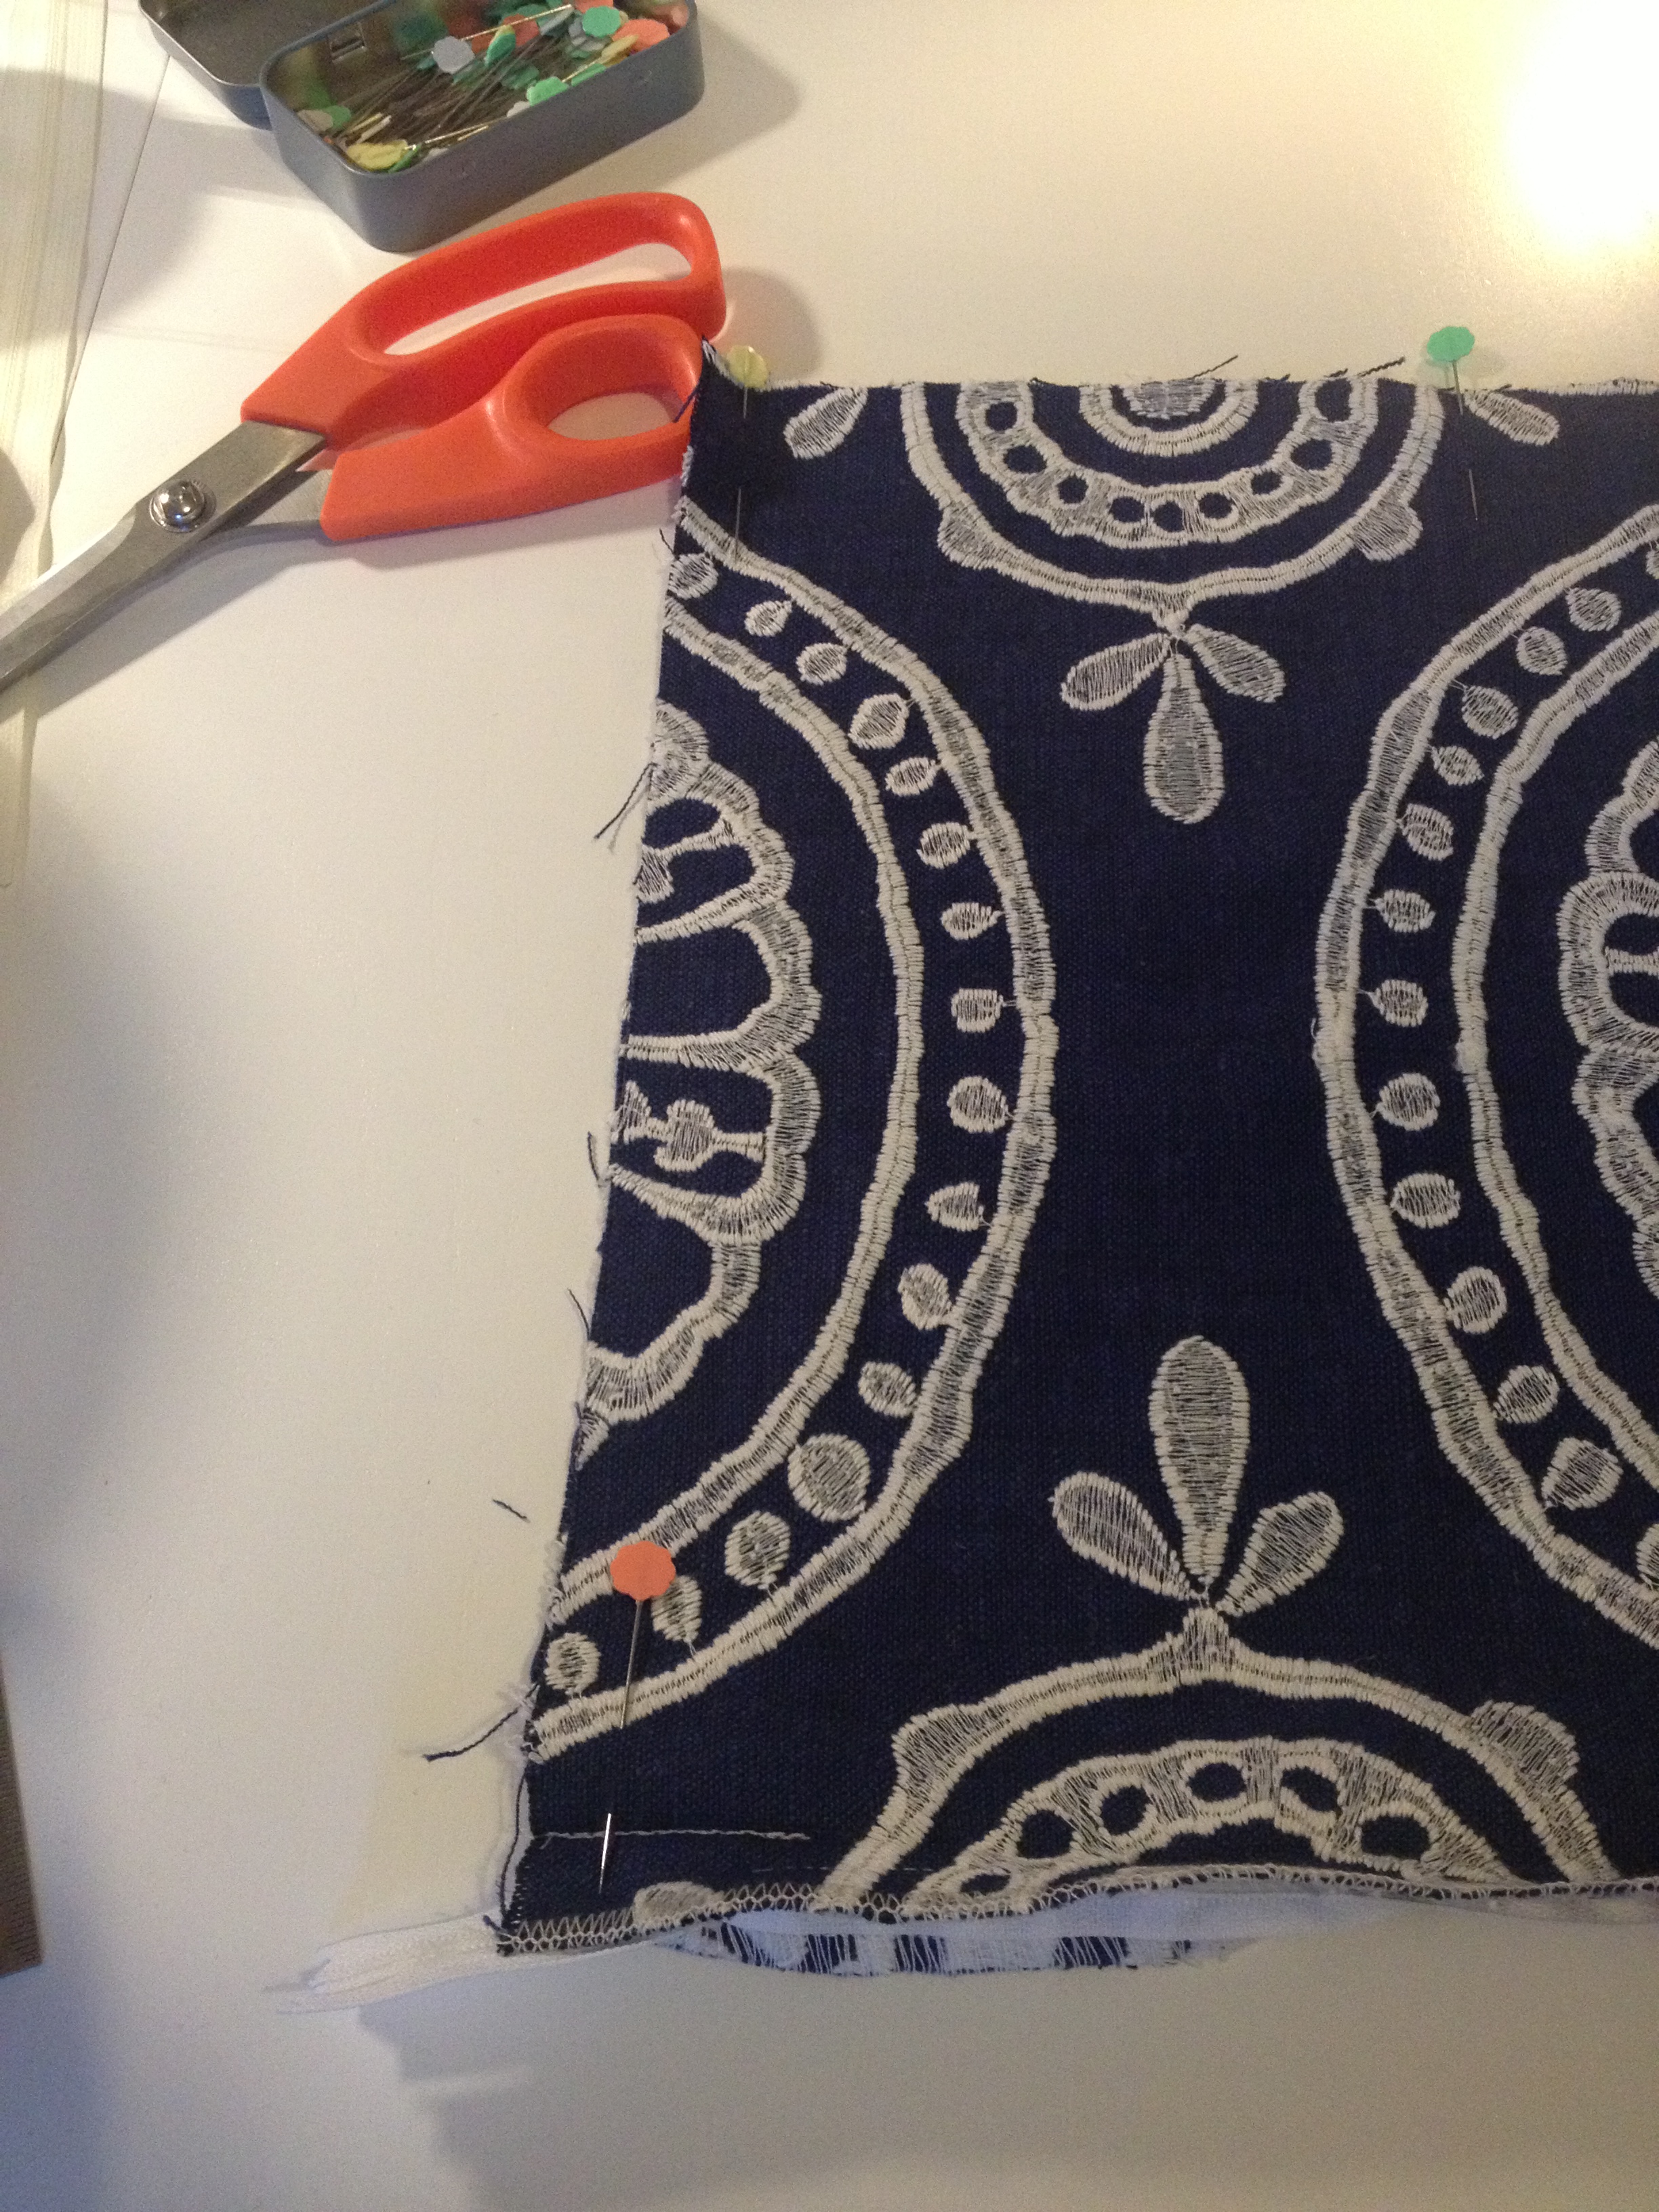
Let’s finish this cushion!. Fold your cushion right sides together and pin all the way around. Starting at the one side sewing your cushion pivoting at the top, using a 1.5cm seam allowance. Now if you only started your zip three cm’s from the top and bottom you will see how easy it is to sew the sides together – without having to sew over the zip at the bottom.
Turn your lovely cushion around and it’s done! How easy was that?
Happy sewing everyone!

Thanks so much for really easy and clear instructions. Have just done one cushion, recycling the zip from the worn cover, and it was really easy. Looks lovely! About to do the other three now.
Fab! We think so too – it’s the easiest way to do cushion covers! hooray!
Thanks for these great instructions. I’ve always been terrified of zippers but I feel a lot more confident now – really happy with how my first attempt came out!
Hoooray! We are so pleased.
This is the best cushion making tutorial I have ever come across. My cushions look perfect 👌🏽. Thank you!
Hooooray! Thank you for such great feedback.
What lovely clear instructions!!
Thank you!
Excellent thank you