THE COAT
JOINING THE BACK PIECES
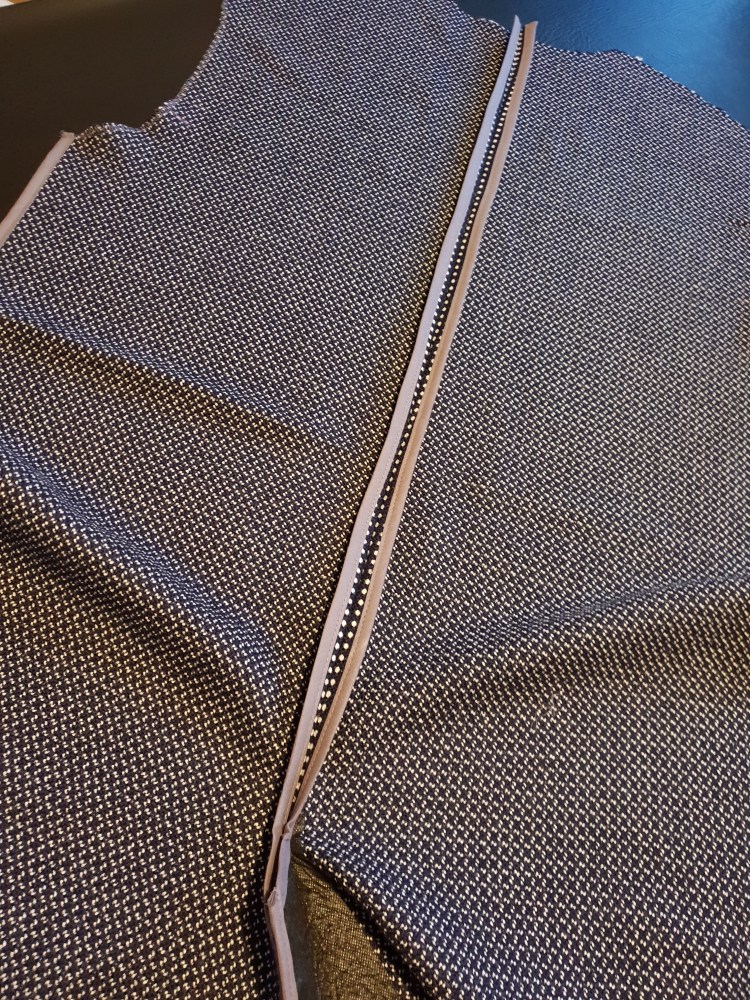
Place the back pieces right sides together and pin, matching up notches. Using a 1.5cm seam allowance, sew from the top and stop at the kick pleat dot. Press/iron open the seam allowances.

KICK PLEAT
TIP – we want both sides of the kick pleat to meet up perfectly so really focus on turning up the hem the same measurement on both sides in the following instructions.
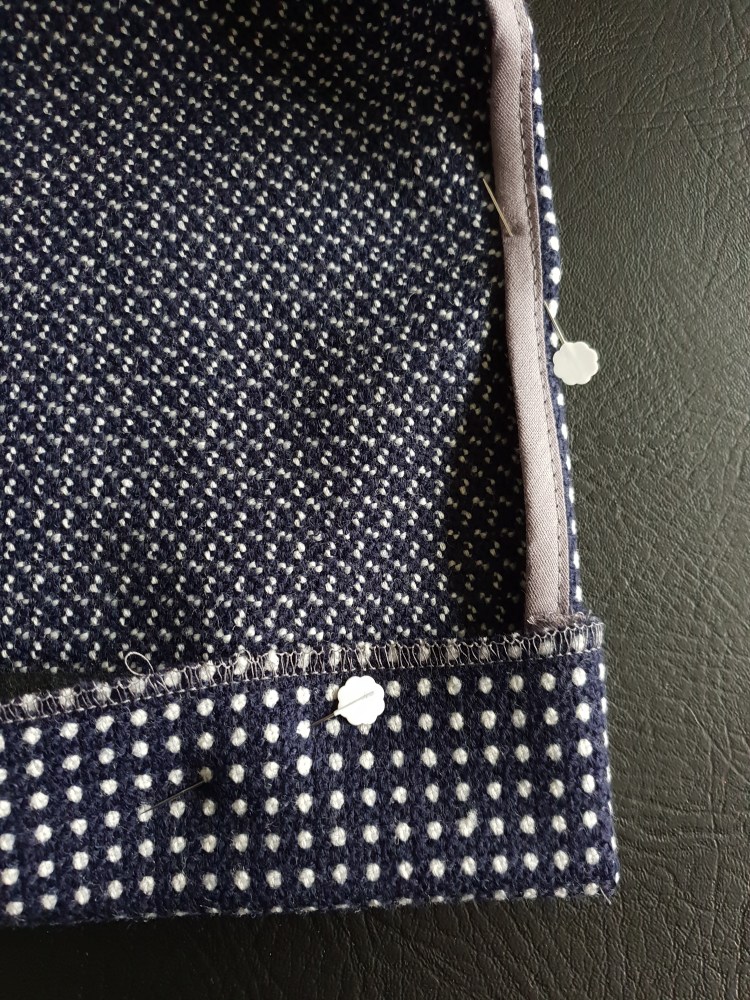
Working with the right side of the coat back facing you:
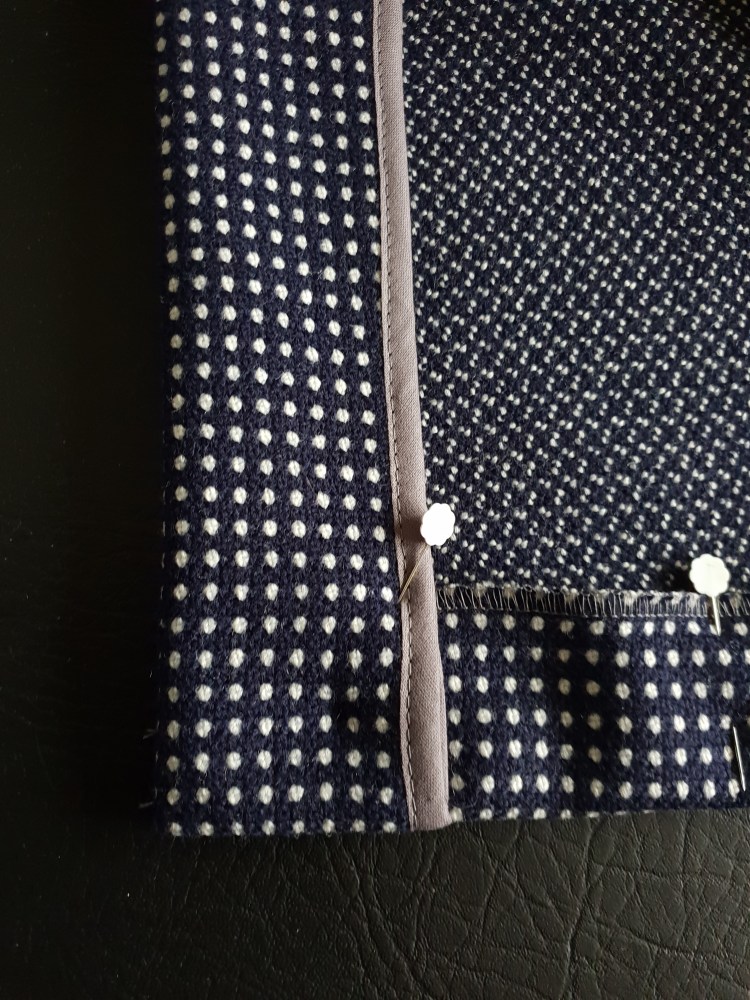
On the right-hand side, turn up the hem allowance (5cm) and pin across the panel to keep the hem straight along the bottom edge. Sew a vertical line 1cm from the kick pleat edge.
On the left-hand side, turn up the hem allowance (5cm) and pin across the panel to keep the hem straight along the bottom edge. The next vertical stitching line will be roughly 6cm from the kick pleat edge; use the notch as the guide. It may help to draw this line with a fabric marker so that it’s perfectly straight. Sew in place.


Place both sewn sections next to each other and double check that they are perfectly aligned.

Turn out the corners to the right side using a pencil, point turner or something that will help push out the corners without breaking the stitches. Be careful not to push too much as otherwise, the shape will distort. If the fabric is thick and does not form a neat point, cut away some of the excess before turning to the right side.
Press/iron the kick pleat flat.
* On the side that has the 1cm seam allowance, if you didn’t bind the edges, you can now sew the seam allowance flat – either by machine or by hand
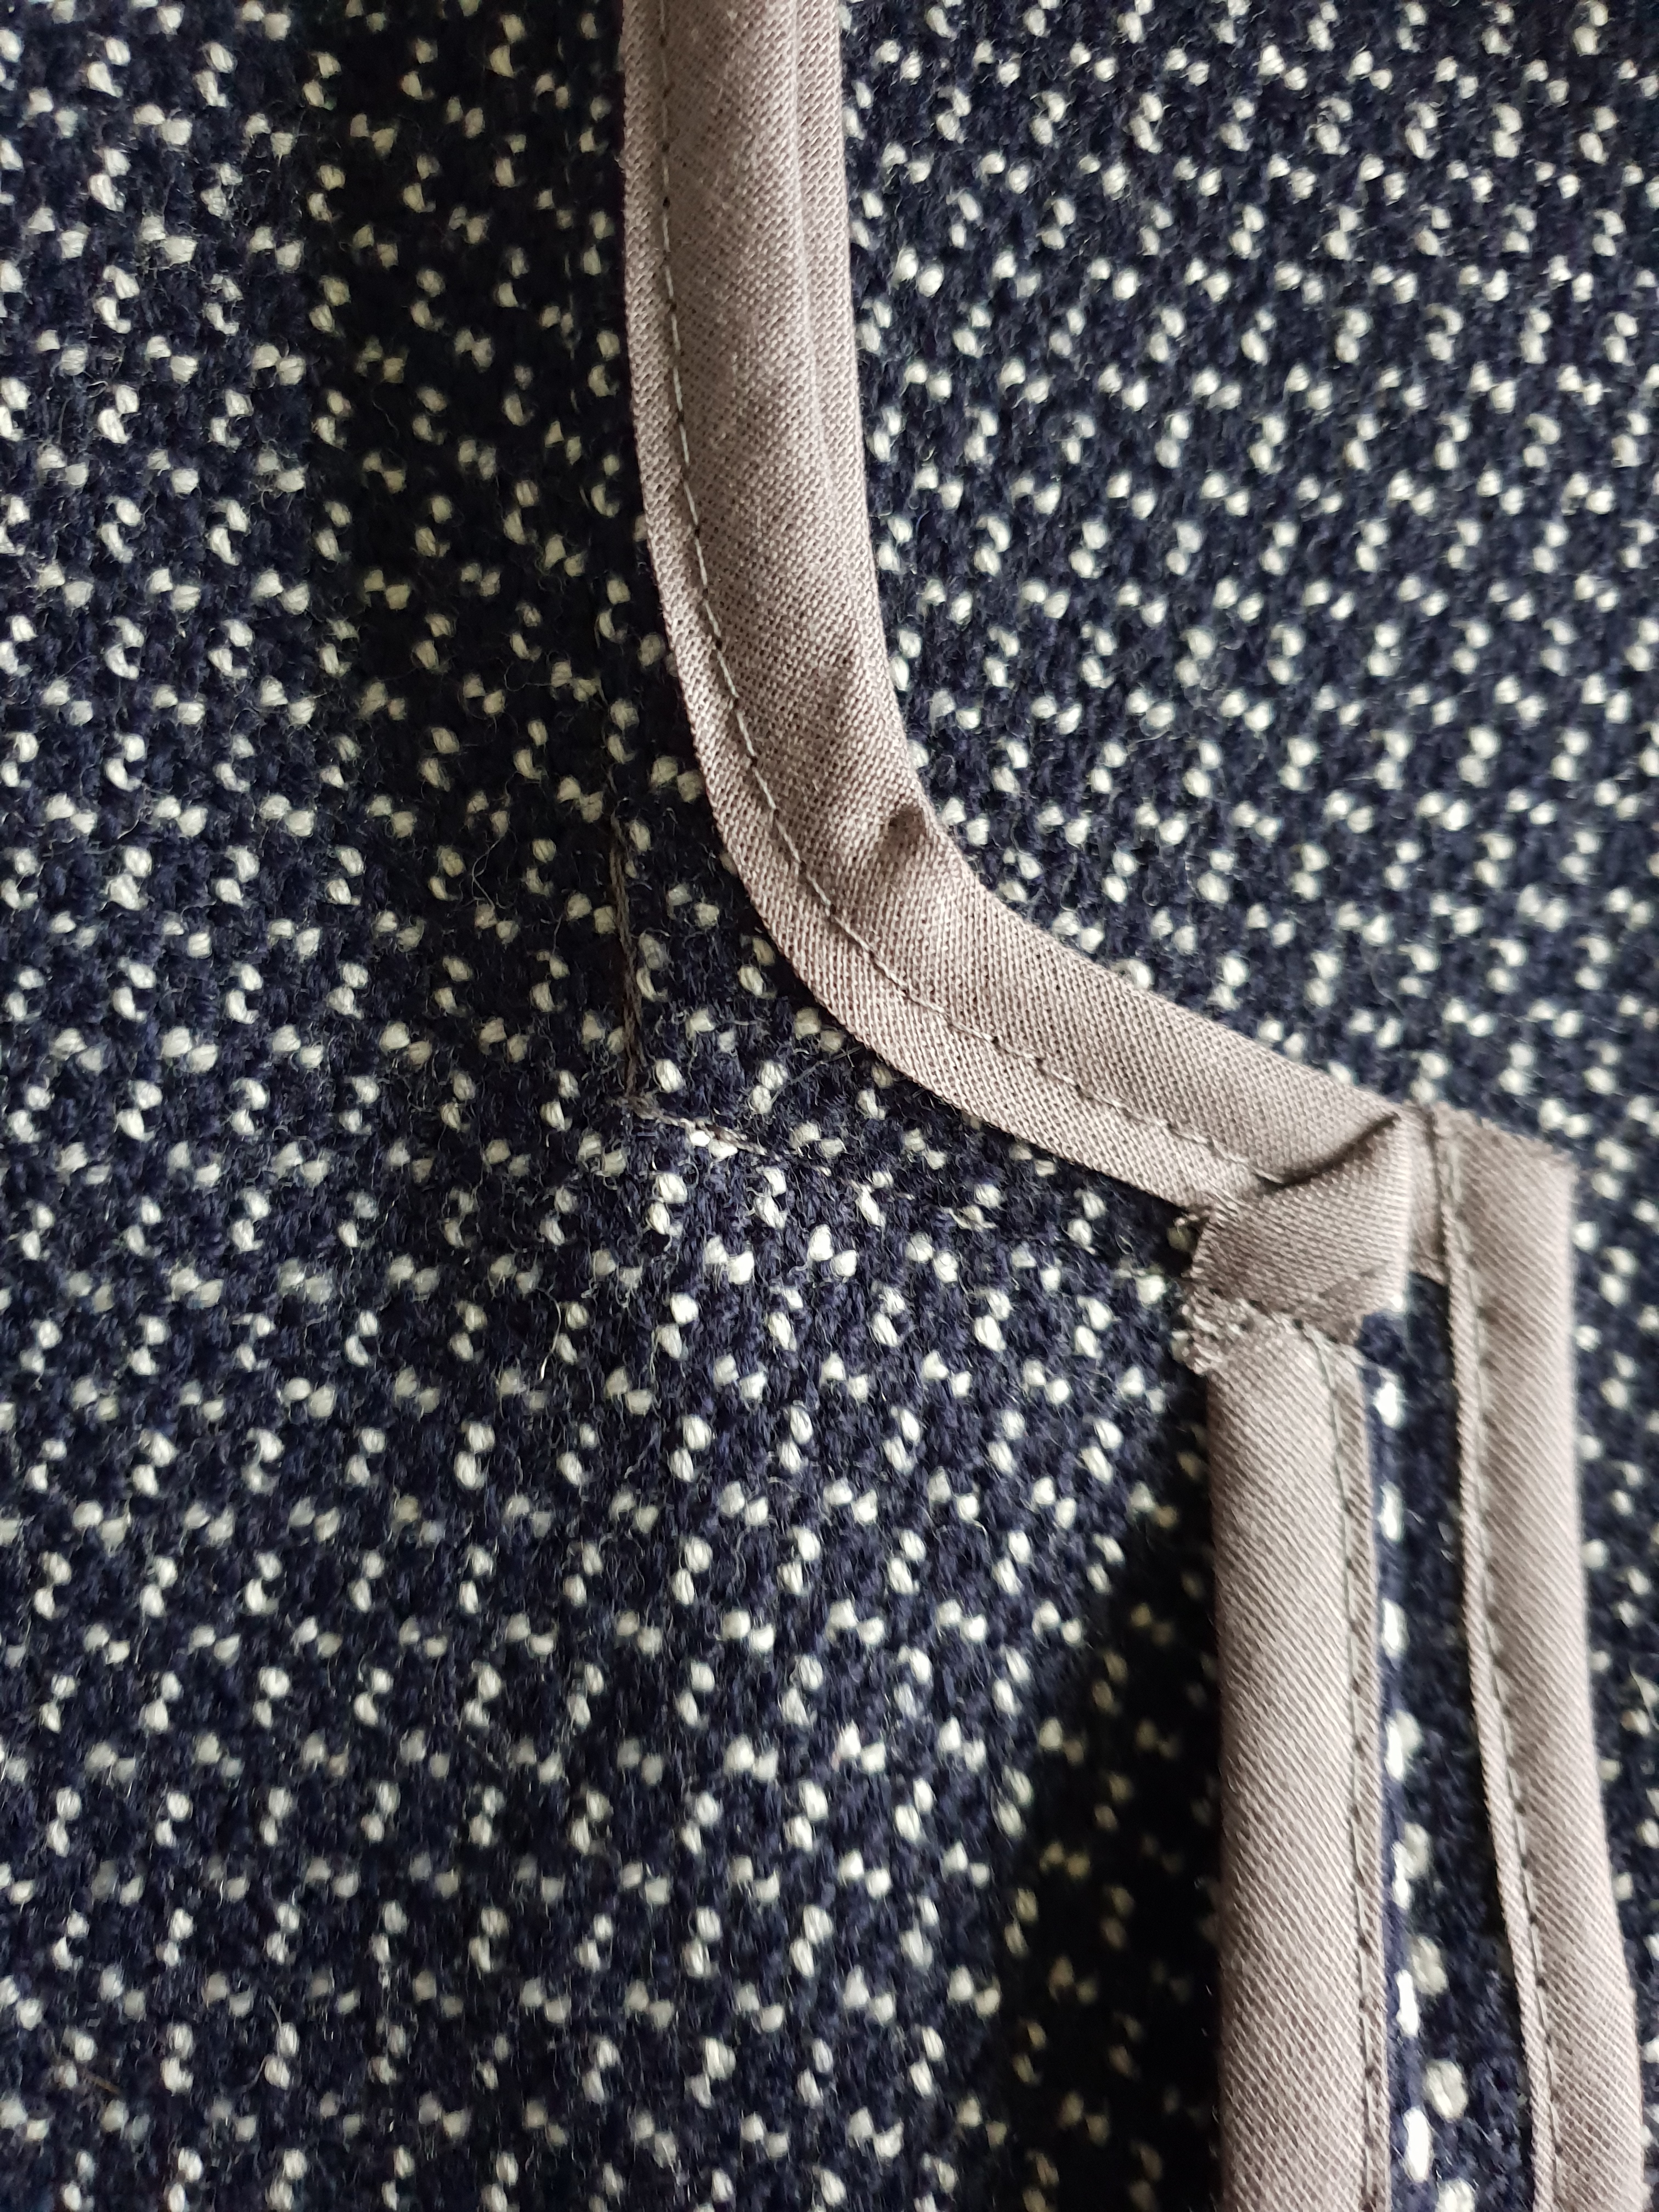
On the wrong side, fold the kick pleat edge with the 1cm side hem over so that it lies on top of the other kick pleat, matching up the top and hem. Pin in place through all the edges and layers.
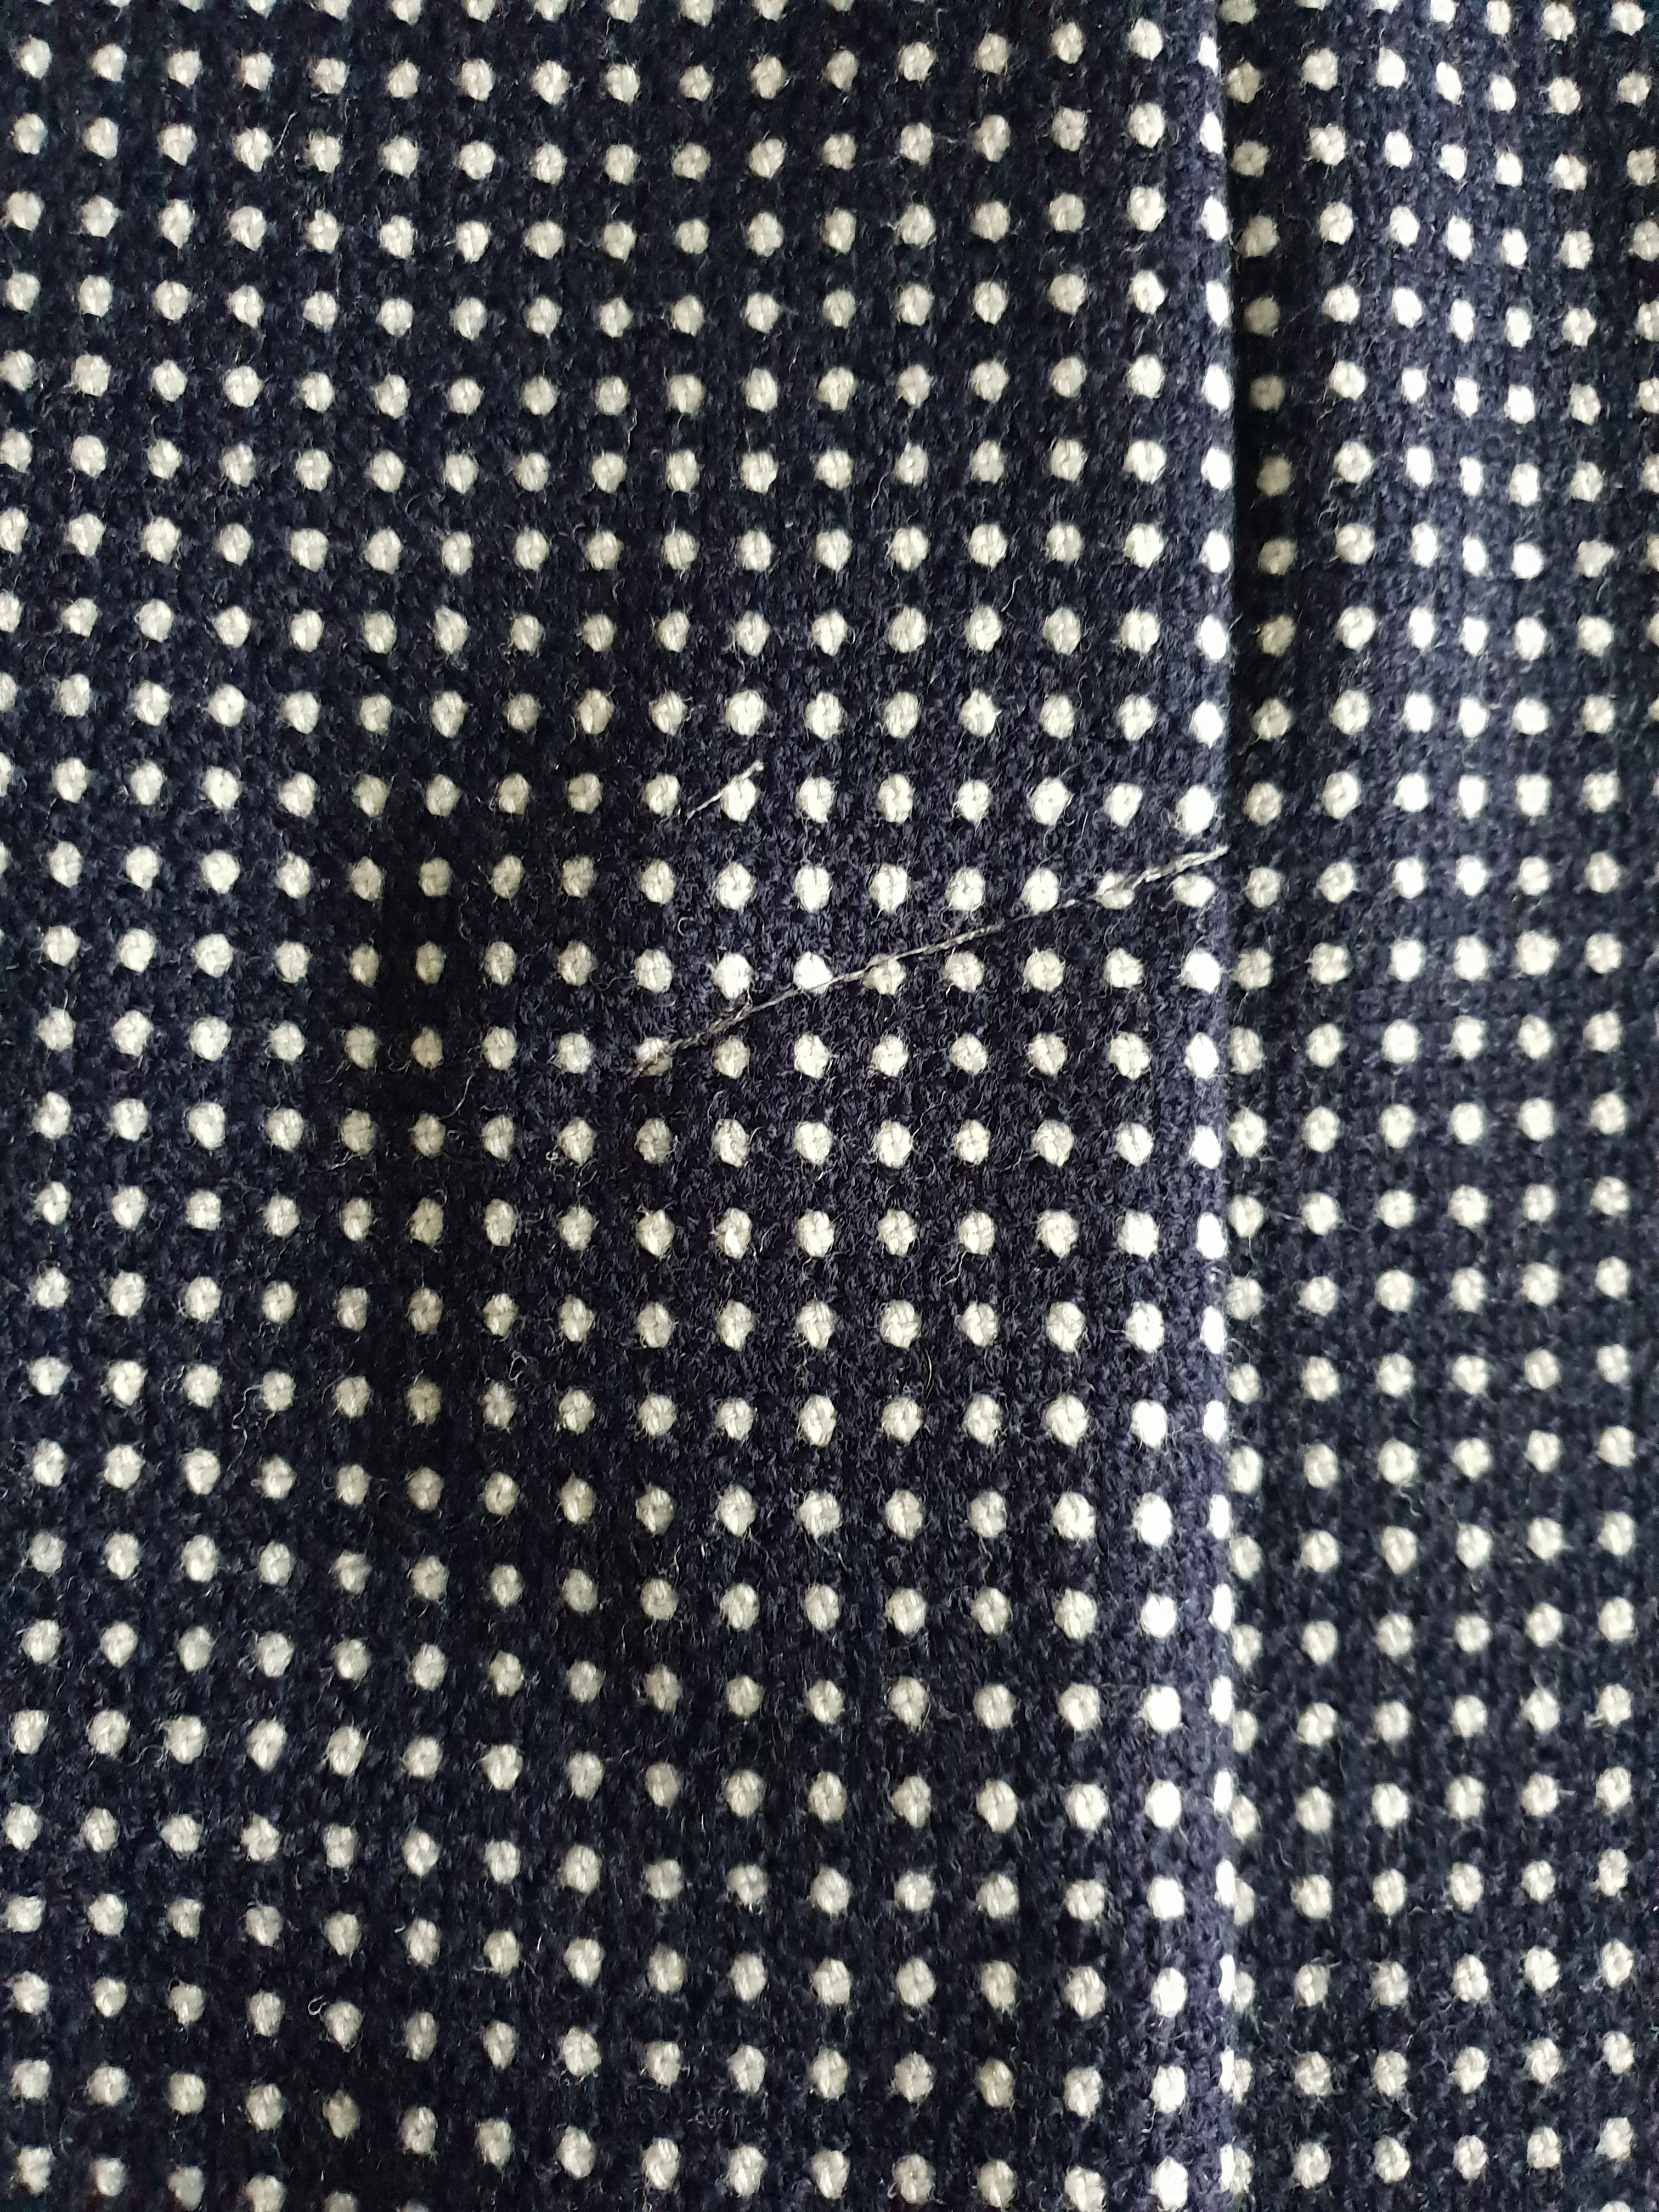
The stitching will start at the kick pleat dot / where the center back stitches stopped and will end at the edge of the kick pleat. Sew in place through all the layers and reverse stitch to reinforce. Once you have sewn the kick pleat, you can snip into the corner so that the back seam allowance can stay open and flat.