
Making bunting today to hang in our workshop! Want to learn how? here we go..
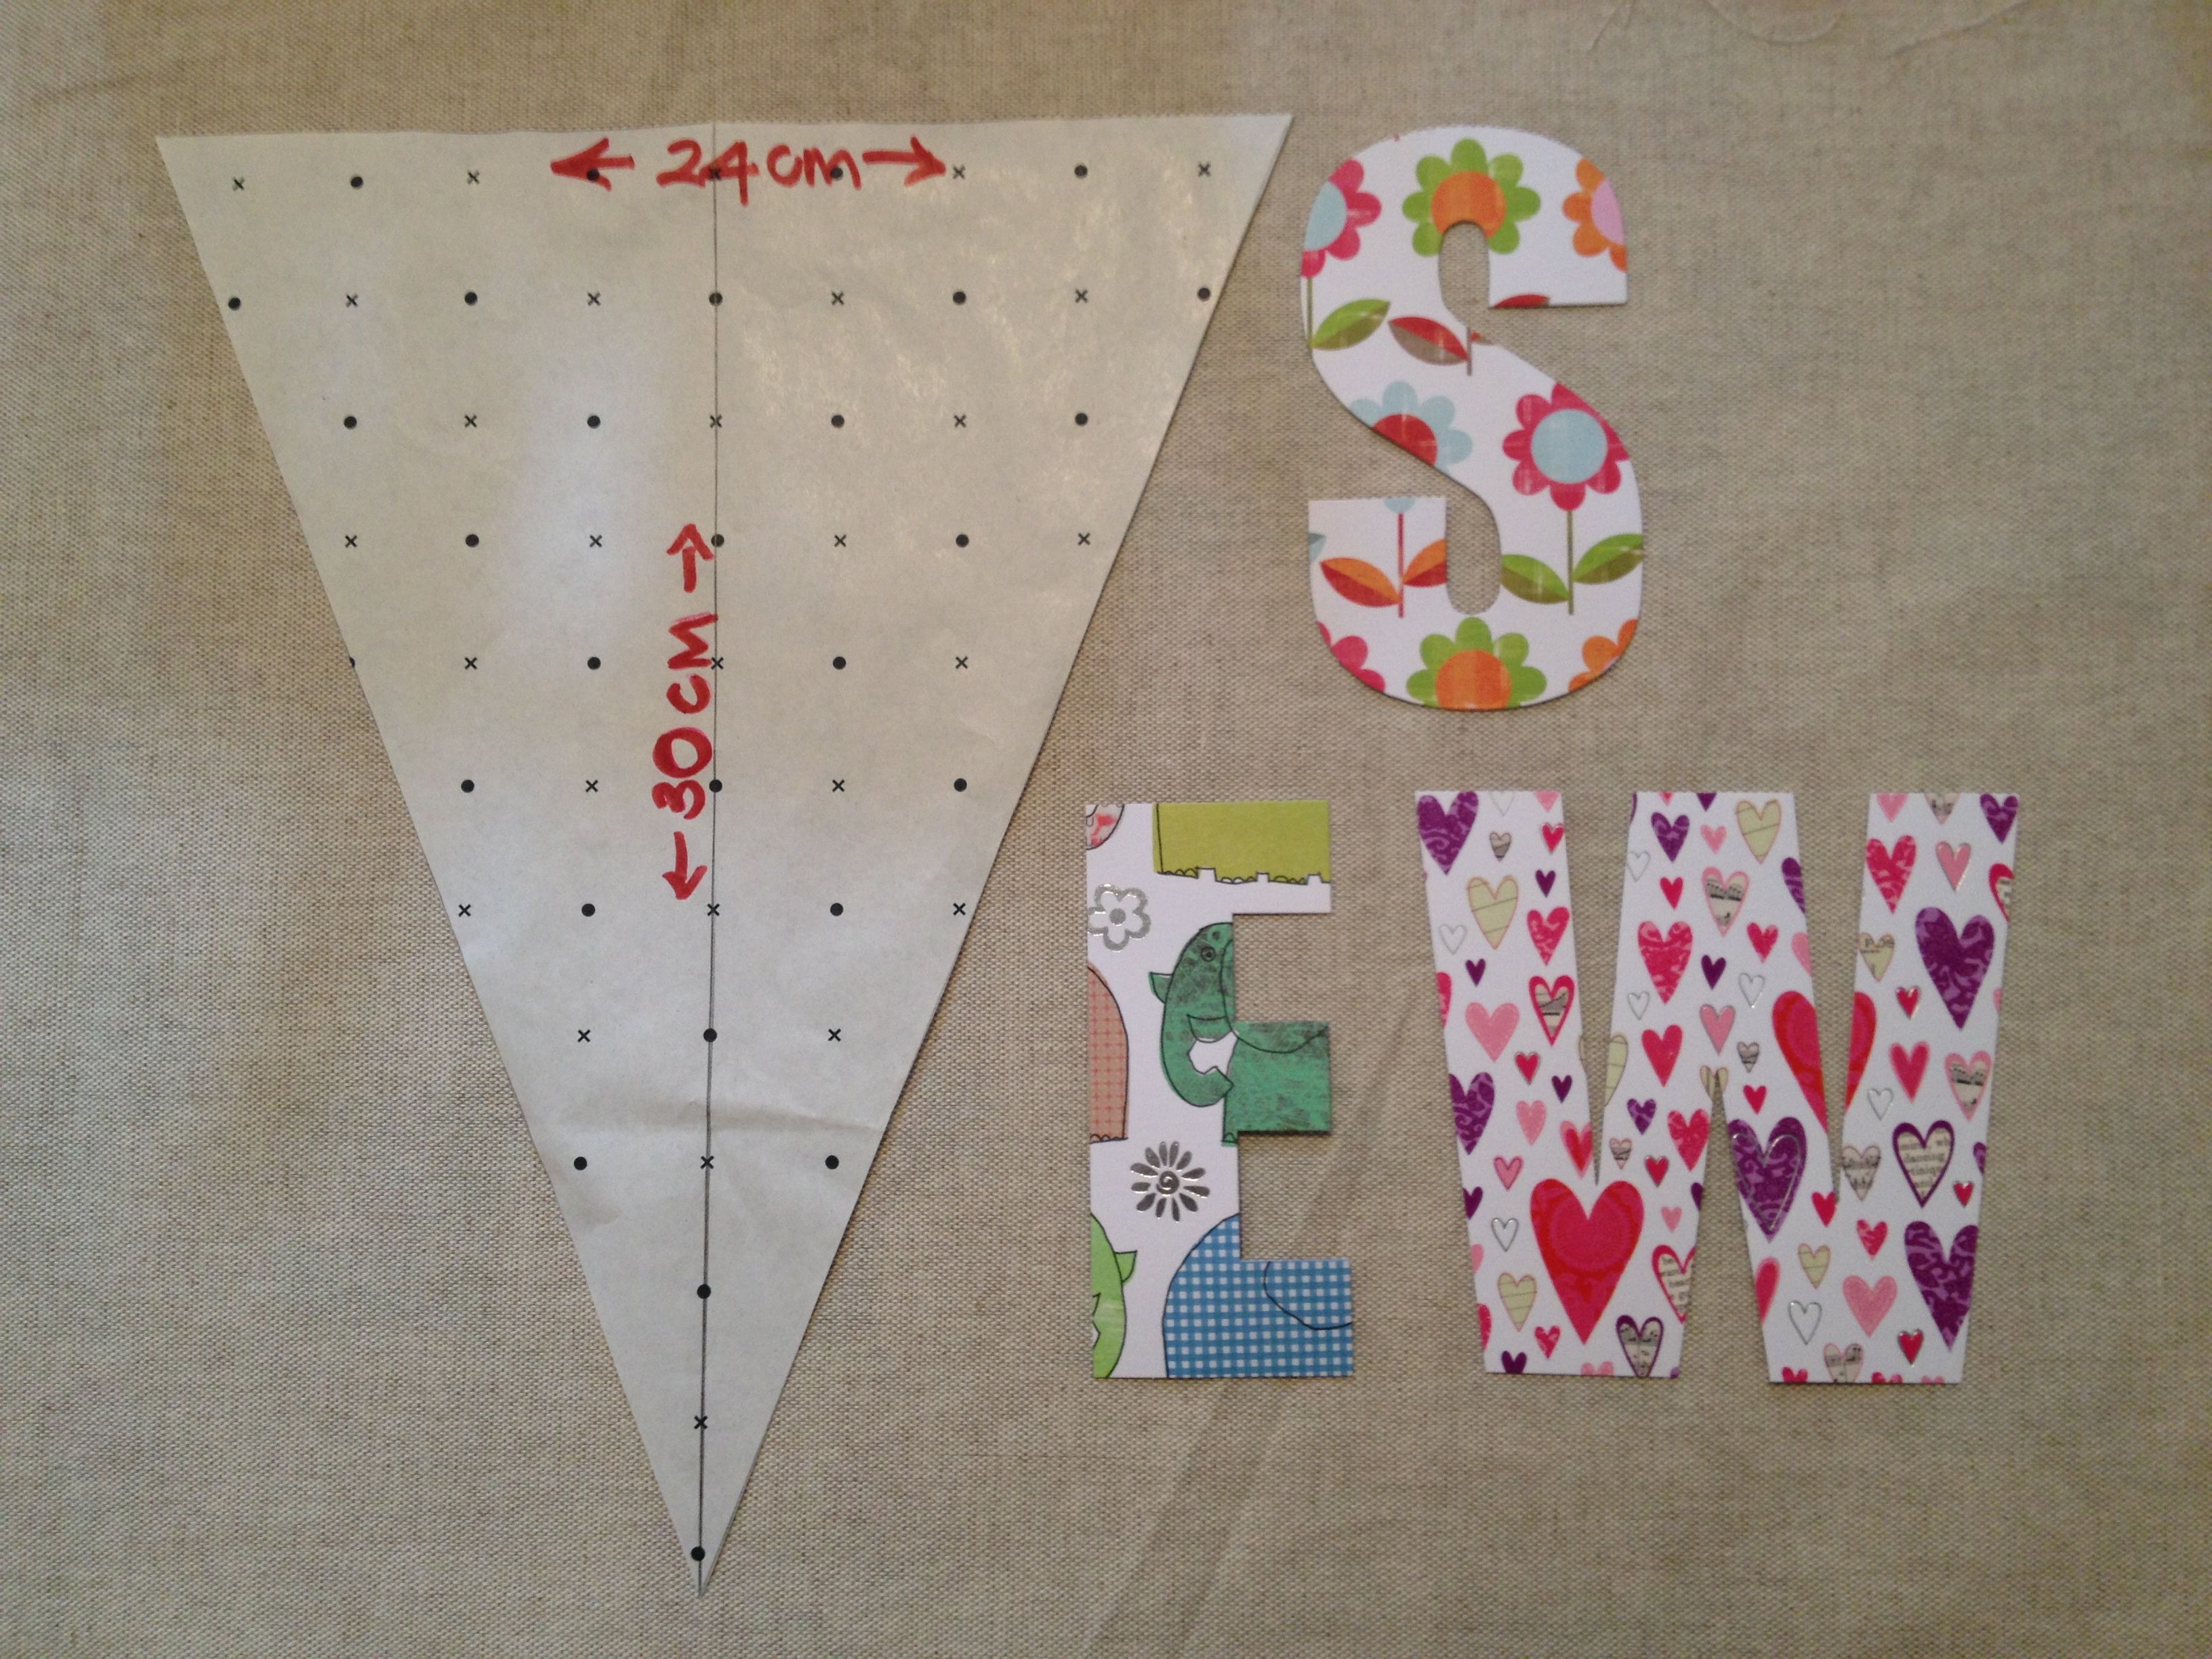
I am making quite a long length of bunting with 15 triangles. I am making all of my triangles out of spare cream fabric. Your triangle needs to be 24cm wide and 30cm long (which includes a 1cm seam). I found these cute cardboard letters at an art shop that I am going to use as my templates for the letters. Don’t forget you will need two pieces of fabric for each triangle.
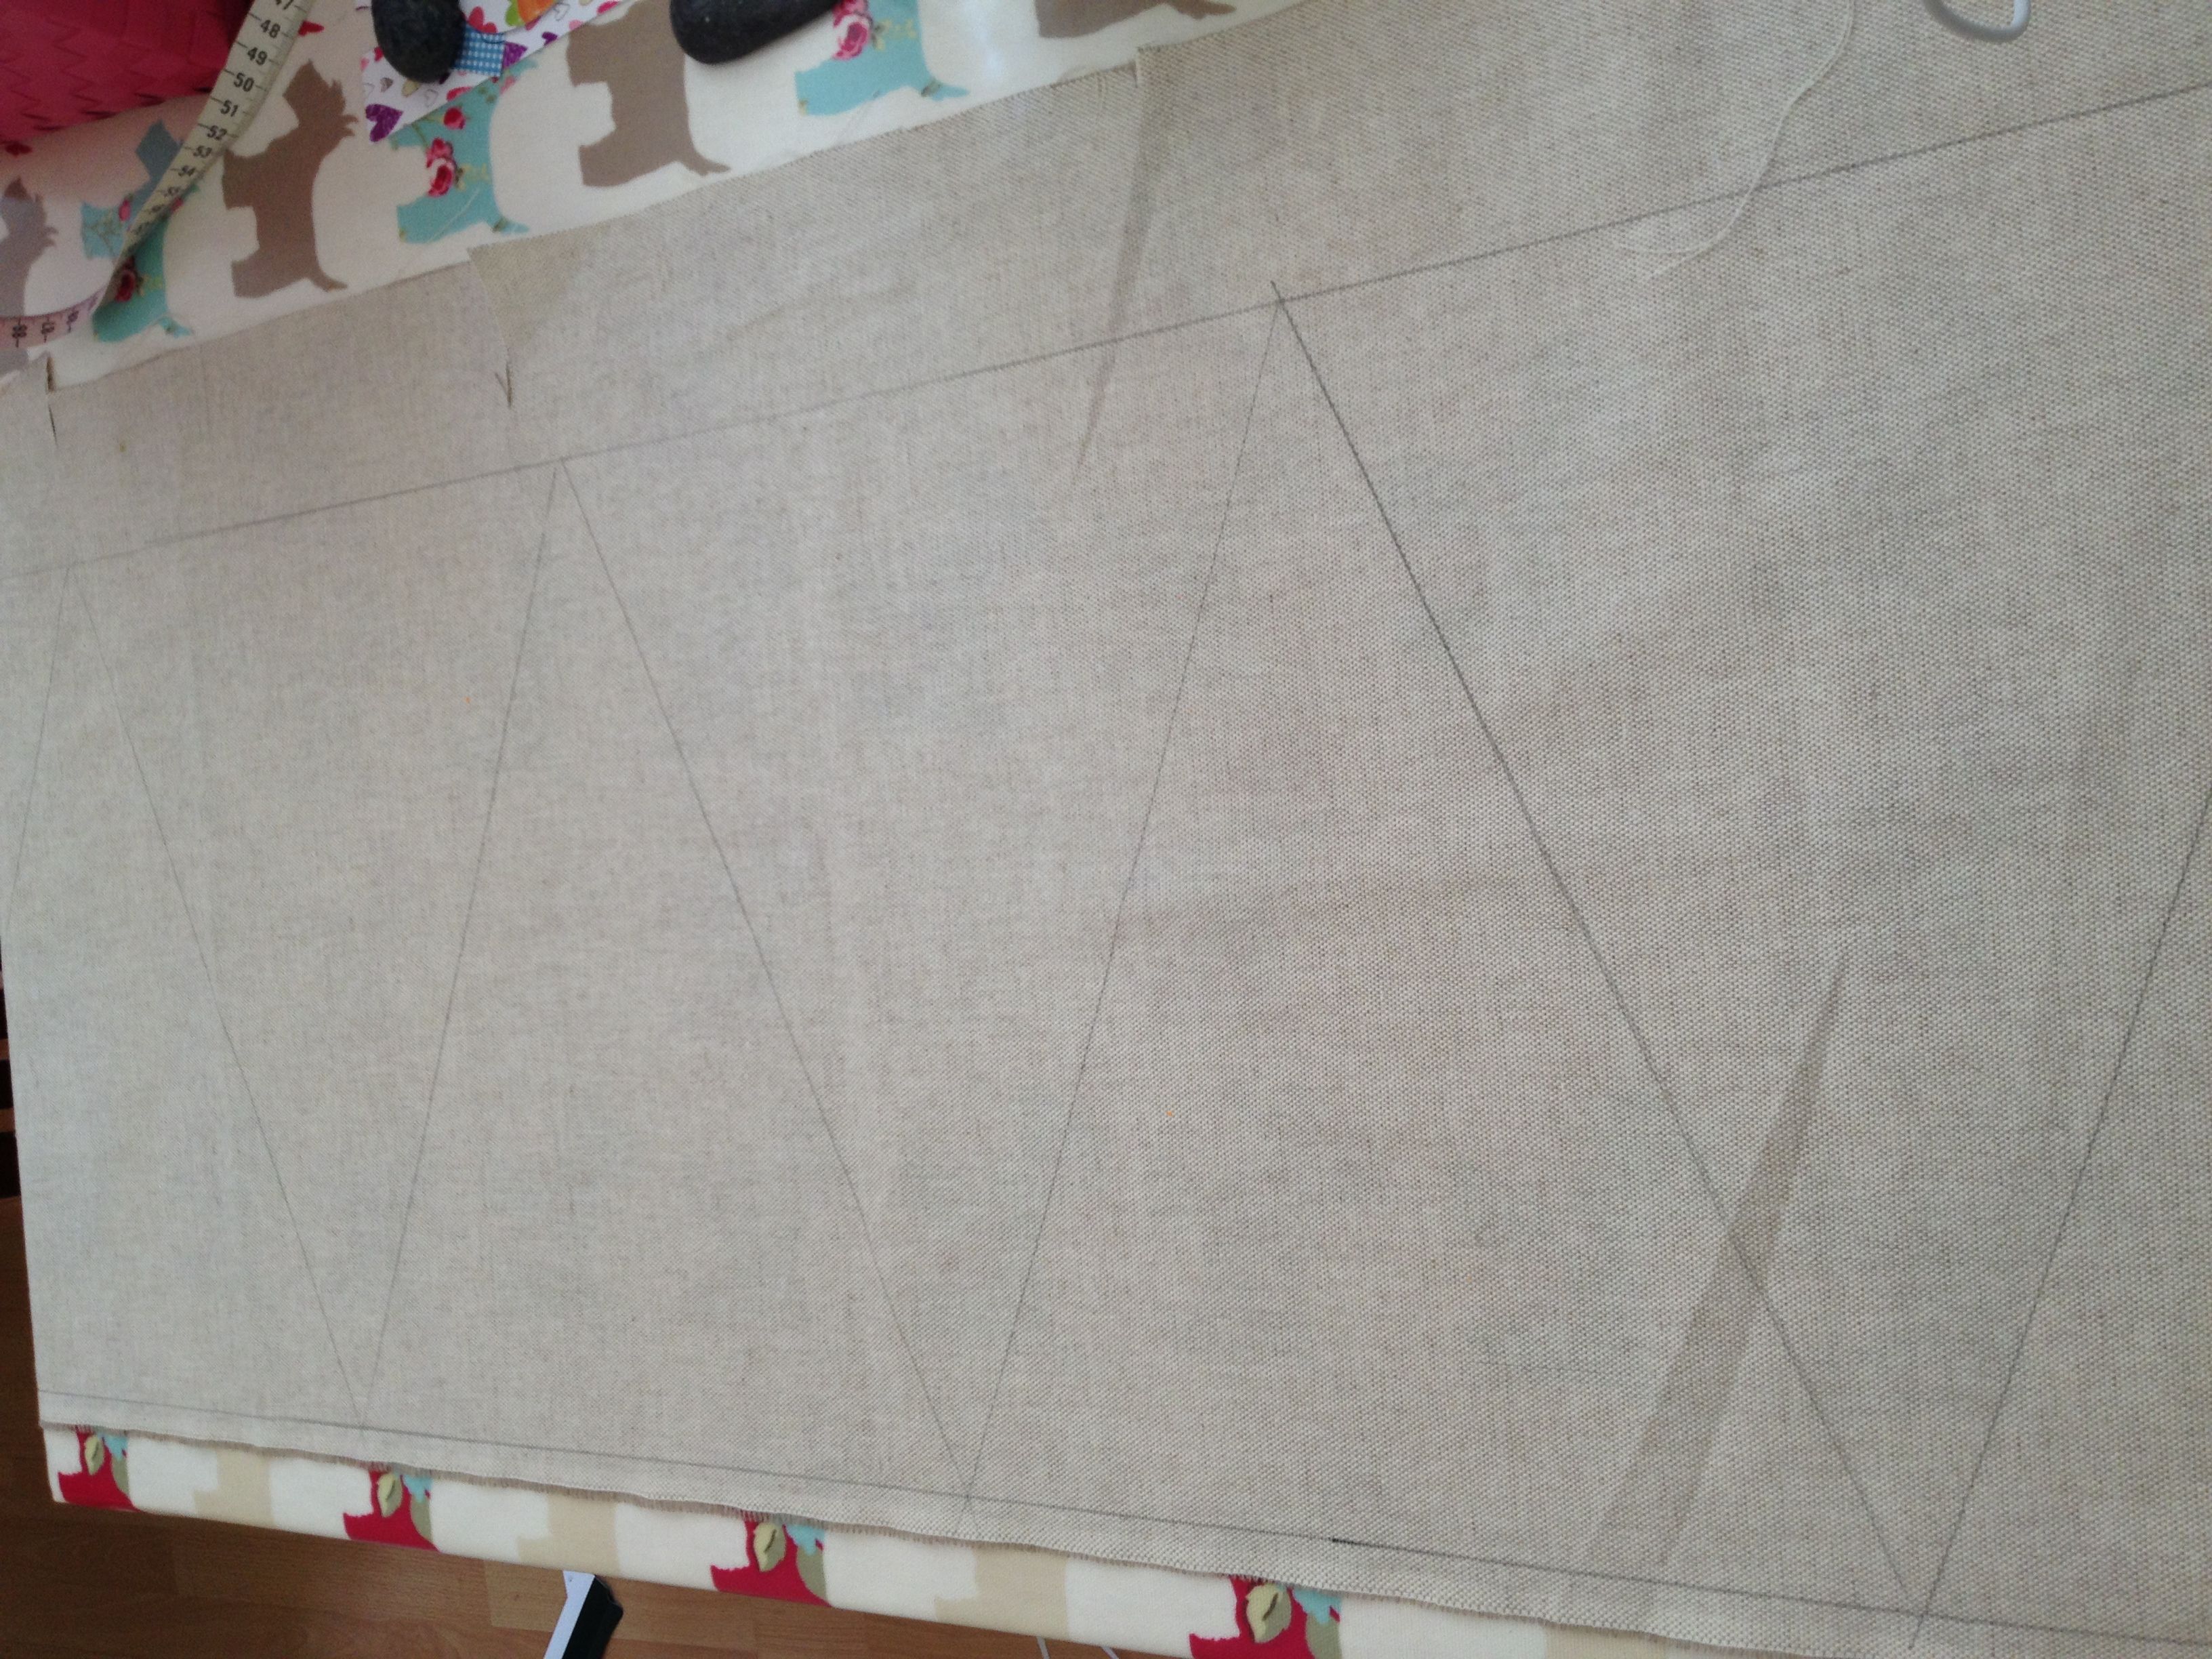
If you have one big piece of fabric, you can always draw out the triangles like this picture below – which saves fabric and time as you don’t have to cut each triangle out individually:
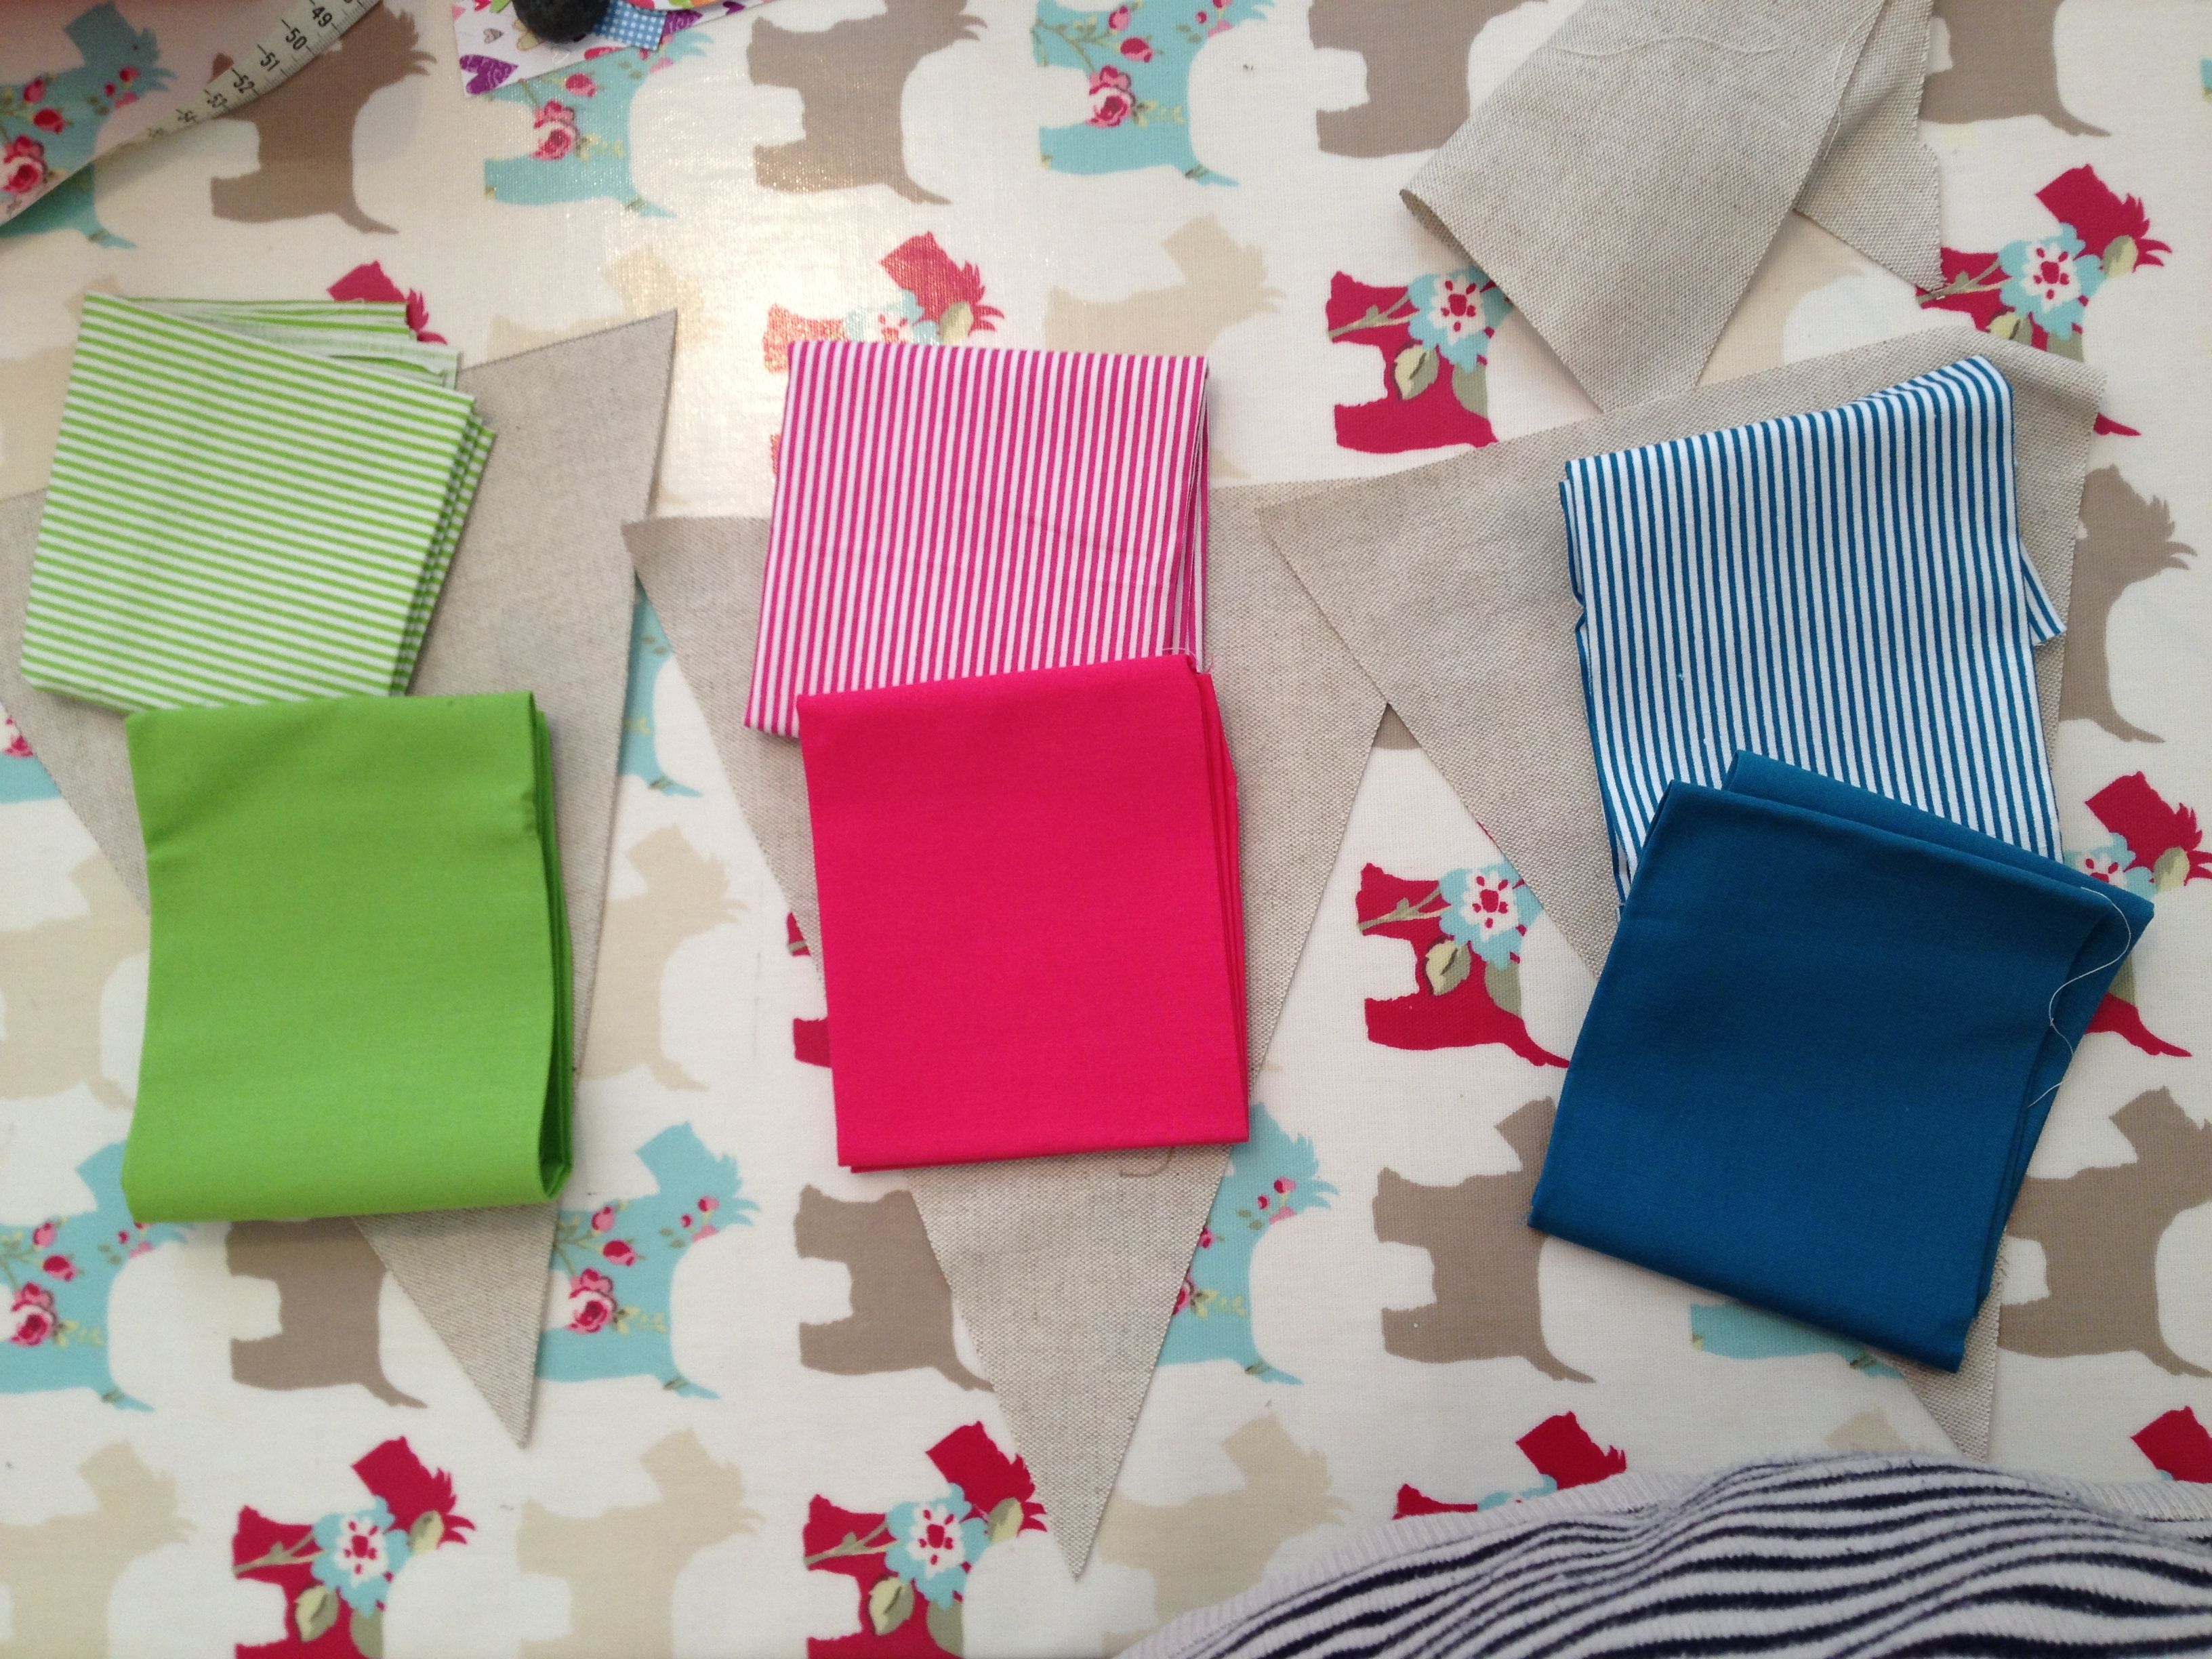
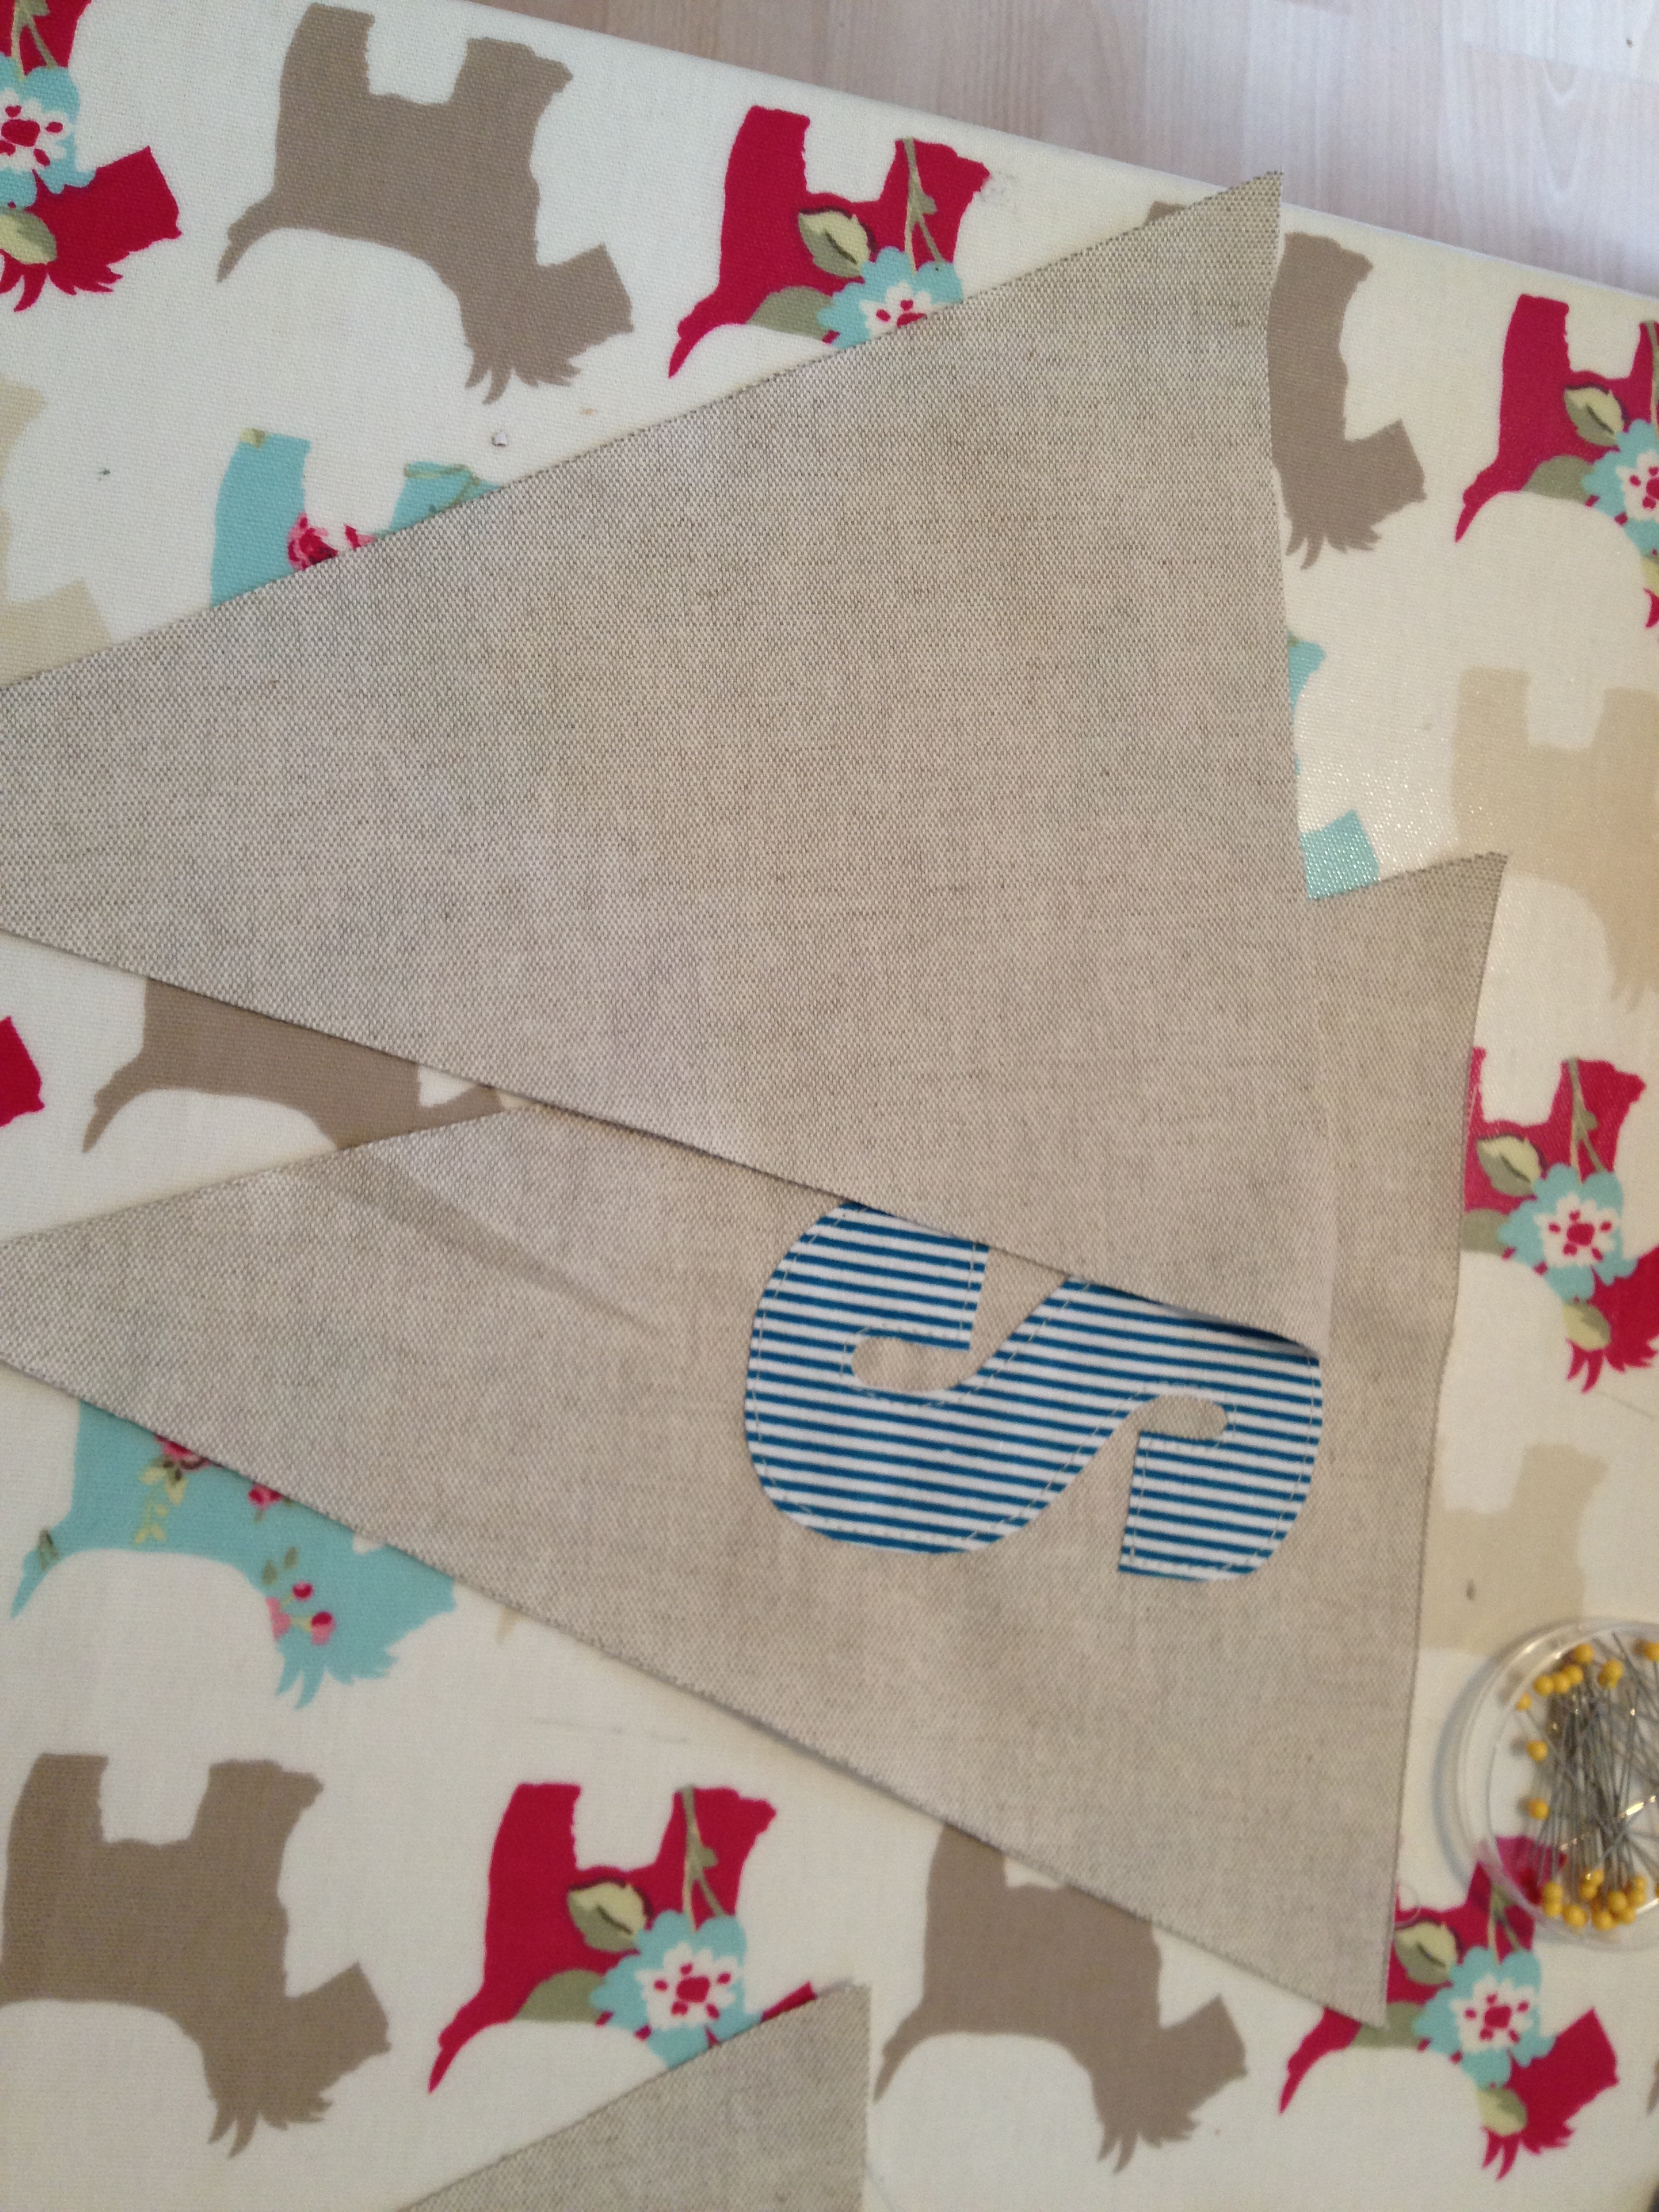
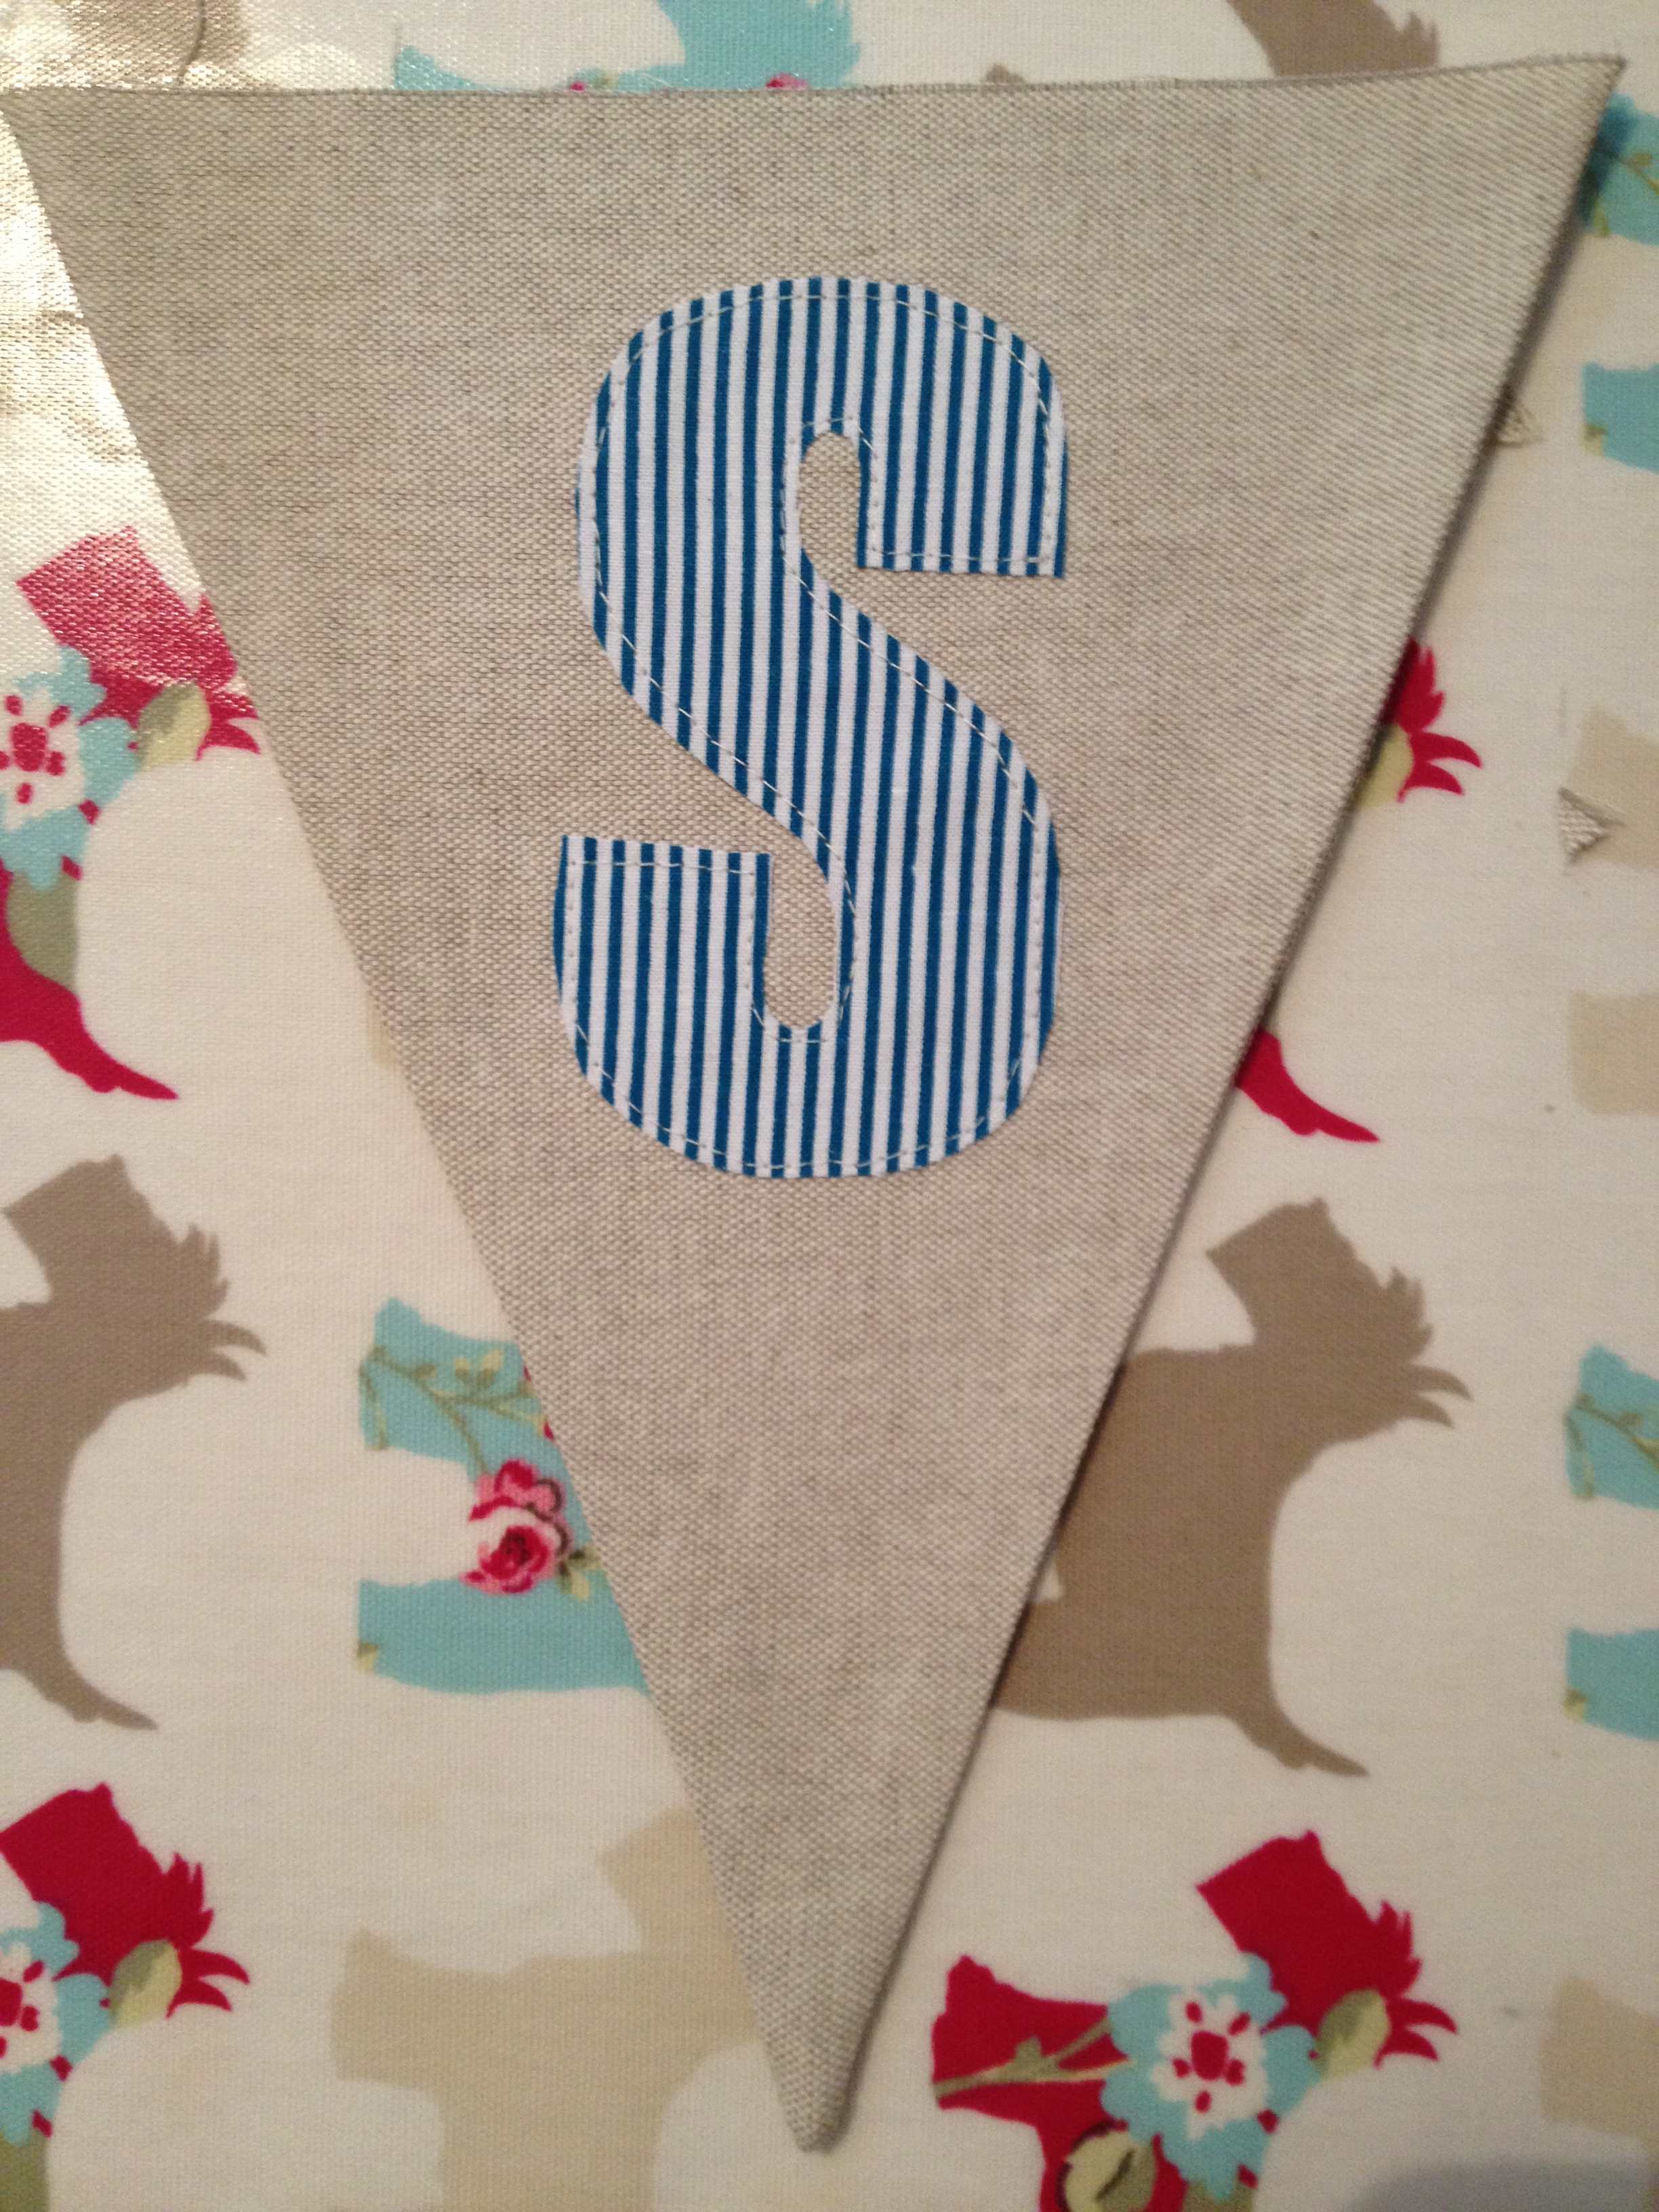
Now the fun part – choosing the colours for my letters out of my gorgeous box of fabric pieces. These bold and bright colours look fab against the cream. I found these great fat quarter pieces of fabric at HobbyCraft. They are fab for this kind of project as the fabric is quite stiff. I’m going to use some stripe and some plain colours. What do you think?
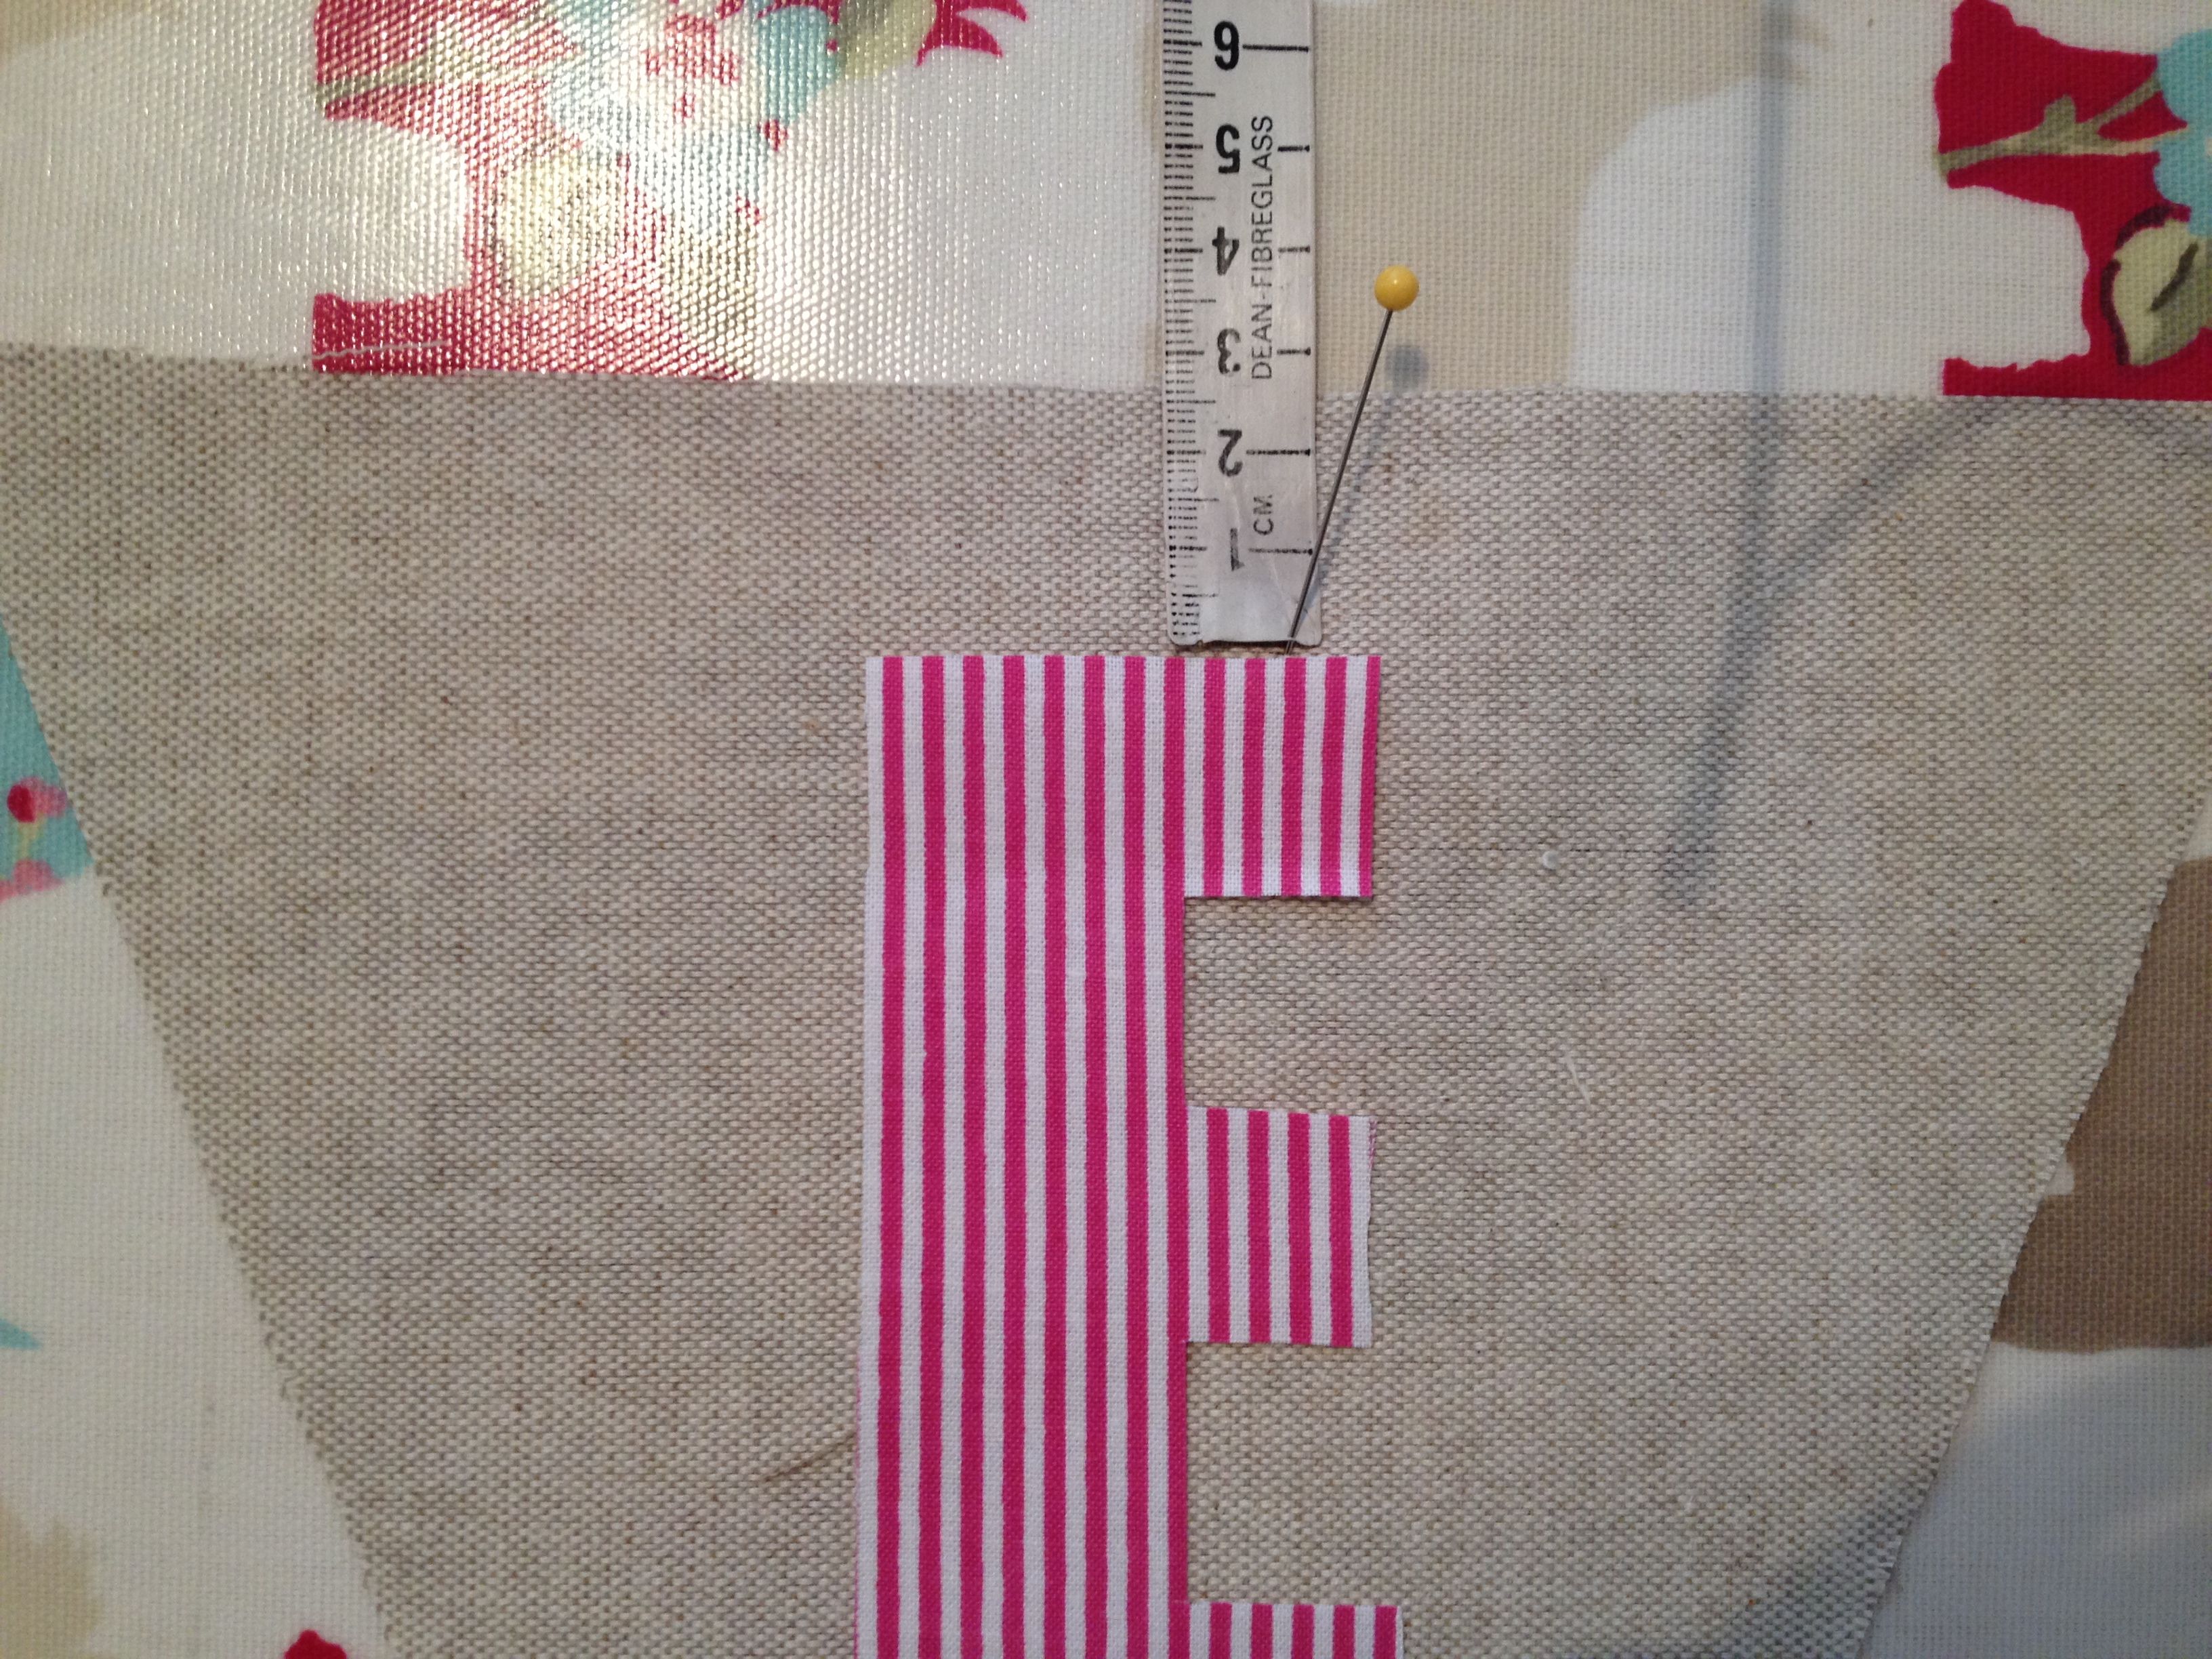
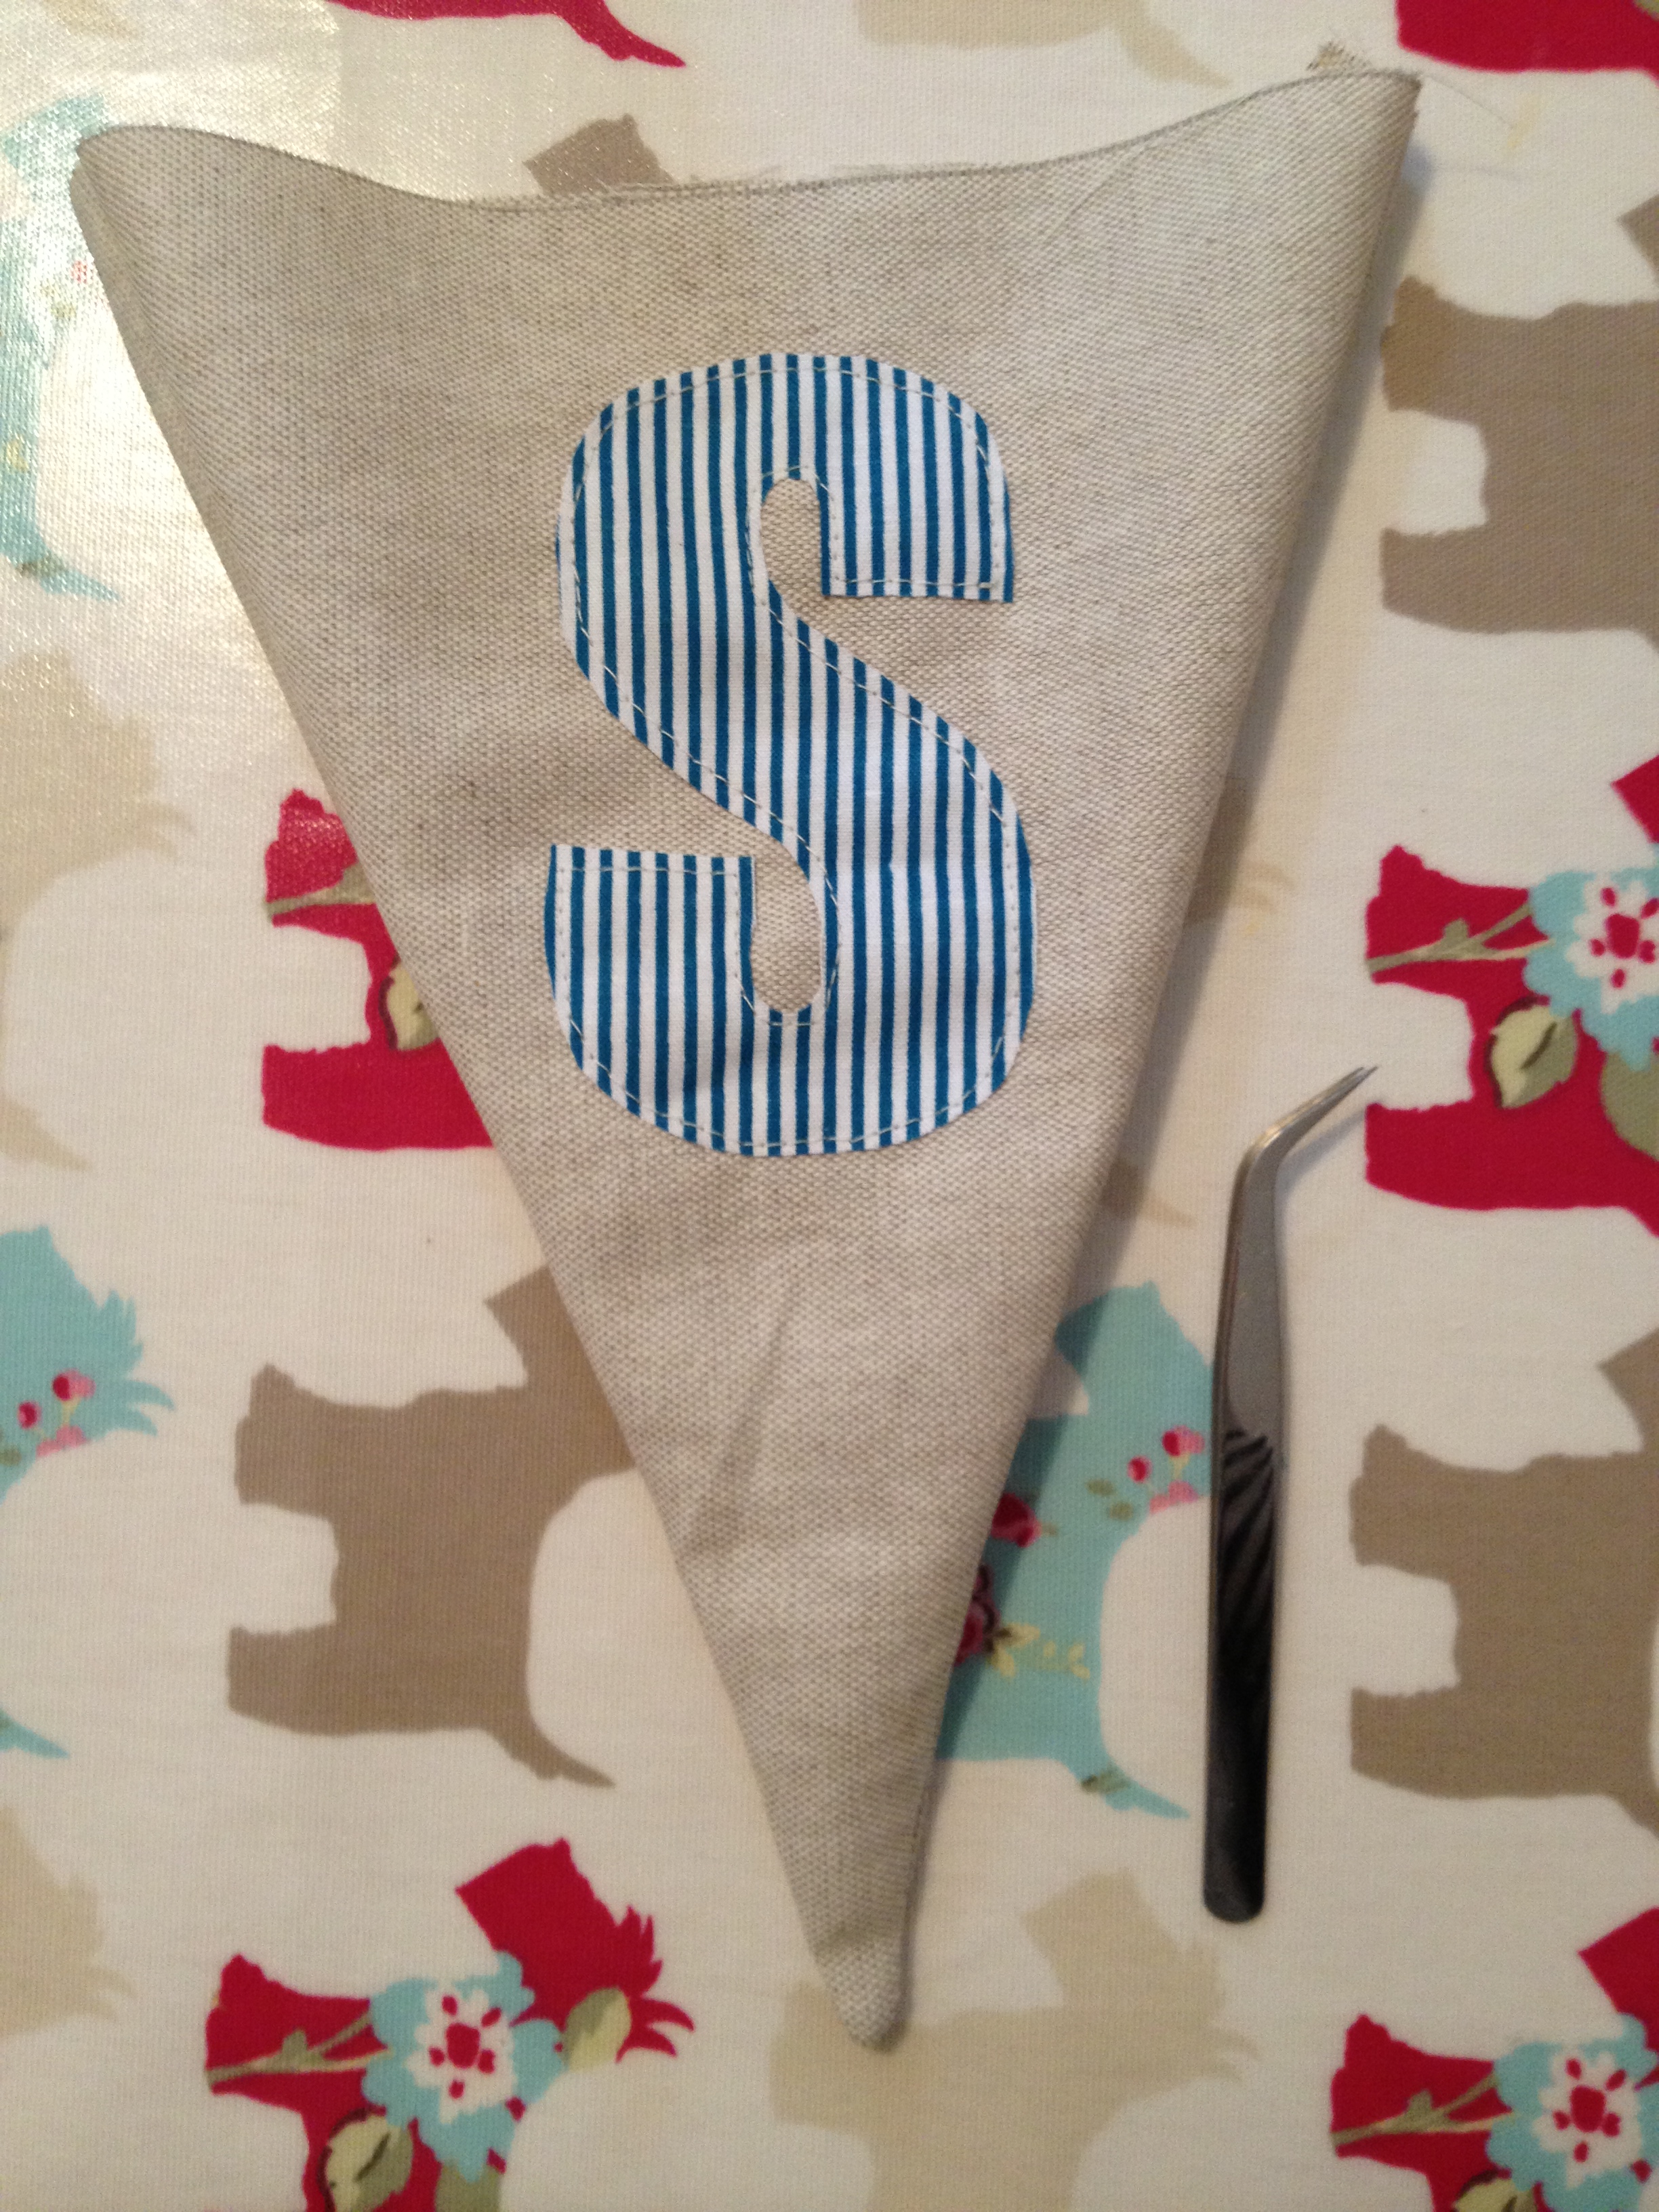
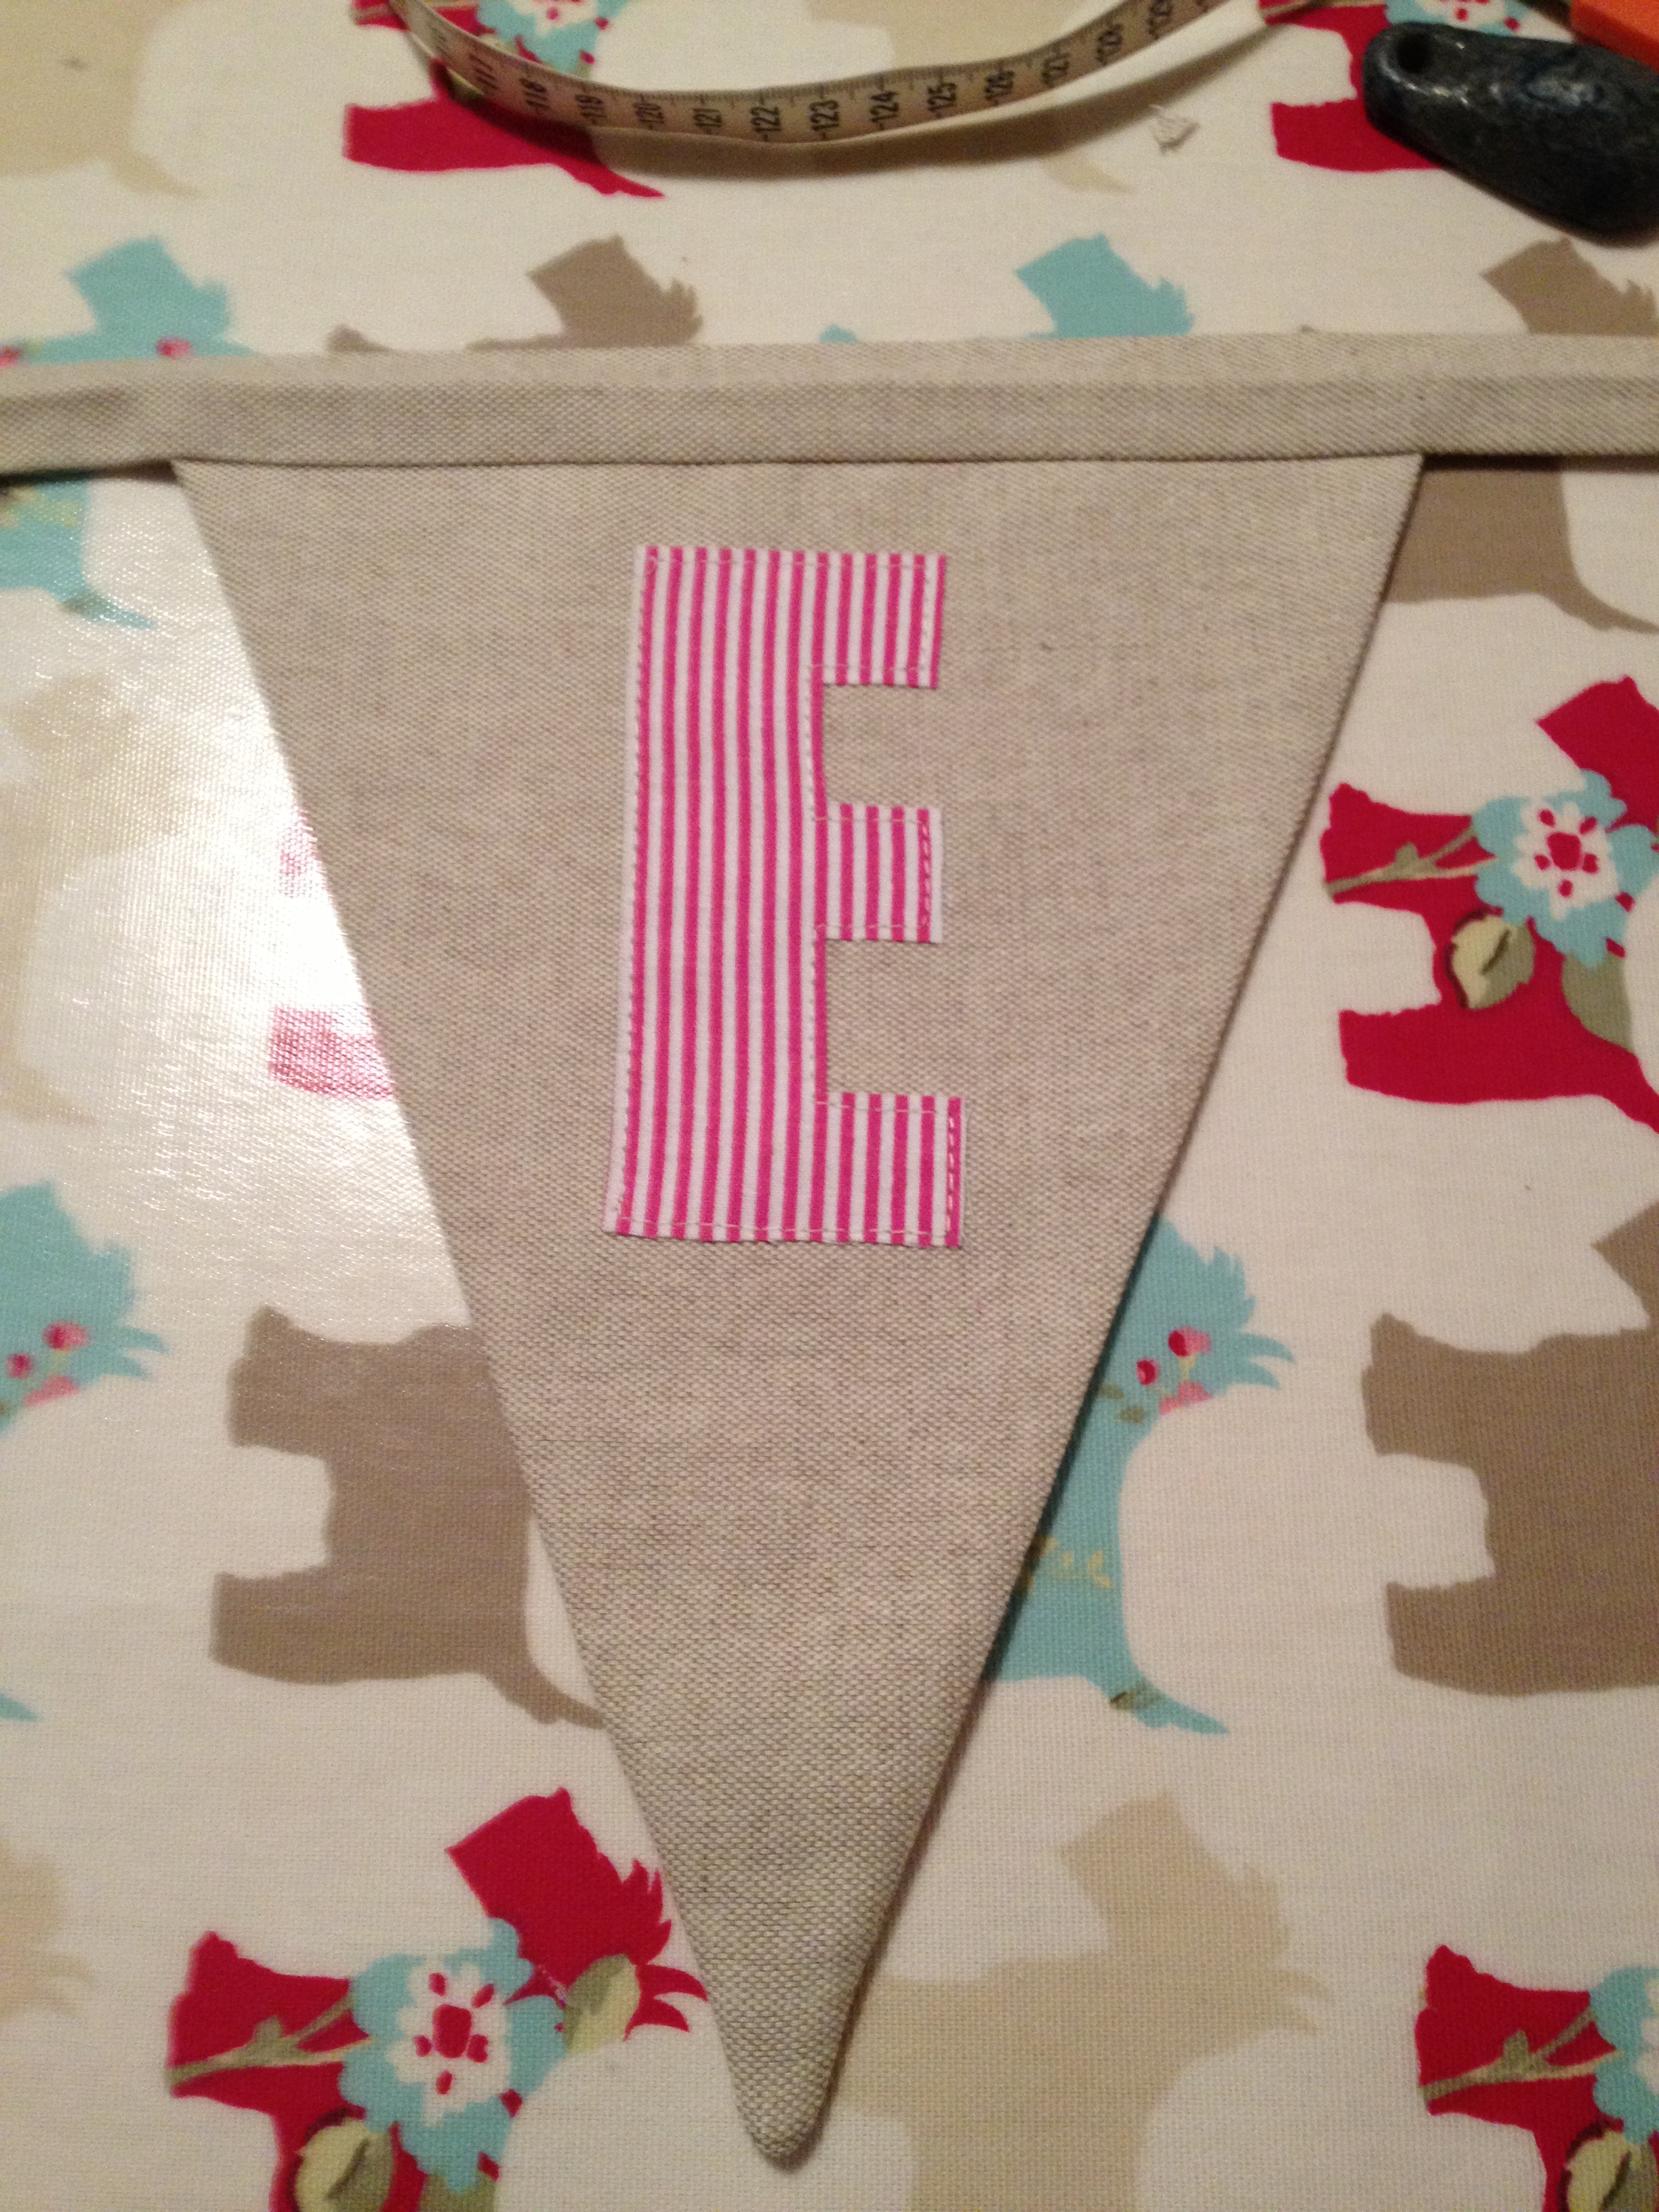
Don’t forget to trace the letters on the back of the fabric in a way that when you turn it over the letter is facing the right way! My letters are quite big on the triangle so feel free to make your letters any size. I’ve also made sure that each of my letters starts 2.5cm from the top so that they are all the same. There is a 1cm heading allowance at the top of the triangle for the binding (you will see what I mean further on).
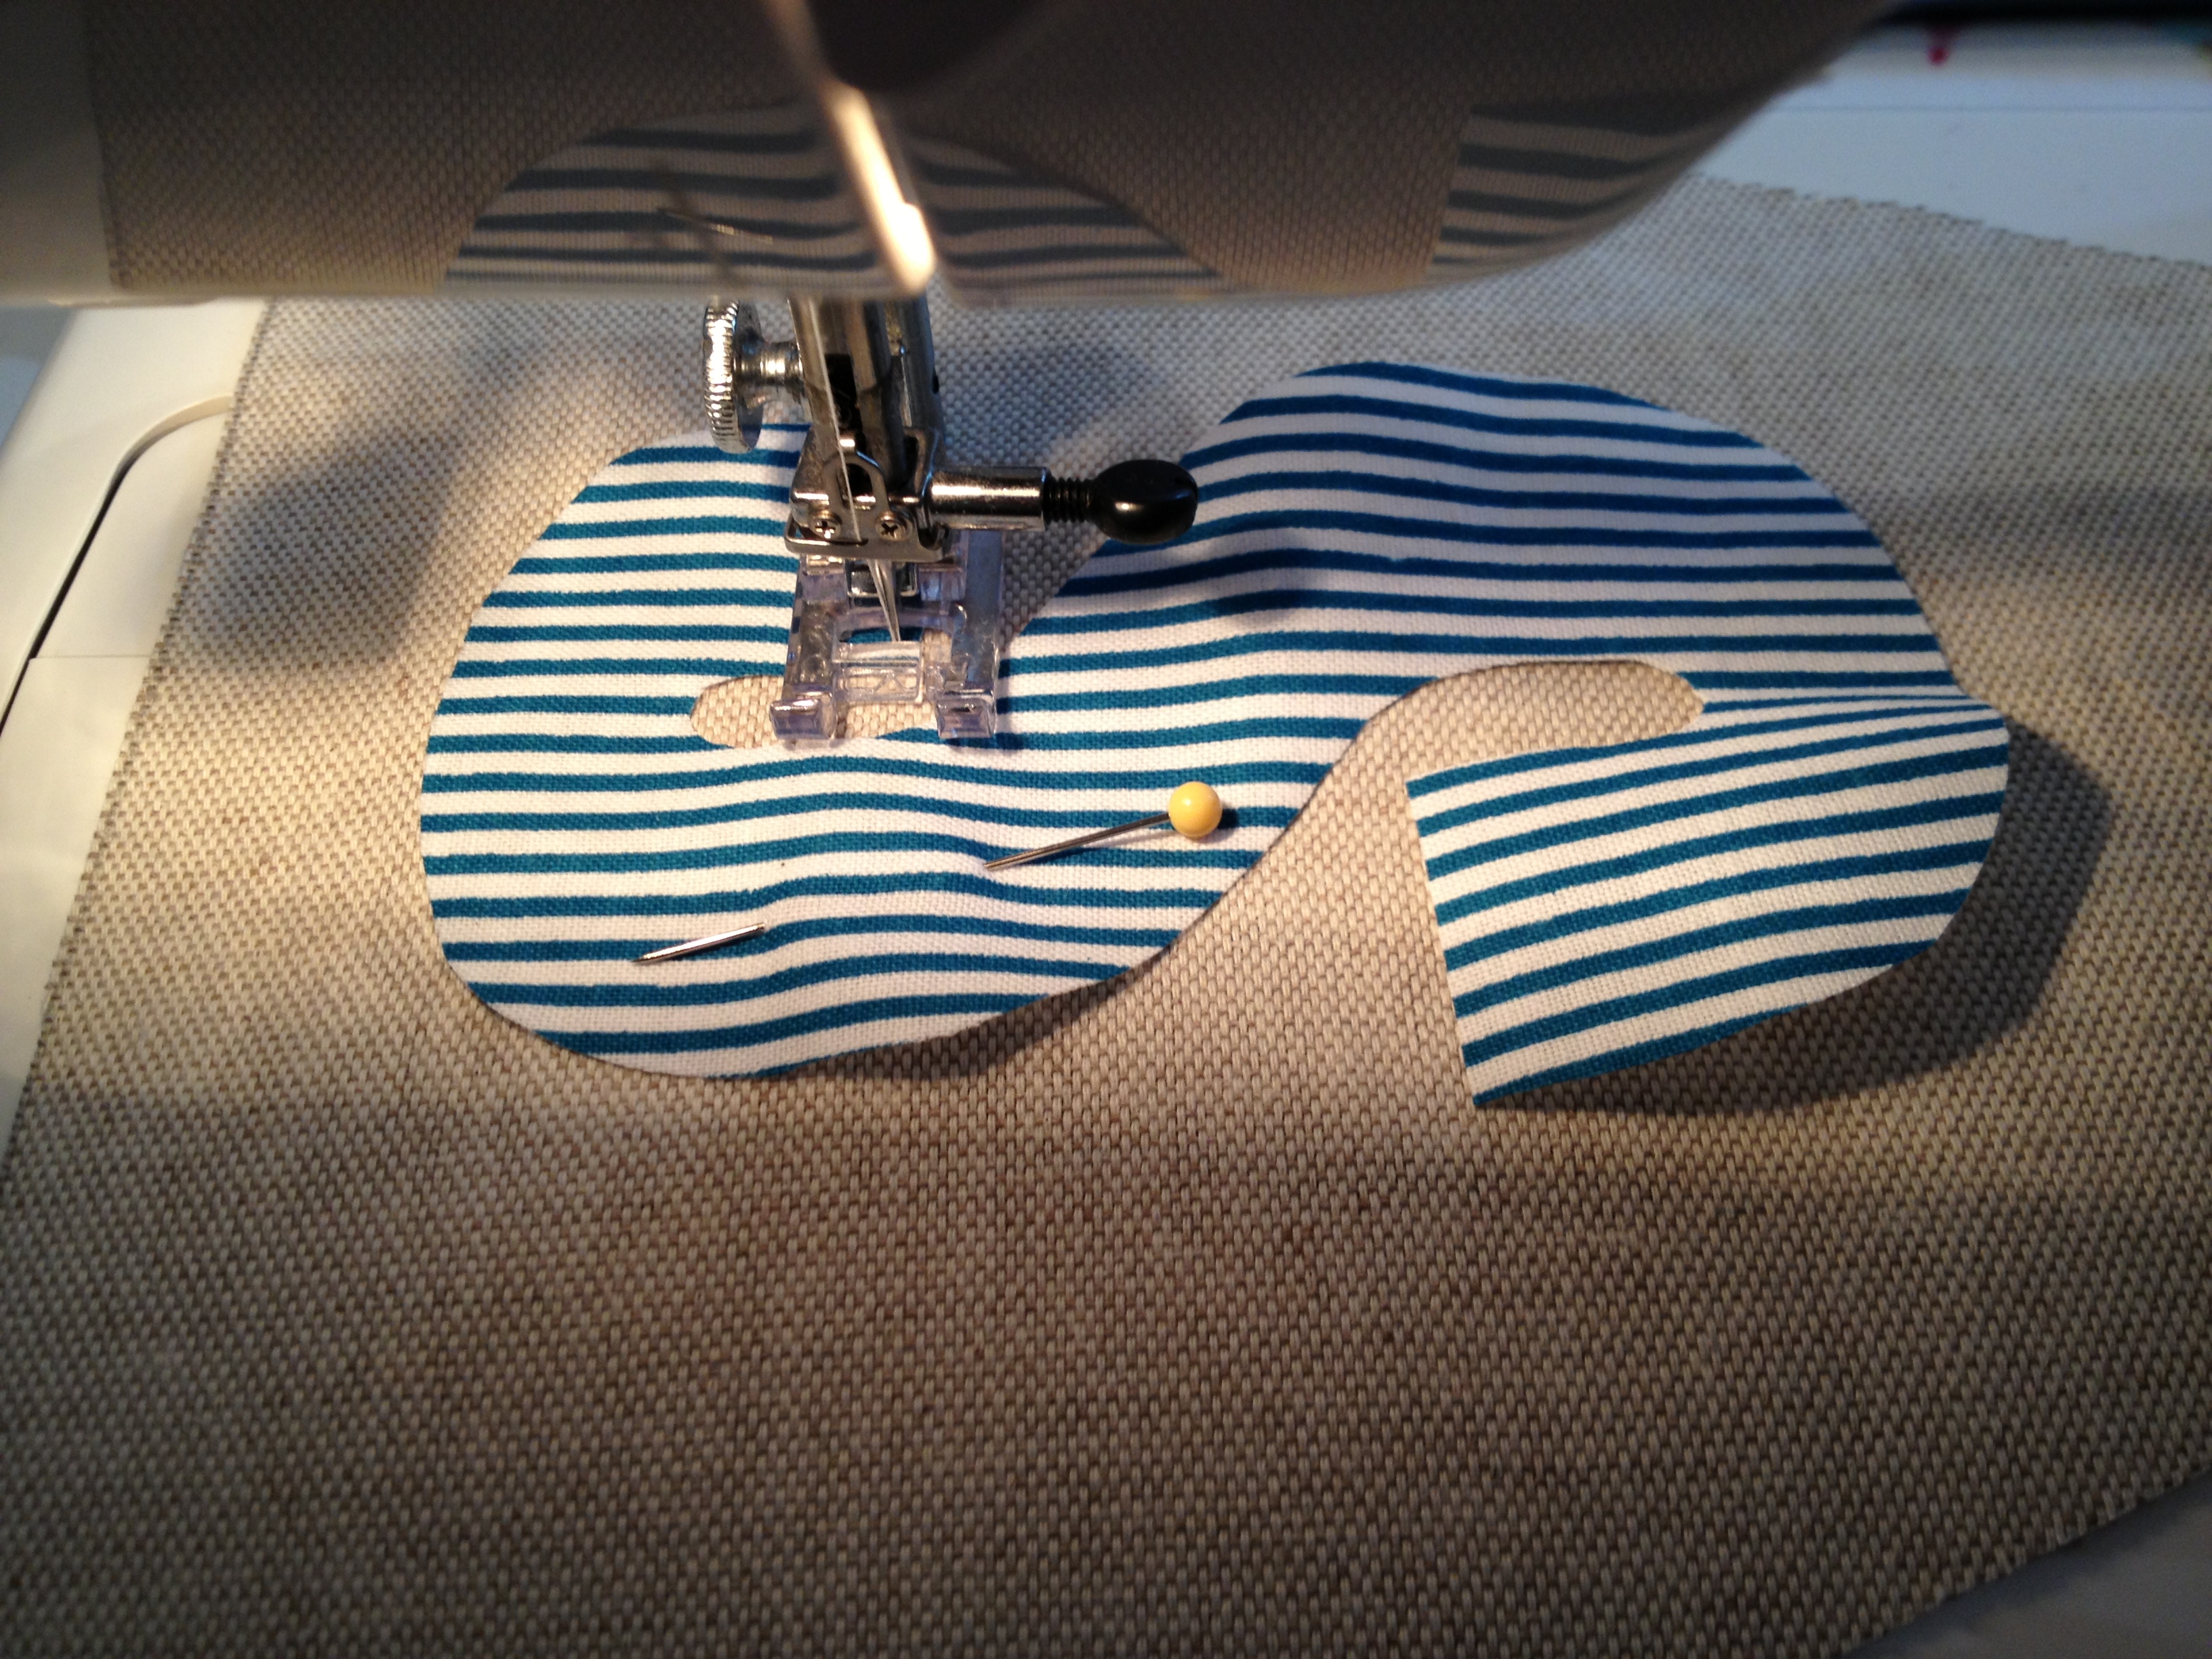
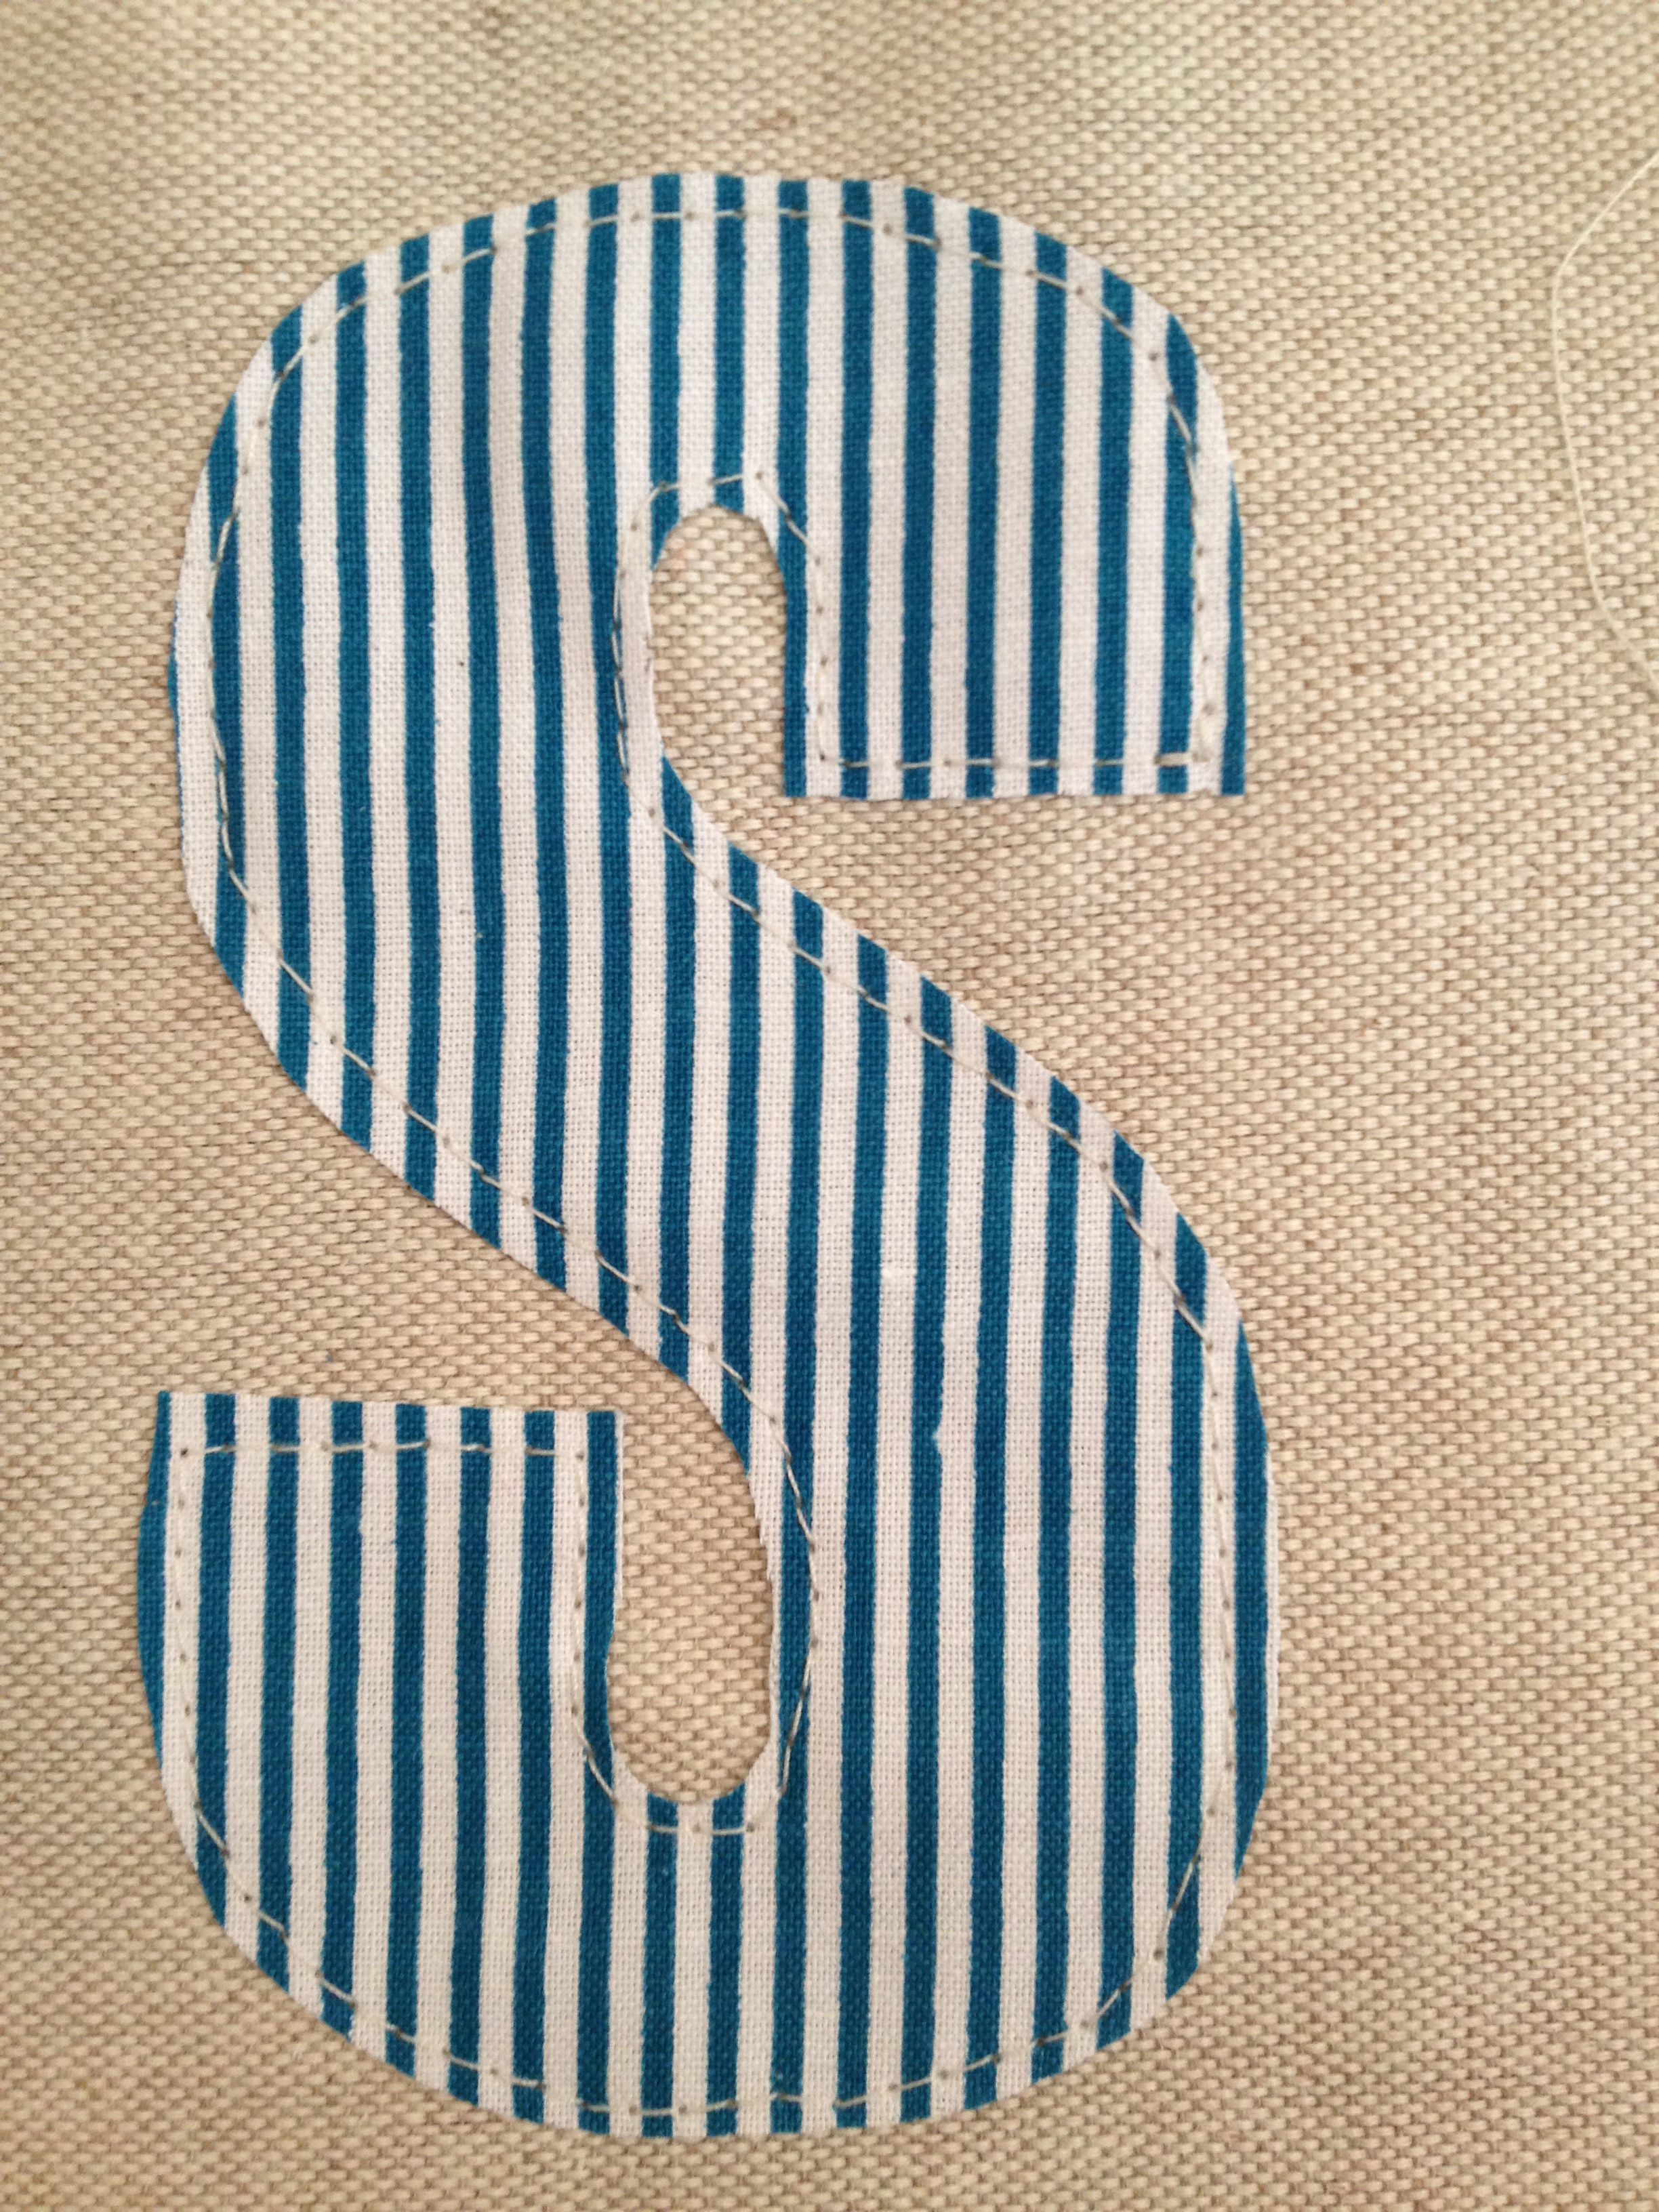
So, now you can start top stiching (stitching on top of the fabric) sewing each letter on – don’t worry about being too perfect – it gives the bunting more character and a home made feel if its not perfect!
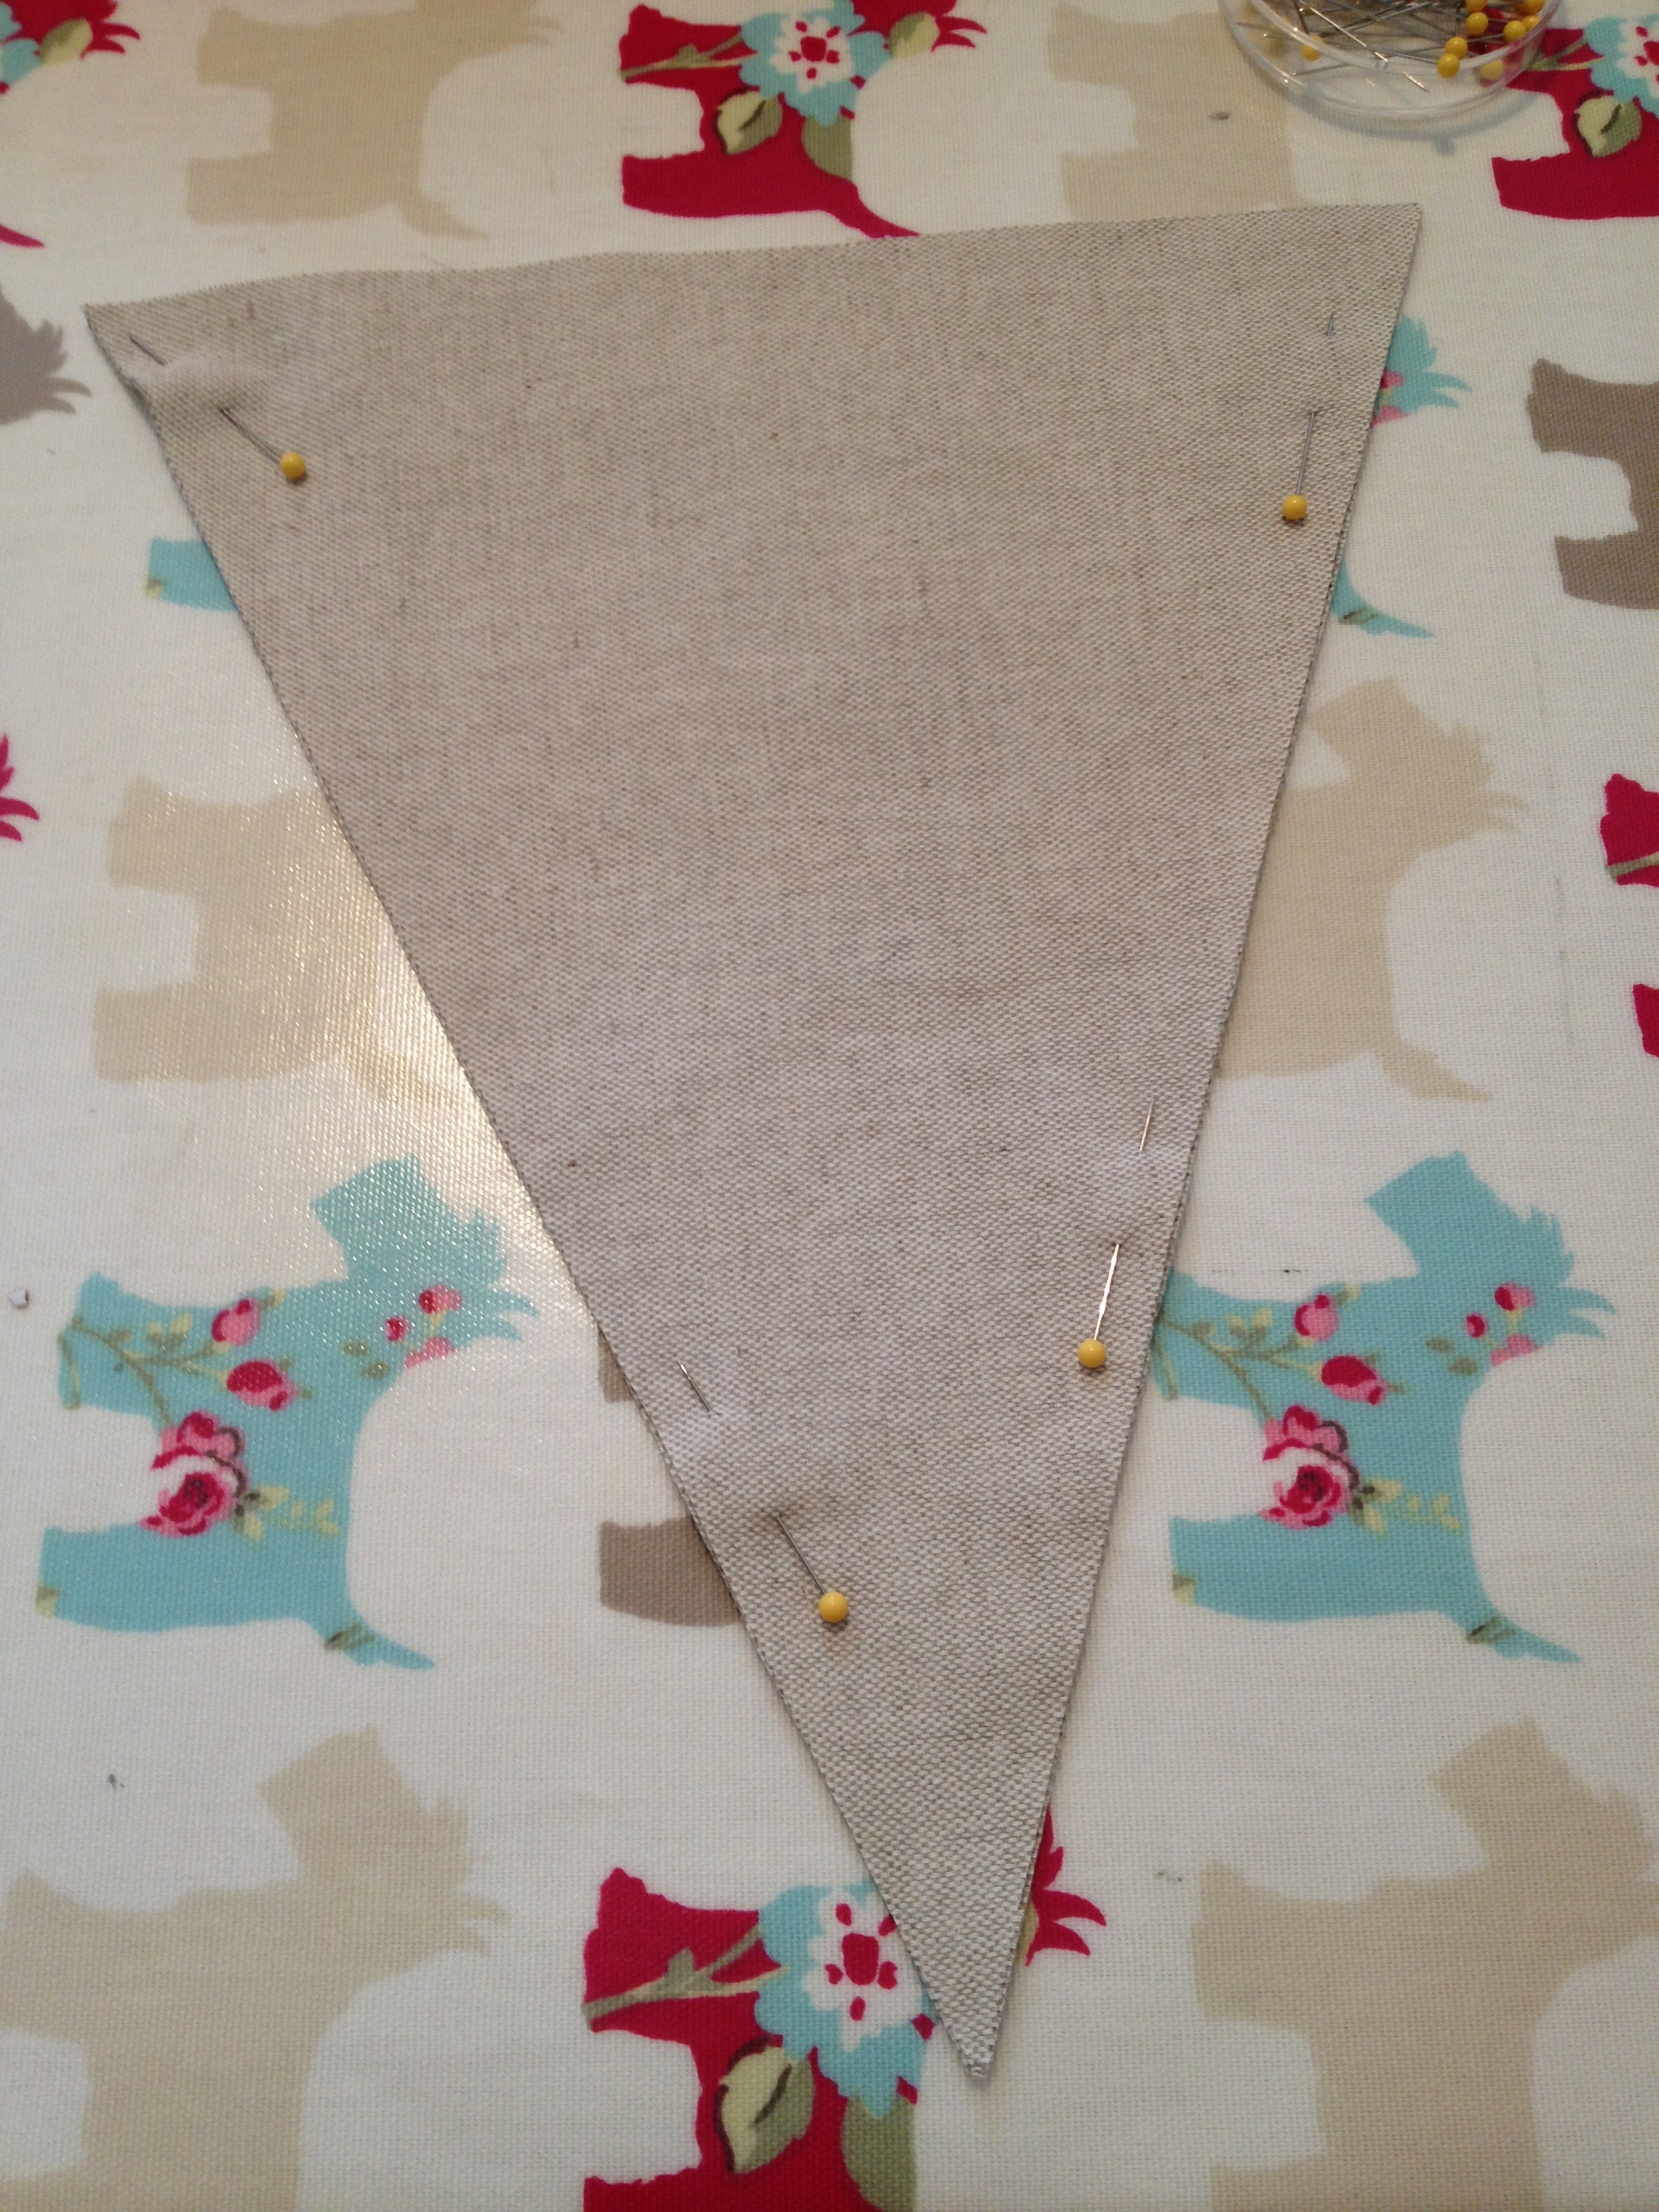
Then once you have your letters stitched on, put another piece of flag on top (right sides together) of the letters (this piece has no letters stitched on). Stitch from the top left hand side all the way down to the point, do some extra stitching around the point to make it stronger, then all the way up the other side – leaving the top open.

Once you have finished sewing this piece together cut the fabric around the tip (not too close!!)…
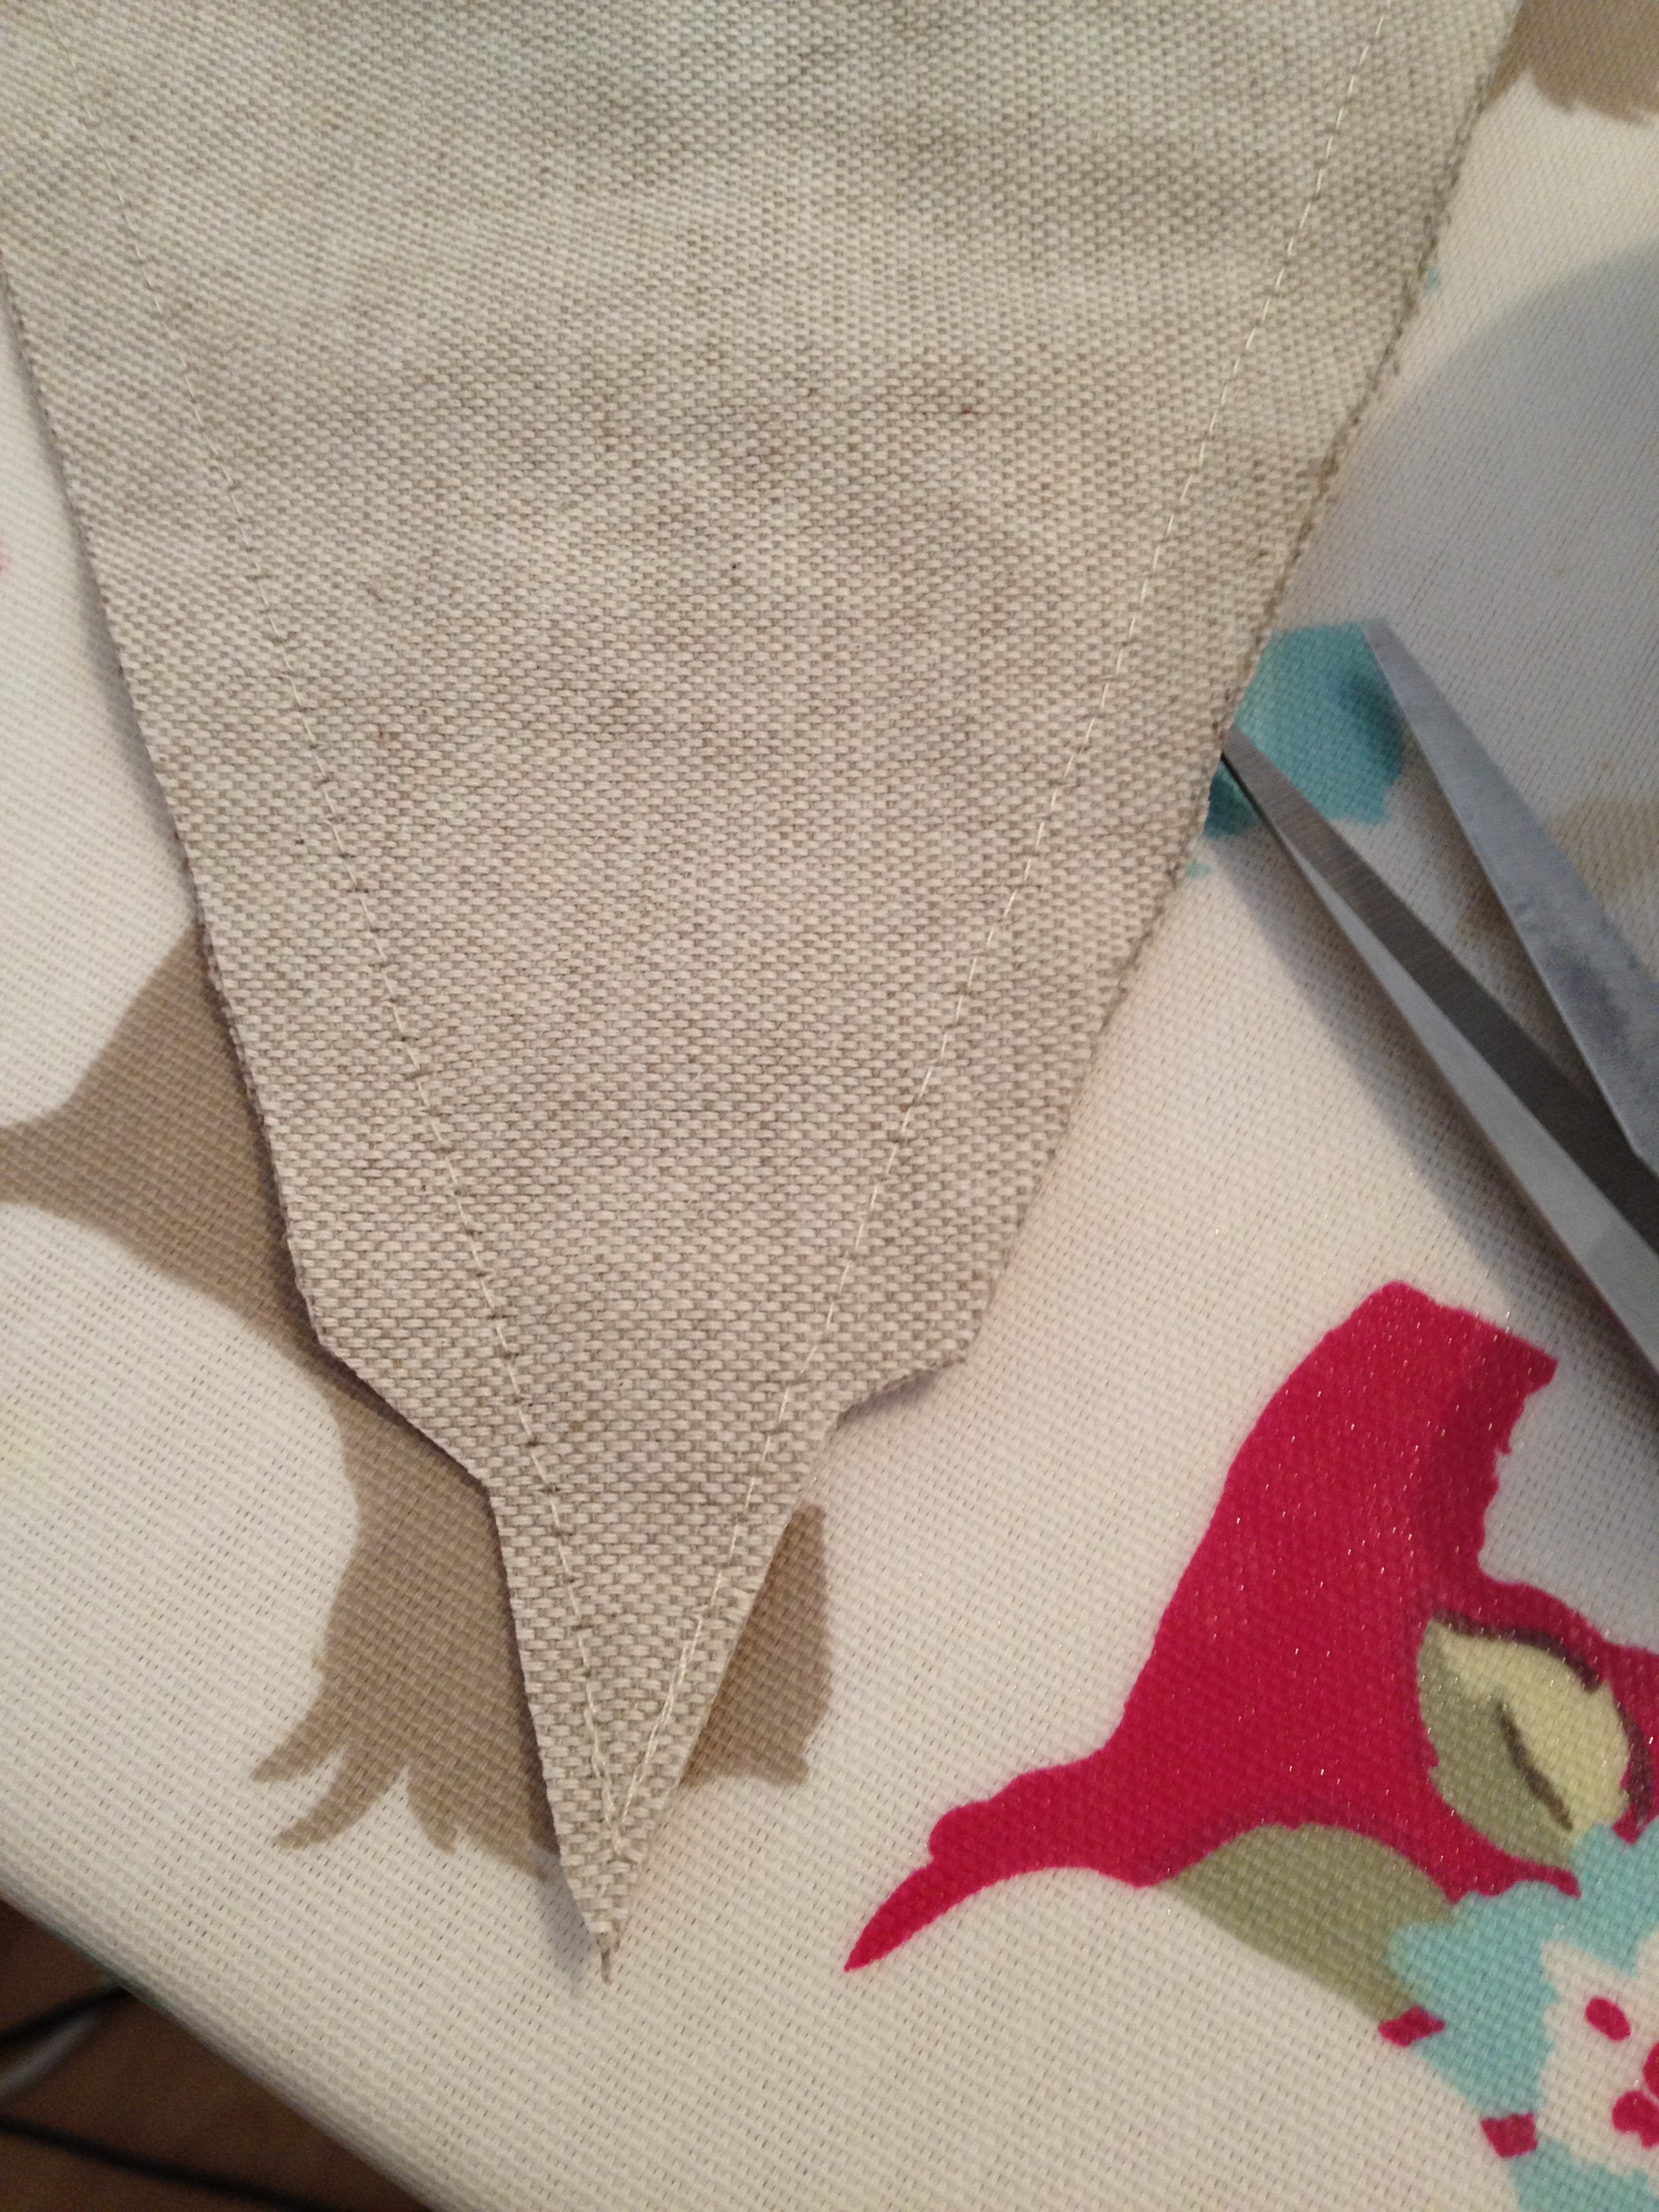
Then when you turn it inside the tip should come out as a nice point (I use a tweezer tool that has a sharp point that you can buy from a haberdashery shop). If you find that the tip isn’t coming out as a nice point, turn it back inside out and make the point less “pointy”, just remember you have to repeat this on all your points:
Then give each piece a lovely iron to get it nice and flat:
Keep going until you have created all of your flag pieces.
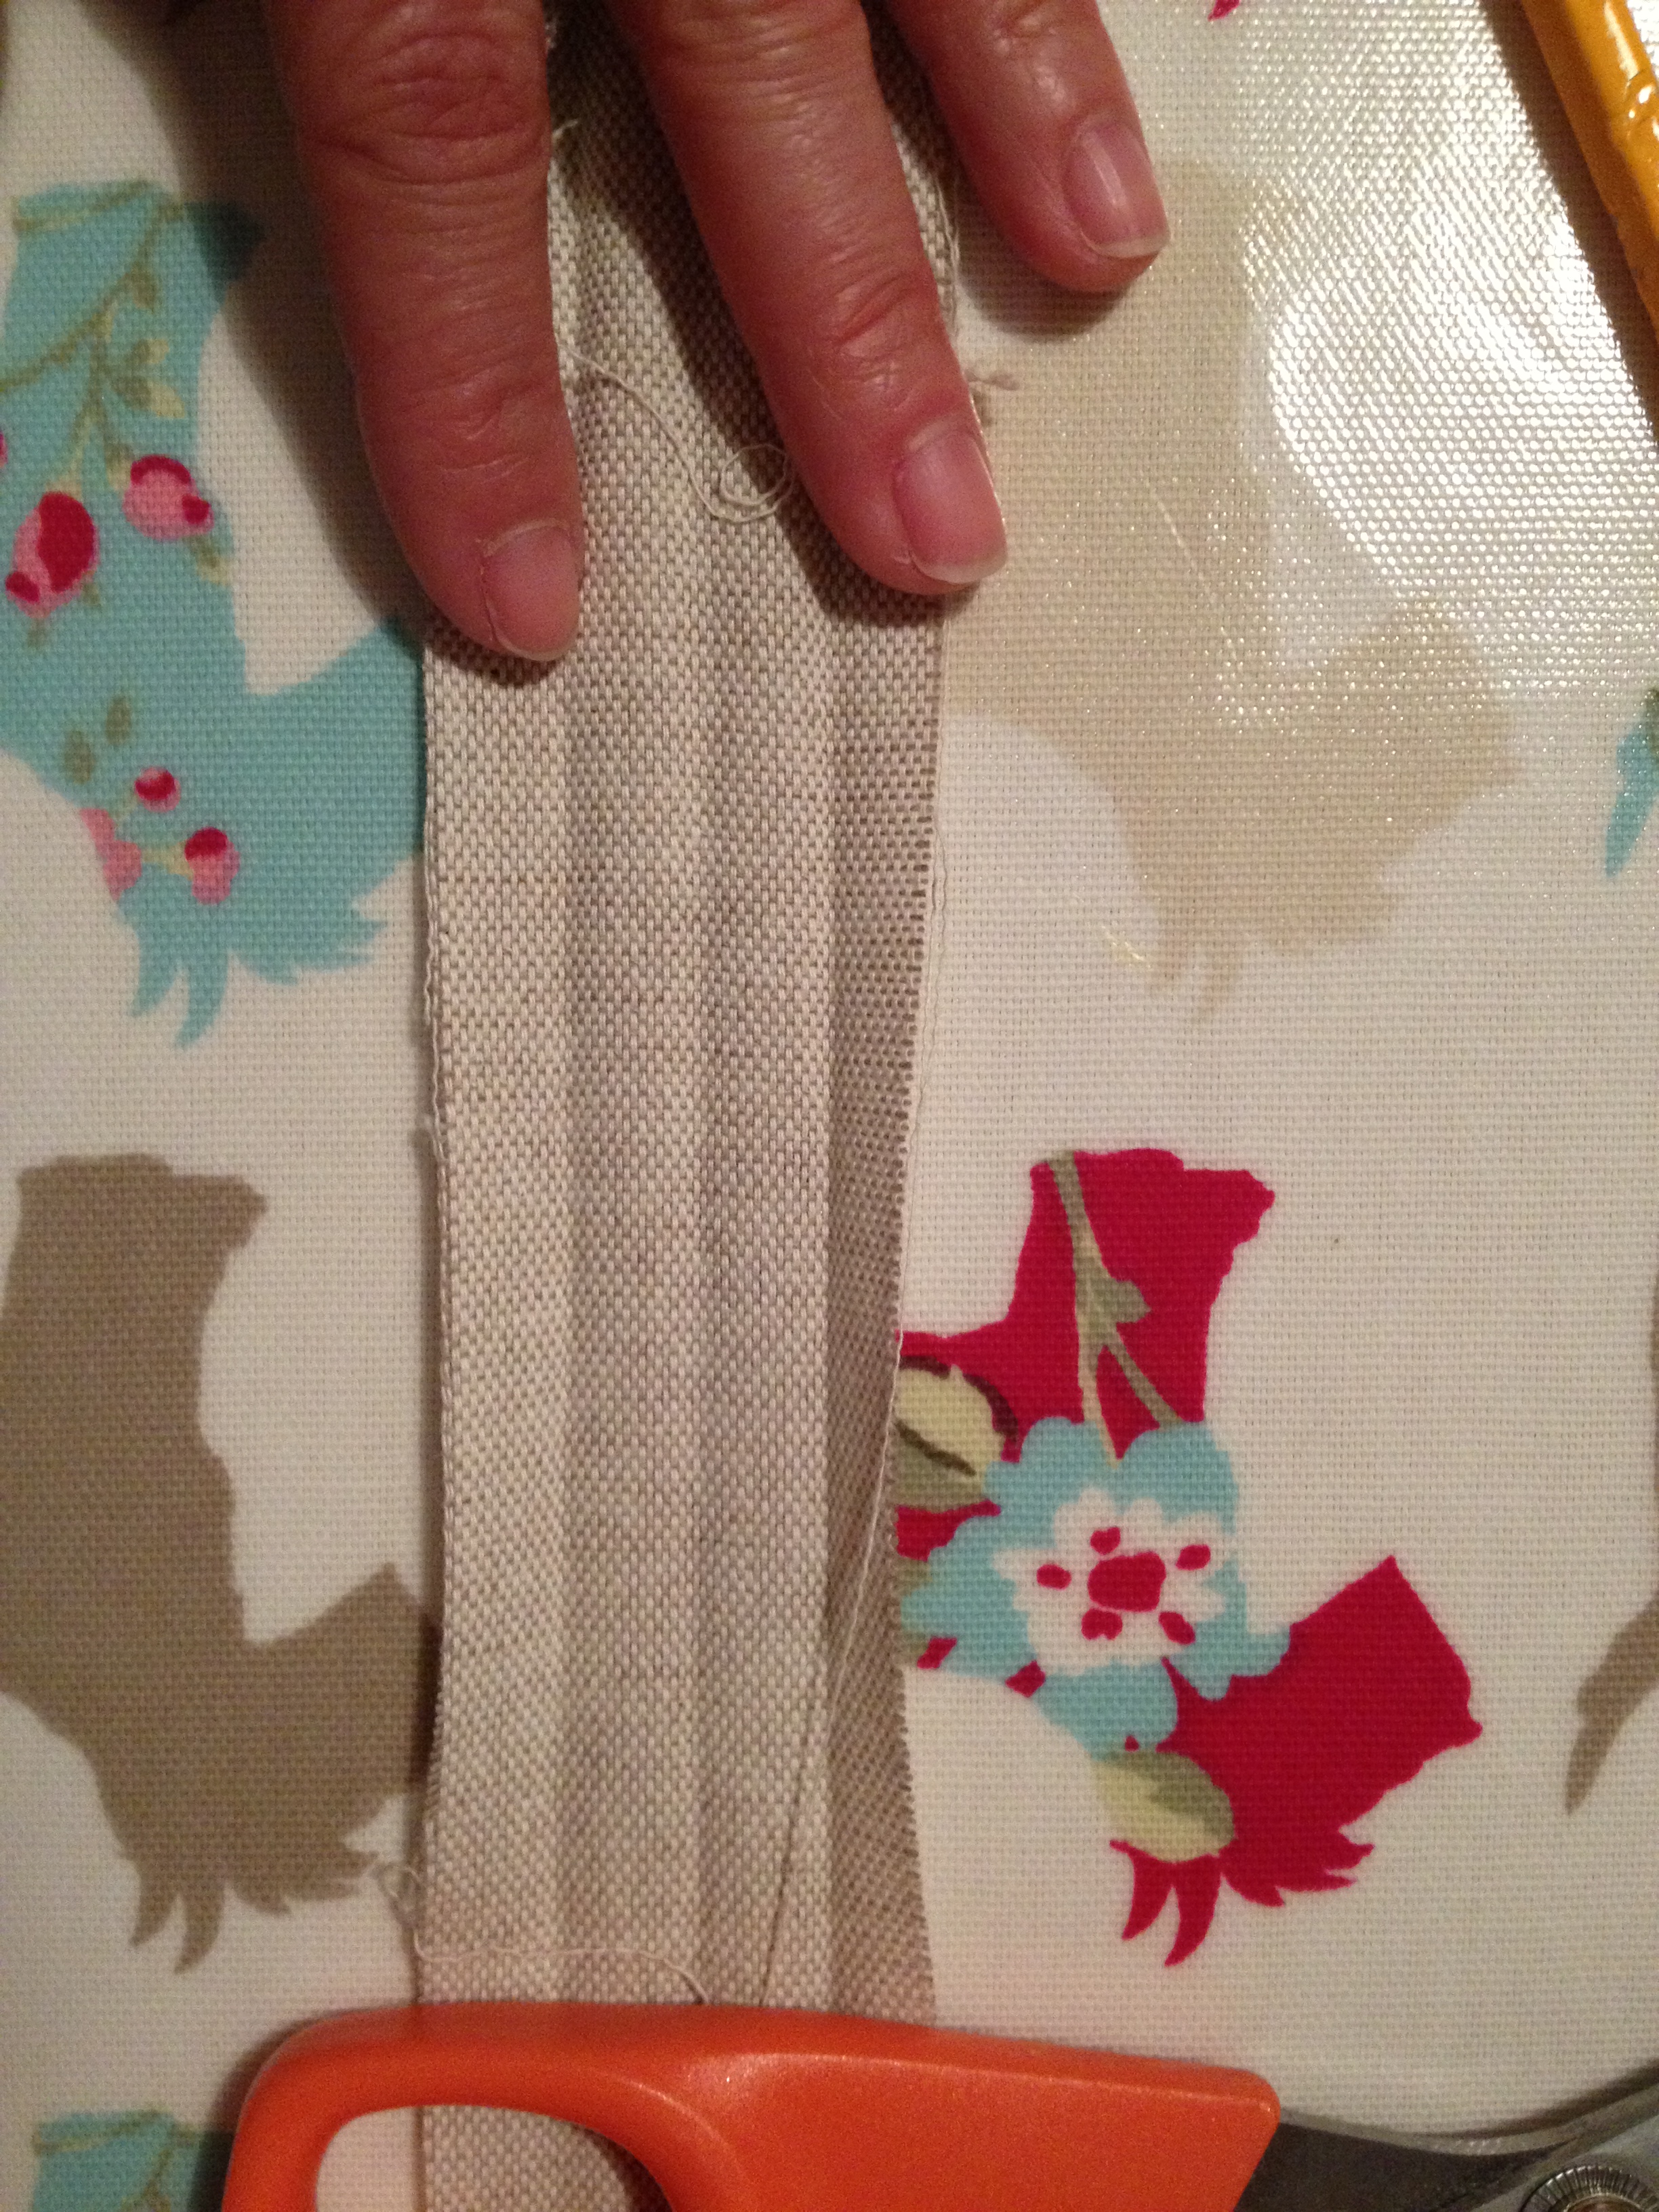
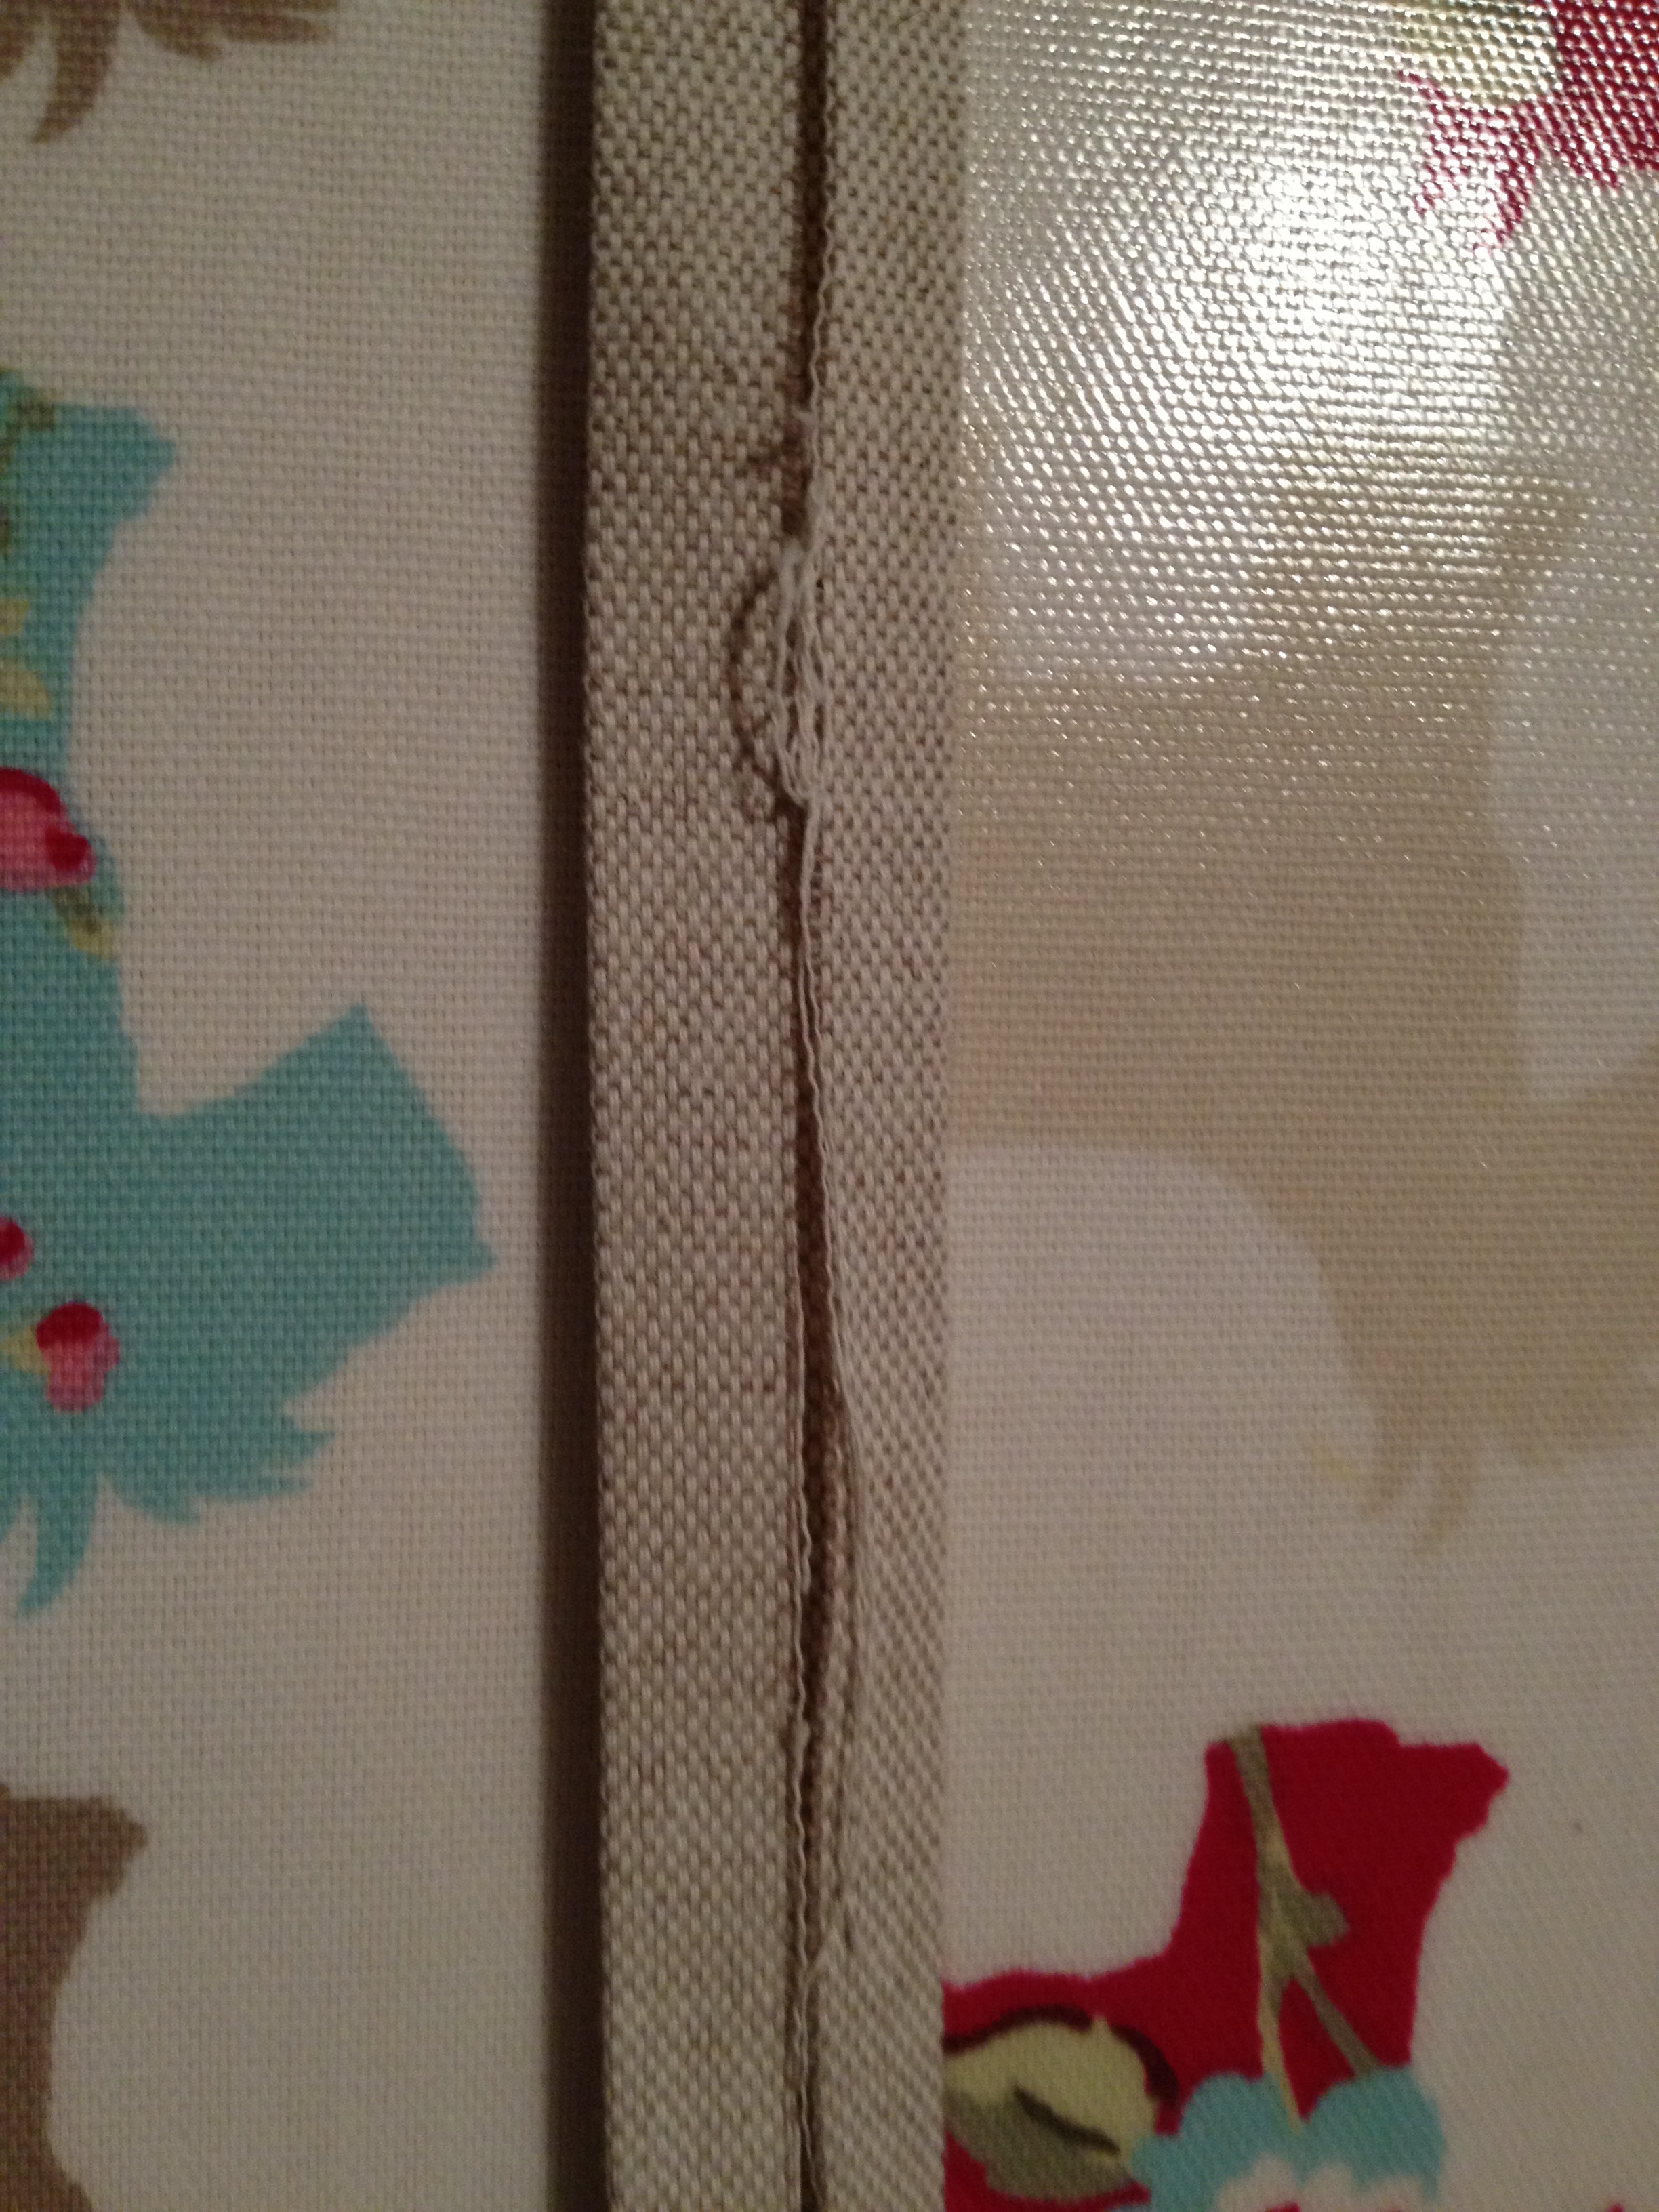
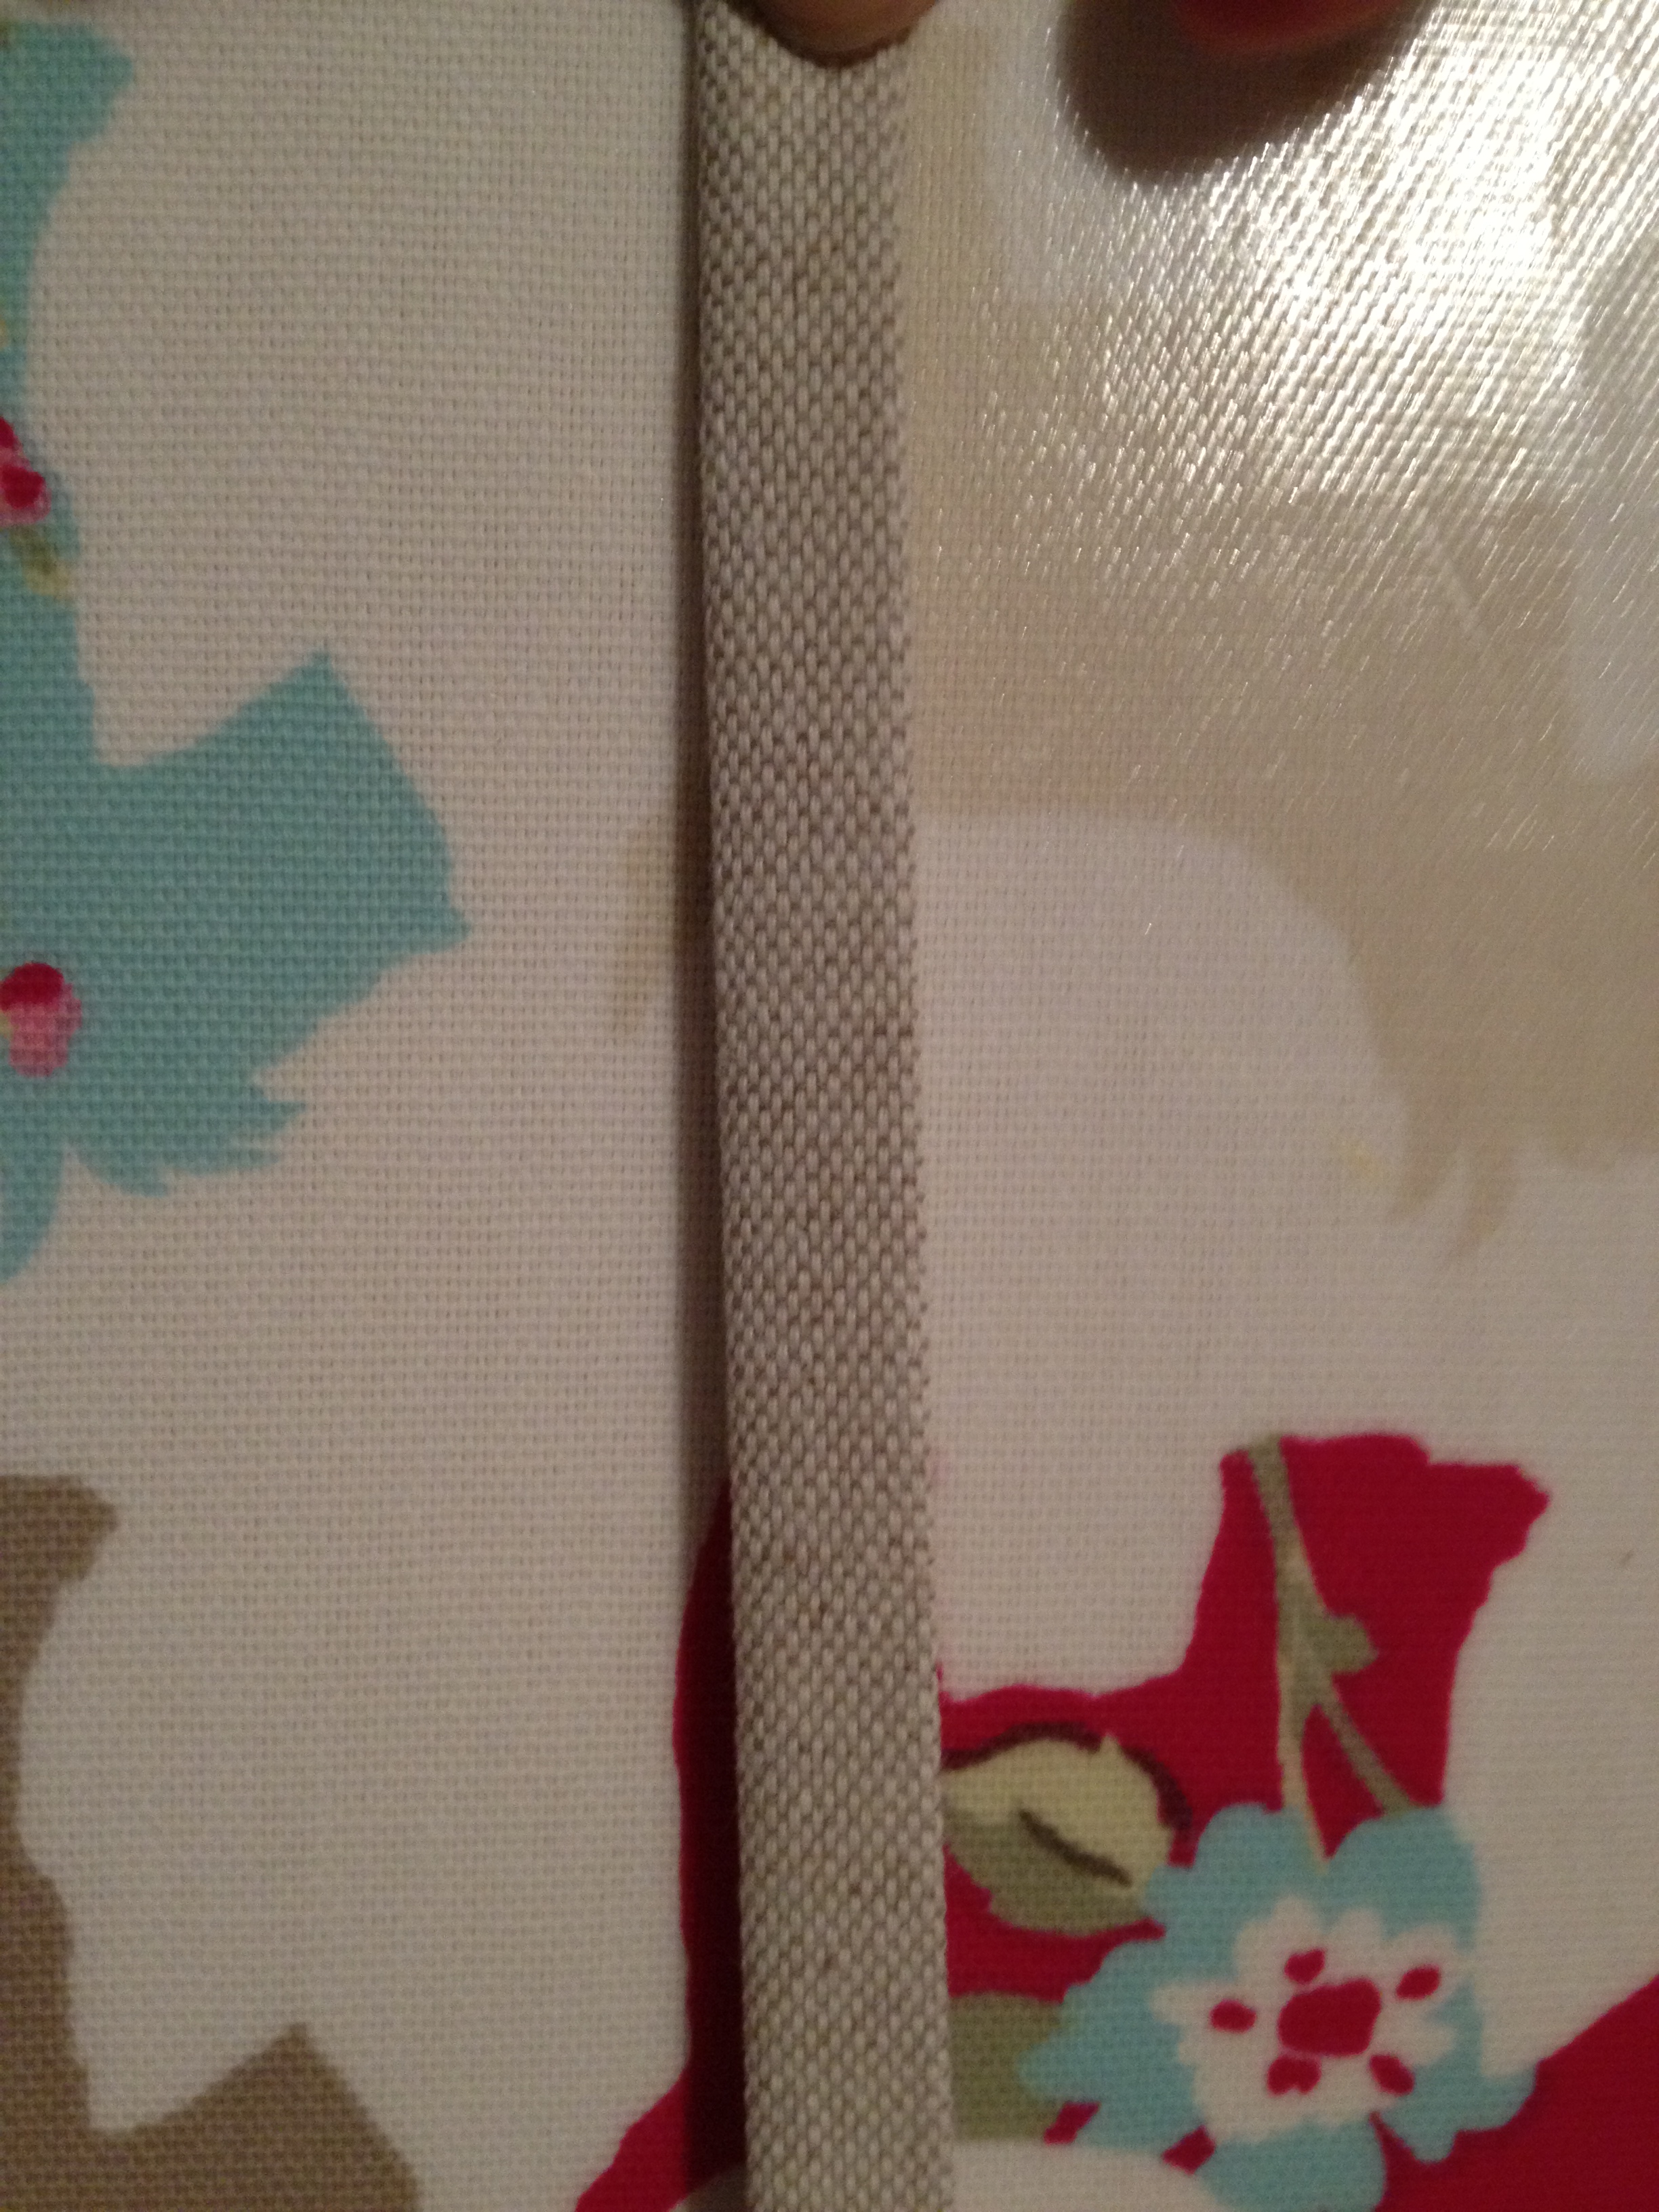
Next we need to look at how to make binding. You can either buy your binding ready made from any haberdashery shop or, if you prefer it to be in the same fabric as the triangles, you can make it yourself. Luckily I had a piece of fabric that was very long. My entire piece of bunting is about 3 meters long. Cut your piece the length you want it (if its not long enough you will need to join pieces together which won’t be too noticeable on the bunting) – the piece needs to be 4.5cm wide. Iron it in half and then iron each side piece towards the ironed middle piece. This way it will give you a really accurate piece that the triangles can slot into. Once this is ready fold it in half to find the middle of the length.
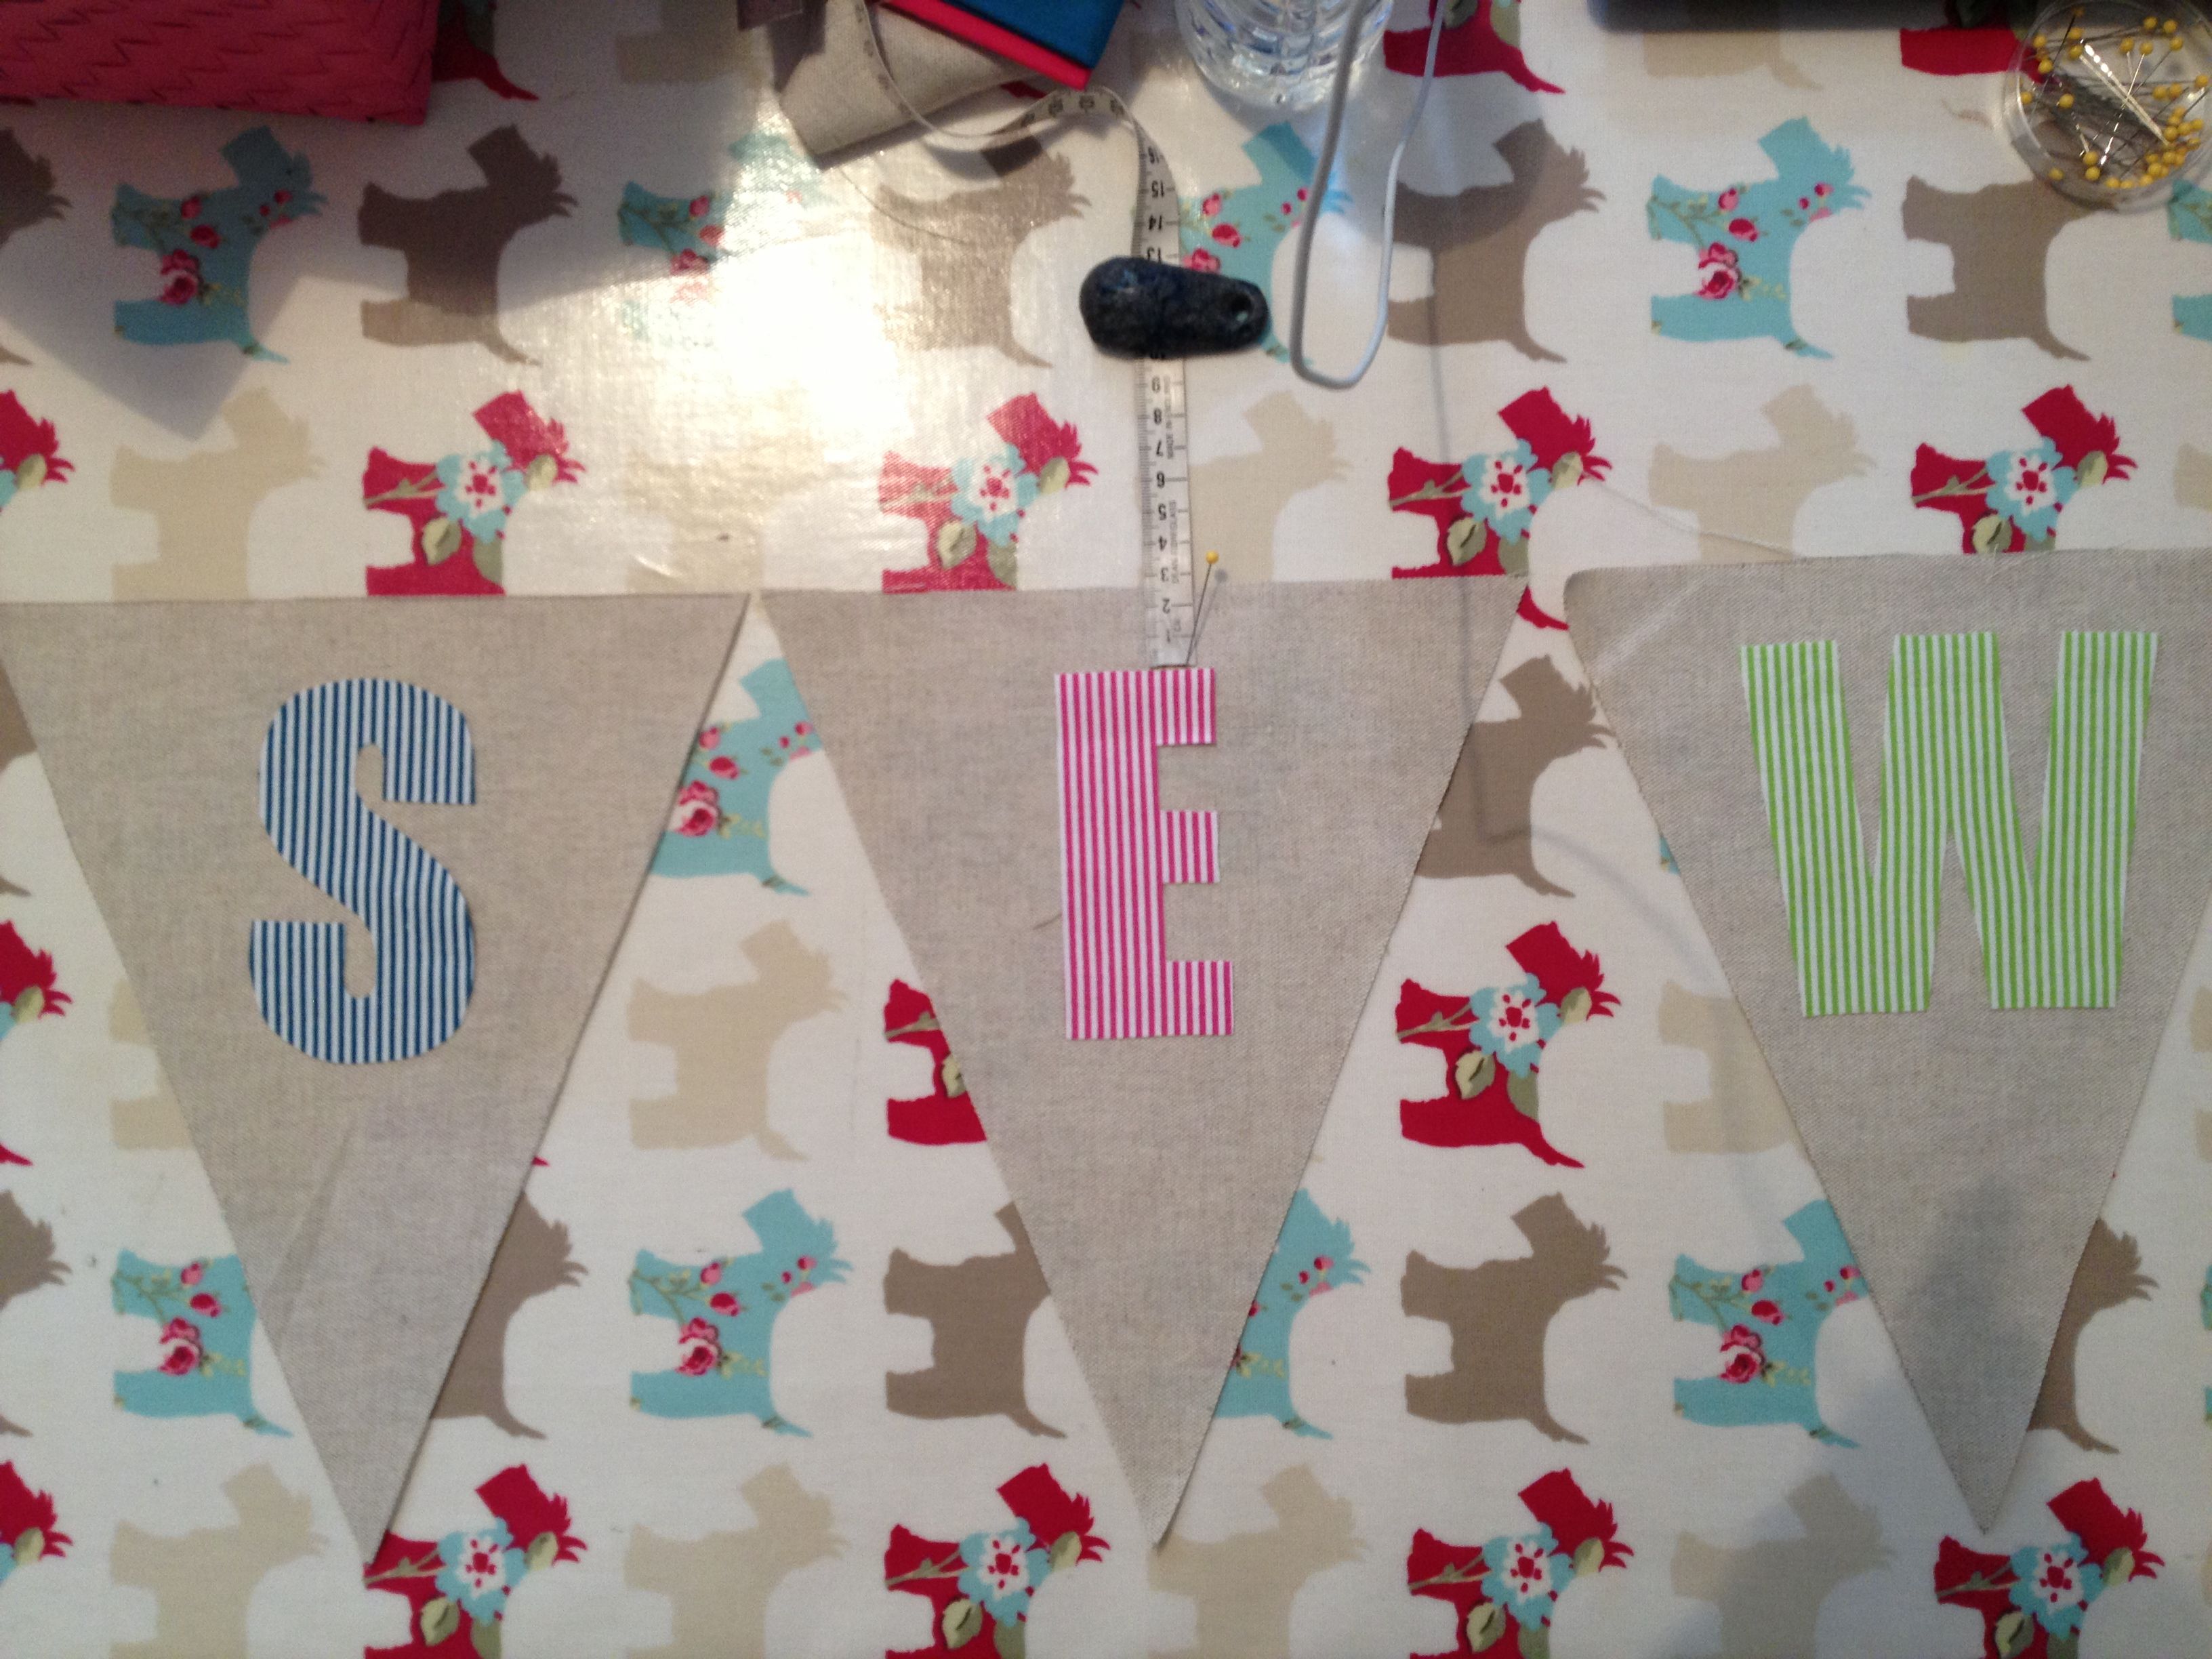
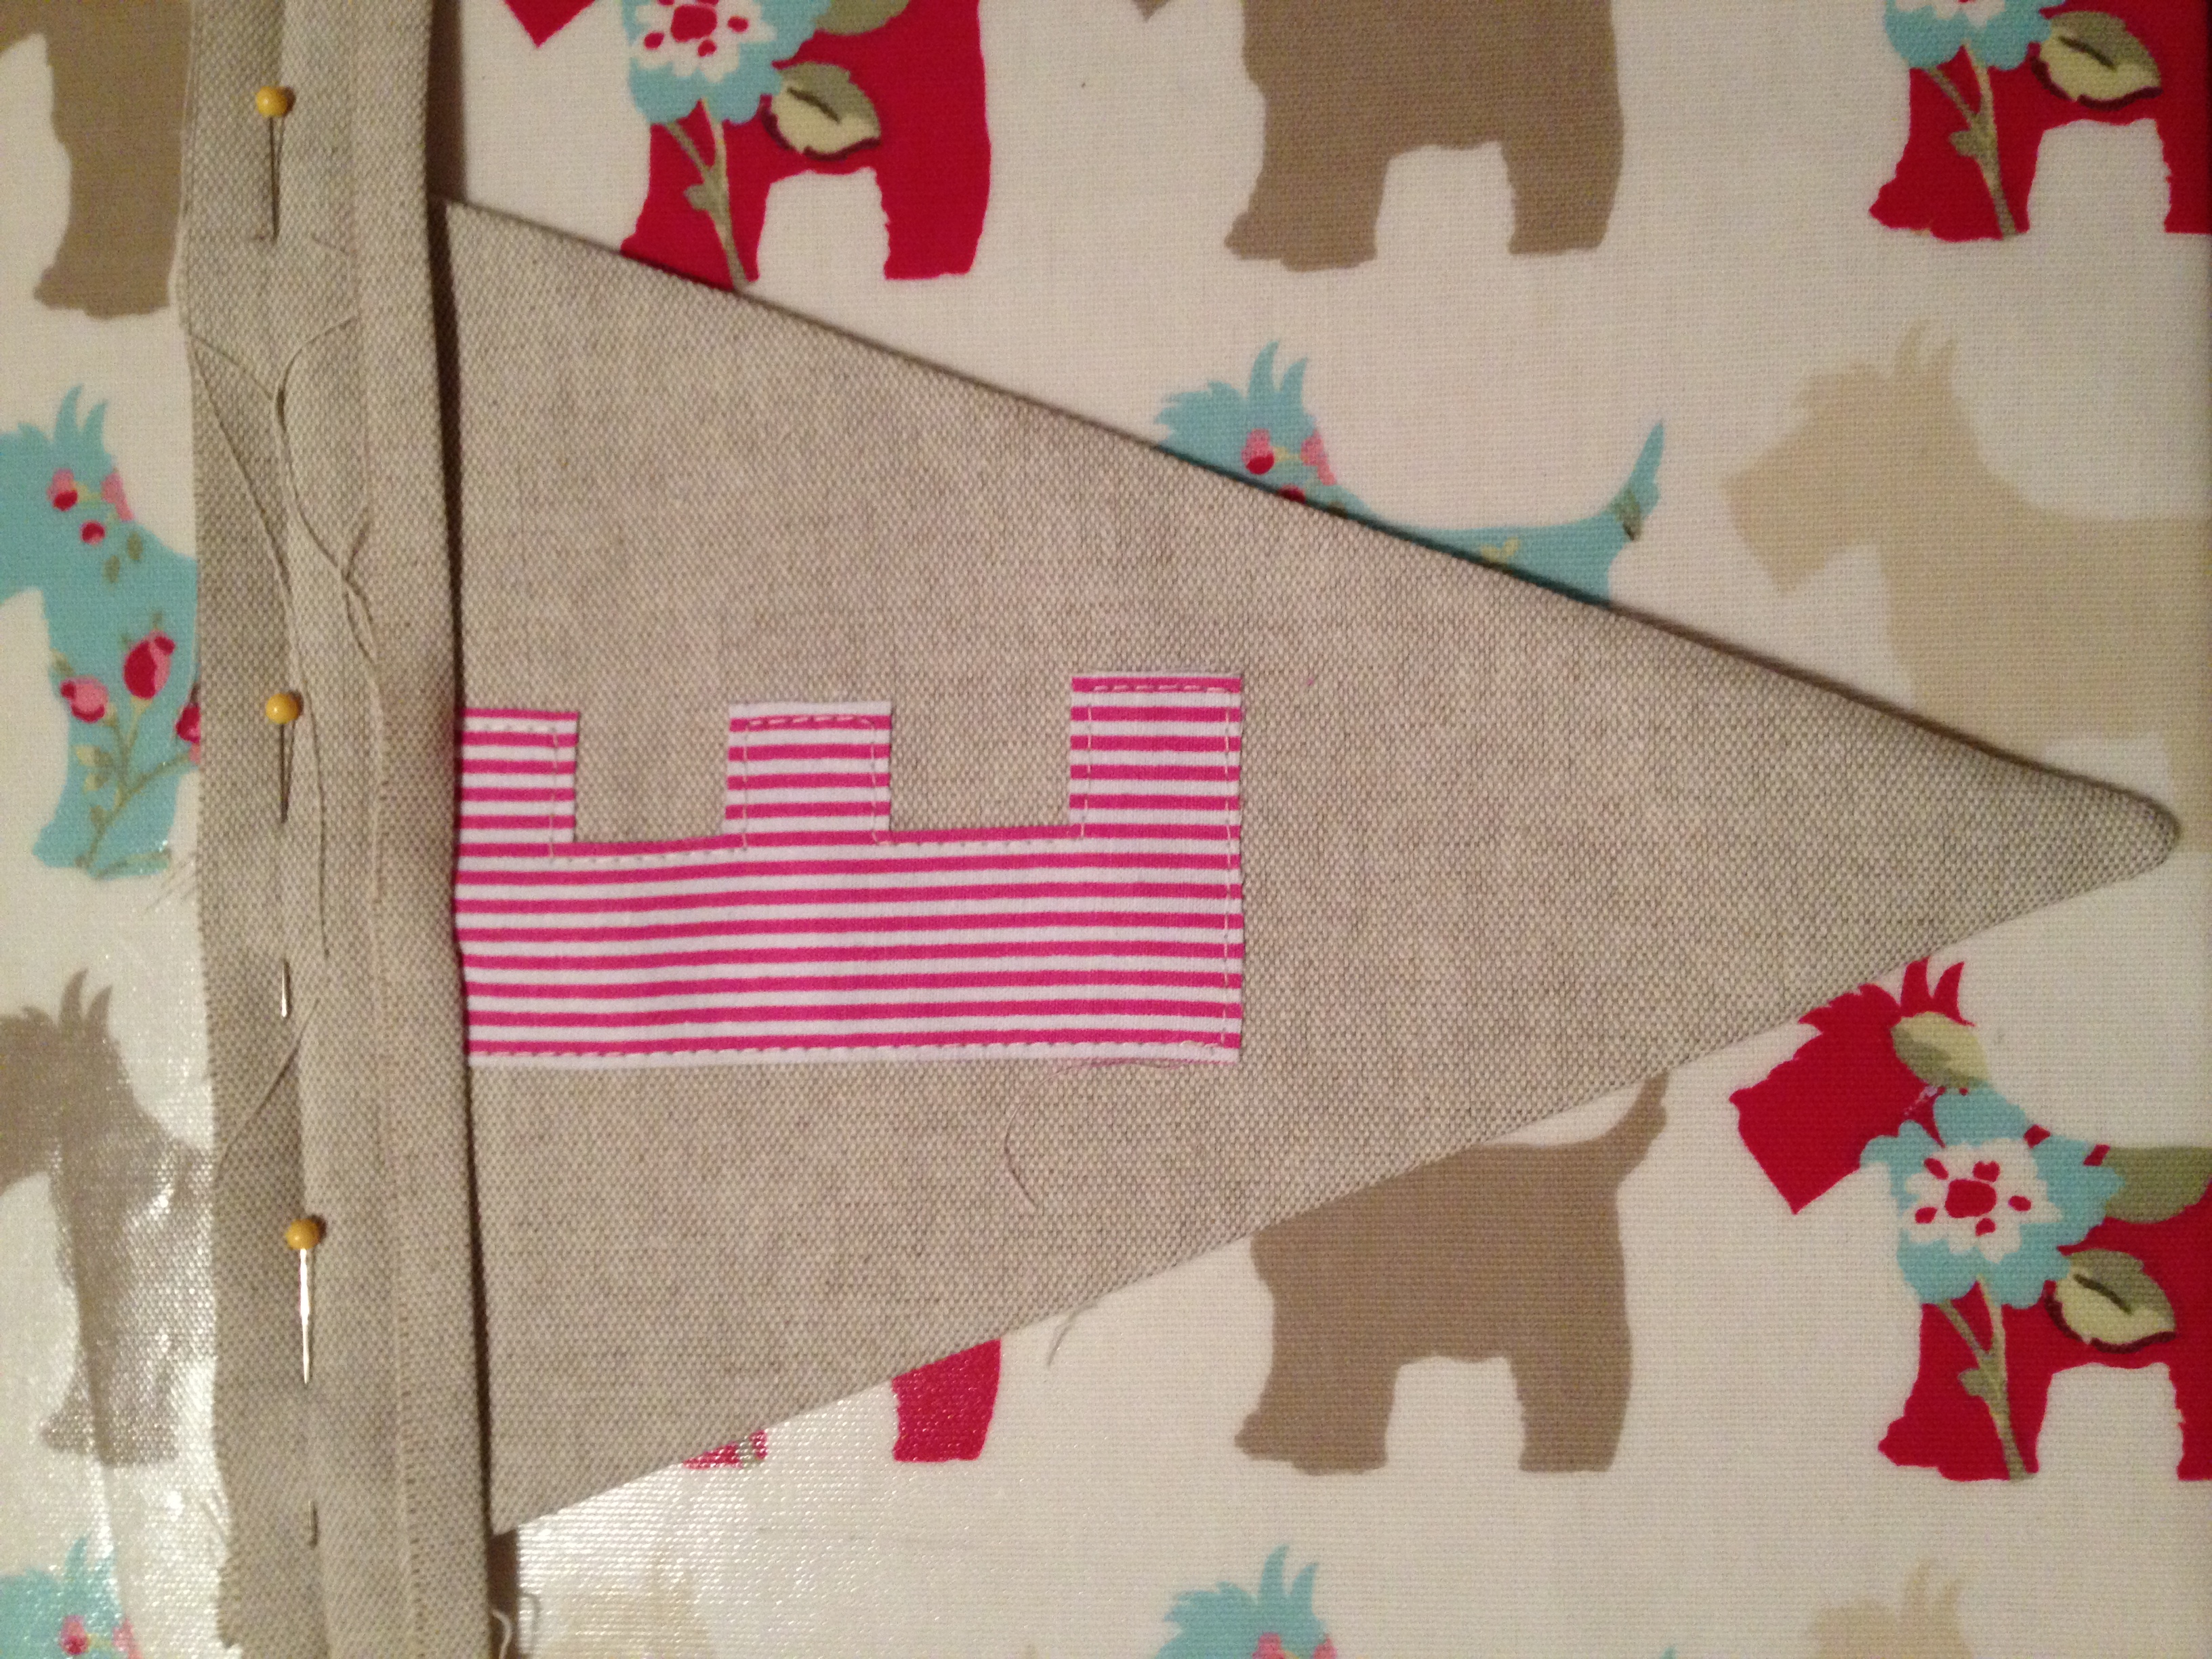
Then place your triangles so that it lines up with the middle of the binding piece – I have made the E of the word SEW exactly in the middle of the length (I measured where the middle of the E triangle was and lined it up to the middle of the binding:

Place the piece of binding on top of the triangle like this, as sew your first letter just above the line that you created with the iron (where my pins are in the picture). When you turn it to the right side it will look like the second pic:

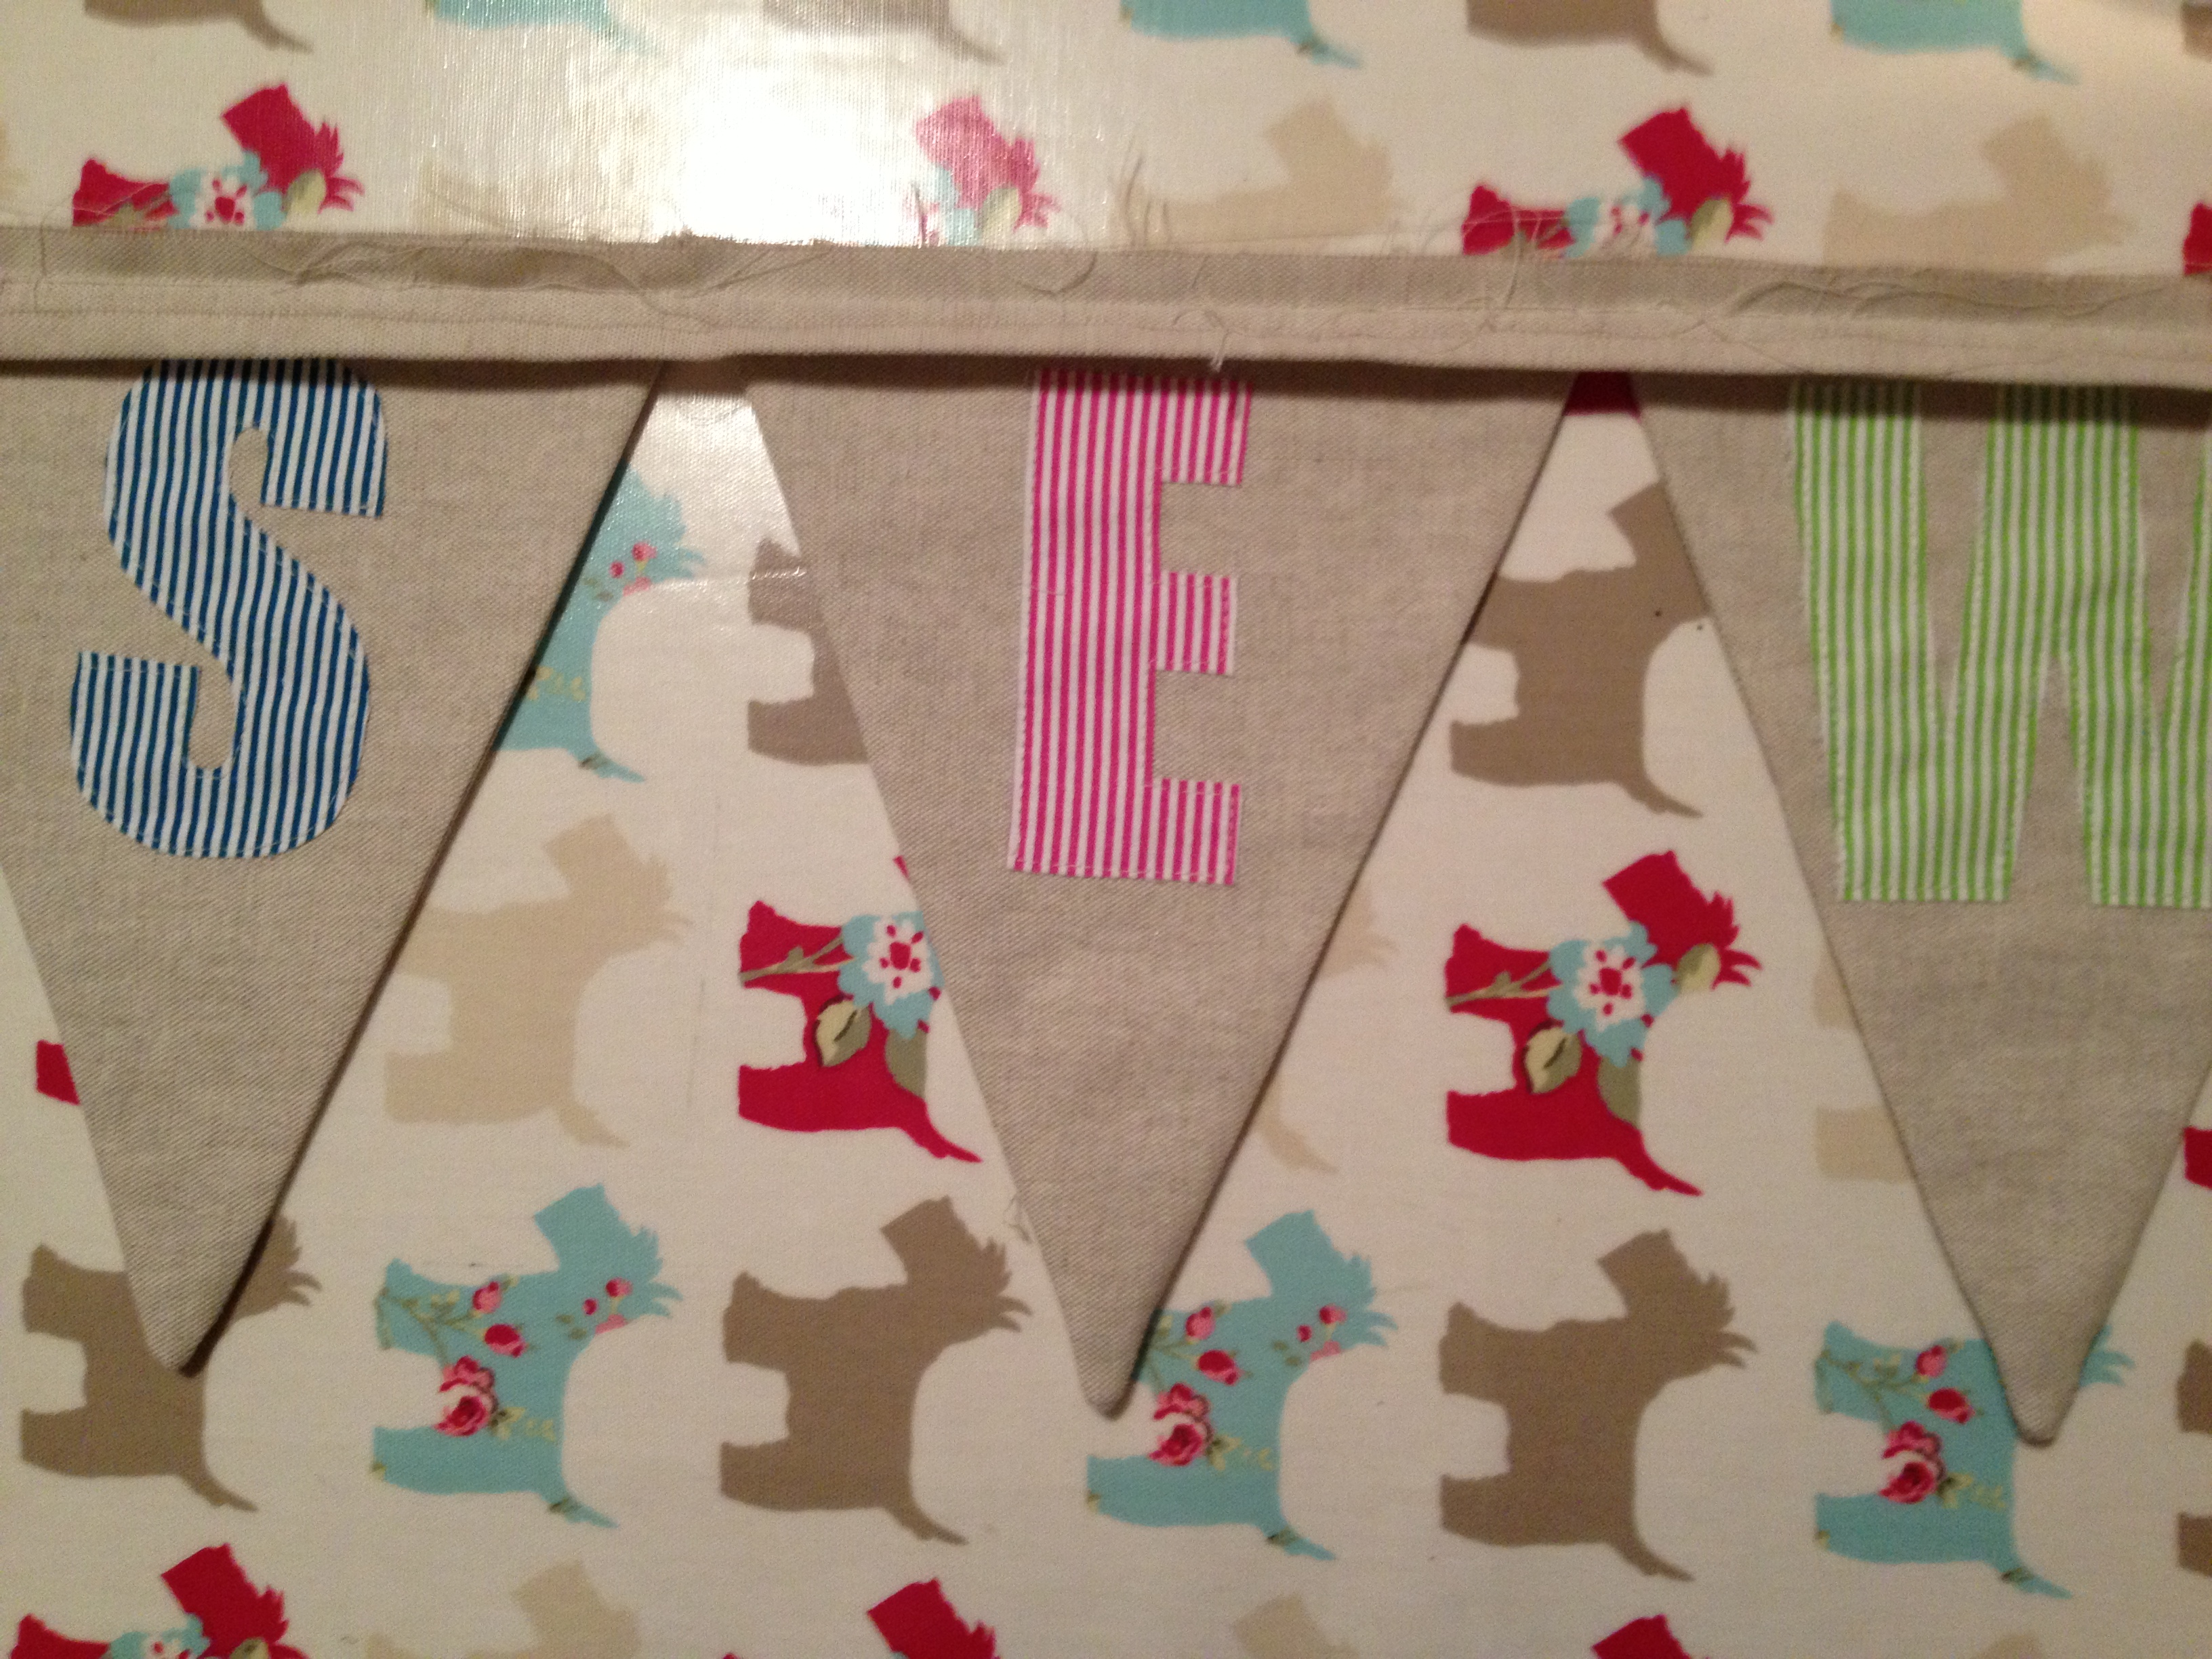
Next sew your triangles into the binding as per the first letter. I’ve put my letters right next to each other and then have a 5 cm gap between the word SEW and the next word SEW. You can choose how you want to do it here. You could seperate the words with a blank triangle. Or if you bunting has no letters on it you can keep each triangle right next to each other or sepearate them at equal spaces. Its up to you!!
This is how your bunting should look from the back:

Now you want to fold your binding over the back side of the bunting, covering the stitches at the top. Pin it all the way along the bunting, right to the end.

To close the end of the binding: open it out at the end and turn in the end piece 2cm (it helps to iron it flat), fold over the binding again and it creates a neat end:


I would hand stitch it closed so that you don’t see any stitching from the front side.
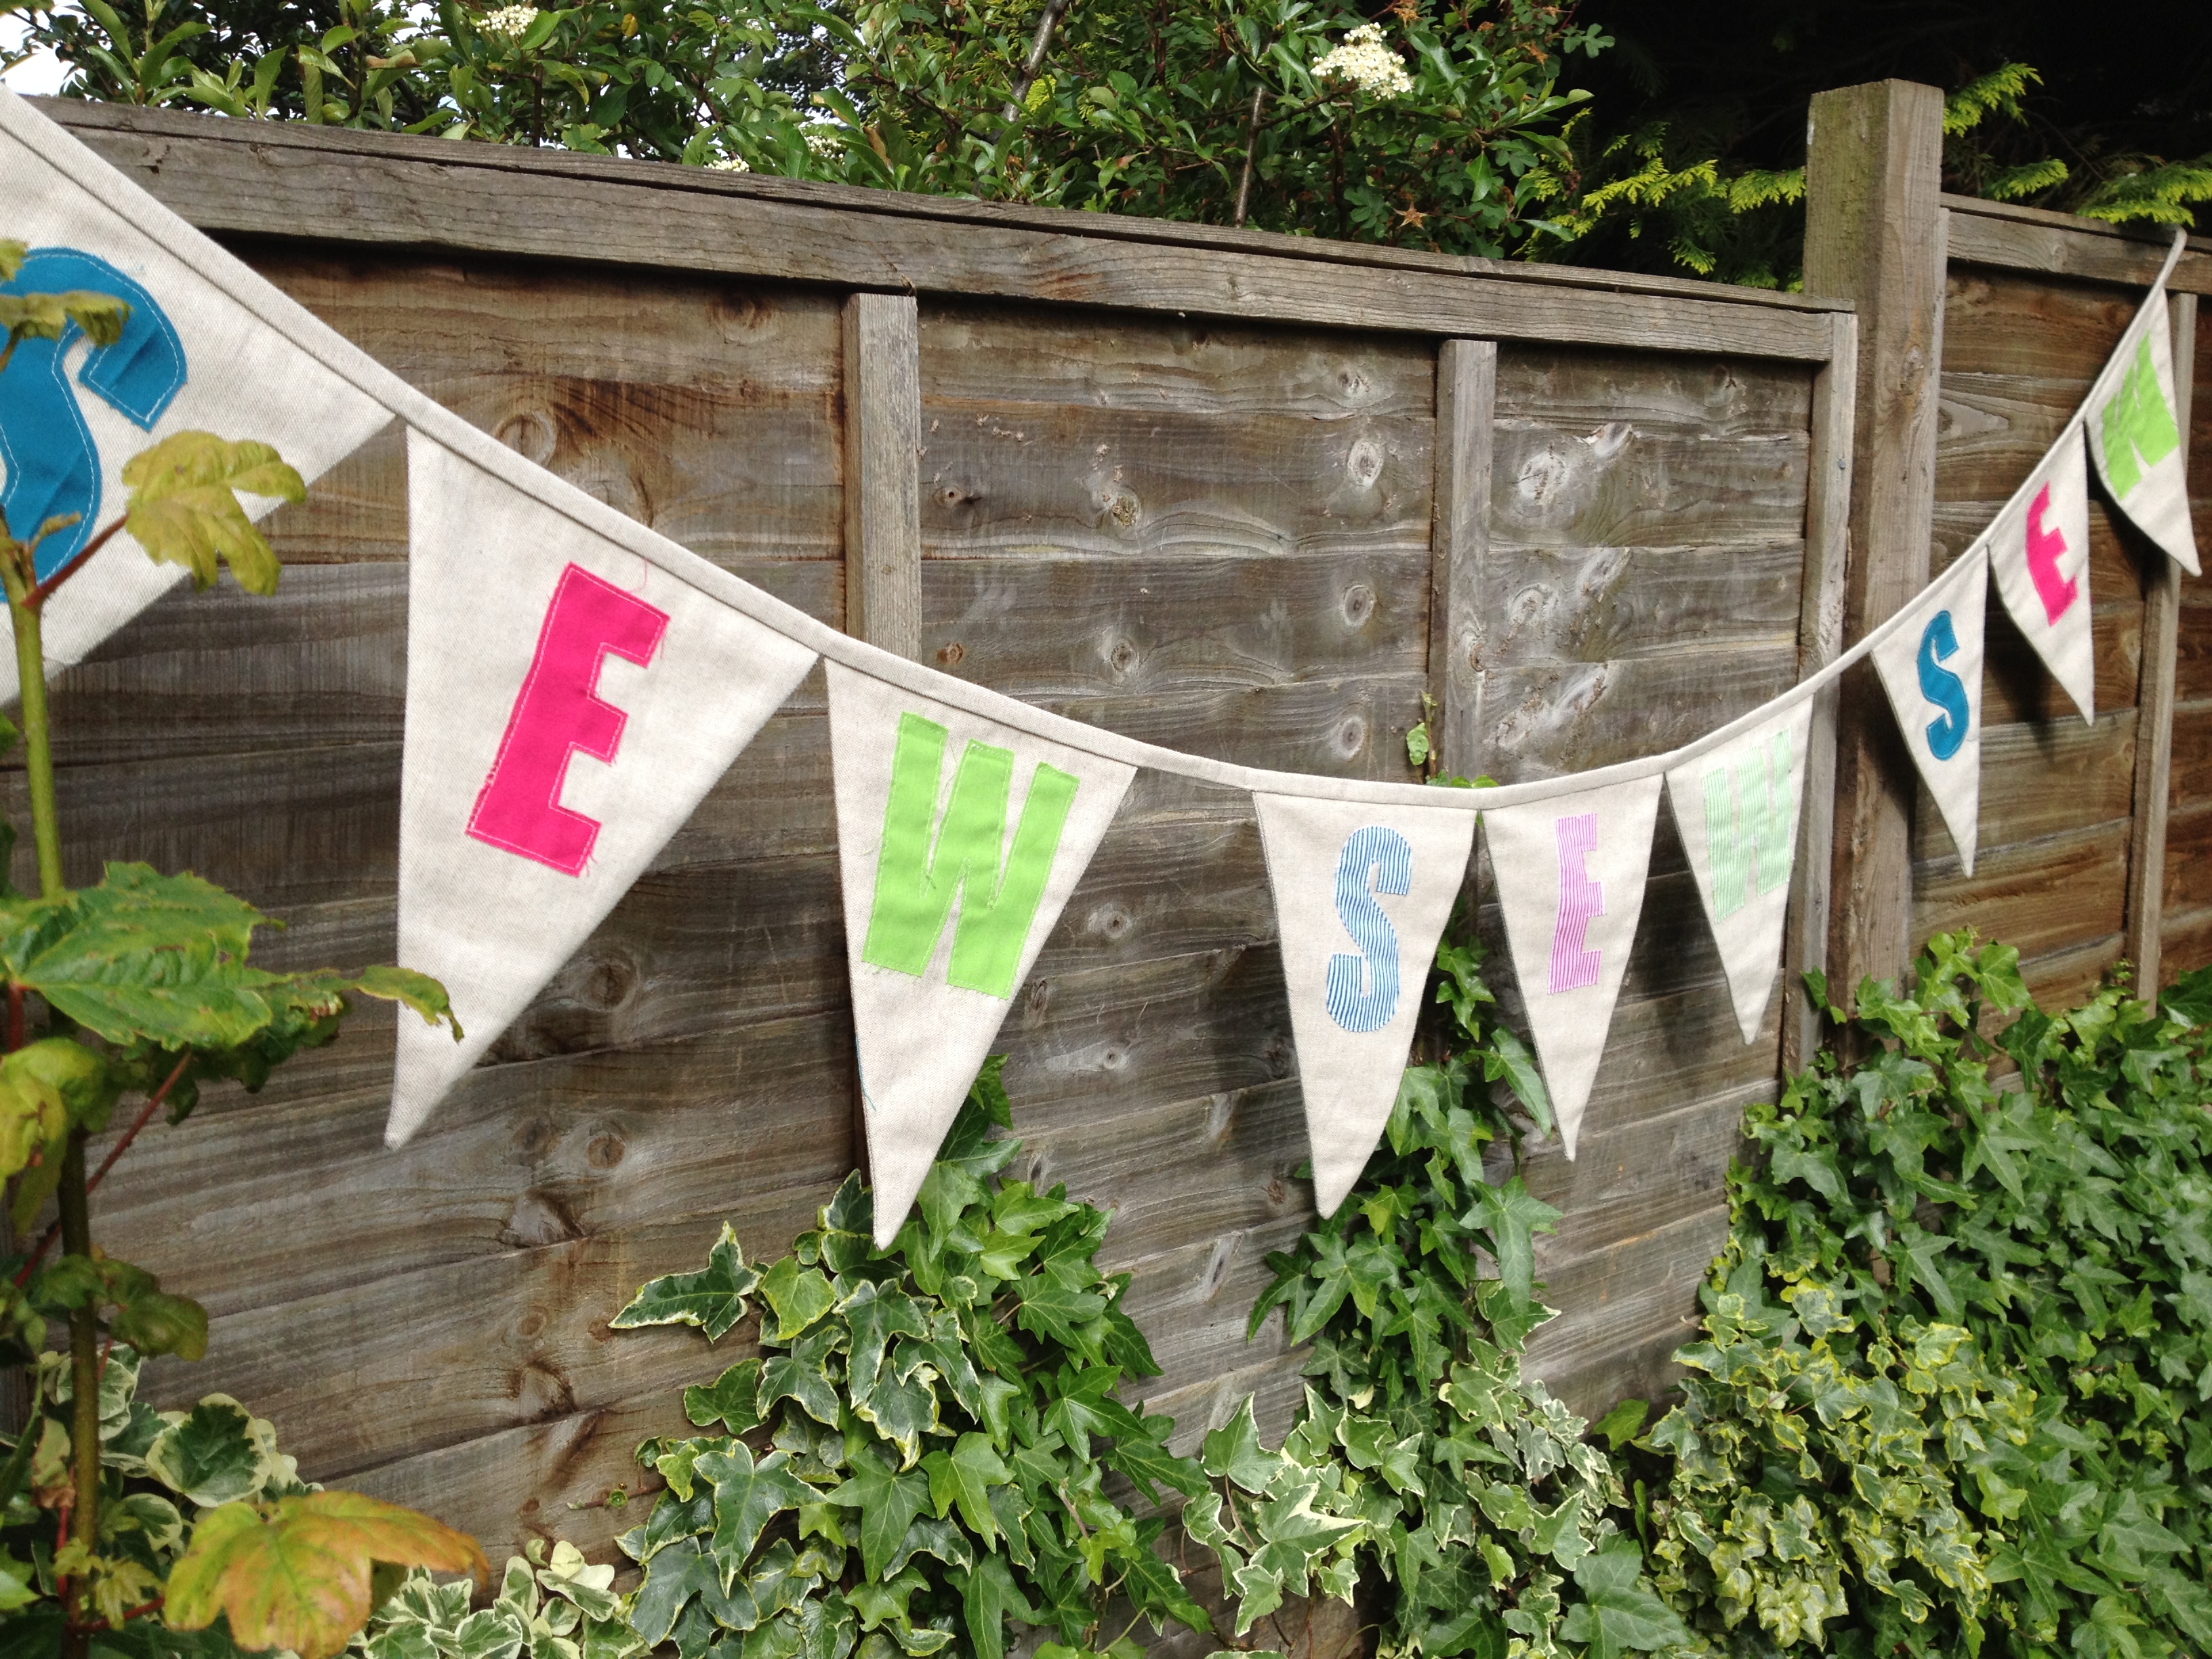
Your bunting is done! What do you think? I would love to see the bunting you have made!! Please send me pics :)


I am wanting to make bunting for our florist shop, very easy instructions, your bunting looks good.
Hi Marion, oh fab, we love bunting too! Please do send us a picture of your lovely bunting! Happy sewing