
![IMG_3114[1]](https://theavidseamstress.com/wp-content/uploads/2014/05/img_31141.jpg) I’ve been promising all my lovely students that I would do a step by step guide on how to put a zip into a cushion. It’s actually one of the workshops that I do so why not join me if you can! For those that aren’t able to join here is a very very simple way of putting a zip into a cushion.
I’ve been promising all my lovely students that I would do a step by step guide on how to put a zip into a cushion. It’s actually one of the workshops that I do so why not join me if you can! For those that aren’t able to join here is a very very simple way of putting a zip into a cushion.
It will change the way you think about zips and using your zip foot and soon you will be whizzing up cushions for every room in your home!
This technique means that you are putting the zip into the bottom of the cushion. You can therefore have a different front and back fabric so that you can swop and change them around (essentially there is no difference between the back or front).
You will need:
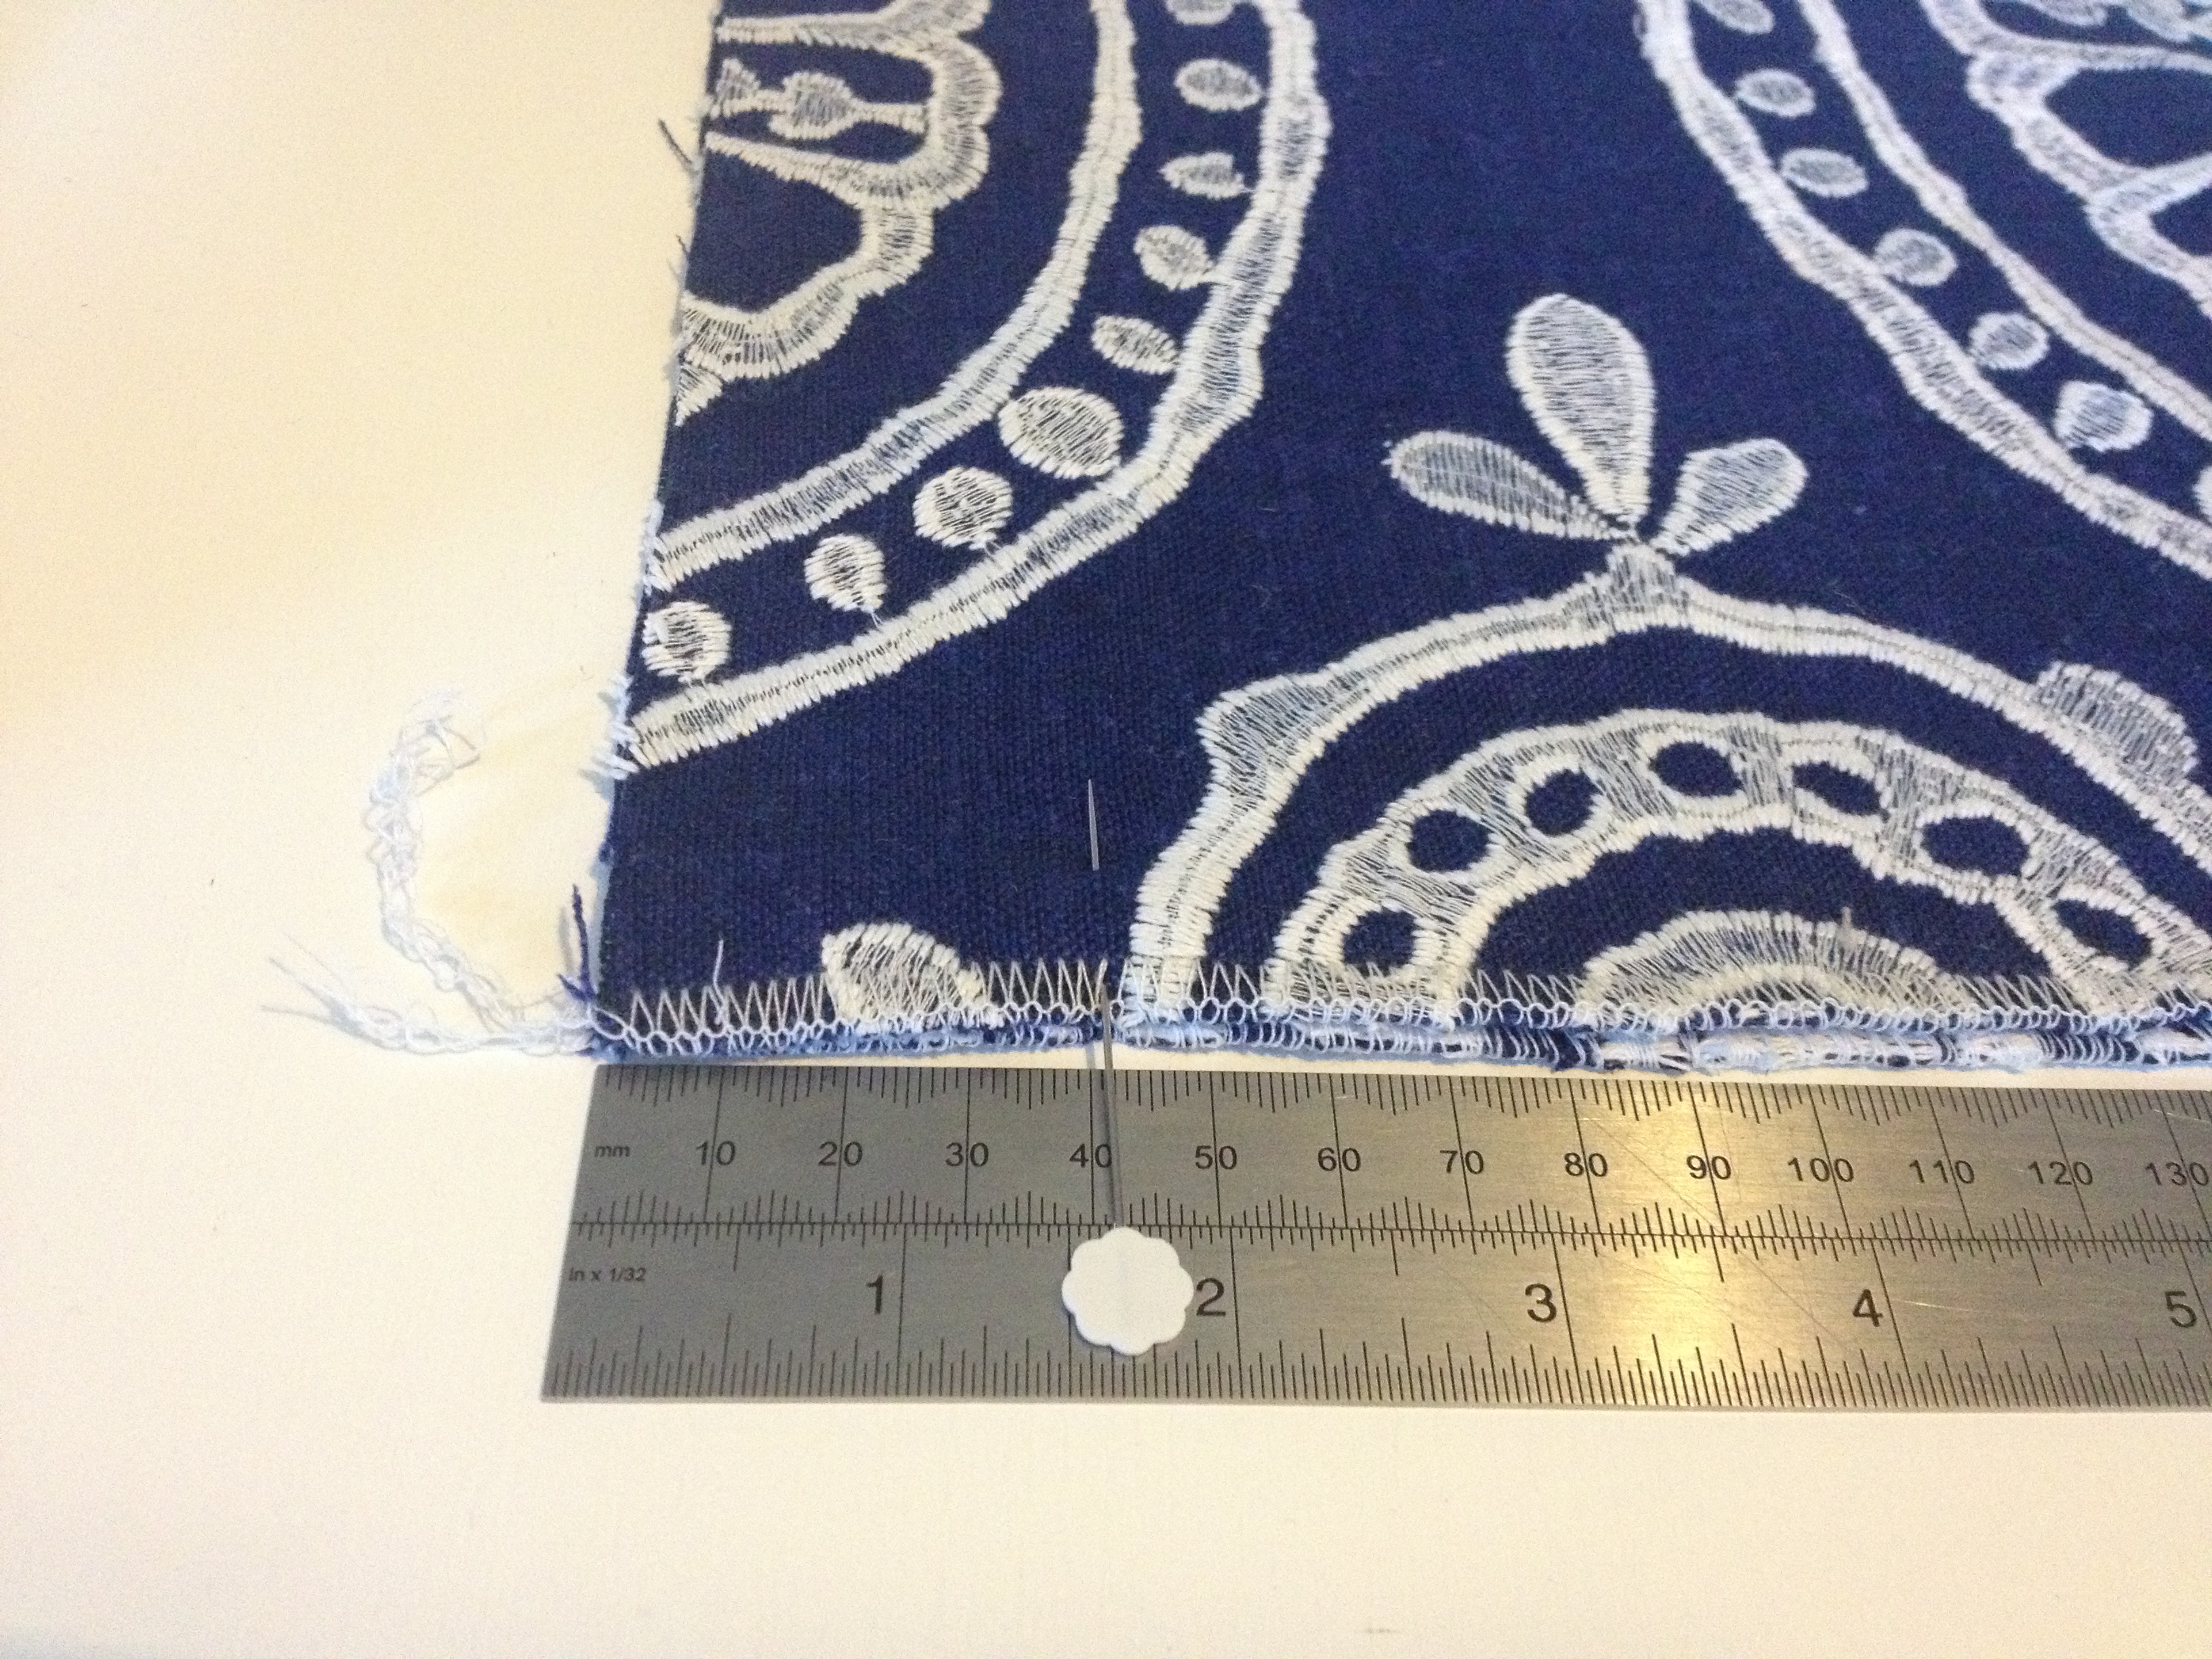
1. Two pieces of fabric – see below for an example of how to measure:
Measuring example for a 45x45cm cushion: If you cushion inner/pad is 45x45cm then your cover should be 2cm smaller (to make it fit really snug). You will need to add 1.5 seam allowance all the way around the cushion.
So 45x45cm minus 2cm = 43x43cm (finished size) then add seam allowance 1.5cm = 44.5×44.5cm (this is the size you will cut the fabric).
2. Zipper – your zip should be the same length as the bottom of the cushion (as the zip goes into the bottom of the cushion).
Example: If you cushion is a square 45x45cm your zip should be 45cm. If your cushion was 45cm length x 35cm wide your zip would be 45cm.
3. Cotton, sewing machine and your zip foot !!
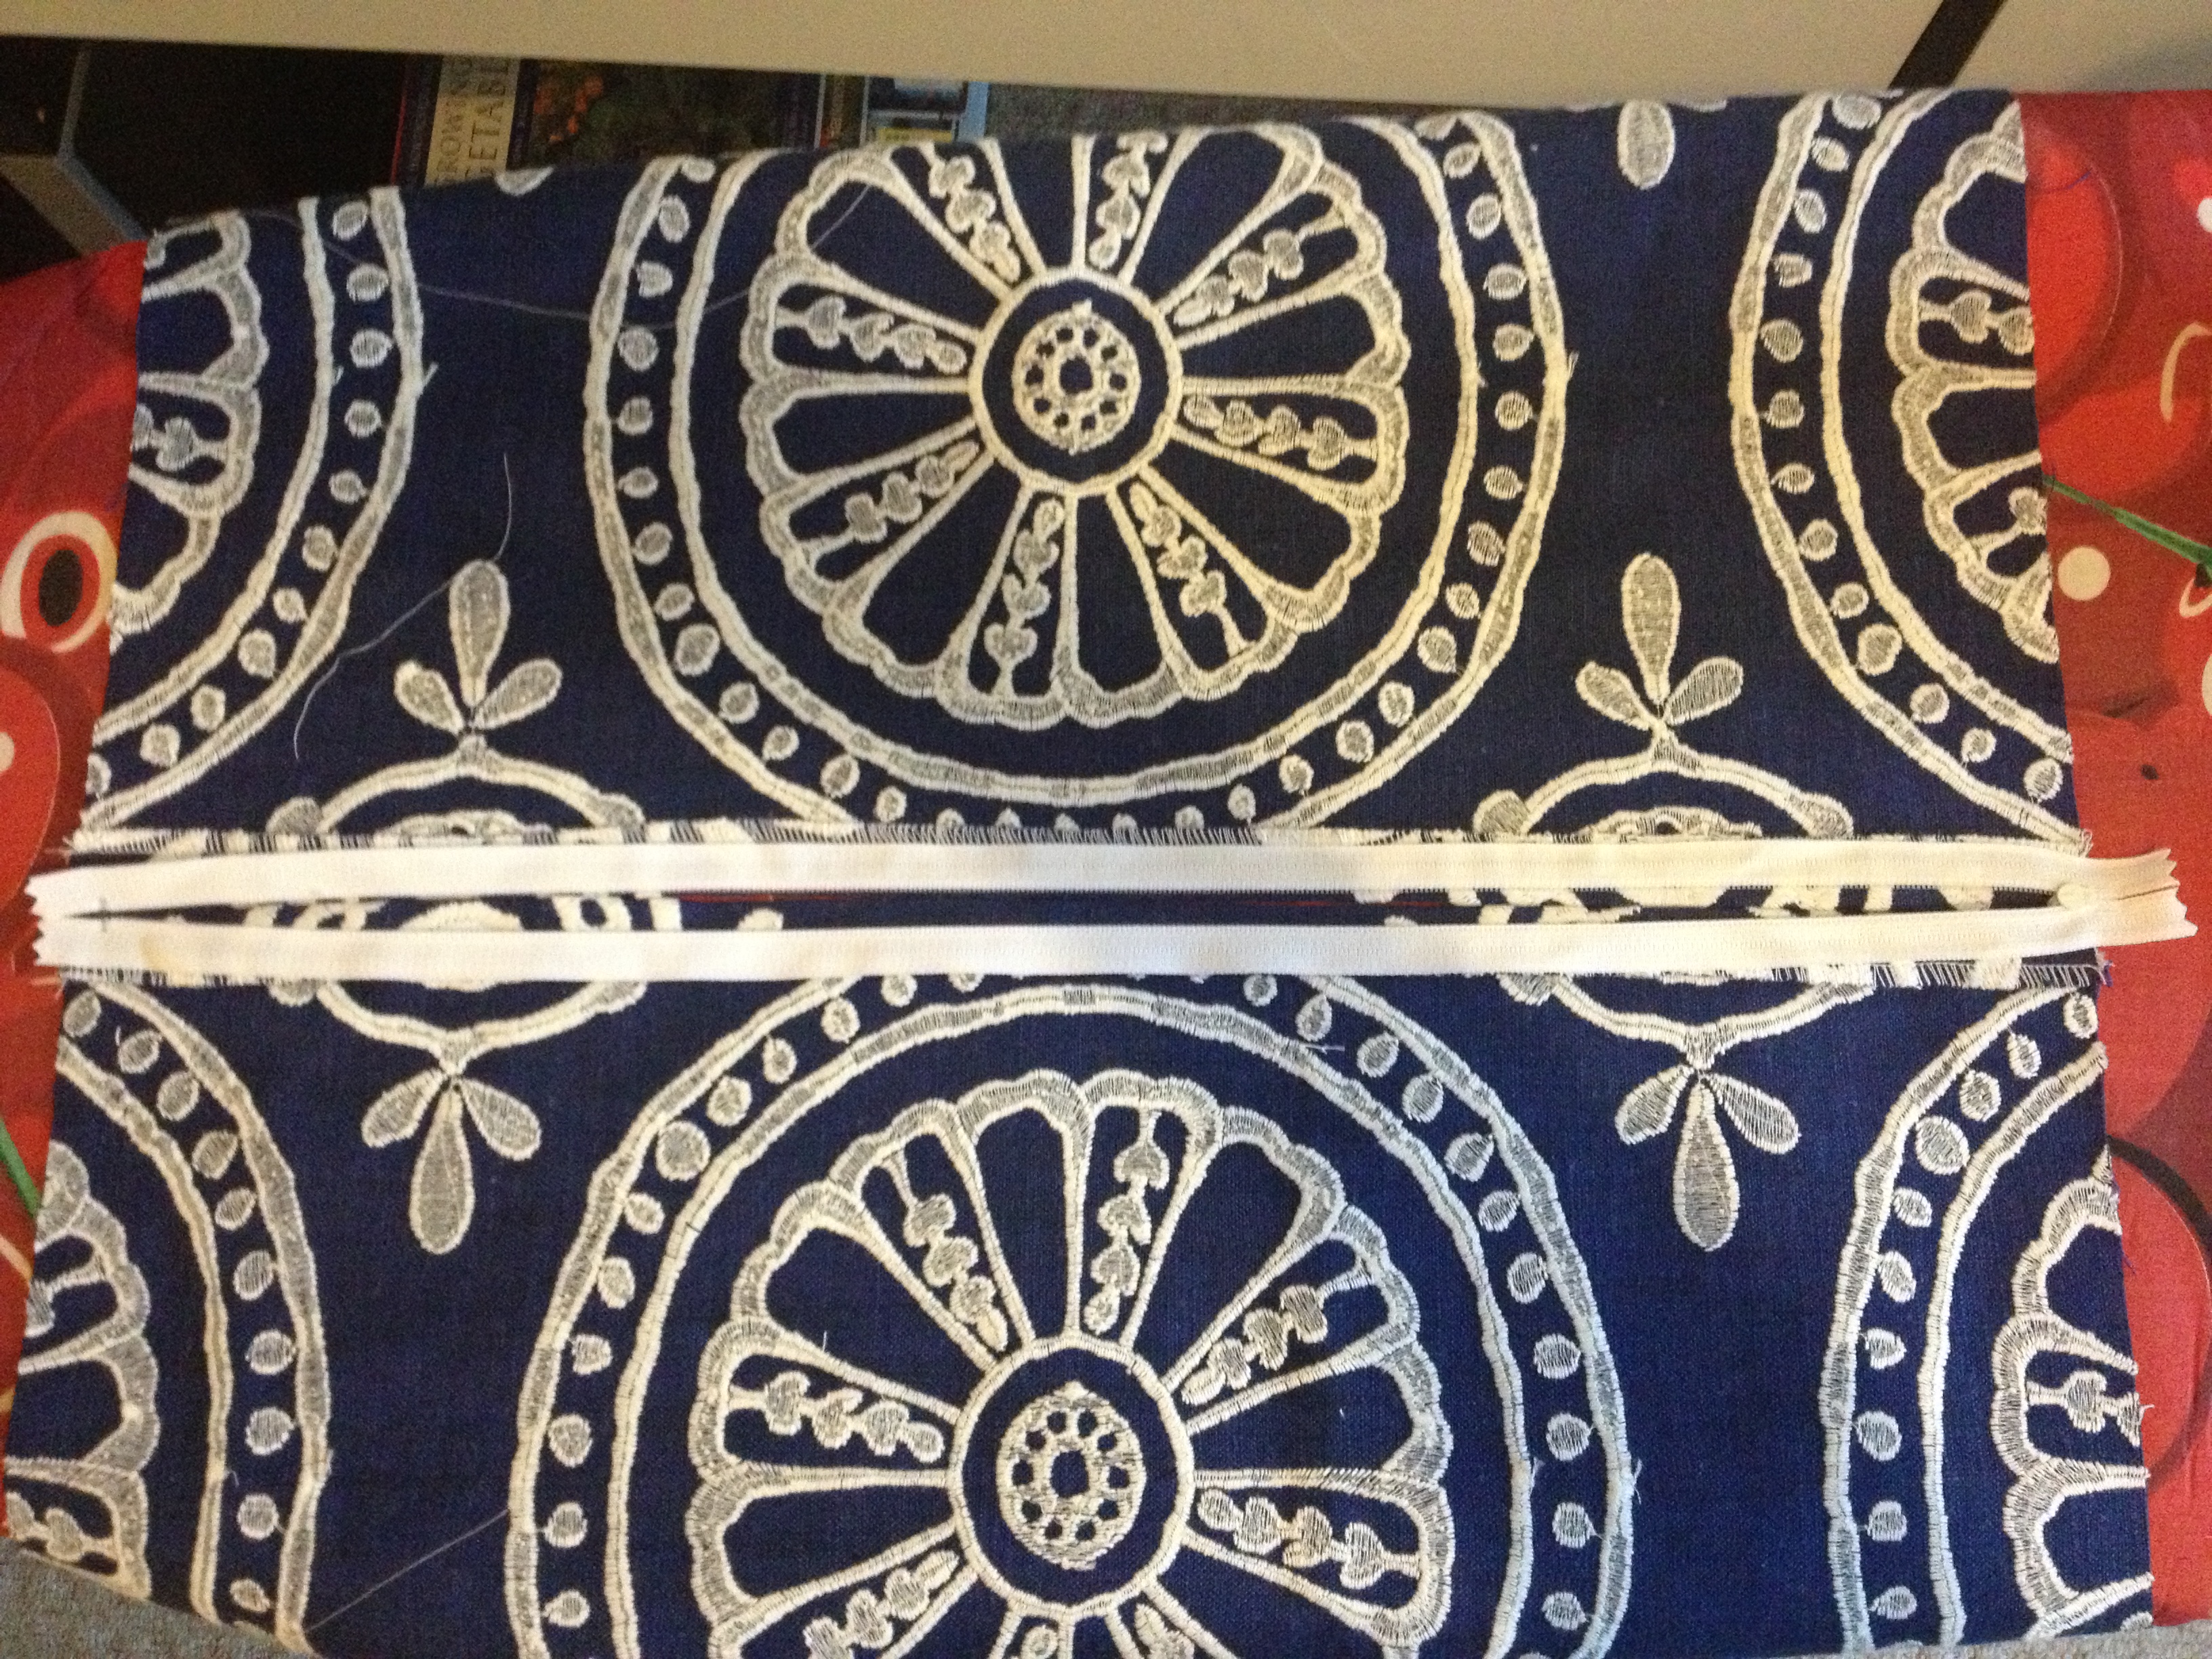
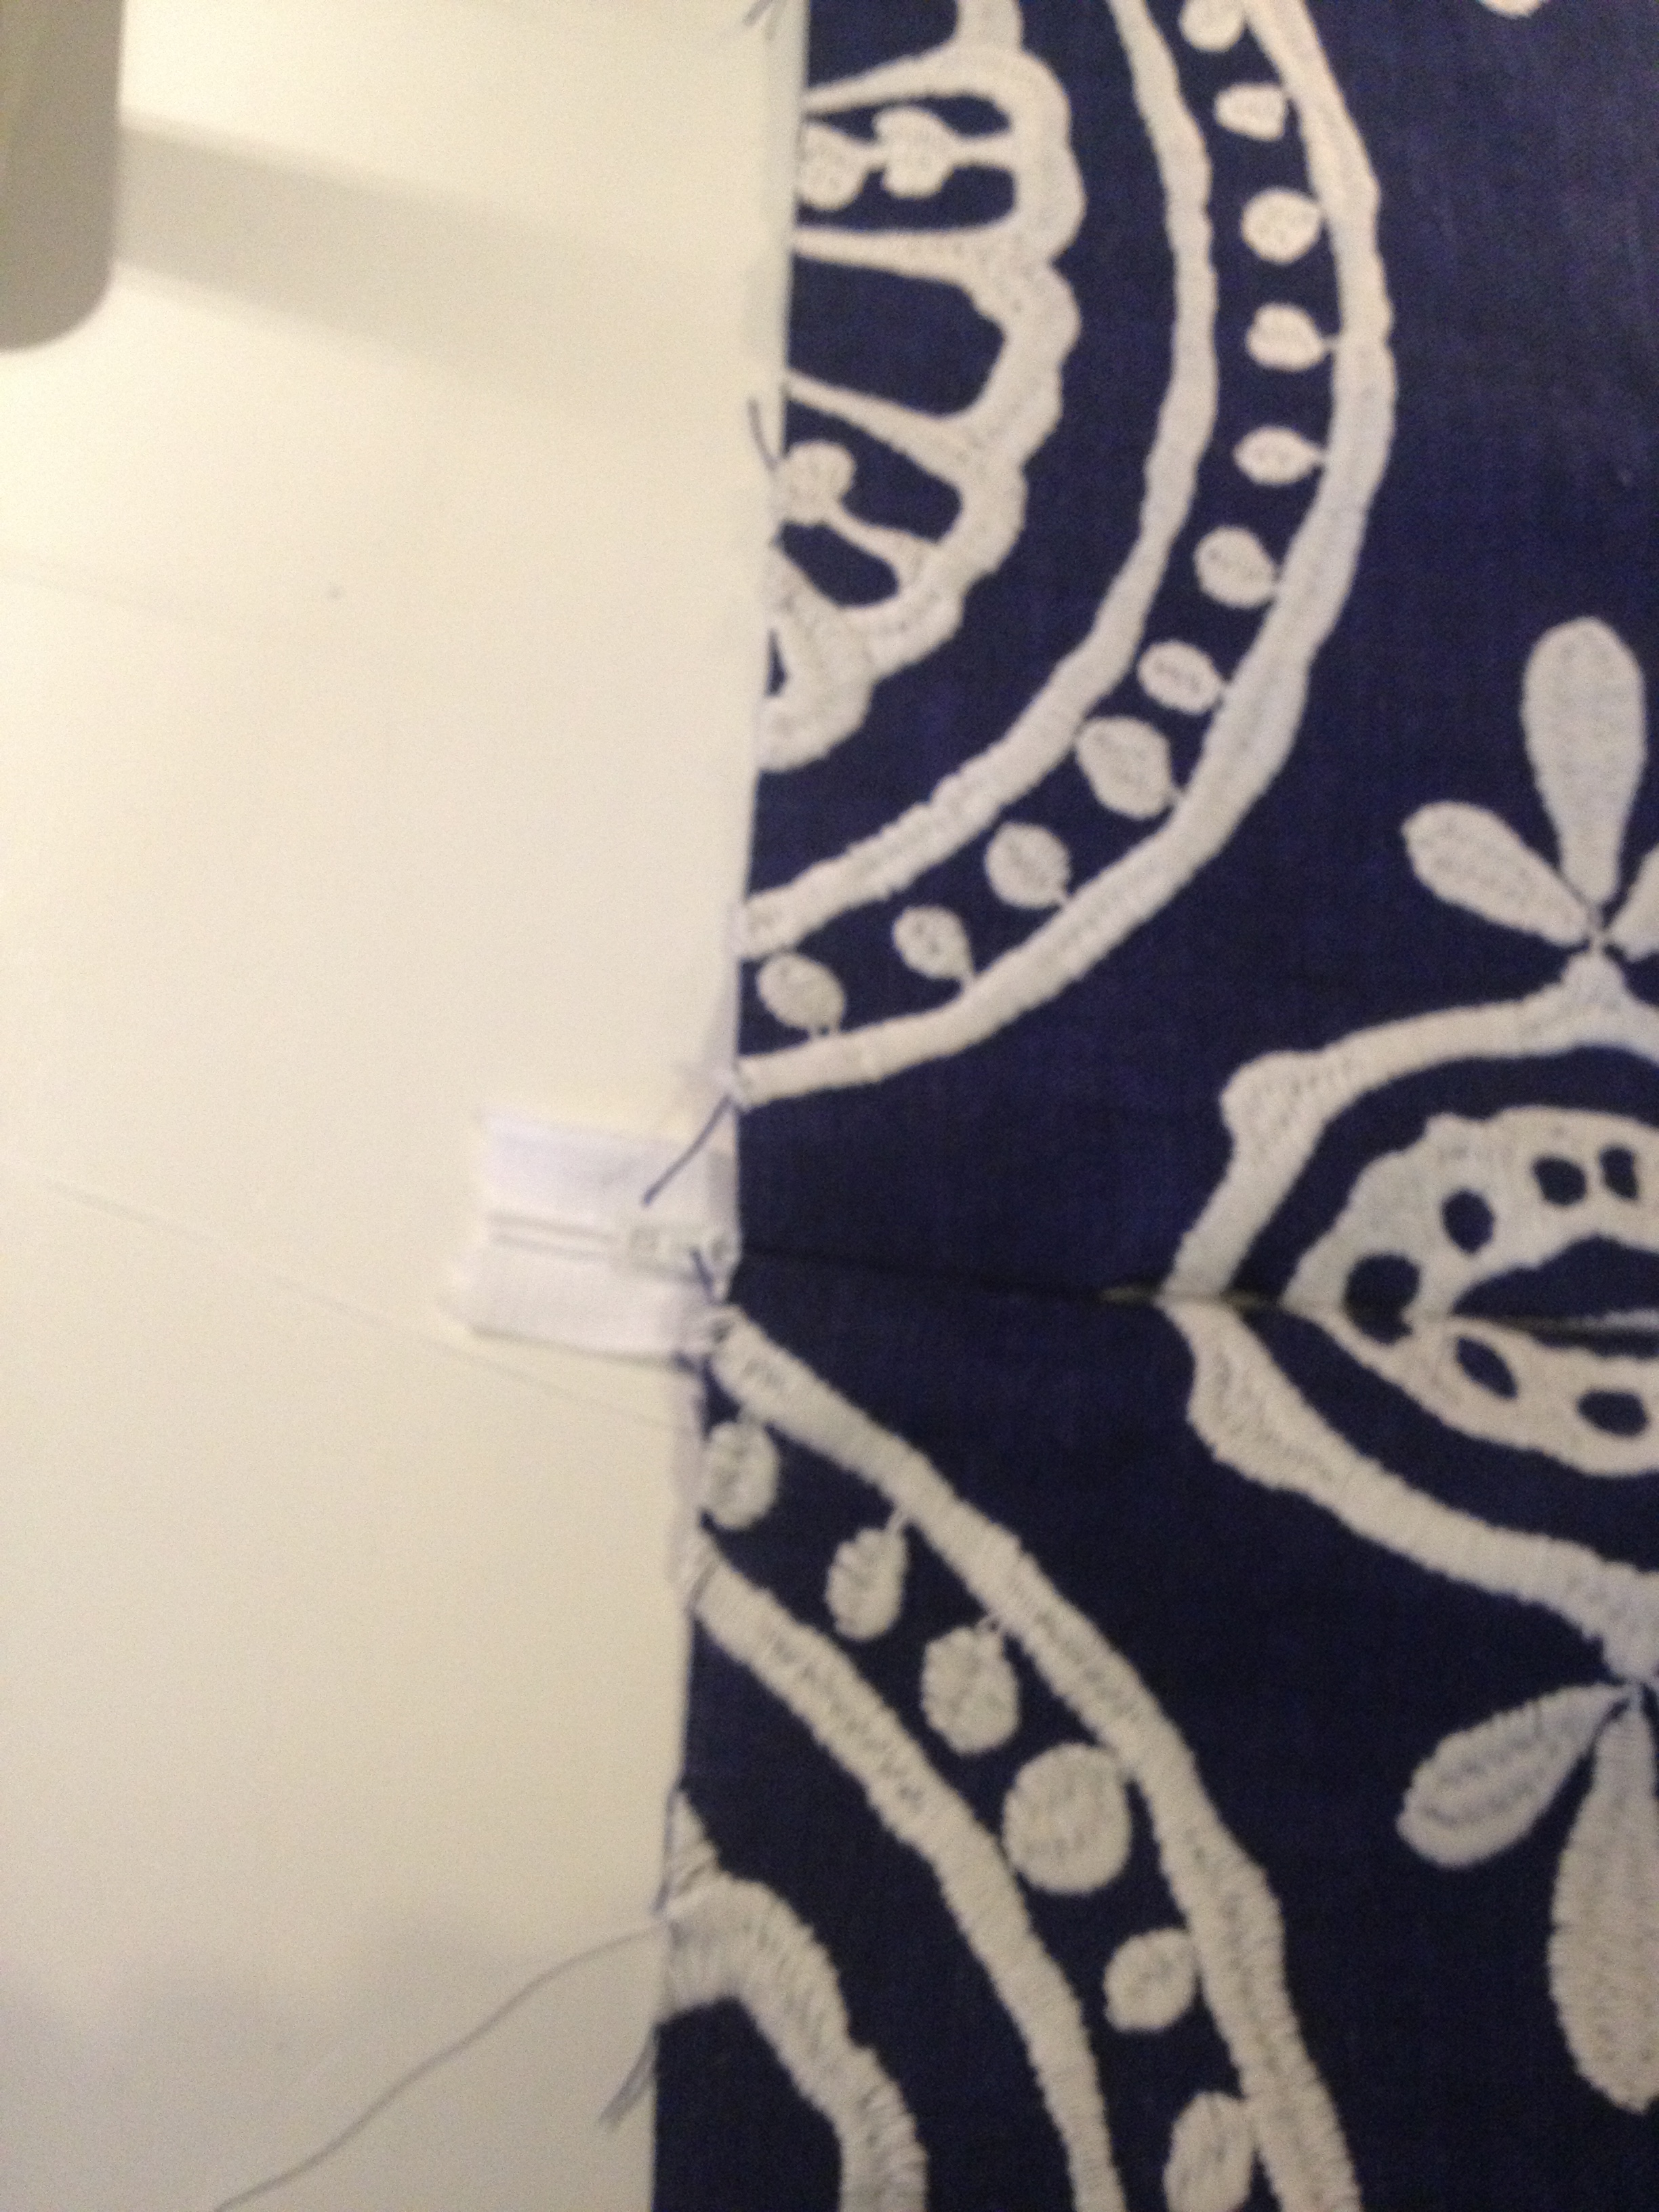
Let’s get stuck in.. take your two lovely pieces of cut fabric and place them on top of each other, lining up the bottom:


Pin the two sides of the bottom of the cushion so that the corners line up. Measure 5cm inwards from each end and mark with a pin:
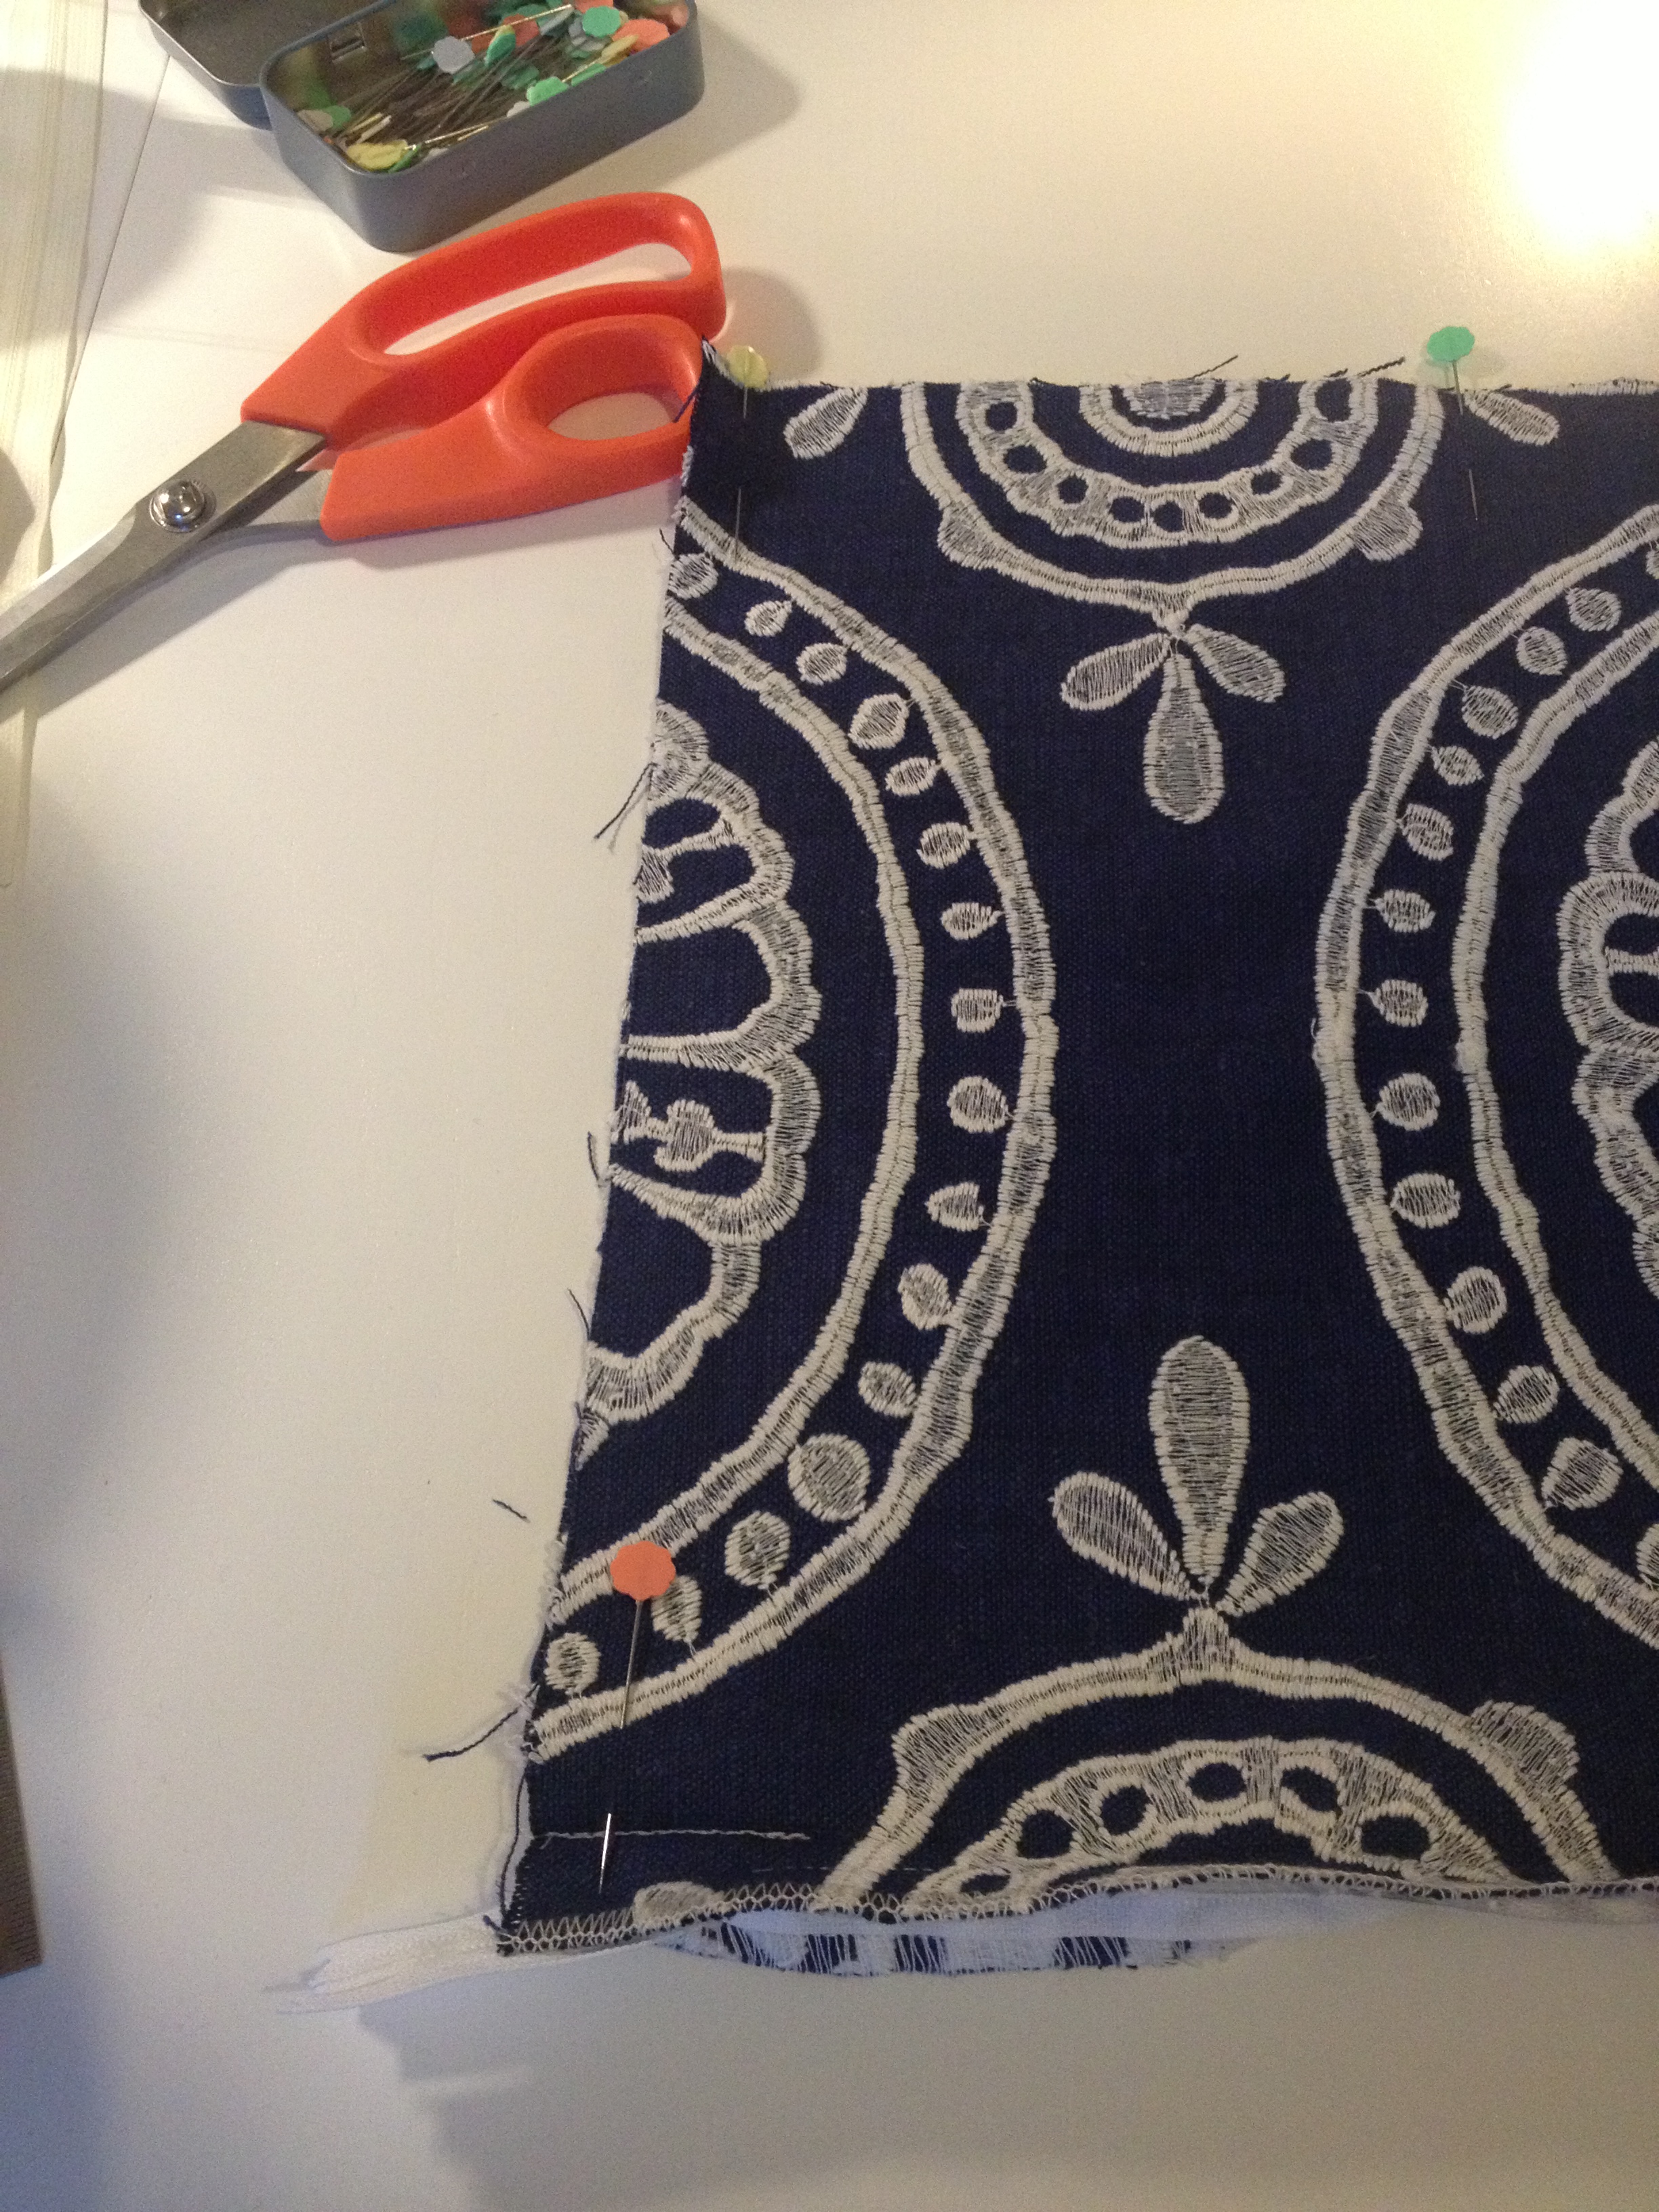
Sew from each edge to the pin using a 2cm seam allowance. Make sure you reverse stitch here a few times to make it really strong:

Open up the two sides and iron along the edge so that you are making a nice 2cm fold on each side:

Unzip your zip and place it facing down onto the bottom opening panel (my zip is a bit longer than the cushion width – that’s also fine):
Ok… now bear with me here… pin the top of the right side of the zip to the 2cm folded over piece. SO you are NOT picking up the main piece of the fabric here… JUST the seam (the bit where you sewed the 5cm). Pick up this piece that you have just pinned and take it to your sewing machine…

Can you see below that the only piece that is going to be sewn here is the seam allowance. I have both the main pieces of the fabric to the left. Your zipper foot should be on and connected so that you are able to sew against the left side of the zip:
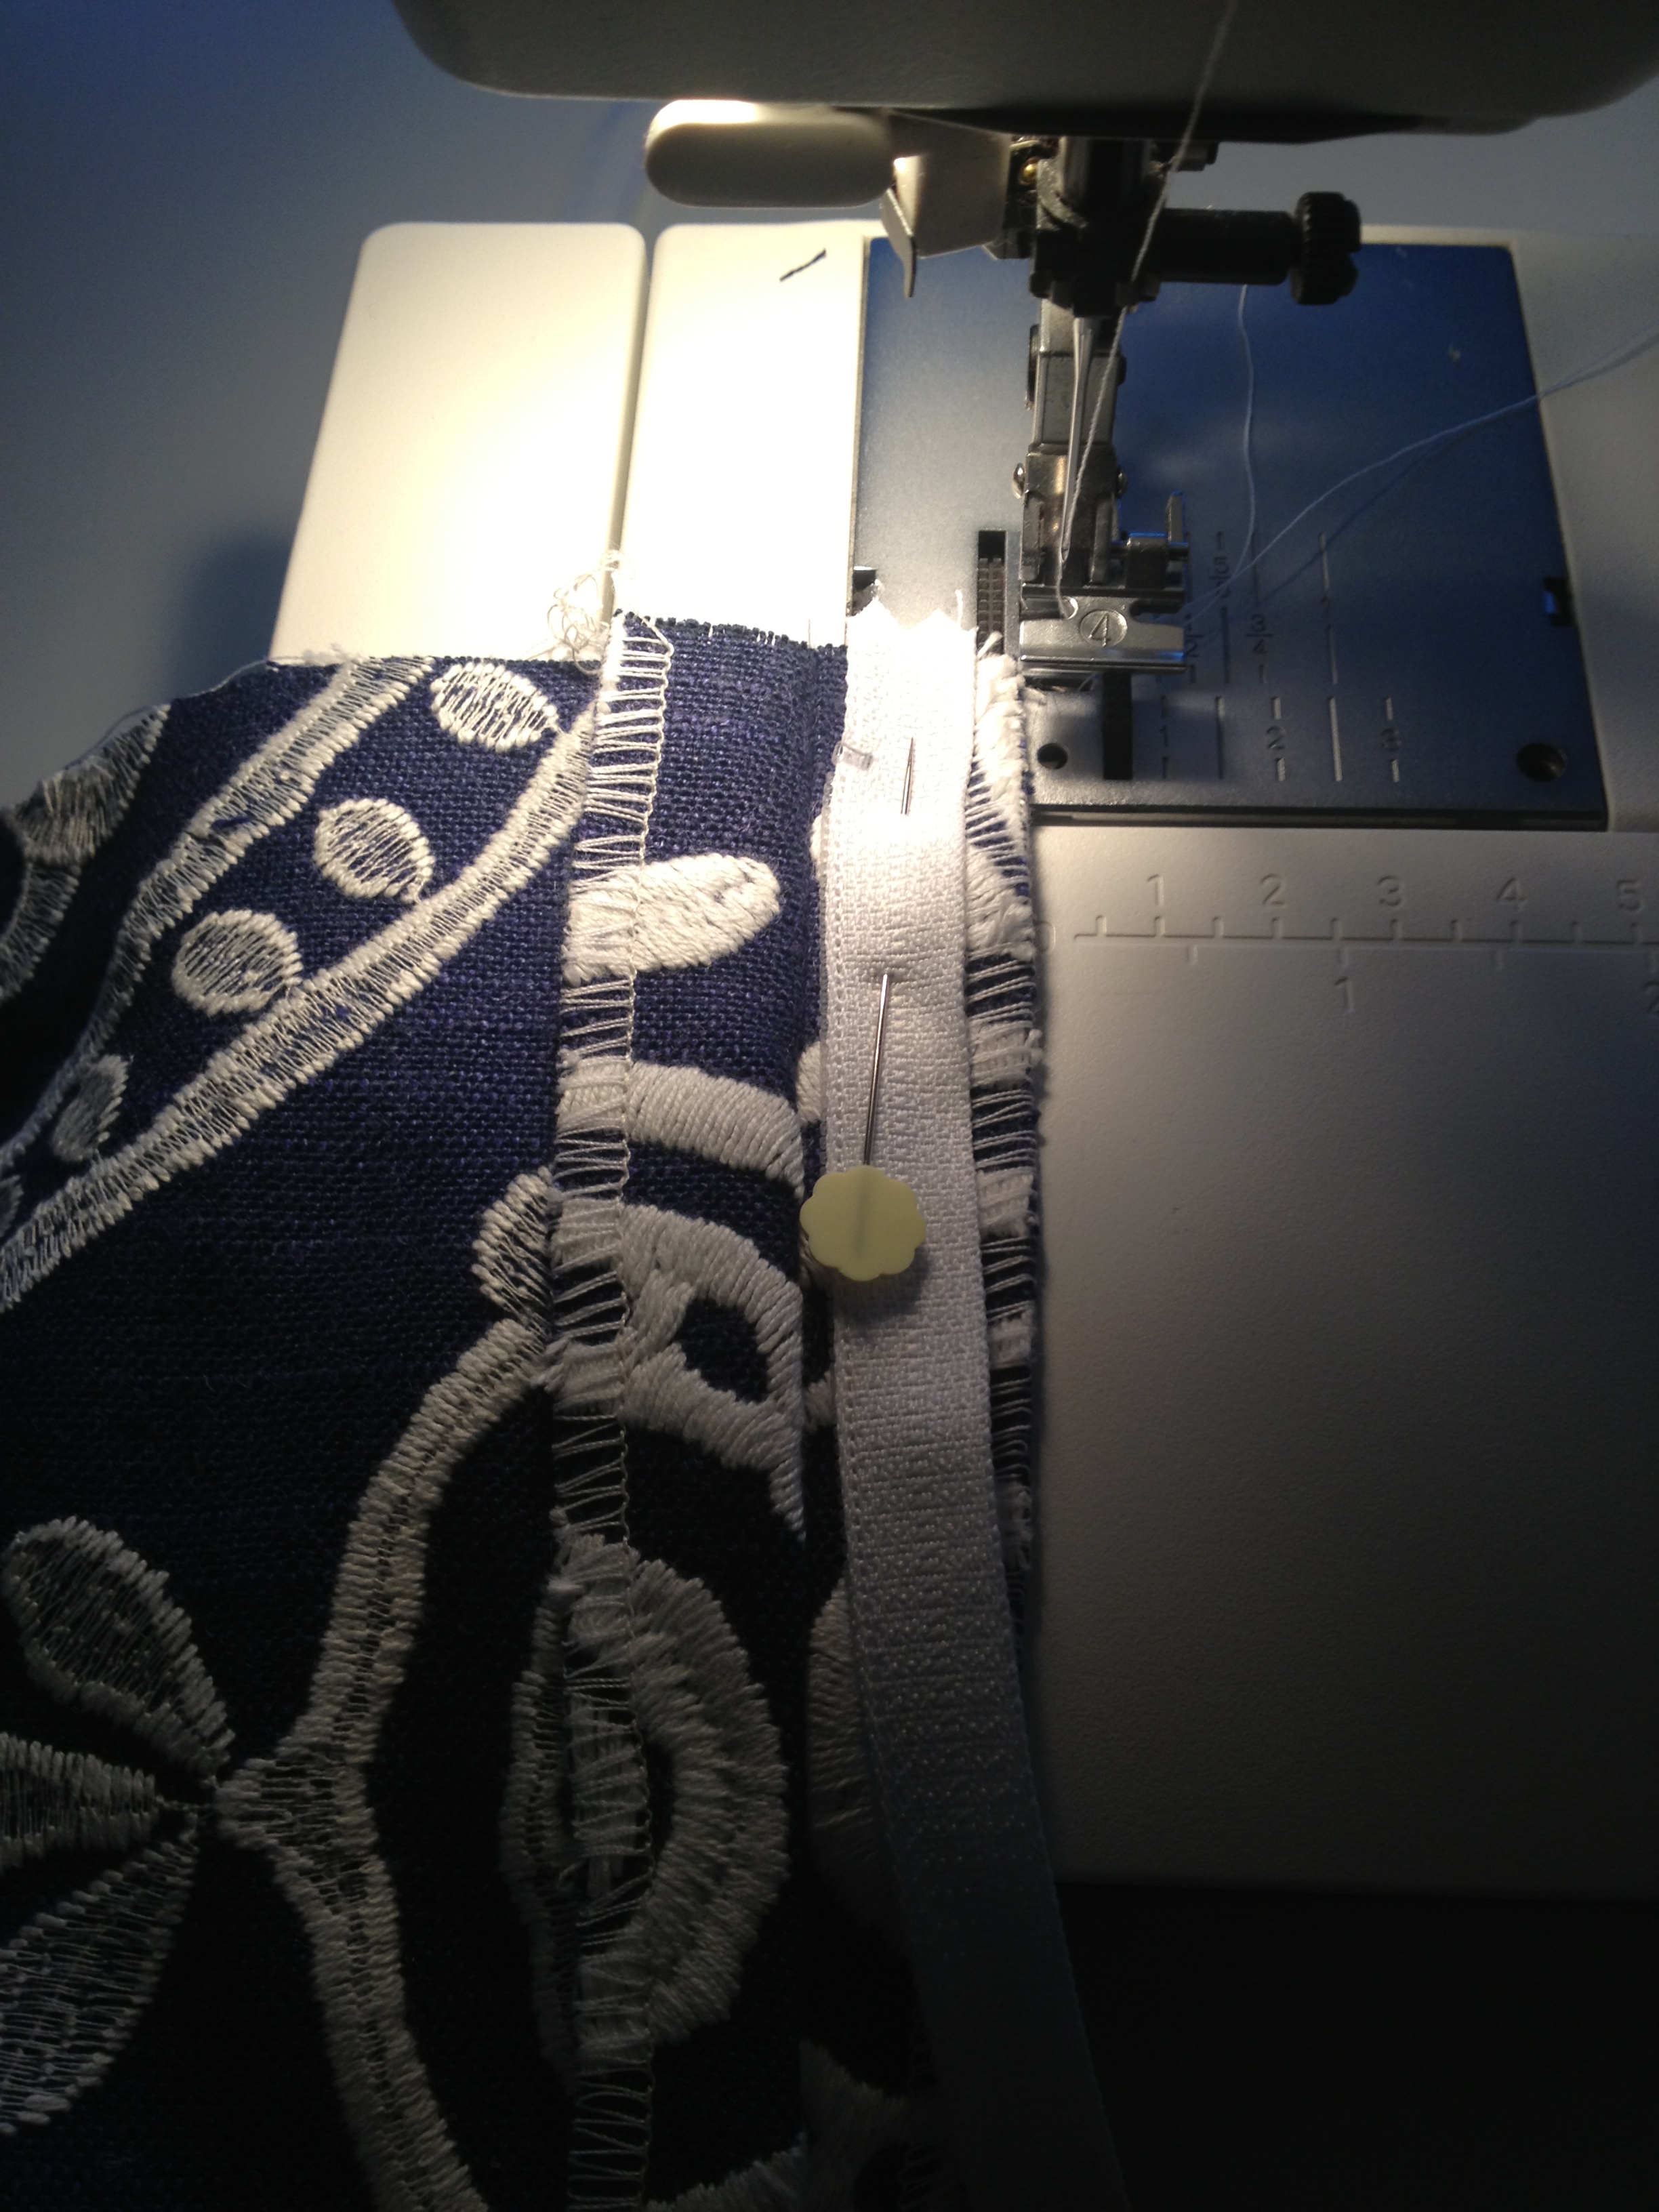
Start sewing 3 cm from the top of the zip. The zip foot is resting up against the teeth of the zip but don’t sew too close to the zip teeth otherwise it will be hard to close the zip. Stop sewing 3cm from the bottom of the cushion.
TIP – when you ironed the bottom section, it created a “line” once opened out. You can rest the zip against this line as a guide. Alternatively, ensure that the zip is the same distance from the edge of the fabric whilst sewing.

Once sewn, this is how the side of the zip will look.

Keeping the cushion open as per the above image, place the other side of the zip face down onto the cushion. The most important part here is that the top of the zip and the bottom of the zip start and end in the exact same place as the side you have already sewn.
Pin the zip to the seam allowance of the cushion, checking the zip starts and ends in the same place as the sewn side. Pin the entire zip to the cushion to hold it in place, remembering to only pin it to the seam allowance:
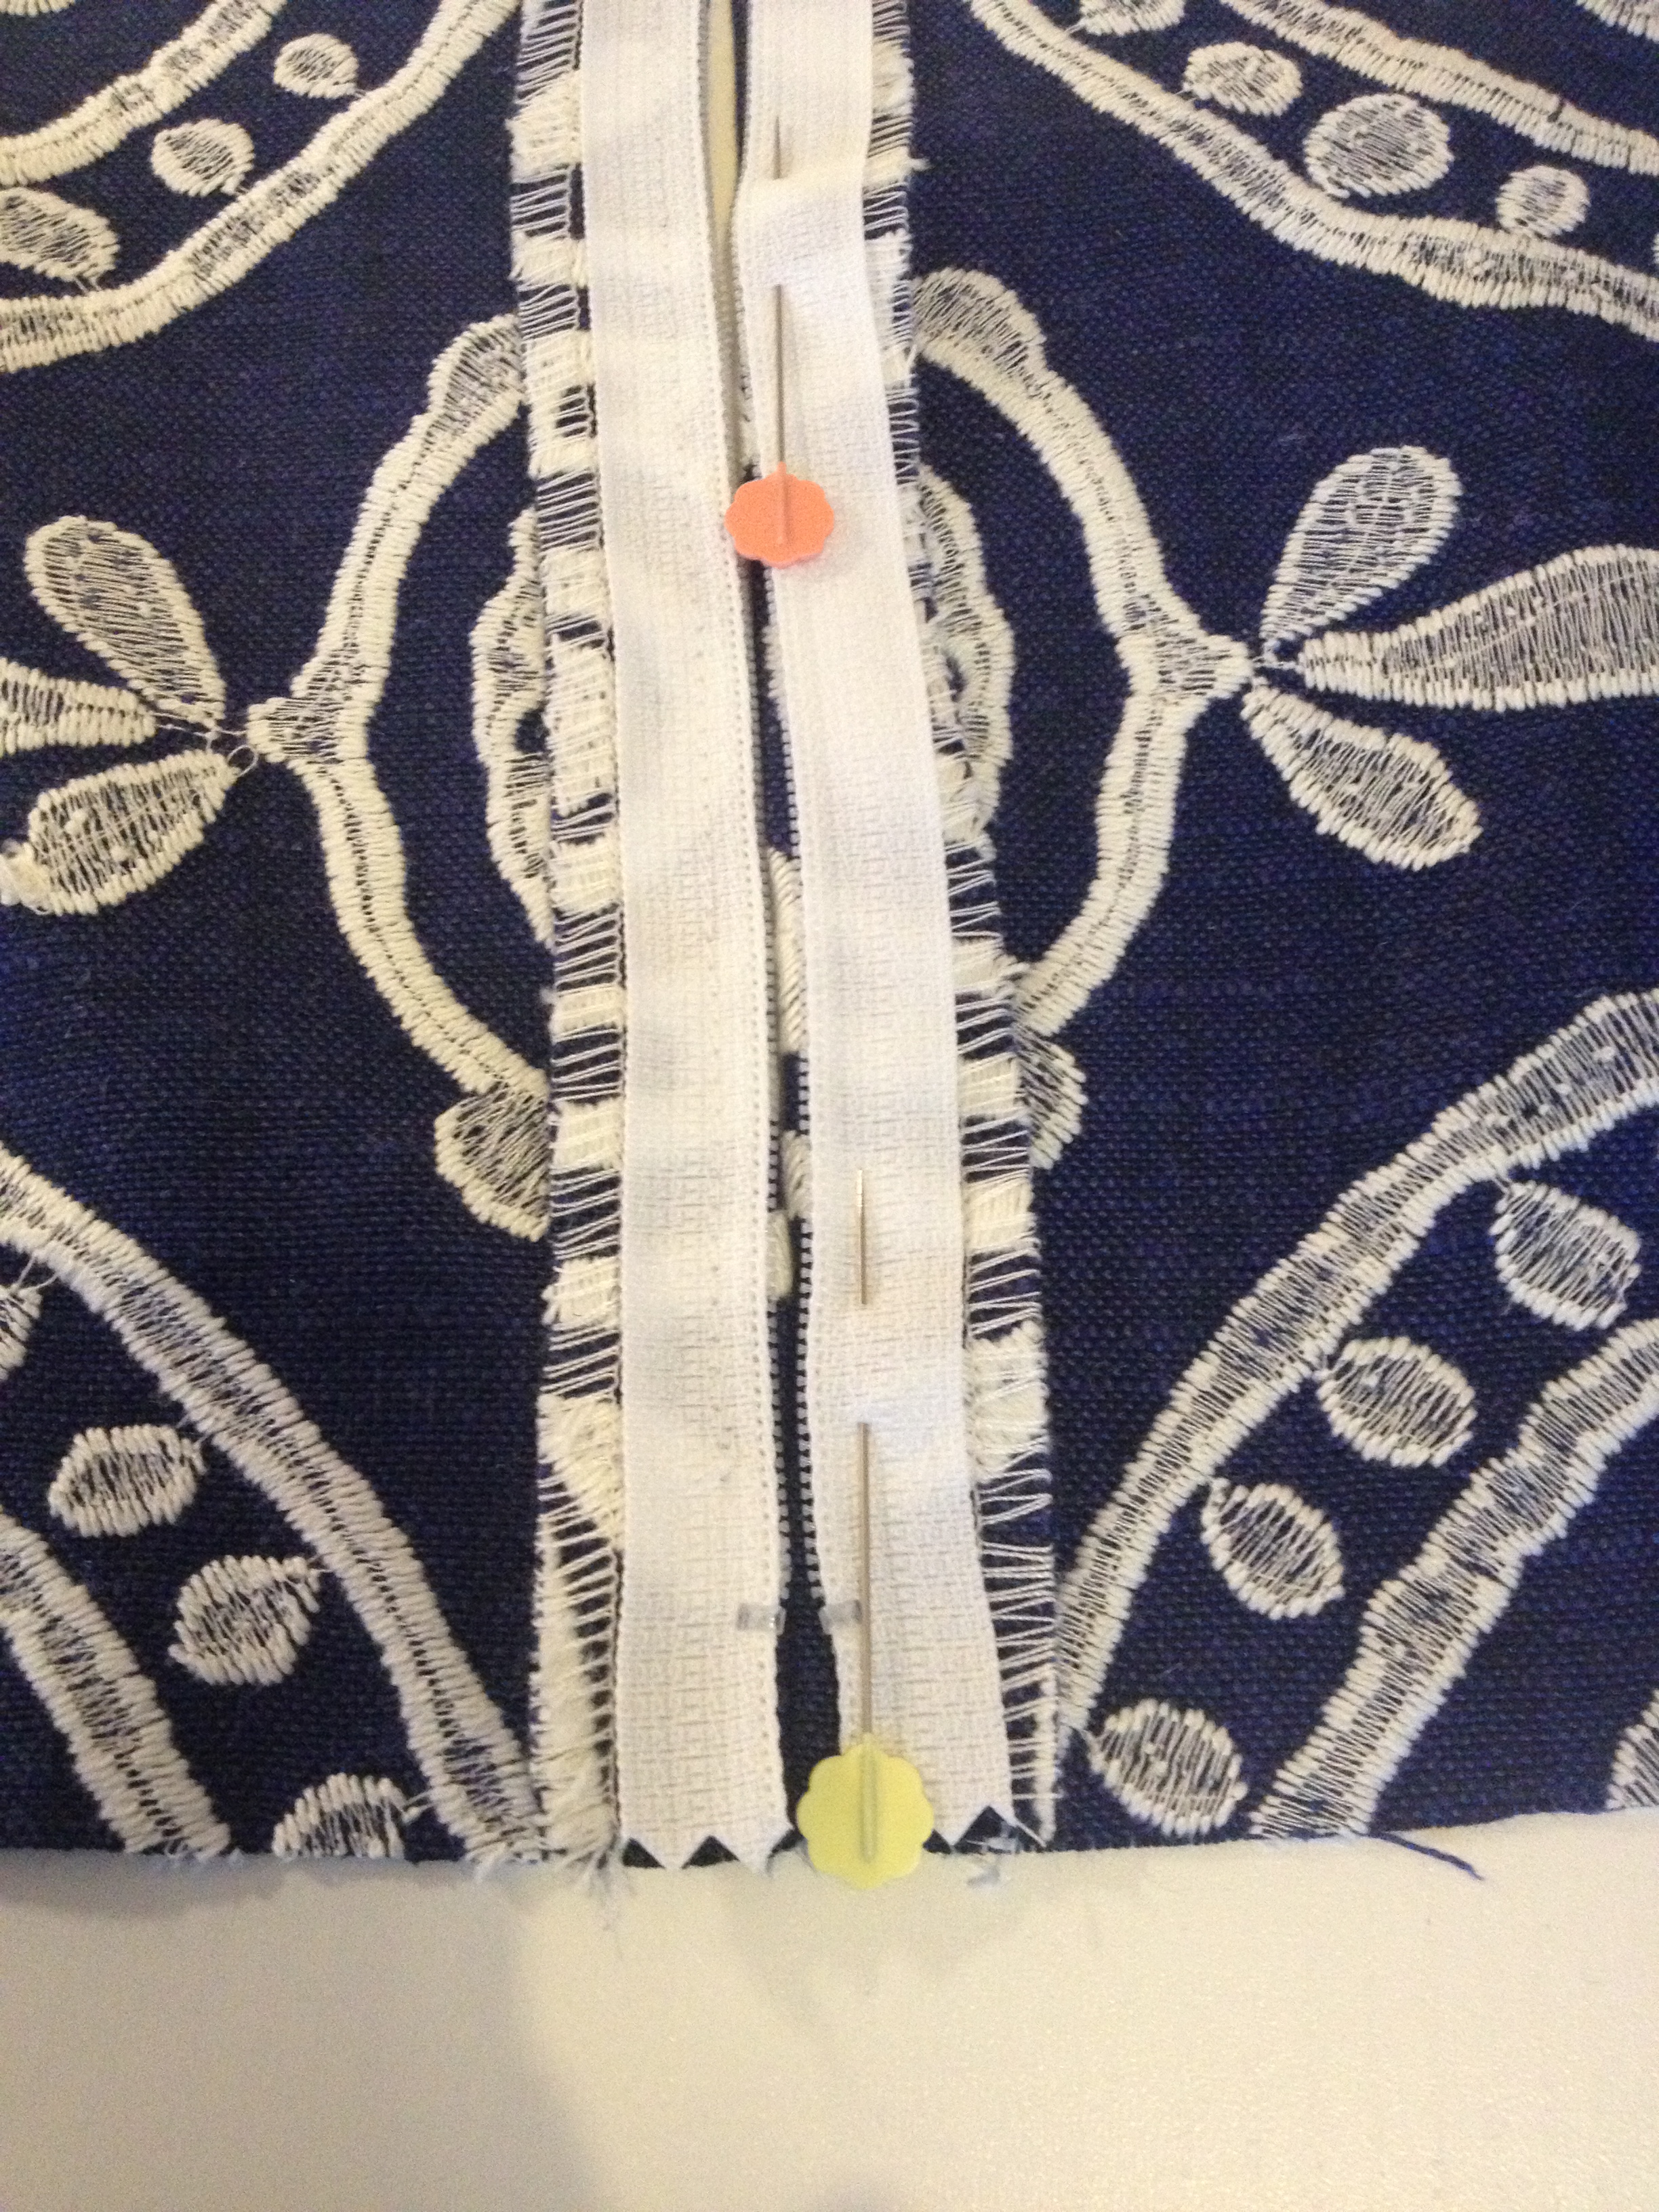
Sew this side of the zip to the cushion, remembering to start and finish 3cm from the top and bottom.

See how nicely the two ends meet? This is very important.

Open out the cushion on the right side. (My zip is sticking out below and the end as my zip was longer than the cushion width – that’s ok too. It will all be hidden inside the cushion cover anyway). Open the zip before completing the next step.
Fold the cushion right sides together and pin all the way around, ensuring all the edges are flush.
Stitch from the bottom of one side, moving the zip out of the way, and pivot at the top edge to continue around the cushion, stopping at the other bottom side edge. The seam allowance is 1.5cm.
Turn your lovely cushion to the right side, push out the corners and it’s done! How easy was that?
Happy sewing everyone!

Sorry dont understand the measurements. If you add 1.5 seam allowance all around how do you come up with 44.5 cm
Hi Judy. If the cushion pad is 45x45cm then your cover should be 2cm smaller (to make it fit really snug).
So 45x45cm minus 2cm = 43x43cm (finished size). Then add seam allowance 1.5cm = 44.5×44.5cm (this is the size you will cut the fabric).
I hope this helps. If you don’t want the cushion to fit snug you wouldn’t take off the 2cm initially.