
The Wonderful Door Stop Tutorial

No door should be without a door stop. Heavy enough to keep any door wide open but also functional and stylish. Filled with buckwheat (and lavender if you wish!). To make your own doorstop here are the steps.
Fabric choice – a canvas type fabric works well for these doorstops as they hold the shape, however I have made many out of a thinner fabric and they look great – I suggest then filling them more.
Filling – If you are always going to keep your doorstop indoors you can fill it with rice, lentils or wheat and add a handful of lavender for a lovely fragrance. Bear in mind that a natural filling will mould if it gets wet so use plastic granules or even a plastic coated fabric for the bottom piece. For an outdoor doorstop or one that is bound to get wet alot I would make the entire doorstop out of plastic coated fabric.
What you will need:
Main Piece – 1 piece: 40cm wide by 20cm length
End Piece – 2 pieces: 14cm wide by 9cm length (these can be in a contrasting fabric)
Handle – 1 piece: 17cm wide by 10cm length (this can also be in a contrasting fabric)
Make sure that you make your pattern pieces very accurately and also cut them out really neatly – this is going to be the most important part of this project as we are only using 1cm seams and it all needs to fit in to each other like a puzzle!

Main piece:
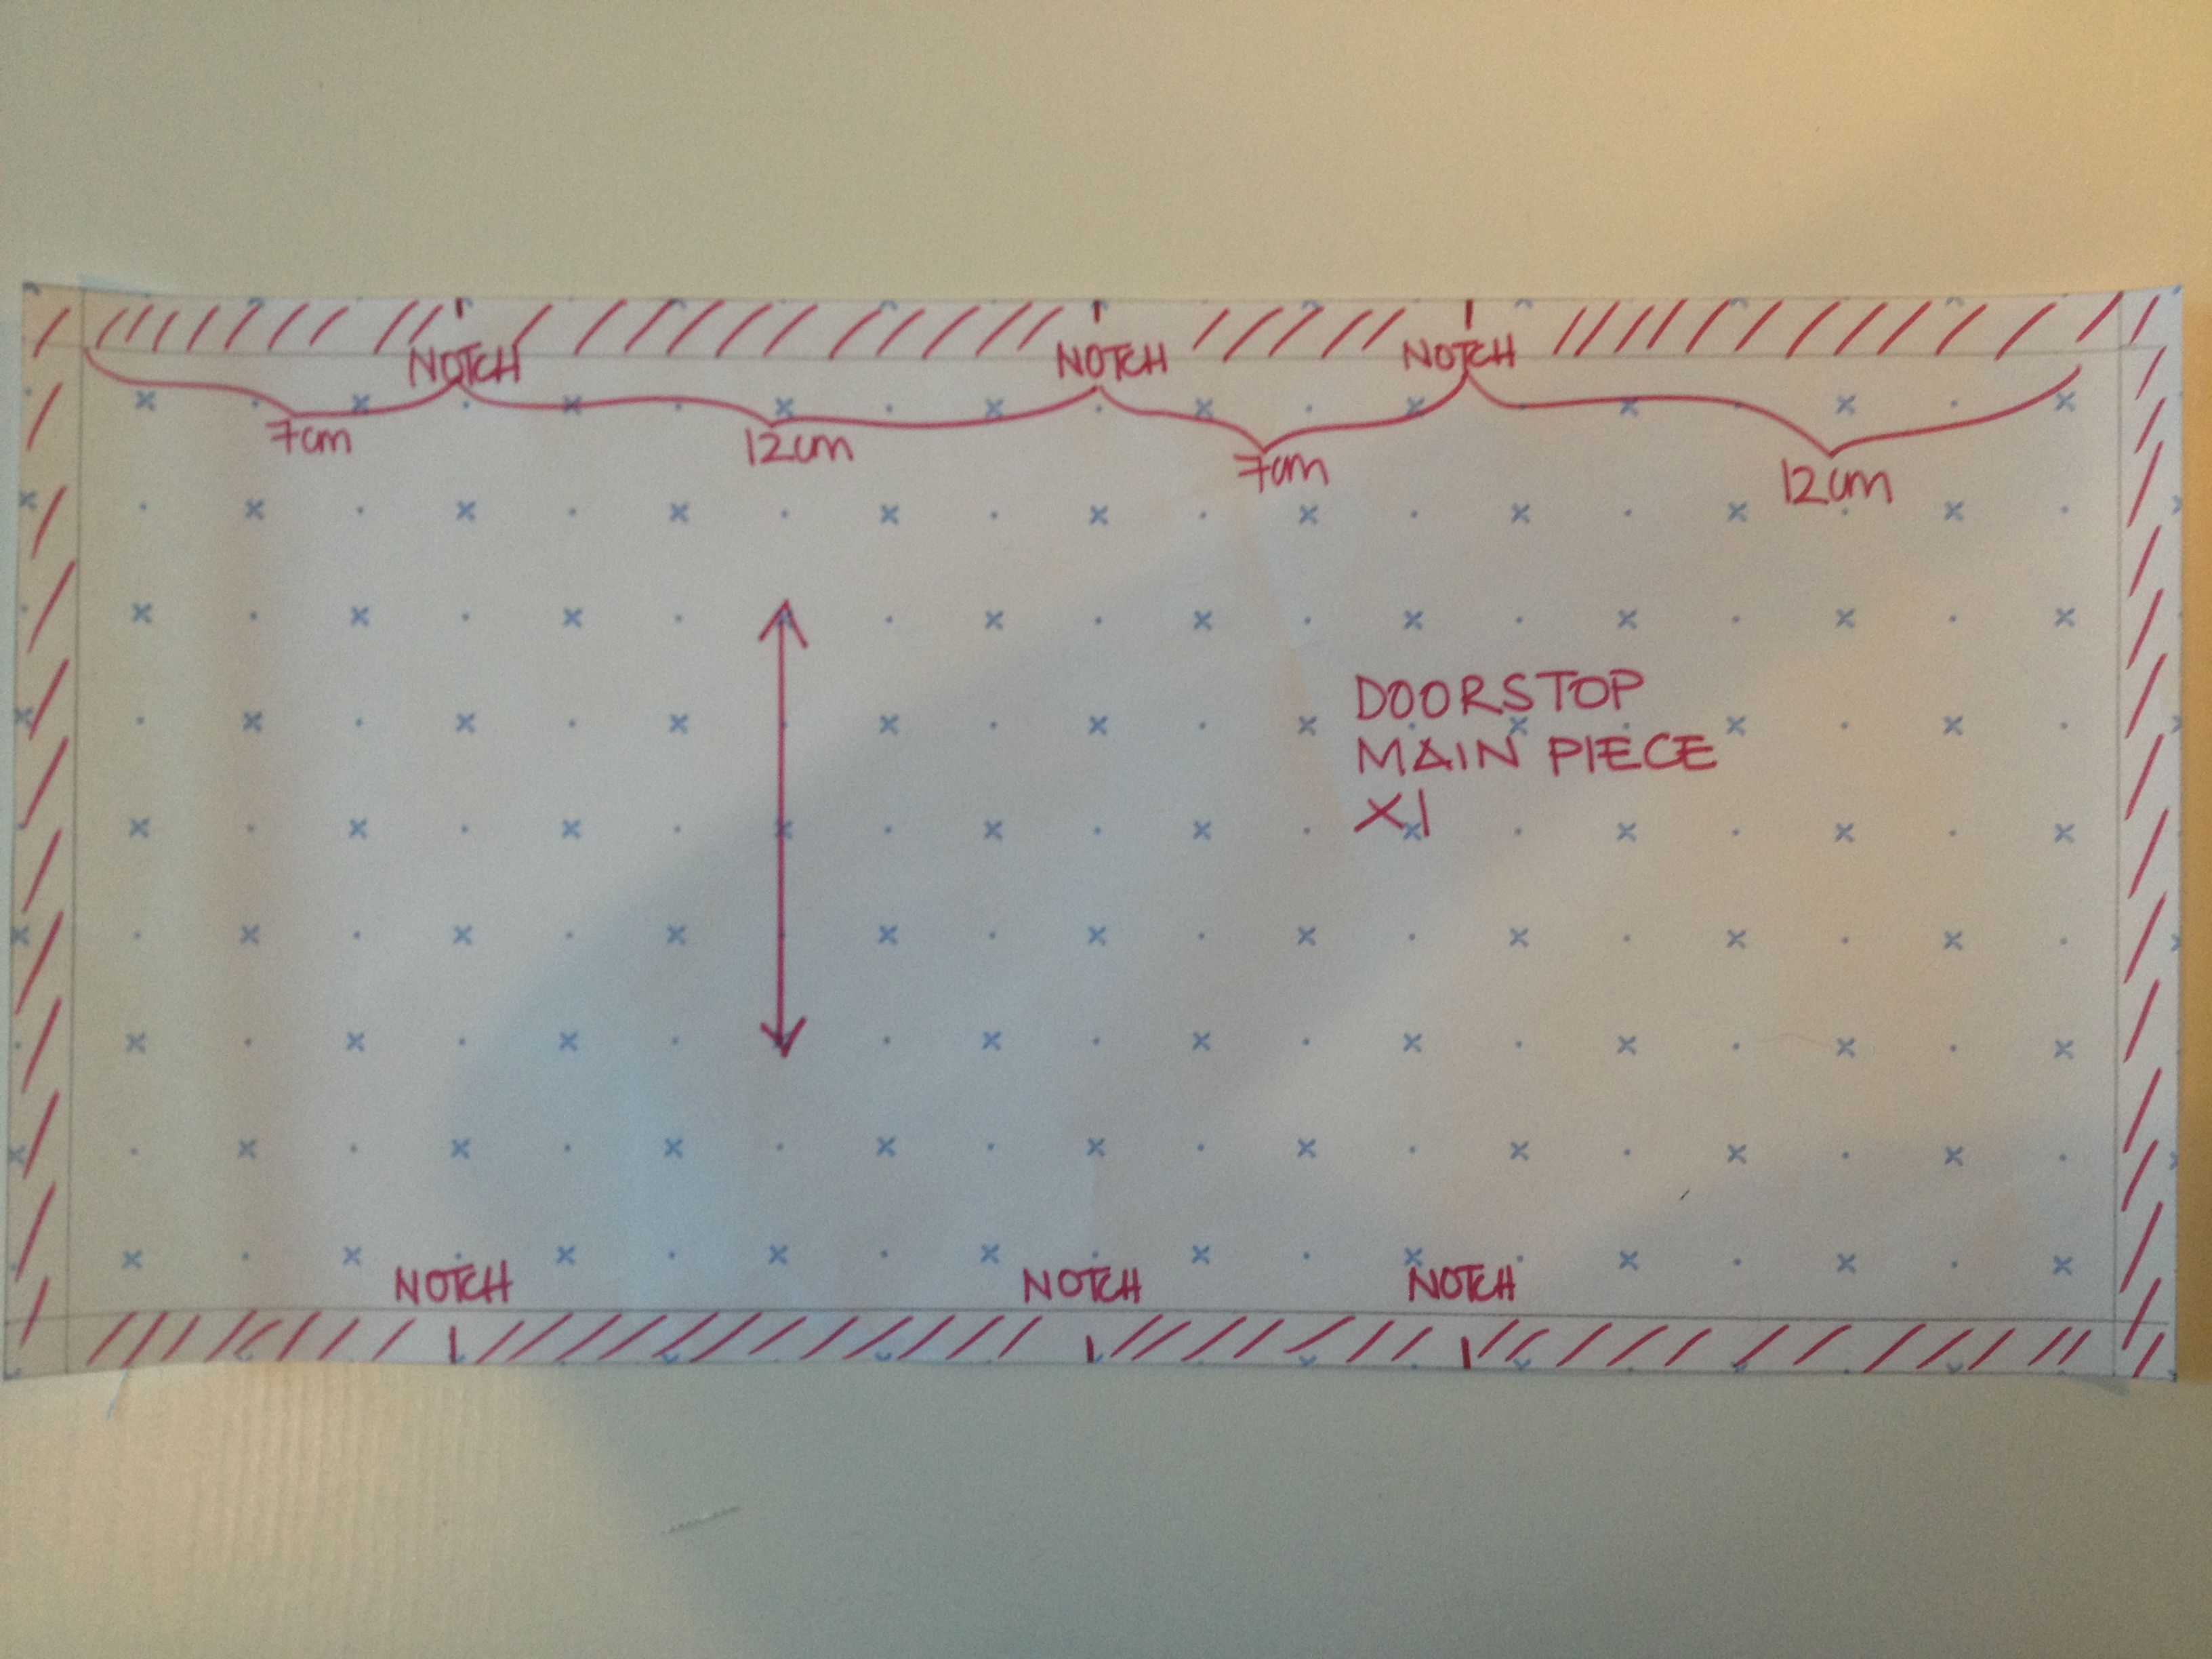
On your main piece mark out the following notches across the width on the top and bottom of the fabric :
1cm from the left side mark the seam allowance. Then 7cm from the seam allowance mark make your first notch mark. Then 12cm away from this make your second notch. Mark your third notch 7cm from the second notch. Your final notch will be the fourth – 12cm away from the third notch, leaving a 1cm seam allowance:
In summary: 1cm seam allowance, 7cm notch, 12cm notch, 7cm notch, 12cm notch, 1cm seam allowance
First step – the handle:
Fold and sew your handle piece down the long edge, right sides facing – using a 1cm seam:

Pull the fabric through to the right side and press. I’ve pressed it so that the seam is down the centre of the handle and will be the underside of the handle and not seen from the top.

Now you need to attach the handle to the top of the doorstop. Use one of the end pieces and place the handle so that it sits evenly and centred on the top piece. Stitch very close to the edge to hold it in place:

Next step – main piece:
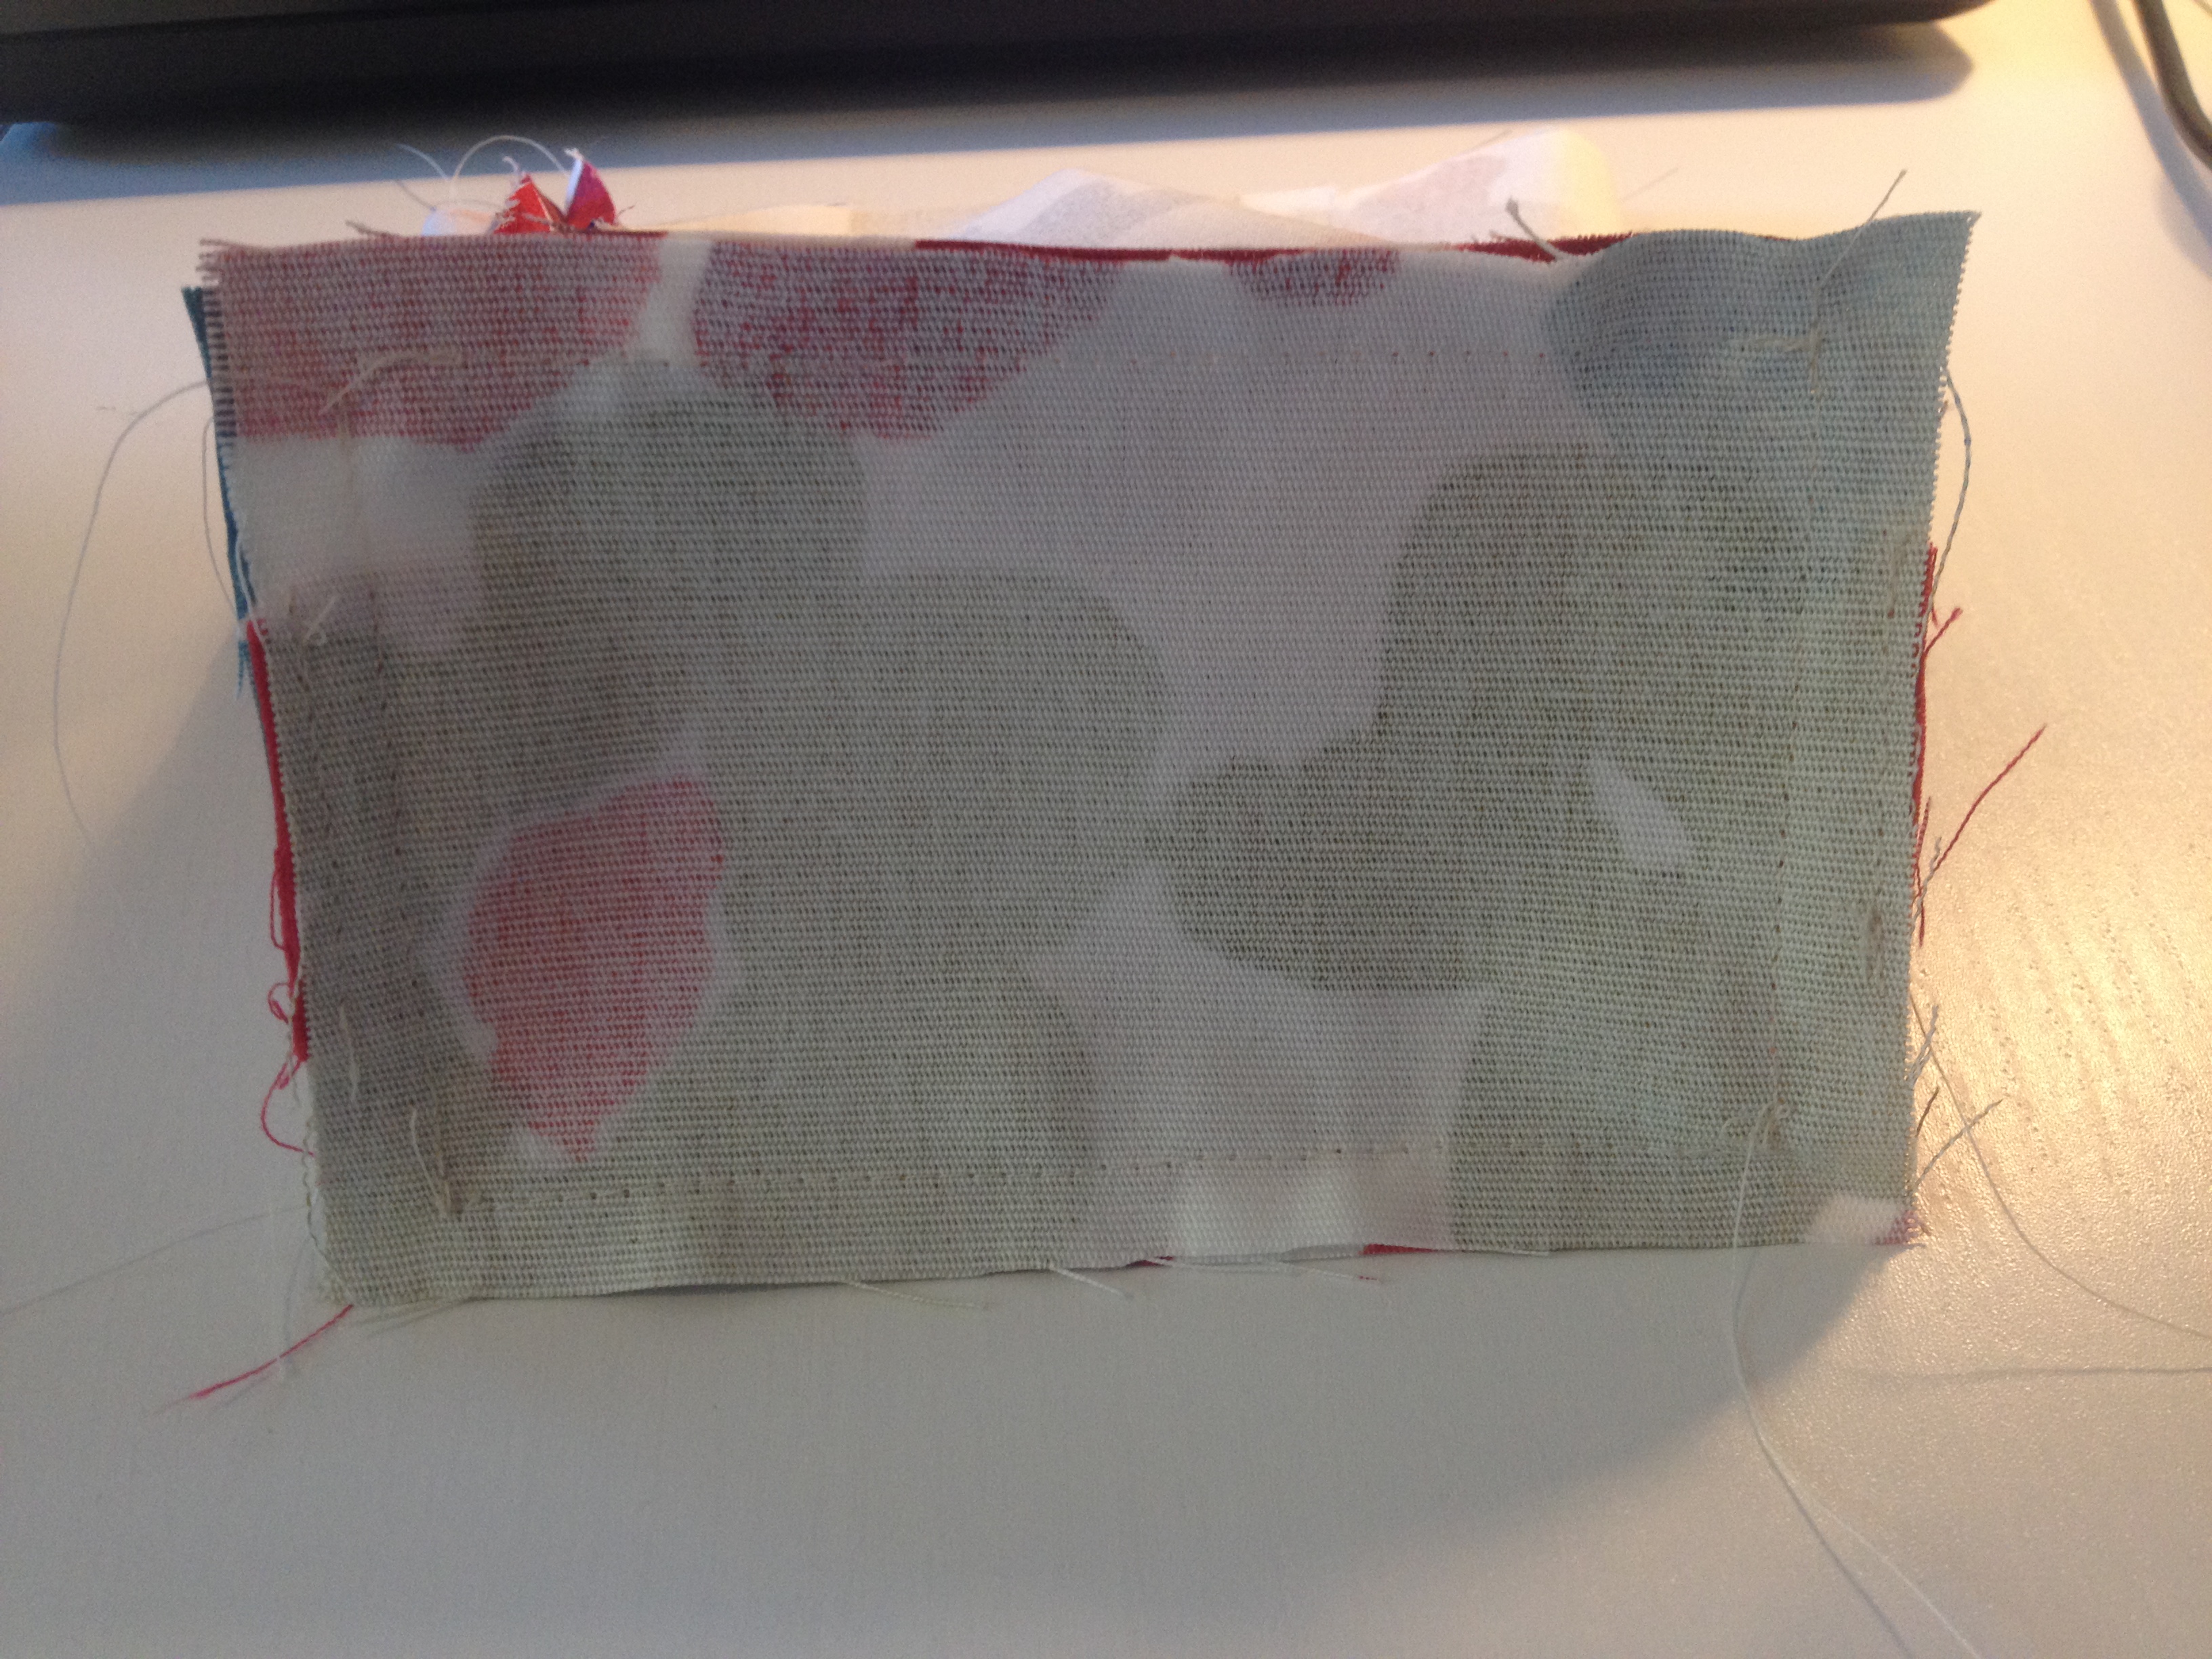
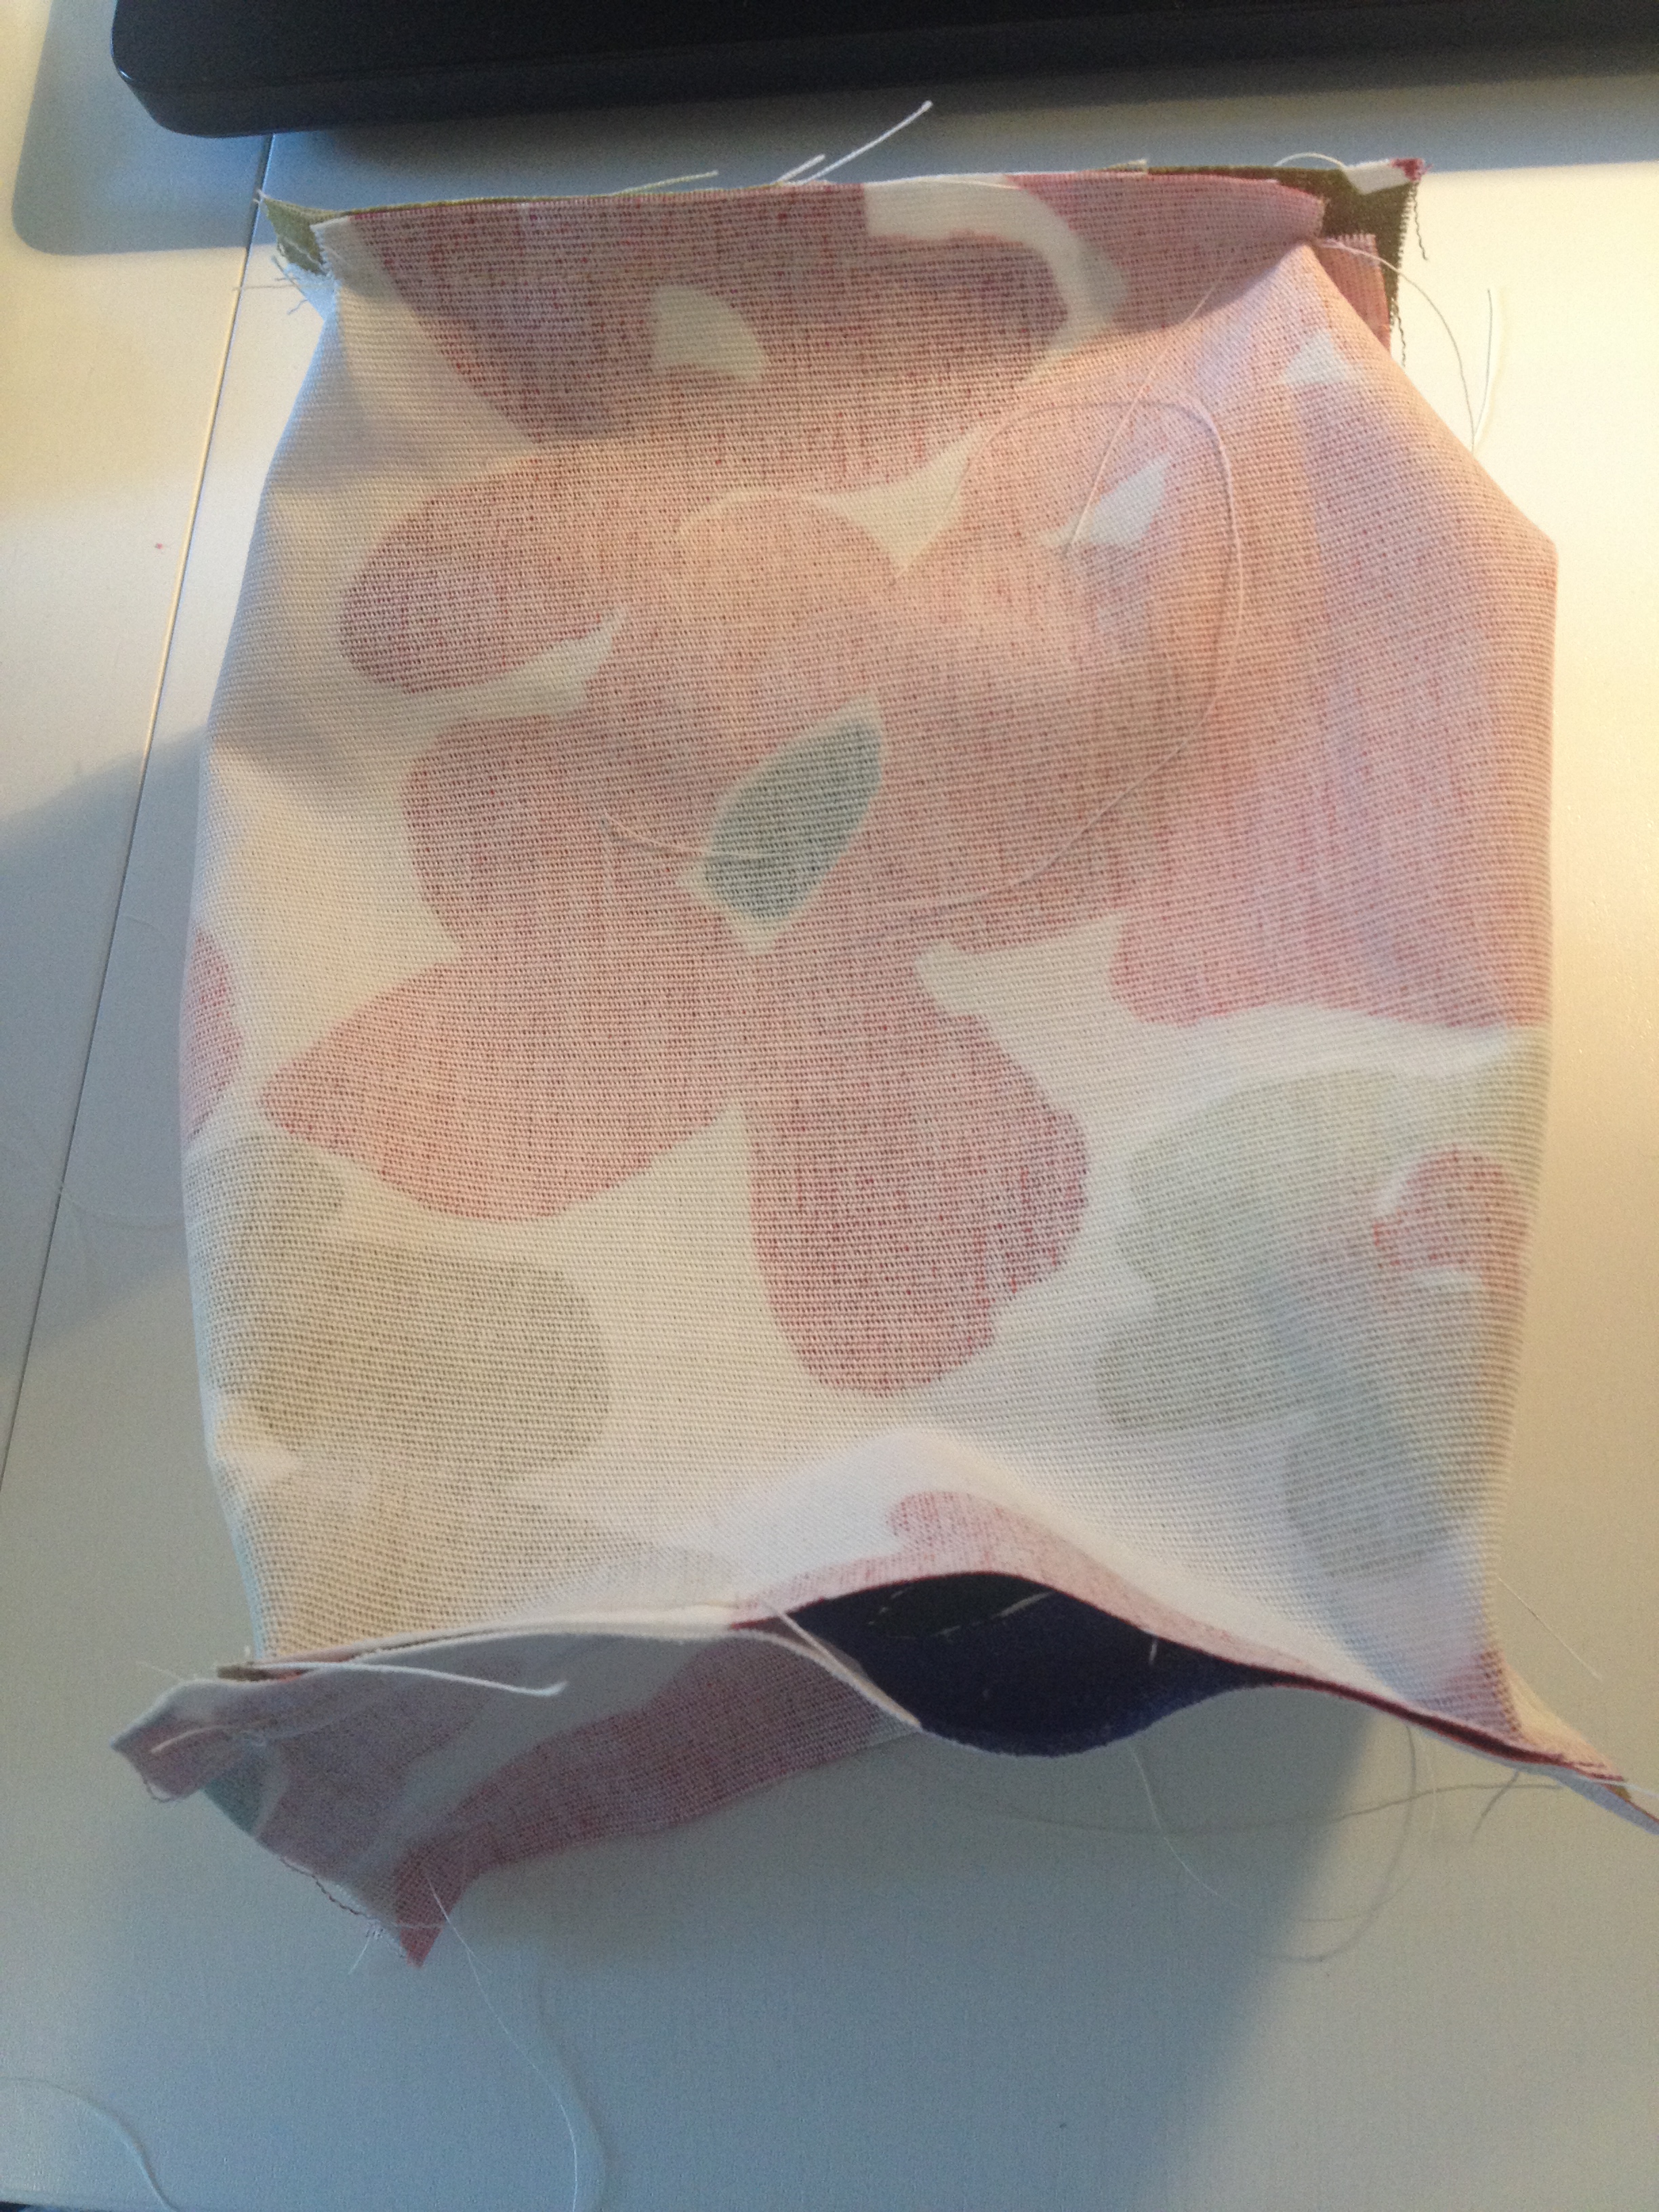
Now take your main piece and fold right sides together. You need to start sewing 1cm from the top of the main piece down and stop 1cm from the end (see second pic here):


Remember those notches you made in the main piece? Two of the sides are 12cm which will line up against the sides of the handle piece. So if you slot the bigger side of the handle into the inside of the main piece right sides facing you will see that the handle is 2cm bigger than the 12cm side piece with notches. This is because the handle has a 1cm seam allowance on each side but the main piece doesn’t. I have marked it to show you with pins – the handle piece has a 1cm seam allowance so you can see 1cm each side of the pins.
Put the handle inside the main piece right sides together. Match up the 12cm sides to the side of the handle with 1cm on each side of the notches:

Using a 1cm seam allowance start sewing from notch to notch. Don’t go over the notches!
Now go to the opposite side and line it up as you just did in the previous step. You will see on the right side that you can now see the seam going down the doorstop. You can see from the second pic below that I have moved the right side seam allowance to the right to enable me to sew right up to the dot (ignore those pins at the back).

OK, so now you have sewn the two bigger sides of the top of the doorstop:

Now we just need to sew the two smaller sides. You should be able to manipulate the handle side so that it flattens out against the main piece where you now need to sew. Sew from notch to notch using a 1cm seam allowance.


We now have the top of the doorstop sewn in.
Next step: complete the bottom of the doorstop
To complete the bottom of the doorstop you need to repeat the steps above but leave a little opening to pour in the filling. I will sew the side in that has the seam allowance, then the two smaller sides. Leave the last big side to sew leaving a hole in the middle:
Now you need to turn your doorstop to the right side pushing out all the corner points (gently!). And ta-da here is your gorgeous doorstop. Now all you need to do is fill this doorstop – I like them quite full – even 2 thirds. Turn it upside down to fill it and then sew closed the hole with hand stitching (a ladder stitch is great as you can’t see it).
![IMG_3568[1]](https://theavidseamstress.com/wp-content/uploads/2014/07/img_35681.jpg)
Here are some of my door stops:

I hope you have enjoyed this tutorial. If there are any parts you think I could explain in more detail please let me know and I will update the post.
Otherwise Happy Sewing!

Hello. You could use rice / seeds / buck wheat – I’d suggest putting them into a waterproof bag inside the doorstop if it’s going to be in an area that can get wet.