

I love make up bags and have fallen madly inlove with this one. Fully lined so you don’t see any stitching, this makes a gorgeous gift! Come and join me to make this lined zipped make up bag with me over a cup of tea and cake by clicking here or follow my tutorial below:
You will need:
x2 Fabric 26cm width by 18cm length
x2 Lining 26cm width by 18cm length
x2 Interlining 26cm width by 18cm length (you will only need interlining if you are using a very soft fabric for the front. Don’t use it if using a cotton canvas or plastic coated fabric as it will be too hard to work with. In my pictures below I have already added the interlining.
TIP – Add the interlining to the main piece of fabric BEFORE cutting out your pieces. This will give you more accurate pieces.
Zip – 30cm
Seam allowance – 1cm
![IMG_3575[1]](https://theavidseamstress.com/wp-content/uploads/2014/07/img_35751-e1405498552452.jpg)
Let’s get started:
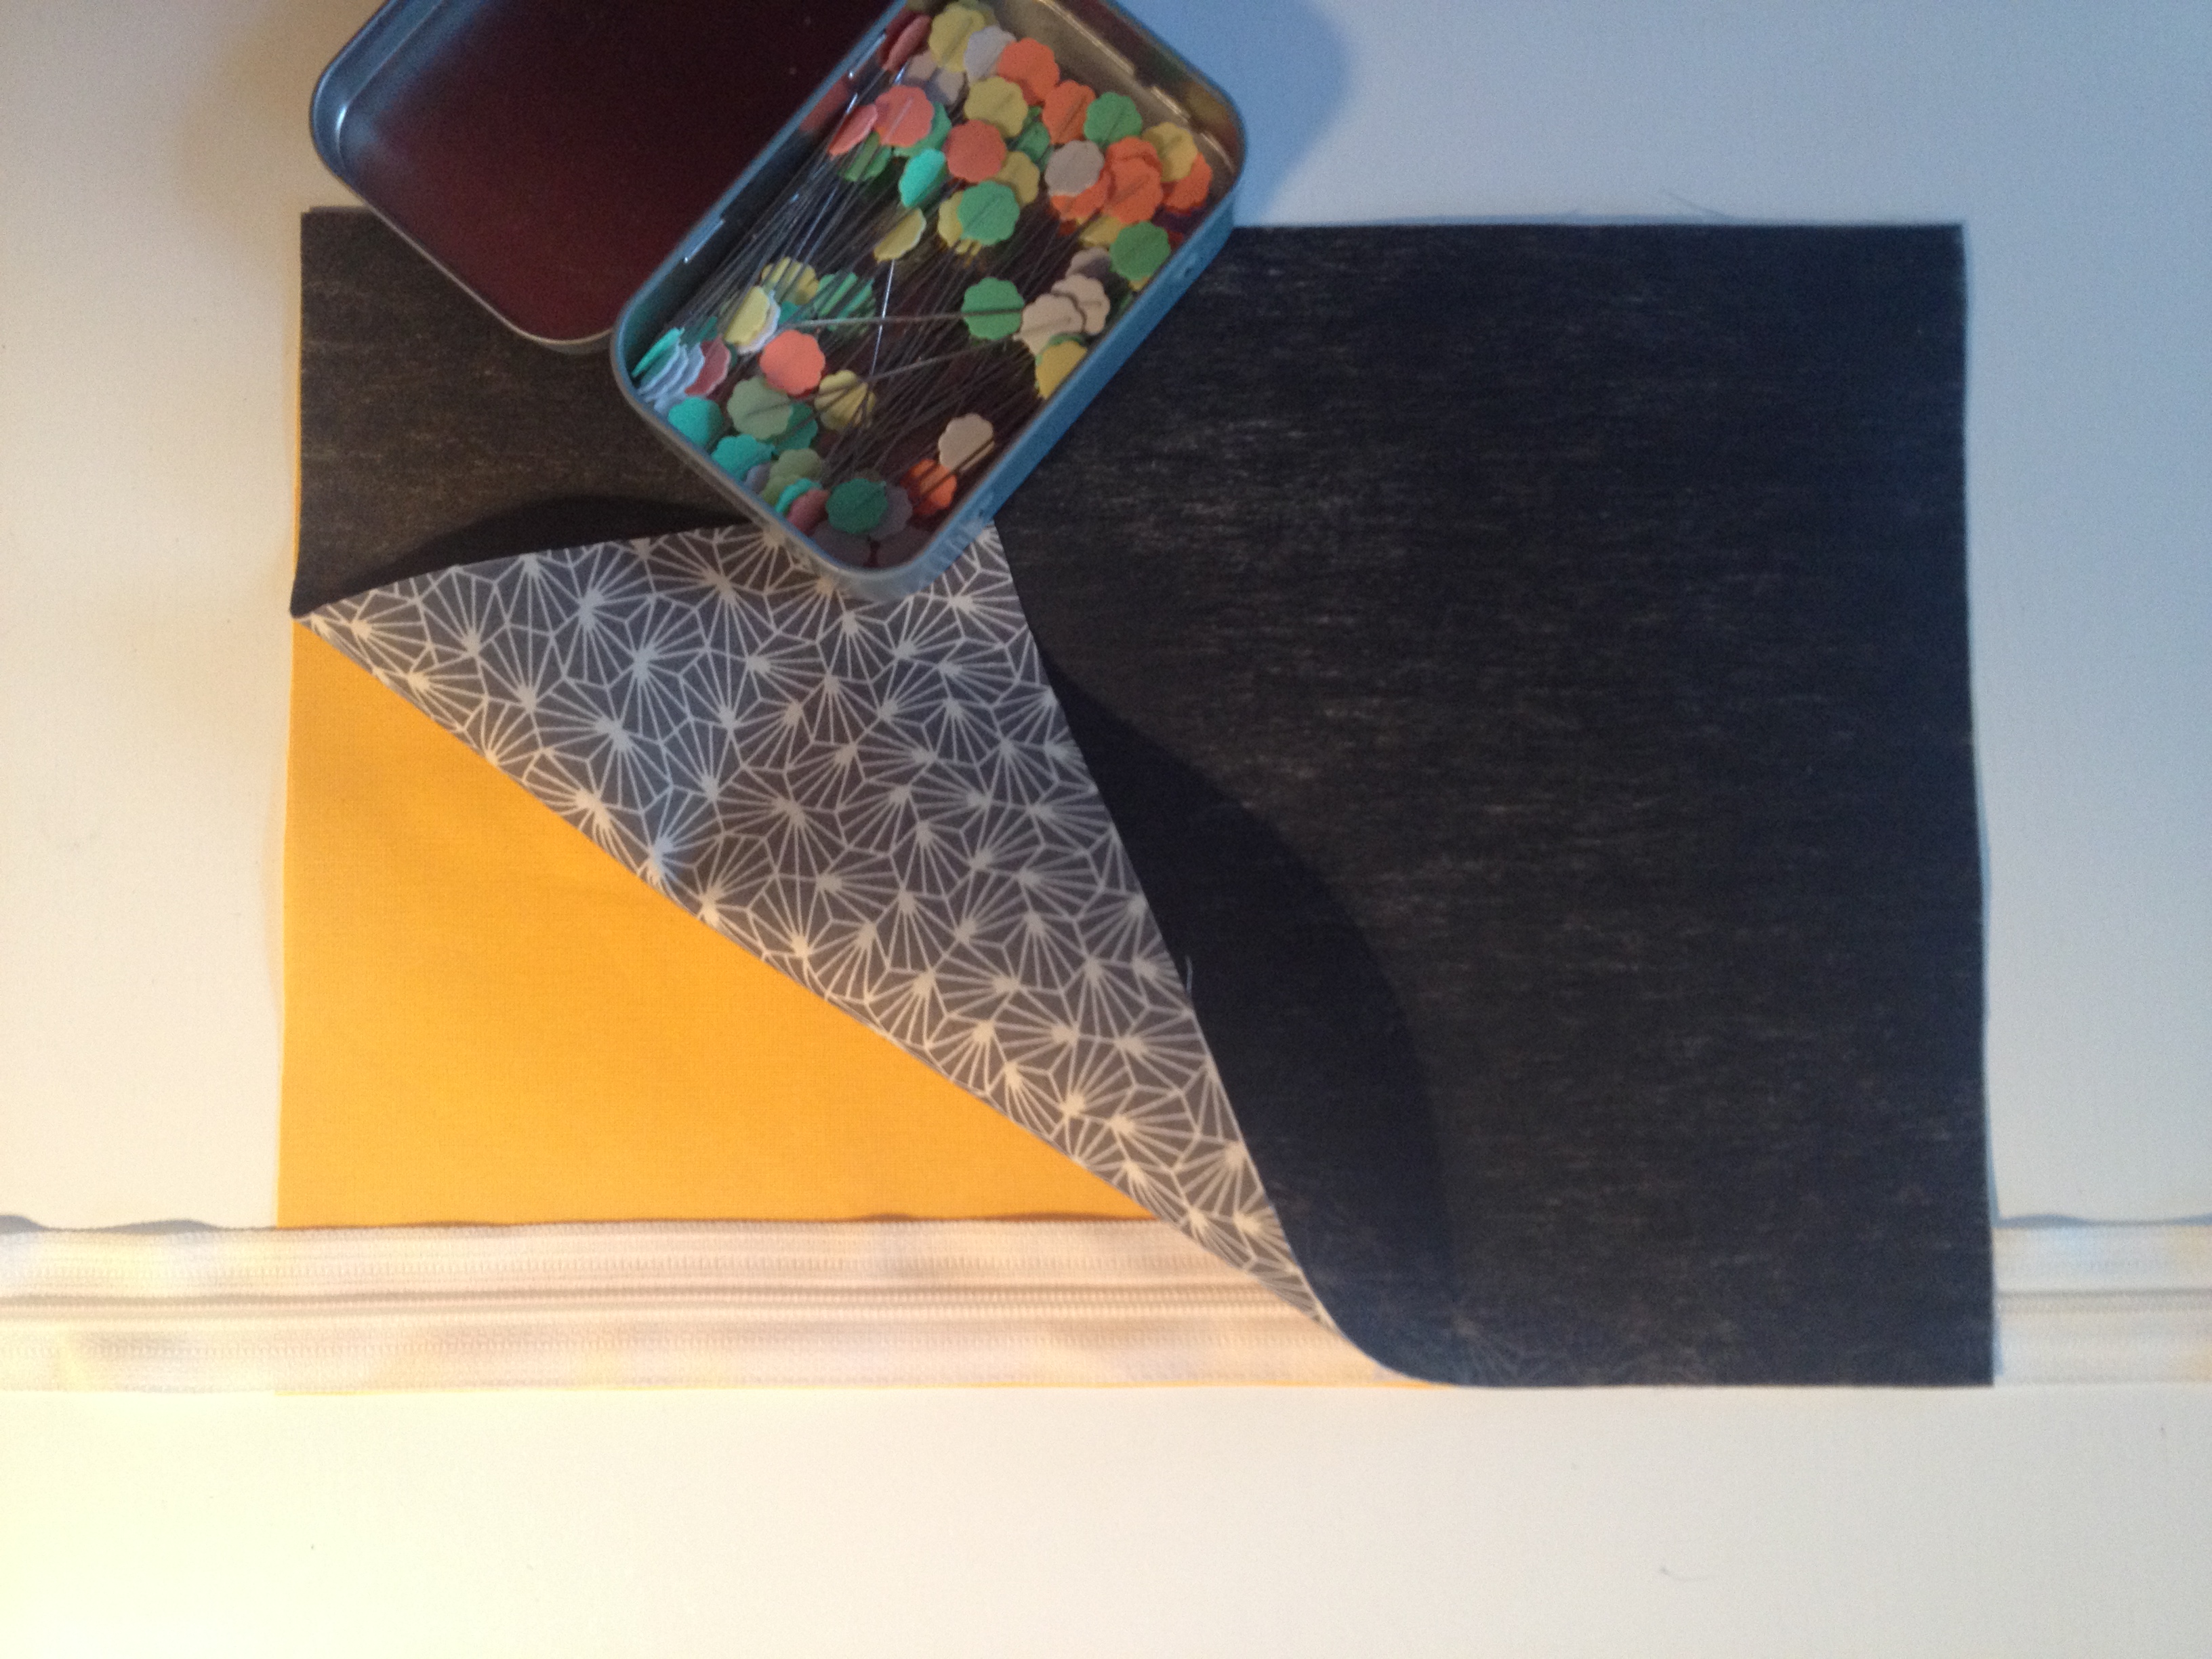
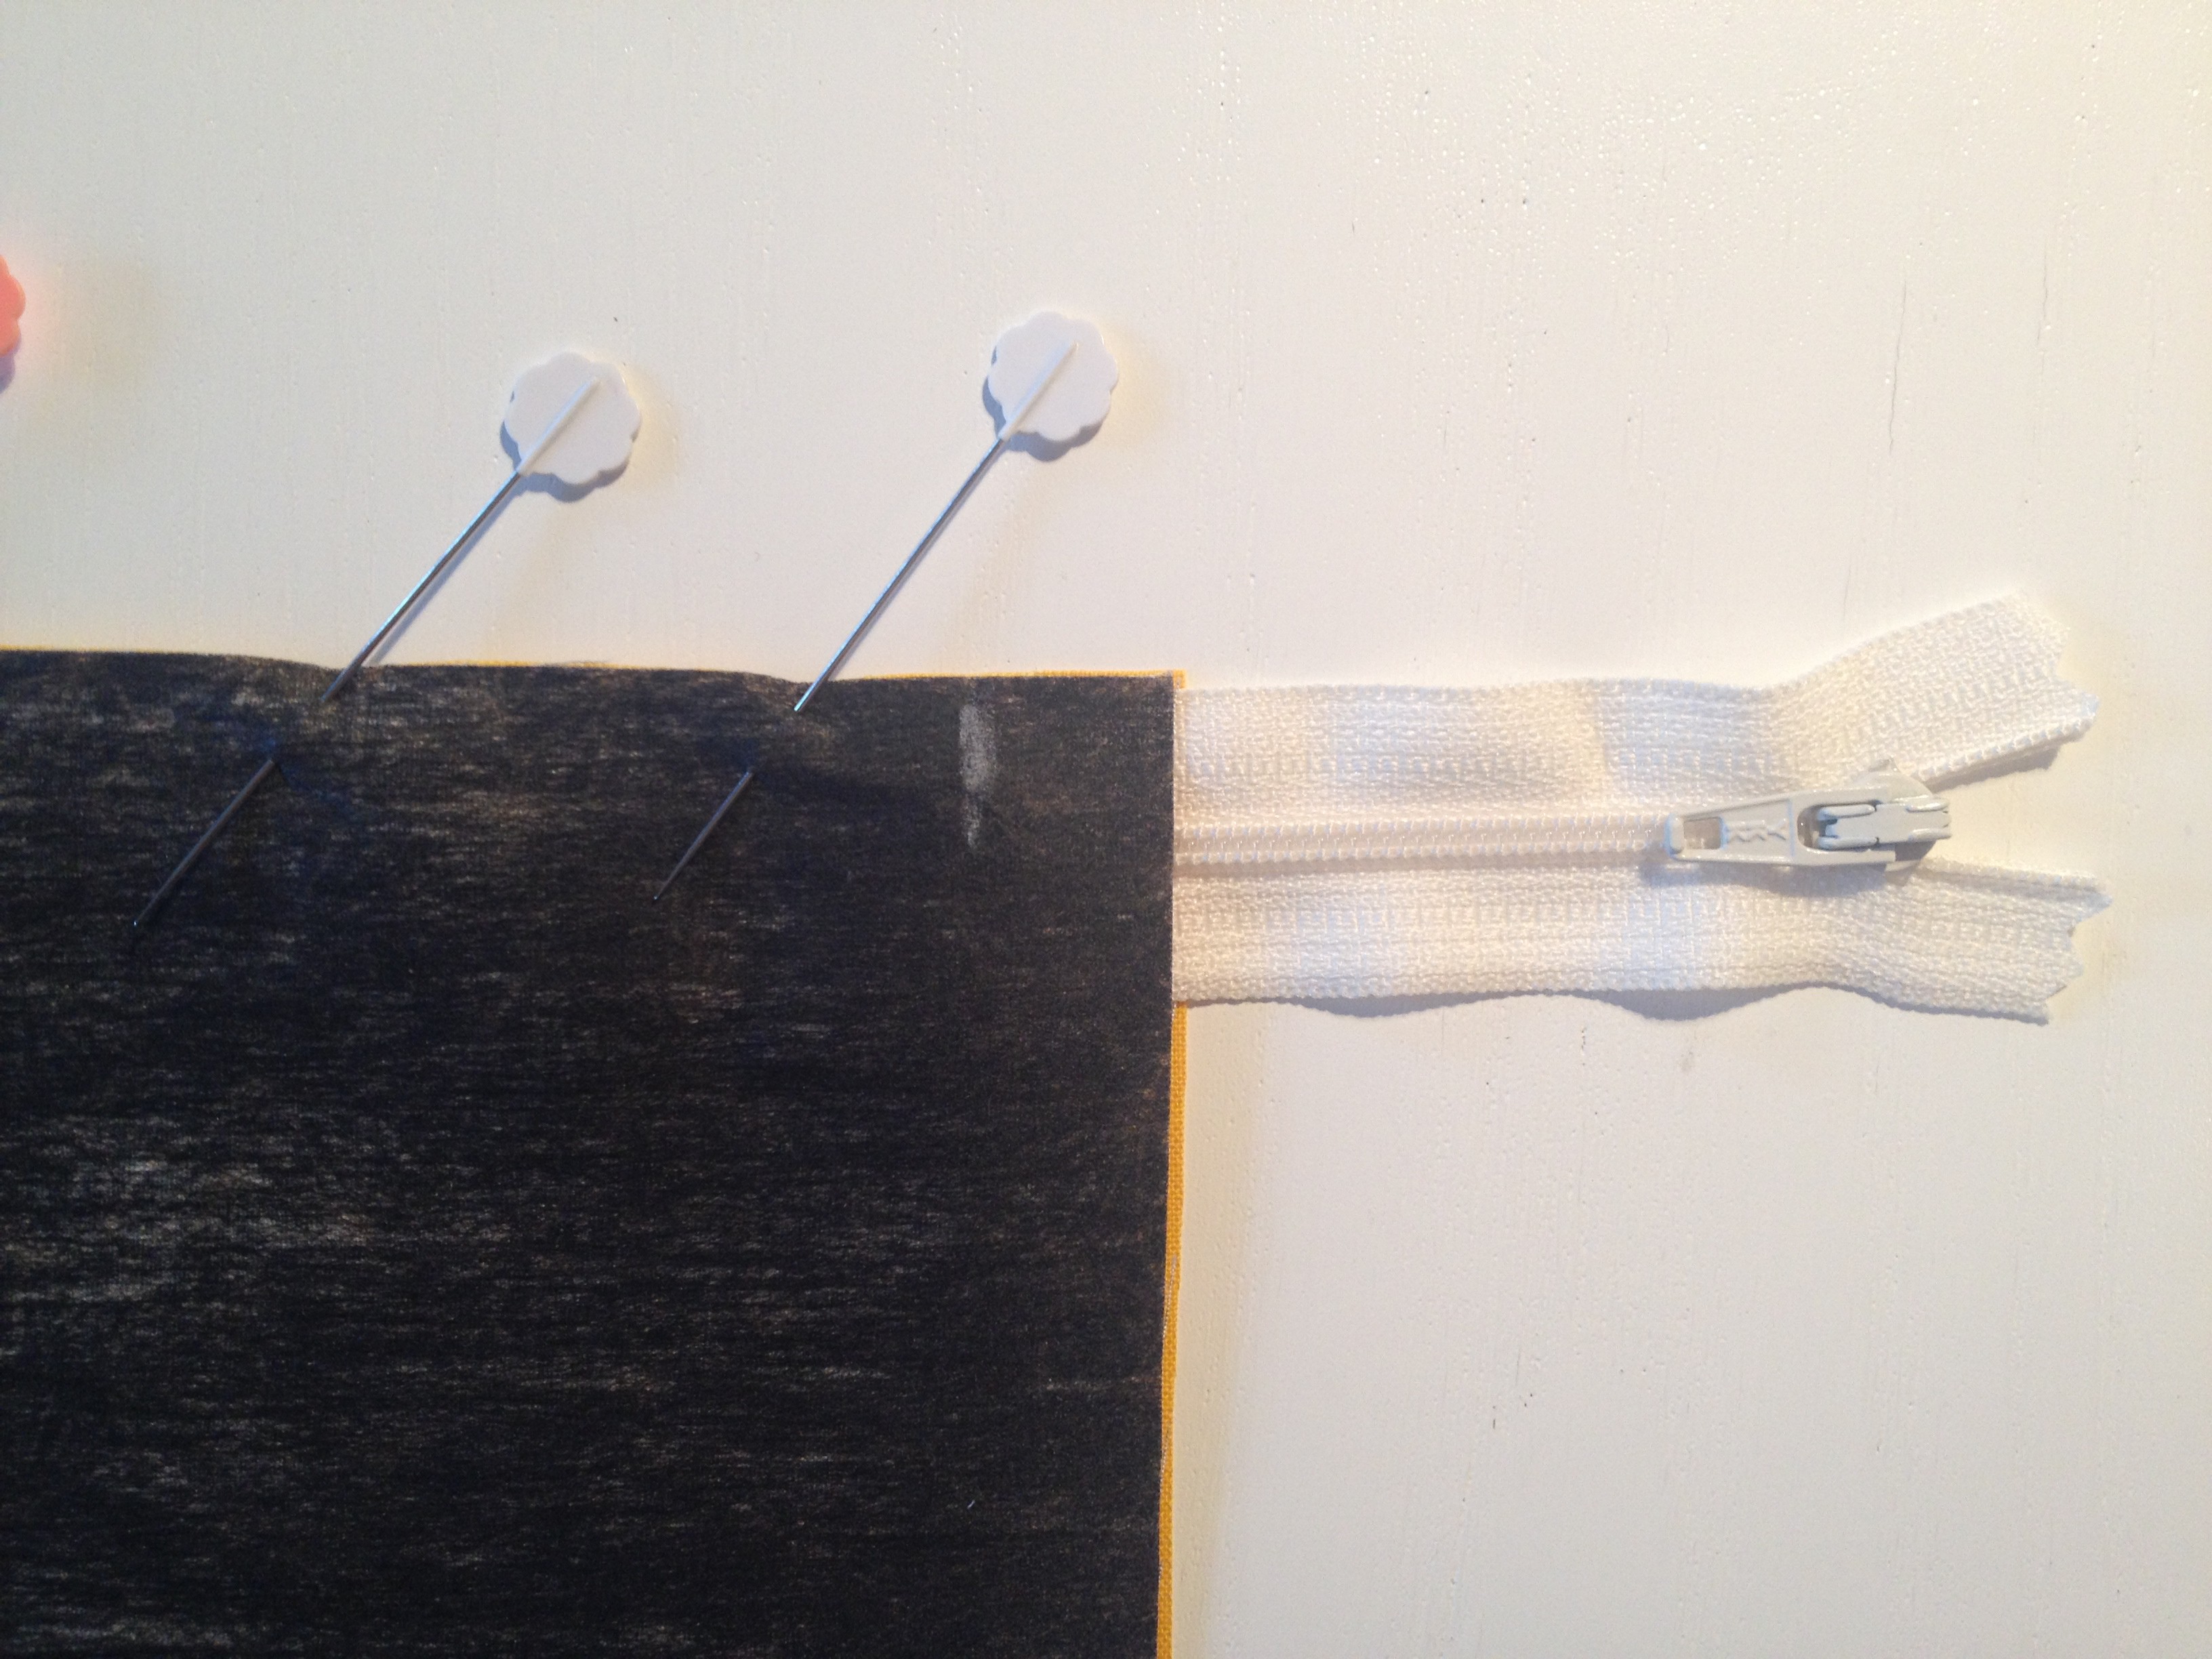
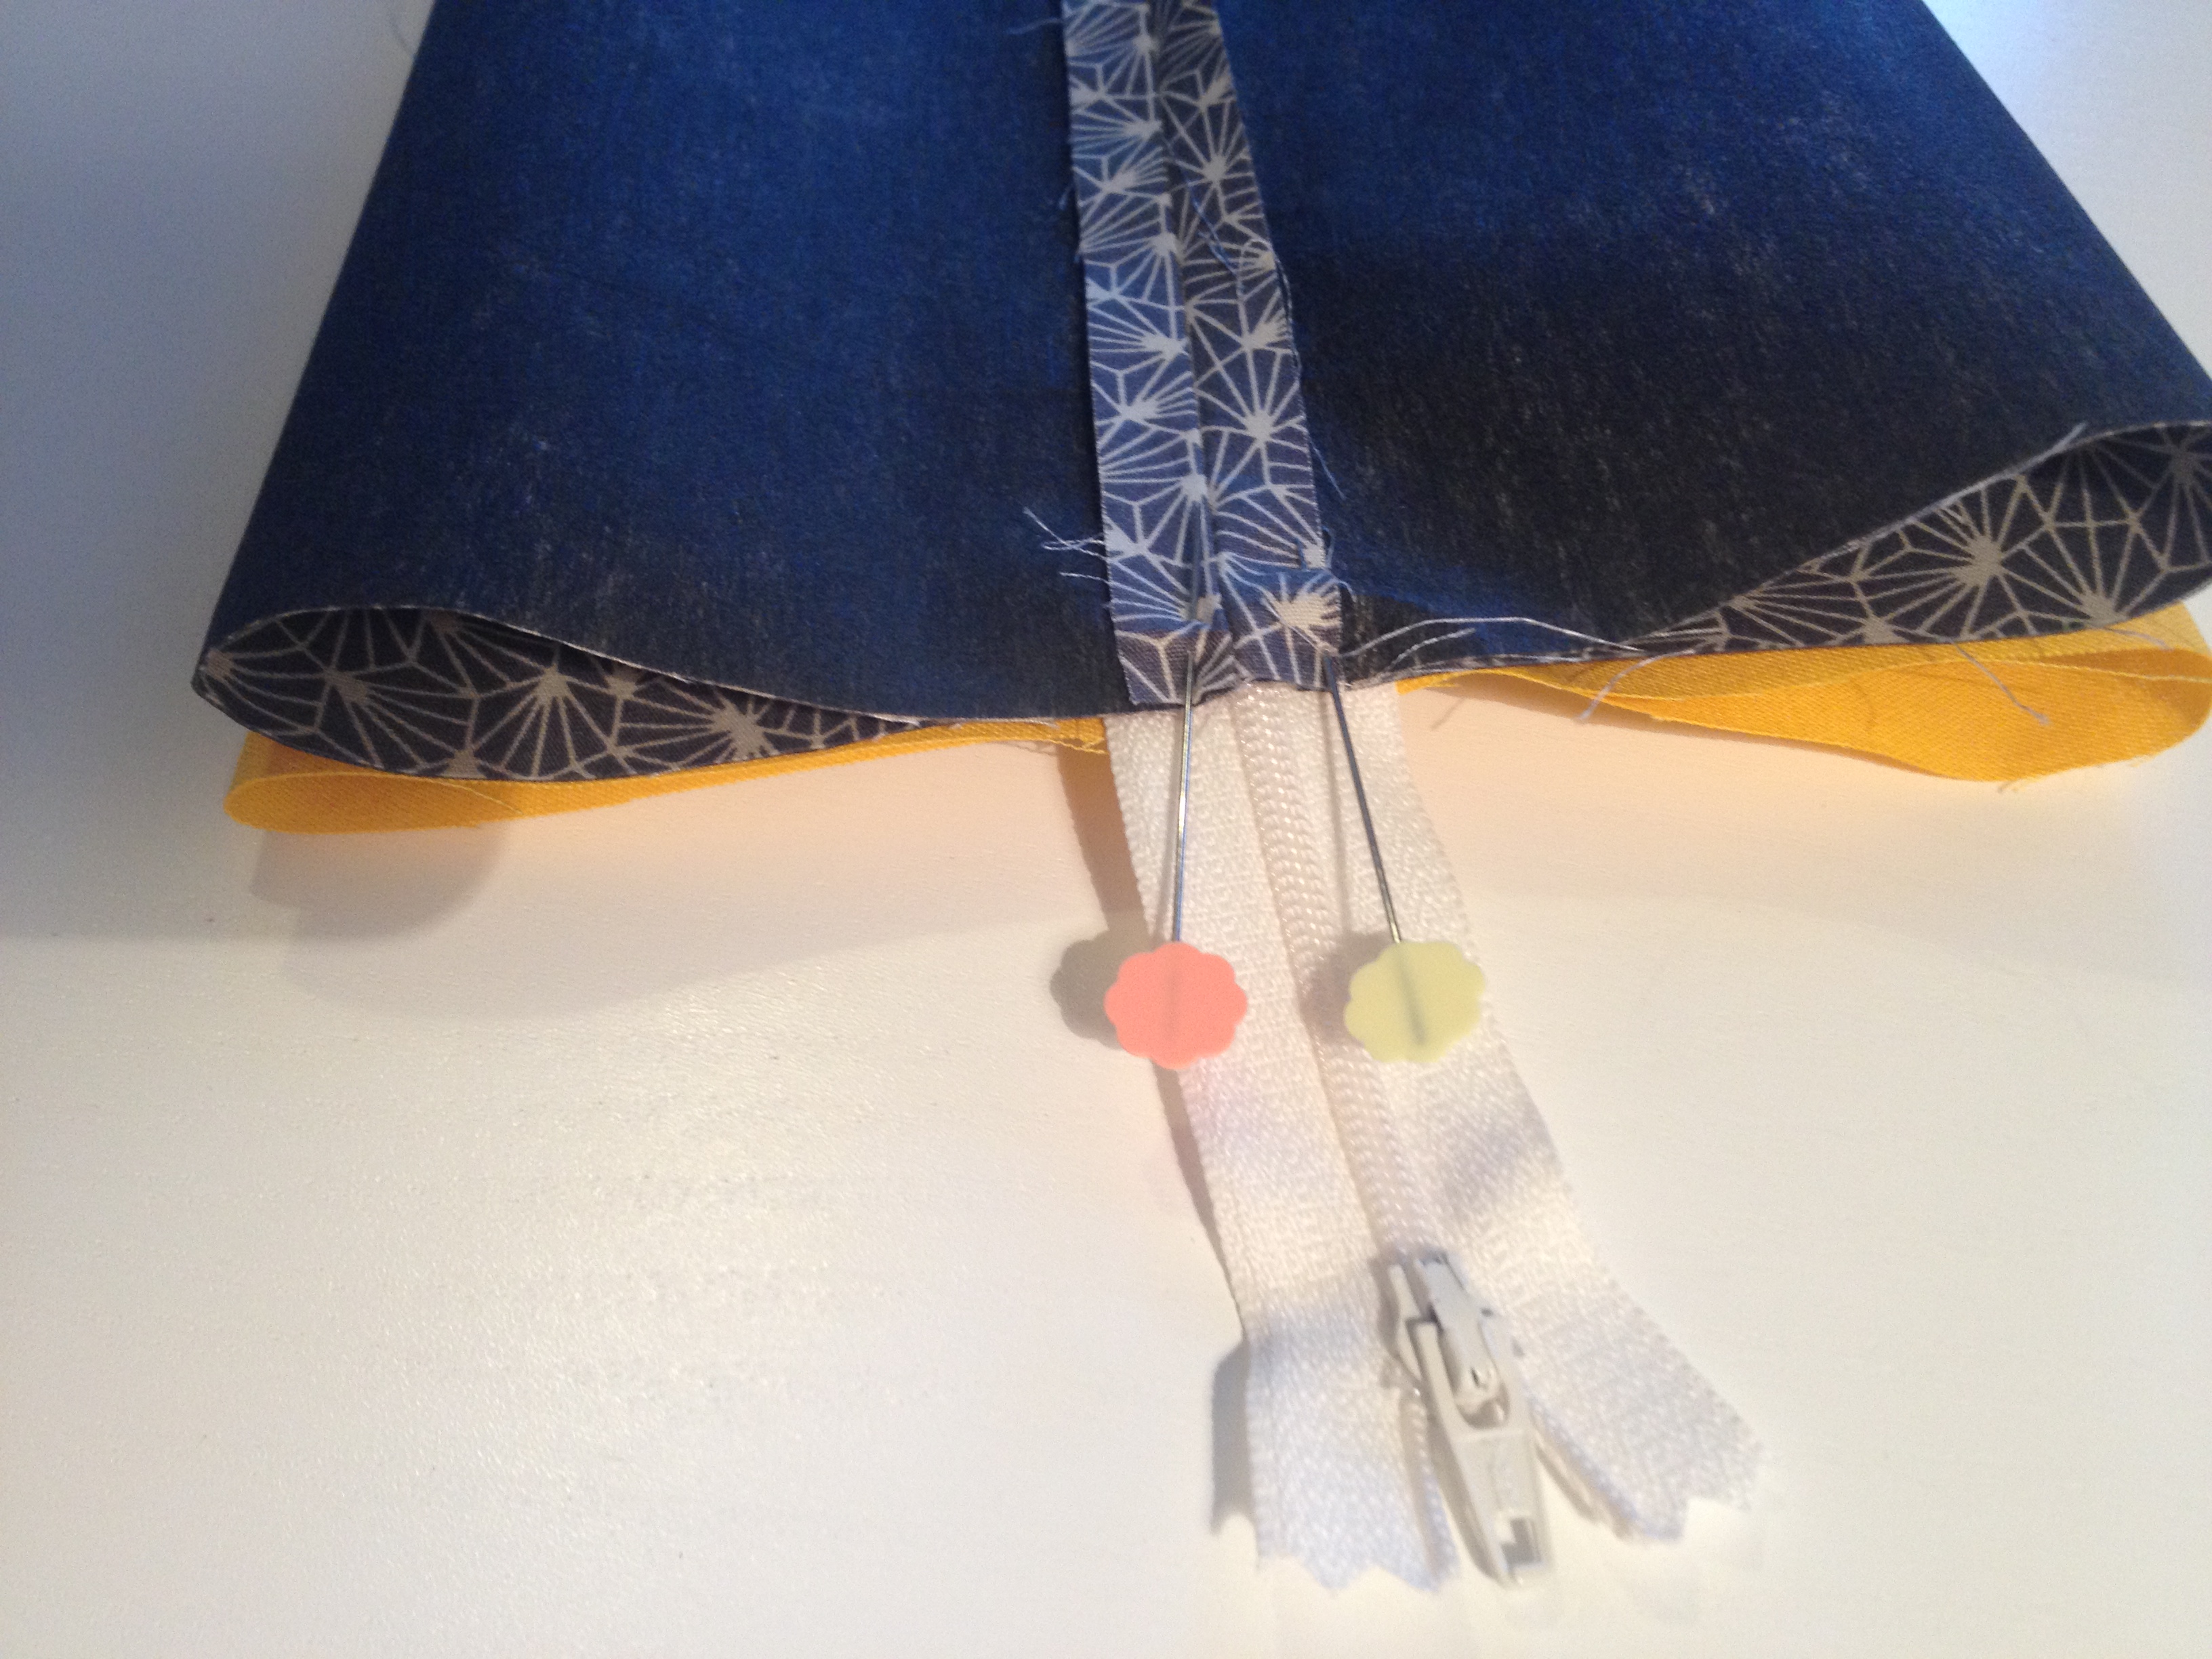
Lay one of your pieces of lining right side up, then place the zip on top of the lining facing up with the opening of the zip on the right. Now place one of your main pieces of fabric right sides down and pin in place making sure that the sides of the lining match up with the sides of the main piece:


Draw a mark 1.5cm from each side. Only start sewing 1.5 from the top and stop sewing 1/5 from the bottom. This is very important!!
You now need to use your zip foot to sew along the edge, catching the lining, zip and main piece.


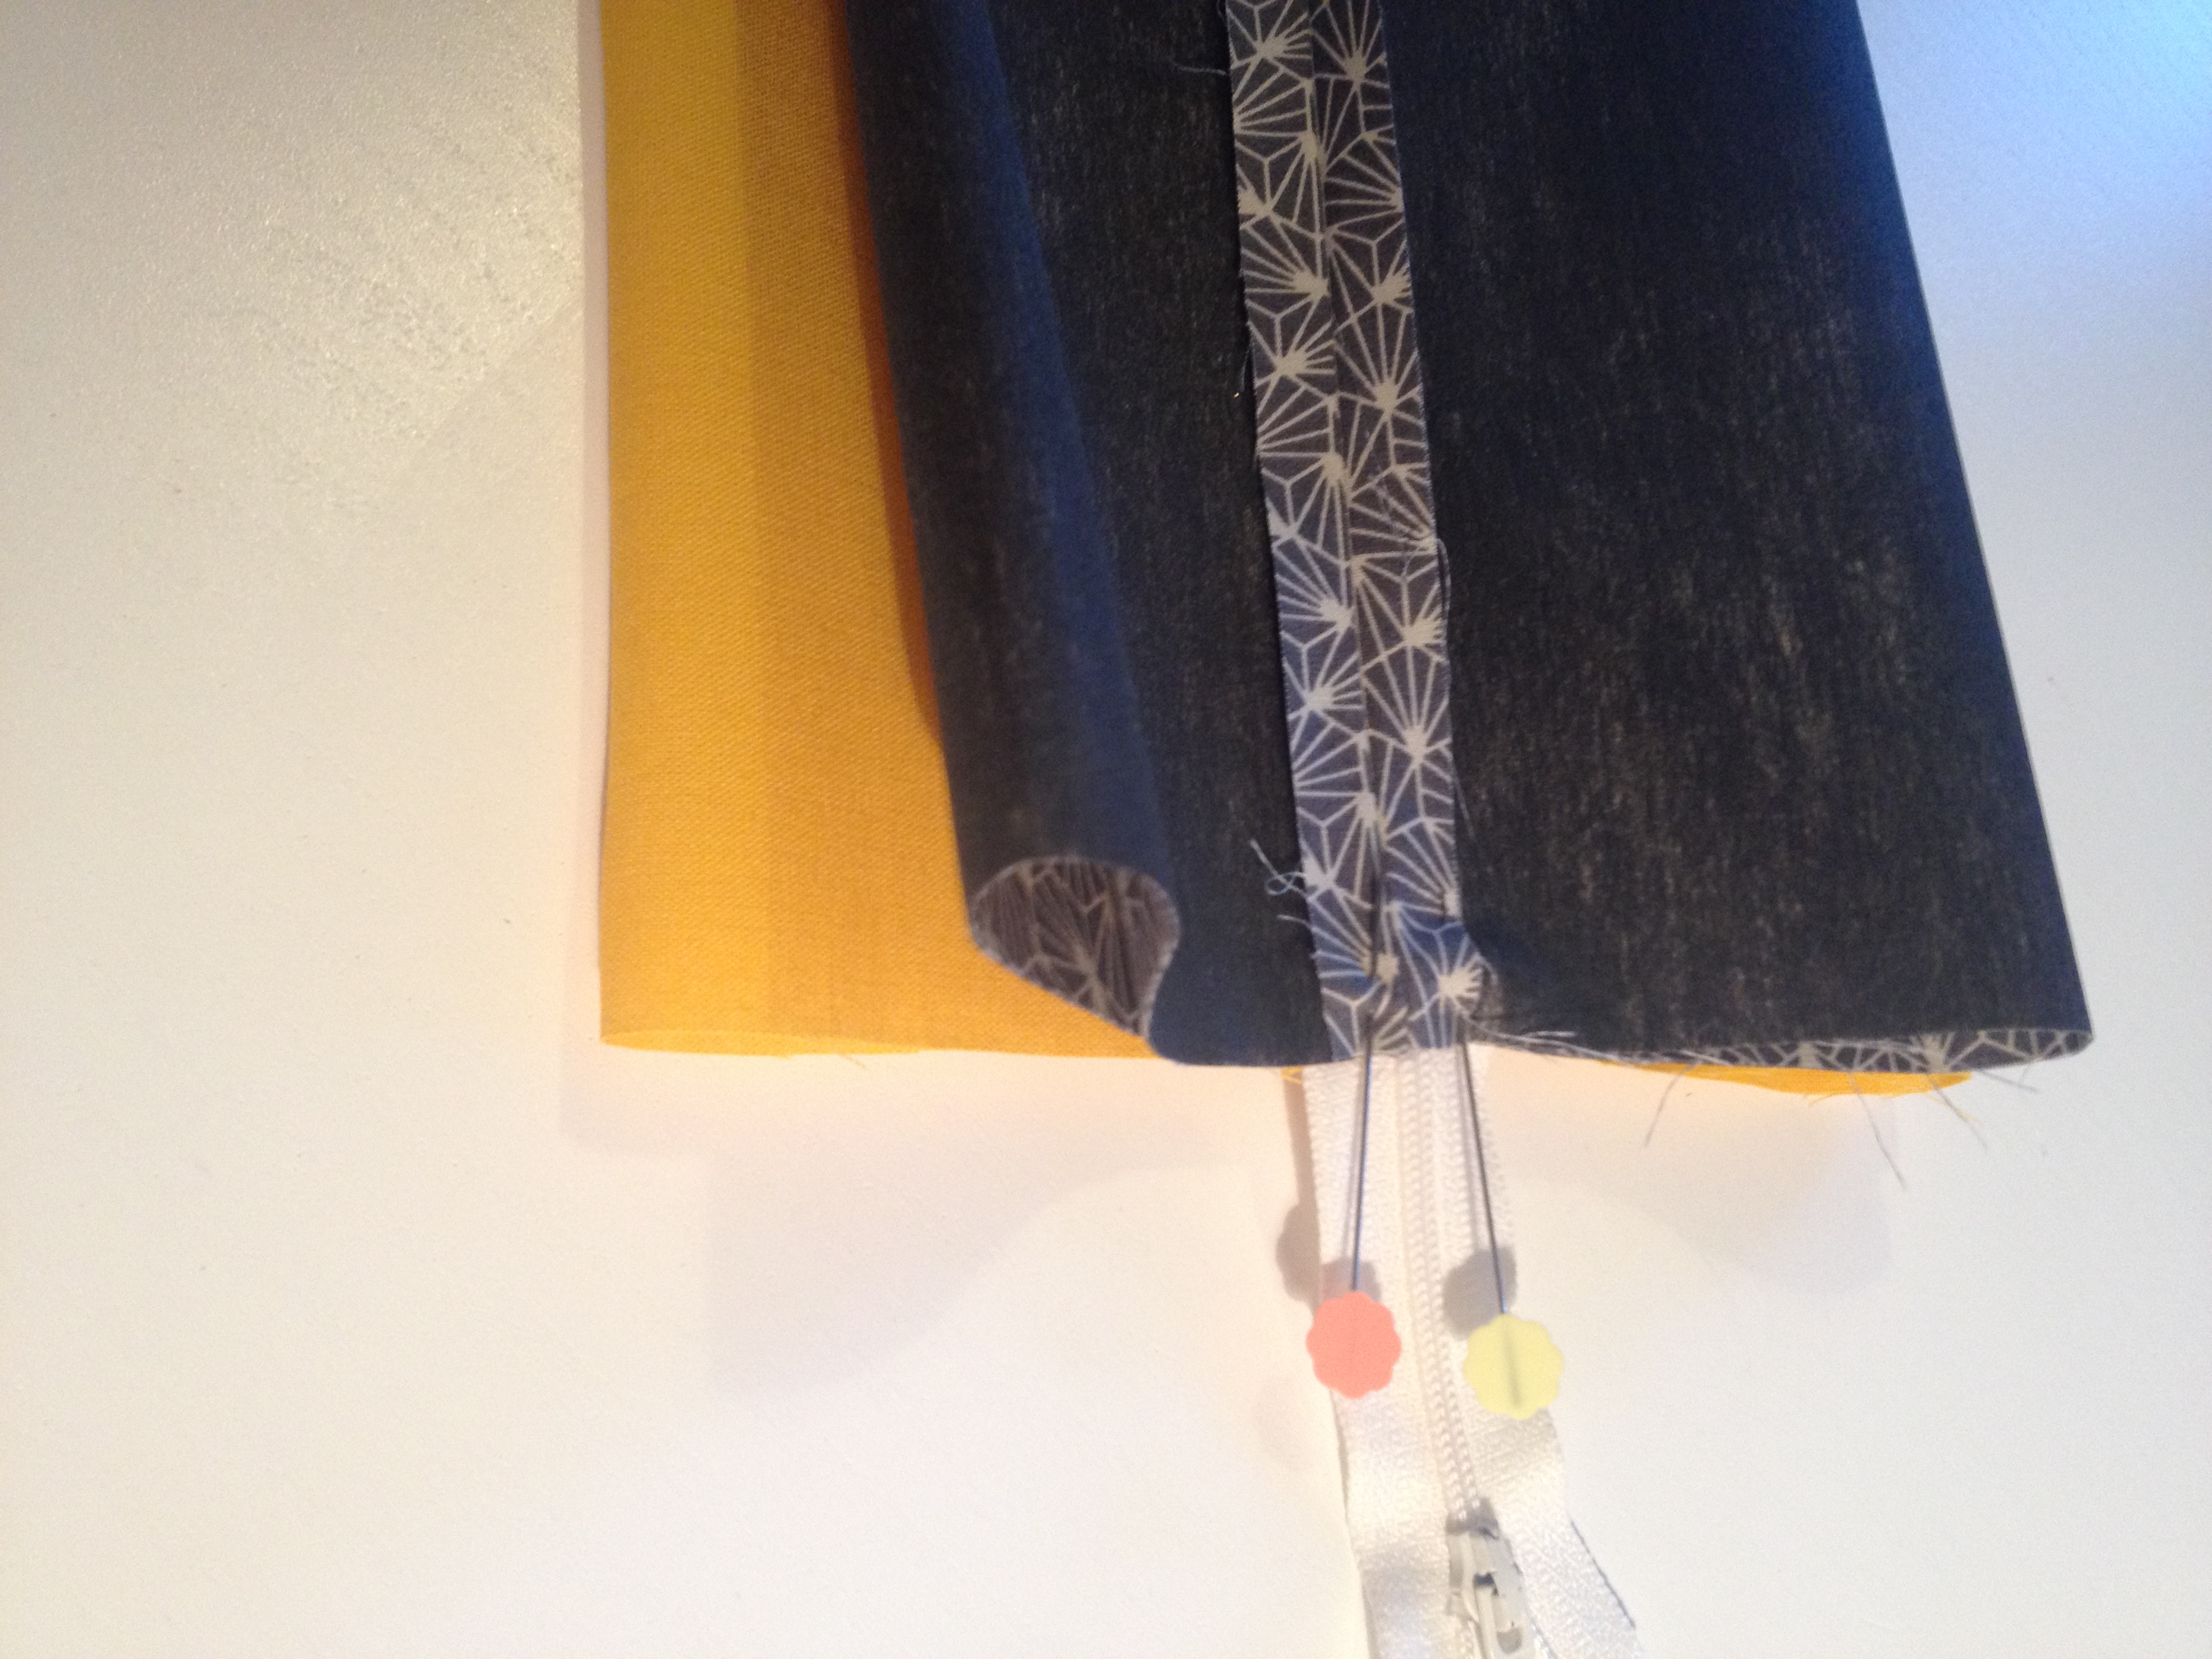
Here is your finished piece:

When you turn it to show the right side it should look like this:

Now to do the other side. Place the second main piece right sides facing on top of the zip, lining it up at the top and the sides:

Then slide the lining underneath lining up up the edges, pin and sew just as you did the previous side. The section you did in the first step is sandwiched between the lining and fabric you are now sewing. REMEMBER to start 1.5cm from the top and end 1.5cm from the bottom!!


When you open it out it will look like this (a zip butterfly):
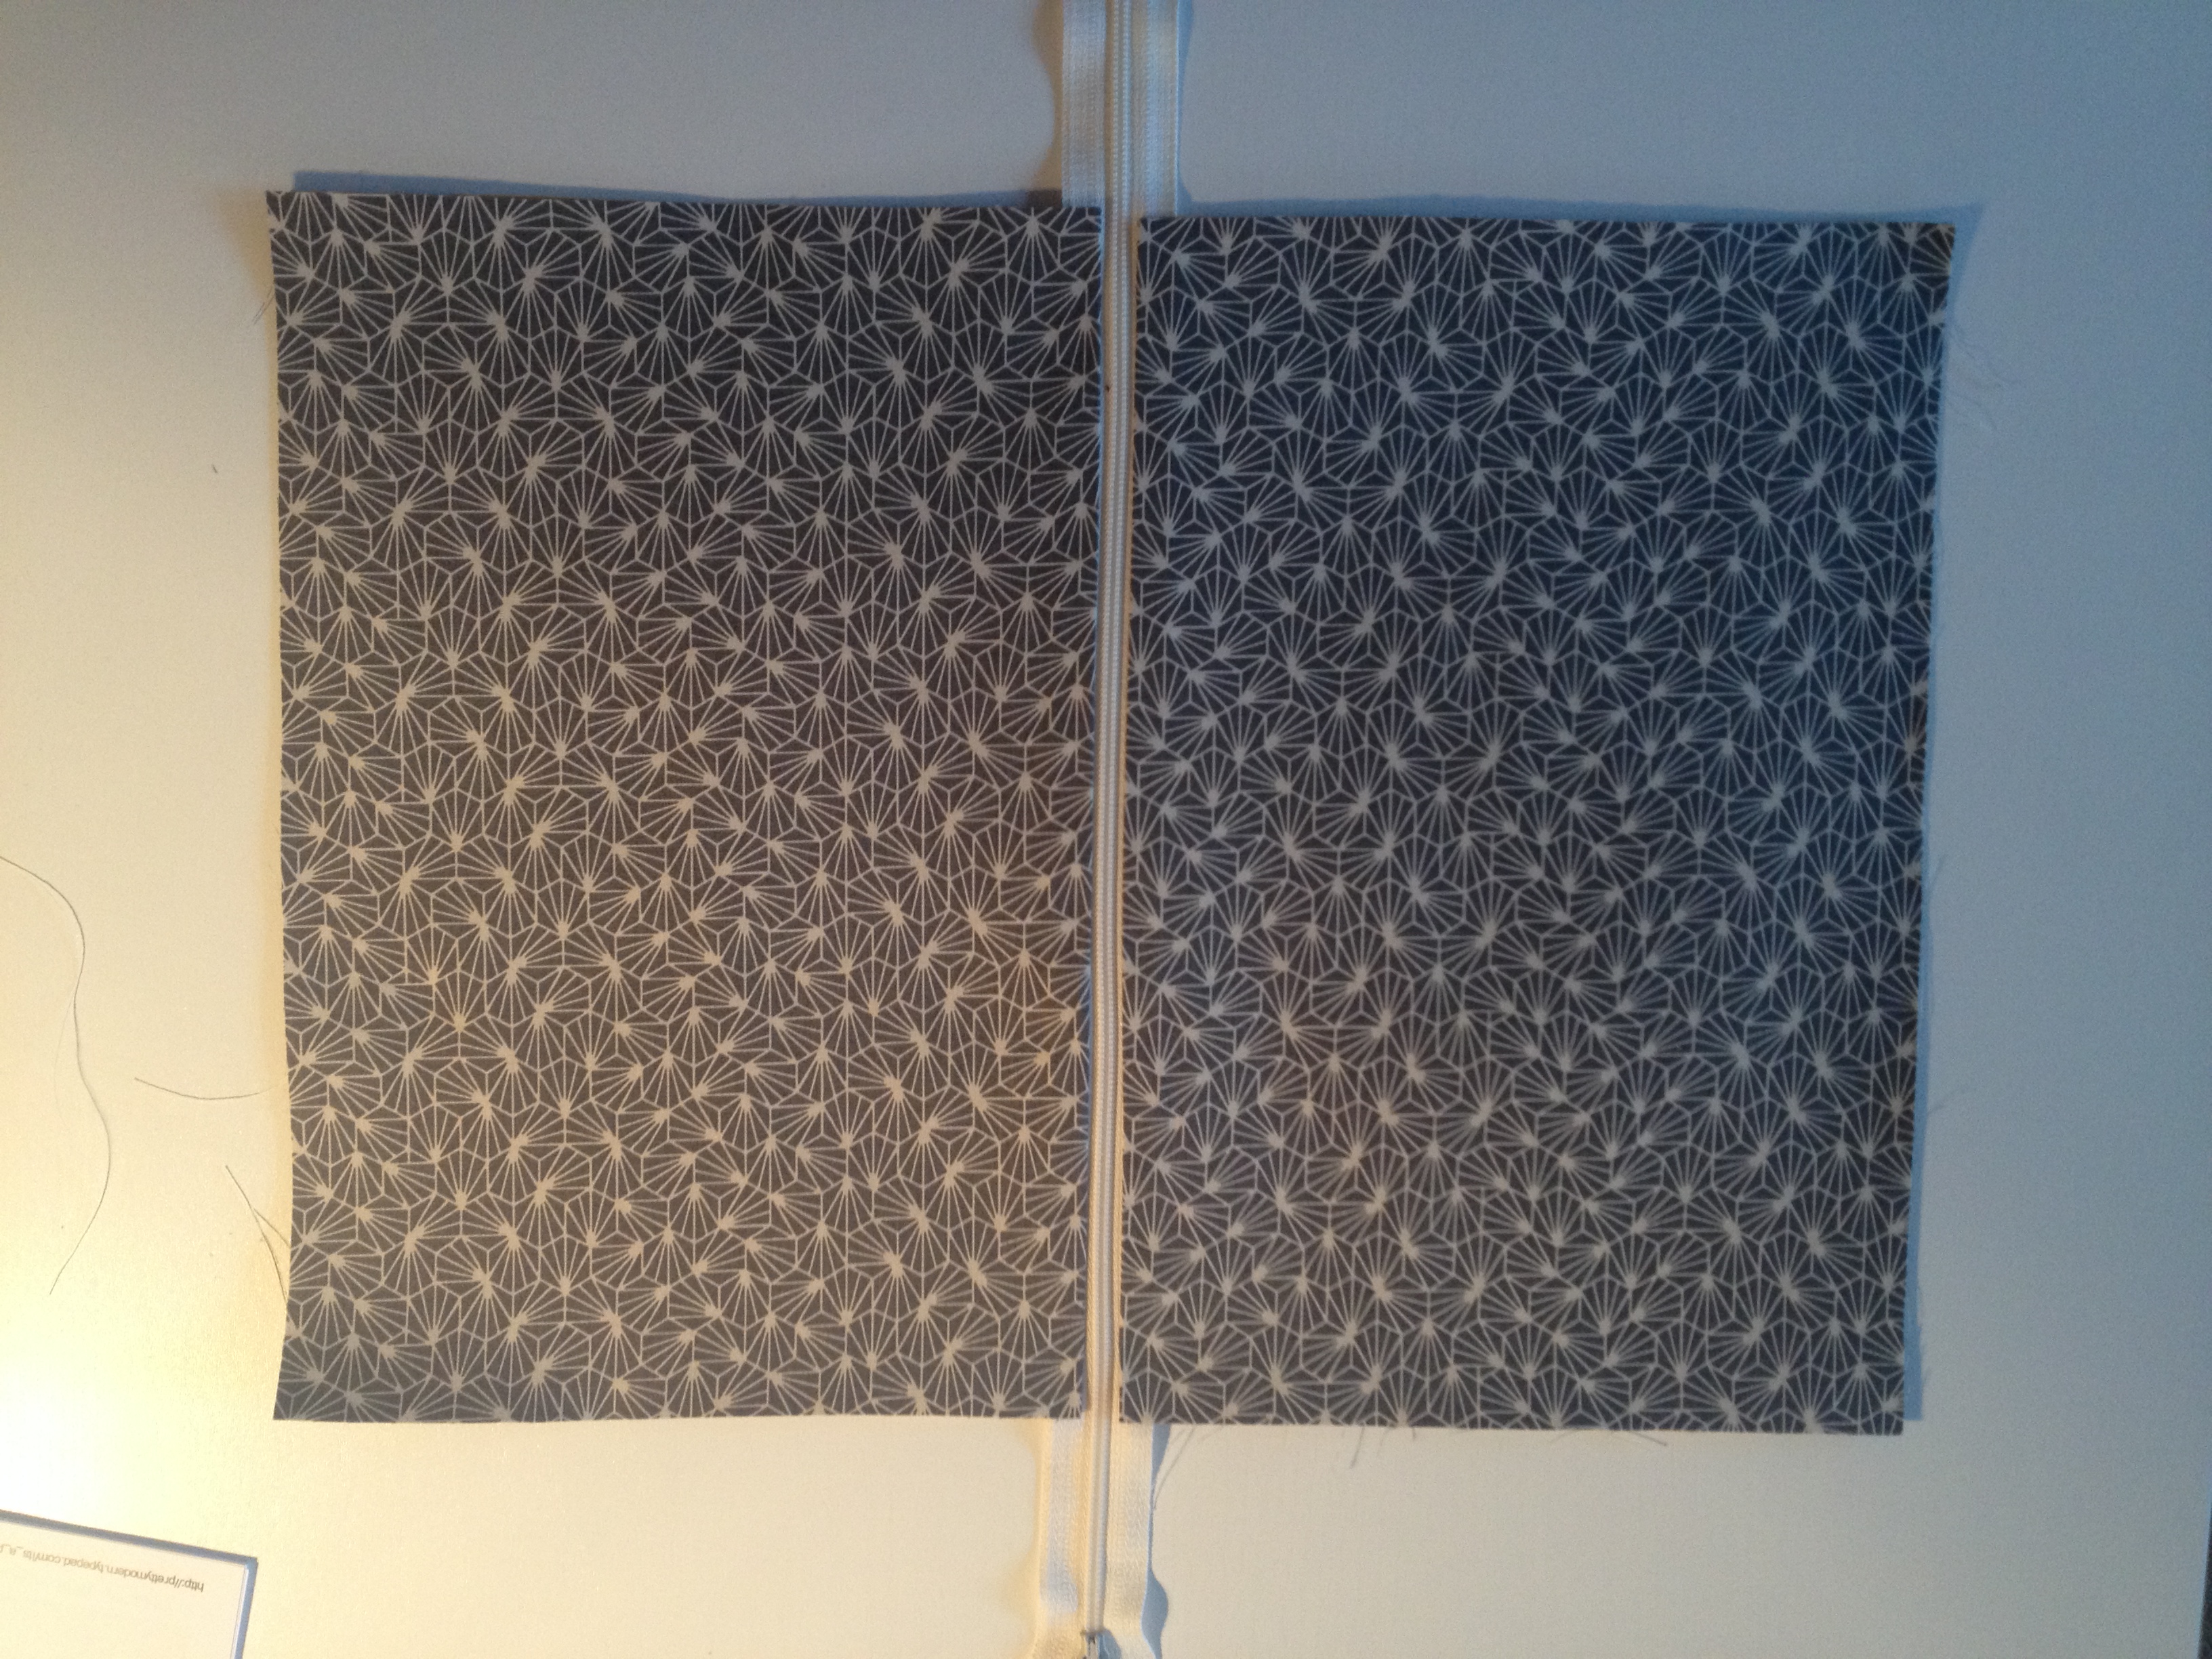
Iron it all nice and flat.
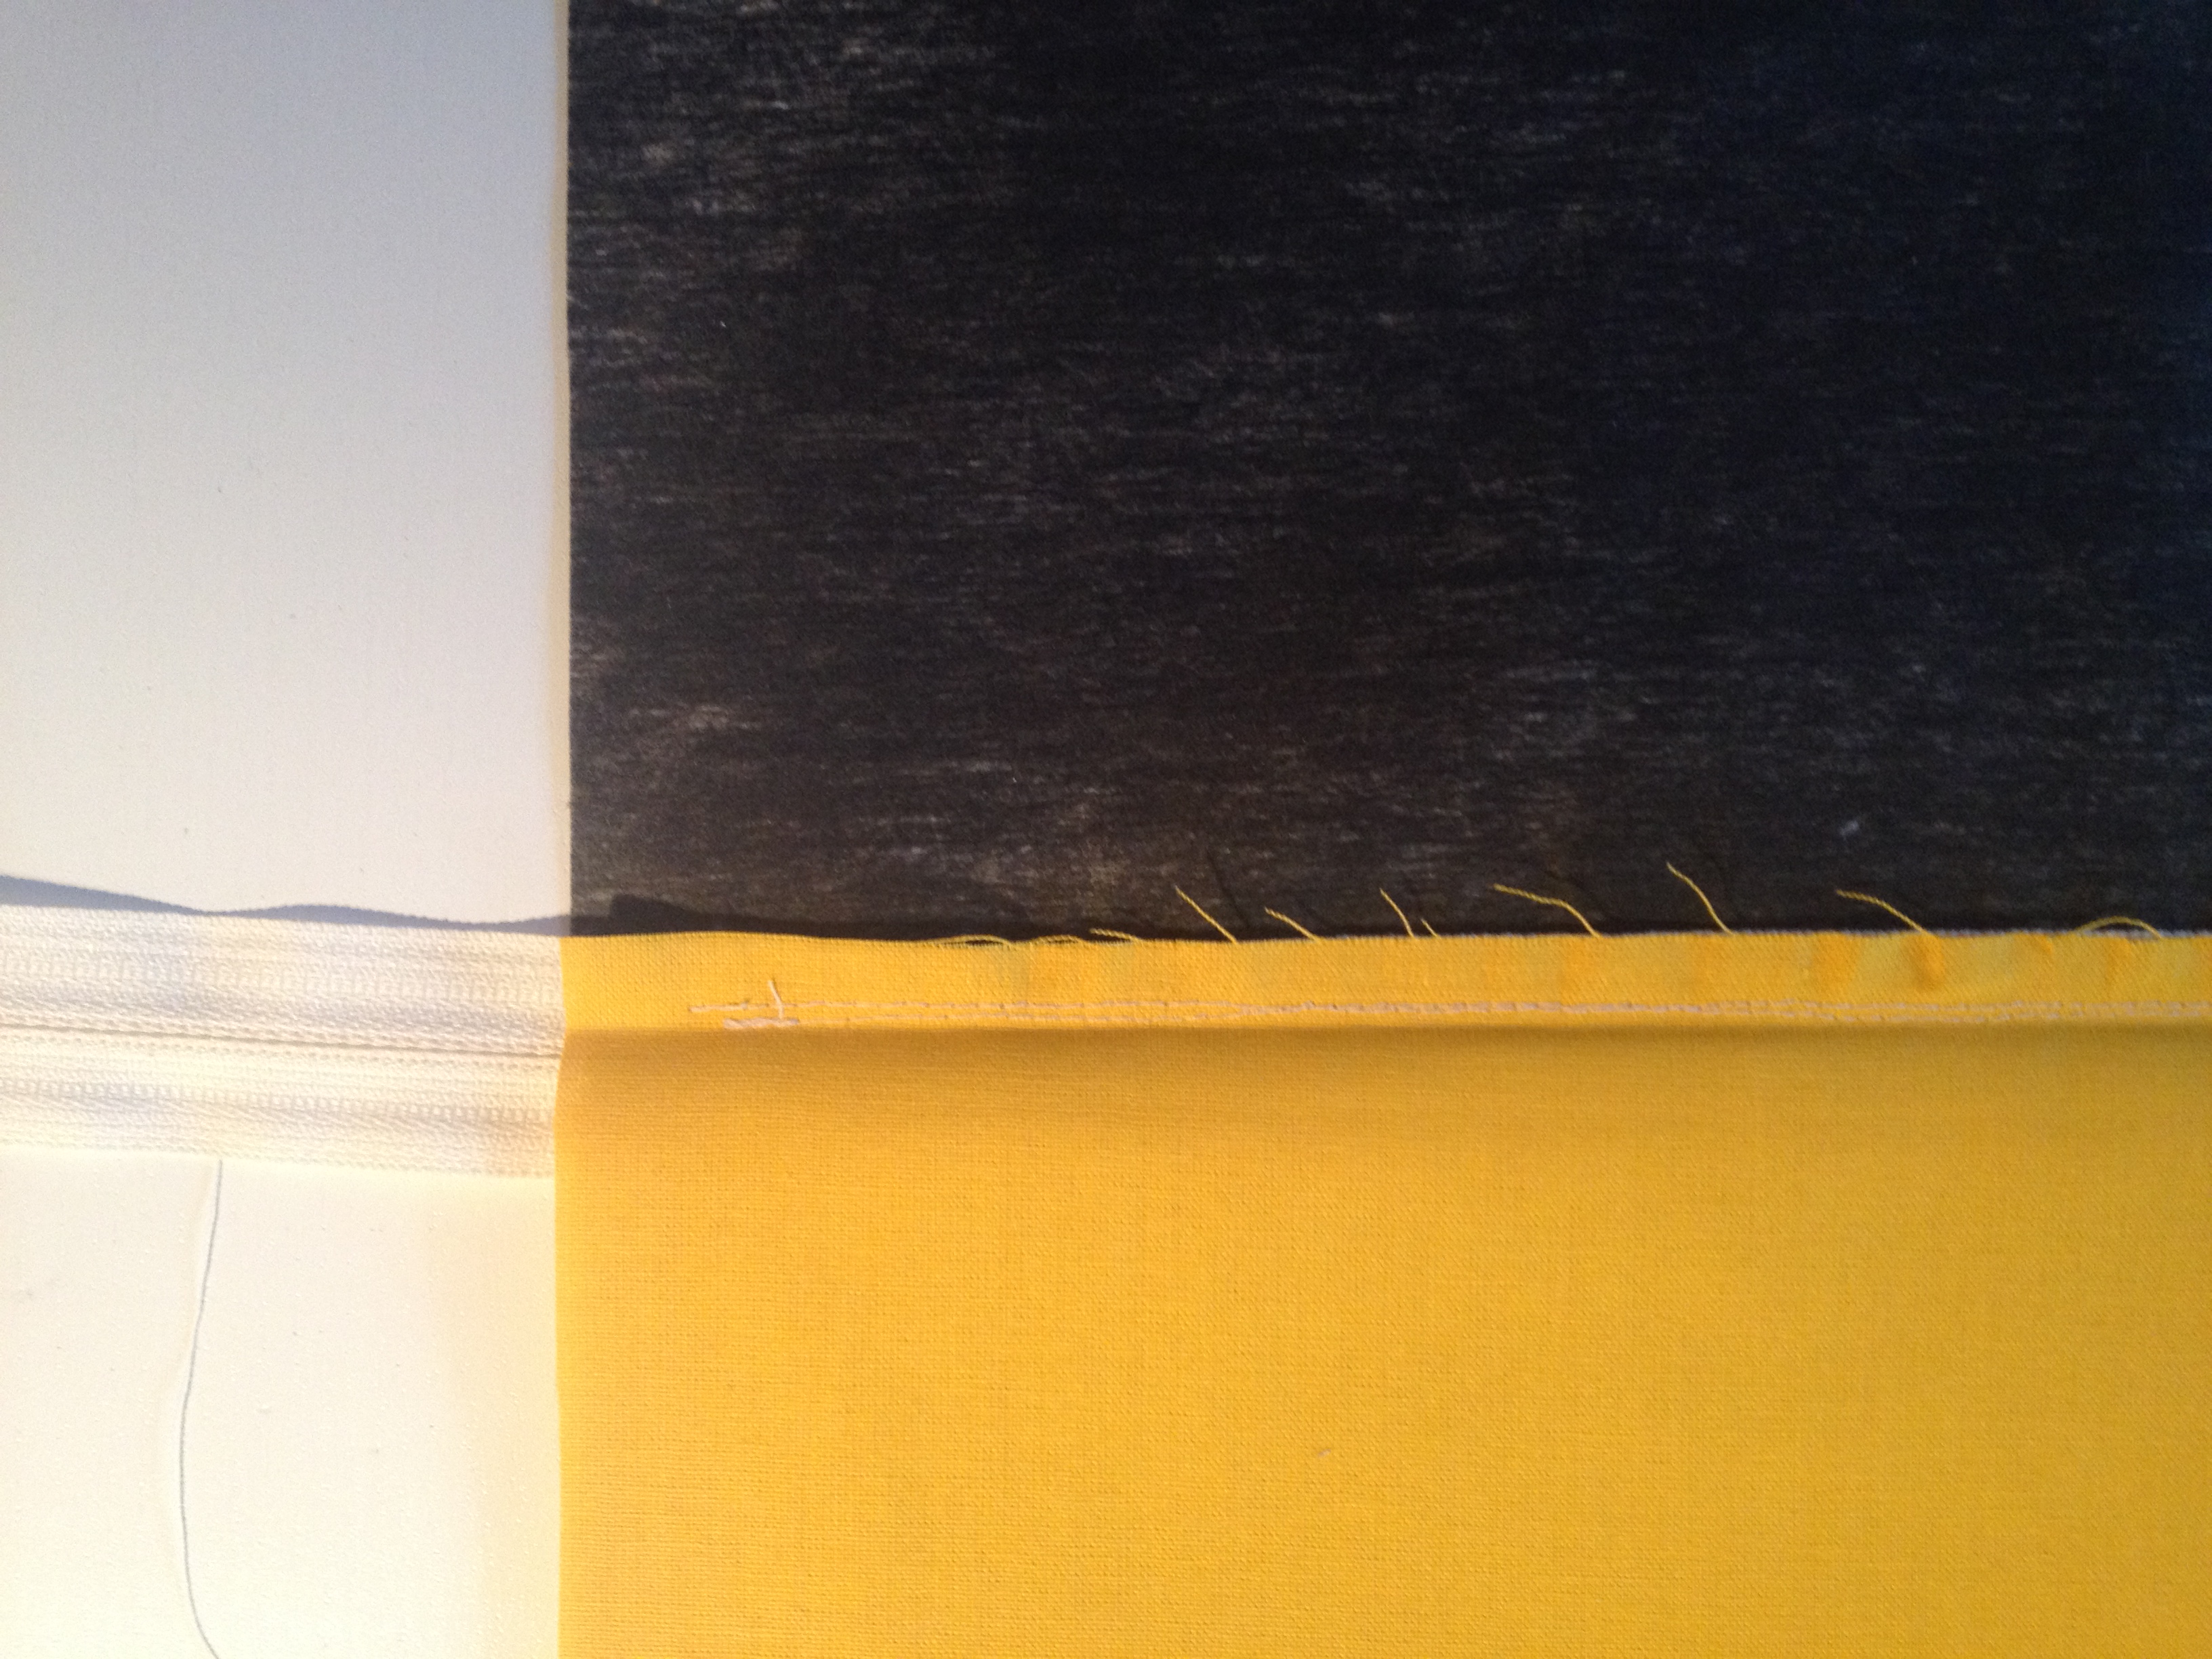
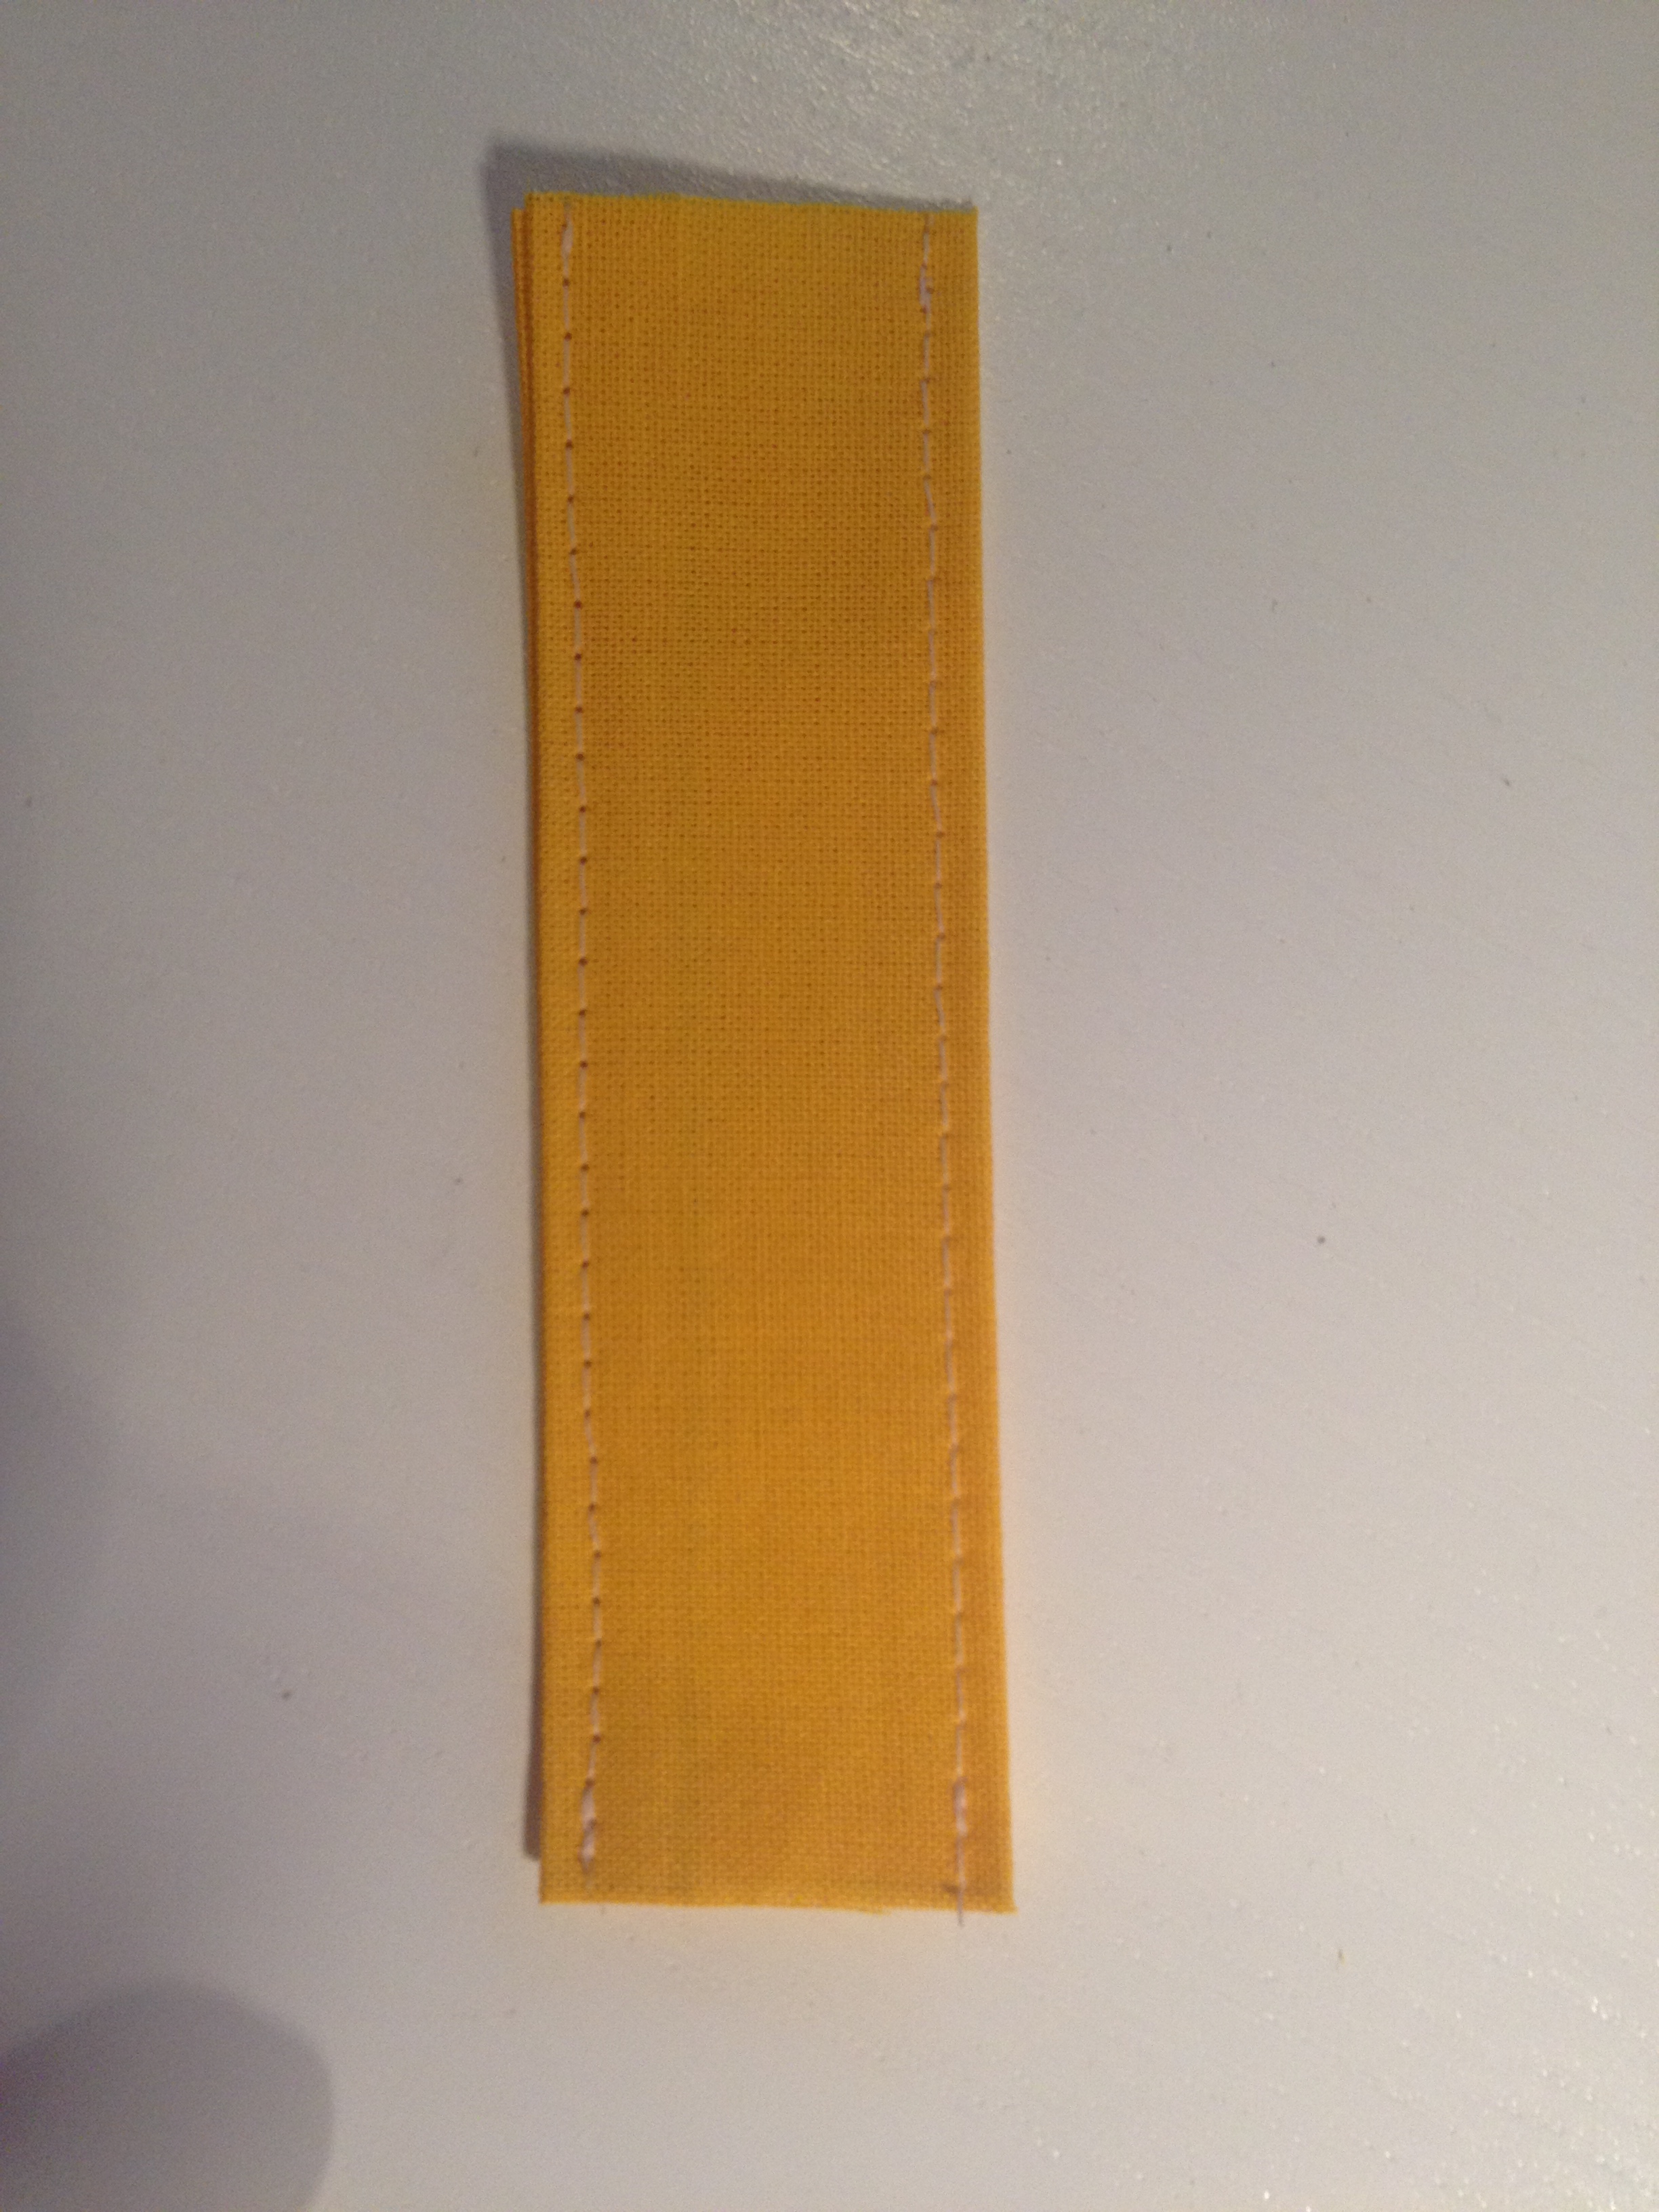
Now we want to sew a row of stitches on top of the right side of the fabric next to the zip. This helps the zip to open and close easily and not get stuck on the fabric. I like to sew these stitches on the top fabric and not catch the lining (it looks prettier this way). So push the lining to the other side out of the way and take your piece to the sewing machine so that you are only catching the top fabric (you will sew into the seam underneath – both lining and top piece seam – which is fine).
These next few pictures will show you how it will look on the top and bottom:


OK, now we are going to sew the bottom edge of the lining together leaving an opening so that we can pull it all through once the make up bag is finished. Make sure the opening is big enough to get your hand in! Then sew the top edge of the main piece without leaving an opening.


Iron the top and bottom so that the seam lies flat. This will help with the next step:

Now this is the fun part.. Fold the make up bag in half so that the seam you just ironed now lies flat on top of the zip. You need to do this for the main piece and lining. The seam should lie exactly on top and centred on the zip. Pin in place. Iron the sides nice and flat now and then remove the pins:
Take a piece of ribbon or make a tag out of a piece of fabric – you can decide on how thick the width of the tag and the length of the tage (it’s really just for show!). Fold the tag in half and place on the main piece of fabric opposite the zip. Pin in place and now place your other main piece down on to of it.

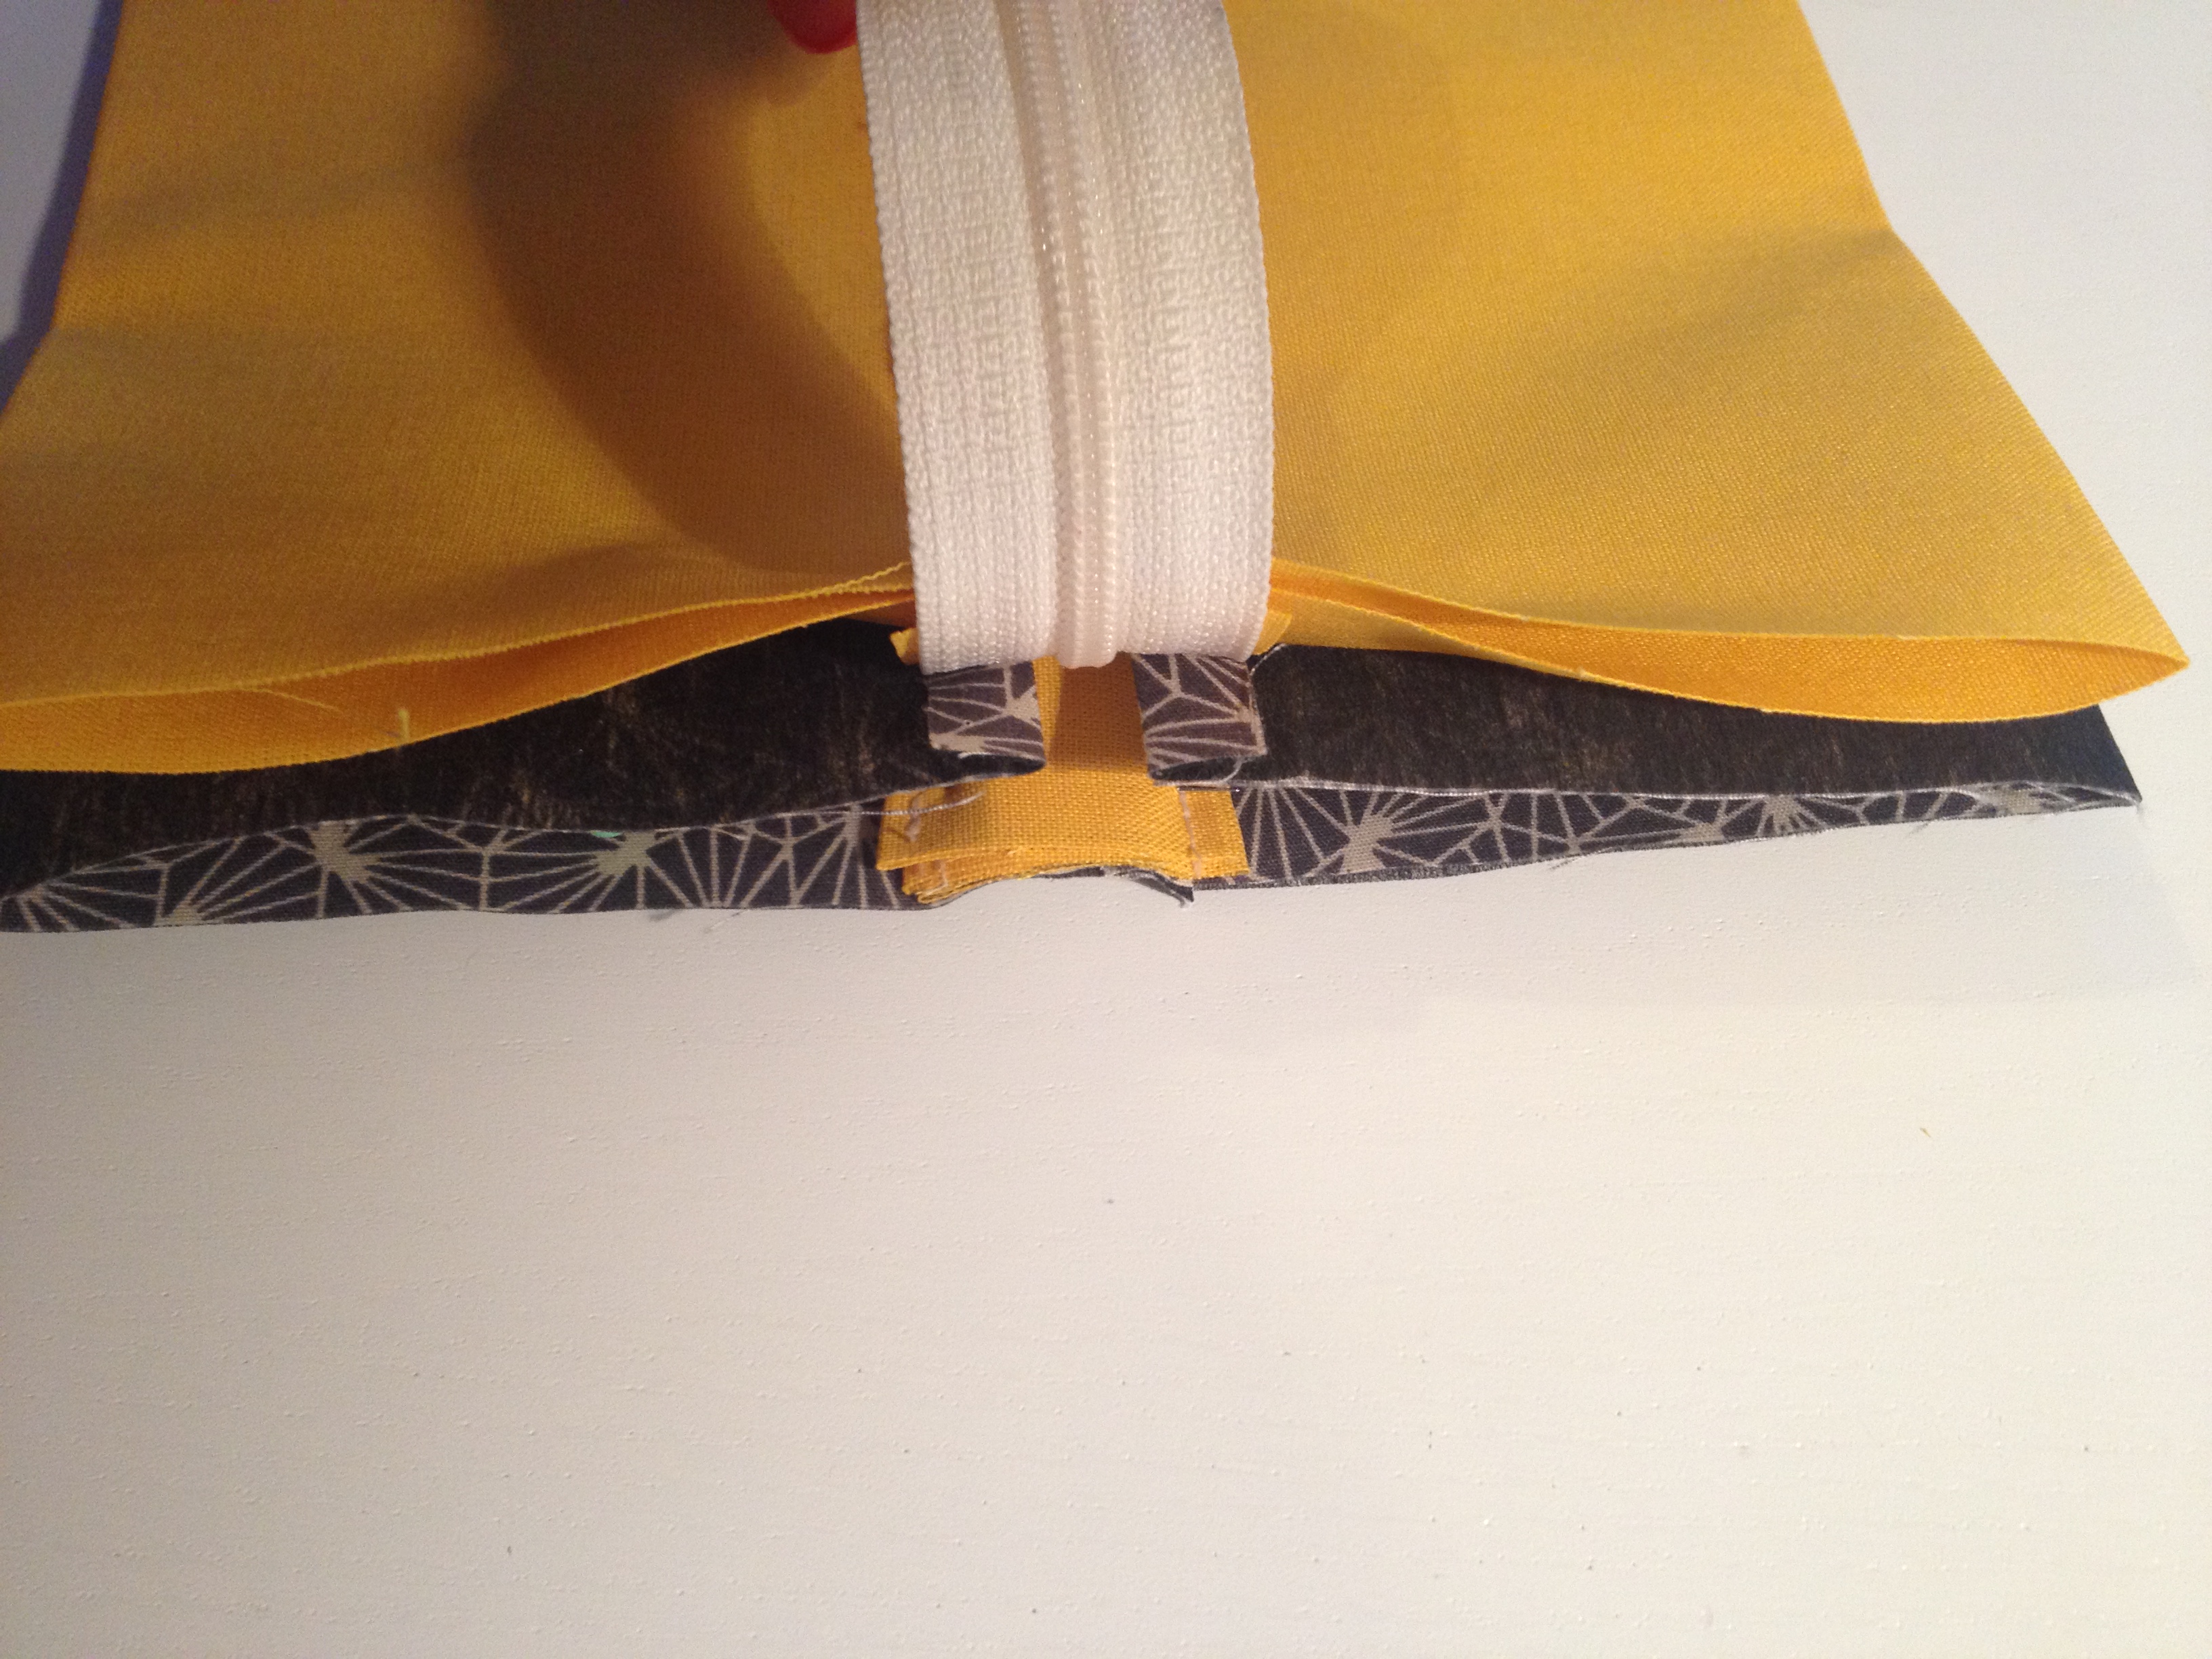
You only want to sew the main pieces of fabric together here catching the zip and tag. Once you sew over the zip/tag bit do some reverse stitches to really keep it in place.

Then you need to turn it over and sew the lining. I found it easier to do this bit using the zip foot so that you can still sew a 1cm seam allowance:

Turn it over and before you sew the other side open up the zipper. Repeat the above steps without putting in a tag, in other words you are closing the two main ends together and then the two lining pieces together. Now you can cut off the end pieces of the zip.

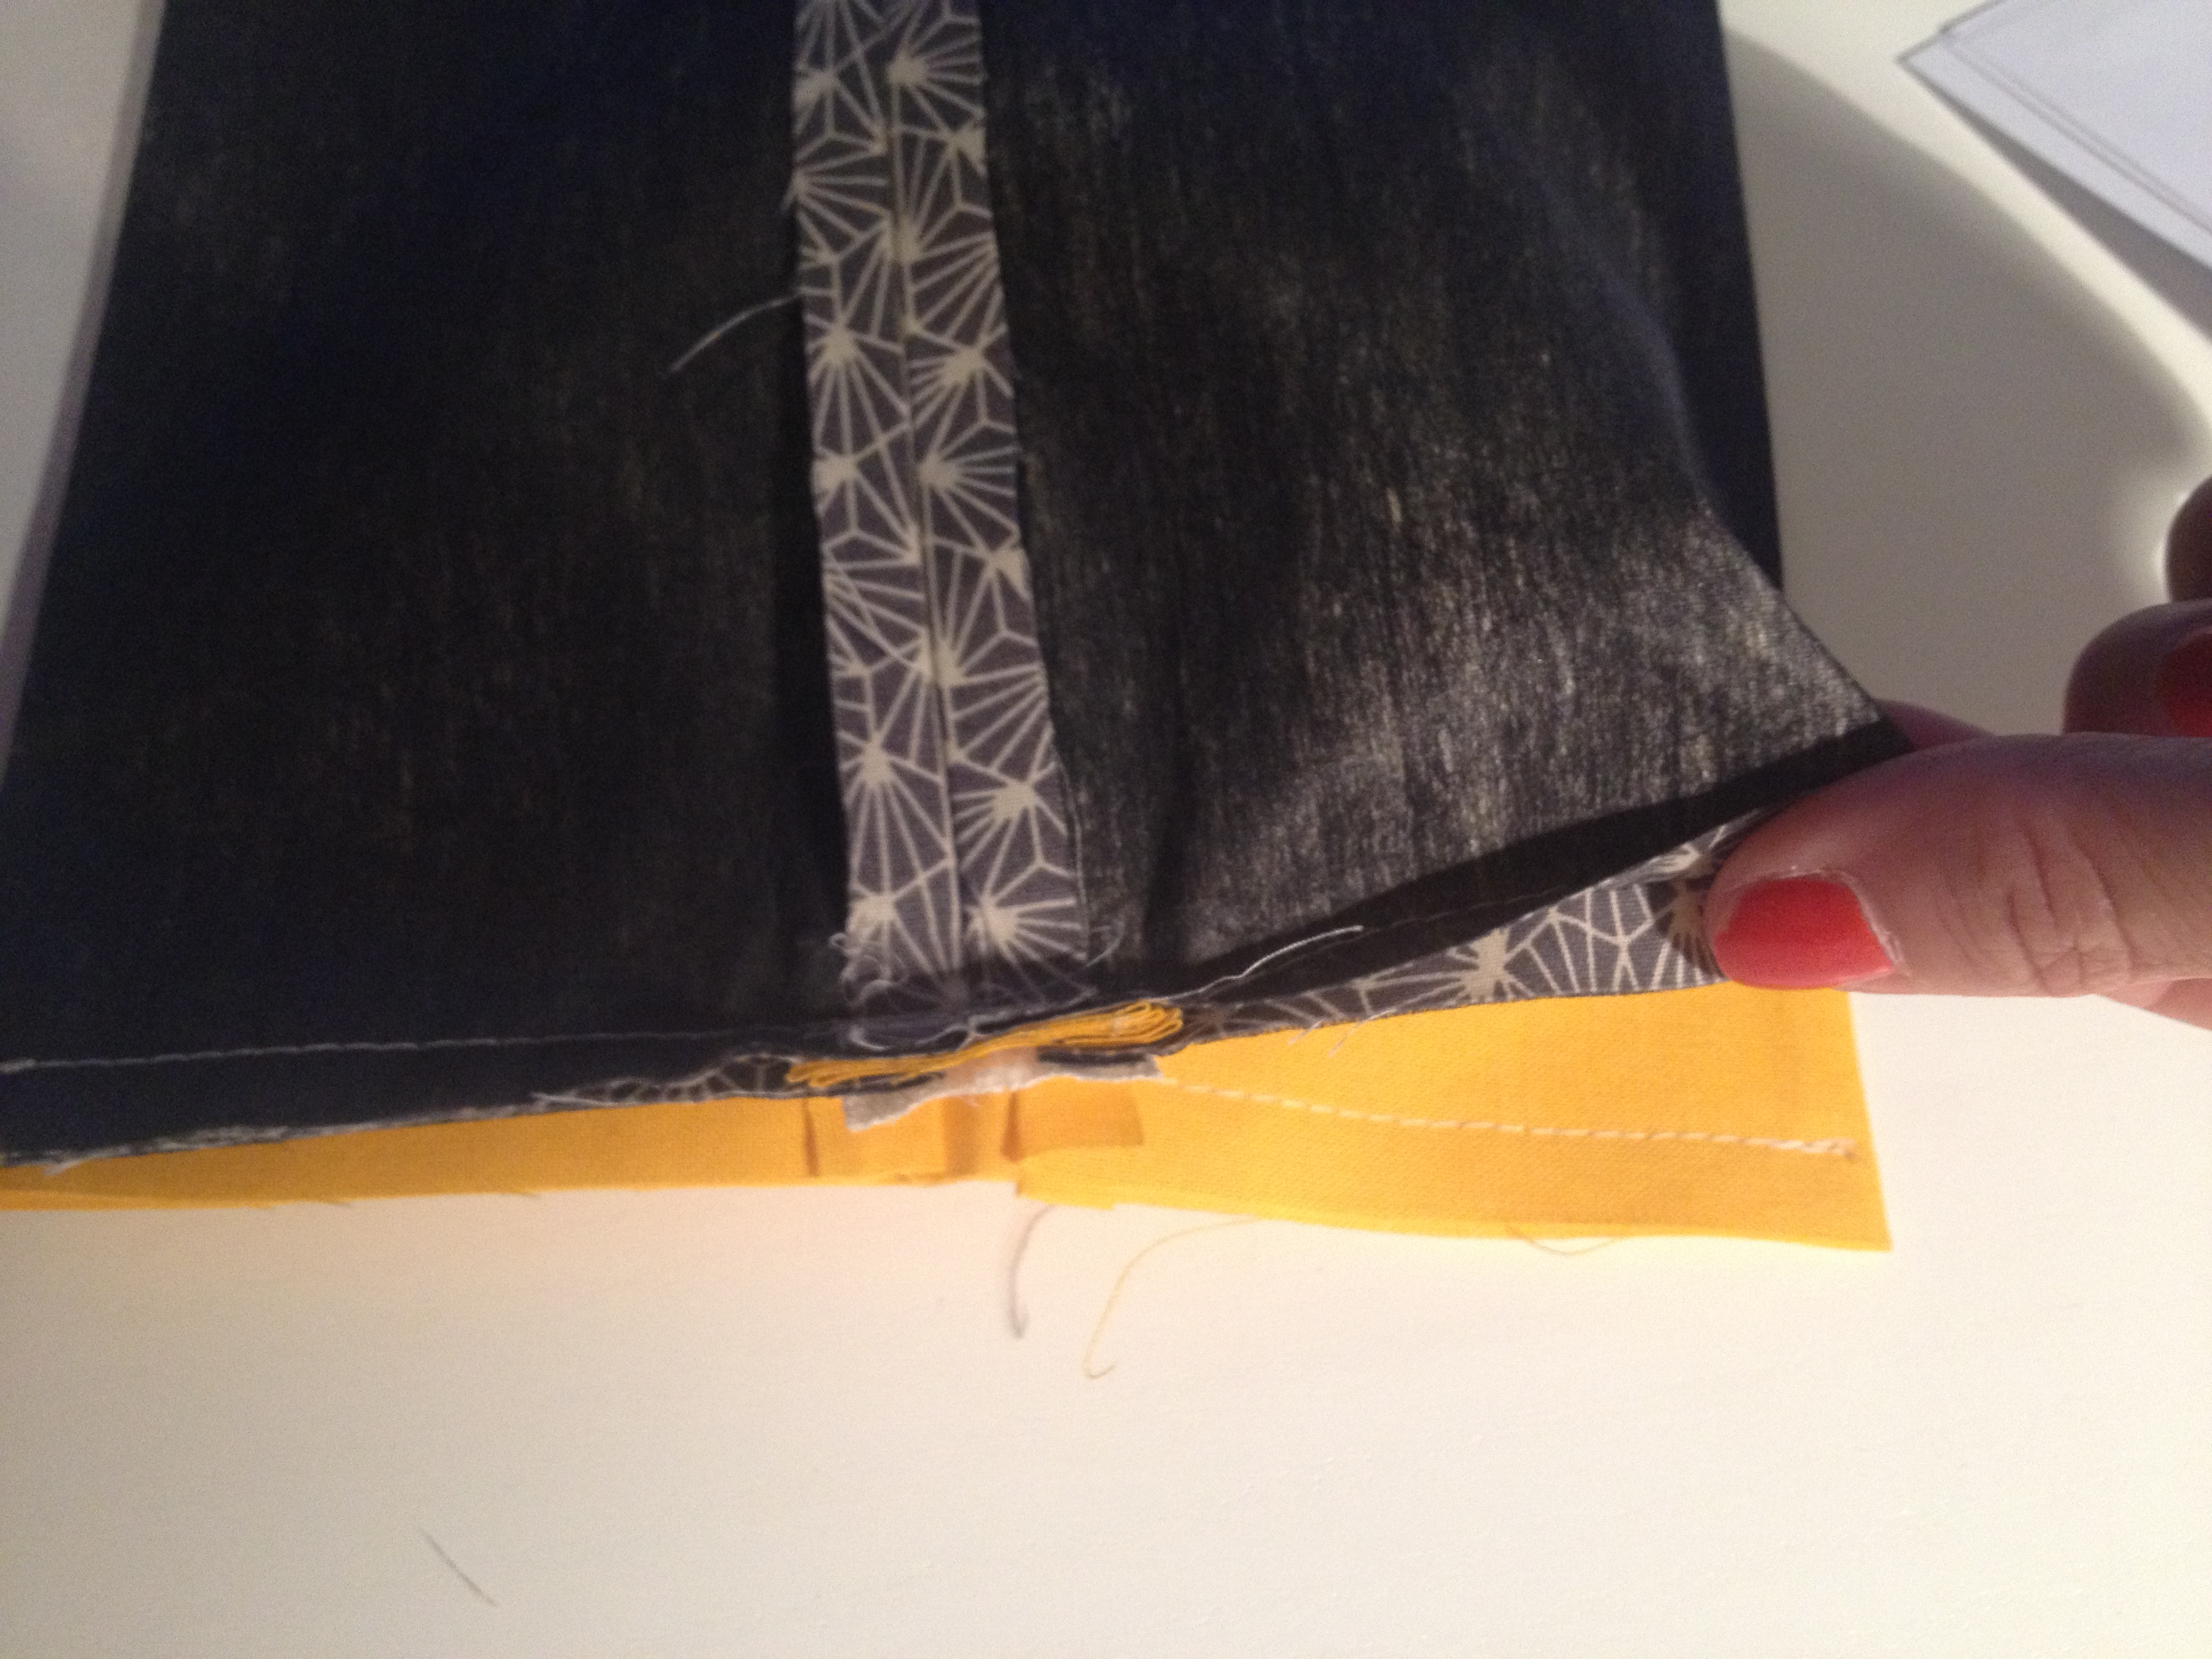
We are on the home stretch! Now we need to box out the corners. Go to one of the corners (copy my picture if it makes it easier). Snip into the seam to make them open easier, just be careful you don’t cut past the stitches:

Do this on all 8 corners. This makes the seam open flat.
Then pinch open the seam and at the same time catch the ironed side – you need to bring these together which will make the fabric into a point. We need to stitch across the point about 2 cm up from the tip. It will make an odd shape and doesn’t feel natural but this is what makes the make up bag stand up on its own and gives it depth inside:
Sew across the point for all 8 corners and cut that point off:


Almost there!! Remember that section we didn’t sew in the lining? Now put your hand through there and pull the whole make up bag through to the right side:


Push out the boxed corners to make them look neat on the right side and then sew closed the opening. I have done it on my sewing machine but you can do this part by hand if you don’t want to see any stitches:

Push the lining into the make up bag and voila ! Here is your work of art!
I hope you enjoyed this tutorial. I’d love to see the make up bags you have made so please share!
Happy sewing everyone!
Lisa
