
We found Miriam on Instagram – her amazing style kept on grabbing our attention and we always found ourselves pausing on her pics! We just knew we had to send her one of our patterns to see what she would do with it. Of course, she has blown us away with her version of The Sheath Dress. We are handing over to Miriam to take you through her “Making The Sheath Dress”
Making The Sheath Dress
by Miriam
When Lisa from The Avid Seamstress asked me to try one of their patterns and write a blog post about it, I must say that I was slightly overwhelmed. I have never been asked to do this before, and the thought alone of pattern testing and writing reviews makes me a little nervous. However, I thought it was a good opportunity to challenge myself a bit, and also – who can say no when being offered to try a pattern as pretty as theirs?!
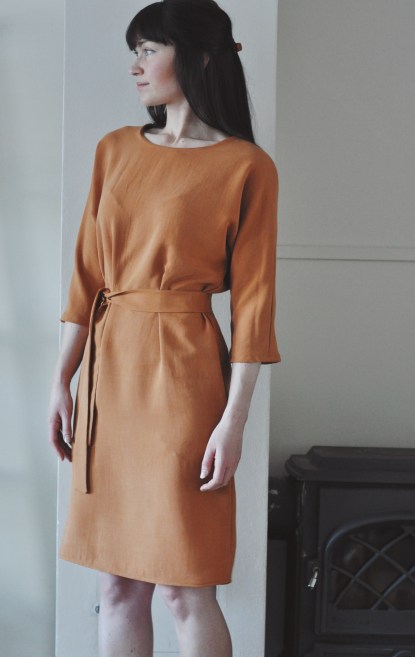
I decided instantly that I wanted to make the Sheath Dress. When I look at the pattern I see so much versatility, elegance, simplicity. I also thought it would be a great pattern to vary; with or without the elastic waist, a tie waist, long or short sleeves, hacking it into a jumpsuit, or different neck variations (like for instance a very low v-neck in the back for dressed up occasions). The questions I tried to have in the back of my mind was: What will I reach for in my closet in the morning before work, casual occasions AND formal occasions? How can I combine this with comfort and being able to move around? The latter is something I did not master when I started to sew. I made clothes that turned out a bit uncomfortable, too tight, too short, and clothes I would wear only on rare occasions. It was as if I did not know myself, and did not think things through before buying patterns. I want to do it differently in the future, and I hoped The Sheath Dress would be as nice and comfortable as I had pictured in my head.
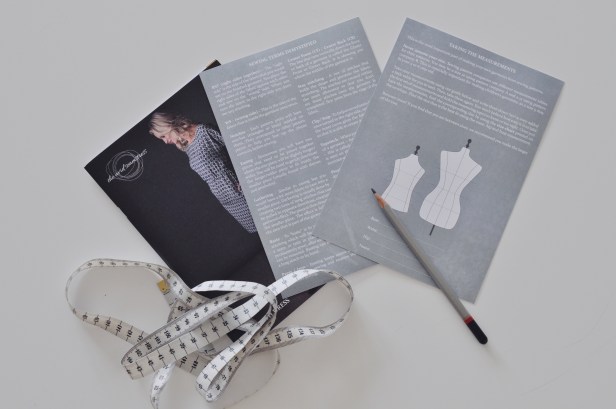
The pattern arrived in a beautiful envelope which included an overview of terminology (if you are like me and did not know, for instance, what «ease» was), a sizing chart, and very detailed instructions with lots of illustrations. Even though I ended up not using a waist elastic I’m very happy to have learned a fabulous way to insert it (I have made elastic waists before but let’s just say I’m never ever showing anyone the insides of those dresses…. for my eyes only!).
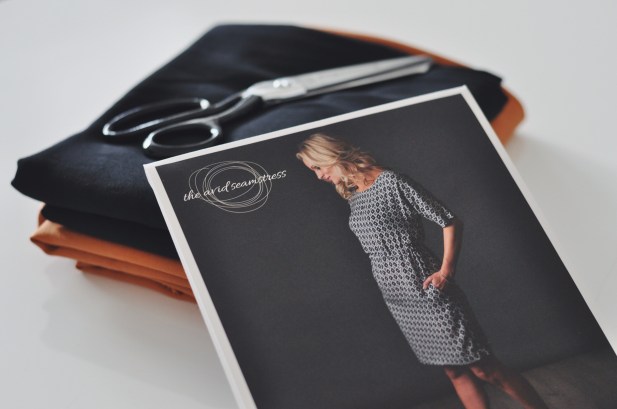
The next step was finding the right fabric. I had such a hard time deciding. I had a black viscose and a caramel/orange tencel, and also some patterned viscose fabrics. I decided to go with my gut feeling and use the black as a test version, and the caramel tencel for the «real thing». The fabric was from Blackbird Fabrics. I also wanted to add some seam details in the back, which would also make it more neat looking and secure on the inside. I pre-washed the tencel and could not wait to get started!
The first thing I did was to measure. I used the sizing chart, which I am quite glad I did, because it would be quite typical of me to just wing the size and take my risks, which in this case would leave me with a dress that would not be wide enough for my hips. So number one advice – take your measurements!
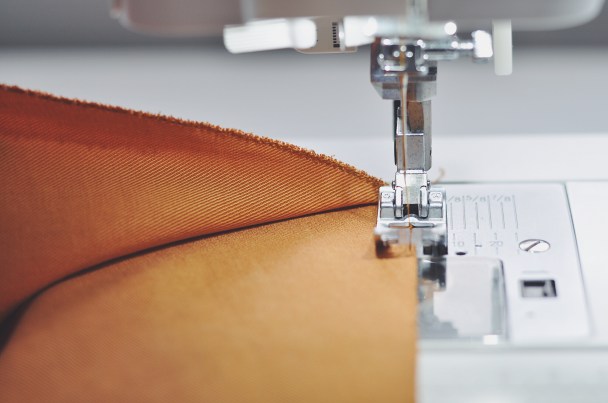
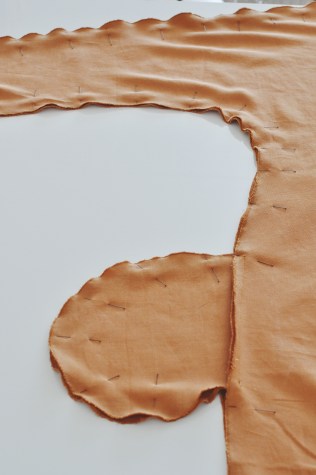
I prefer to use my serger for the inside edges, french seams, bindings or flat felled seams. However I was unsure how to do anything else than to serge on this one because of the curved underarm seams. Since I did not have any matching serger thread, I made myself a large cup of coffee, tuned into my most patient sewing mood. And I am glad I did, because it turned out very decent on the inside. The next thing was to staystitsh the neckline, and then do the seam in the back. After stitching the back pieces together I folded the seams to the sides and made a stitch on each side of the seam (which I think made a nice detail on the outside as well).
The next step was the pockets, and I must say I am glad I double-checked by laying the front and back on top of each other before stitching them to the dress, because my markings were somehow way off. Oh well!
And then it was pretty straight forward sewing the rest of the dress together. I decided to make a tie for the waist from the rest of my fabric, which I think turned out quite nice for this tencel fabric.


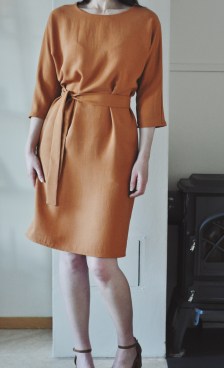
I am really pleased with how smooth the process went, and I believe this is because I followed the advice Lisa gave me when she sent the pattern – and that was to have fun making the dress. It may seem obvious, but I found that reminding myself to enjoy the whole process also made the finished result much better. The pattern explains very well how to do it every step of the way, and I can without a doubt recommend the pattern no matter the sewing level and experience!
Miriam has shown how versatile this pattern is, you can literally make it your own by making a few changes and by your fabric choice!
Want to get your hands on this pattern? It comes in a printed and pdf pattern so just click on your choice below to head over to our website!


Feel like making this dress with The Avid Seamstress? Come and join:
Dress in a weekend – Saturday 10 & Sunday 11 June (Brighton) – full details here
The Sheath Dress at Ray Stitch – Friday 11 July (London) – full details here

Wow hopefully Miriam you wont mind as having been inspired -I’m now pretty much copying your dress! A question-the stitch each side of the seam, you mean you topstitched a line either side? Thank you x
Yes, only I stitched the two lines from the inside to make sure I did not stitch outside the seam allowances. If it is unclear let me know, I can email you some pictures I did not include in the post! Very happy to hear that my dress could inspire you :)
Miriam