
Hello, I am Deepa and I am very excited to share my first Avid Seamstress make with all of you! I had the opportunity to make a very versatile pattern, that’s the Raglan Dress/Top. I am going to talk about the two totally different looks I made. So let me get started.
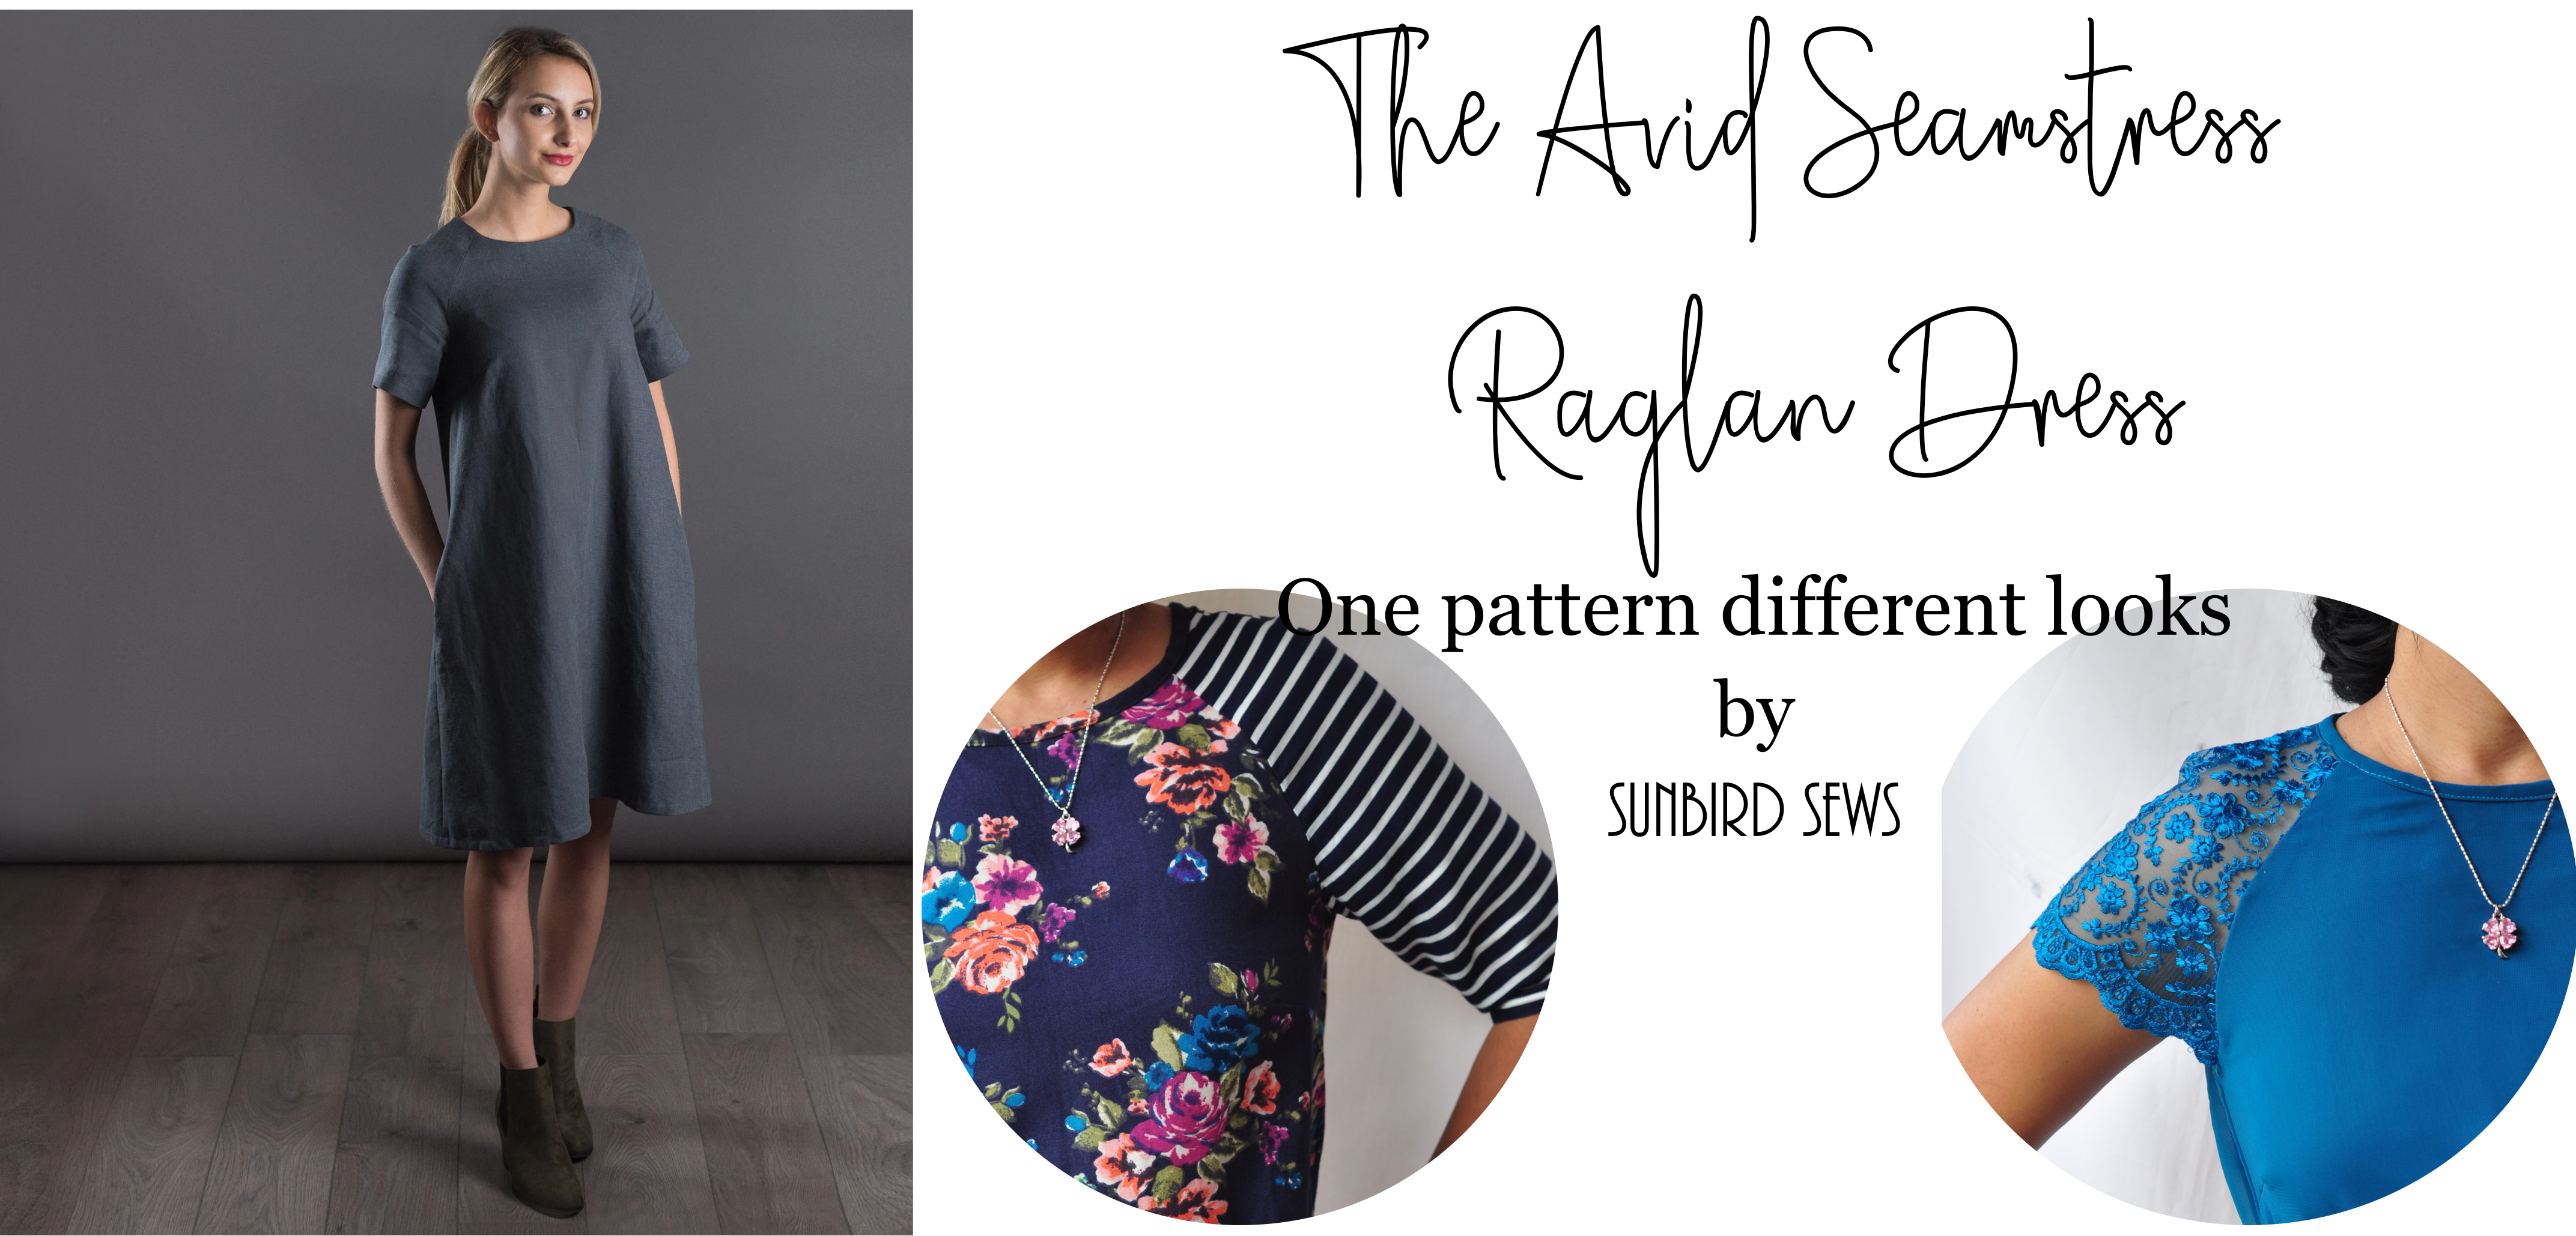
It is very gratifying to make a lovely well-fitted garment from any sewing pattern we own. But what’s more gratifying is making multiple looks out of the same pattern, isn’t it? I wanted to achieve different looks without manipulating the base pattern. Over to the deets.
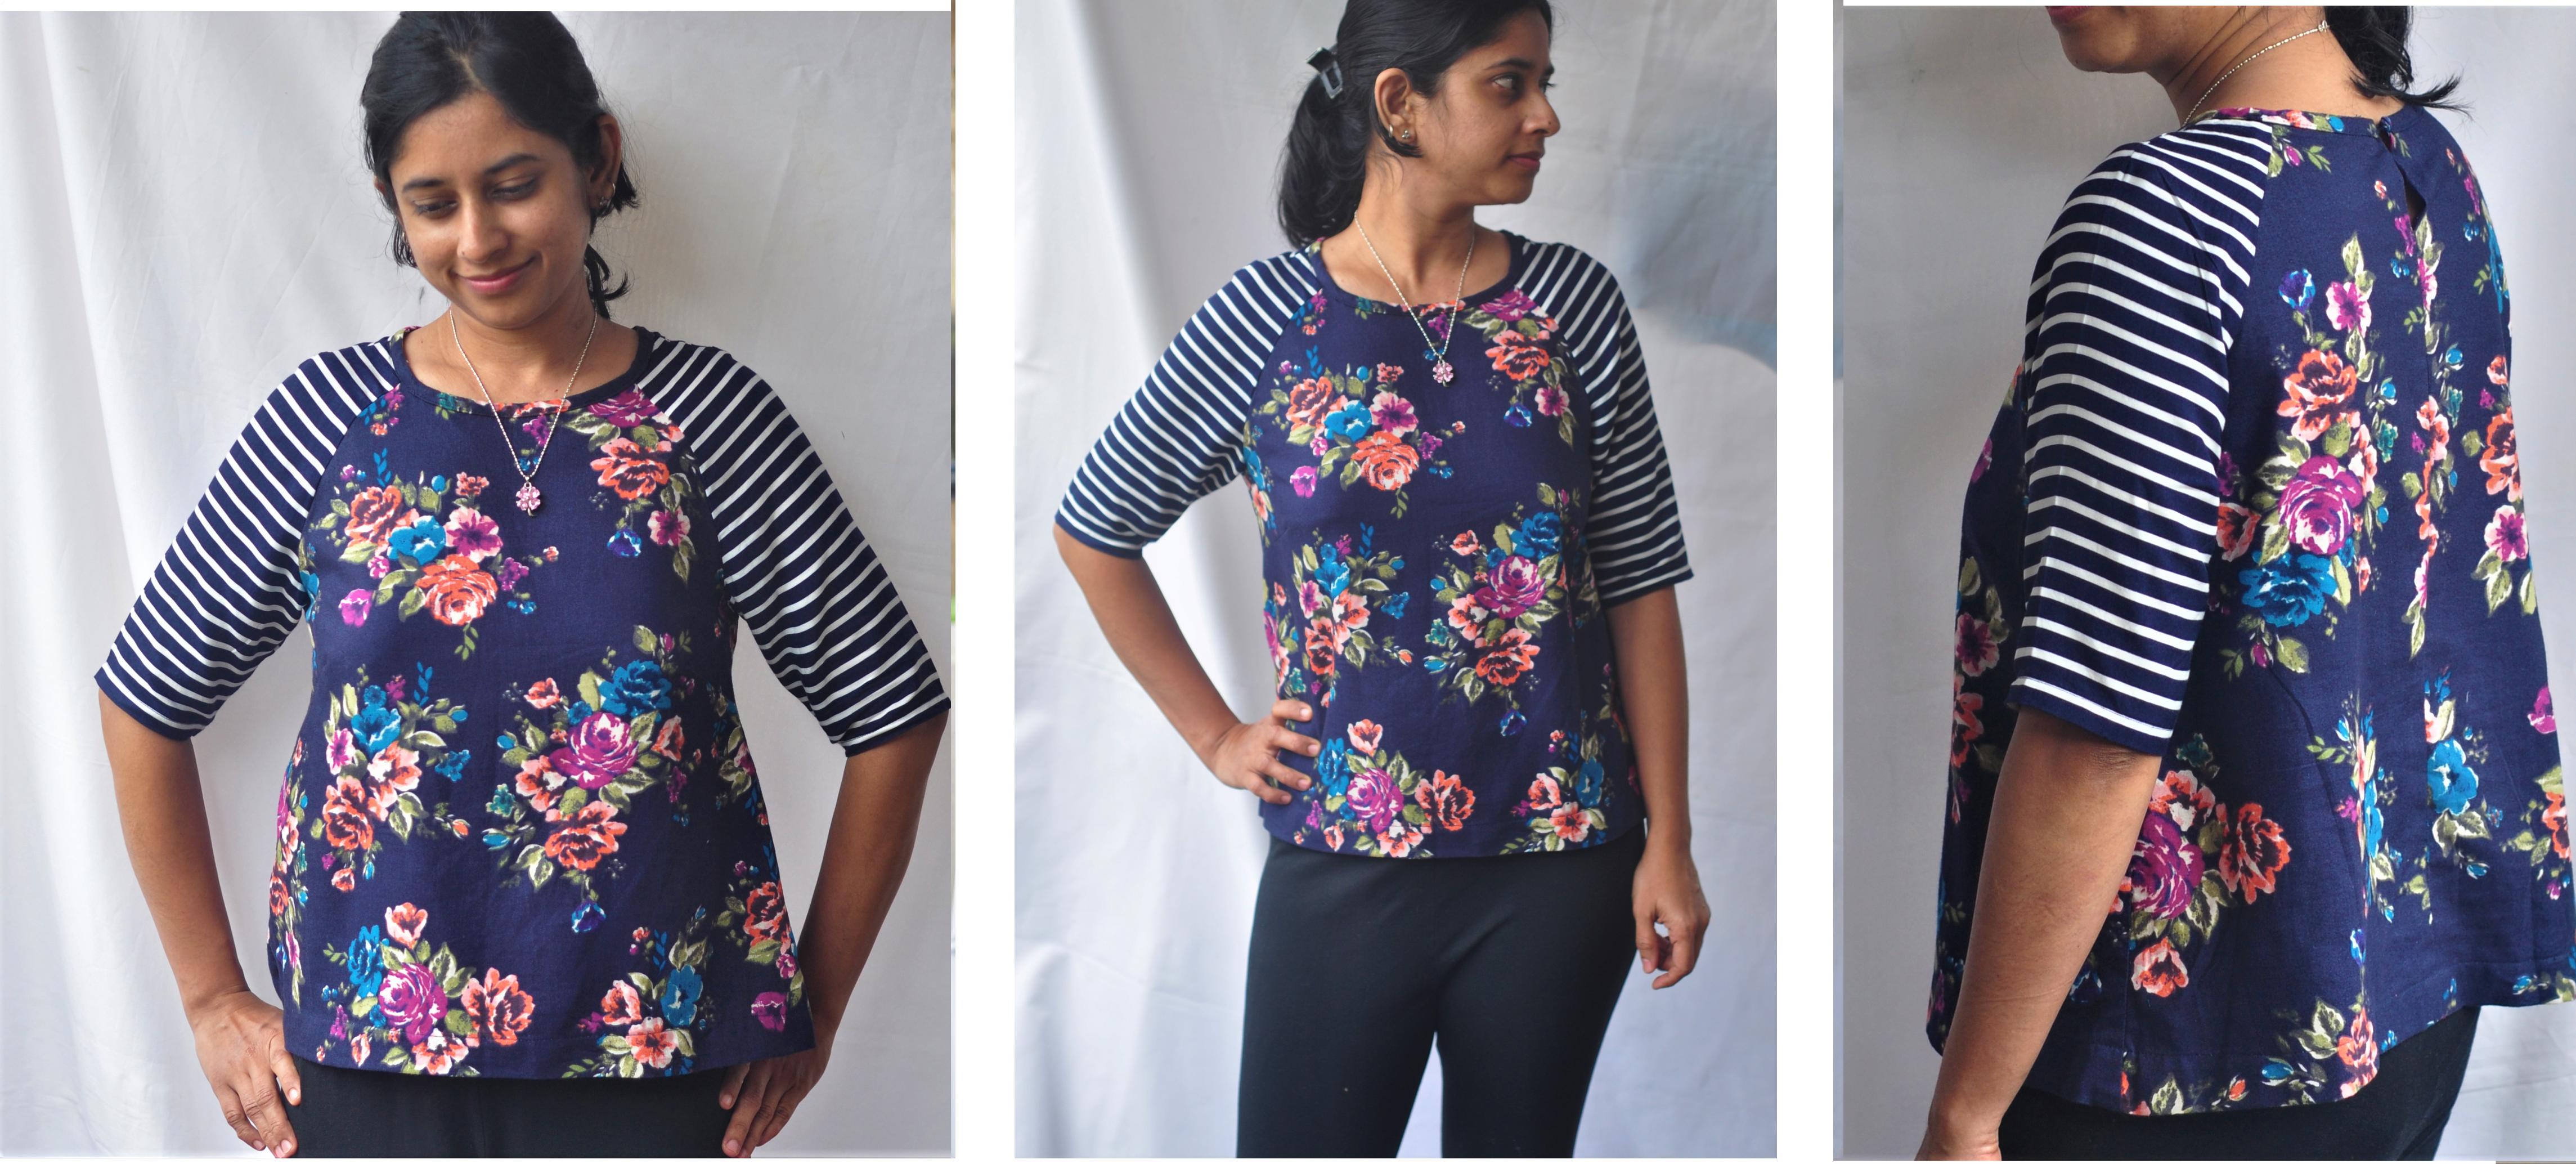
Look No.1 – Woven T-Shirt
Colour blocking is so much fun while sewing! Mixing up printed fabrics can be even more fun. It gives us the opportunity to use up some precious fabric remnants too. That’s what I did for this Woven T-shirt. I chose a floral twill cotton for the bodice and a striped rayon for the sleeves. Blue being the base colour, both the prints blended very well.
Cutting out the pattern pieces was pretty fast and the instructions in the booklet were very detailed and well laid out. I guess within a couple of hours I was done with it! I made a size 2 and I loved the way it fit me straight out of the envelope.
Tiny tweaks:
1. Looking at the silhouette I decided to skip the Zipper and replace it with a neck placket opening. It is super easy to wear without the zipper too.
2. I moved the sleeve-dart-dot an inch forward to get the dart to suit my shoulder slope.
3. Eliminated the neck facing and bound the neckline with a bias tape. 4. I reduced the sleeve length to hit my elbow and also took in some width at the sleeve side seam to make it more fitted.
Though the raglan dress pattern is rated for an intermediate seamstress, the checklists and the instructions are thorough for beginners as well. Without a sleeve head to set in, this project came together quickly. I love this woven t-shirt of mine, it’s very comfortable. So, for obvious reasons , I was convinced that I need to make more from this pattern. Over to the next make.
Look No.2 – Lacy Blouse I had lovely lace scraps from an old project and trust me though it was so little, yet I had not parted with it! Because I loved those scallops. The length of scallops that had remained was so little and was definitely not sufficient for a regular sleeve hem. So I decided to shorten the sleeve into a cap sleeve. Lo! Those scraps were just perfect, the scallops would save me some effort on hemming the sleeves too! For the bodice, I used petrol blue georgette interlined with a matching voile. As the pattern has a flared silhouette I felt a belt would give a peplum effect so I made a separate tie. I was really impressed by this new look of the raglan dress pattern.
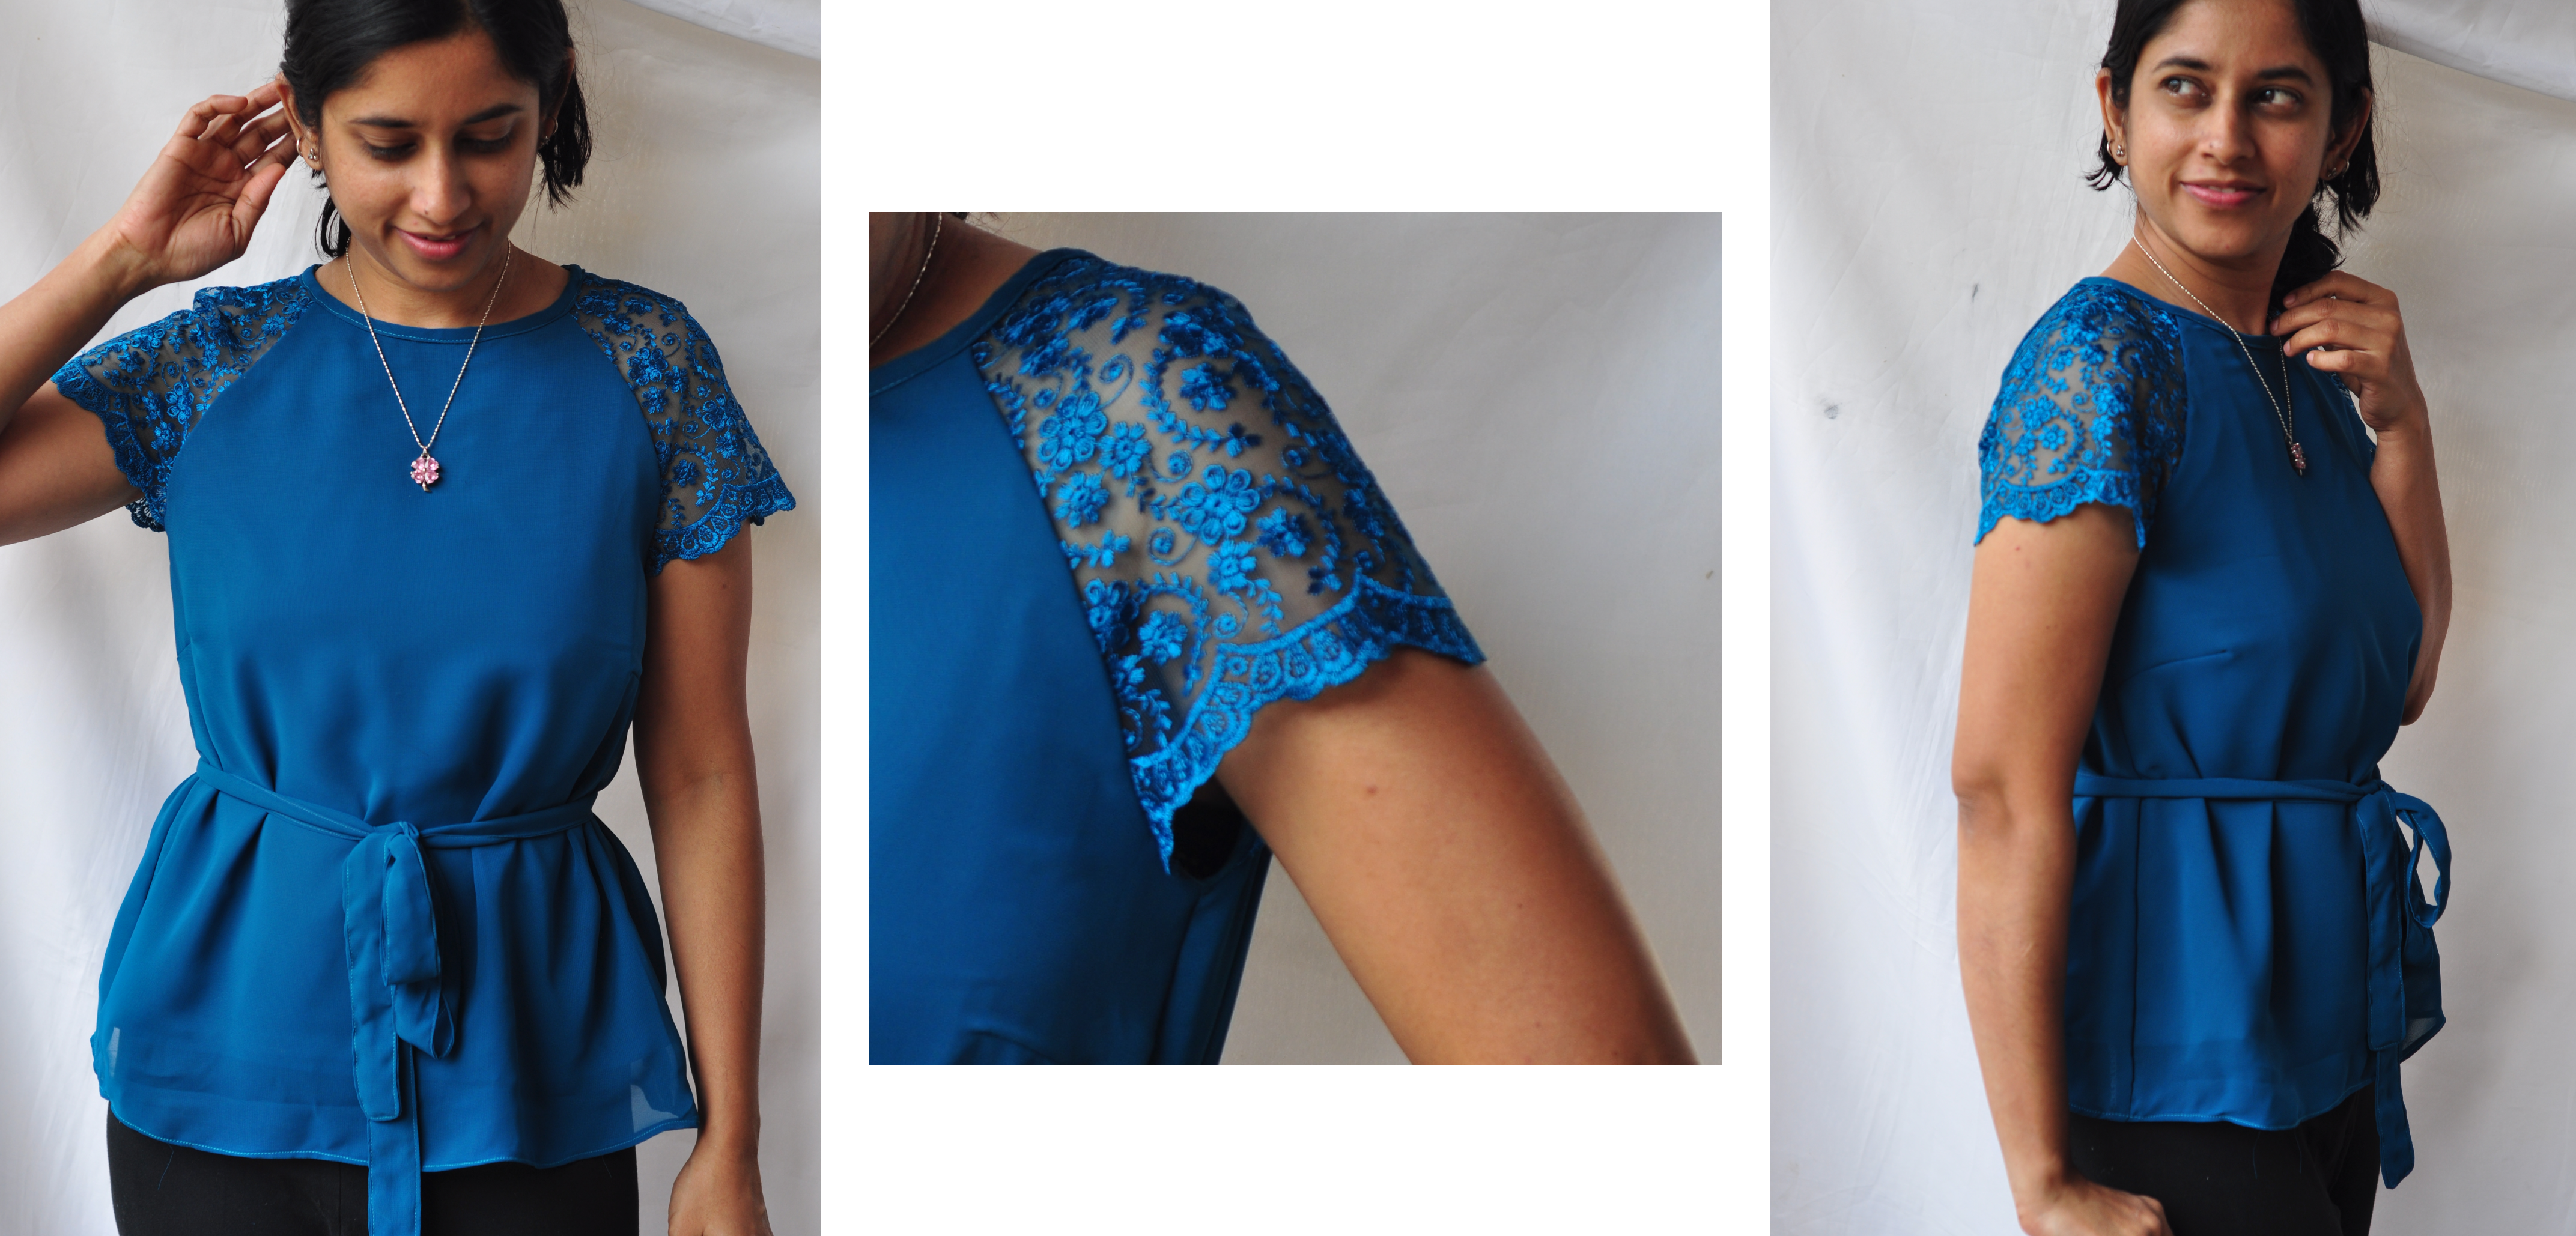
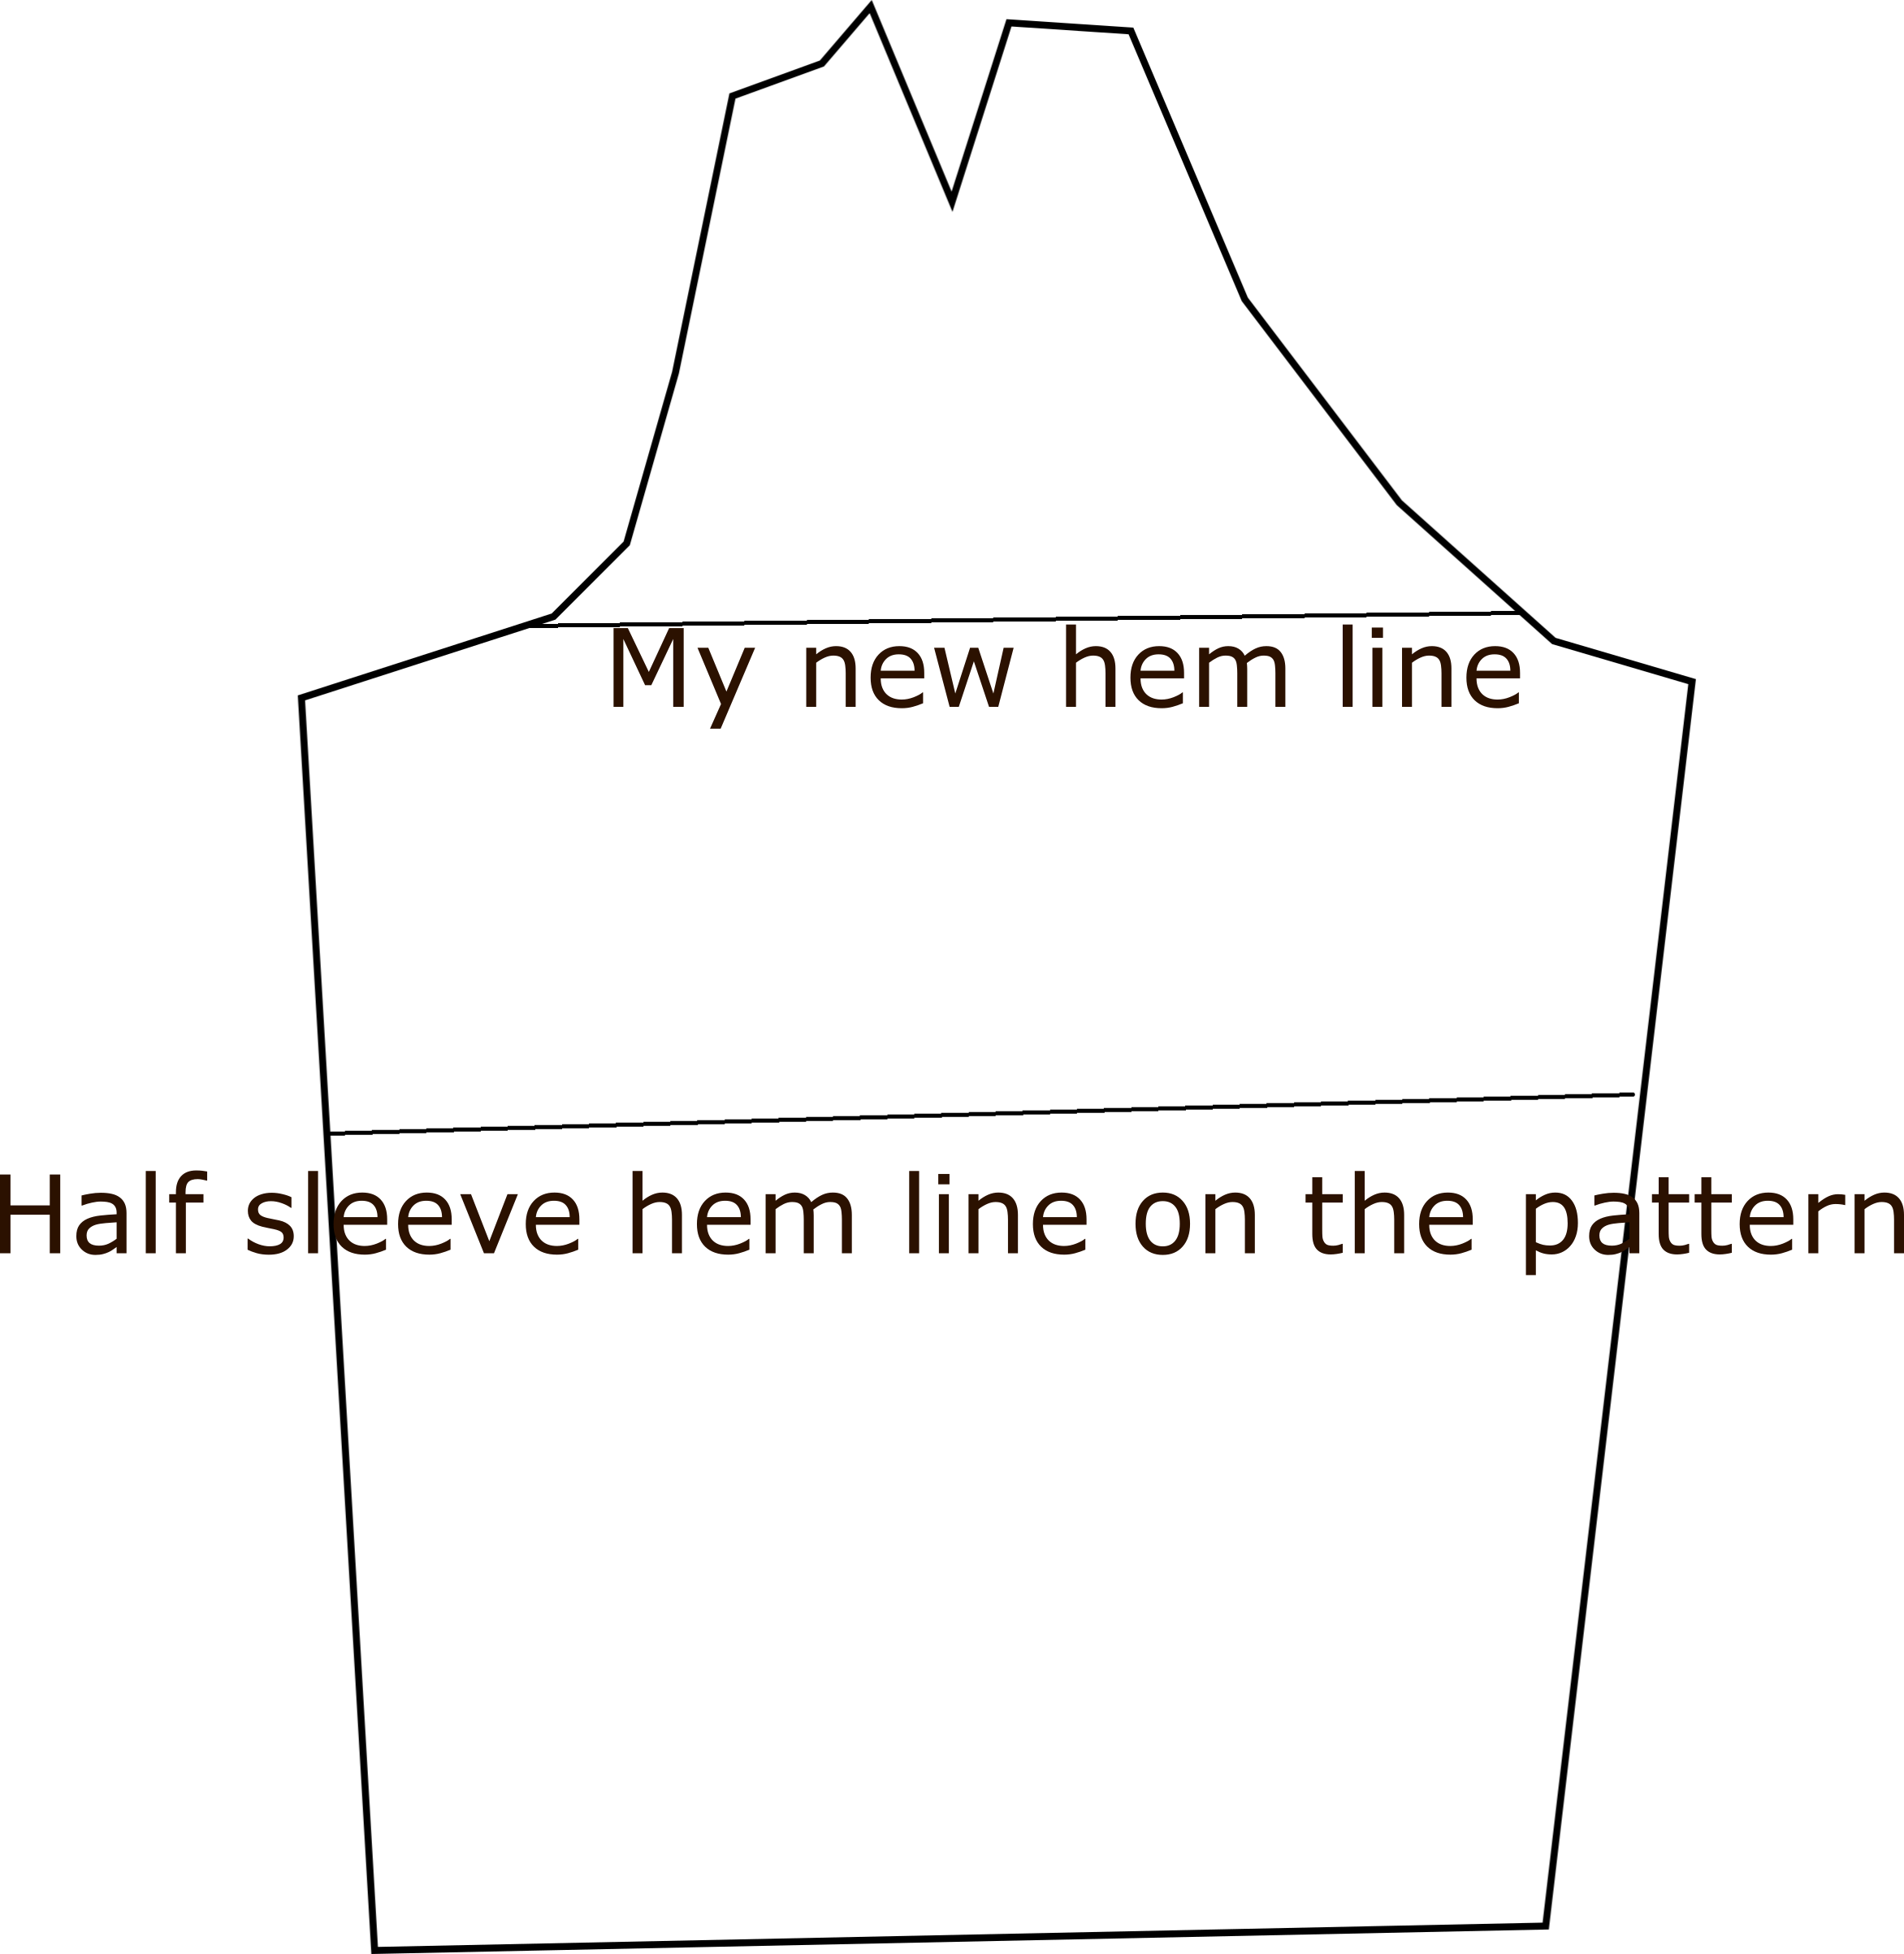
How to achieve the Cap sleeve :
I used the half sleeve line as a reference and I drew a new hem line 6” above it(and of course parallel to it). If you want a shorter cap sleeve, simply draw the new hemline higher. I felt the pattern is pretty snug around the underarms so a higher cap sleeve will be fine too. While cutting align the new hemline along the scalloped edge of the fabric.
Construction notes:
Since I was working with sheers, I finished all the seams without a serger. So I am jotting down a few points on how I constructed it:
1. The bodice pattern in voile was cut 2 inches shorter and hemmed as a first step. Later I hand basted it to the georgette bodice piece and treated it as one piece.
2. Side seams were finished with french seams.
3. The seam joining the lace sleeves and the main fabric was finished with a bias binding. Invisibly hand hemmed to the voile underneath.
4. Constructed a button placket for neck opening at the back.
5. The neckline was finished with bias tape too.
6. The outer georgette hem was finished with a tiny rolled hem.
Overall I am honestly impressed with all aspects of the pattern, including the sturdy envelope it comes in. Thanks to The Avid seamstress for bringing in such a lovely pattern to the sewing community.
Happy sewing.
