

See that invisible zip above? Can’t see it? Great! You aren’t meant to! Follow our tutorial and you will love putting in invisible zips – they are super easy and make your garments looks great!
What’s the difference to a standard zip?
A lot! The way it looks is different and the way you insert it into a garment is different. You always work on the right side of the fabric when putting in an invisible zip. The “teeth” of the zip are on the inside of the zip, whereas the “teeth” of a regular zip are on the outside.
Invisible (dark grey) / Standard (light grey)


This is the “right side” of the zip. The is the “wrong side” of the zip
Preparing the zip
When you unzip an invisible zip you will notice that each side of the zip “rolls” to the side. With an iron and on a warm, but not hot setting, iron the zip so that each side lies very flat.
The garment.
For the purpose of this tutorial I will assume that you are putting in the zip at the back of your garment and you have two back pieces that are going to be joined at the CB (centre back / middle). If you are putting in an invisible zip into trousers with a waistband we have another tutorial for that, which will be added soon! This tutorial is perfect for invisible zips at the back of dresses.
How to insert the invisible zip:
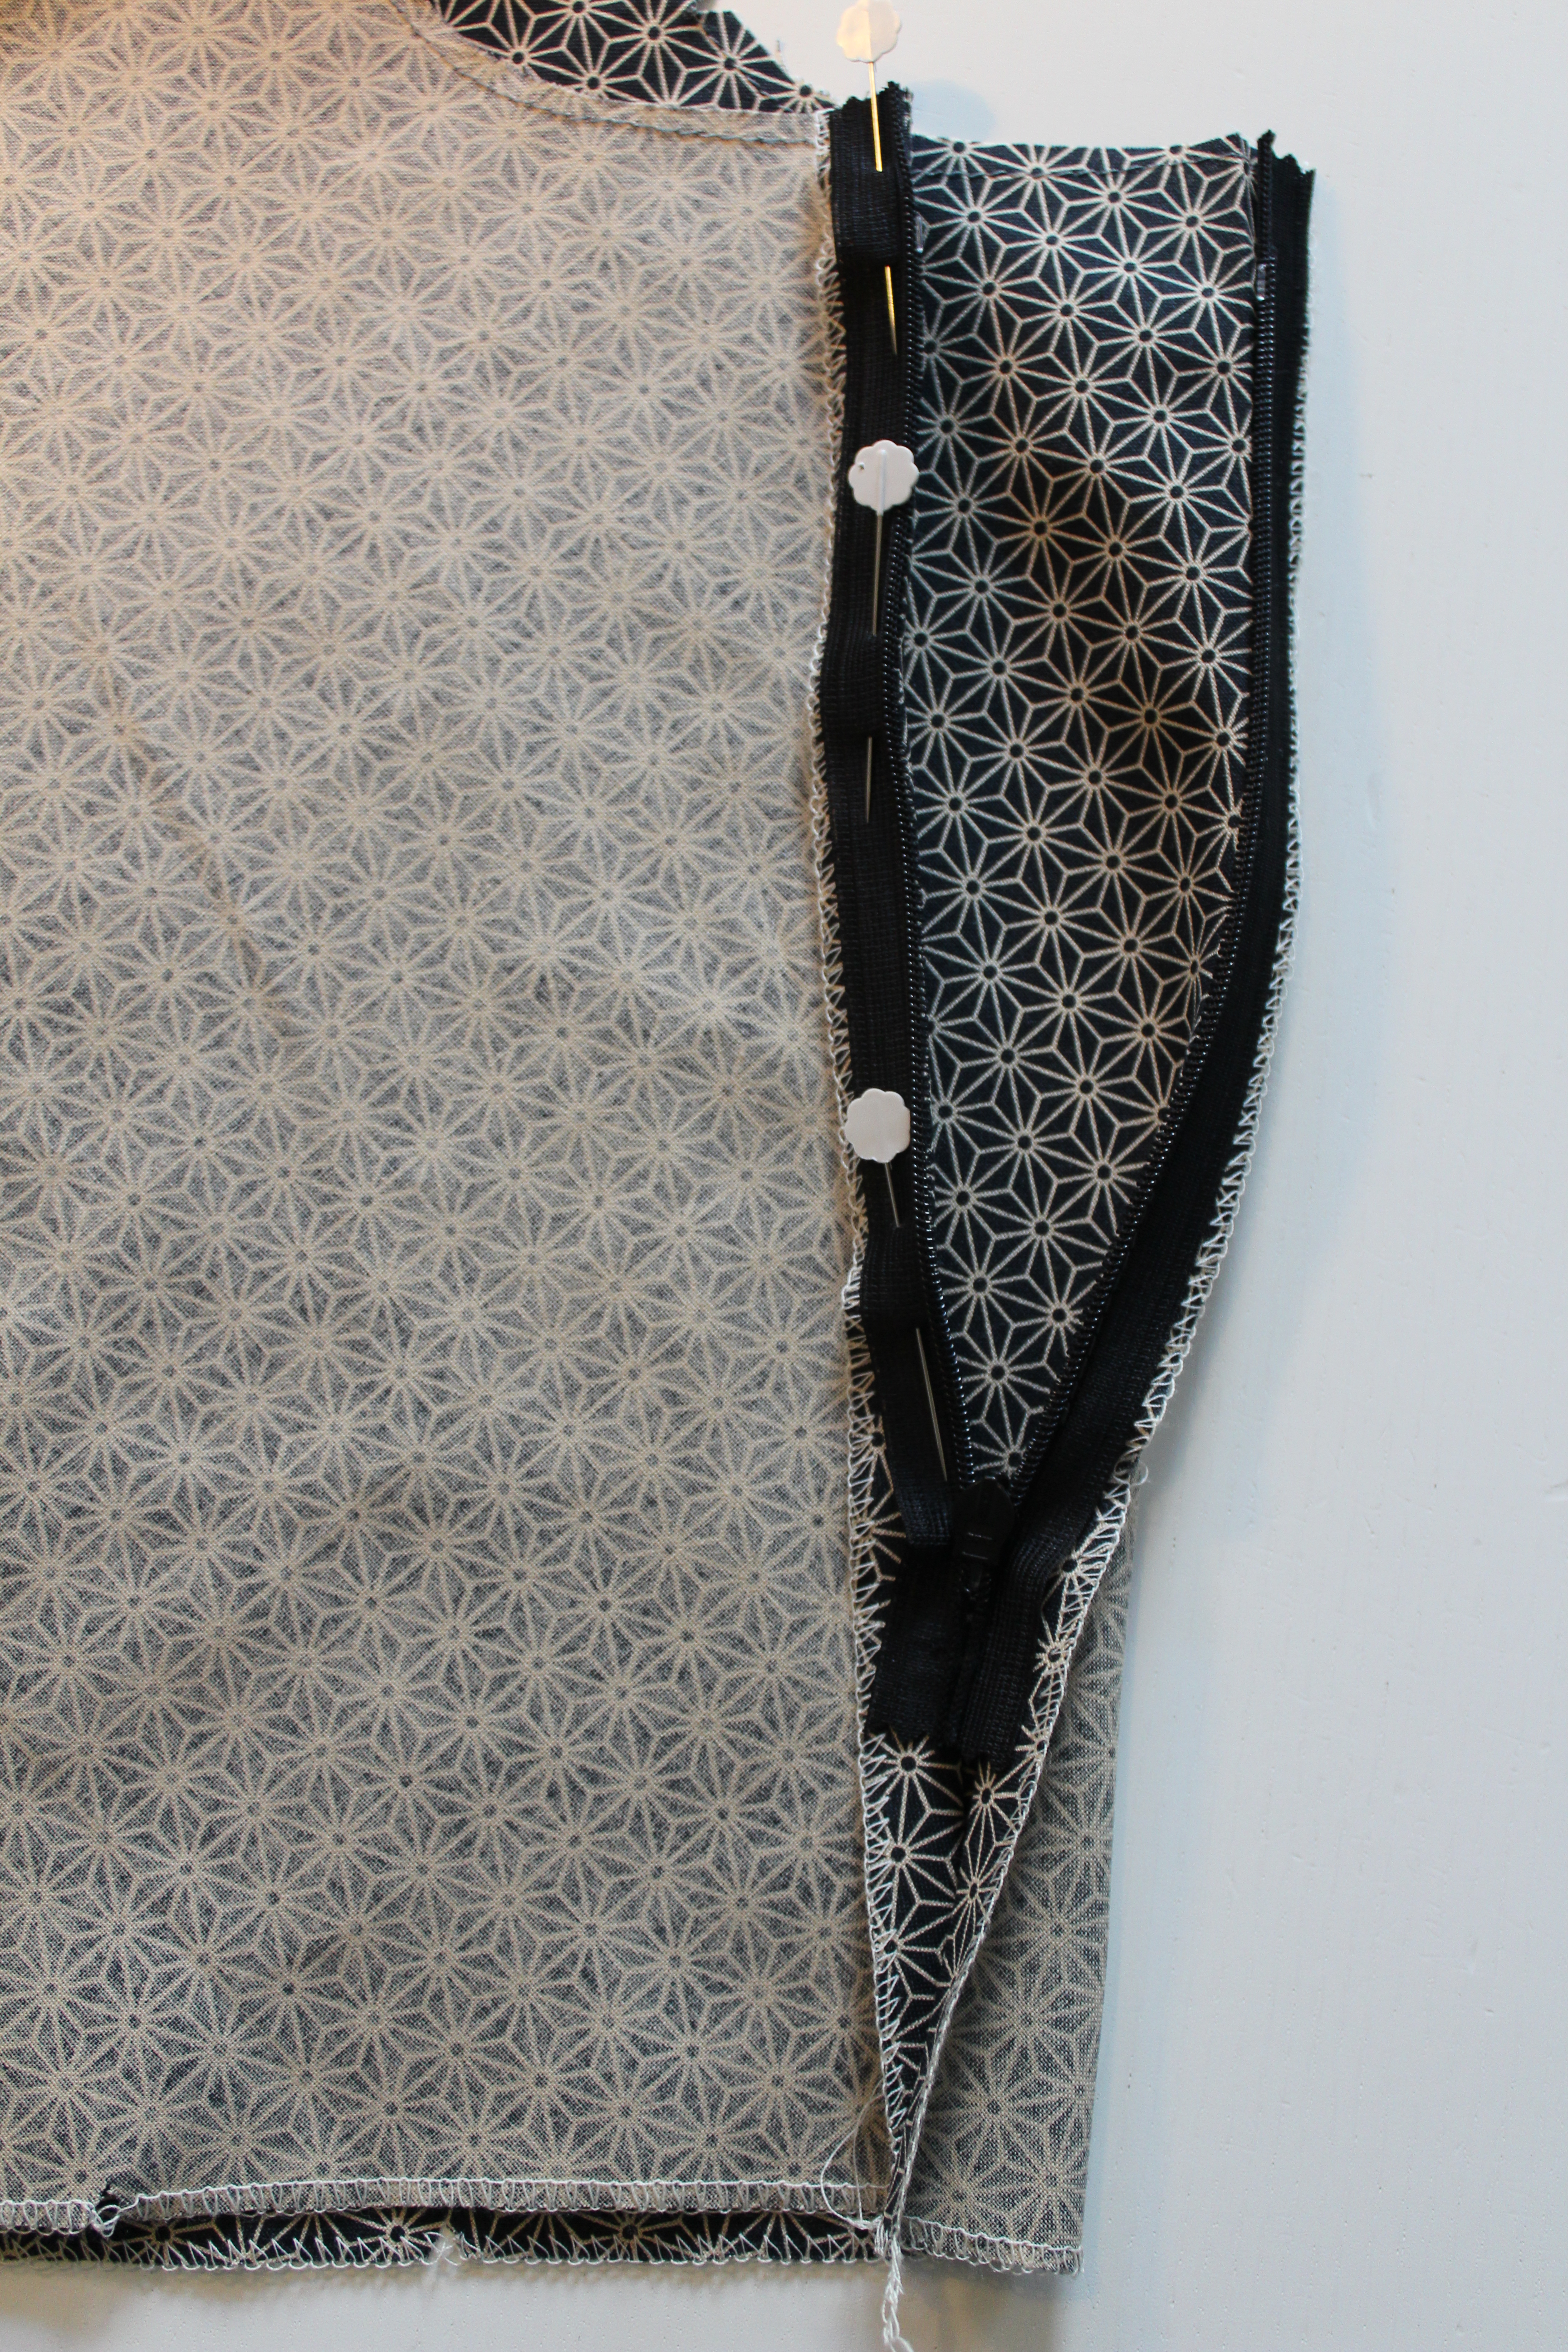
Place your two back pieces in front of you, right sides facing you:
1. Working on the left side of the garment, place the zip right side down (look at the images above to check which is the right side of the zip), along the CB edge.
2. Pin the right side of the zip to the left side of B. The loose side of the zip will be on the left.
3. Pin the zip in place ensuring that the top of the zip is flush with the top of the CB. The edge of the zip should lie against the edge of the fabric.

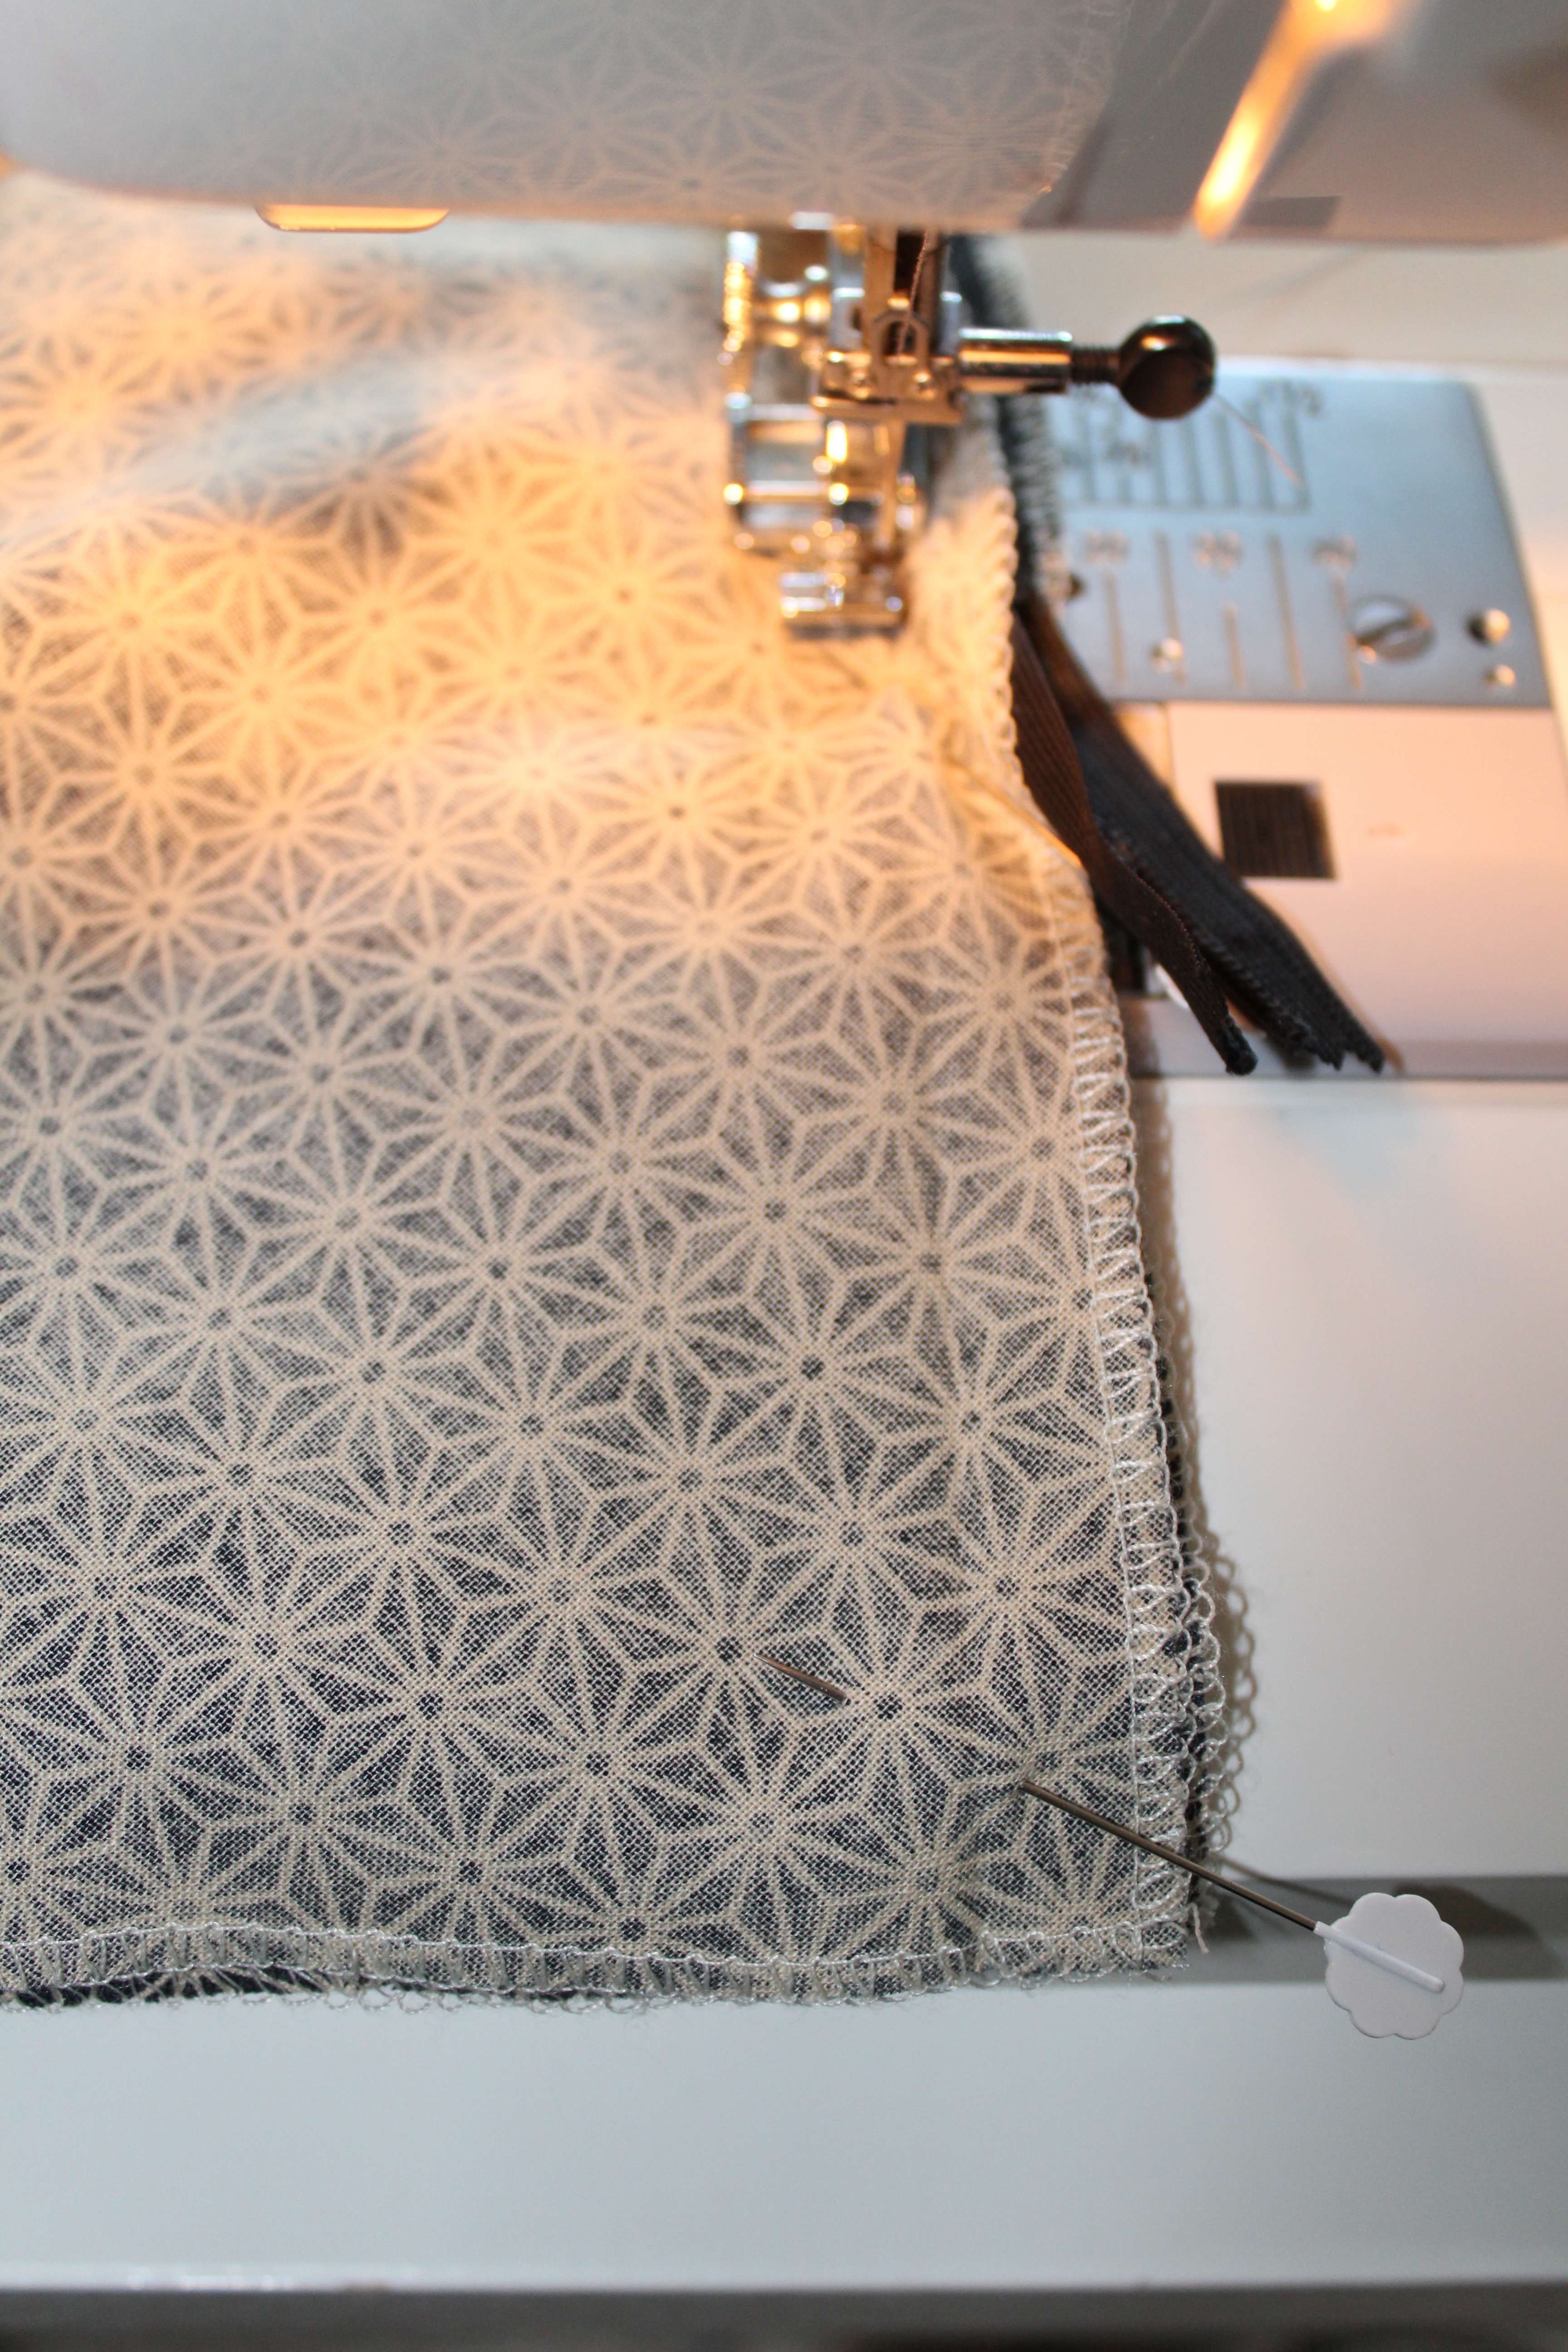
Zipper presser foot
4. Using your zipper presser foot and starting from the top of the zip create a row of stitches next to the zipper teeth. Don’t sew too close to the teeth – just a few mm next to it. Sew until as far down the bottom of the zip as you can. Don’t forget to reverse stitch at the top and bottom of the zip.

5. Place the back pieces right sides together.
6. Take the loose zip side and pin it to the left side of the garment. Only pin zip and
edge of fabric.
7. Ensure that the top of the zip is flush with the top of the garment. Pin in place.
8. Starting from the bottom of the zip this time, instead of the top of the garment, sew this side of the zip.

9. Zip up your zip checking that the zip starts at the same point on both sides of the back.

10. If you are happy that the top of the garment matches nicely, we then need to complete the unsewn bottom part of the zip. Pin the remainder CB sides of the back garment, matching up the fabric edges.
11. Push the loose unsewn zip piece to the right hand side and starting just above and to the left of the zip stitches, sew down to the hem, completing the centre back. You’ll notice that if you start next to the zip stitches you will need to guide your stitches back onto sewing your recommended seam allowance stitches so that when you get to the bottom of the piece you are sewing 1.5cm from the edge.
Tip. The trick here is to start as close as possible to the zip stitches and try to get back to sewing on a 1.5cm seam allowance. Iron open your seam allowance.
So now you have your zip sewn in to your garment. When you turn it to the right side you shouldn’t be able to see it. Easy?!
To complete the top of the zip we would need to finish the top with a facing. This is how it would look completed with a facing. Want to learn how to put a facing in beautifully?! We’ll be adding a tutorial soon!


Thank you very much for this tutorial it was very helpful. Thanks!
It’s a pleasure – we love invisible zips :)