
Previous steps:
Getting started with the Sheath Dress
Invisible zip
Pocket and Side Seam
Elastic Casing
SLEEVES
1. Right sides together, pin your sleeve pieces together. At the neck point the two pieces don’t match up perfectly – this is because of the shape of the neckline. This is what I love about sewing, sometimes pieces look odd when you are pinning them but when you turn it to the right side it the finished edge looks right!
2. Sew these pieces together and iron open the seam allowances.
Can you see that once you open out this piece the neckline has a lovely curve?
NECK FACING
With neck facings, it’s important to always keep to the seam allowance guide that is on the pattern. If you take your time here then, when you place your neck facing onto your dress, the pieces will match up beautifully. You are working with such an intricate details of the dress and it’s worth taking the time here to get it right.
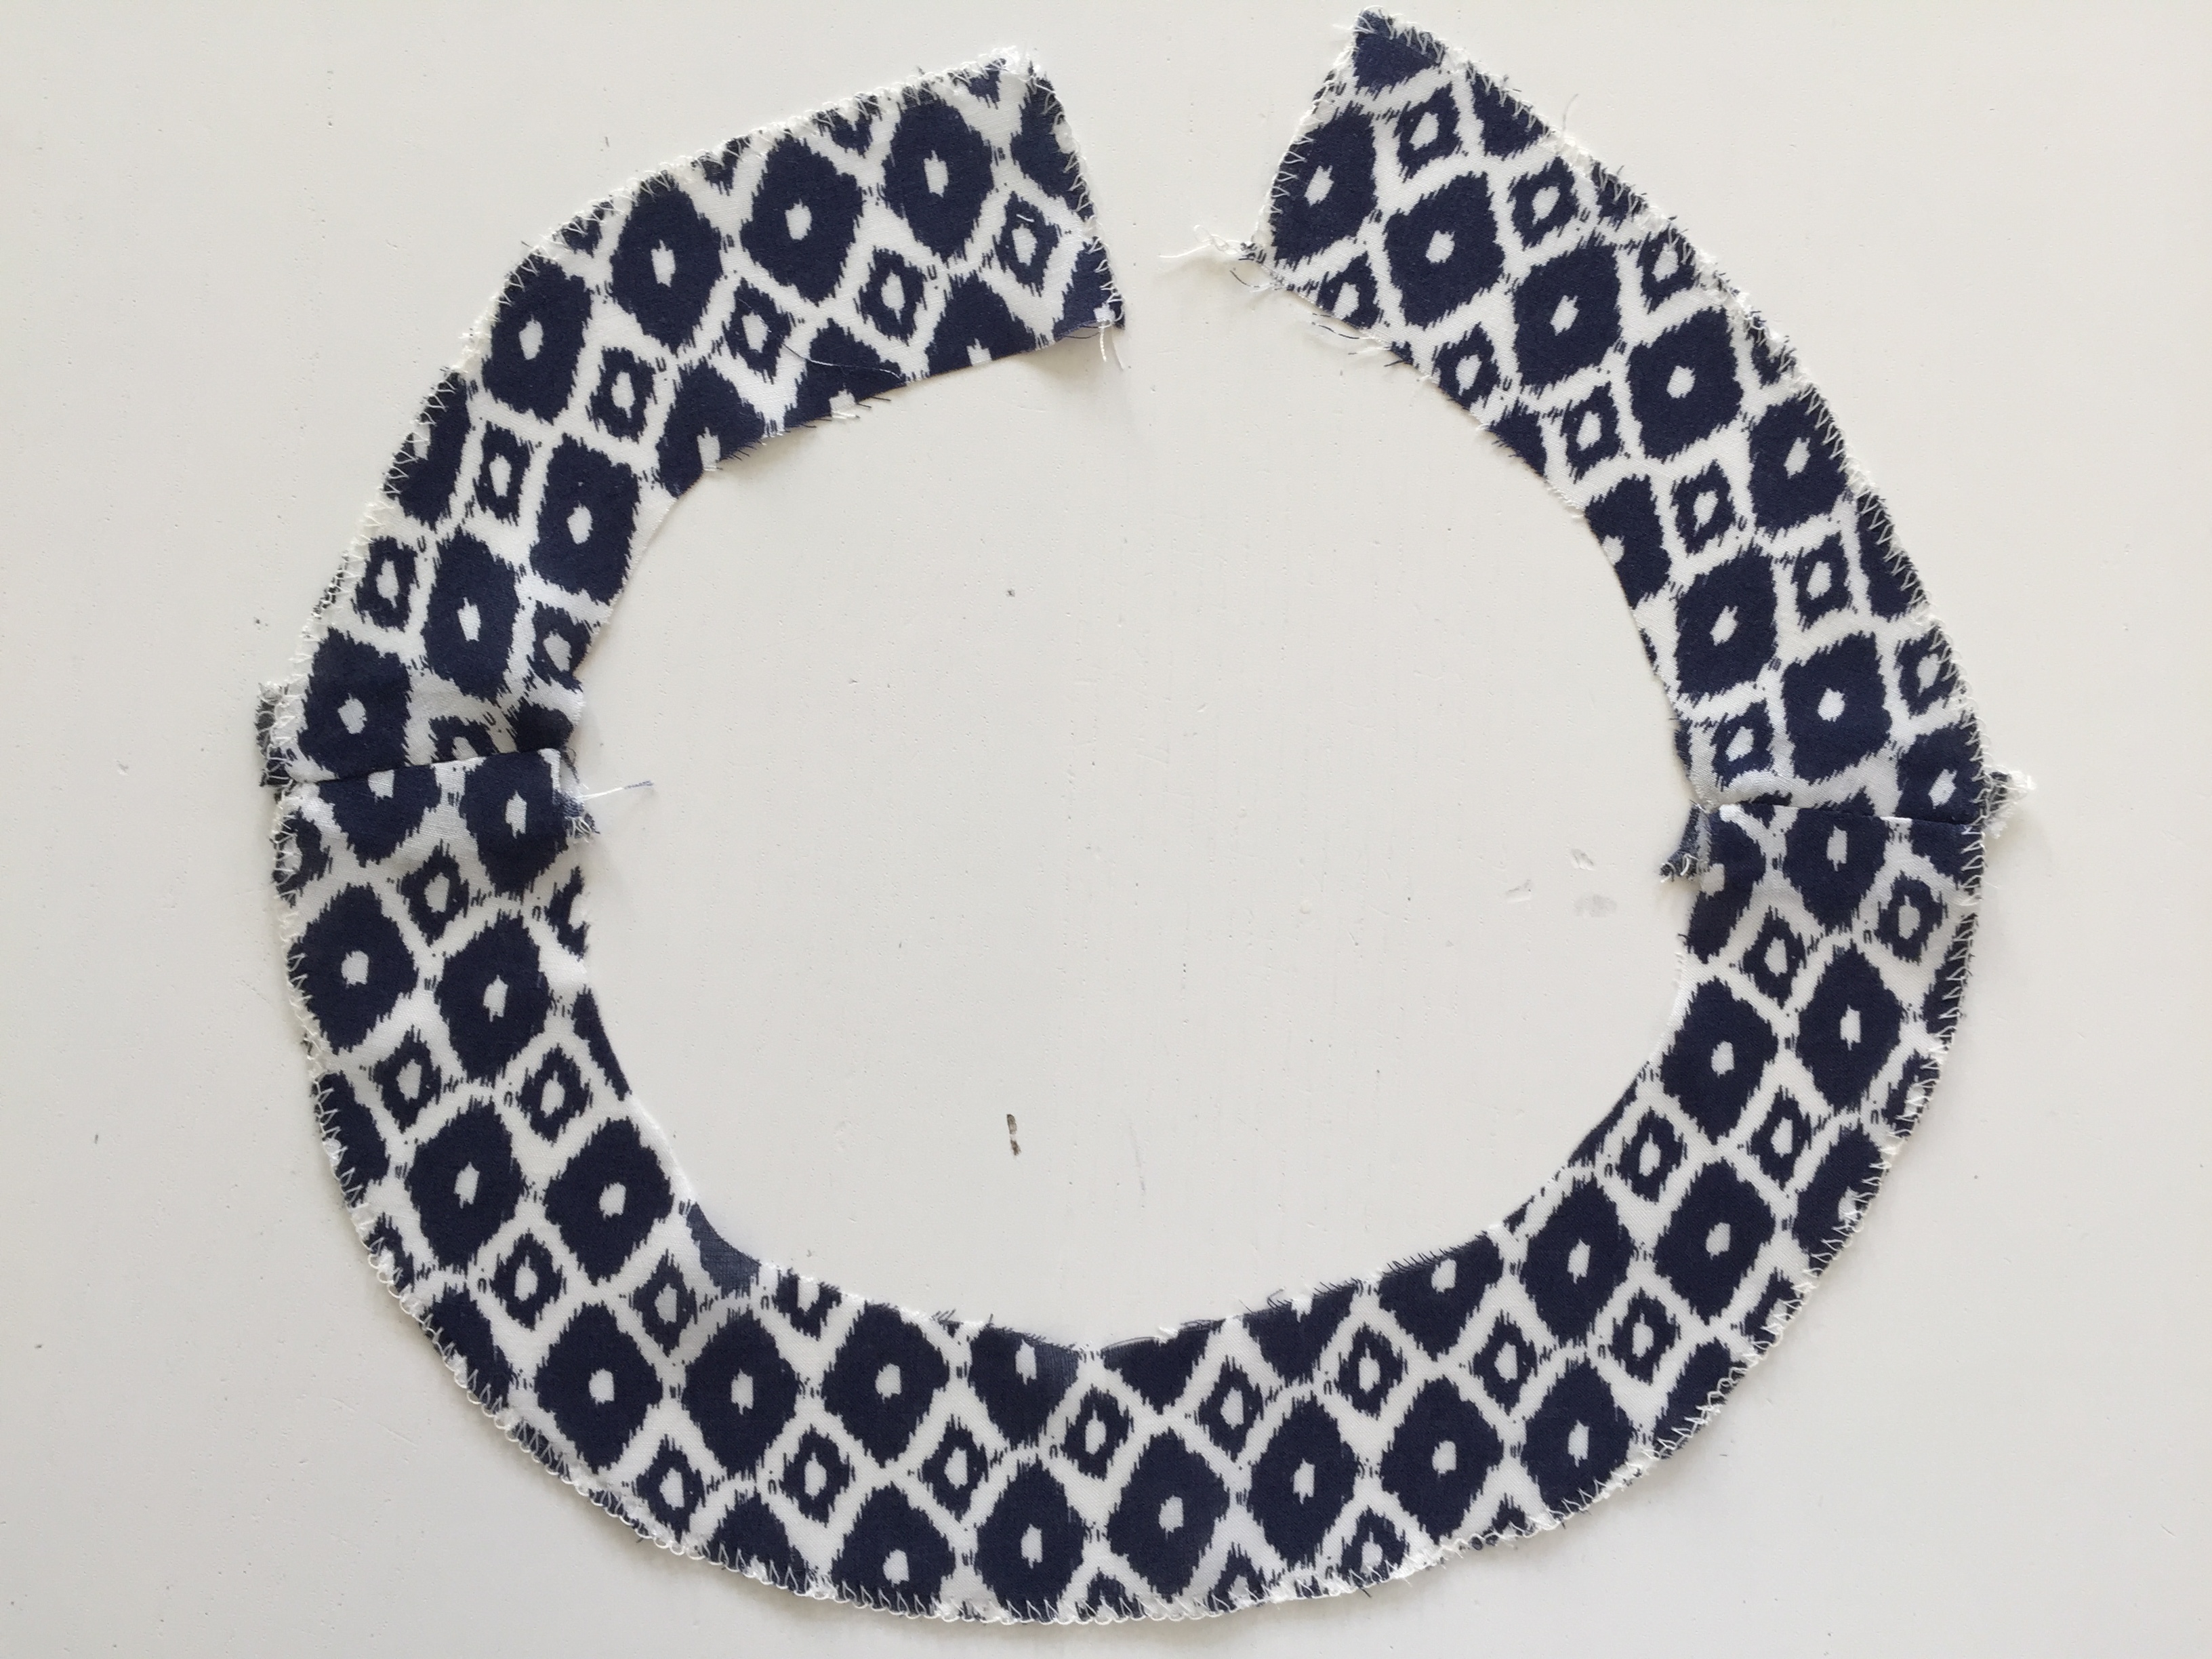
3. Take your facing pieces and place the front facing piece right side facing you. Place the two back facing pieces onto this piece, lining up the shoulder pieces. Can you see how these pieces also don’t match up perfectly – this is because of the shape of the neckline.
4. Sew together using a 1.5cm seam allowance.
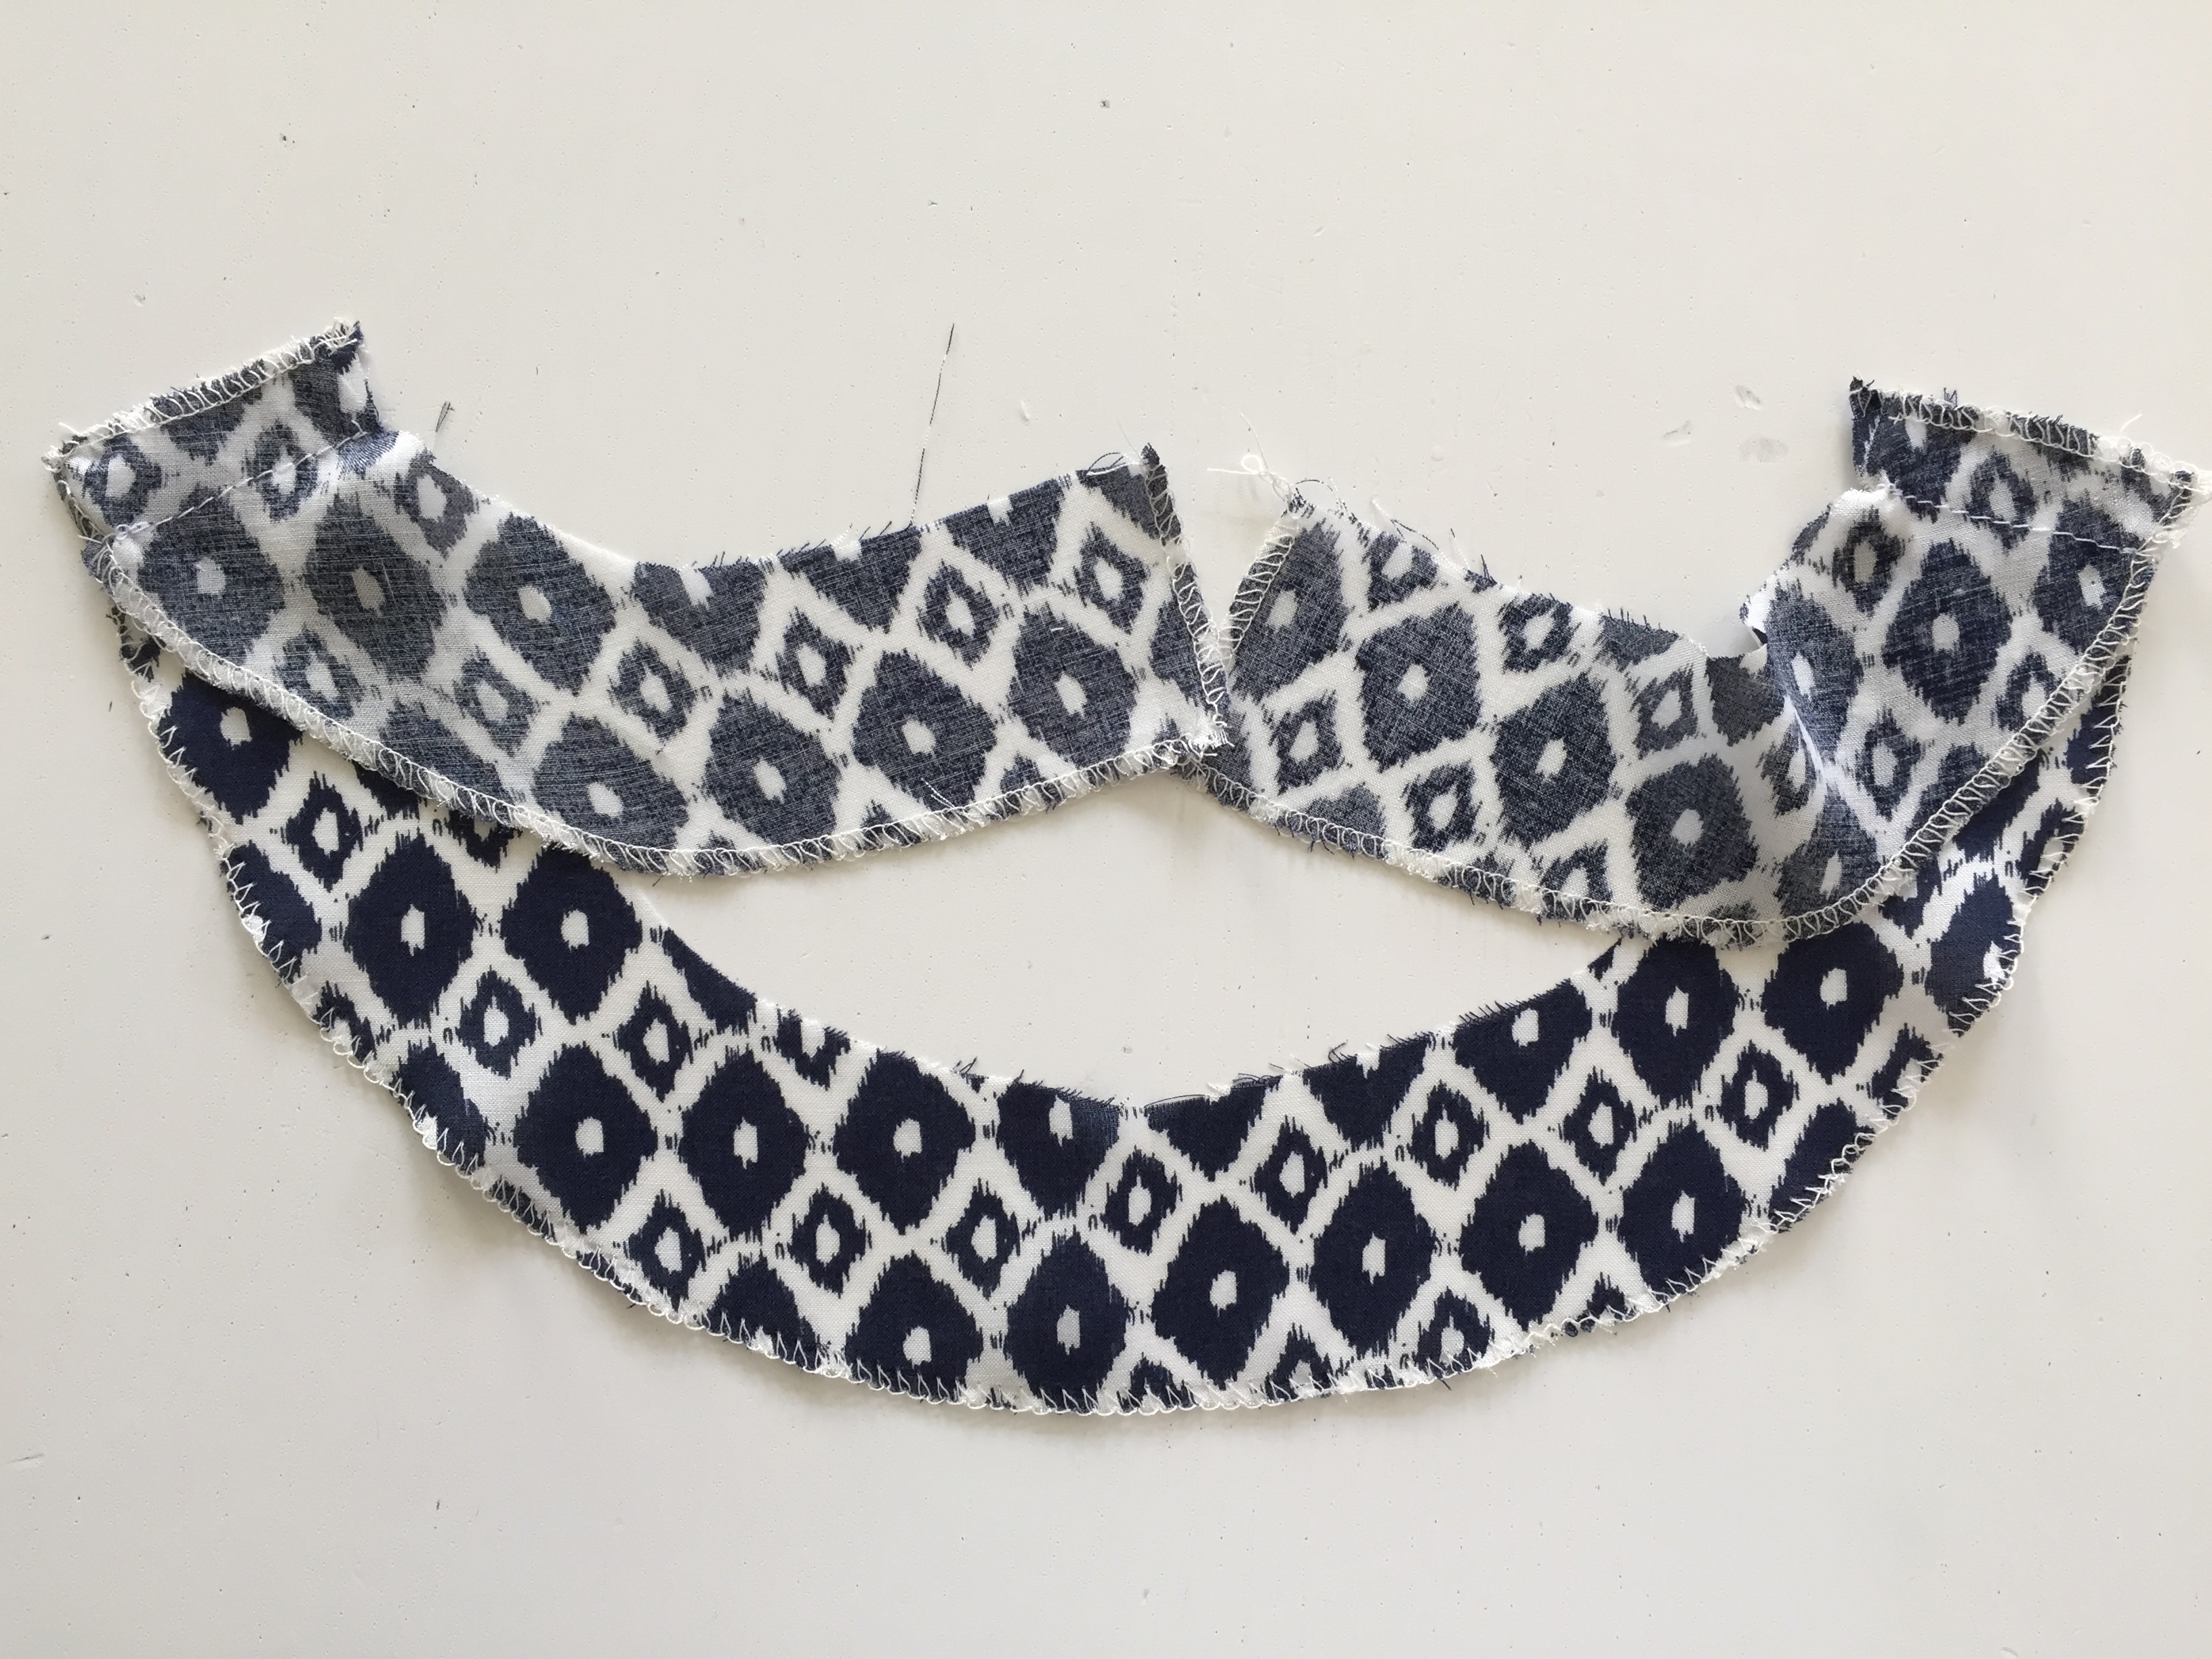
5. When you open out the facing piece the neckline should have a lovely curved
shape! Iron open the seam allowances.
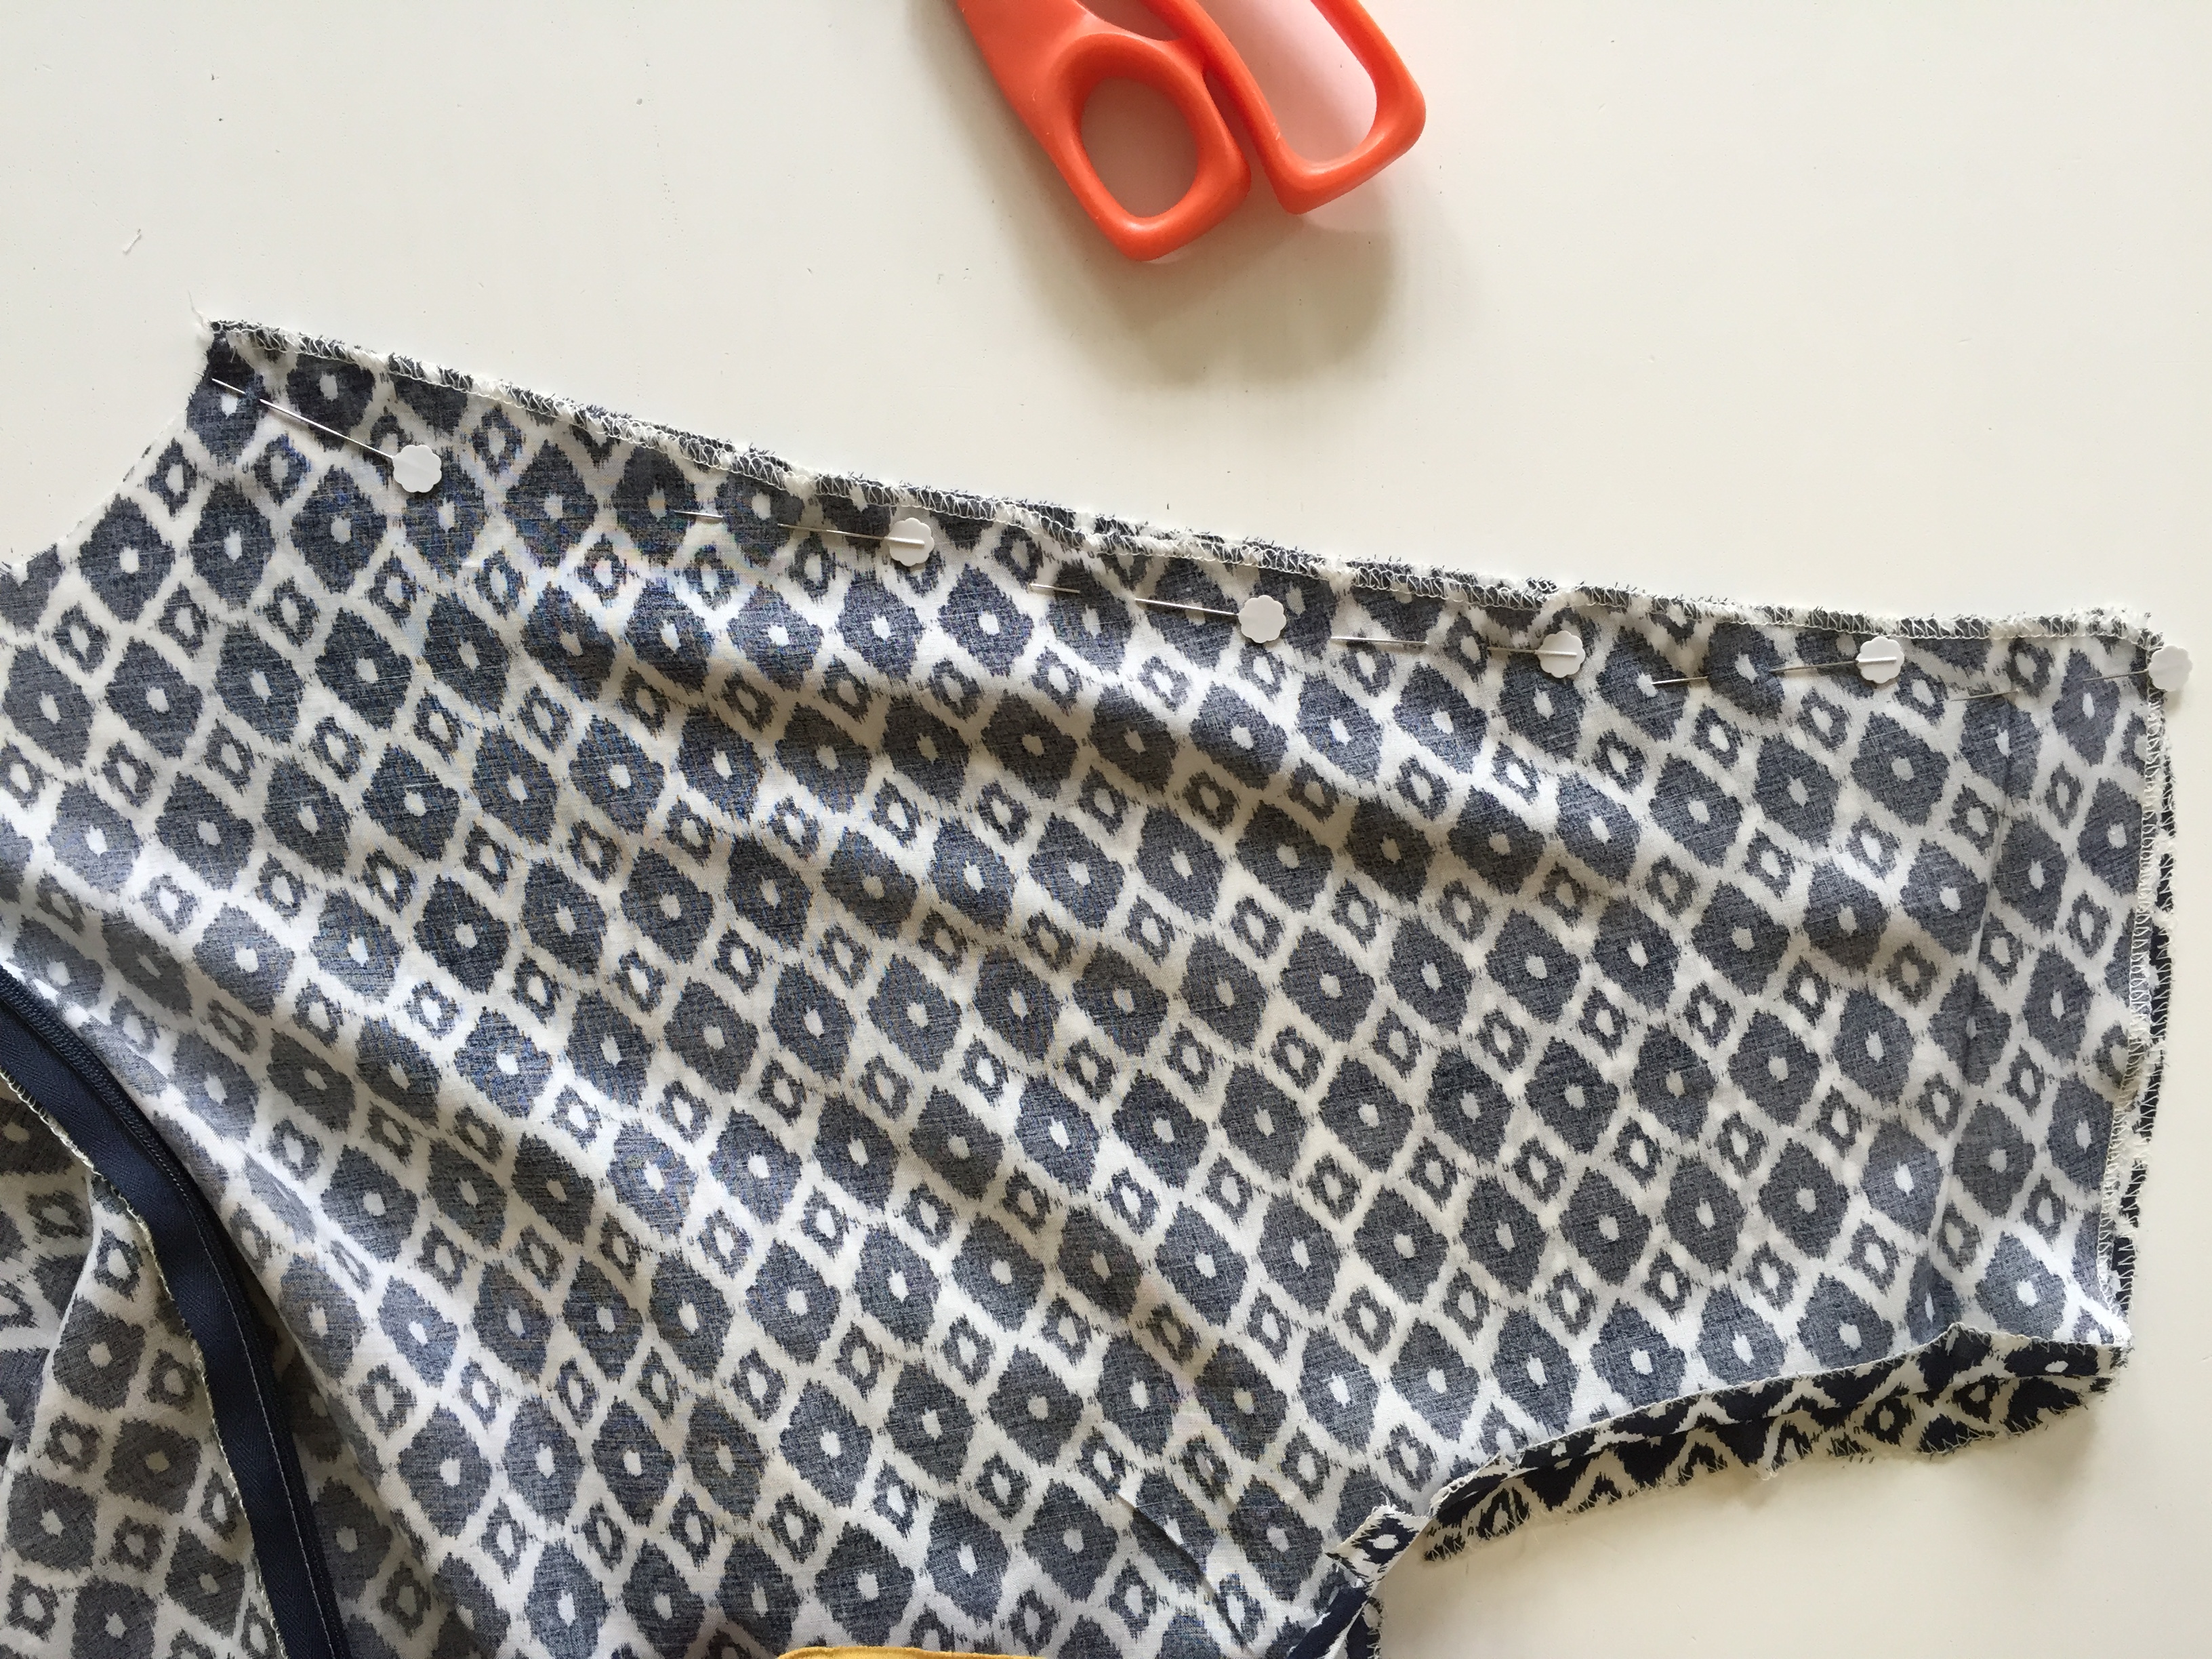
6. Turn your dress to the right side and place the front of the dress facing you.
Place the facing right sides together onto the dress neckline. Work your way
around the neckline matching up the sleeve seams and the CB. This piece fits
perfectly, so take your time here.
TIP – Place your pins pointing down instead of across to help you shape the neckline.
7. Sew the facing to the neckline using a 1cmseam allowance.

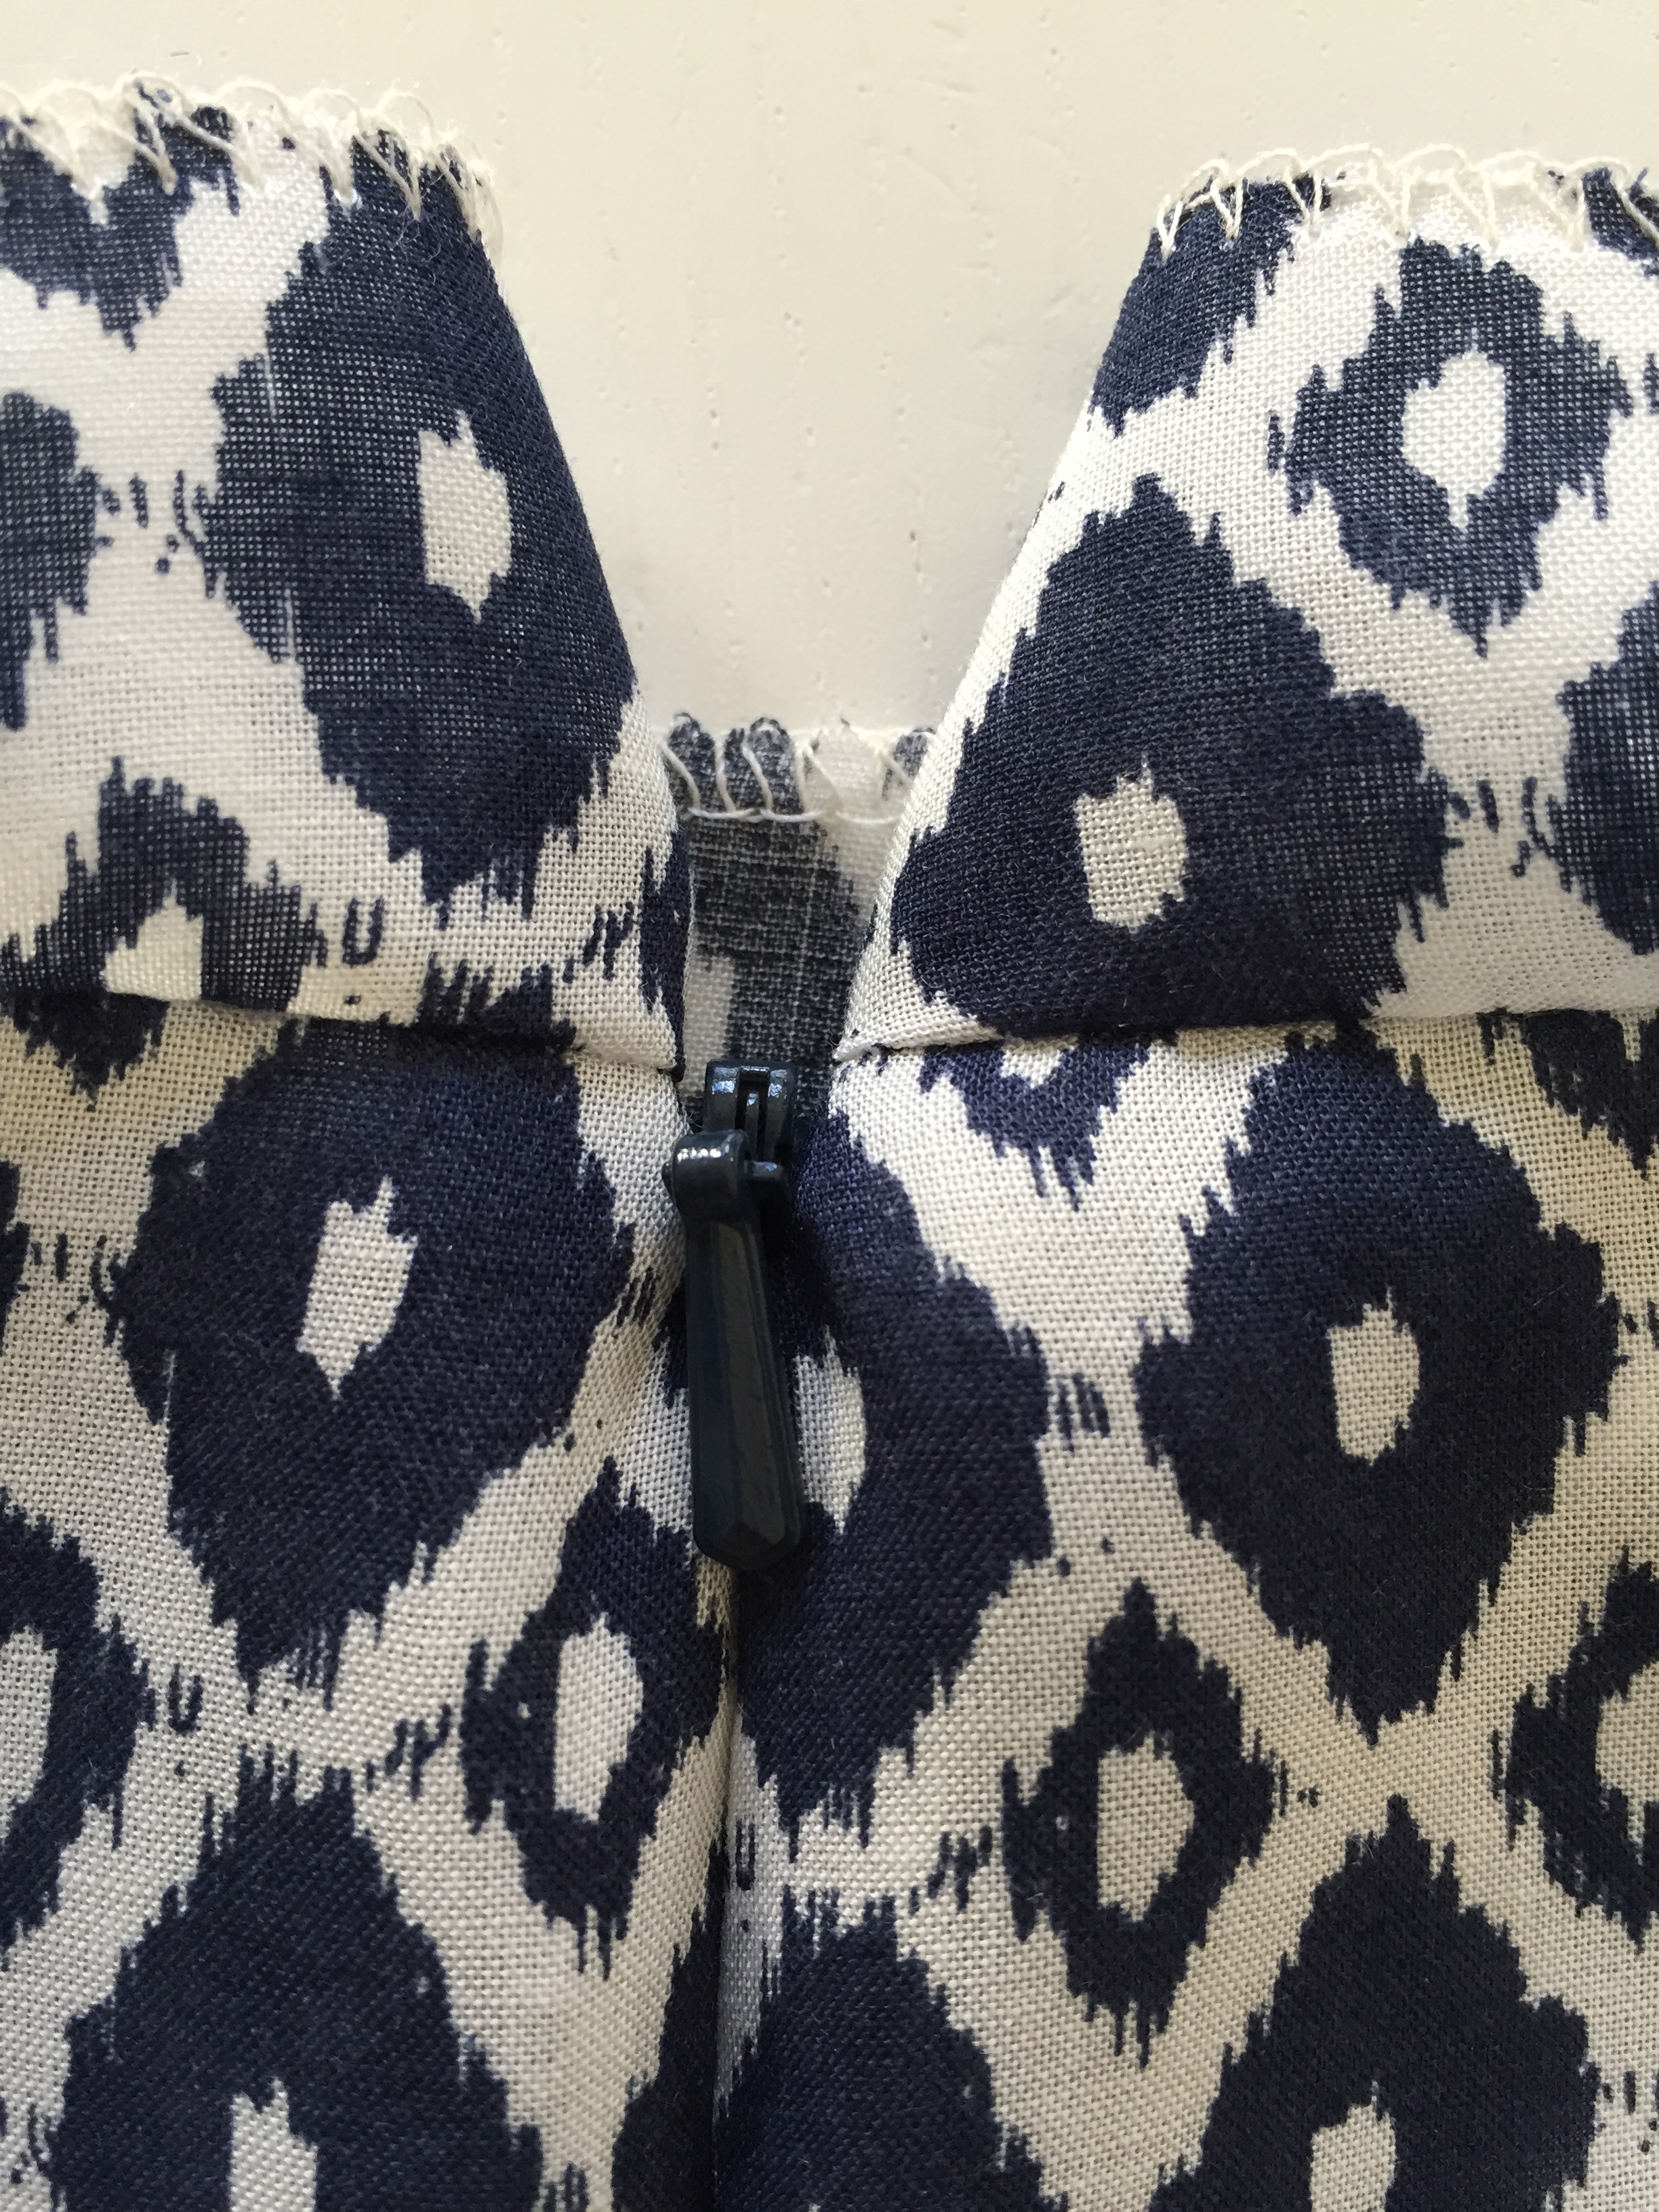
8. Check that when you do the zip up both sides are the same. Now is the time to
fix it if one side is higher than the other. Once you are happy with this piece then
snip into the curve of the neckline.
UNDERSTITCHING THE NECKLINE
Under stitching helps a facing or lining stay inside a garment. A line of stitching is made on the facing or lining and the seam allowance but not the main piece of fabric. The stitching is seen just inside the garment, for example on the facing, but not on the right side of the garment.
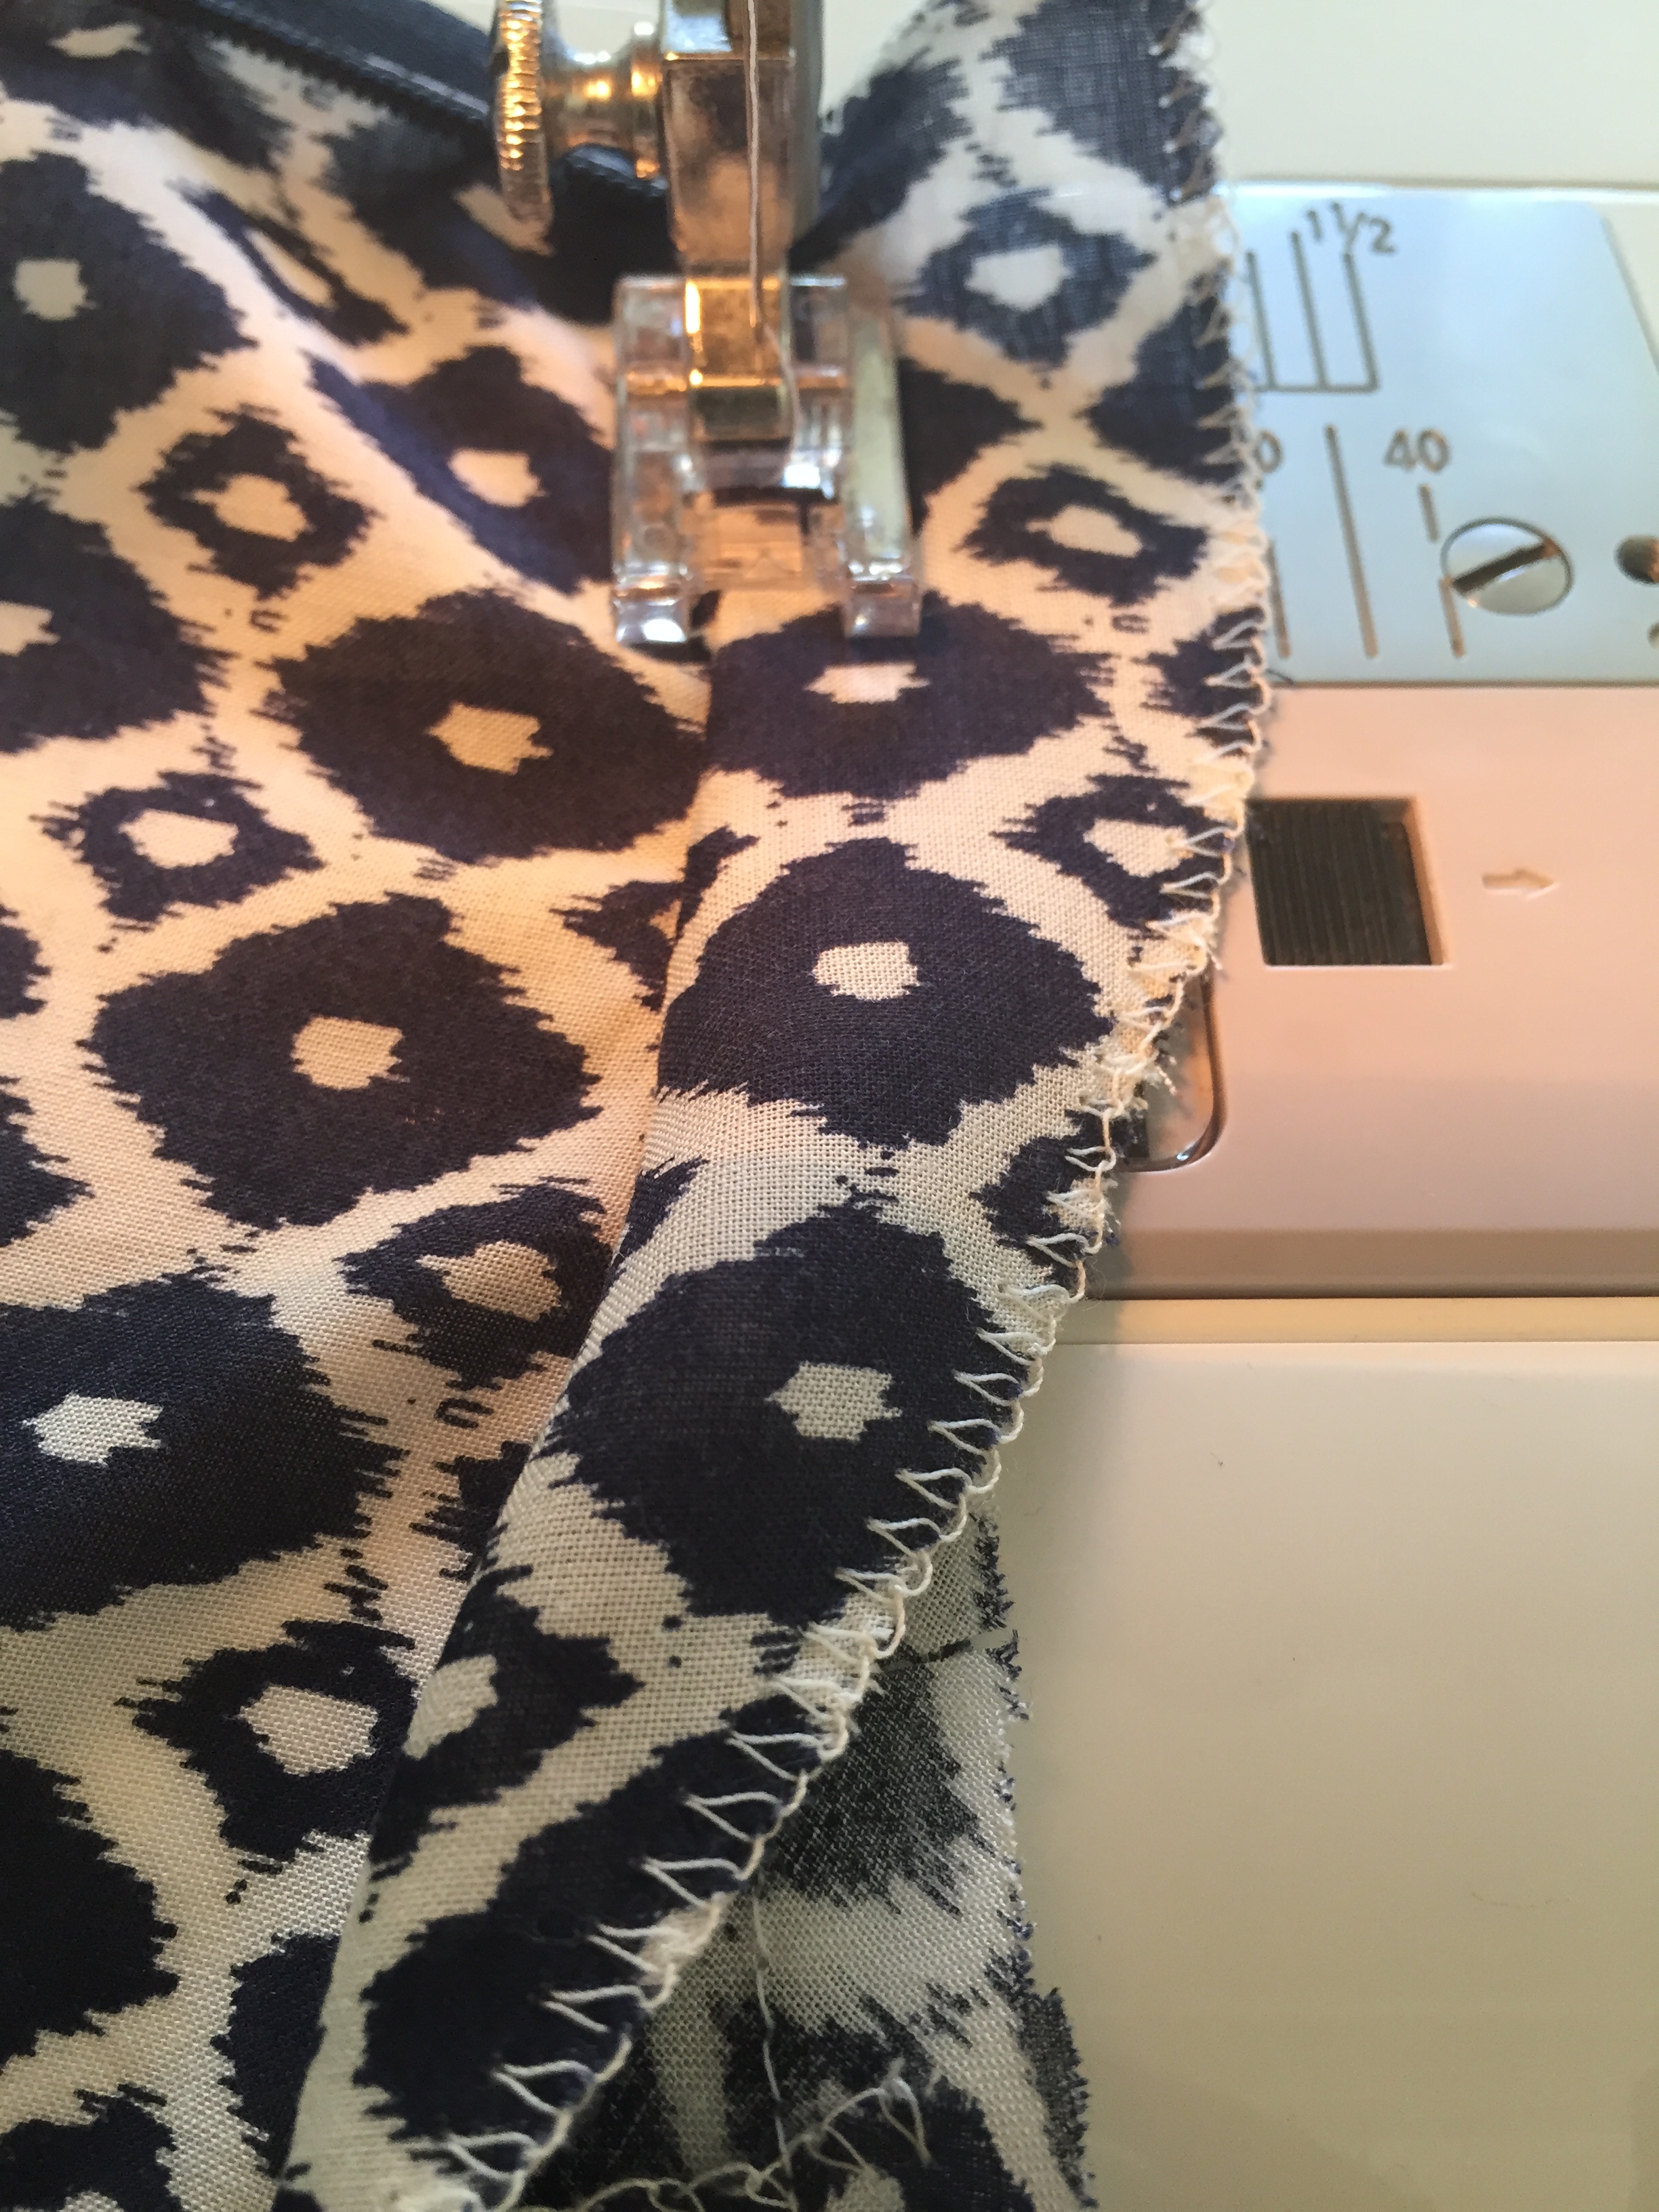
9. Starting at the right hand side of the CB, push the facing and seam allowance
to the right. Create a row of stitches on the facing piece 3mm from the
edge. Continue all the way around the neckline.
Tip: As you are working your way around the neckline, use both your hands – one to keep the left side flat and one to push the seam allowance and facing to the right. If you work on a little section at a time using both your hands here will keep the fabric nice and flat. You could also make your stitch length smaller as this will help your accuracy.
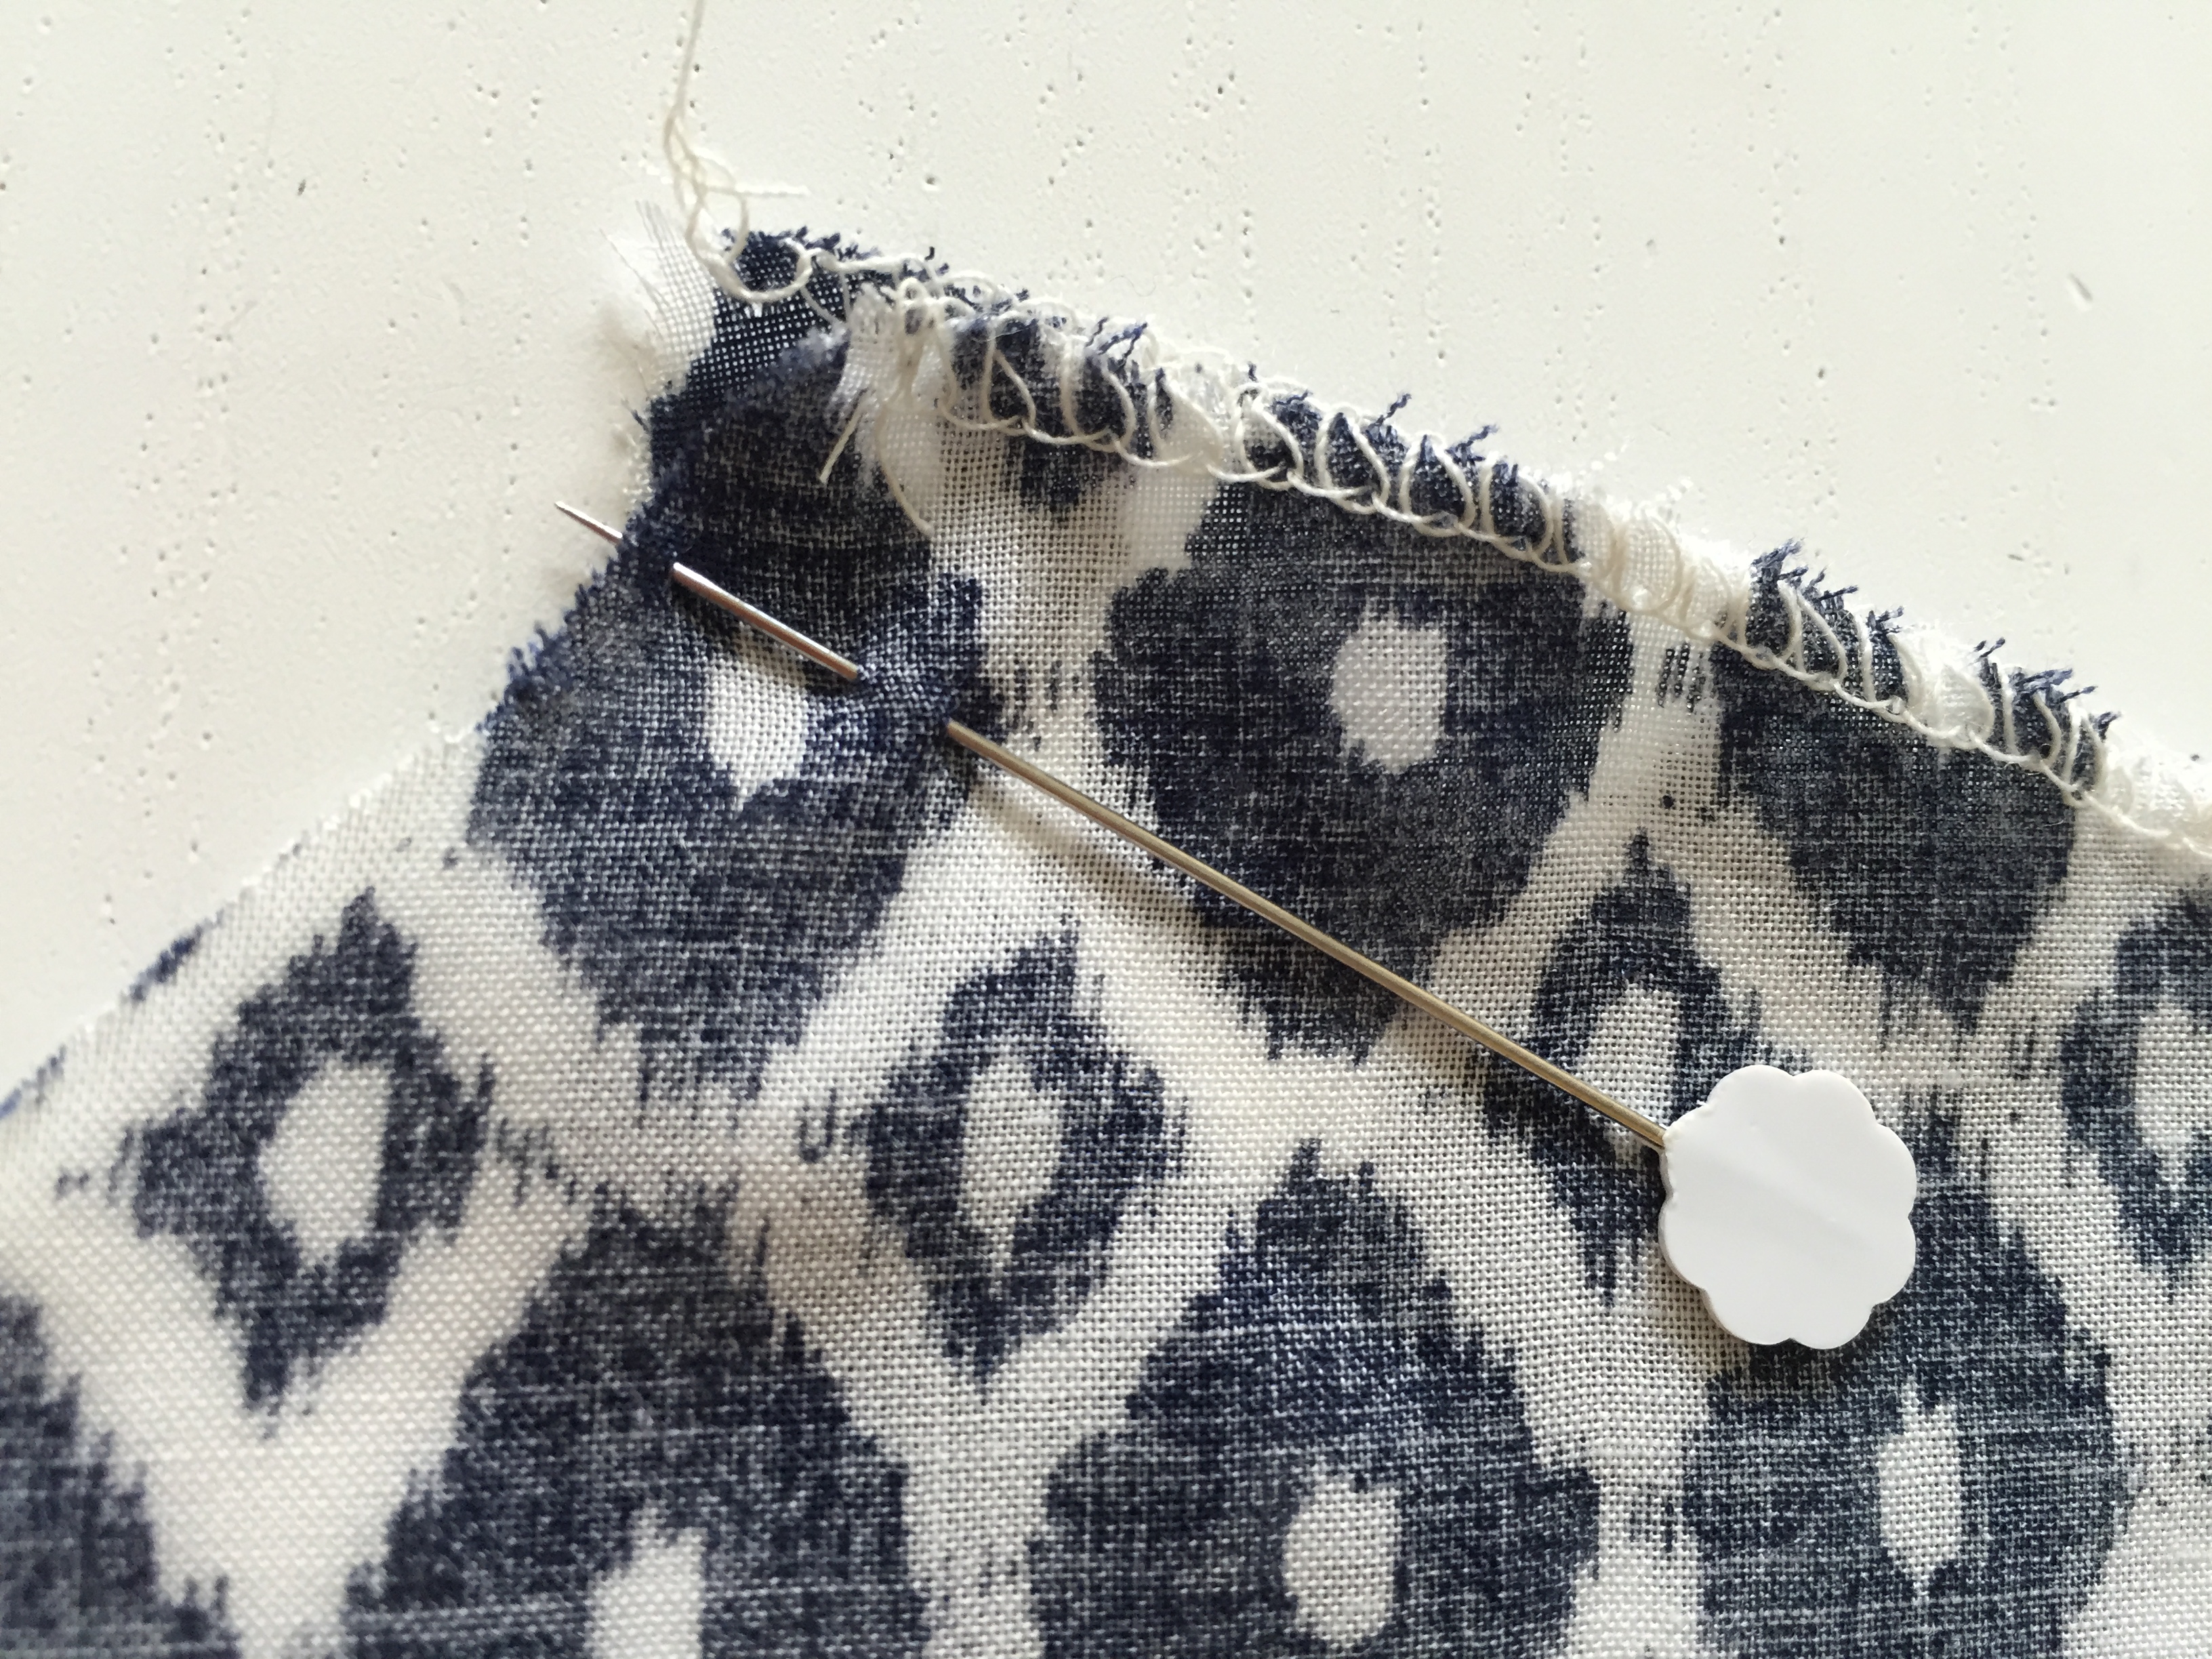
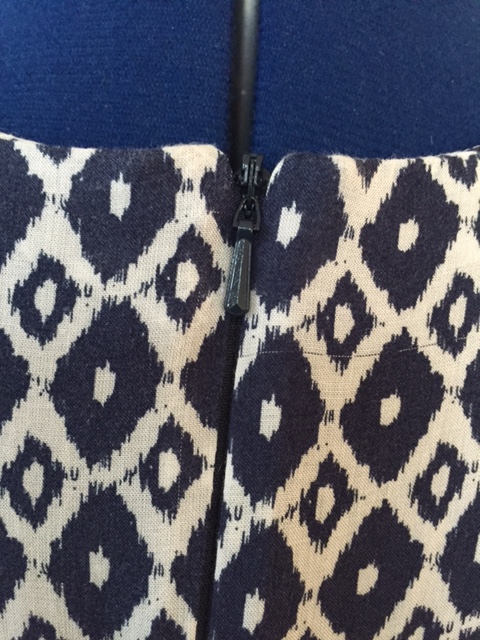
10. Once sewn, look at the right side of the fabric to ensure that it’s all looking good! At the CB, turn in your seam allowance and pin. Hand stitch the facing to the zip, making sure no stitches are visible from the right side.

11. Here is your completed neckline piece. On the inside, you can stitch your
facing piece by hand to the shoulder seam so that it stays flat.
We are almost there! Next step is the sleeves, outer pockets and hem!
I can’t wait to see your dress!
